
Blueberry Mimosa Pie
intro
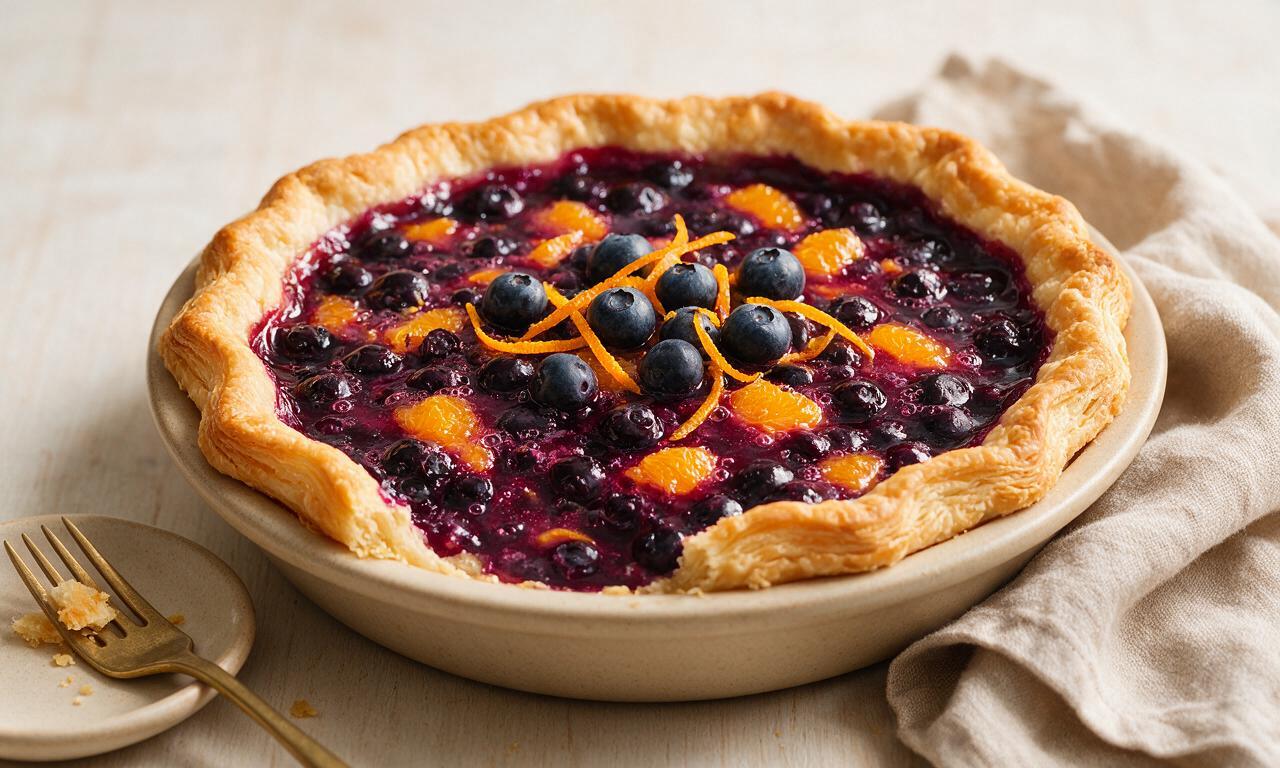
A bright, bubbly twist on classic blueberry pie, infused with orange and sparkling wine for iconic mimosa flavor, with a buttery flaky crust and juicy set filling.
Ingredients
Steps
Prep flaky pie crust
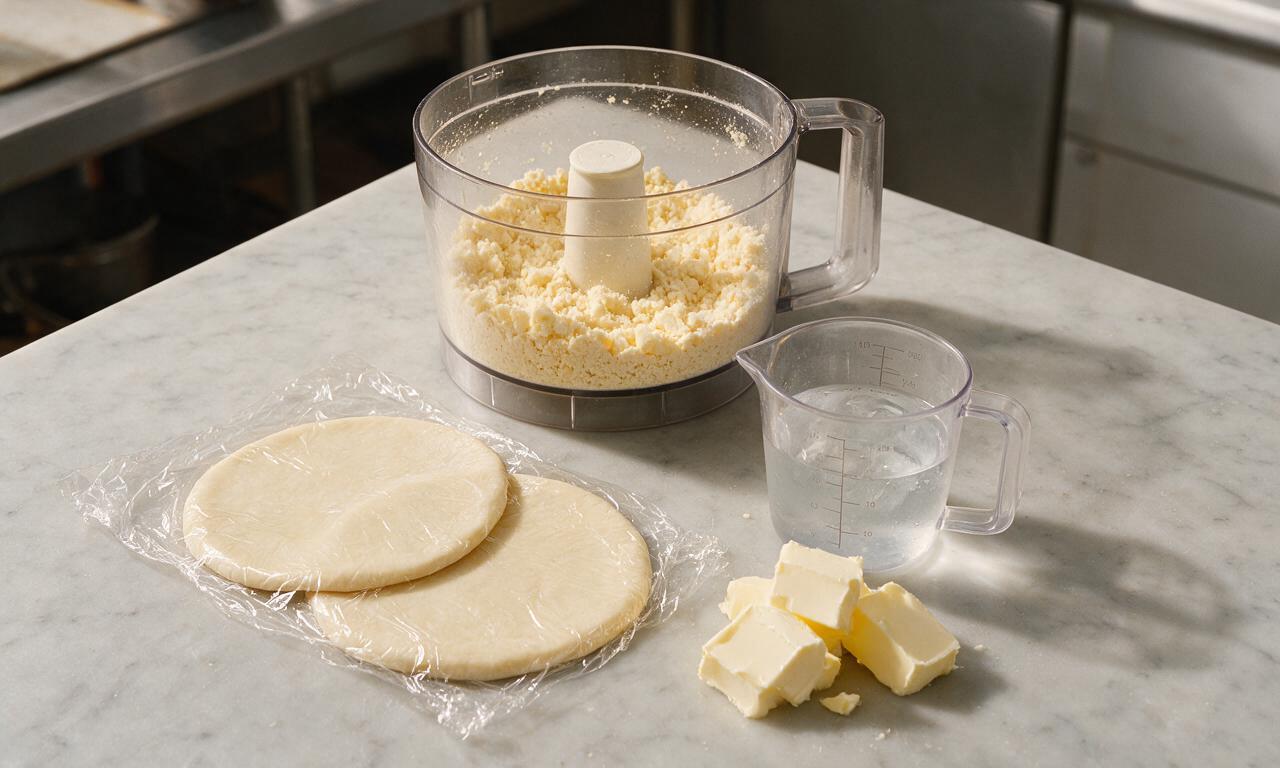
In a large food processor, combine 2 ½ cups (315g) all-purpose flour and 1 teaspoon fine sea salt. Add 1 cup (226g) cold cubed unsalted butter, and pulse 8-10 times until the mixture forms coarse crumbs with pea-sized butter chunks. Drizzle in 7 tablespoons (105ml) ice water 1 tablespoon at a time, pulsing 1-2 times after each addition, until the dough just clumps together when squeezed. Split the dough into two equal 200g discs, wrap tightly in plastic wrap, and chill in the refrigerator for 30 minutes at 4°C (39°F) before rolling.
Roll bottom crust layer
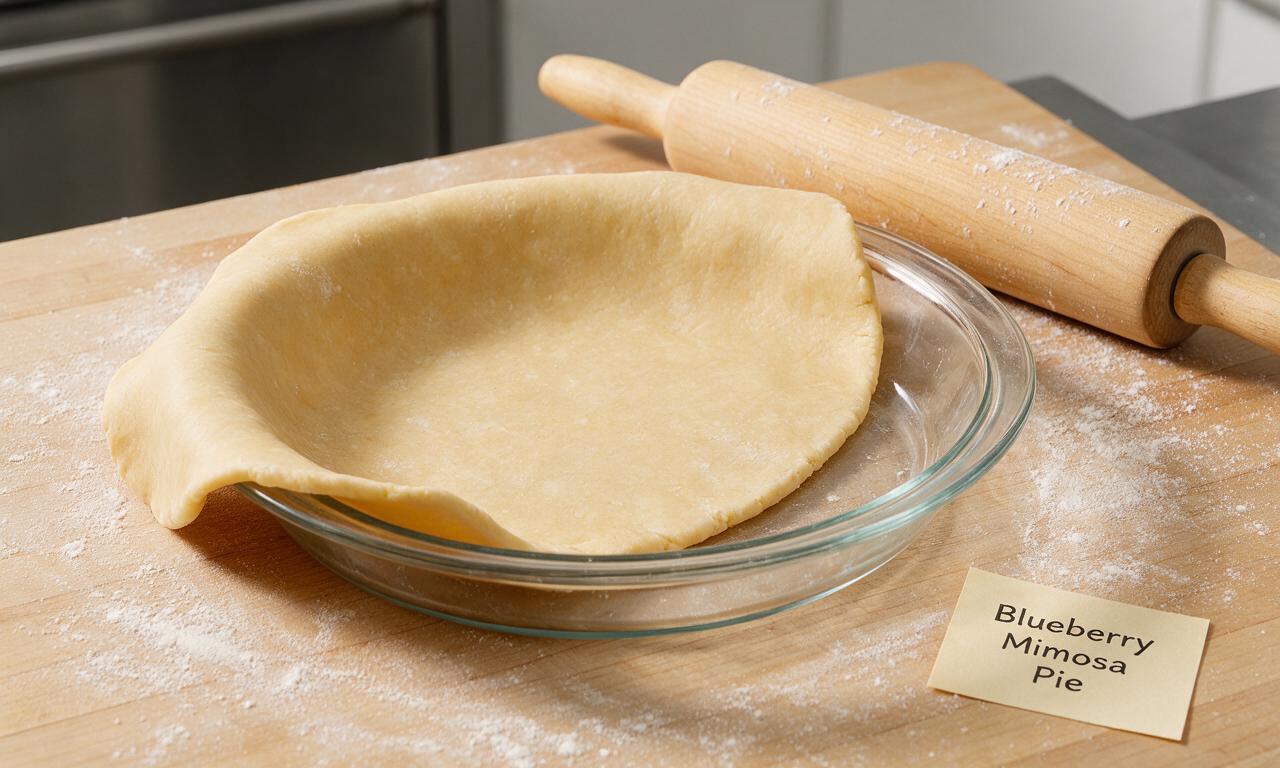
Remove one chilled dough disc from the fridge and let it rest 5 minutes at room temperature to prevent cracking while rolling. Roll it on a lightly floured wooden surface to a 12-inch (30cm) circle that is 3mm (1/8-inch) thick. Gently lay the dough into a 9-inch (23cm) glass pie dish, pressing it firmly against the bottom and up the sides, leaving a 1-inch (2.5cm) overhang around the rim. Trim excess dough longer than 1 inch with kitchen shears, then chill the lined dish in the fridge for 10 minutes while you prep the filling.
Cook mimosa filling base
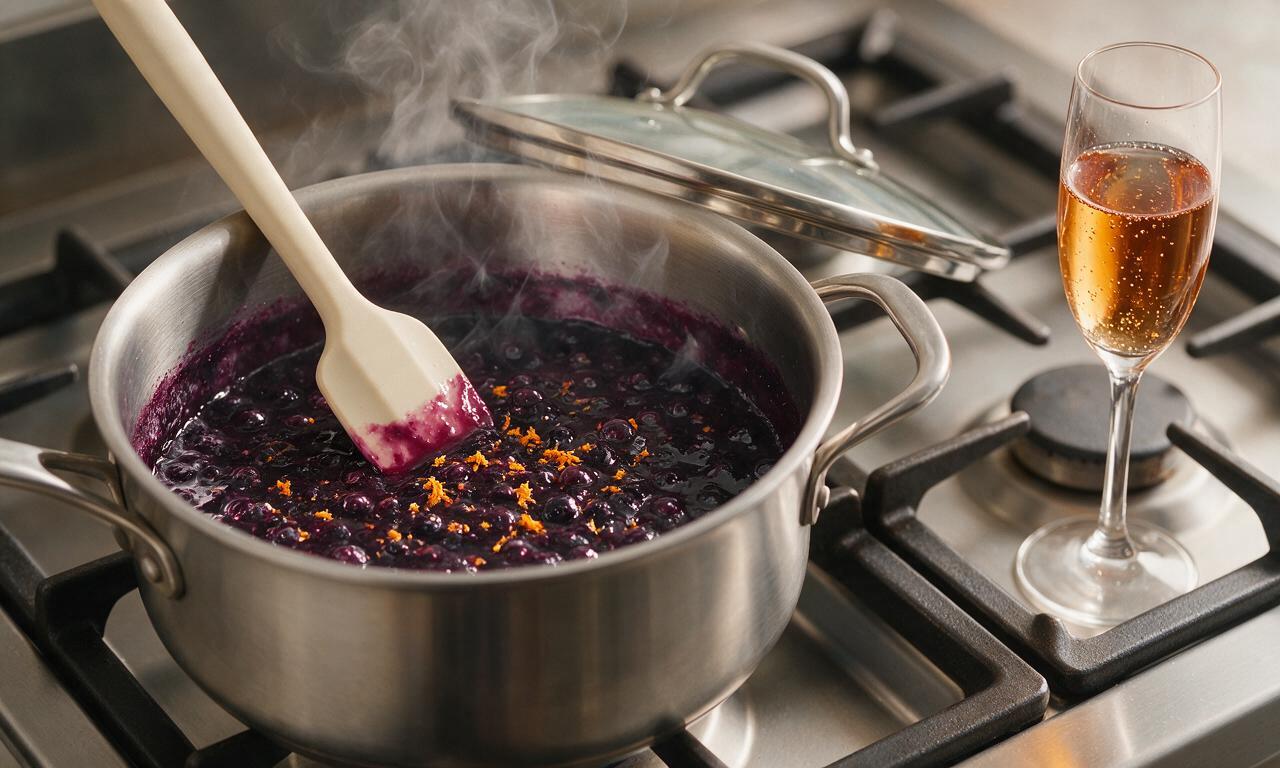
In a medium saucepan set over medium-low heat (heat level 4 out of 10), combine 2 cups (300g) of the blueberries, ⅔ cup (135g) granulated sugar, 3 tablespoons (24g) cornstarch, ½ cup (120ml) dry sparkling wine, ¼ cup (60ml) strained orange juice, and 1 tablespoon orange zest. Stir constantly with a silicone spatula for 7-8 minutes, until the mixture thickens to a smooth jam-like consistency and blueberries have fully burst. Remove the pan from heat, stir in 2 tablespoons (28g) melted unsalted butter and 1 teaspoon vanilla extract, then let the mixture cool for 15 minutes at room temperature.
Assemble filled pie
Remove the chilled crust-lined pie dish from the fridge. Fold the remaining 2 cups (300g) of whole fresh blueberries into the cooled mimosa-blueberry base, then pour the entire filling into the crust, spreading it into a smooth even layer. Roll the second chilled dough disc out to an 11-inch (28cm) circle that is 3mm thick, and lay it over the top of the filling. Press the top and bottom crust edges together firmly, crimping decoratively with your fingers or a fork, and cut 4 2-inch slits in the top crust to allow steam to escape during baking.
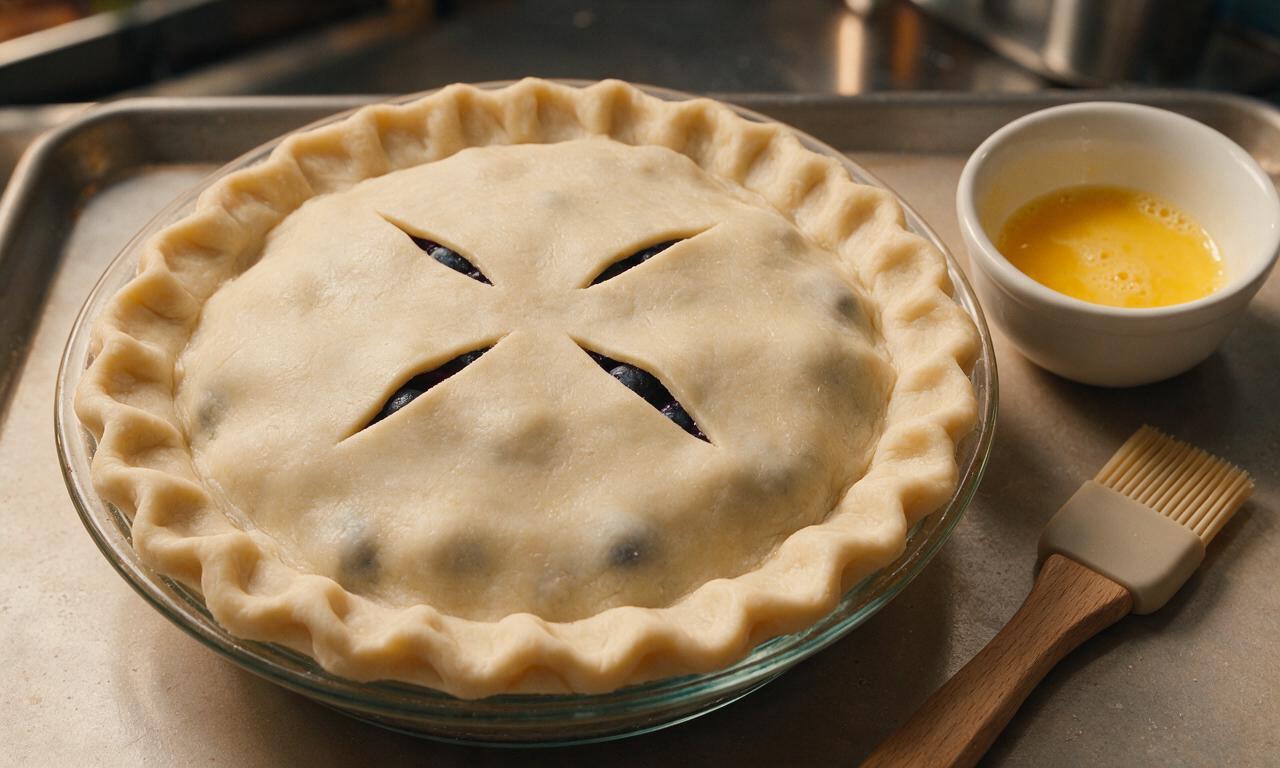
Bake until golden bubbly
Preheat your oven to 200°C (400°F). Brush the entire top crust and crimped edge with the beaten large egg, then sprinkle evenly with 1 tablespoon coarse sanding sugar. Place the pie on the middle oven rack, with a rimmed baking sheet on the rack below to catch any bubbling filling drips. Bake for 25 minutes at 200°C, then reduce the oven temperature to 180°C (350°F) and bake for an additional 25-30 minutes, until the crust is deep golden brown and filling is visibly bubbling through the steam slits.
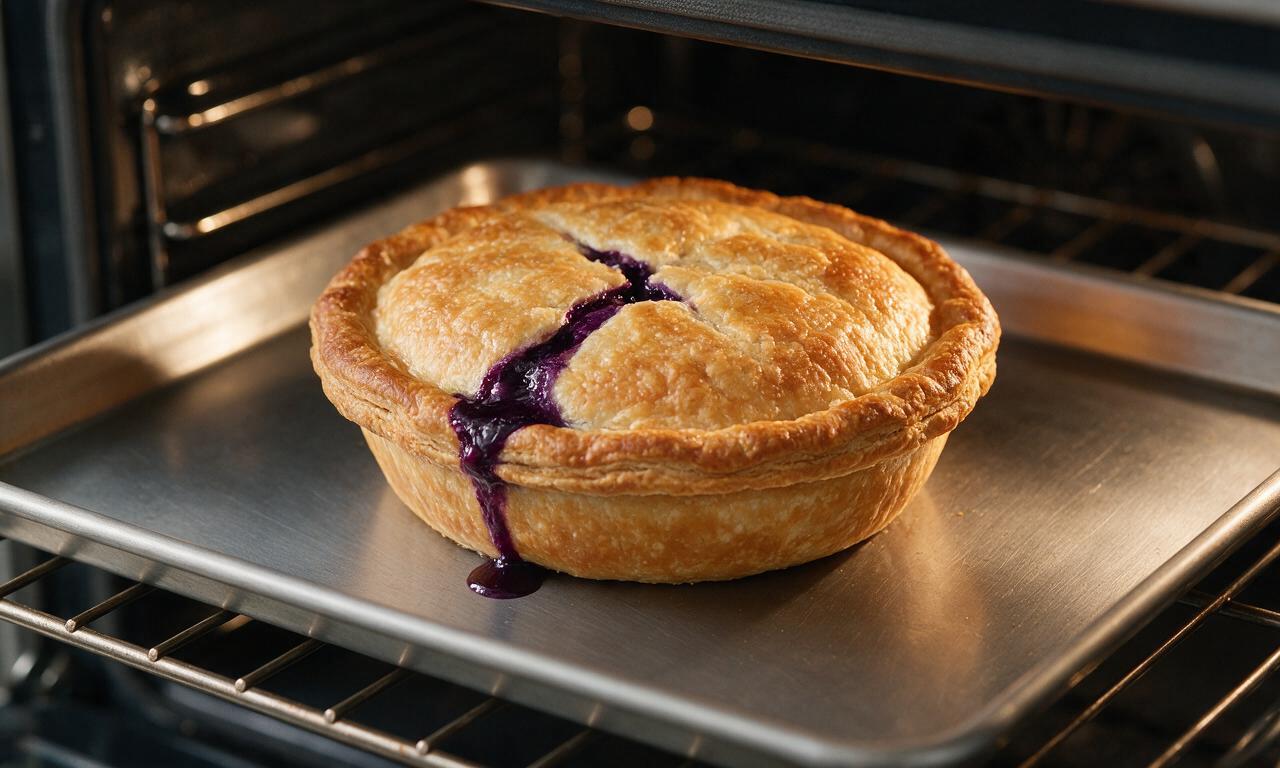
Cool fully before serving
Once baked, carefully transfer the pie to a wire cooling rack, and let it rest for a full 60 minutes at room temperature before slicing. This cooling period is critical to allow the cornstarch-thickened filling to set completely, so it does not run when cut. Serve slices at room temperature, optionally topped with a dollop of orange-infused whipped cream for extra mimosa flavor.
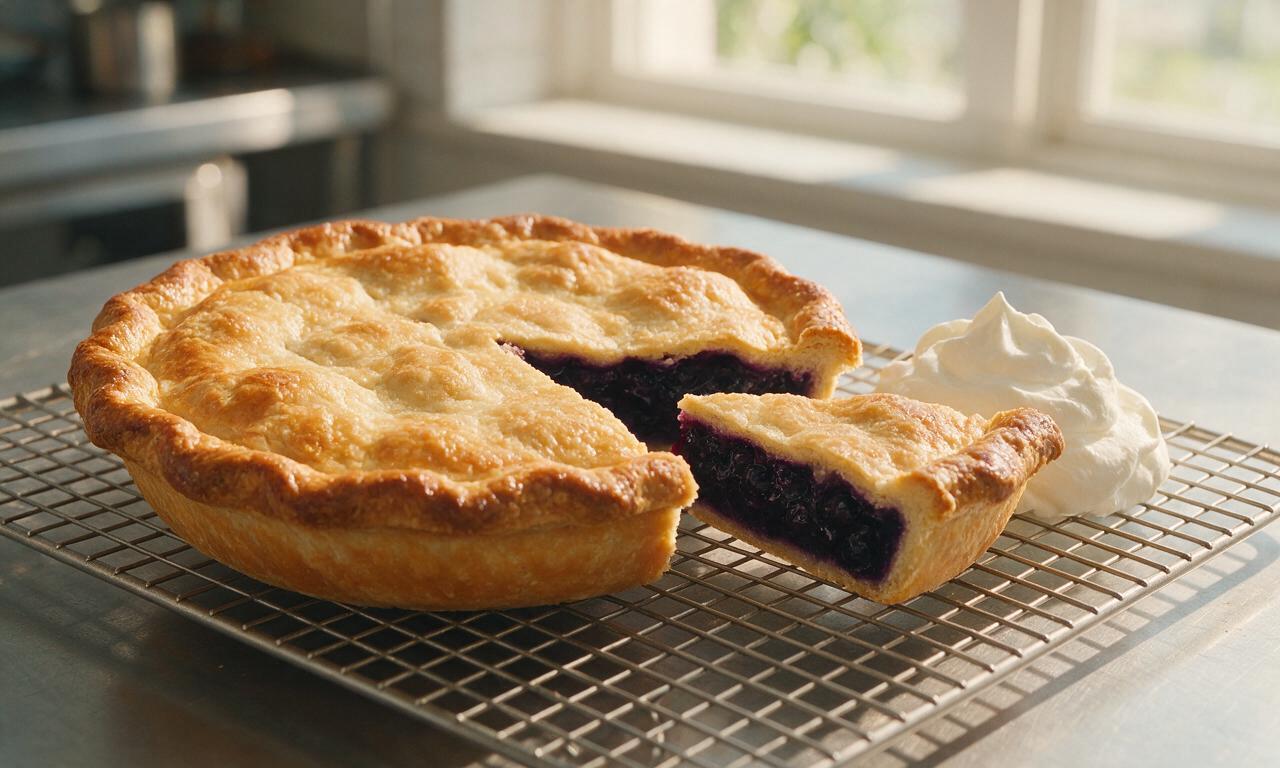
Tips
2.Do not cut into the pie before the full 60-minute cooling time is complete; even if the filling looks set when it comes out of the oven, it needs time to firm up as it cools to avoid runny slices.
3.For a non-alcoholic version, swap the dry sparkling wine for non-alcoholic sparkling white grape juice, and add an extra ½ teaspoon of orange zest to keep the bright, citrusy mimosa flavor.






OMG y’all, I made this for my girls’ weekend brunch last Saturday and it was an absolute hit! The hint of champagne paired with fresh blueberries? *Chef’s kiss* I was worried the cook time would be too long but the steps were totally manageable even for a medium skill level like me. My friend asked for the recipe before she even finished her first slice! 10/10 will be making this for every summer potluck from now on.
Made this for our family Sunday dinner and even my super picky 8 year old asked for a second slice! I was nervous the champagne flavor would be too strong for the kids but it cooks down so nicely, it just adds that bright, zingy note without tasting boozy at all. SO good, even my husband who “doesn’t like fruit pie” went back for more.
Really solid recipe! The flavor combo is genius, I brought this on a weekend camping trip potluck and everyone was raving. Only note is that my crust shrank a little bit on the sides — I think I skipped the blind bake step for too short a time, so make sure you don’t rush that part! Will definitely make again, just adjusting my crust time next go around.
Game changer!!! I made this for our office Fourth of July potluck and it was the first dessert gone, beat out 3 other pies and a whole tray of brownies. I added a little extra orange zest on top of the whipped cream for garnish and it took it to the next level. 100% adding this to my permanent recipe rotation.
Tried this yesterday for a rooftop happy hour and it was *chef’s kiss*. The only thing I’d say is the 2 hour 50 minute cook and cool time is no joke — don’t try to rush the cooling process like I did or your filling will be runny! Learned that the hard way, but even the slightly runny slices tasted incredible.
This was so tasty! I made a gluten free crust swap for my sister who has celiac and it worked perfectly, the filling is so flavorful you don’t even notice the crust difference. Perfect for summer berry season.
Was looking for a fun dessert to make for my wife’s birthday brunch and this did not disappoint. I’m usually a savory cook, don’t do a ton of baking, so I was worried about the medium difficulty rating but the instructions were super clear, no confusing steps at all. She said it was better than the bakery pie we got for our anniversary, which is high praise.
Obsessed with this recipe! I used wild blueberries I picked up at the local farmers market last weekend and the flavor was unreal. I did a little champagne drizzle on top of each slice when serving and it was such a fun touch for the adults at my book club meeting. Everyone was asking for the recipe link.
Pretty good! I prepped the filling the night before to save time on the day of my brunch and it worked out really well. I think next time I’ll cut the sugar just a tiny bit since my blueberries were super ripe and sweet already, but that’s just personal preference. Overall a really solid, impressive dessert that doesn’t taste like it took as much work as it does.
Made this last night for a date night in and my partner said it’s the best dessert I’ve ever made. We paired it with a little vanilla bean ice cream on the side and it was the perfect combo of sweet, tart, bubbly. The medium difficulty rating felt totally fair — there are a few steps but none of them are hard if you take your time.
I made this for my little sister’s college graduation party over the weekend and it was such a hit! We had like 25 people there and I only came home with an empty pie dish. I added a little edible gold glitter on the whipped cream for a fancy touch and it looked so fancy, people thought I bought it from a fancy patisserie. Win!