
Blueberry Rhubarb Pie
intro
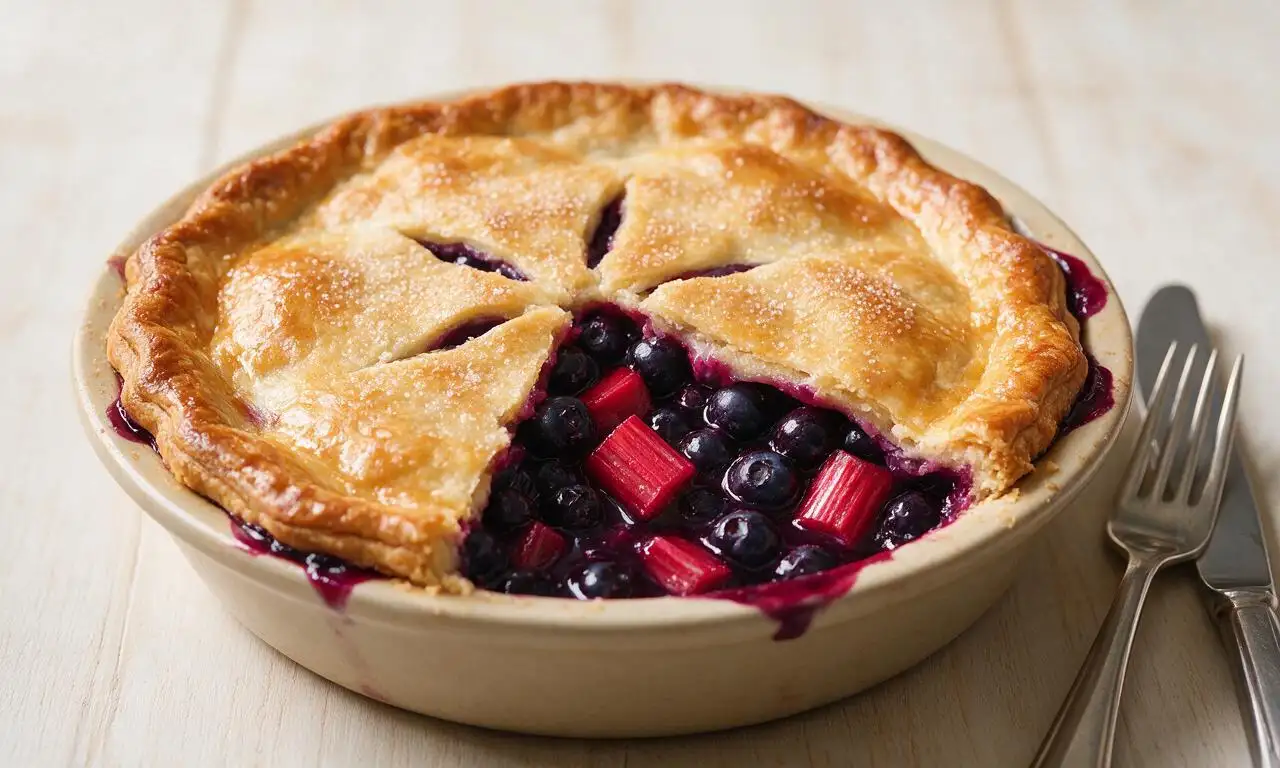
Sweet-tart, juicy blueberry rhubarb pie pairs bright summer produce with a flaky buttery double crust, ideal for sharing at casual warm-weather gatherings.
Ingredients
Steps
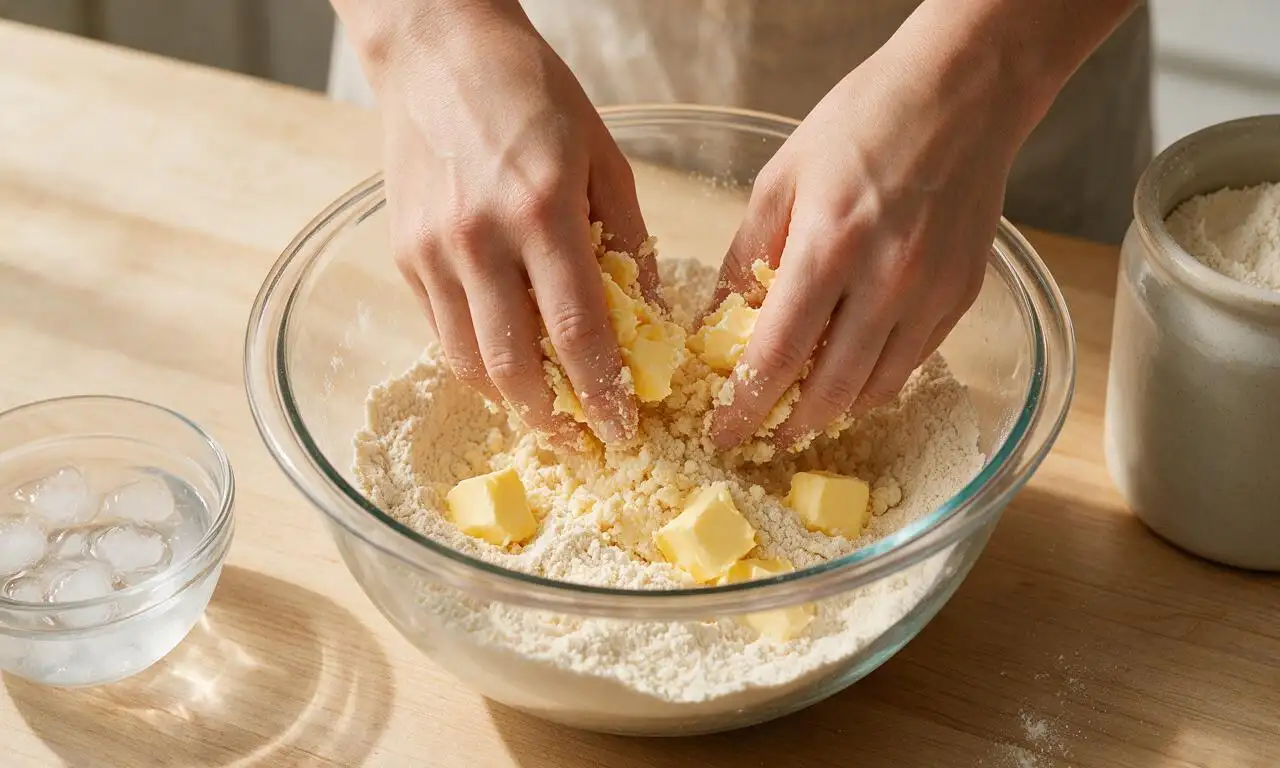
Prepare flaky pie crust
In a large bowl, mix 360g all-purpose flour and ¾ tsp fine sea salt. Add 226g cold cubed unsalted butter, and use your fingertips to rub butter into flour until the mixture forms uneven pea-sized crumbs. Drizzle in 80ml ice water 1 tablespoon at a time, mixing gently with a fork until the dough just clumps together (do not overwork, as this creates tough crust). Split dough into two equal discs, wrap tightly in plastic wrap, and chill in the refrigerator for 30 minutes before rolling.
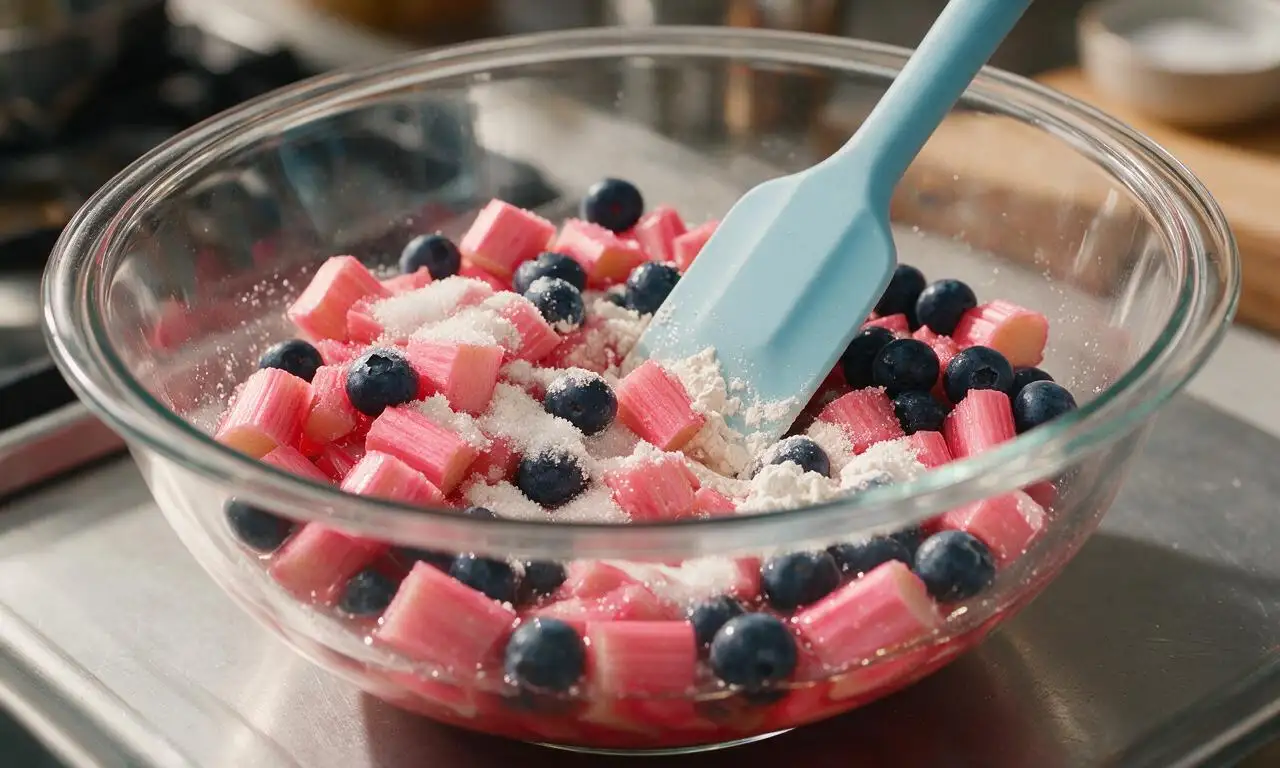
Mix fruit filling
In a large mixing bowl, combine 450g 1-inch chopped rhubarb, 340g rinsed, patted-dry fresh blueberries, 200g granulated sugar, 30g tapioca starch, ¼ tsp fine sea salt, 1 tsp fresh lemon zest, and ¼ tsp ground cinnamon. Toss gently with a silicone spatula until all fruit is evenly coated in the sugar-starch mixture, then let rest for 10 minutes at room temperature to let fruit release initial juices.
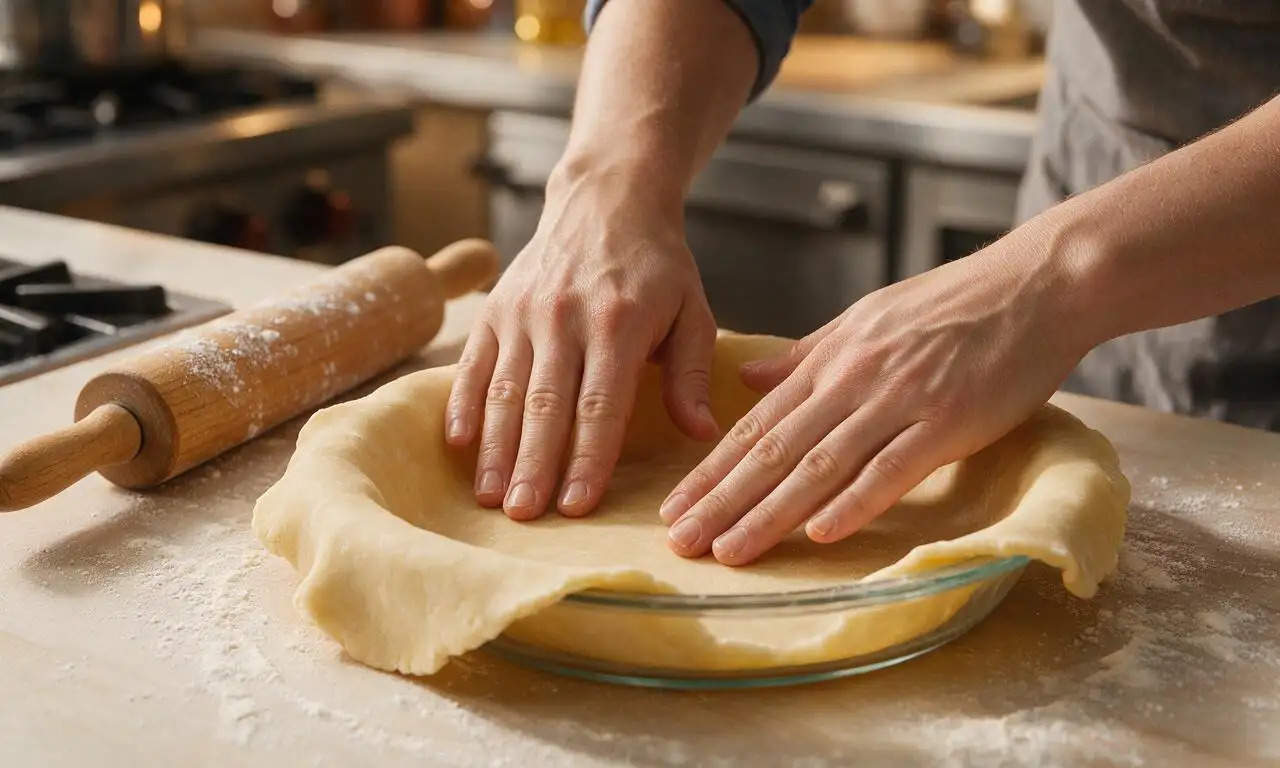
Line pie dish with crust
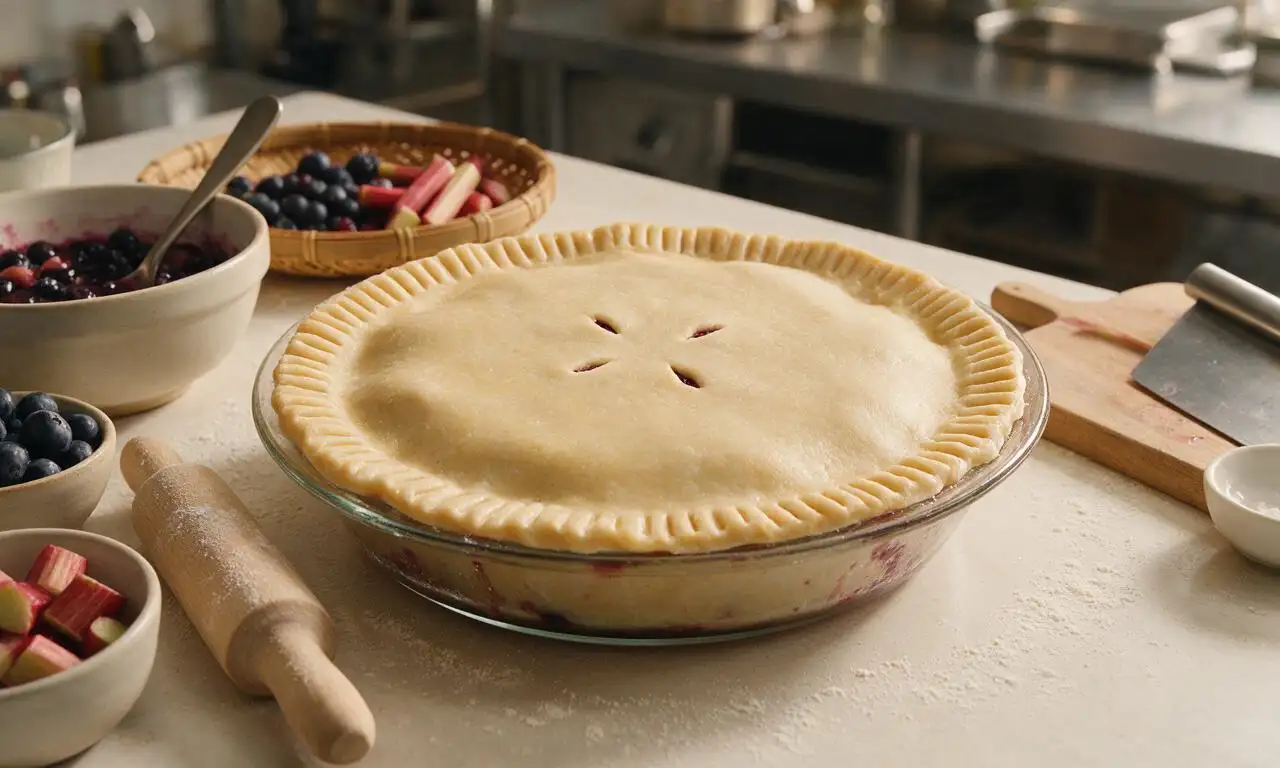
Preheat your oven to 200°C (400°F). Retrieve one chilled dough disc, and roll it on a lightly floured work surface to a 12-inch (30cm) circle that is 3mm (1/8-inch) thick. Gently lift the rolled dough and drape it over a standard 9-inch (23cm) glass pie dish, pressing it firmly against the bottom and up the sides of the dish, leaving a 1-inch (2.5cm) overhang around the rim. Trim any excess dough longer than 1 inch with kitchen shears.
Add filling and top crust
Pour the rested fruit filling and all accumulated juices into the crust-lined pie dish, spreading it into a smooth, even layer. Roll the second chilled dough disc out to an 11-inch (28cm) circle of the same 3mm thickness, and drape it evenly over the top of the filling. Press the top and bottom crust overhangs together firmly to create a tight seal, then crimp the edge decoratively with your fingertips or a fork. Cut 4 evenly spaced 1-inch slits in the center of the top crust to allow steam to vent during baking.
Add wash and bake pie
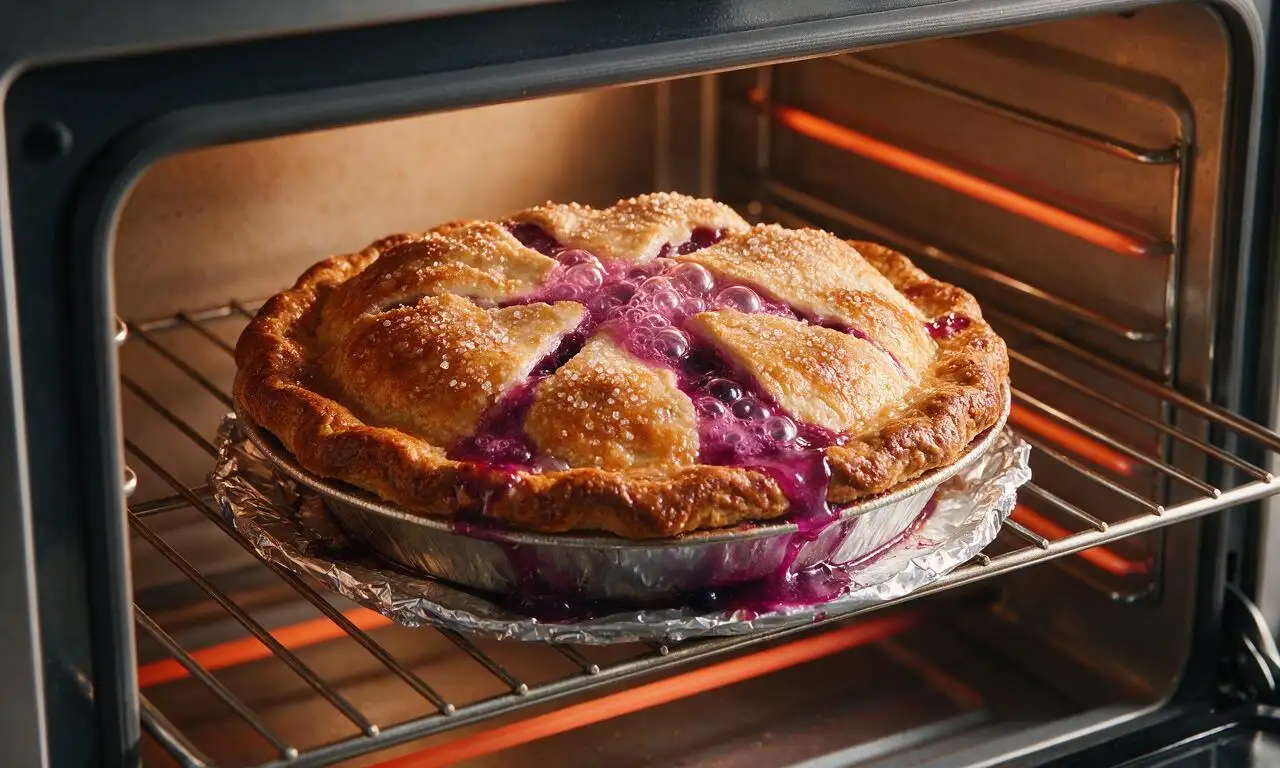
Brush the entire surface of the top crust and crimped edge with the 50g beaten egg, then sprinkle evenly with 12g coarse sanding sugar for a crisp, sparkling top. Place the pie on a foil-lined rimmed baking sheet (to catch bubbling fruit drips) and bake at 200°C (400°F) for 25 minutes, then reduce oven temperature to 180°C (350°F) and bake for an additional 30-35 minutes, until the crust is deep golden brown and thick, bubbling fruit juice is visible through the steam slits.
Cool pie before serving
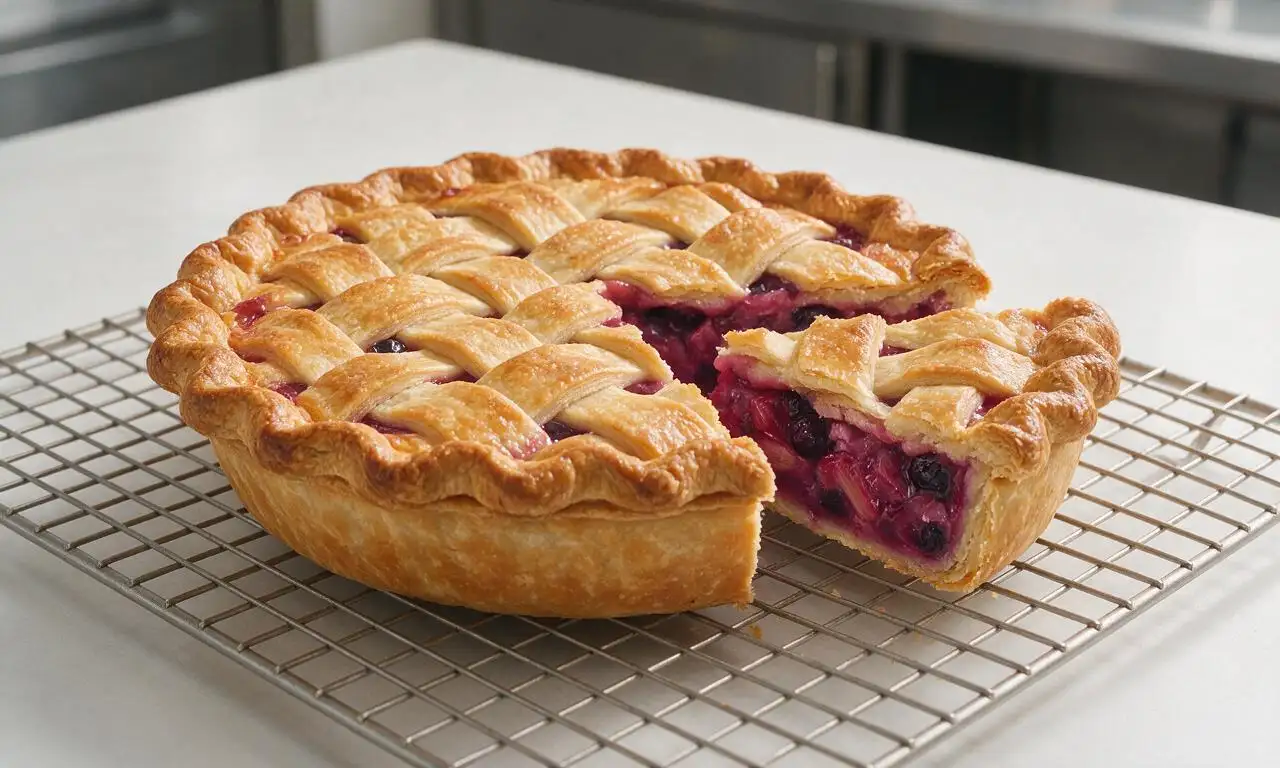
Remove the fully baked pie from the oven and transfer it to a wire cooling rack. Let it cool completely at room temperature for a full 2 hours before slicing, to allow the tapioca starch to set the filling into a thick, scoopable consistency. Serve slices at room temperature, or slightly warmed with a scoop of vanilla ice cream if desired.
Tips
2.Never skip the full 2-hour cooling time: the tapioca starch thickener sets as the pie cools, and slicing the pie hot out of the oven will cause the filling to run out into a loose, soupy mess.
3.If the crimped crust edge browns faster than the rest of the pie during baking, wrap a narrow strip of aluminum foil around the edge after the first 25 minutes of baking to shield it from burning before the filling is fully cooked.






OMG this blueberry rhubarb pie was the absolute star of our neighborhood Memorial Day potluck! I was super nervous the rhubarb would be too tart for my two picky kids, but the sweet blueberry balance was perfect. My 7-year-old asked for a second slice before he even finished his first! I was worried medium difficulty would be out of my skill level, but the instructions were so clear, and the crust came out perfectly flaky. SO good, I’m already planning to make another one for Fourth of July.
Took a swing at this for our Father’s Day family dinner, and man am I glad I did. I’m usually the guy manning the brisket smoker, not rolling out pie crust, but this recipe was straightforward even for a baking newbie. The 1 hour 25 minute cook time was totally spot on—no soggy bottom to be found! Only heads up is definitely let it cool fully before slicing. I cut mine 20 minutes out of the oven and the filling oozed a little, but it still tasted incredible.
Quick question before I test this out! Has anyone tried making the crust with a gluten-free all-purpose flour blend? My cousin has celiac and I want to bring this to our annual family reunion in a couple weeks, but I’m scared the gluten-free crust will turn out crumbly or have that weird gritty texture. The filling sounds so good I’m dying to make it work!
Total game changer! I’ve been hunting for a fun seasonal dessert that holds up well for meal prep, and this is it. I prepped the crust and mixed the filling the night before to cut down on day-of work, and the whole thing came together so easily. The sweet-tart flavor combo is way more interesting than plain blueberry or apple pie, and my coworkers went crazy for the slices I brought in to share this week. Will be on repeat all rhubarb season!