
Bread Bowl
intro
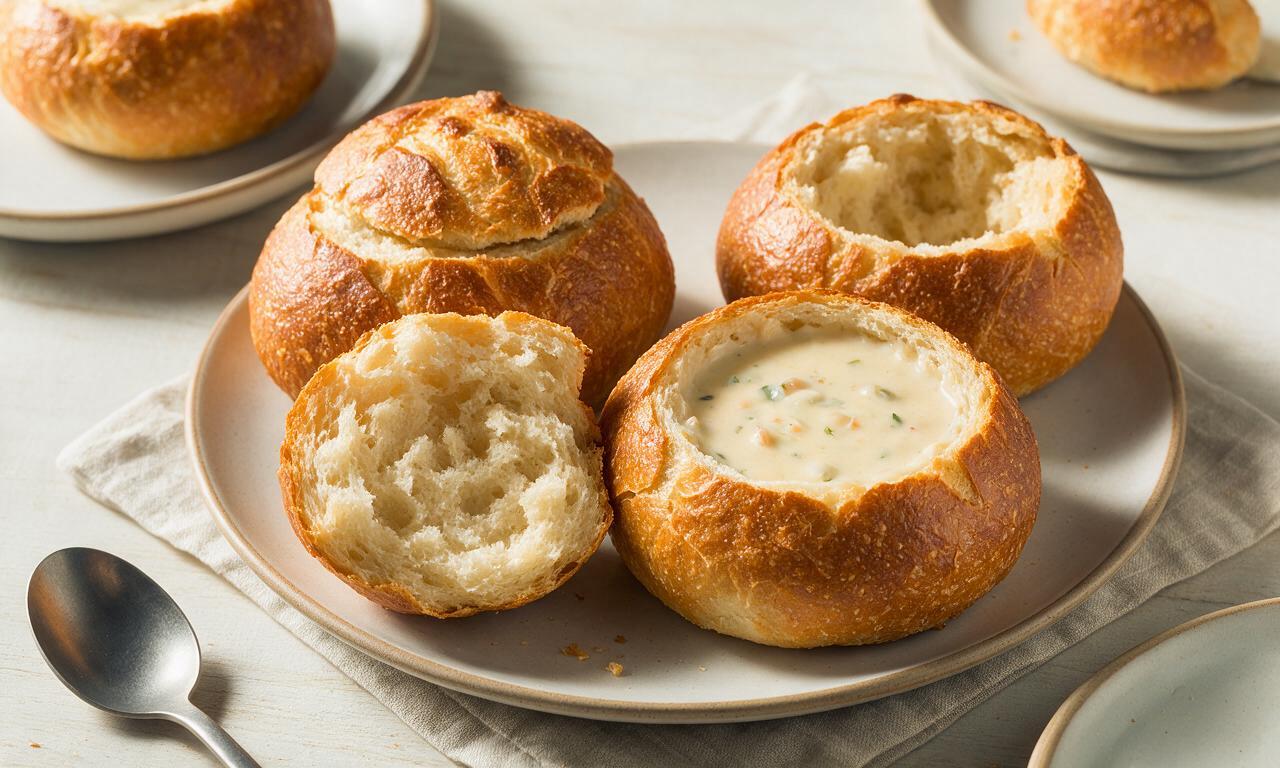
Crusty, chewy homemade bread bowls with soft, pillowy interiors, perfect for holding thick creamy soups and soaking up every last flavorful bite.
Ingredients
Steps
Activate the yeast
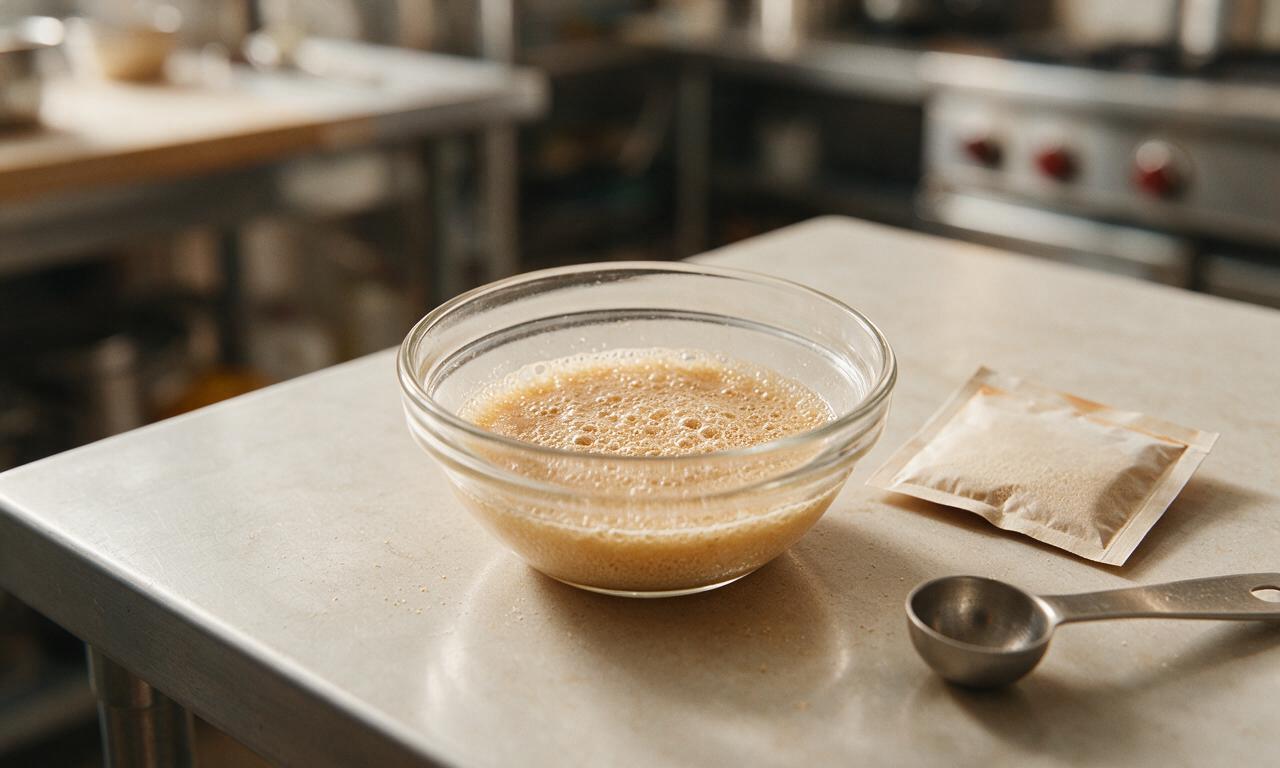
In a small bowl, combine 300ml warm (40-43°C / 105-110°F) filtered water, 12g (1 tablespoon) granulated sugar, and 7g active dry yeast. Stir gently once to combine, then let rest for 5-7 minutes until the mixture forms a thick, foamy, frothy layer on top, confirming the yeast is active. If no foam forms after 7 minutes, discard the mixture, replace your yeast, and repeat.
Mix and knead dough
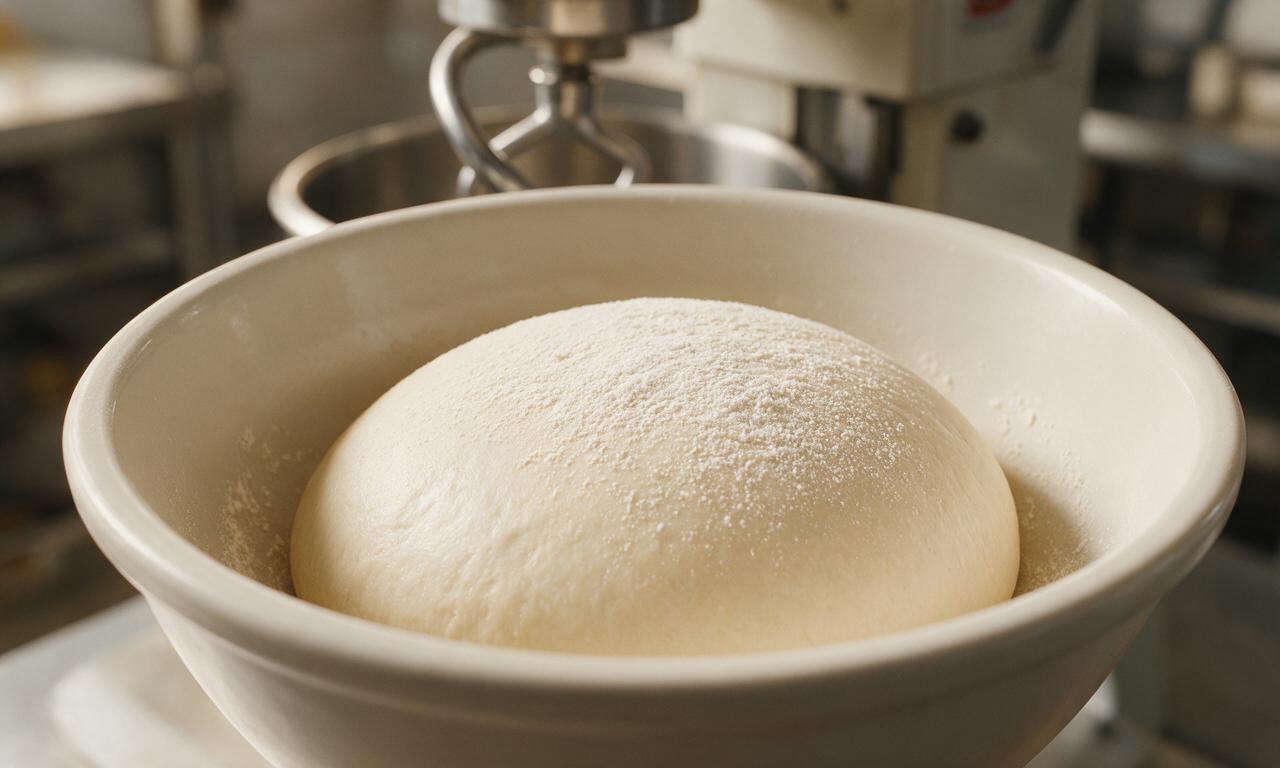
In a large stand mixer bowl (or large mixing bowl for hand kneading), combine 500g spooned-and-leveled bread flour and 10g (2 teaspoons) fine sea salt, and whisk to distribute evenly. Pour in the activated yeast mixture and 28g cooled melted unsalted butter. Mix on low speed (speed 2 on most stand mixers) with a dough hook until a shaggy, ragged dough forms, then knead for 8-10 minutes by machine (12-15 minutes by hand on a floured surface) until the dough is smooth, elastic, and pulls away cleanly from the bowl sides.
First dough proof
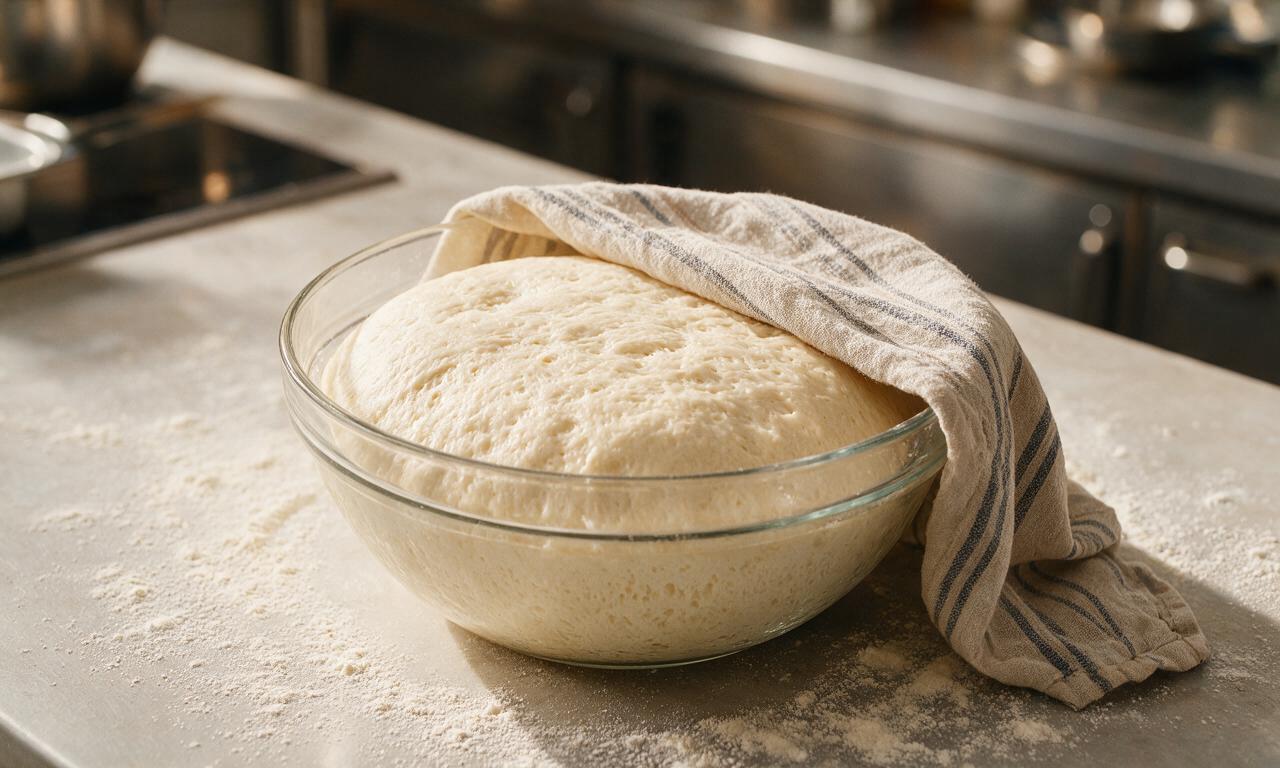
Coat the inside of a clean large bowl with 5ml (1 teaspoon) neutral cooking oil. Place the kneaded dough ball into the bowl, and turn it to coat all sides lightly in oil to prevent drying. Cover the bowl tightly with a damp linen kitchen towel or plastic wrap, and let rise in a warm, draft-free spot (24-27°C / 75-80°F) for 60 minutes, until the dough doubles in volume and leaves a 1cm deep indent when poked with a floured finger that does not immediately spring back.
Shape bread bowls
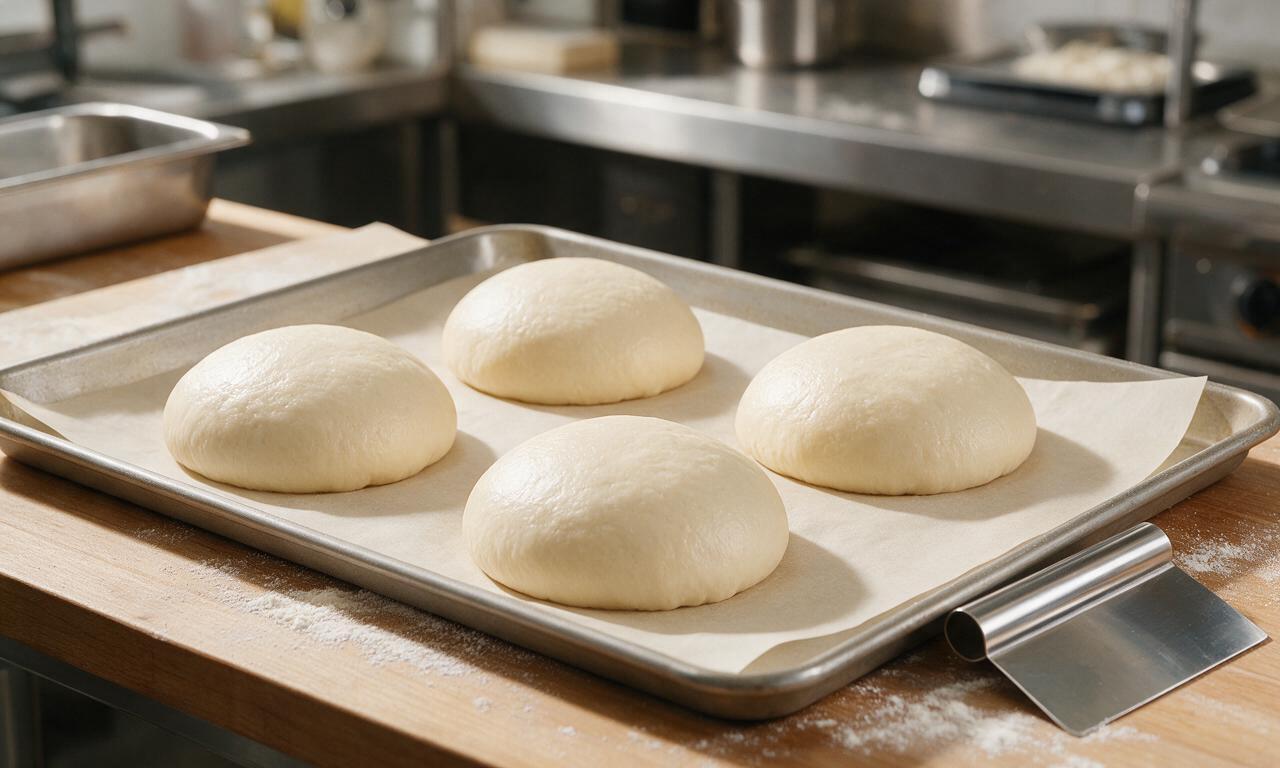
Punch down the risen dough firmly with your fist to release all trapped air bubbles, then turn it out onto a lightly floured work surface. Divide the dough evenly into 4 equal portions, each weighing approximately 215g. Shape each portion into a tight, smooth round ball by tucking the dough edges under towards the bottom to create a taut top surface, pinching the bottom seam closed tightly. Place the shaped balls 10cm (4 inches) apart on a baking sheet lined with parchment paper.
Second dough proof
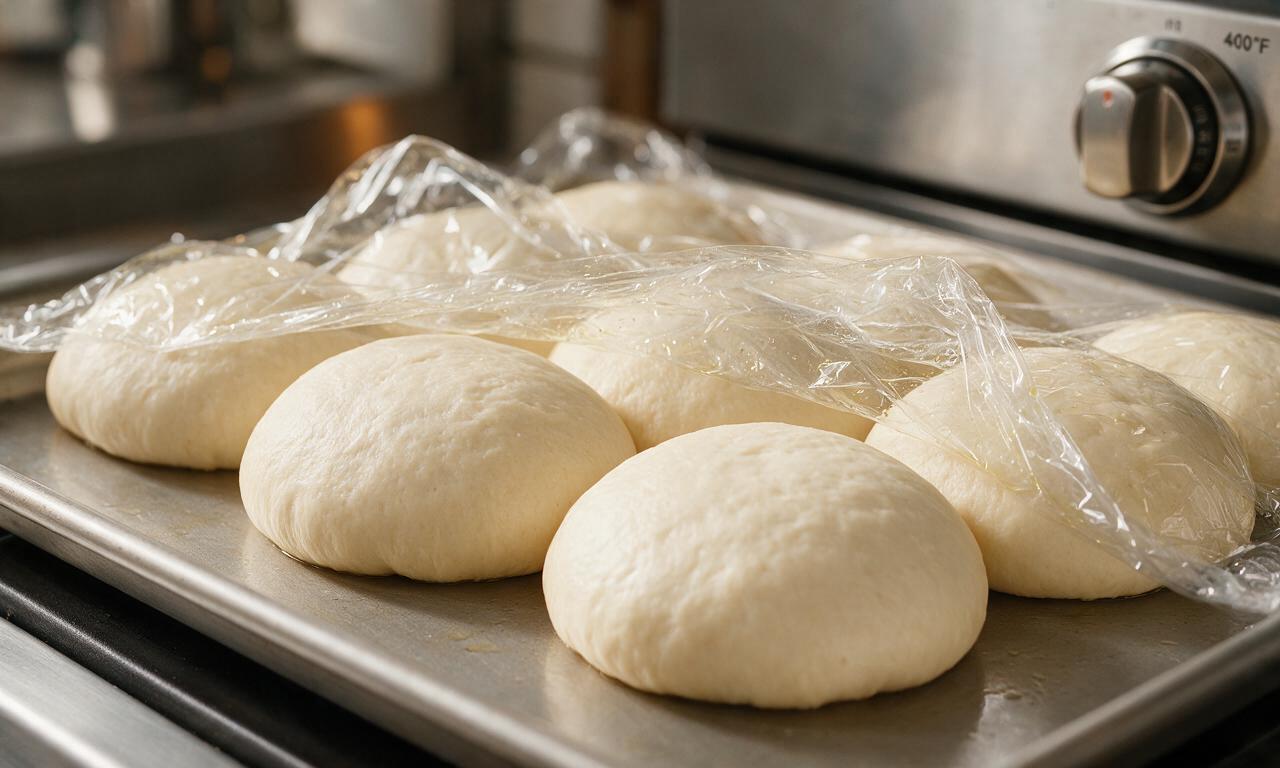
Loosely tent the shaped dough balls with a lightly oiled sheet of plastic wrap or a second damp kitchen towel, and let them rise a second time in the same warm, draft-free spot for 30-35 minutes, until they puff to 1.5 times their original size and hold a slow, partial indent when gently poked with a finger. Halfway through this second rise (at the 15 minute mark), preheat your oven to 200°C (400°F) with a rack positioned in the center of the oven.
Bake and cool loaves
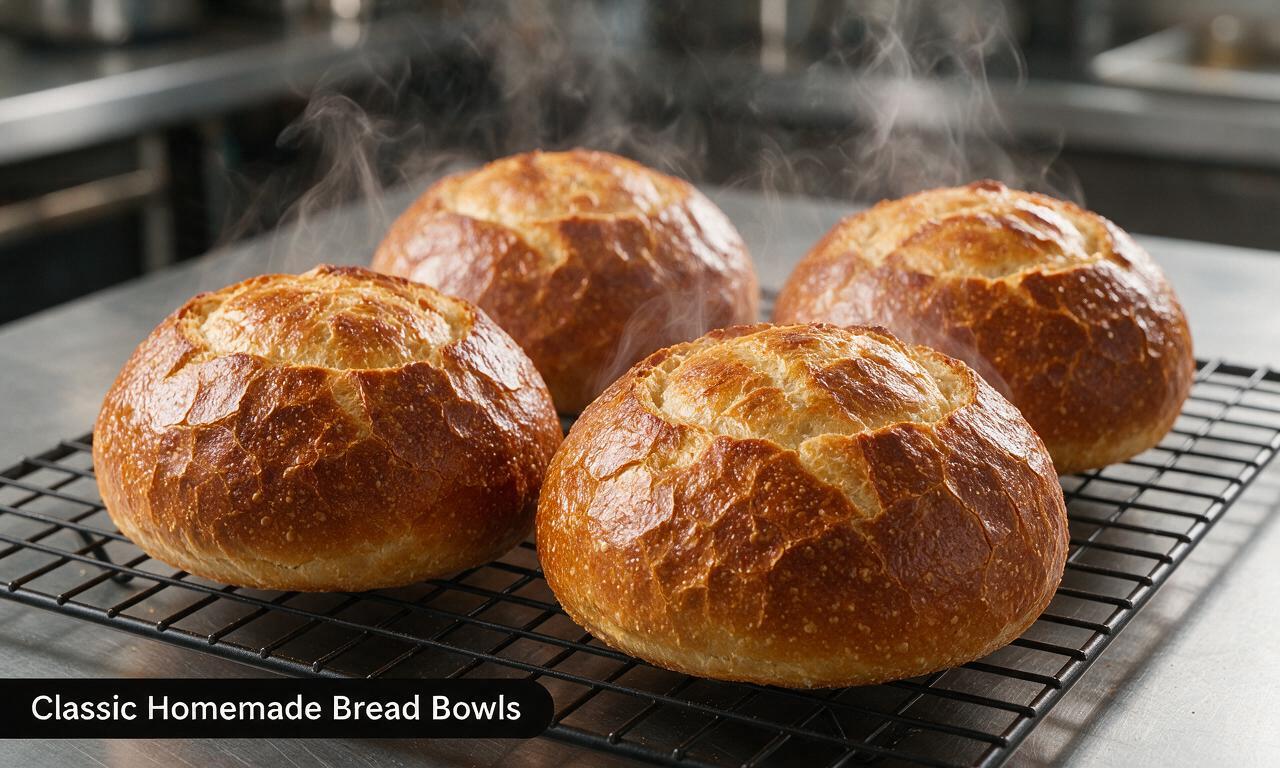
Once the dough finishes proofing, whisk together 1 large egg (50g) and 15ml (1 tablespoon) water to make a smooth egg wash, and brush a thin, even coat over the entire top and curved sides of each dough ball. Bake at 200°C (400°F) for 28-32 minutes, until the loaves are a deep, rich golden brown all over, sound hollow when tapped firmly on the bottom, and reach an internal temperature of 94°C (200°F) on an instant-read thermometer. Transfer the baked loaves to a wire cooling rack to cool completely for 30 minutes before handling.
Hollow out centers
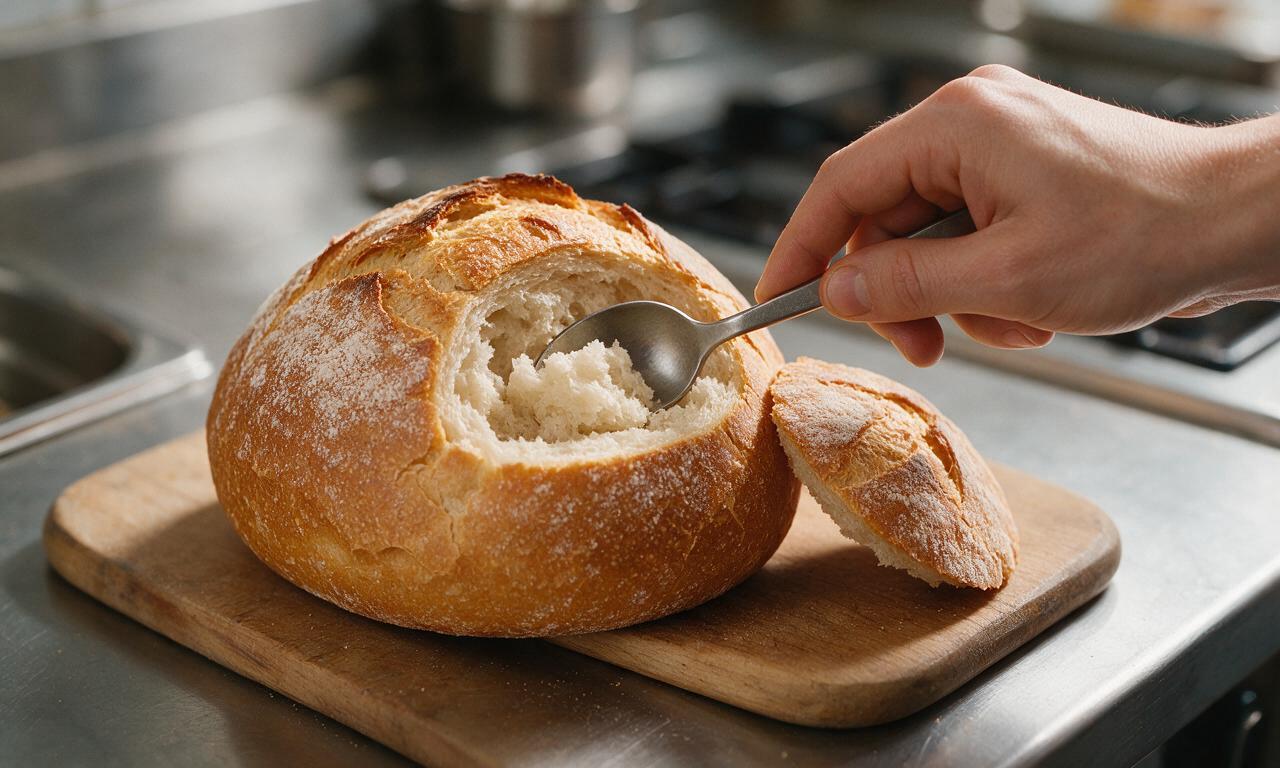
Once loaves are fully cooled to room temperature, use a serrated bread knife to cut a 2cm (3/4 inch) thick circular slice off the top of each loaf, setting the top slices aside. Carefully scoop out the soft, white inner bread crumb with a spoon, leaving a uniform 1.5cm (1/2 inch) thick wall of bread all around the sides and bottom to create a leak-proof vessel. Reserve the scooped inner bread and top slices for dipping in soup or making homemade croutons.
Tips
2.Never hollow out warm bread loaves; cutting into warm bread will cause tearing and create gummy, thin walls that leak soup when filled.
3.For an extra crisp, crackly crust, place a shallow metal baking pan filled with 480ml (2 cups) of hot water on the lower oven rack while baking; the released steam creates a shiny, crisp outer crust typical of bakery-style bread bowls.
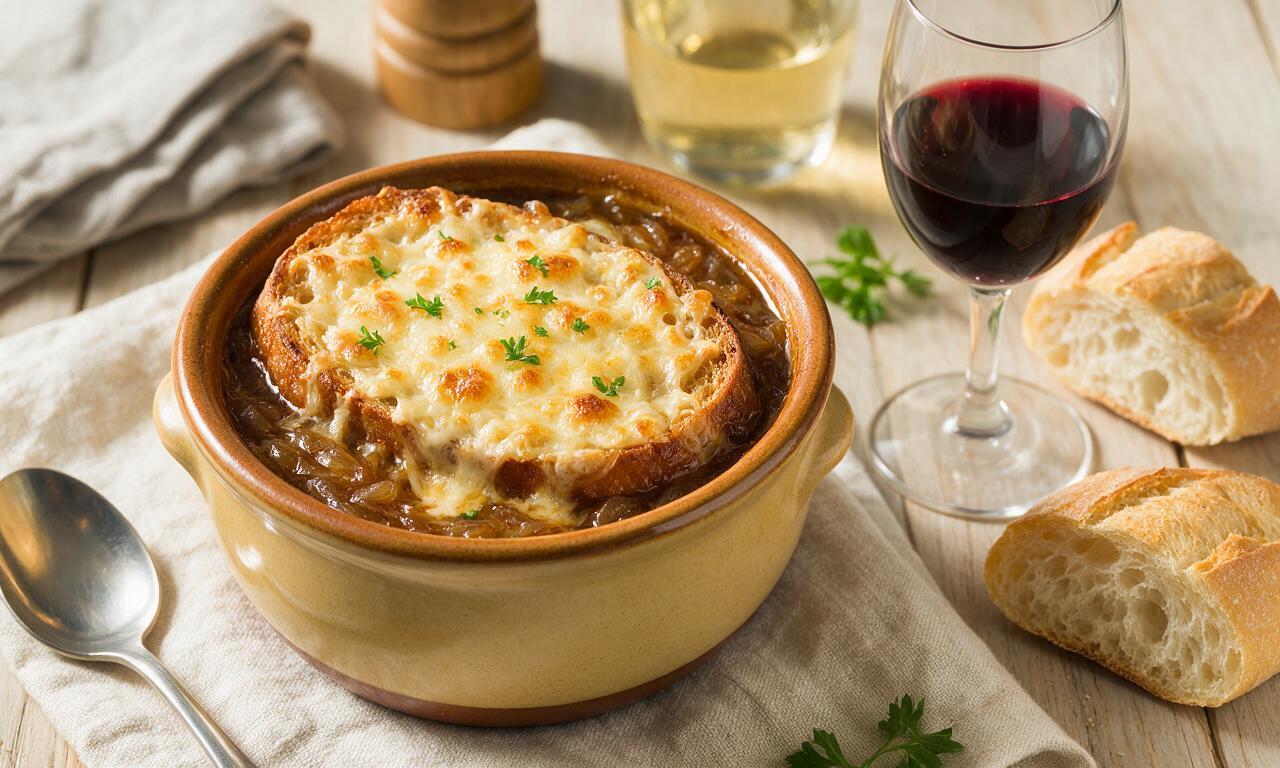
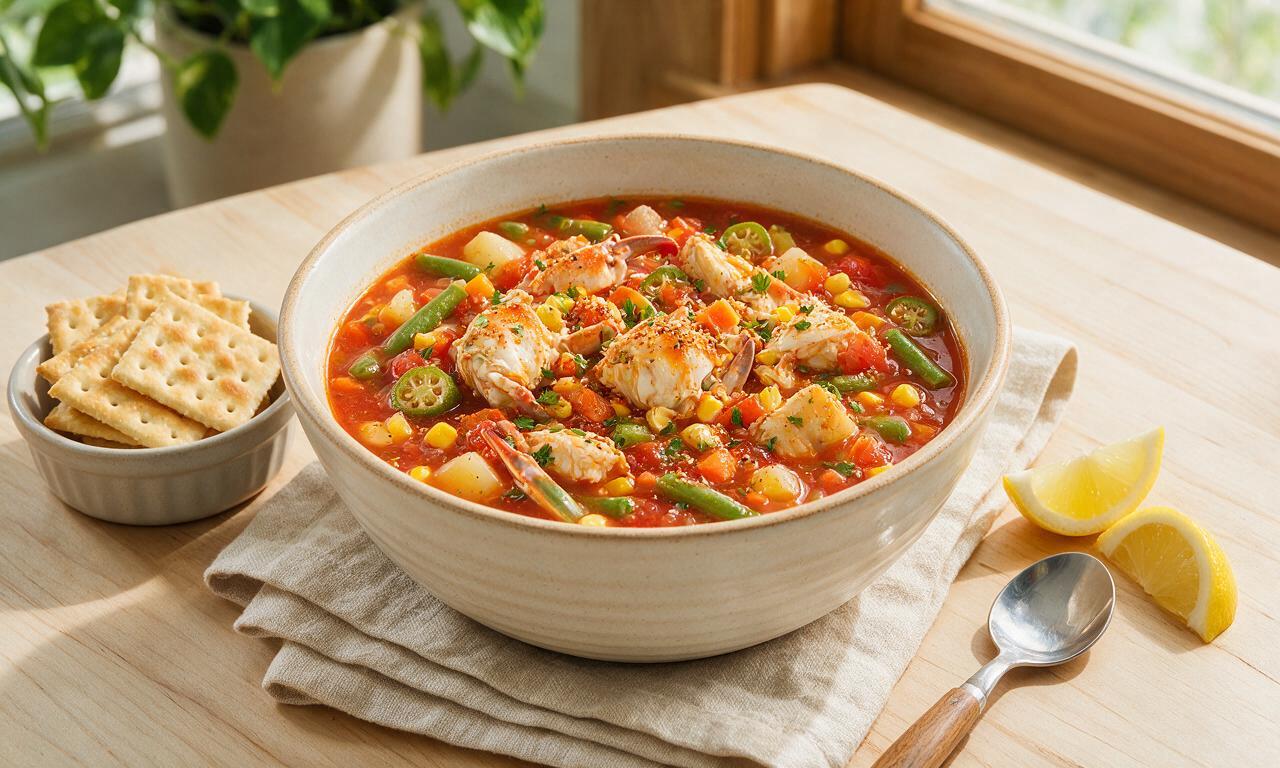
OMG these bread bowls were a total game changer for our weekly soup night! I made them with my go-to broccoli cheddar and my kids devoured them, even asked for seconds before they finished their first bowl. The crust was perfectly crispy and the inside was soft enough to soak up all the soup without getting soggy too fast. 10/10 will be making these for every potluck from now on!
Took me a minute to get the kneading right since I’m pretty new to baking, but these turned out SO good! I used them for chili on game day and all my buddies asked where I bought them. Couldn’t believe I made them from scratch tbh.
Wait, is there a way to make these with whole wheat flour? I try to stick to whole grains for my meal prep but don’t want to mess up the texture. Saving this recipe to try once I figure out the flour swap!
Made these for our neighborhood block party last weekend and they were the first thing gone! I filled a few with clam chowder and a few with loaded potato soup, and people were raving so much I must have handed out this recipe link 15 times. Only note: make a double batch, because everyone will want more.
Made these with my 8 year old this weekend, she had a blast punching down the dough after the first rise! We used them to hold tomato soup for our Sunday family dinner, and she was so proud to tell everyone she helped make the bowls. Only tiny issue was my oven runs hot so the bottoms got a little crispier than I wanted, but we just scraped that part off and it was still great.
Anyone ever add garlic and parmesan to the crust on these? I feel like that would take them to the next level, thinking about testing it out this weekend when I make them with my wedding soup.
Taste was great, but the total time was way longer than I expected for a weeknight meal. I got home from class at 6 and didn’t get to eat until almost 9, which was a bummer. Also, my dough didn’t rise as much as the photos showed, so my bowls were a little smaller than I wanted. Might try again on a weekend when I have more time.
Game changer for my annual hunting camp trip! I pre-made these at home, packed them up, and we heated them over the campfire to hold our venison stew. They held up perfectly even over the open flame, no leaks, no sogginess. The guys were all asking for the recipe, can’t beat that.
I was nervous these wouldn’t work with my 1:1 gluten free flour blend but they turned out amazing! I added an extra teaspoon of xanthan gum and they had the exact same chewy crust and soft interior as regular wheat bread bowls. My husband who eats gluten didn’t even notice the difference!
Pro tip: the leftover hollowed-out bread bits make the BEST croutons when you toss them with olive oil, garlic powder, and parmesan and bake them for 10 minutes. Don’t throw them away! I used mine on a Caesar salad the next night and it was chef’s kiss.
Who says bread bowls are only for soup? I made these for my brunch last weekend and filled them with scrambled eggs, bacon, and melted cheese, and they were such a hit! The slightly sweet, chewy bread paired so perfectly with the savory breakfast fillings, I’ll never make regular breakfast biscuits again.