
Brisket Grilled Cheese
intro
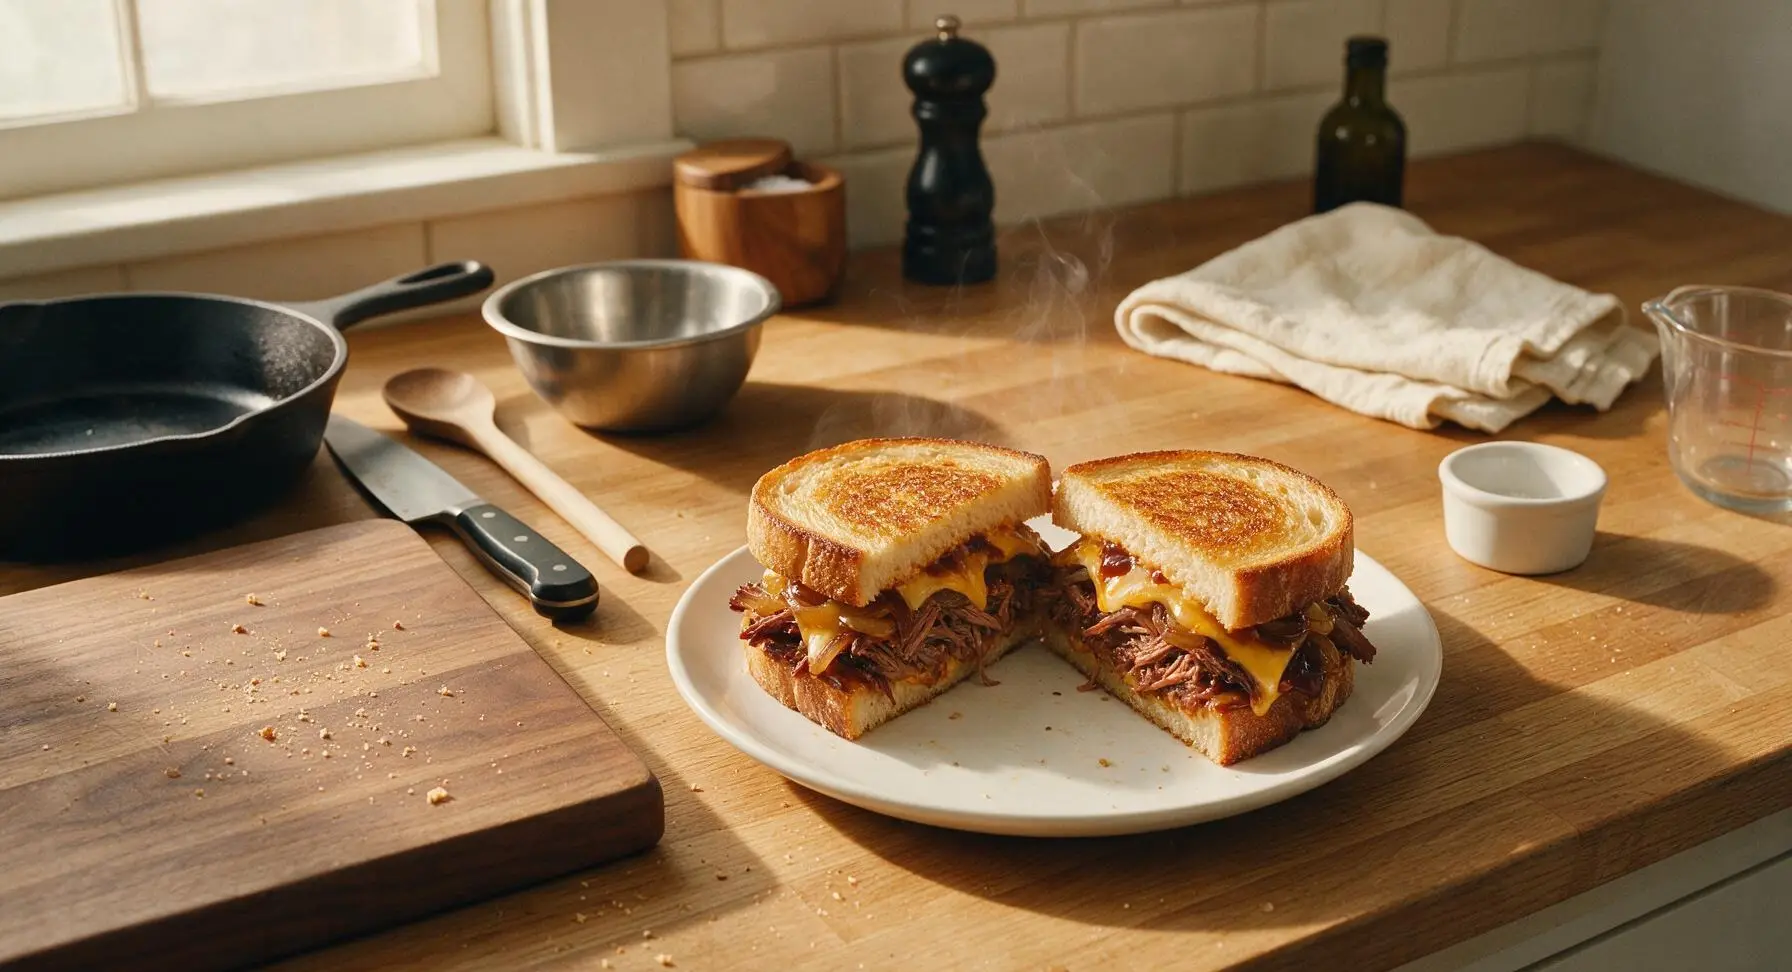
Smoky slow-smoked brisket layered with melted sharp cheddar, caramelized onions, and tangy BBQ sauce between crispy buttery sourdough: the ultimate backyard BBQ comfort sandwich.
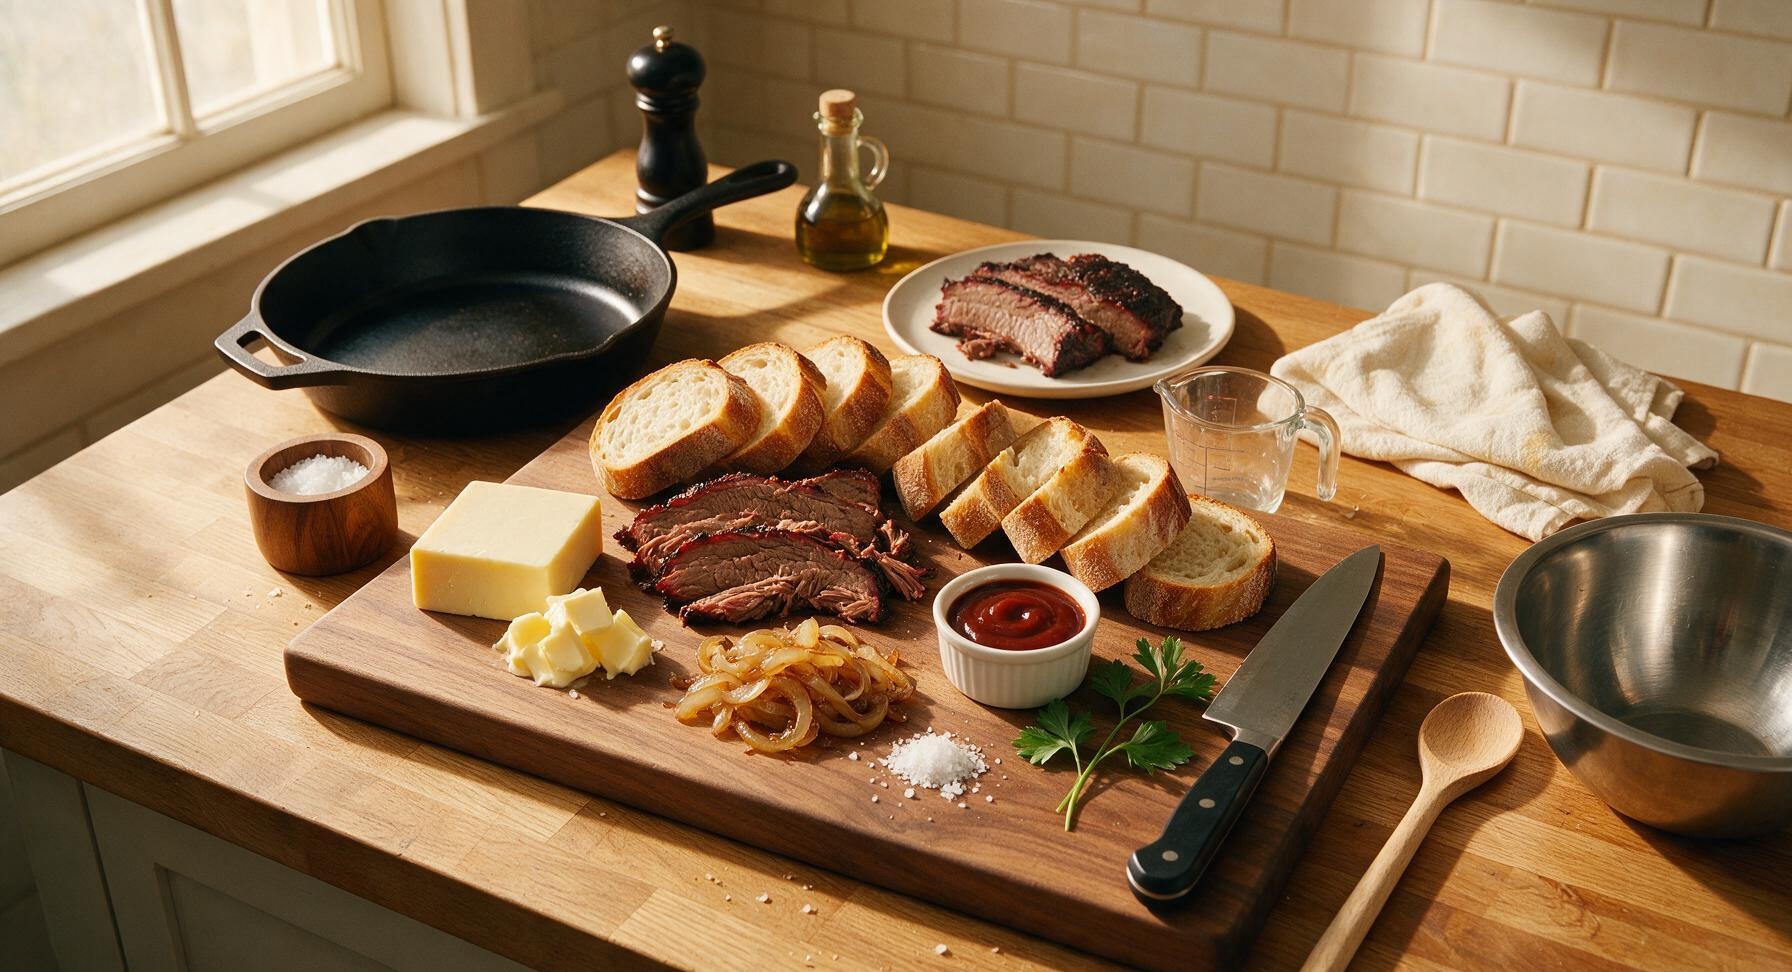
Ingredients
Steps
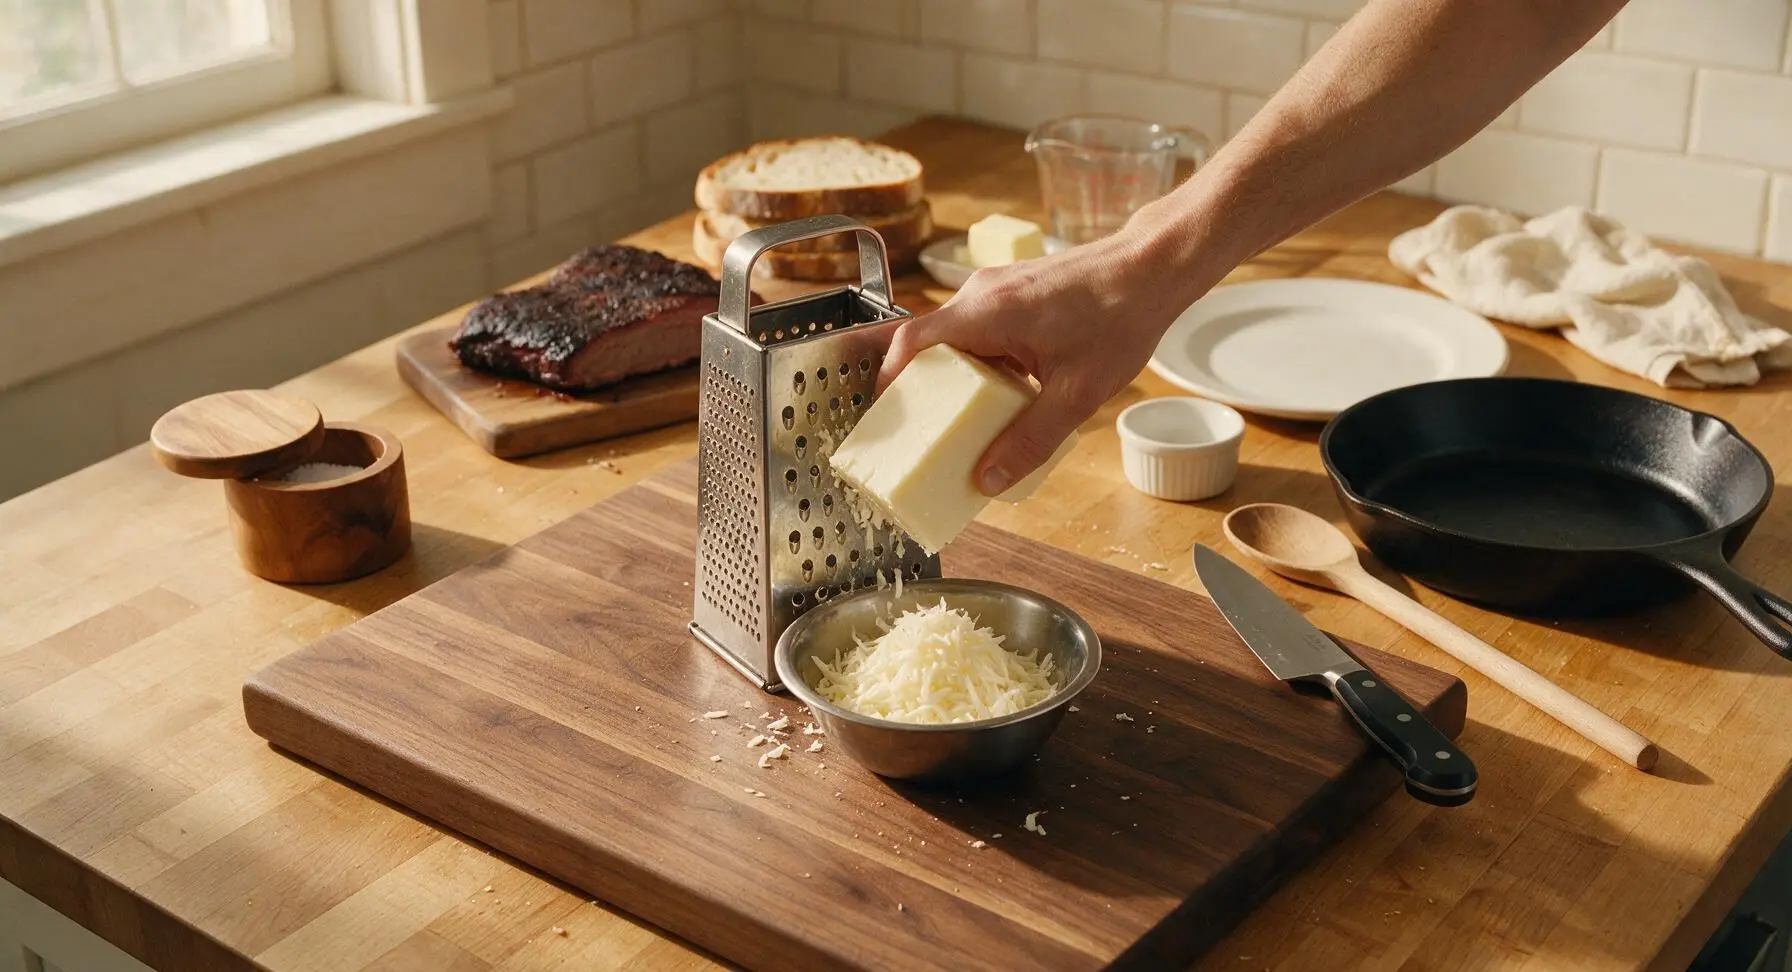
Grate the Cheddar Cheese
Place the medium stainless steel box grater on the large maple cutting board. Hold the 200g block of sharp white cheddar against the large-hole grating surface, and grate all cheese into the small stainless steel mixing bowl positioned under the grater. Discard any dry, hard rind edges from the cheese block. Set the bowl of grated cheese 5cm to the right of the cutting board when finished.
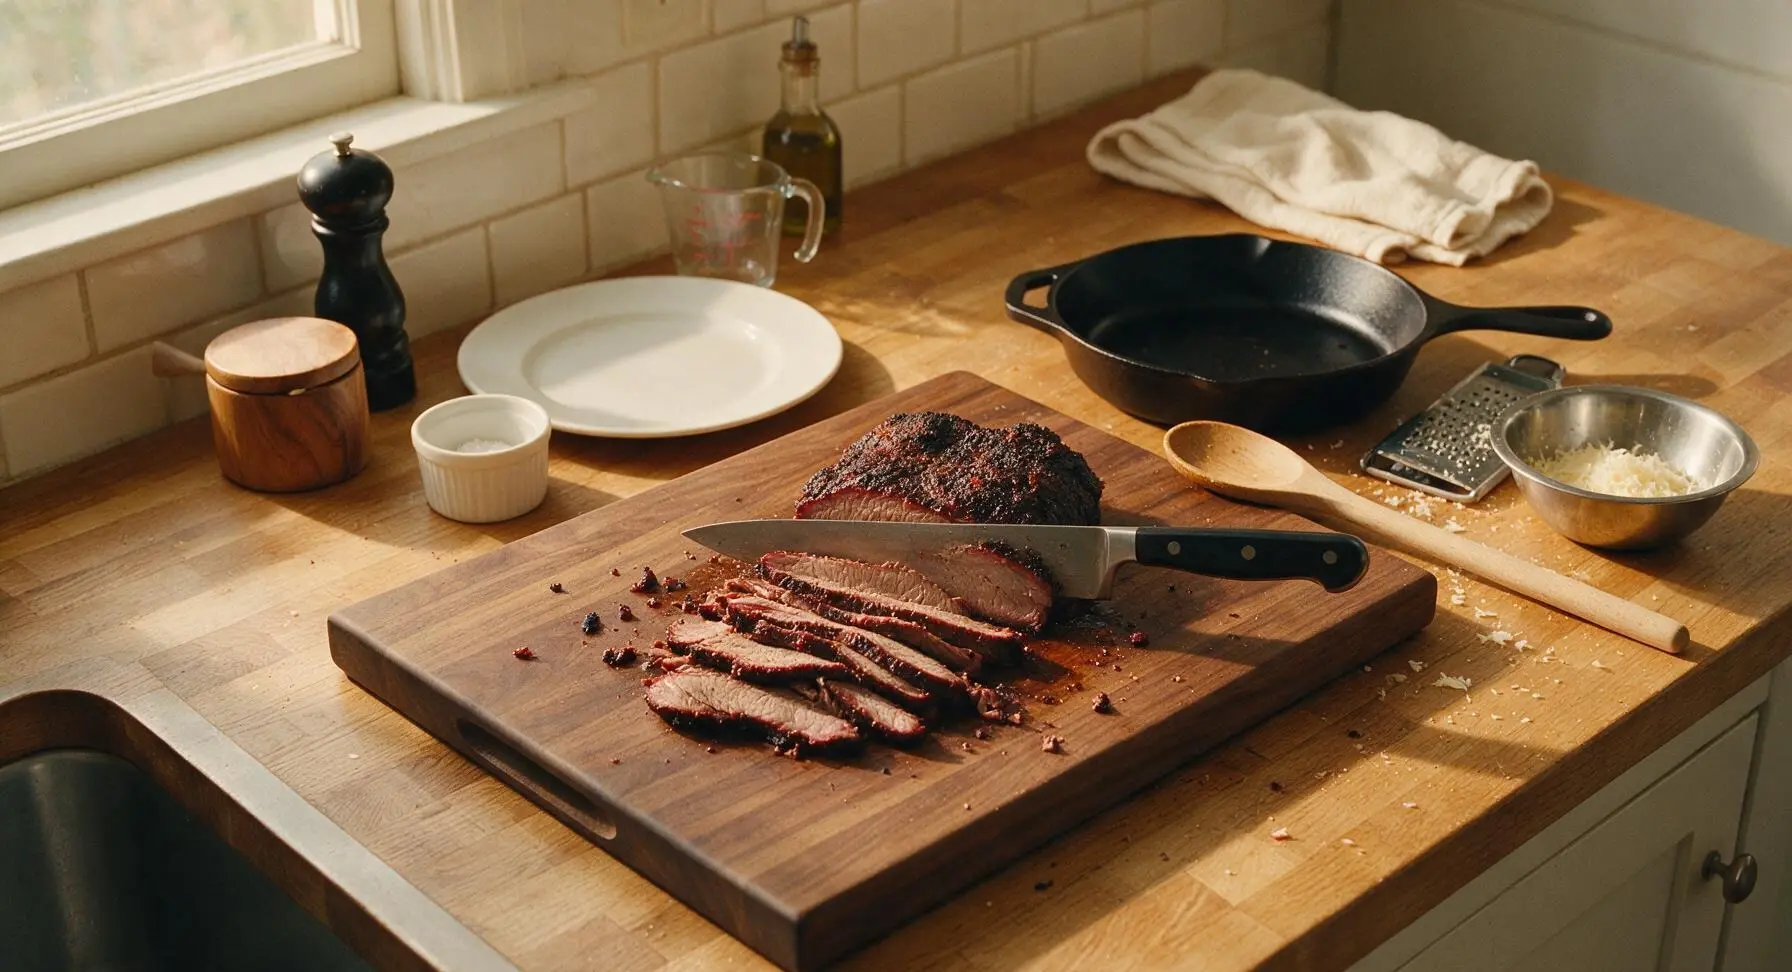
Slice Brisket Thin
Move the box grater and bowl of grated cheese to the right side of the counter to make space. Place the 300g smoked brisket on the center of the cutting board. Using the 8-inch chef knife, slice the brisket against the grain into 3mm thick slices, trimming any overly charred, tough bark edges if needed. Pile the sliced brisket loosely on the top edge of the cutting board.
Butter Bread Slices
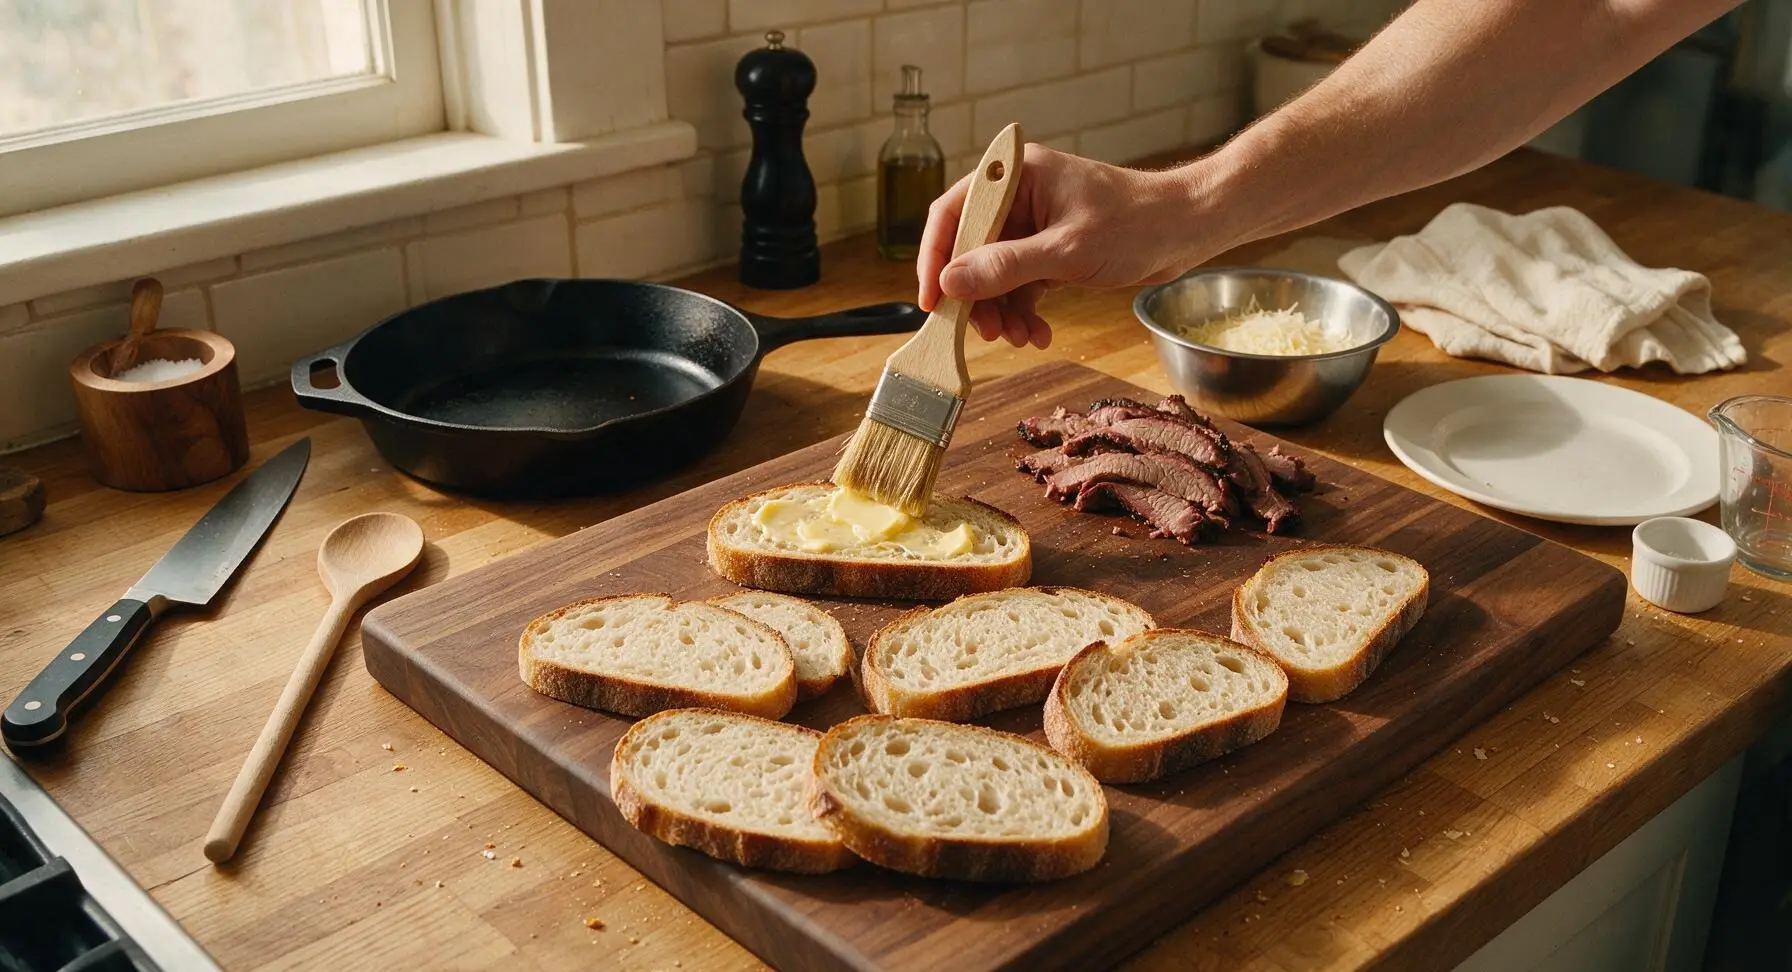
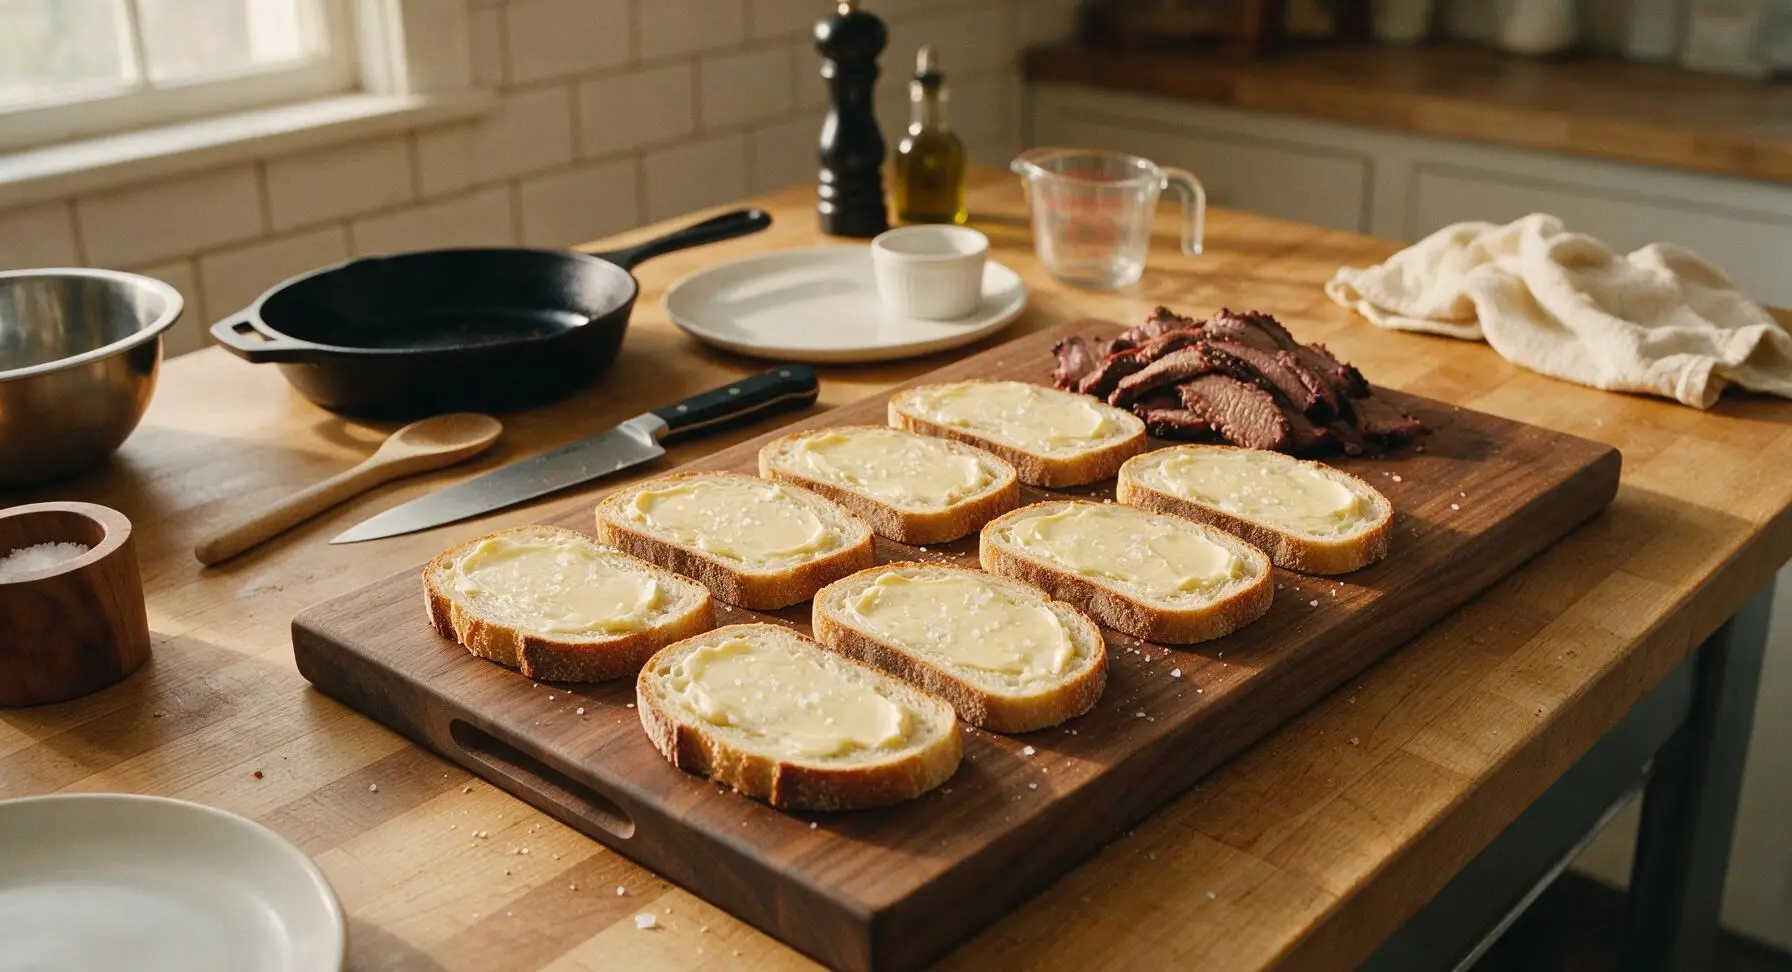
Move the sliced brisket pile to the top right of the cutting board. Lay all 8 sourdough slices flat on the board in two even rows. Use the boar bristle pastry brush to spread 5g of softened unsalted butter evenly across one entire side of each bread slice, spreading all the way to the crust edges to prevent dry spots during toasting. Lightly sprinkle a pinch of flaky sea salt over each buttered surface, leaving the unbuttered sides facing up for sandwich assembly.
Layer Sandwich Fillings
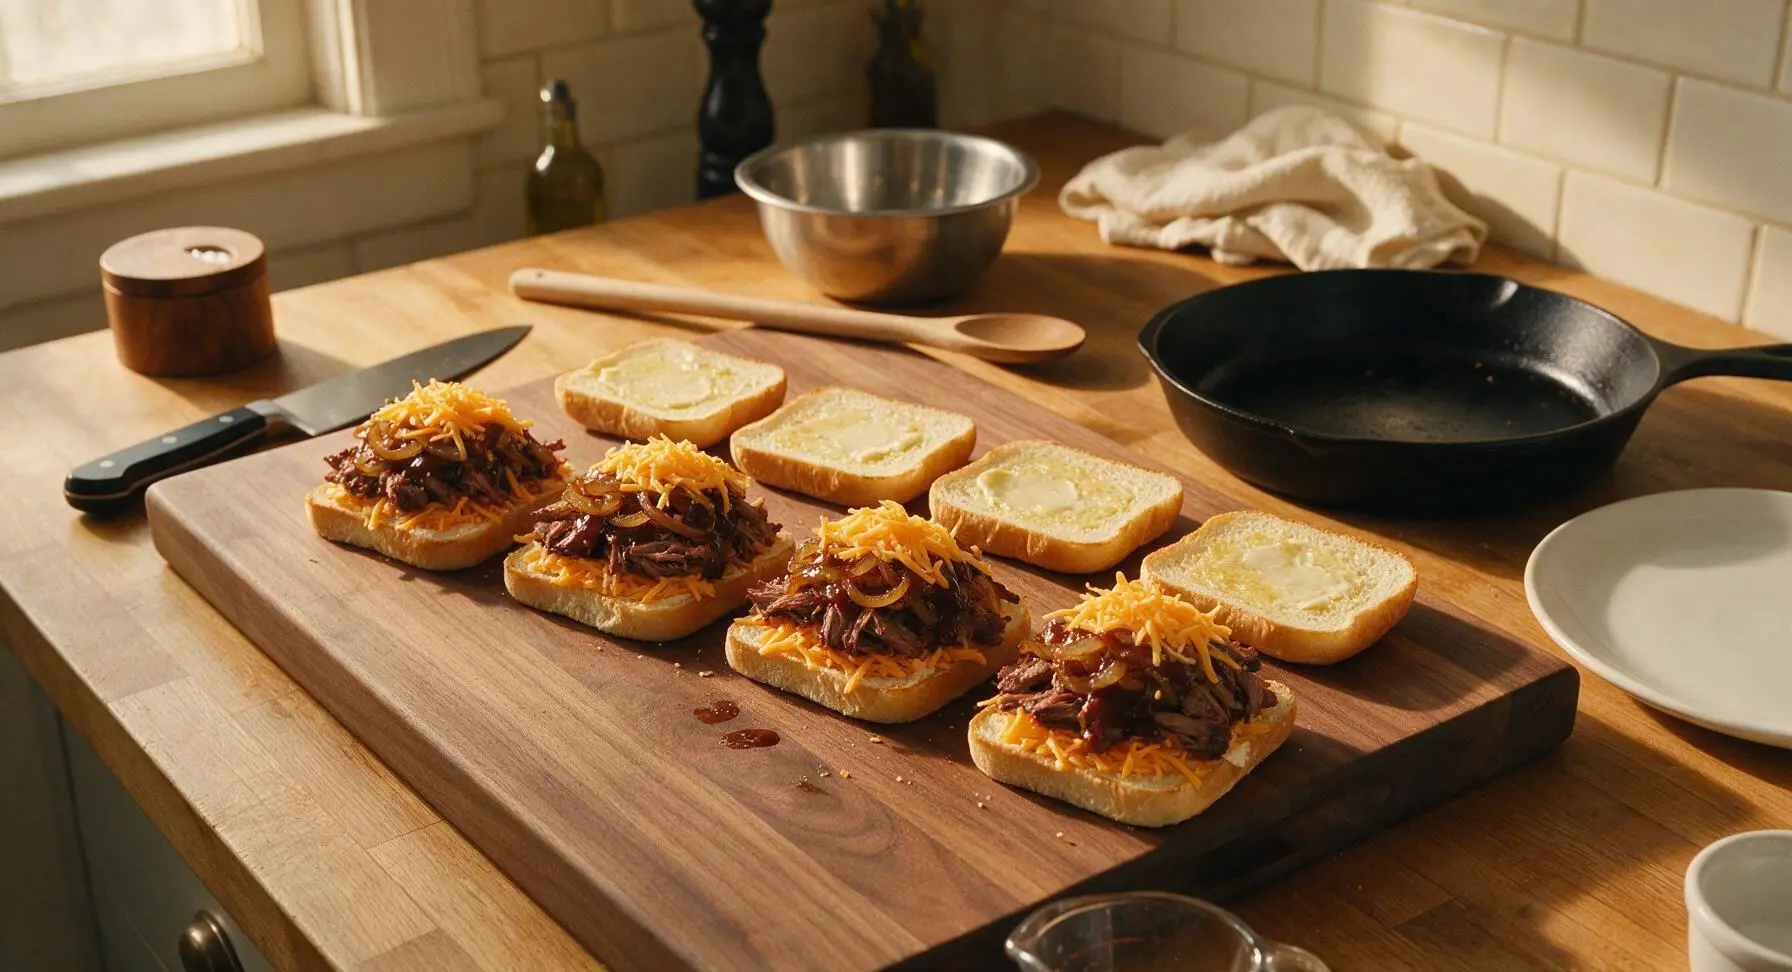
Flip 4 of the buttered bread slices so the buttered side faces flat against the cutting board. Layer ingredients on each unbuttered side in this exact order for even coverage and melt: 25g grated cheddar spread to the edges, 75g sliced brisket (pulled slightly apart to avoid thick clumps), 20g caramelized onions spread evenly, 15ml BBQ sauce drizzled from the ramekin, then a final 25g grated cheddar on top to seal the fillings. Top each stack with the remaining 4 bread slices, buttered side facing up, pressing down gently to adhere the layers.
Preheat Cooking Skillet
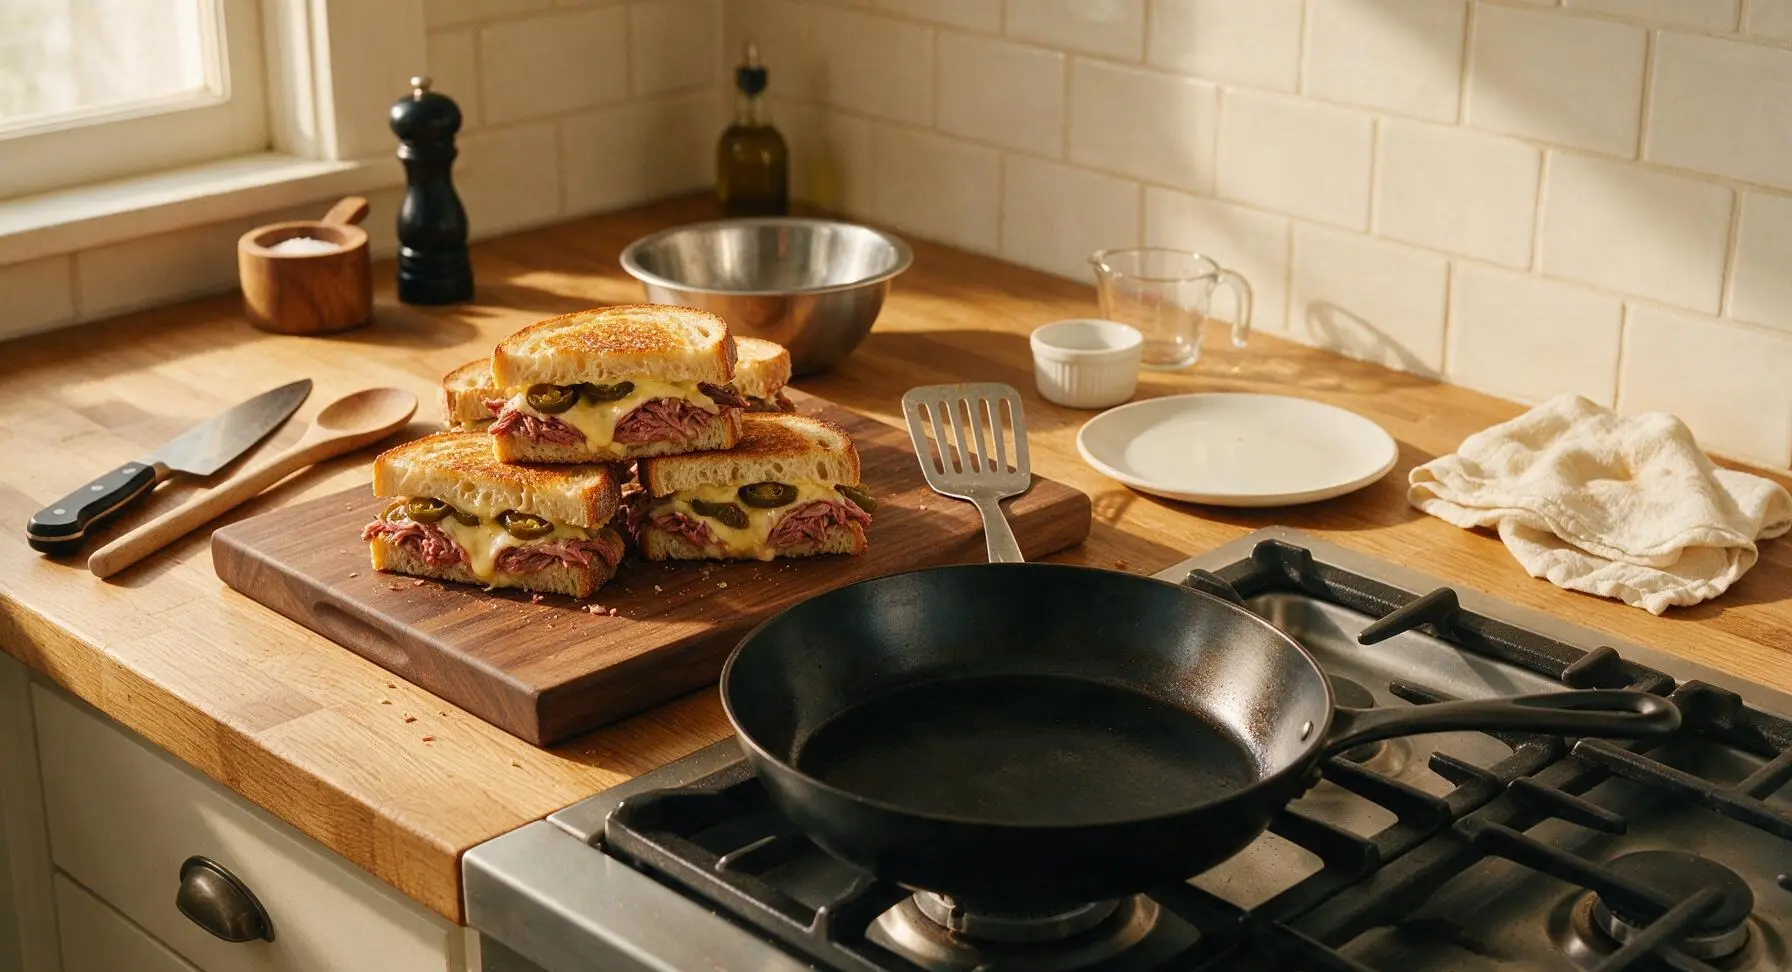
Place the 12-inch matte black carbon steel skillet on the stovetop burner at the front of the counter, set to medium-low heat (160C/325F). Let the skillet preheat for 3 minutes, testing temperature by flicking a single drop of water onto the surface: the water should dance across the pan and evaporate in 2-3 seconds when ready. Do not add extra butter or oil to the skillet, as the butter on the bread will provide enough fat for toasting.
Toast First Sandwich Side
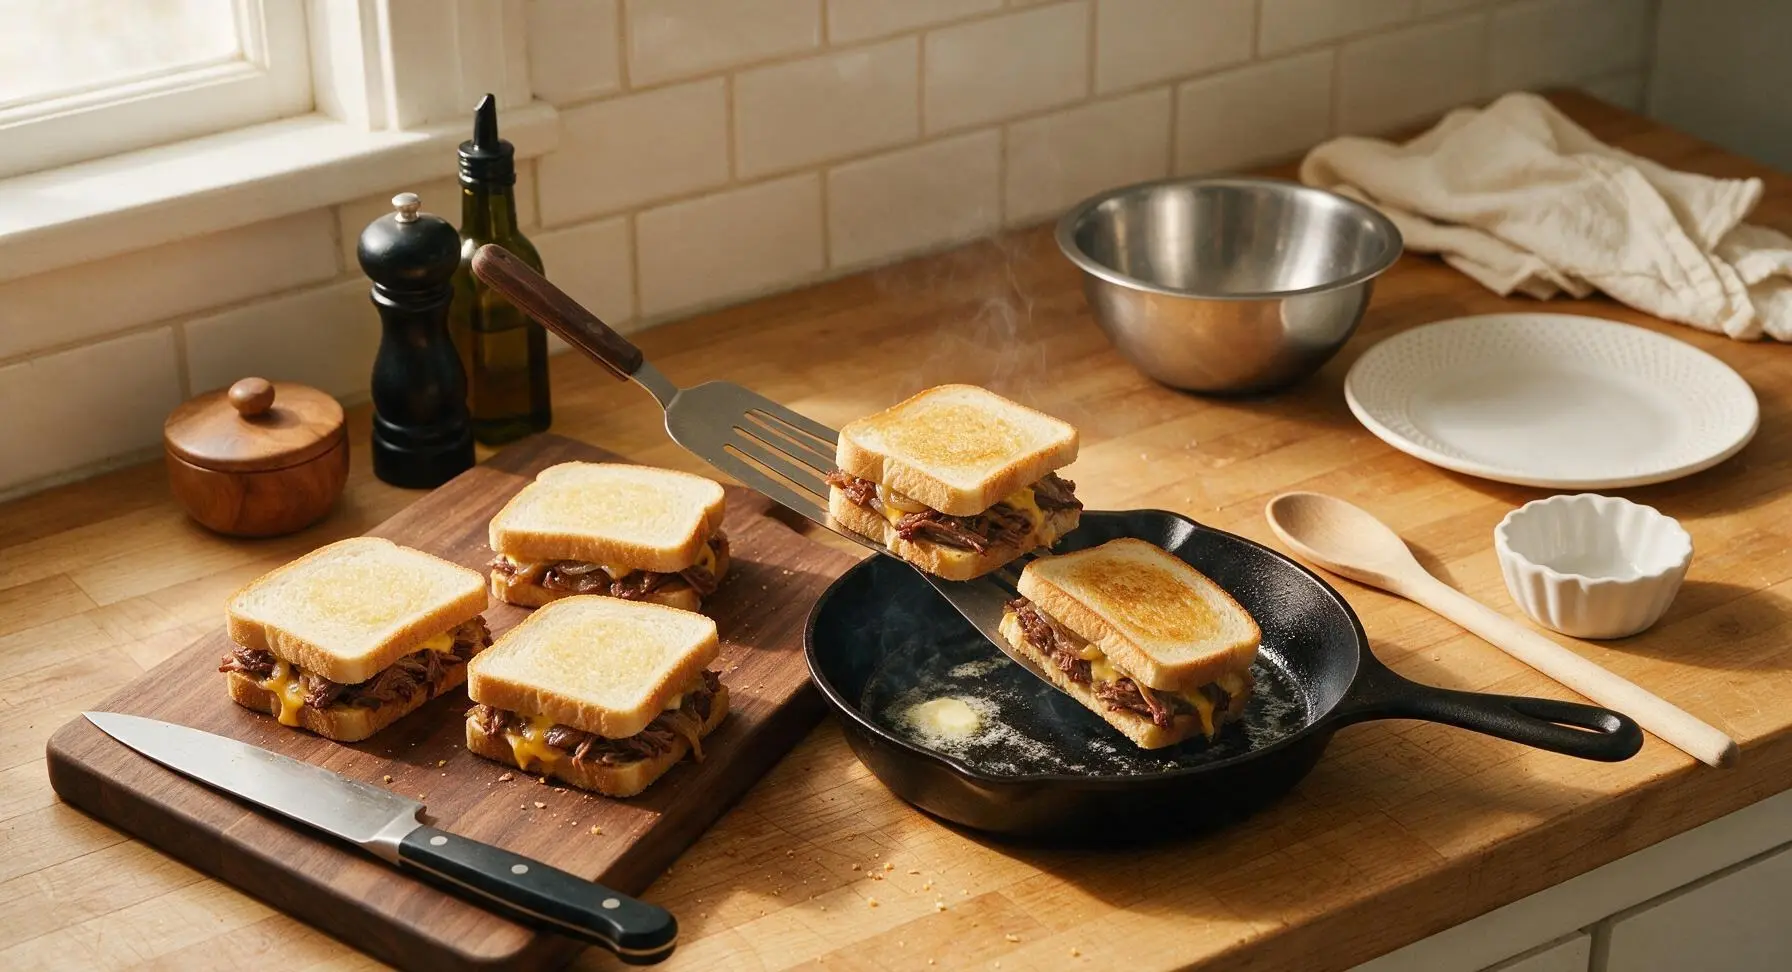
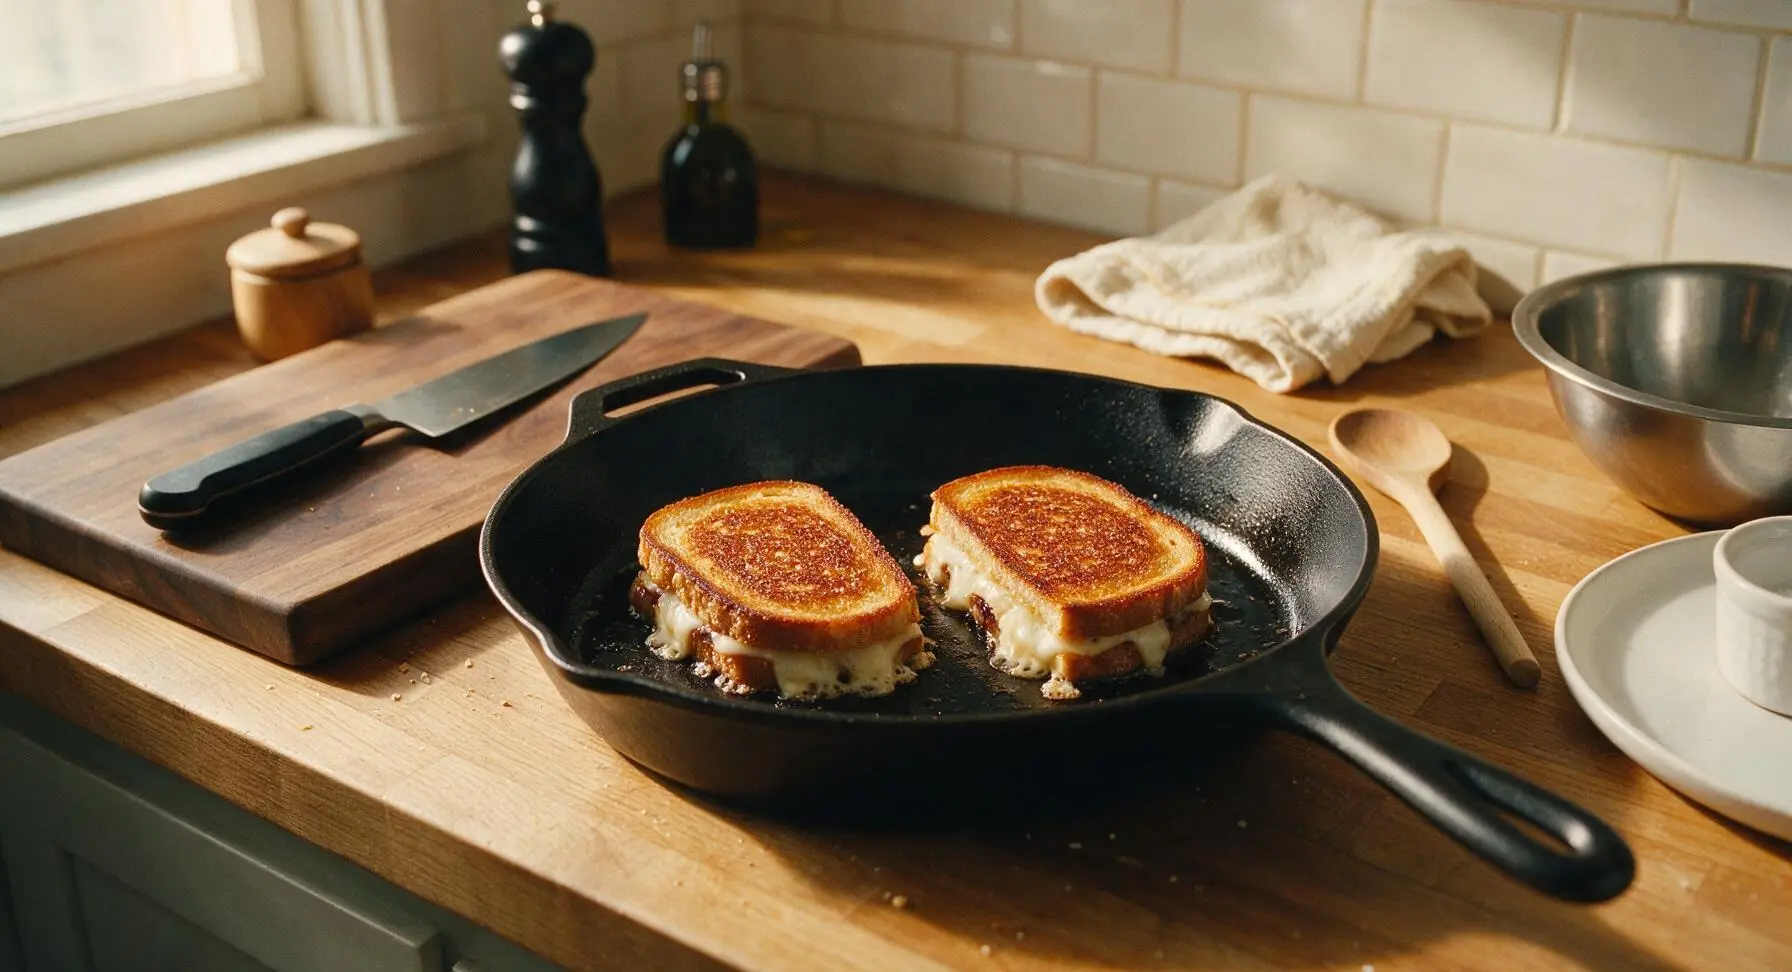
Use the slotted spatula to carefully place 2 sandwiches in the preheated skillet, leaving 2cm of space between them to allow even cooking. Cook for 4 minutes, adjusting heat down slightly if the bread starts to brown faster than 1 minute per shade, until the bottom bread is deep golden brown and crispy, and the cheese along the sandwich edges starts to melt and bubble out slightly.
Flip and Cook Through
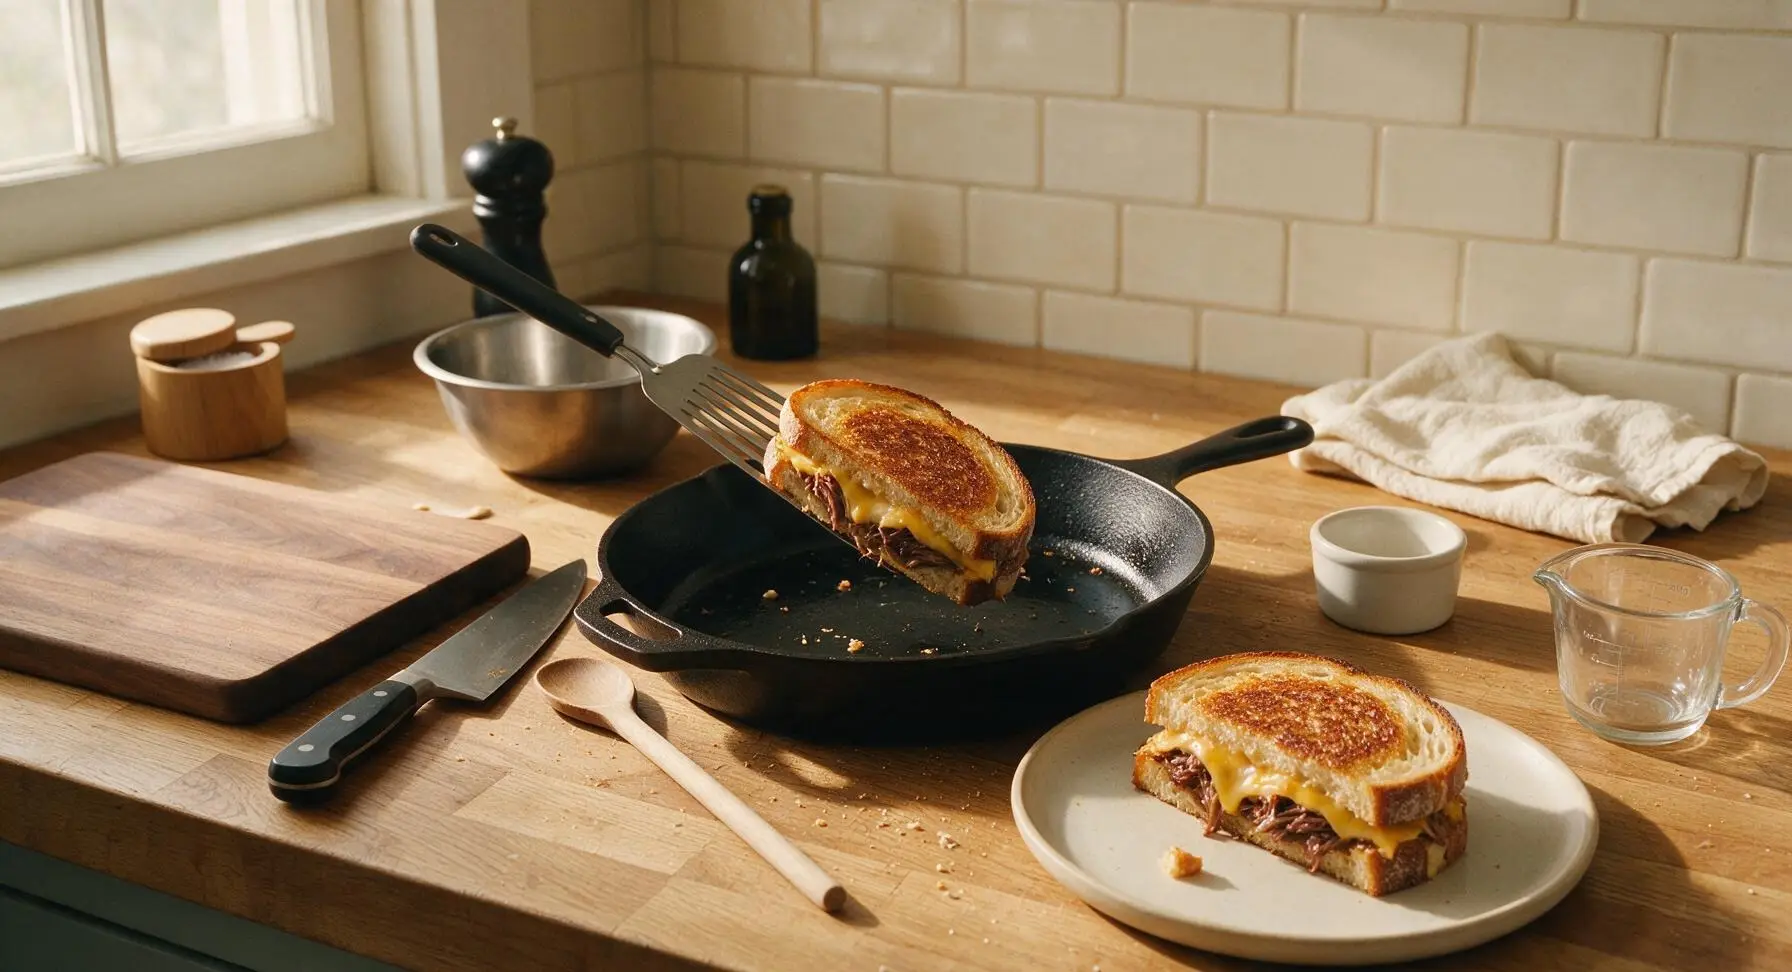
Slide the thin spatula blade fully under each sandwich, pressing gently on the top of the sandwich with your free hand to hold the layers together, and flip carefully in one smooth motion. Cook the second side for 3-4 minutes, until the bread is equally golden and crispy, and all cheese is fully melted through the center (check by gently prying the sandwich edge open with the spatula—no firm, unmelted cheese shreds should remain). Transfer cooked sandwiches to the matte cream ceramic dinner plate, then repeat the cooking process with the remaining two sandwiches.
Slice and Plate Sandwiches
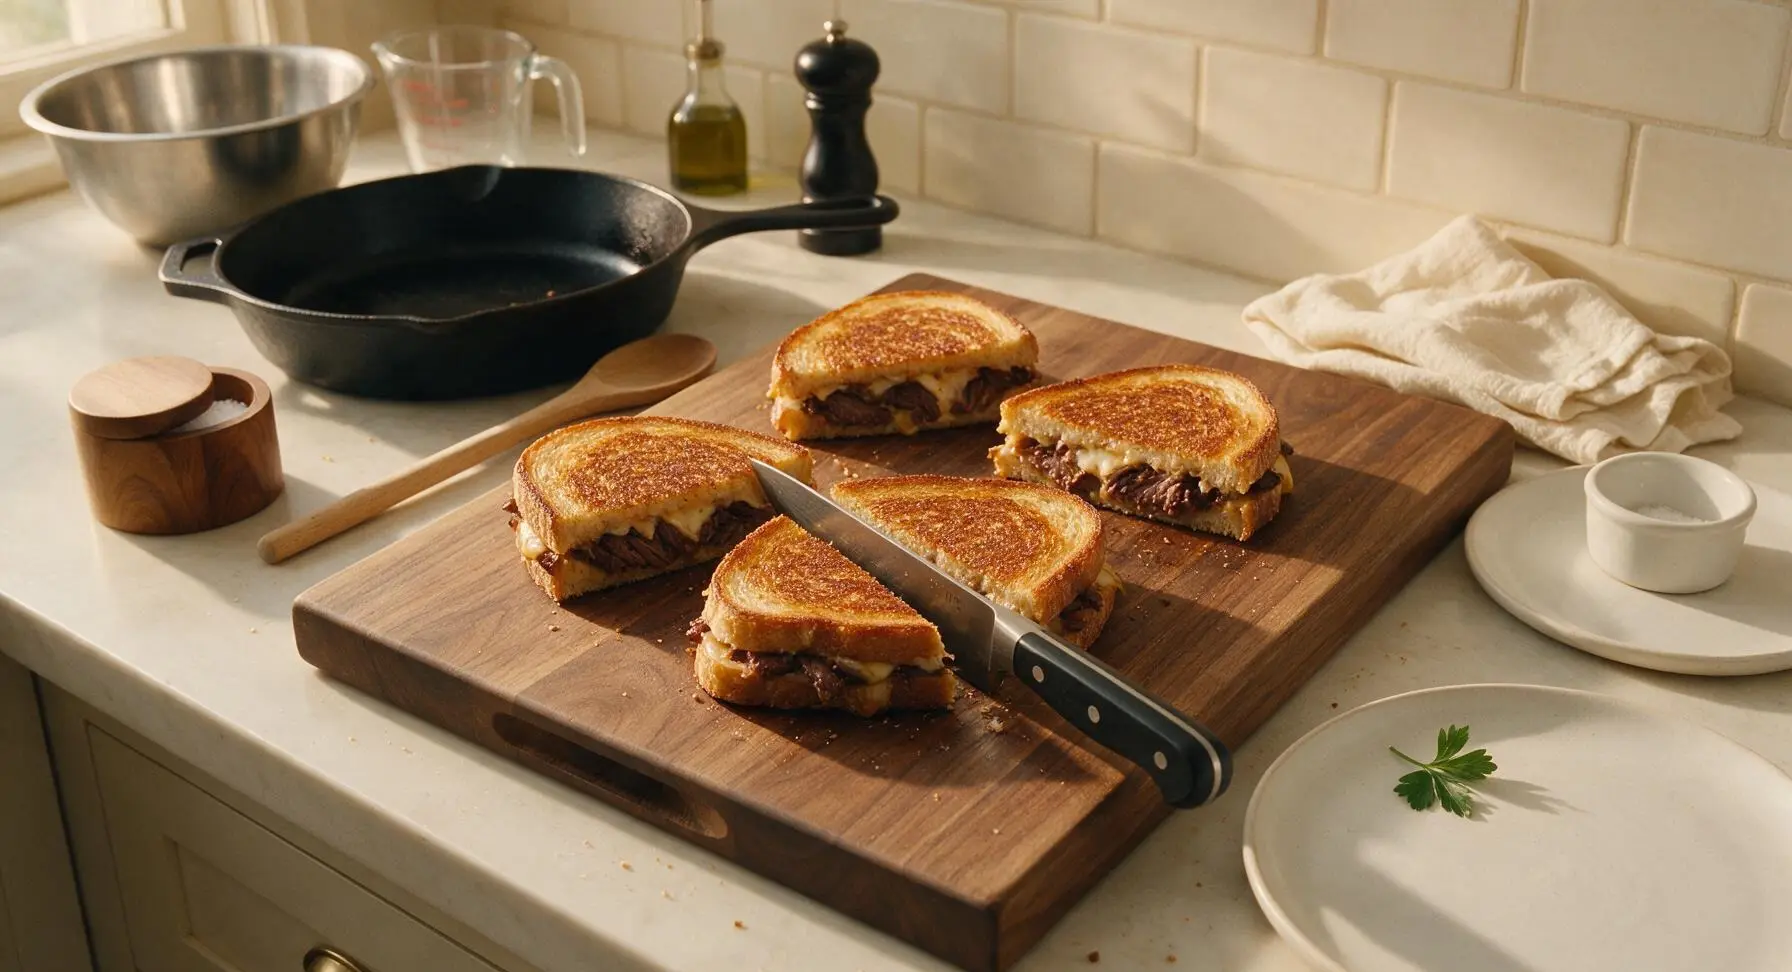
Once all four sandwiches are cooked, transfer them back to the maple cutting board. Let rest for 2 minutes to allow the melted cheese to set slightly, which prevents it from running out when cut. Use the chef knife to cut each sandwich diagonally into two equal triangles. Arrange two sandwich halves per serving on the matte cream ceramic plates, garnish with a small sprig of flat-leaf parsley, and serve immediately.
Tips
2.Cook sandwiches on medium-low heat (160C/325F) only: high heat will burn the buttered bread crust before the cheese fully melts and the cold brisket warms through, leading to a charred exterior and cold, unmelted center.
3.Layer cheese directly against both slices of bread: this creates a fat-based moisture barrier that prevents juicy brisket and tangy BBQ sauce from soaking into the bread and making it soggy, while also locking smoky brisket flavor between layers of melted cheese.






OMG this brisket grilled cheese was a total game changer for our Sunday family dinner! I used leftover smoked brisket from our weekend cookout and it came out so crispy and gooey, my kids asked for seconds before they even finished their first sandwich. Only note is I added a little pickled red onion on mine for extra zing, chef’s kiss!
Took me a couple tries to get the bread crispy without burning the cheese, but once I nailed the medium-low heat this was SO good. Used sourdough instead of white bread like I usually do for grilled cheese and it held up perfectly to the thick brisket chunks. Will be making this for meal prep this week!
Made these for my teen son and his friends after their football practice yesterday and every single sandwich was gone in 10 minutes. I tossed a little BBQ sauce on the brisket before stacking it and they all said it’s better than the food truck version downtown. Zero complaints!
Wait a second, 12 minute cook time? I was skeptical because I thought grilled cheese with brisket would take way longer, but it really is that fast! I used pre-shredded cheddar and gouda and leftover brisket I had frozen from last month, thawed it quick, and dinner was on the table before my husband even finished setting the table. Game changer for busy weeknights.
I brought these to my neighborhood block party last weekend and people were literally coming up to me asking for the recipe all night. I added a little slice of pepper jack for a tiny kick and it paired so well with the smoky brisket. 10/10, will make again and again.
Made this for a quick lunch date with my roommate and we were both blown away. I usually find regular grilled cheese too boring, but the brisket adds so much smoky, savory depth that it feels like a restaurant-level meal without the crazy price tag. I served it with a side of tomato soup for dipping and *chef’s kiss*.
Super solid recipe! My only tip is don’t overstuff the sandwich like I did the first time, half the cheese and brisket oozed out onto my griddle before I could flip it. Second go around I used thinner layers and pressed it down with my spatula a little and it turned out perfect. Even my picky eater niece ate a whole half sandwich when she visited over the weekend!