1.Can I use any brand of boxed fudge brownie mix for this recipe?
▾
Absolutely! Any standard 18–20 ounce store-bought fudge brownie mix works perfectly here. Skip mixes that come with separate fudge syrup pouches for ultra-gooey pre-topped brownies, as those can make your waffle iron overly sticky and lead to uneven cooking. Stick to basic dry fudge mix for the most consistent, crisp-edged, fudgy results every time.
2.Do I need to adjust the brownie mix ingredients from the box instructions to make waffles?
▾
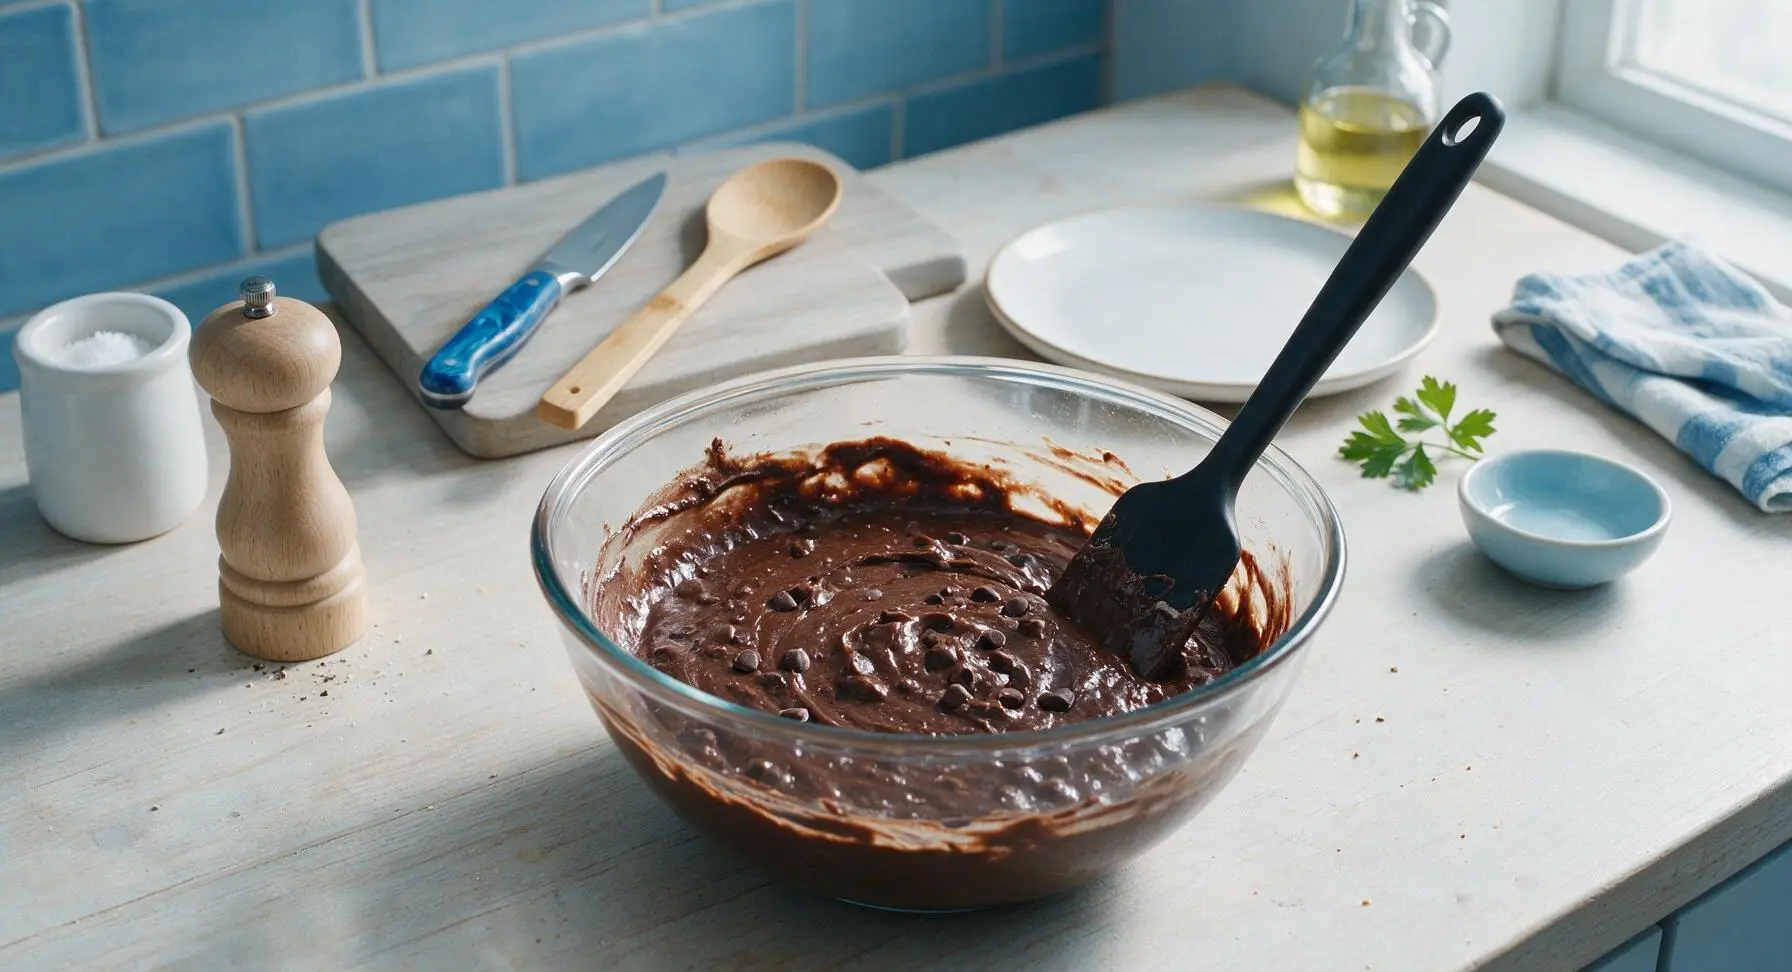
You’ll make a small tweak for ideal waffle texture, rather than following the box’s baked brownie ratios exactly. Use 1 large egg, ⅓ cup neutral vegetable oil, and ¼ cup cold water for a standard 18oz mix—this creates a slightly thicker batter that won’t run out of your waffle iron, while keeping that signature fudgy center and crisp edge.
3.Why do you recommend cold water instead of room temperature water for the batter?
▾
Cold water slows down the melting of the added chocolate chips as you mix the batter, so they stay in distinct, gooey pockets rather than fully dissolving into the base. It also keeps the batter thick enough that it won’t seep out the sides of your waffle iron when you close the lid, cutting down on messy cleanup and uneven cooking.
4.Do I need to grease my waffle maker before pouring the brownie batter?
▾
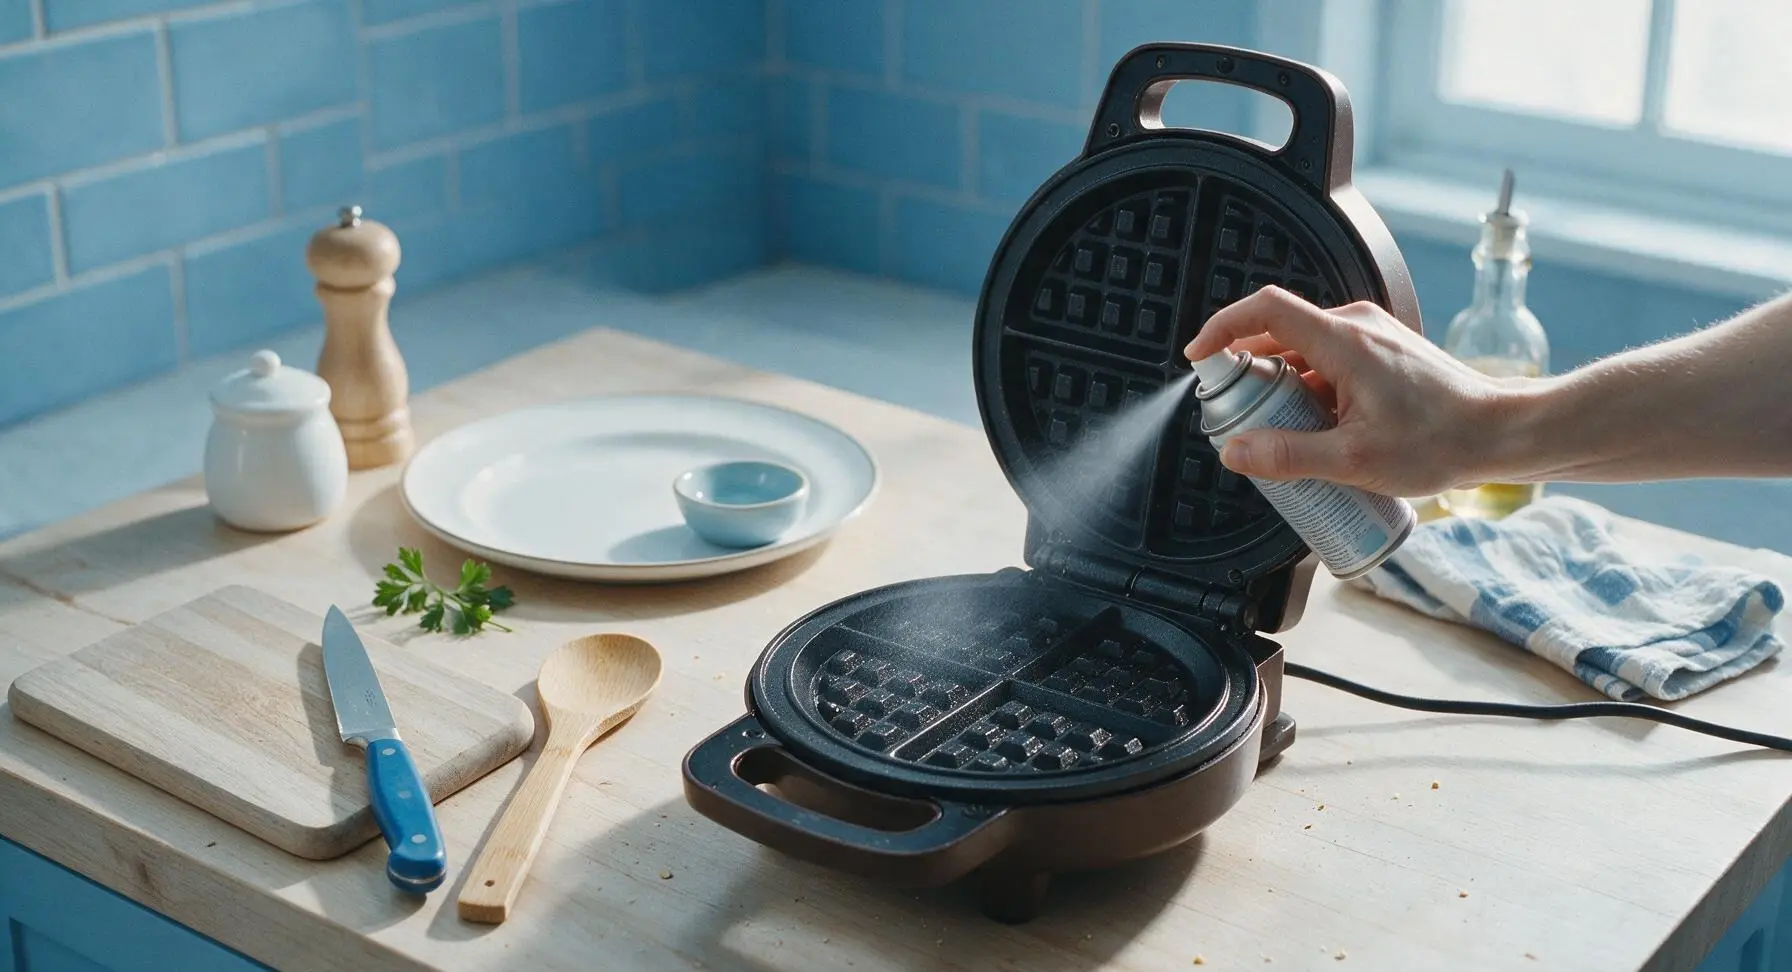
Yes, even if you have a non-stick waffle iron, give it a light coating of neutral oil spray or a quick wipe with vegetable oil on a paper towel before every batch. Brownie batter has higher sugar content than regular waffle batter, so it’s far more prone to sticking and leaving burnt, crispy sugar residue if the plates aren’t properly greased.
5.How much batter should I pour per waffle to avoid messy overflow?
▾
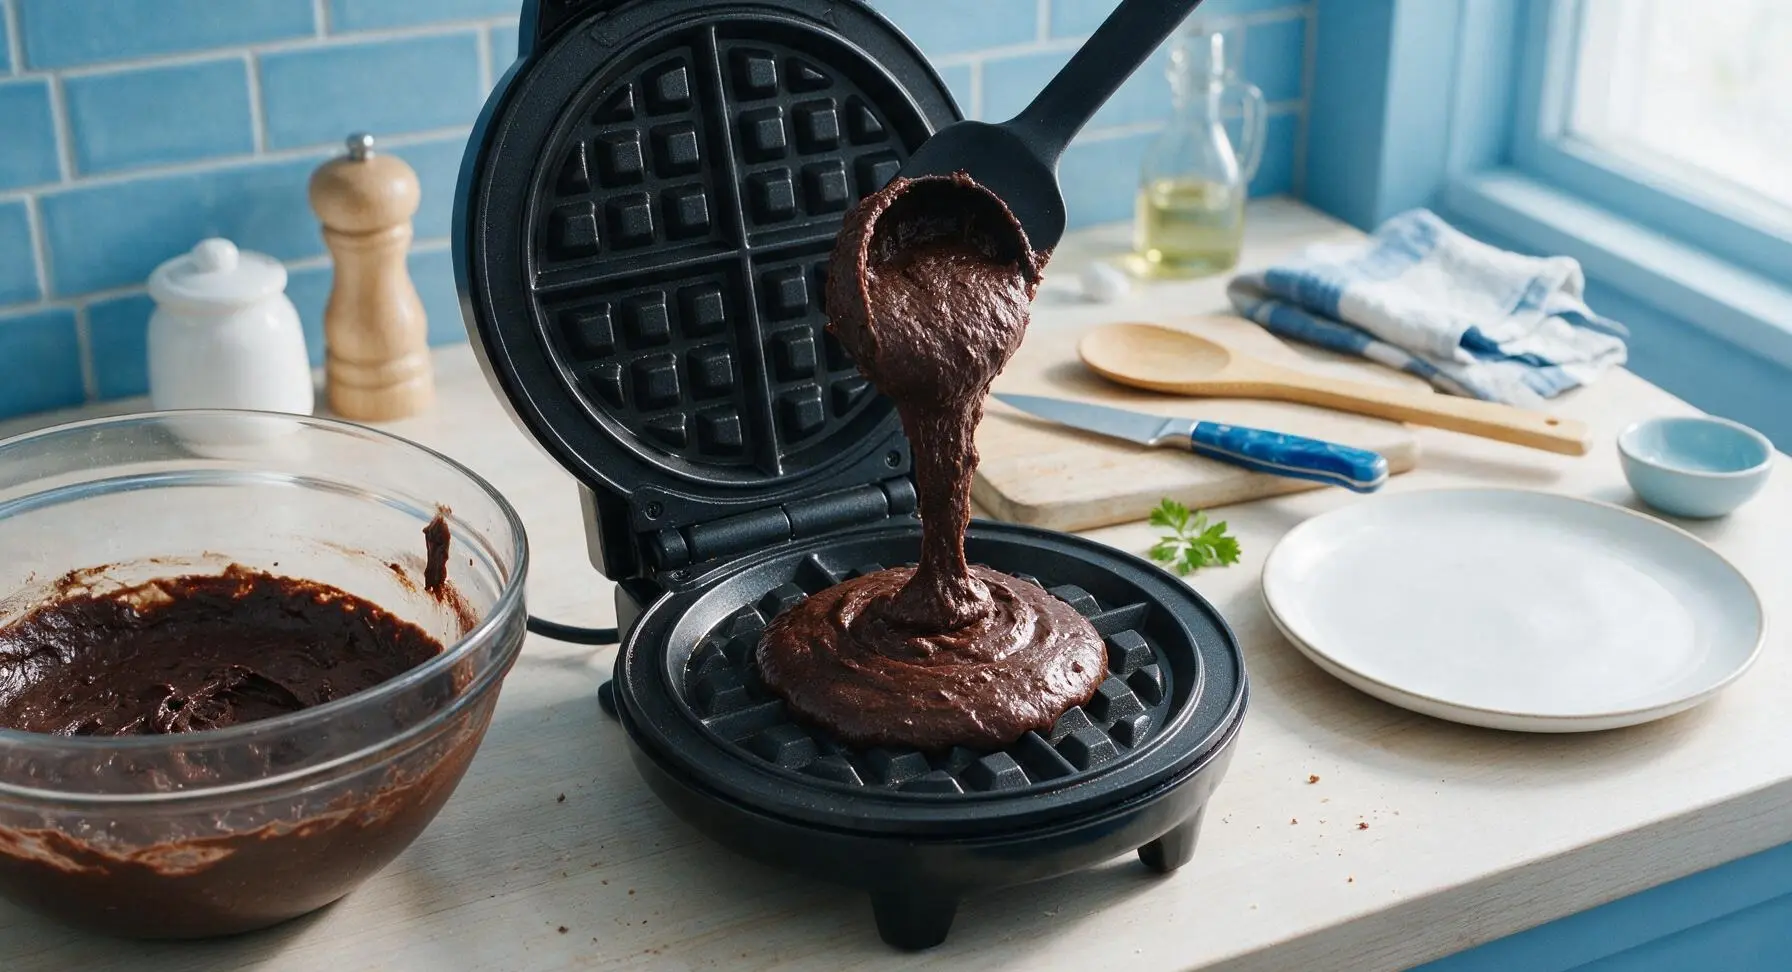
For most standard 7–8 inch round waffle makers, pour ⅓ to ½ cup of batter right in the center of the preheated plates. Resist the urge to spread it to the edges—when you close the lid, heat and pressure will spread the batter evenly. Pouring too much will cause hot, sugary batter to bubble out the sides and create a sticky, burnt mess on your counter.
6.What heat setting should I use on my waffle maker for these brownie waffles?
▾
Set your waffle maker to the medium-high heat setting if it has adjustable temperature. Lower heat will leave you with undercooked, gummy waffles that stick to the plates, while the highest heat can burn the crisp edges before the fudgy center sets. If your iron only has an on/off setting, let it fully preheat for 5 full minutes before adding batter.
7.How long do I cook the brownie waffles for the perfect fudgy texture?
▾
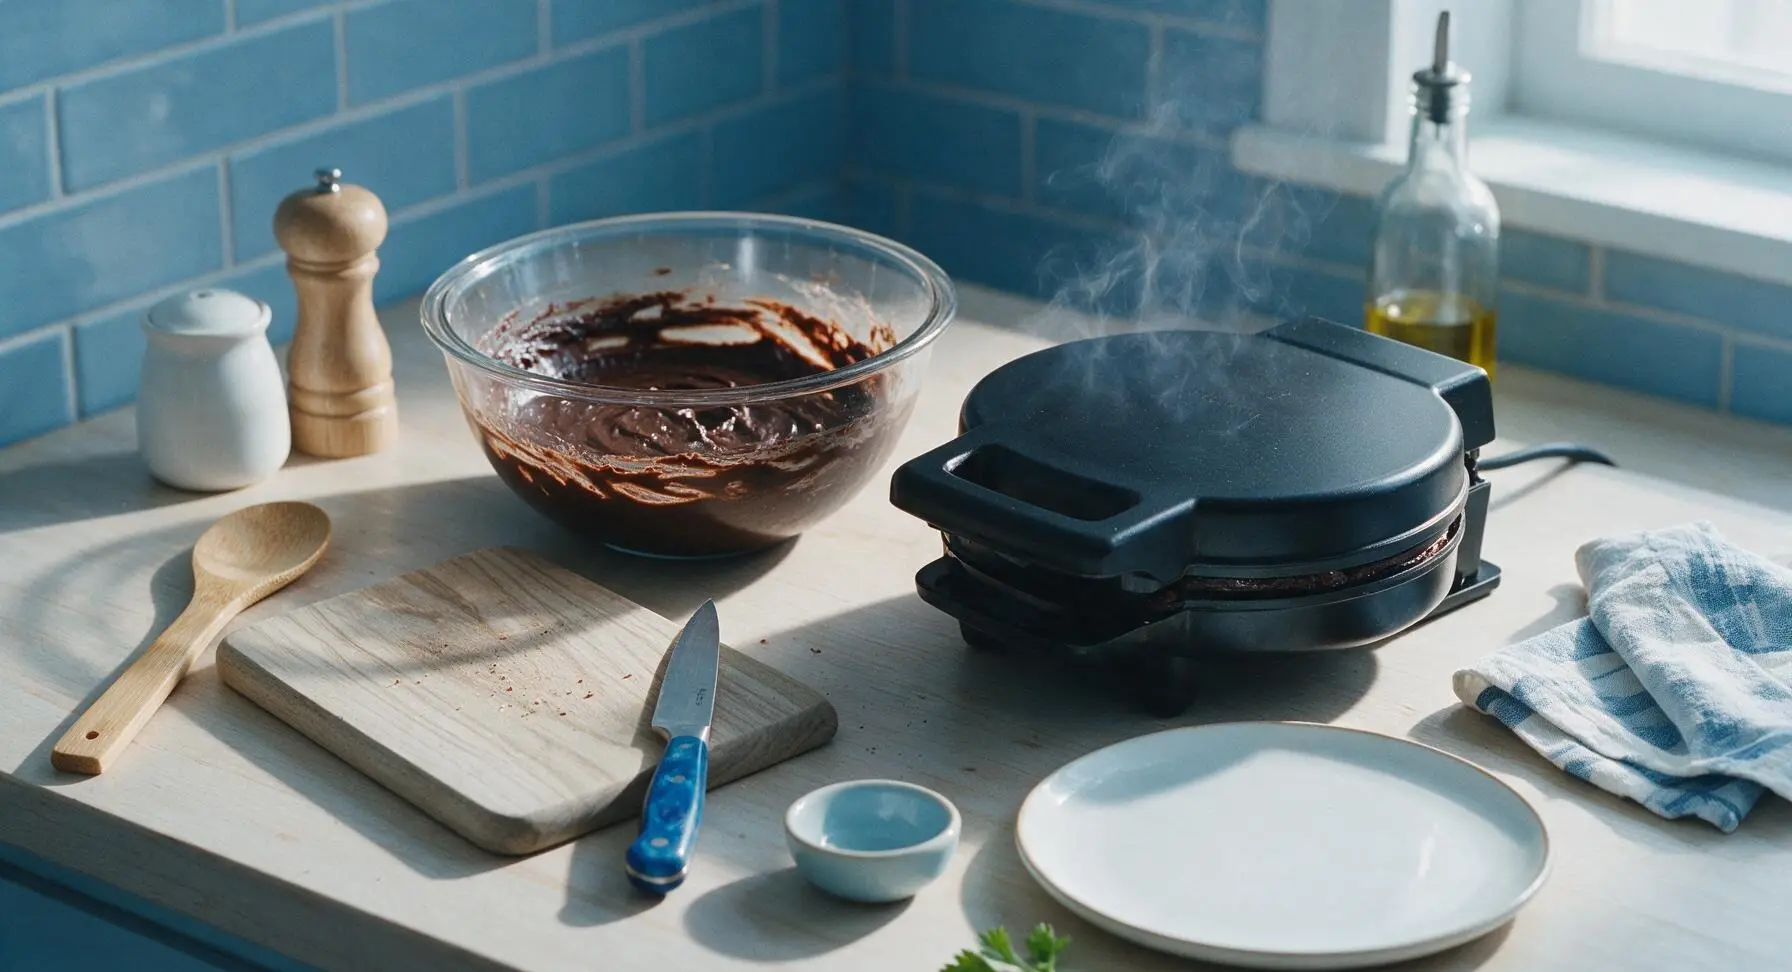
Cook each waffle for 3 to 4 minutes total, even if your waffle iron’s “done” indicator light turns on earlier. That light is calibrated for regular flour waffles, which cook faster than denser brownie batter. Wait until you see almost no more steam escaping from the sides of the iron before lifting the lid to ensure the center is set.
8.Can I add extra chocolate chips, or will that make the waffles stick?
▾
You can add up to ½ cup of extra semi-sweet chocolate chips to the batter without issues, but toss them in a tiny pinch of all-purpose flour first before stirring them in. This keeps the chips from sinking straight to the bottom of the batter and melting directly onto the waffle plates, which causes sticking and burnt chocolate residue.
9.My waffles came out really soft and soggy, not crisp on the edges—what did I do wrong?
▾
Soggy waffles usually happen for one of three reasons: you didn’t fully preheat your waffle iron, you used too much water making the batter too thin, or you opened the lid too early. For crisp edges, let the iron preheat completely, stick to the ¼ cup cold water ratio, and wait until steam stops escaping from the sides before checking doneness.
10.Can I make these waffles without eggs for a vegan or egg-free diet?
▾
You can swap the large egg for ¼ cup of unsweetened applesauce or a commercial flax egg (1 tablespoon ground flax mixed with 3 tablespoons water, left to thicken 5 minutes) for an egg-free version. Note that this will make waffles slightly less fudgy and a bit more cakey, so add an extra tablespoon of chocolate chips to boost that rich texture.
11.Are these waffles meant to be eaten for breakfast, or are they a dessert?
▾
These are totally versatile! Serve them for a fun weekend brunch topped with fresh berries and a drizzle of maple syrup, or lean into dessert by topping them with a scoop of vanilla ice cream, hot fudge, whipped cream, or a dusting of powdered sugar. They’re shareable, handheld, and work for any sweet occasion from brunch to birthday treats.
12.Can I use a different type of oil, like olive oil or coconut oil, instead of neutral vegetable oil?
▾
Stick to neutral vegetable, canola, or avocado oil for the most authentic brownie flavor. Regular olive oil has a strong, savory note that will clash with the rich chocolate, and unrefined coconut oil adds a prominent coconut taste that takes over the chocolate. Refined coconut oil works as a swap, since it has no strong coconut flavor.
13.How do I keep cooked waffles warm and crisp while I make the rest of the batch?
▾
Set your oven to 200°F and place a wire rack over a baking sheet. As you finish each waffle, set it directly on the rack rather than stacking them on a plate. Stacking traps steam between waffles, which makes those crisp edges turn soft and soggy in minutes. The open rack keeps air circulating for perfect texture until serving.
14.Can I add mix-ins like nuts, caramel bits, or marshmallows to the batter?
▾
Chopped walnuts or pecans work beautifully as mix-ins—stick to ¼ cup total so they don’t weigh the batter down. Skip soft mix-ins like caramel bits or mini marshmallows, as these will melt directly onto the hot waffle plates, burn quickly, and leave a sticky, hard-to-clean residue that ruins subsequent batches. Save those for serving instead.
15.My waffles stick to the iron even when I grease it—what’s the fix?
▾
If sticking persists, your batter is likely too thin, or you’re opening the lid too early. Double check that you’re using the correct ratio of oil, egg, and cold water to keep the batter thick, and wait the full 3–4 minutes until steam stops escaping. If you pry the lid up too early, half-set batter will tear and stick to the plates.
16.How should I store leftover brownie waffles, and how long do they keep?
▾
Let leftover waffles cool completely to room temperature, then stack them between sheets of parchment paper in an airtight container. They’ll keep in the fridge for up to 3 days, or in the freezer for up to 3 months. The parchment paper prevents them from sticking together so you can pull out single servings to reheat easily.
17.What’s the best way to reheat leftover waffles so they get crisp again, not soggy?
▾
Skip the microwave, which turns waffles gummy and soft. Reheat them directly on the rack of a 350°F oven for 5 to 7 minutes, pop them back in your preheated waffle iron for 1 minute, or toast them in a standard toaster on the medium setting. All these methods recrisp the edges while warming the fudgy center back up perfectly.
18.Do I need a special Belgian waffle maker to make these, or will a regular waffle maker work?
▾
Any standard waffle maker works, whether it’s a thin classic waffle iron or a deep-pocket Belgian model. For Belgian waffle makers, use ½ cup of batter per waffle and add 30 seconds of extra cook time to account for the deeper plates. You don’t need any special attachments, even a cheap dorm-style waffle iron turns out great results.
19.Can I use milk instead of water to make the waffles taste richer?
▾
You can swap the cold water for cold whole milk if you want an extra-rich, slightly denser waffle, but avoid using skim or low-fat milk, which can make the texture drier. Don’t use more than ¼ cup of liquid total, even when swapping—extra liquid will thin the batter out too much, leading to overflow, soggy waffles, and sticking to your iron.

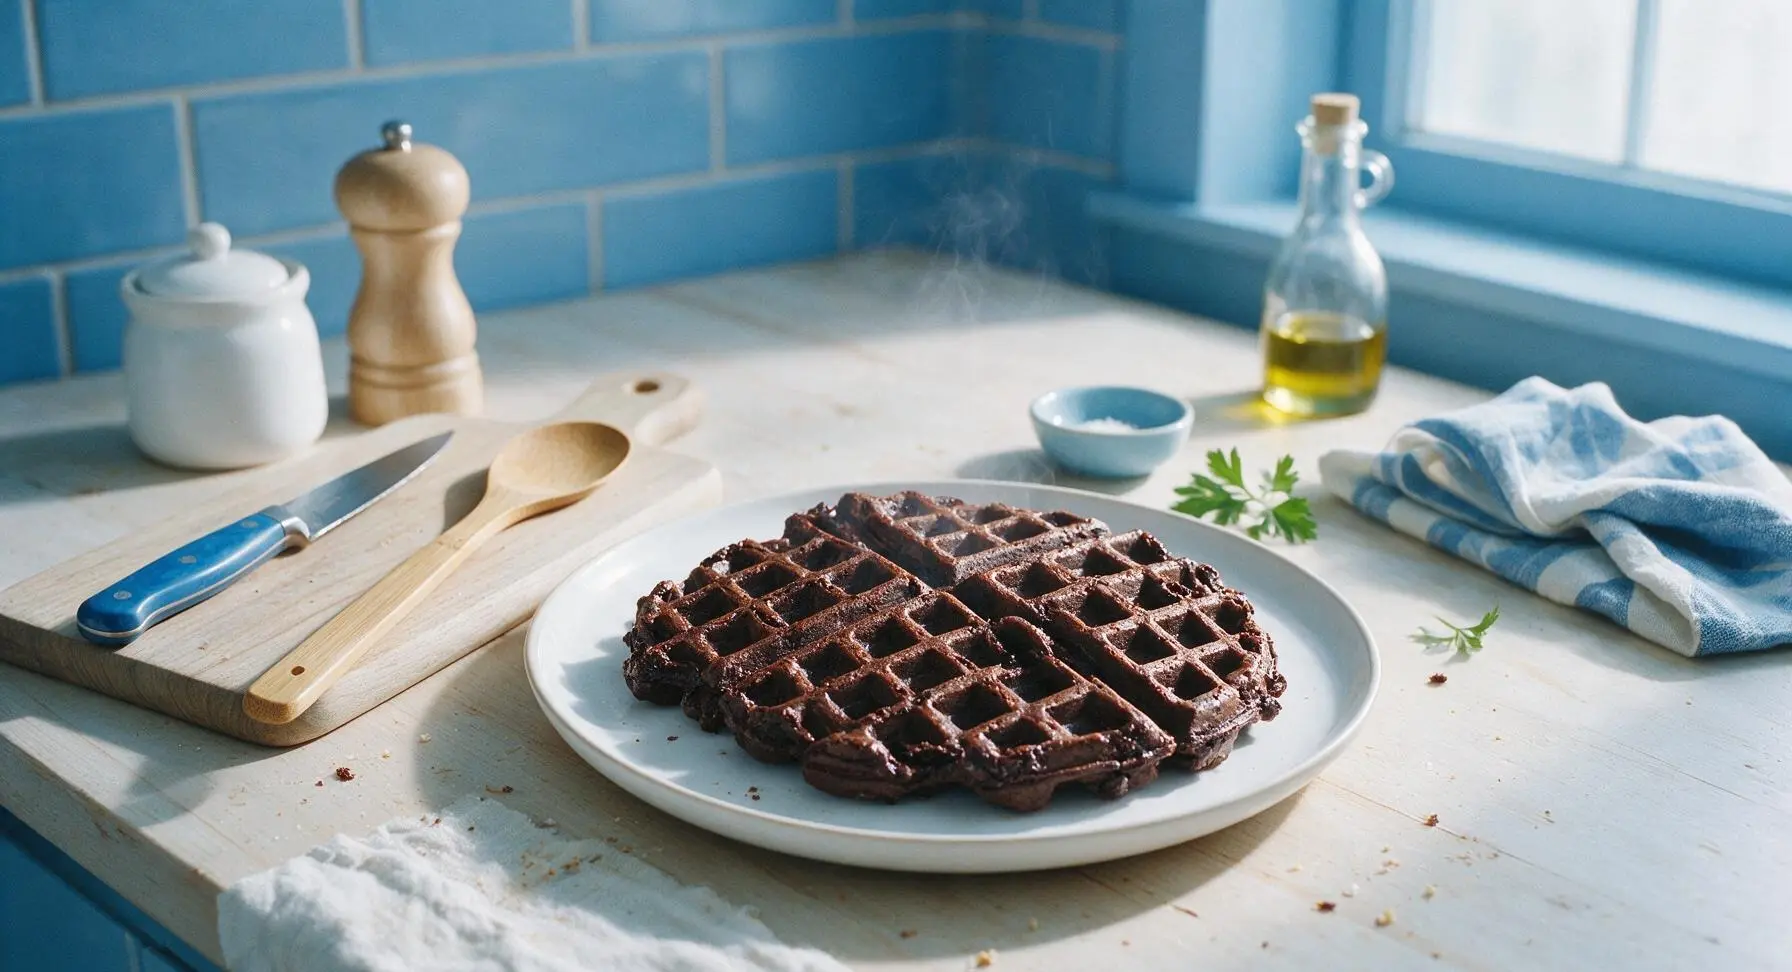
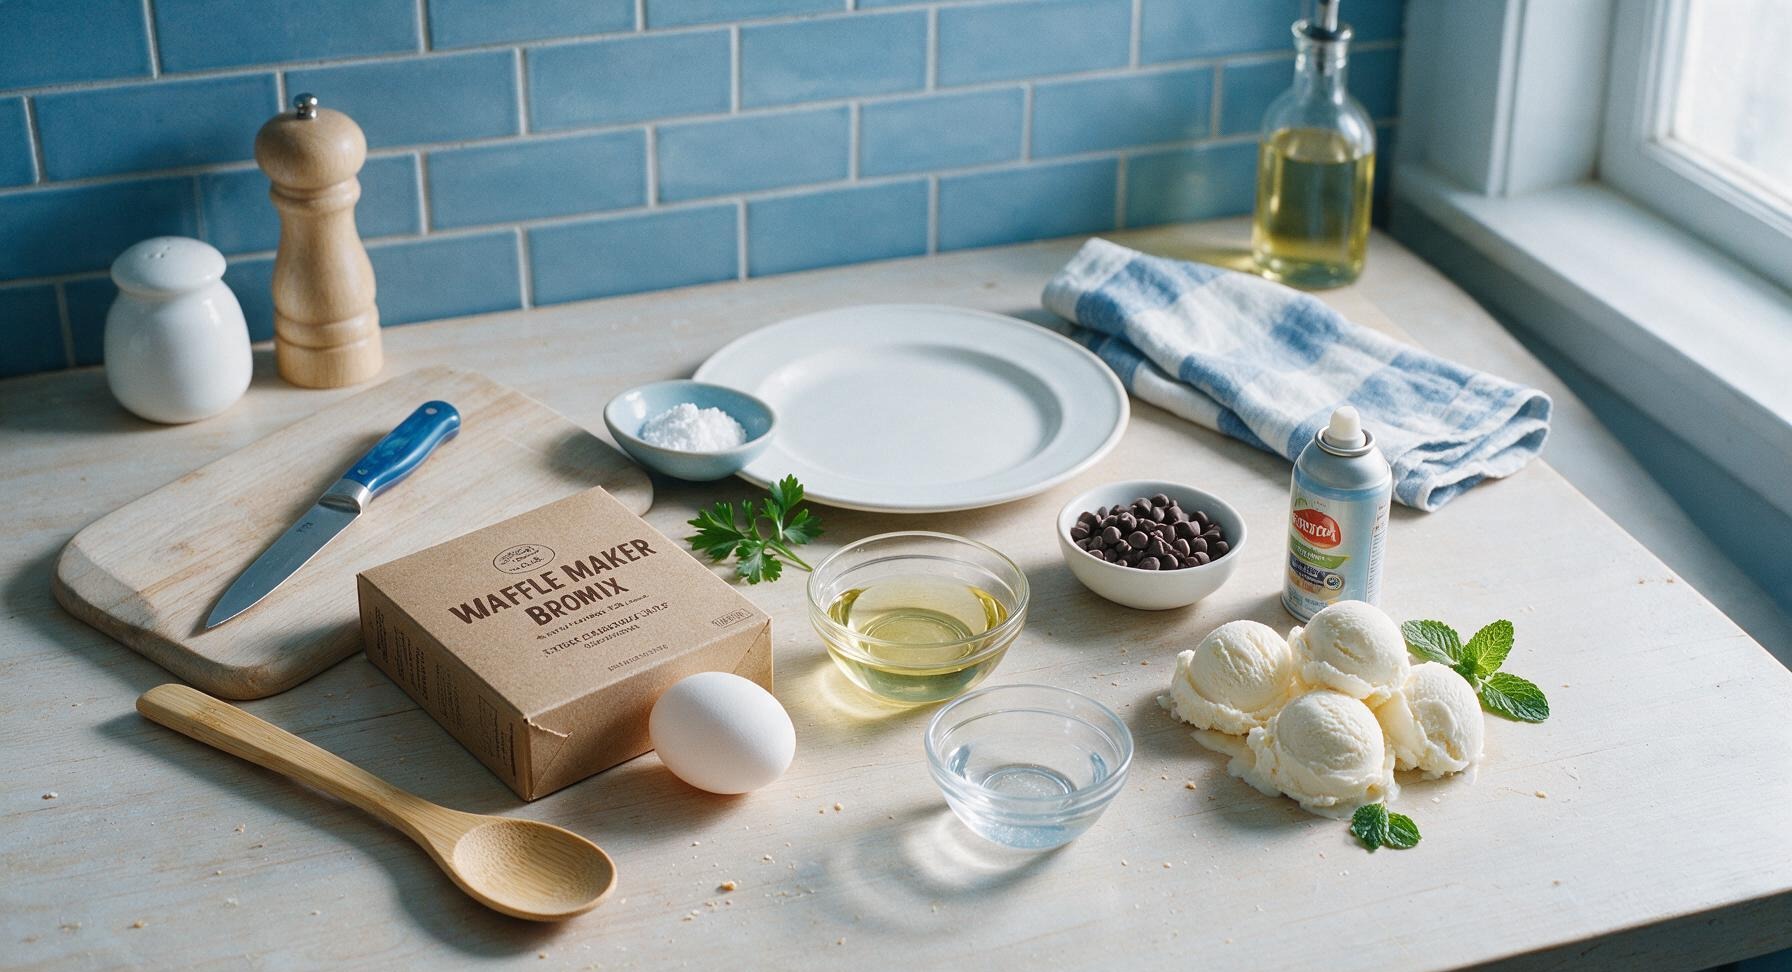
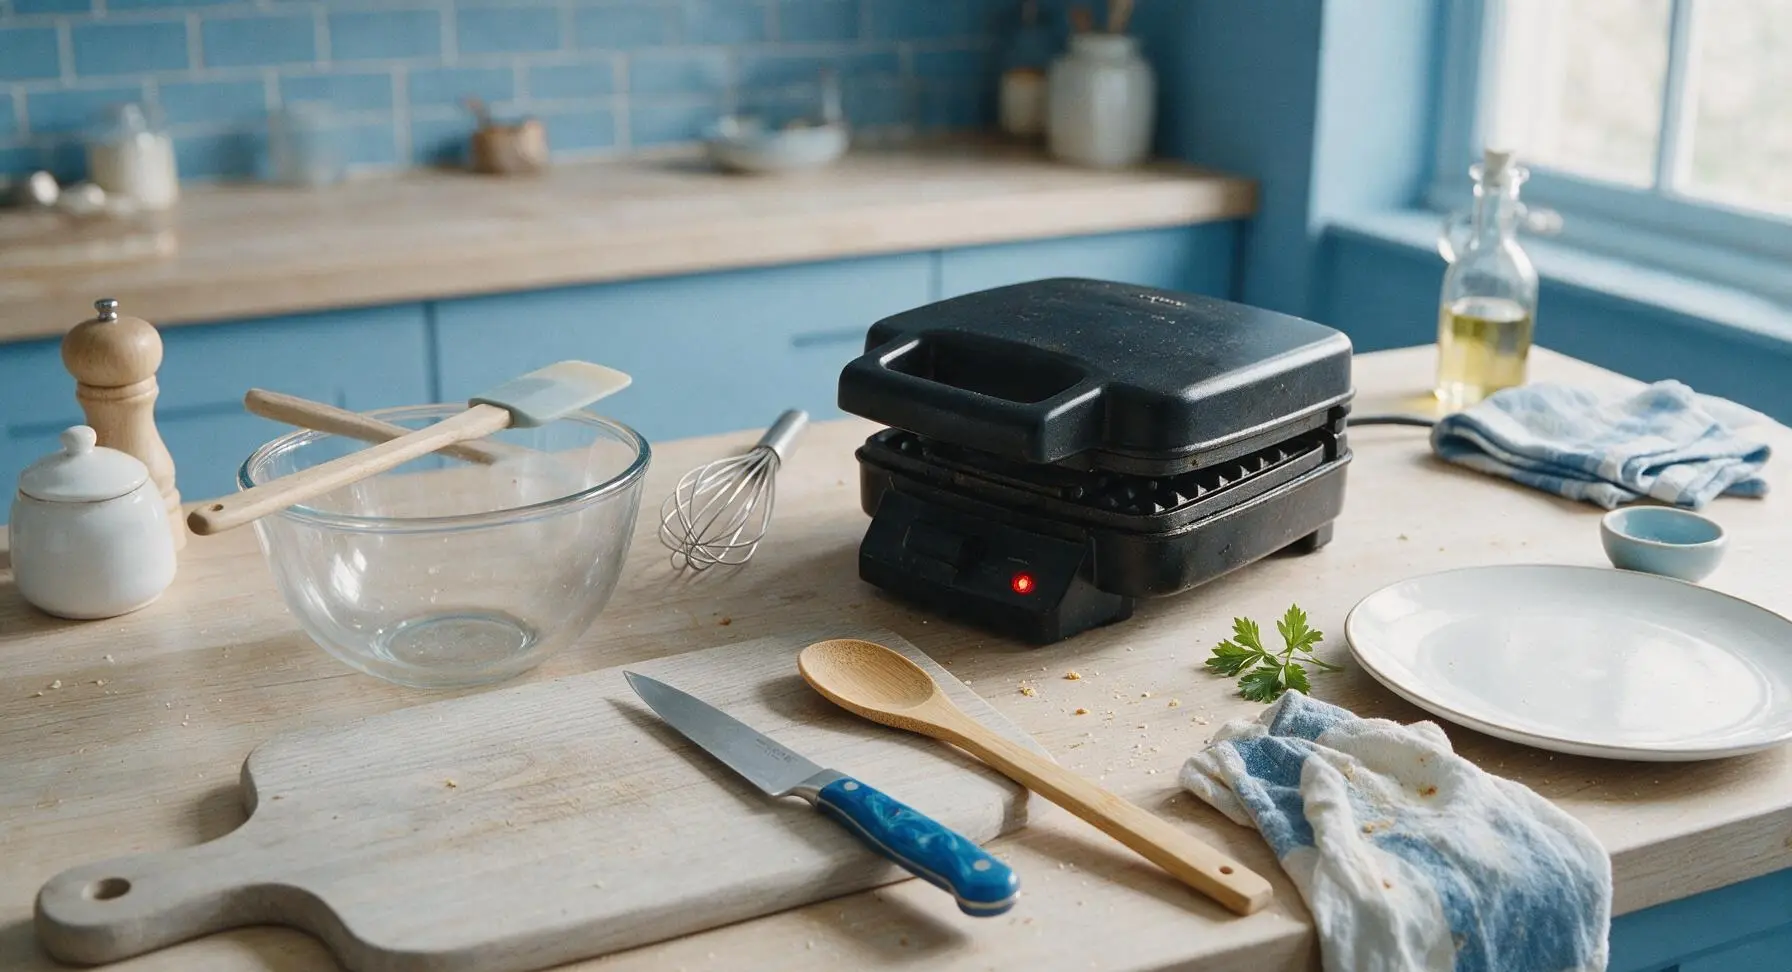
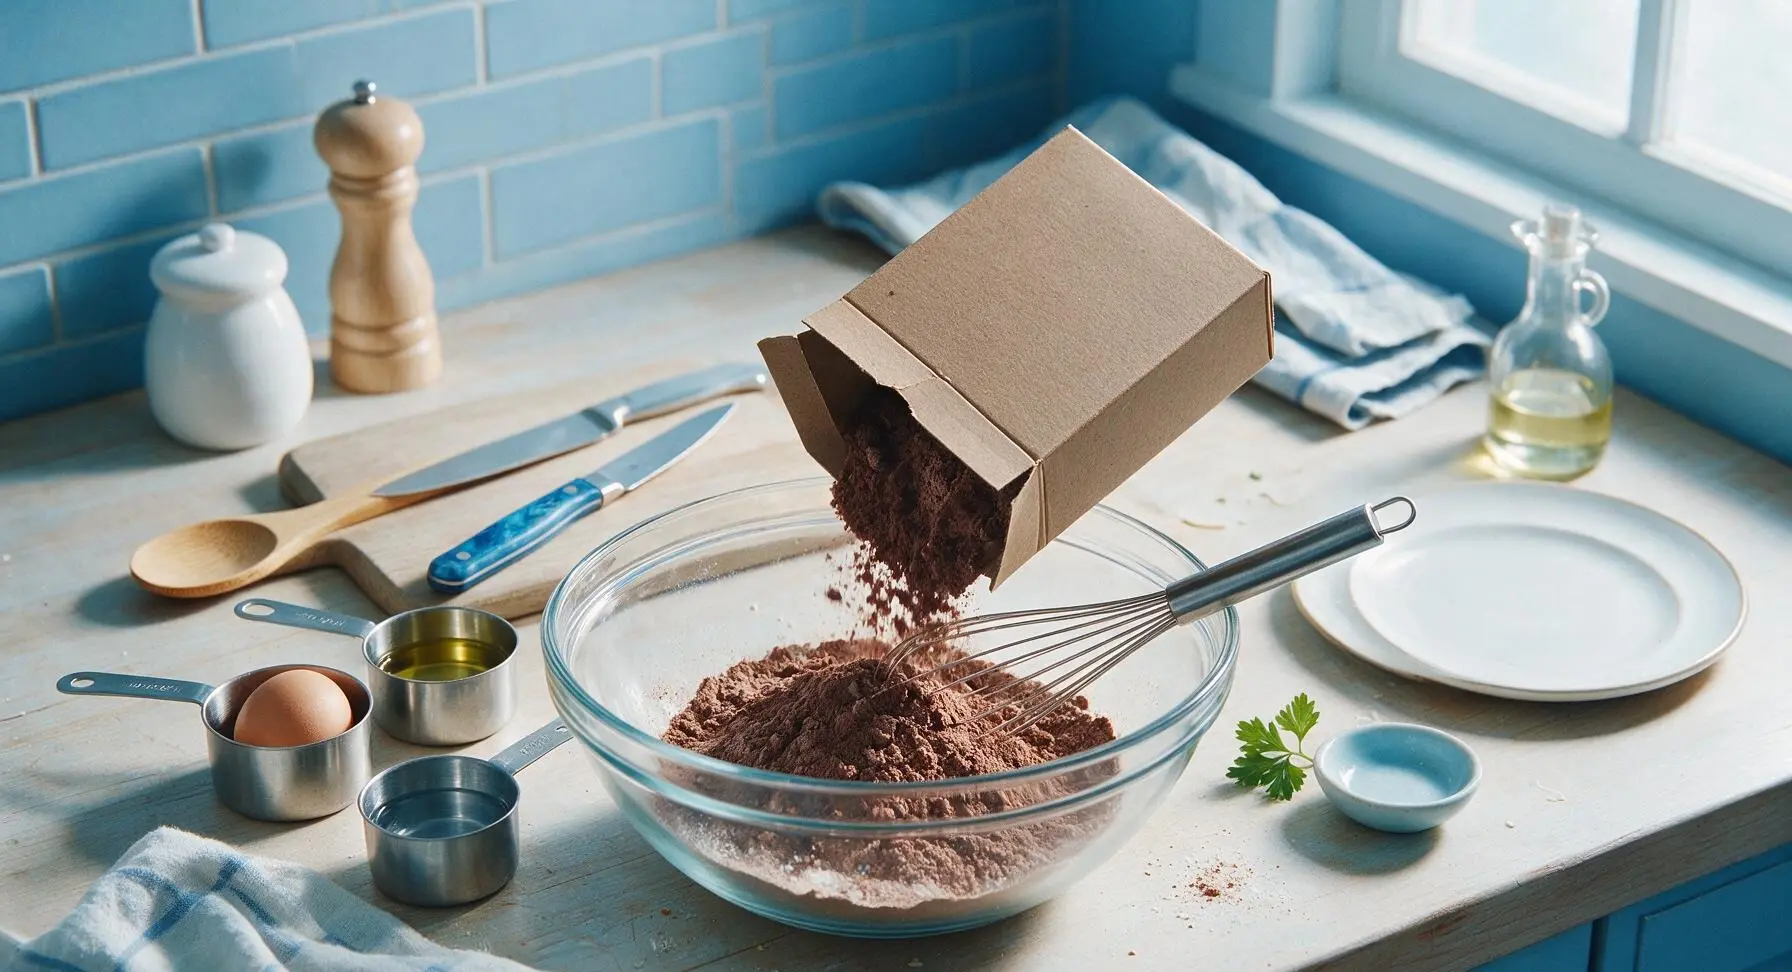
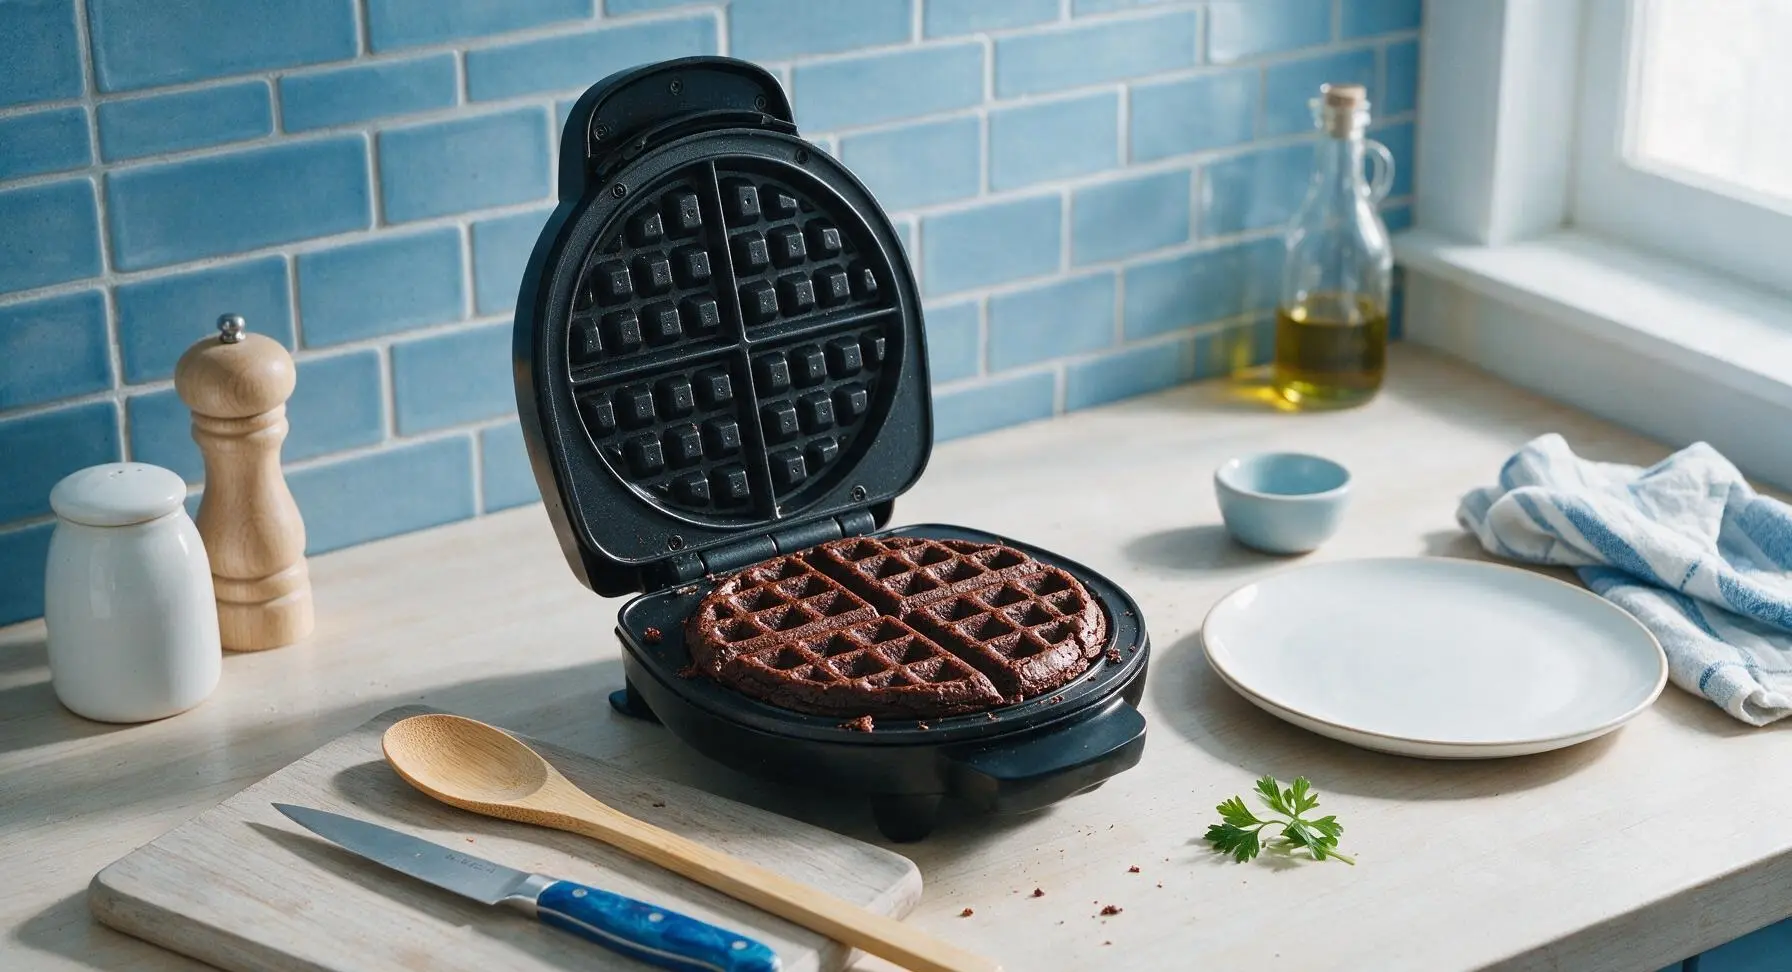
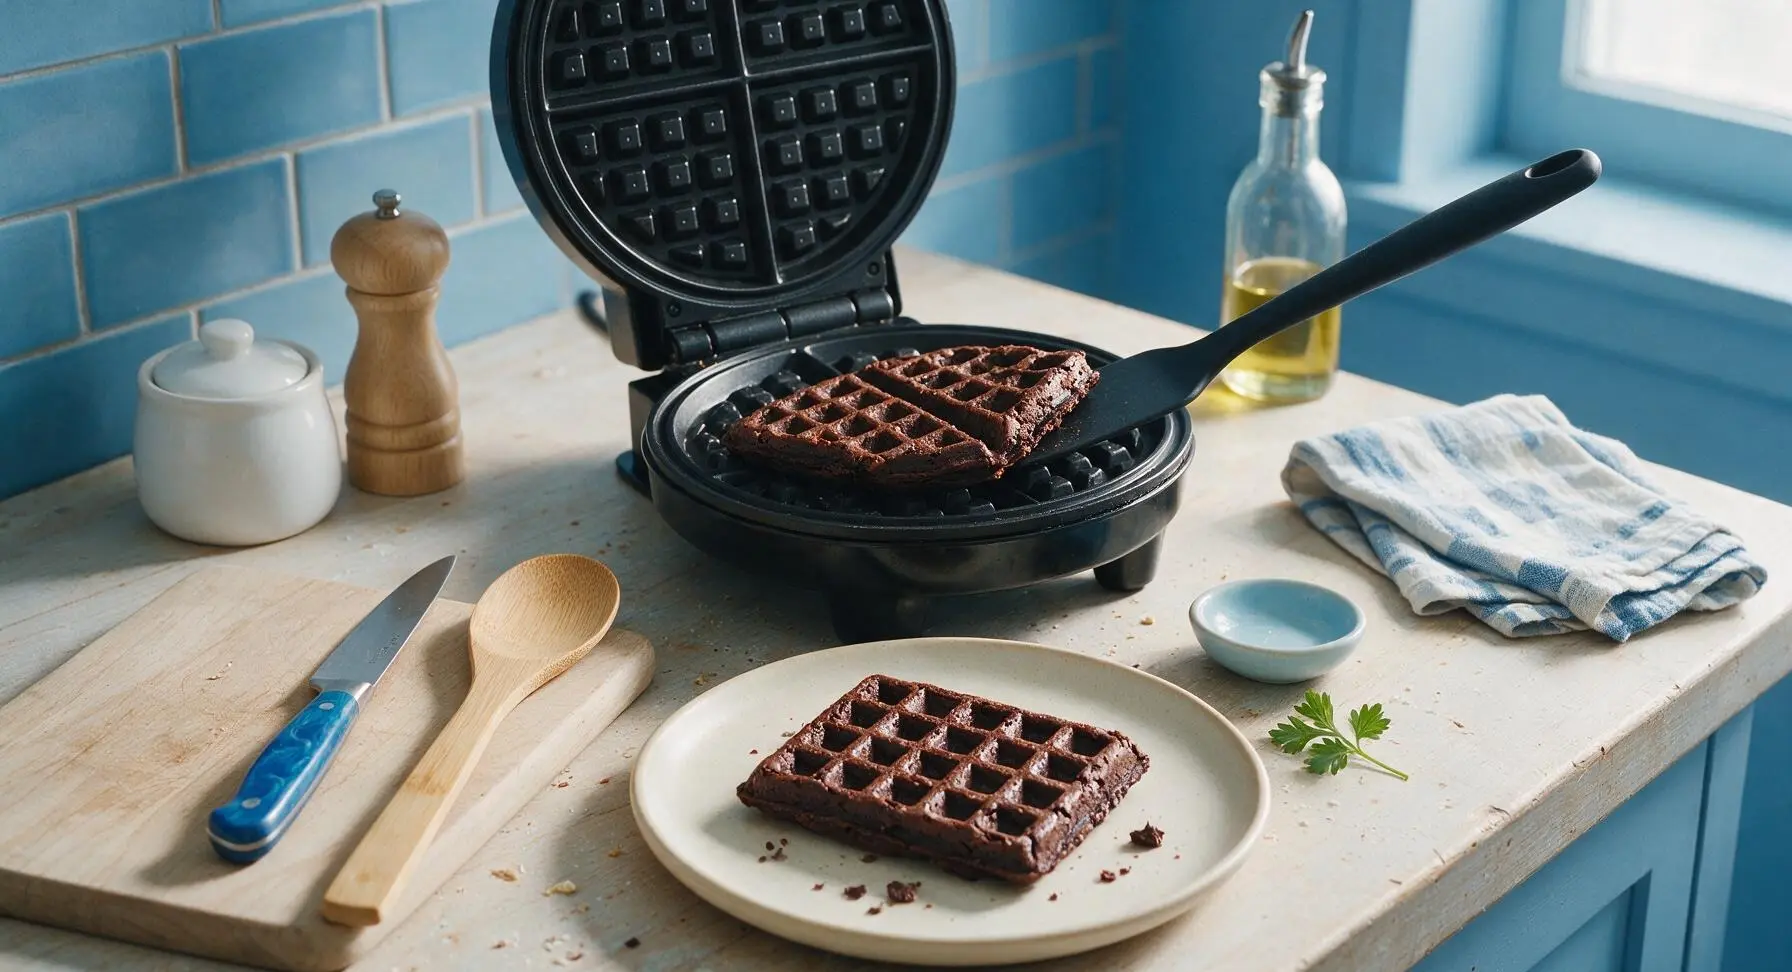
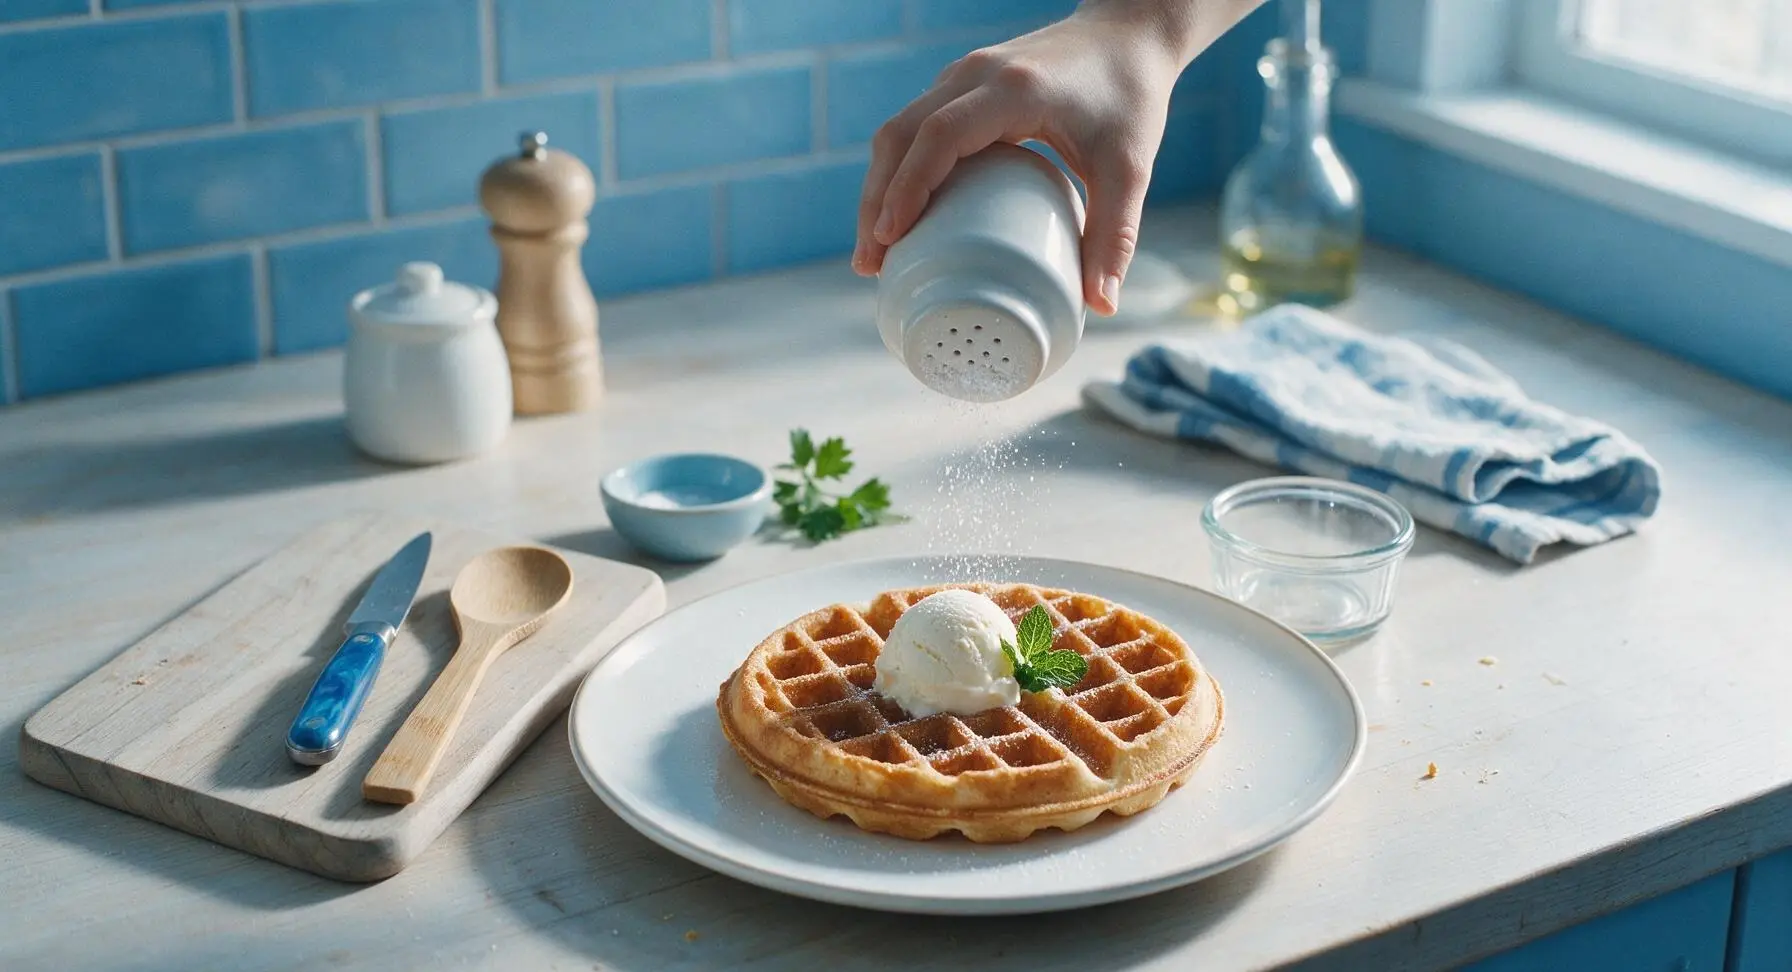






OMG these are a total game changer for our crazy school morning rush! I grabbed a regular fudge brownie mix from the pantry, tossed it in the waffle maker, and 12 minutes total I had warm, chocolatey waffles the kids went feral for. Drizzled a little peanut butter syrup on top and they asked for seconds before they even finished their first plate. 10/10 will be making this every other week for sure!
I brought these to my neighborhood block party potluck last weekend and people were hovering around the waffle station the whole time! I set out toppings: vanilla ice cream, whipped cream, caramel drizzle, crushed walnuts, maraschino cherries, so people could make their own brownie waffle sundaes. So easy, barely any cleanup, everyone asked for the recipe. SO good!
Tried this with a gluten free fudge brownie mix last night and it turned out perfect! I was worried it would stick to my waffle maker or turn out gummy, but I gave the iron a quick spritz of nonstick spray and they came out crispy on the edges, gooey in the middle just like a regular brownie. My husband who hates all GF baked goods ate two and said he couldn’t tell the difference.
Absolute game changer for my weekly meal prep! I made a whole batch on Sunday, cut them into quarters, and tossed them in the freezer. 30 seconds in the microwave in the morning and I’ve got a quick chocolatey breakfast that beats the boring frozen waffles from the grocery store by a mile. Only knock is I wish they were a little less fudgy? Wait no, actually that’s not a knock, that’s why I love them. 5 stars easy.
Guys. I live in a tiny dorm with only a waffle maker and a mini fridge, no actual oven. This recipe saved my late night study sweet tooth. Grabbed a $1 brownie mix from the campus convenience store, mixed it up in a plastic cup with a fork, cooked it for 4 minutes in my waffle maker and I had a warm brownie without having to beg my RA to let me use the community kitchen. 10/10, fed me and my roommate while we crammed for midterms.
I was skeptical because brownie batter is way thicker than regular waffle batter, but these came out perfect first try! Cook time was right at 12 minutes total for my 4-slice waffle maker, just like the recipe says. I topped mine with a scoop of mint chocolate chip ice cream for a super easy weeknight dessert and my partner said it’s better than the fancy restaurant brownie sundae we got on our last date. Only reason it’s not 5 stars is I wish the recipe had a note about not overfilling the waffle iron — I poured too much on the first go and it oozed out the sides a little, made a tiny mess. Still delicious though!
Made these for our family brunch last Sunday and they were a hit with all the cousins, from age 4 to age 74. I did half plain brownie waffles and half swirled with a little cream cheese filling, and the cream cheese ones went first. Way easier than making regular brownies because you don’t have to wait forever for them to bake and cool. Crispy edges, fudgy center, 10/10.
Oh my goodness, these are so simple even my old eyes could follow the directions! I’ve had my waffle maker for 27 years and never thought to use brownie mix in it. Made these for my grandkids when they came to visit after school yesterday and they left with the recipe printed out to make for their roommates at college. Tasted just like the brownies I make in the oven, but done so much faster! No notes, perfect as is.
Wait why did I never think of this before?? I ate three of these straight off the waffle maker with nothing on them because they smelled so good. Don’t judge, they’re that good. Only took me 10 minutes total from grabbing the box out of the pantry to taking the first bite, way faster than driving to the fast food place down the street for a sweet snack. Will be keeping a spare brownie mix in the pantry from now on specifically for this.
Tried these for a quick post-hike snack last weekend and they hit the spot. I used a dark chocolate brownie mix, added a handful of mini marshmallows and crushed graham crackers to the batter to make s’mores waffles, and they were chef’s kiss. My only tiny issue was my waffle maker runs a little hot, so the first one got a little crispy around the edges before the center was set, but I turned the heat down for the rest and they turned out great. Super easy recipe, tons of room to customize.