
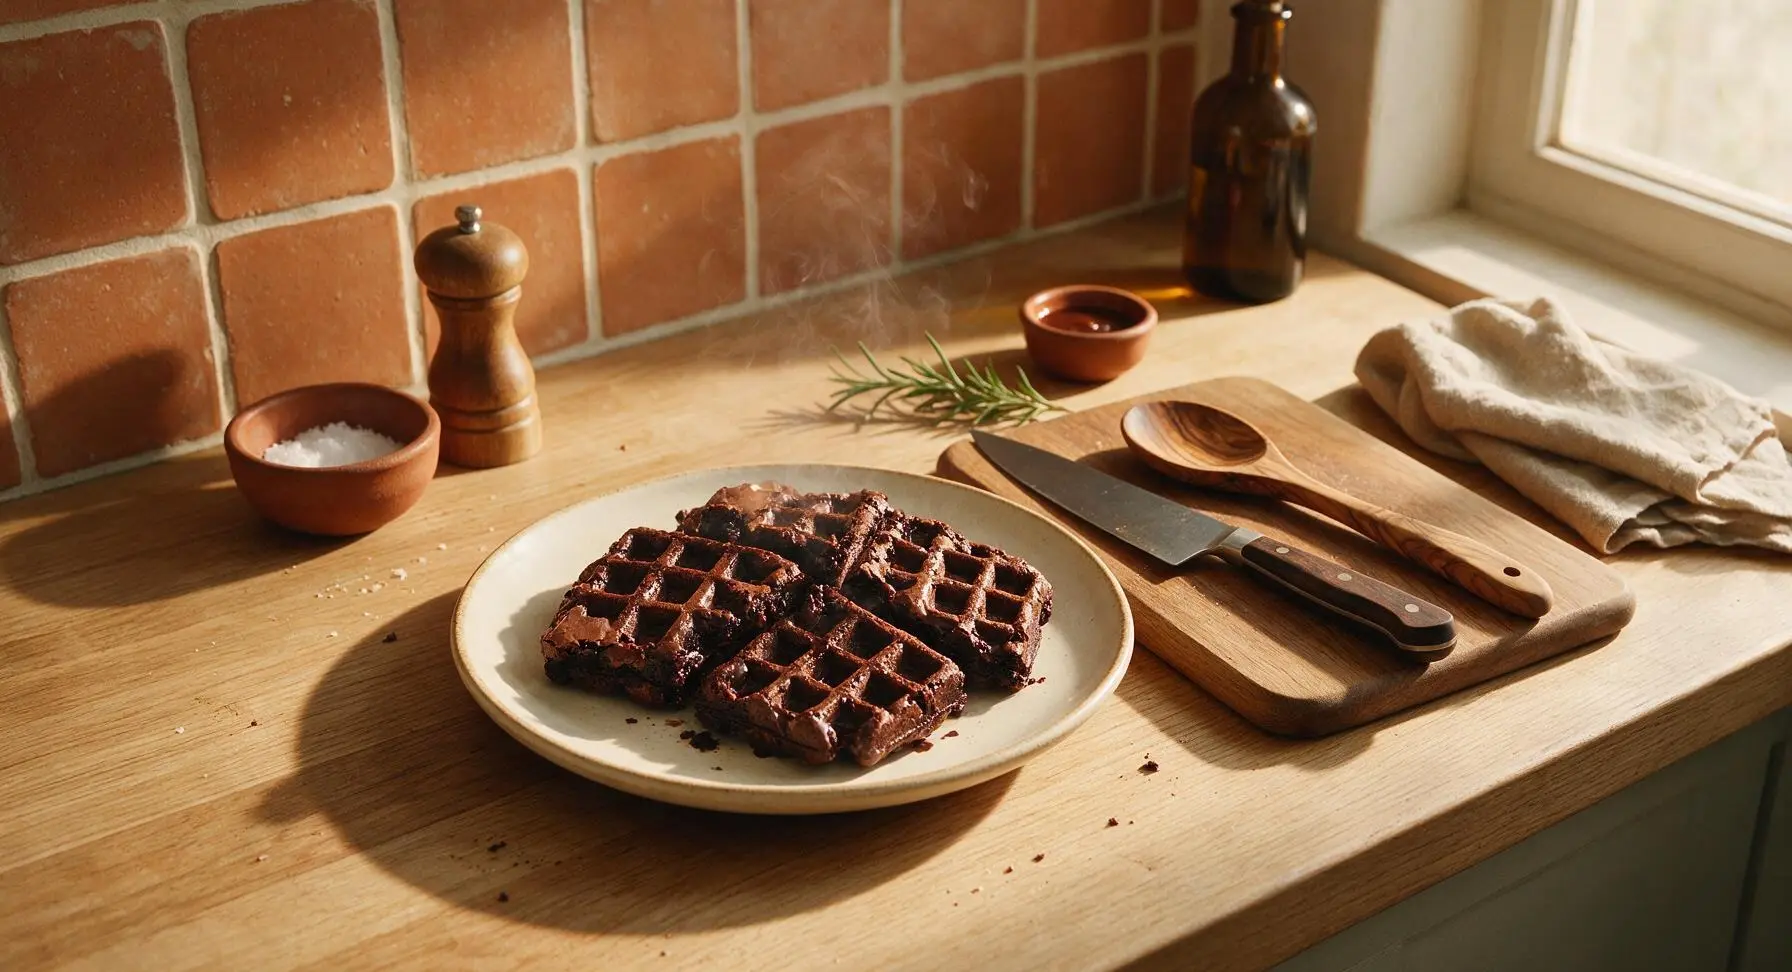
brownie waffle

title 1
brownie waffle
⏱️ cook time 15 minutes
🍽️ servings 4
⚡ Difficulty easy

intro

Fudgy, crackly-topped brownie waffles with crisp edges and a gooey chocolate center, ready in minutes for a cozy, indulgent shareable winter treat.

Ingredients
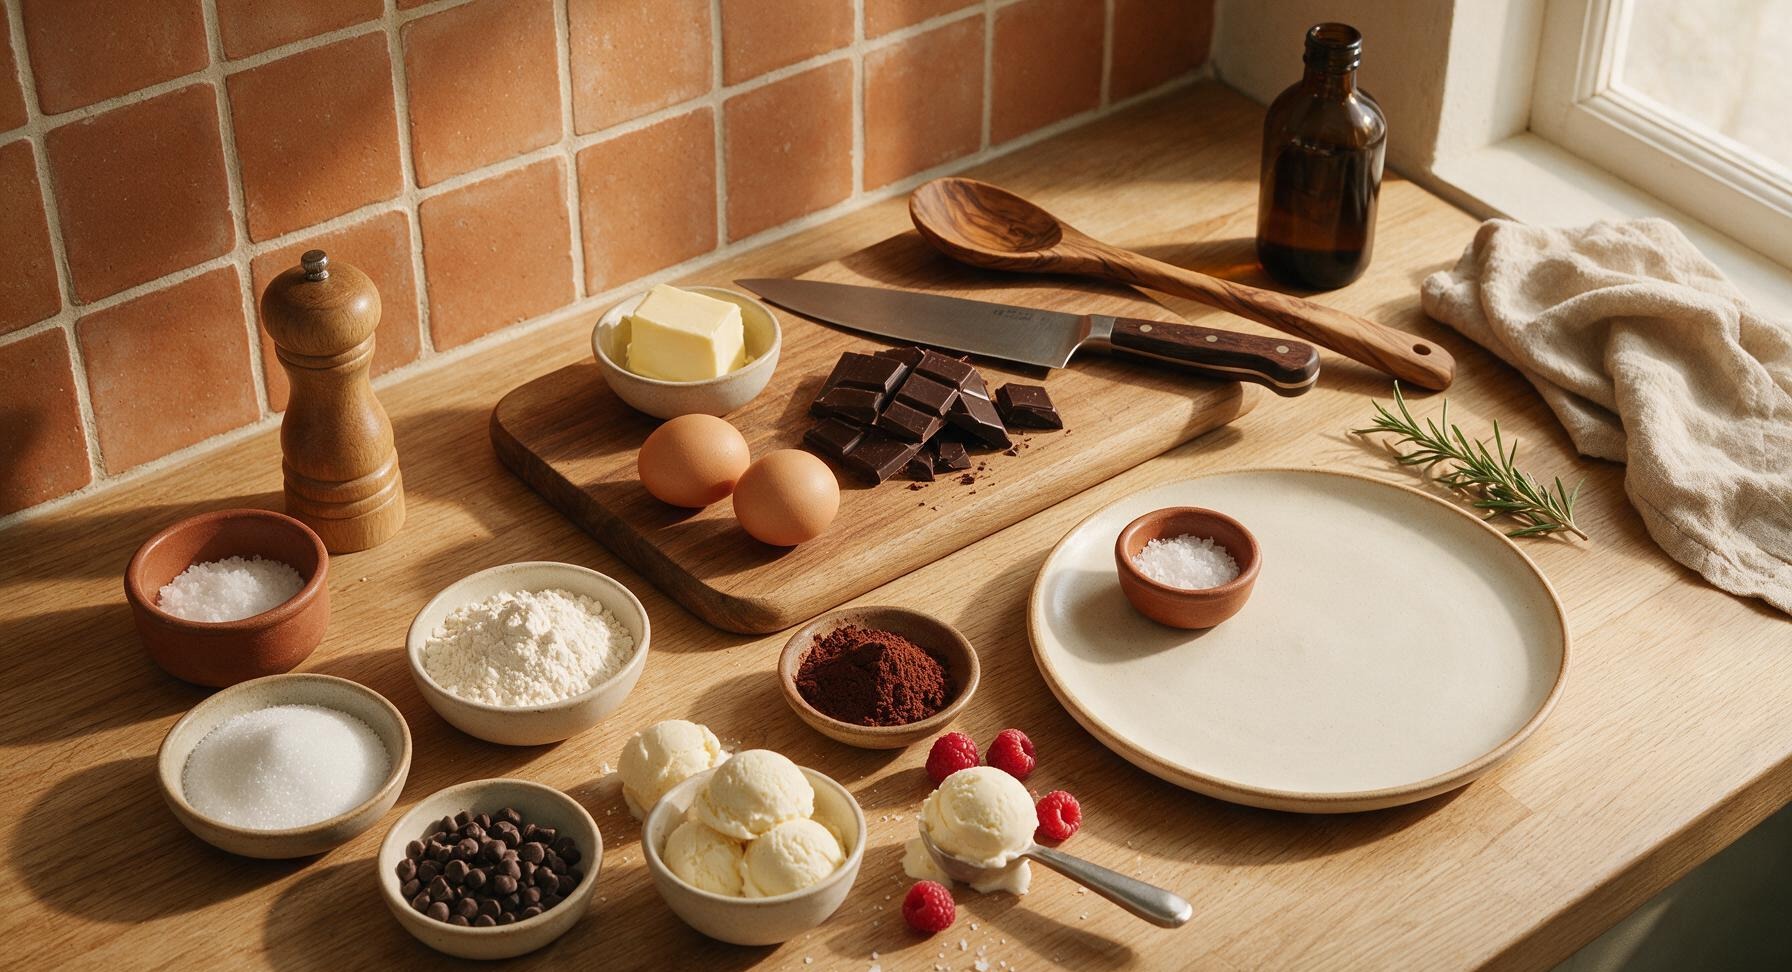
Unsalted butter 85g (6 tbsp)
70% cacao dark chocolate, chopped 80g
Large eggs, room temperature 2
All-purpose flour 60g (1/2 cup)
Granulated sugar 120g (1/2 cup + 2 tbsp)
Unsweetened Dutch-process cocoa powder 8g (1 tbsp)
Pure vanilla extract 5ml (1 tsp)
Baking powder 1g (1/4 tsp)
Fine sea salt 1g (1/4 tsp)
Semi-sweet chocolate chips 50g (1/3 cup)
Flaky sea salt, for topping 3g (1/2 tsp)
Vanilla bean ice cream, for serving 4 small scoops (100g total)
Fresh raspberries, for garnish 12 (3 per serving)

Steps

1

Preheat Waffle Iron

Plug in the matte black electric waffle iron and preheat to medium-high heat (190°C / 375°F). Lightly coat the non-stick grid plates with a thin layer of softened butter using the tip of the matte black silicone spatula to prevent sticking, taking care not to apply excess butter that will burn during cooking. Close the lid and wait until the red indicator light shows the iron has reached full cooking temperature, about 3 minutes.
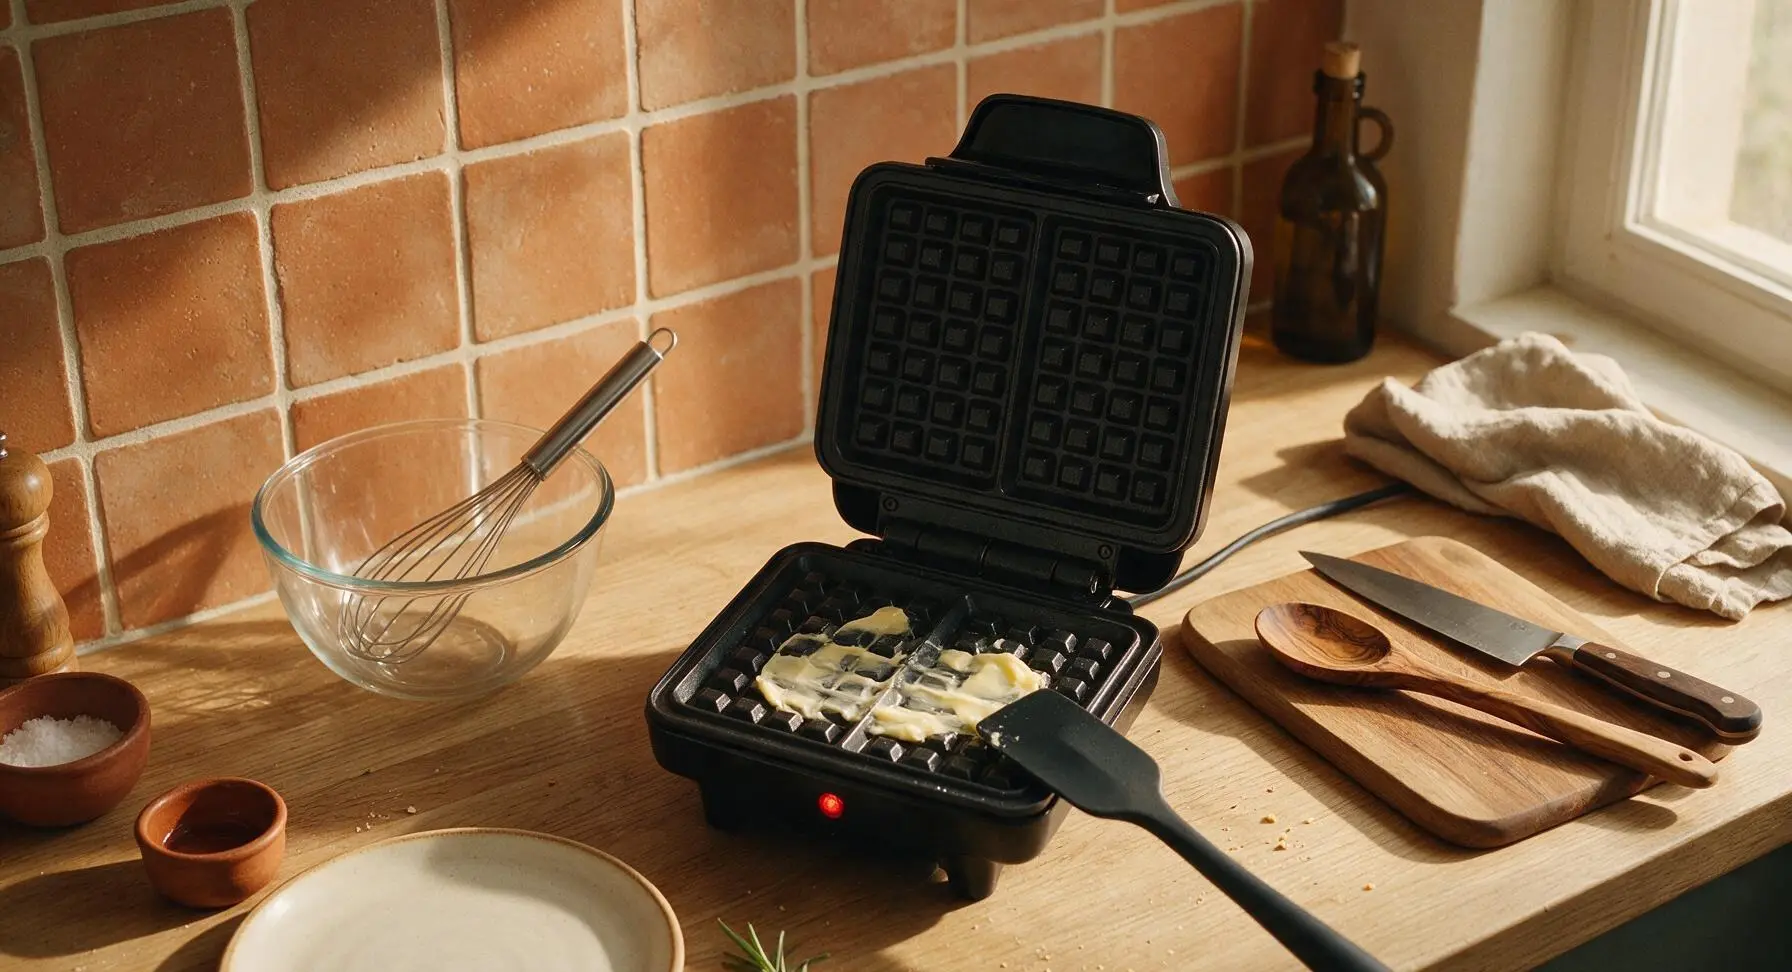
Step 1
step1:Preheat Waffle Iron
2

Melt Butter and Chocolate

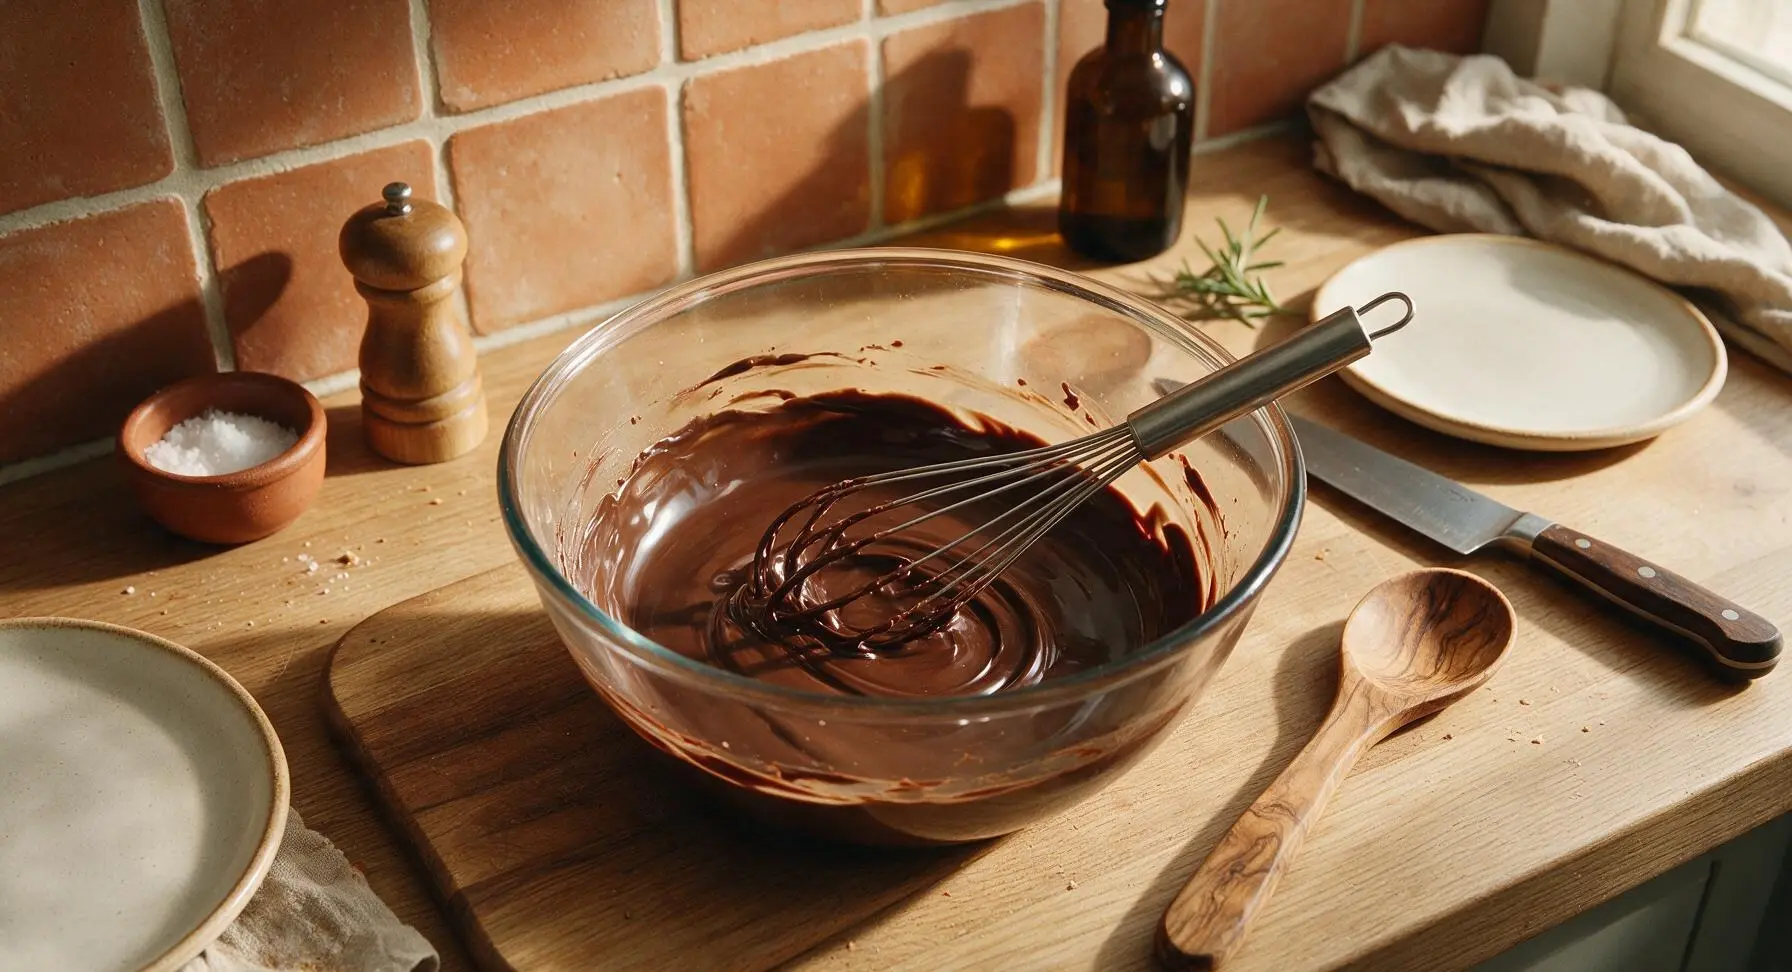
Place the chopped 70% dark chocolate and cubed unsalted butter into the clear glass mixing bowl. Microwave in 30-second bursts, stirring with the stainless steel whisk between each burst, until the mixture is completely smooth, glossy, and free of lumps (approximately 90 seconds total). Do not overheat, as high heat will cause chocolate to seize into grainy clumps. Set the bowl aside to cool slightly for 2 minutes before adding remaining ingredients.
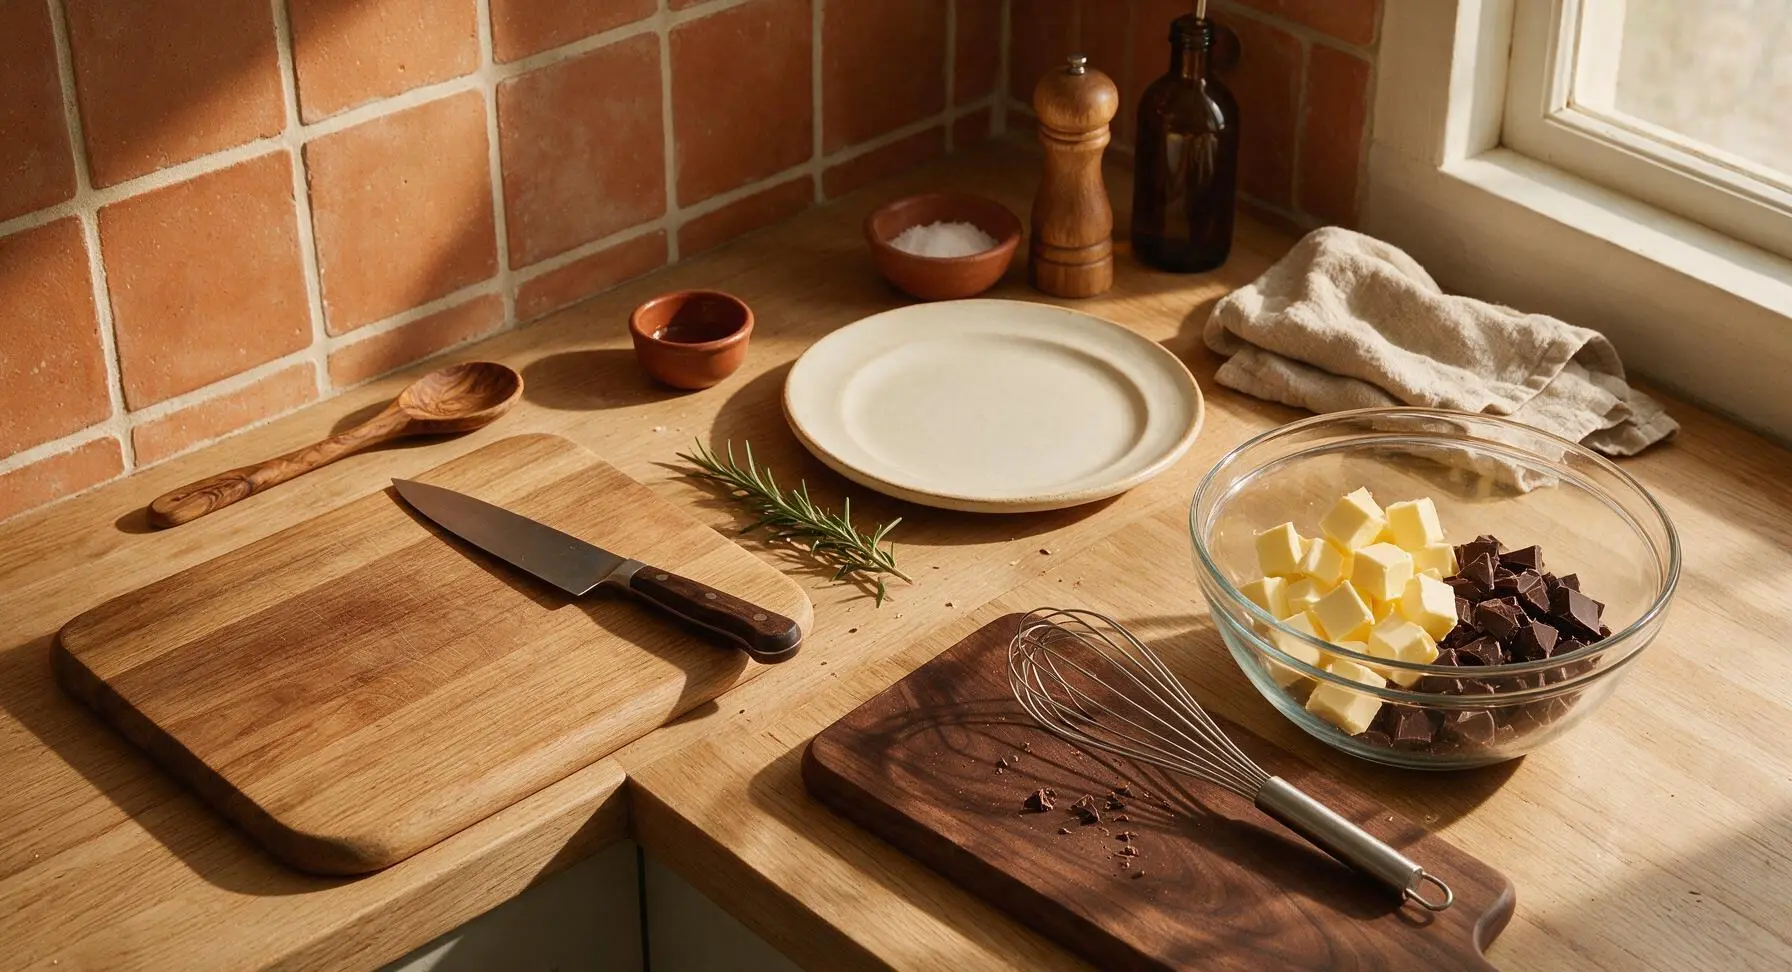
Step 2
step2:Melt Butter and Chocolate
Step 2
step2:Melt Butter and Chocolate
3

Whisk Sugar and Eggs

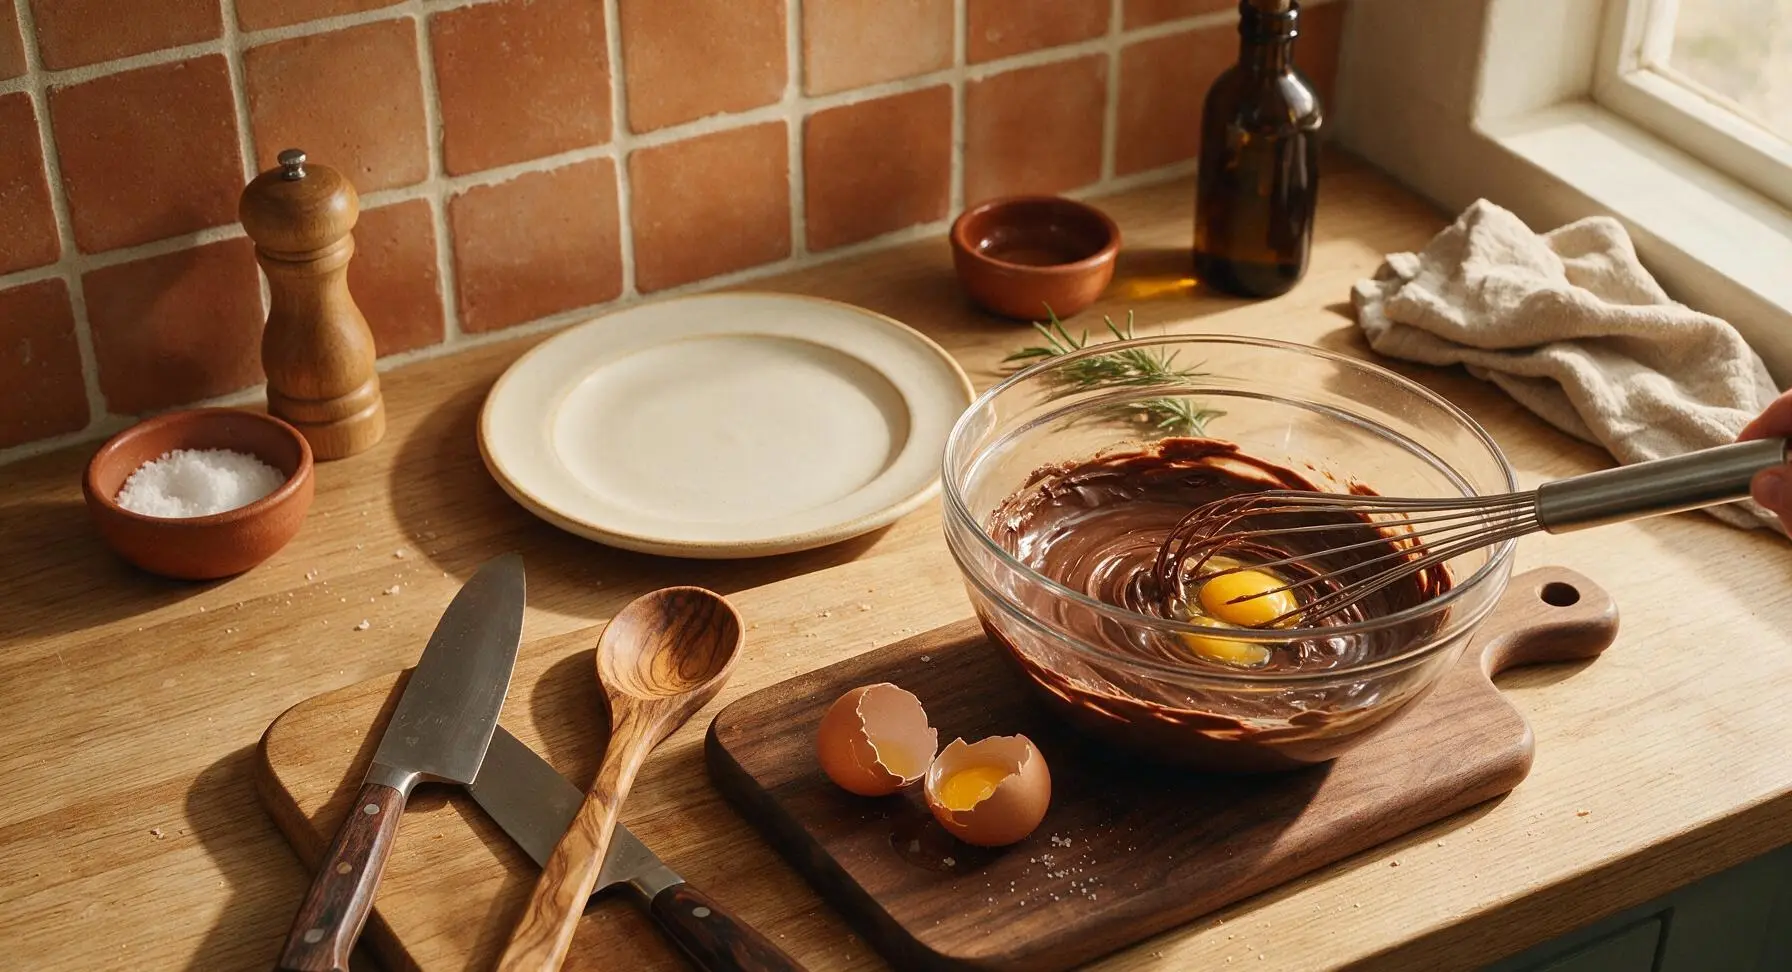
Add the granulated sugar to the slightly cooled melted chocolate mixture, whisking steadily with the stainless steel whisk for 30 seconds until fully combined. Add the two room-temperature eggs one at a time, whisking vigorously for 20 seconds after each addition until the batter is thick, smooth, and leaves a slow ribbon trail when you lift the whisk from the bowl. Stir in the pure vanilla extract until evenly incorporated.
Step 3
step3:Whisk Sugar and Eggs
4

Fold in Dry Ingredients

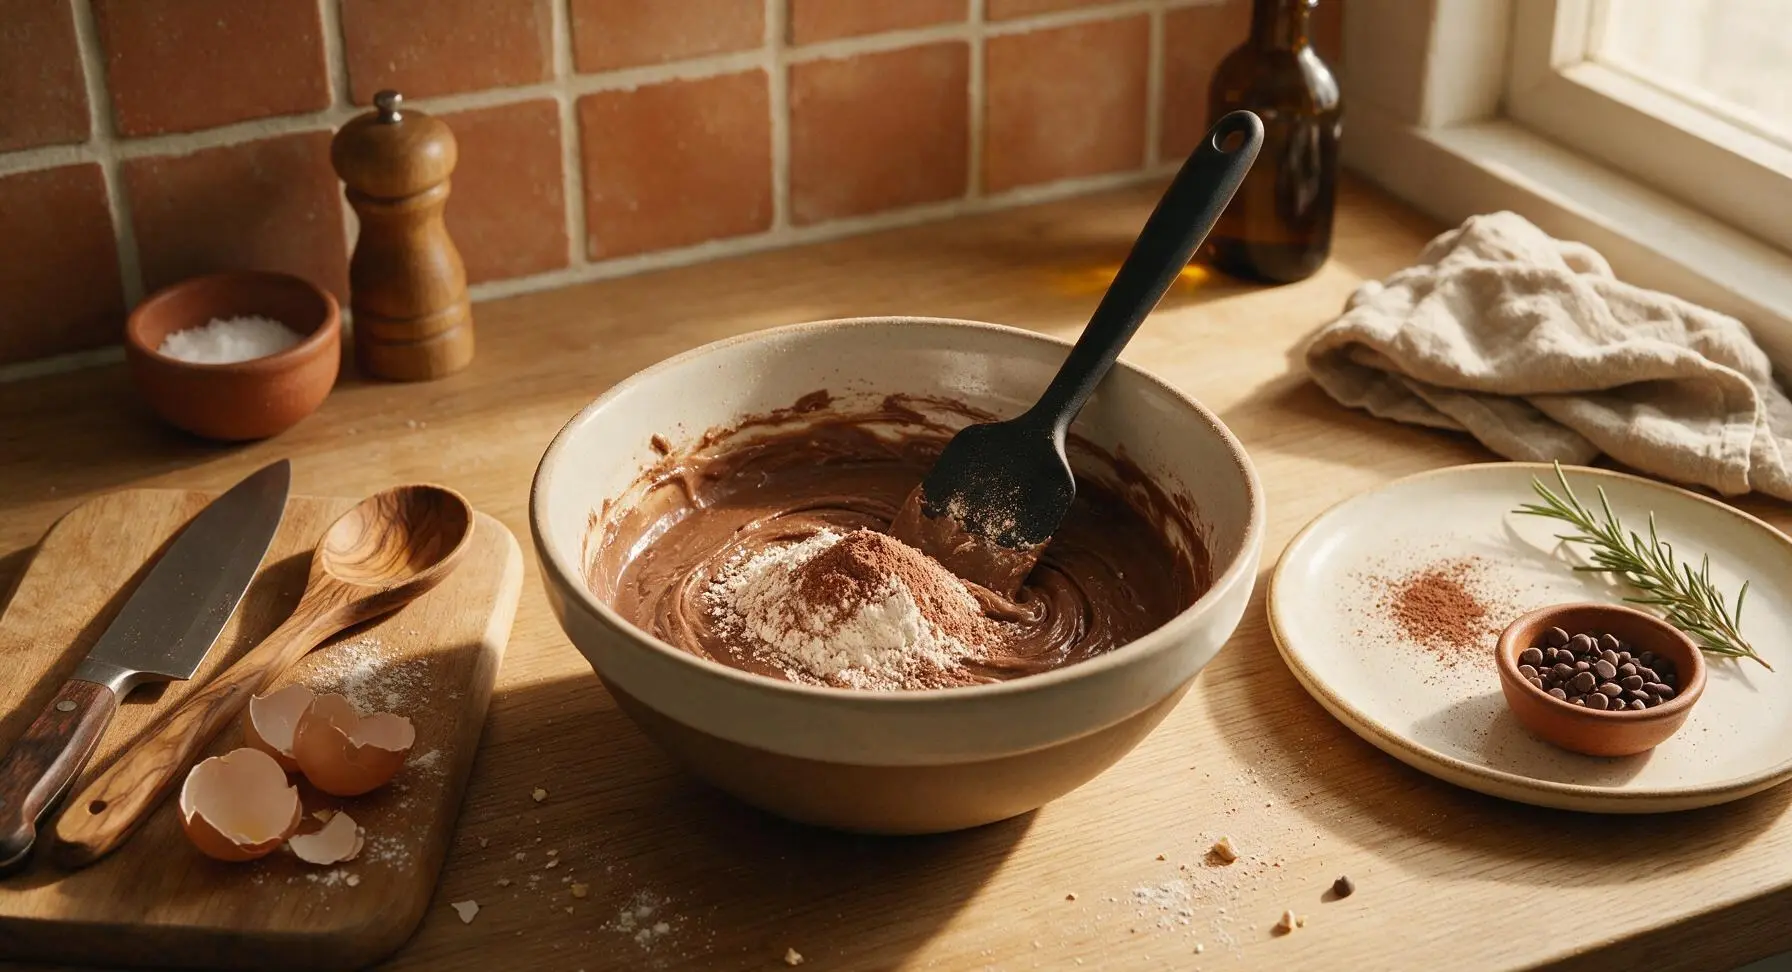
Sift the all-purpose flour, unsweetened cocoa powder, baking powder, and fine sea salt directly over the wet chocolate batter. Use the matte black silicone spatula to fold the dry ingredients into the wet mixture gently, using slow scraping motions from the bottom of the bowl up, just until no dry flour streaks remain. Do not overmix, as this will develop gluten and make the waffles tough instead of fudgy. Fold in 3/4 of the semi-sweet chocolate chips, reserving the remaining 1/4 in one of the terracotta ramekins for topping.
Step 4
step4:Fold in Dry Ingredients
5

Cook Waffle Batches

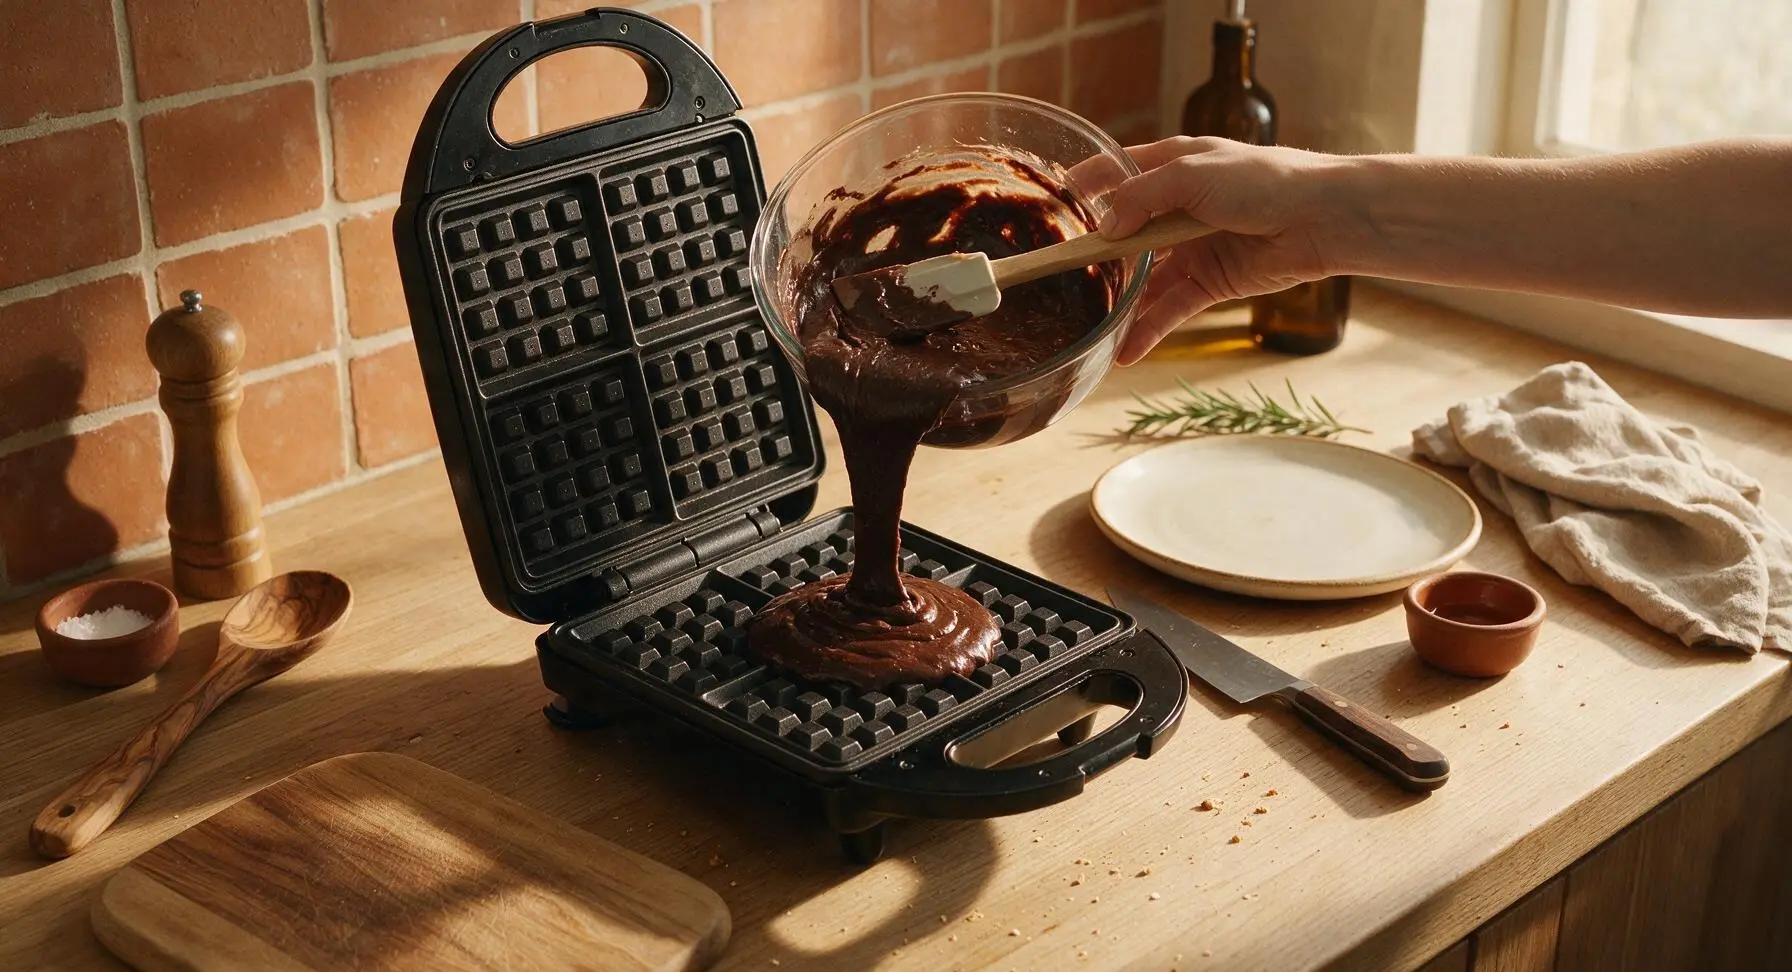
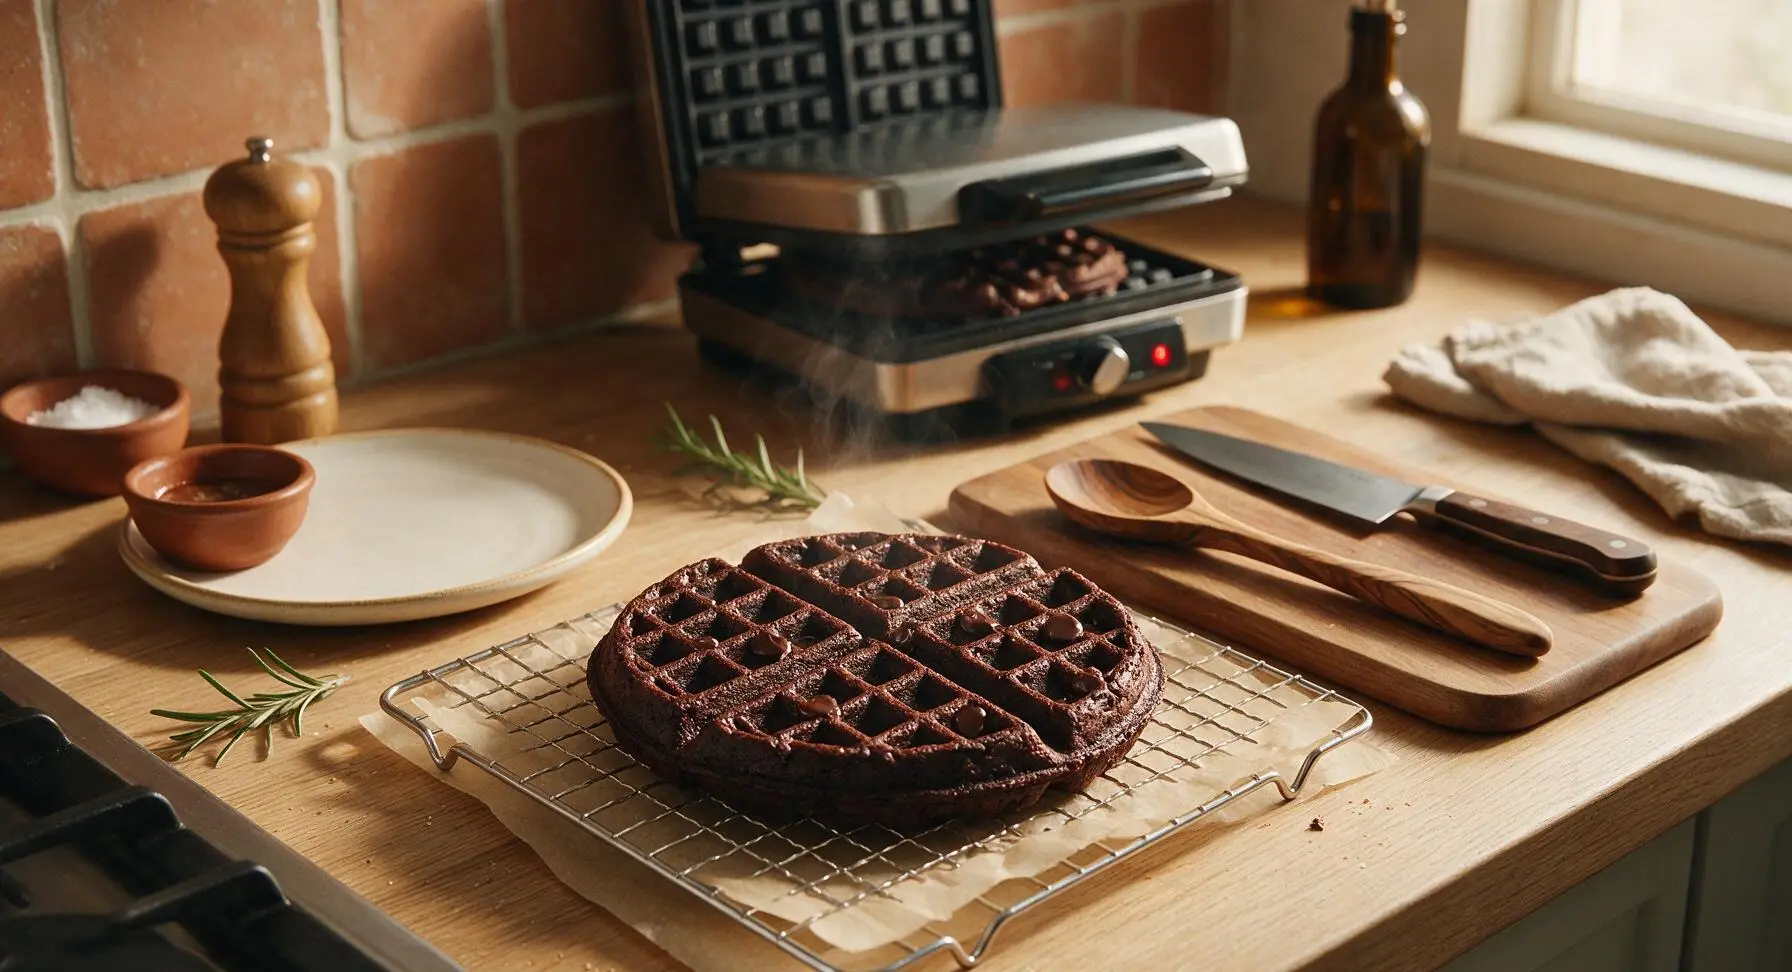
Once the waffle iron is fully preheated, pour 1/4 of the thick brownie batter (about 100ml) directly into the center of the lower waffle plate, spreading it gently with the silicone spatula to within 1cm of the edges (the batter will spread outward as it cooks). Close the lid and cook for 3 to 4 minutes, until the waffle is set around the edges, has a slightly crackly top, and lifts easily from the plates without sticking. Do not open the lid before 3 minutes, as this will cause the half-set waffle to split. Transfer cooked waffles to the parchment-lined wire cooling rack as you work, repeating with remaining batter to make 4 total waffles.
Step 5
step5:Cook Waffle Batches
Step 5
step5:Cook Waffle Batches
6

Plate and Garnish

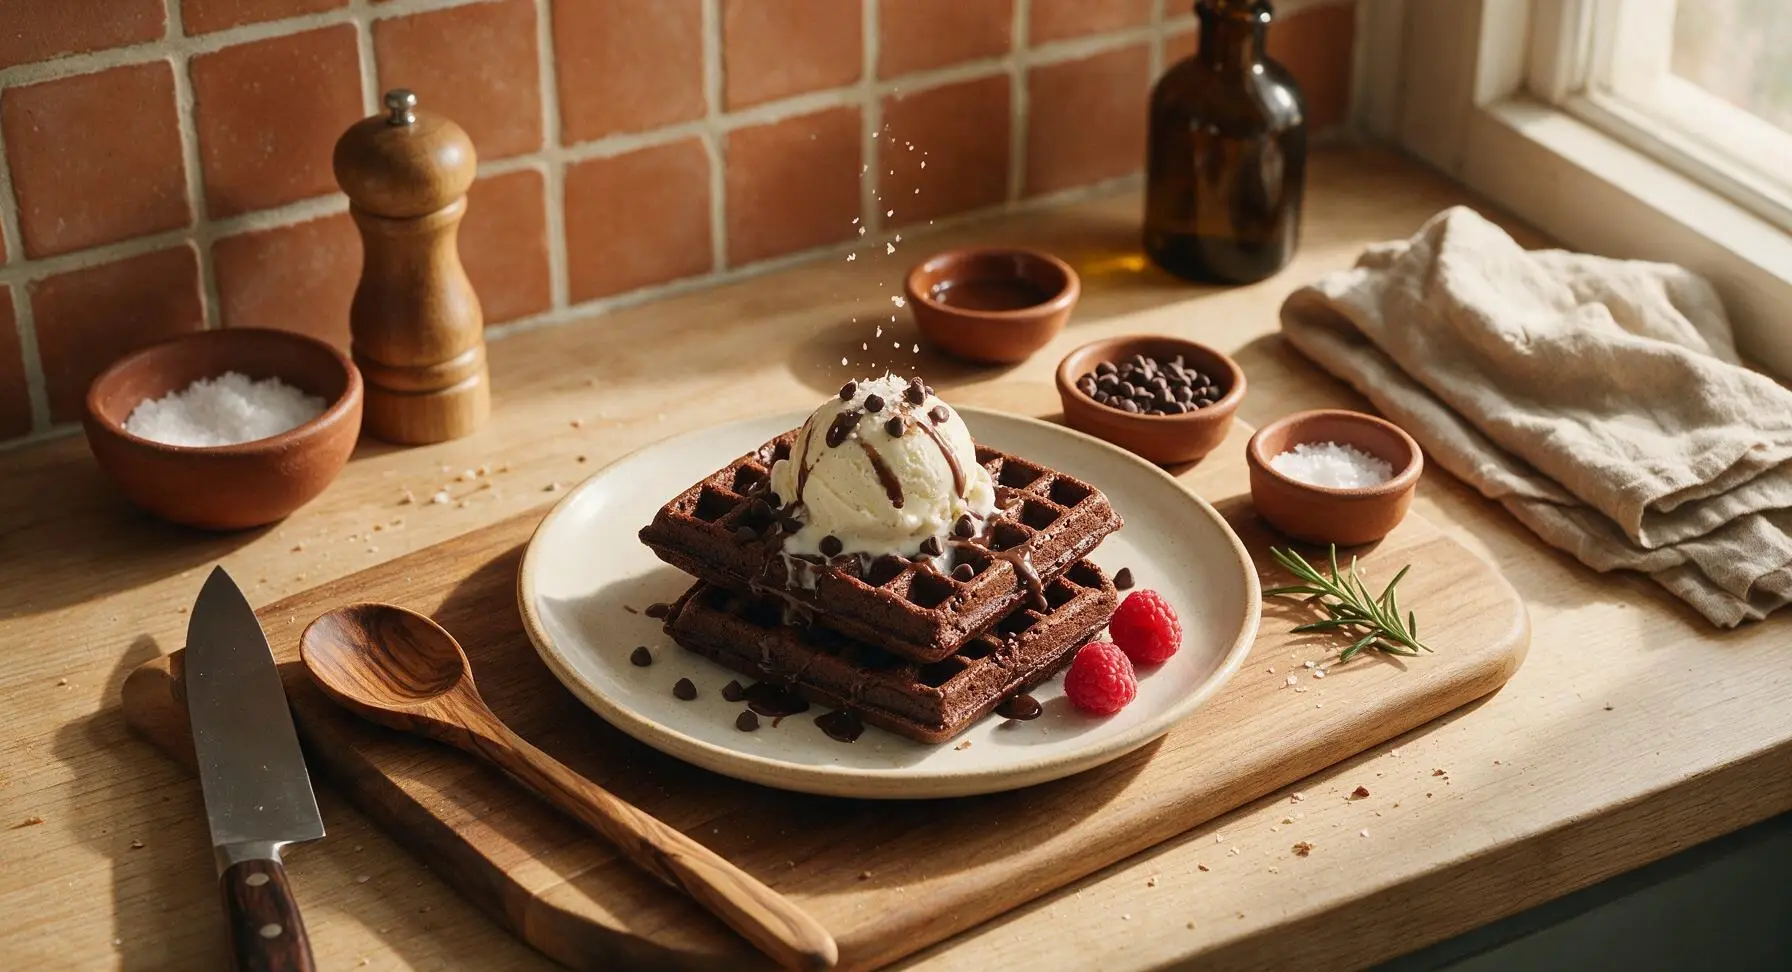
Stack two warm brownie waffles centered on the matte cream ceramic dinner plate. Top with a small scoop of vanilla bean ice cream per serving, letting it melt slightly into the waffle grids. Drizzle with a spoonful of leftover melted chocolate from the mixing bowl, sprinkle with the reserved semi-sweet chocolate chips, a light pinch of flaky sea salt, and tuck fresh raspberries alongside the waffle stack for a bright, tart contrast.
Step 6
step6:Plate and Garnish

Tips

1.Use room-temperature eggs: Cold eggs can shock the warm melted chocolate, causing it to seize into grainy lumps, while room-temperature eggs mix smoothly into the batter for a uniform, velvety fudgy texture.
2.Don’t overmix the batter after adding flour: Over-stirring develops gluten in the flour, which will turn your tender, melt-in-your-mouth waffles tough and cakey; stop folding as soon as the last streak of dry flour disappears.
3.Resist opening the waffle iron early: Lifting the lid before the 3-minute mark will cause the half-set brownie batter to split and stick to the plates, ruining the crisp grid shape and signature crackly brownie top.


✨ You May Also Like

Desserts & Baking
🍜 Italy

Creamy, coffee-kissed classic Northern Italian no-bake dessert, with layers of rum-spiked mascarpone cream, soft ladyfingers, and a rich cocoa dusting.

⏱️ 4 hours 3Desserts & Baking ★ 4.7
Desserts & Baking
🍜 France

Flaky, shatteringly crisp, buttery French croissants with golden exteriors and soft, airy layered interiors, perfect for pairing with coffee for a special morning treat.

⏱️ 12 hours Desserts & Baking ★ 4.5
Desserts & Baking
🍜 United States

Warm, spiced baked apples topped with a fluffy golden biscuit crust, this cozy dessert pairs perfectly with vanilla ice cream for cool-weather comfort.

⏱️ 55 minuteDesserts & Baking ★ 4.6
Desserts & Baking
🍜 United States

A star-spangled classic American blueberry pie with buttery flaky crust and bright sweet-tart filling, perfect for summer patriotic gatherings.

⏱️ 1 hour 25Desserts & Baking ★ 4.7
Desserts & Baking
🍜 United States

A beloved no-bake regional Maine candy with a chewy coconut-potato center coated in rich dark chocolate, a New England holiday staple since the 1870s.

⏱️ 2 hours 3Desserts & Baking ★ 4.8
Desserts & Baking
🍜 France

Luxuriously creamy, floral frozen custard made with aromatic Tahitian vanilla beans, boasting a smooth, rich texture that melts slowly on the tongue.

⏱️ 3 hours 3Desserts & Baking ★ 4.5

brownie waffle:Frequently Asked Questions

1.Why do my brownie waffles turn out cakey instead of fudgy? ▾
Great question! Cakey waffles usually come from overmixing the batter (which develops too much tough gluten) or overcooking them. Measure flour by spooning it into your cup instead of scooping, stir only until no dry flour streaks remain, and cook just 2 to 3 minutes—waffle irons run hot, and extra time will dry out that gooey fudgy center.
2.Do I need a special waffle iron to make these brownie waffles? ▾
No special gear required! A standard Belgian or regular countertop waffle iron works perfectly, as long as you give it a light coating of nonstick spray or brush on melted unsalted butter before adding batter. You don’t need specialty plates; just use your regular medium heat setting to get that signature crackly top and crisp, chewy edge.
3.Can I use milk chocolate instead of 70% cacao dark chocolate for this recipe? ▾
You can, but I don’t recommend a straight 1:1 swap. 70% cacao dark chocolate cuts through the richness of butter and granulated sugar to deliver that deep, classic brownie flavor without being cloyingly sweet. If you only have milk chocolate, cut the granulated sugar by 2 tablespoons to keep the flavor balanced, and expect a milder, sweeter final result.
4.Why do the eggs need to be room temperature for this recipe? ▾
Room temperature large eggs mix far more smoothly into melted butter and chocolate, creating a uniform batter that traps air better as it cooks. That trapped air is what helps form that perfect crackly, crisp top instead of a dense, uneven surface. If you’re short on time, submerge cold eggs in warm tap water for 5 minutes to bring them up to temp fast.
5.How do I keep the edges crisp instead of soggy after taking the waffles off the iron? ▾
Skip stacking waffles directly on a plate right off the iron—trapped steam will turn crisp edges soggy in seconds. Instead, set cooked waffles on a wire rack set over a baking sheet in a 200°F oven while you cook the remaining batter. This keeps air circulating around every waffle, preserving crisp edges and a warm gooey center until serving.
6.Can I make this batter ahead of time for a quick weekend breakfast? ▾
You can prep the batter up to 24 hours in advance! Store it tightly covered in the refrigerator, and give it a gentle stir before pouring it onto your preheated waffle iron. Note that cold batter will need an extra 30 to 45 seconds of cook time, and you’ll get a slightly denser, extra-fudgy result rather than a lighter, airier crackly top.
7.How do I know when the waffles are done cooking so I don’t overbake them? ▾
Resist the urge to open the waffle iron for the first 2 minutes of cook time—peeking early can cause the partially set waffle to split and stick. When you see thin, wispy steam slowing (not billowing heavily) around the iron edges, the waffle is done. It will lift easily off the plates with a fork, with crisp edges and a soft, gooey center.
8.What are the best toppings to serve with these fudgy brownie waffles? ▾
You can’t go wrong with a dusting of powdered sugar and a scoop of vanilla ice cream for an indulgent treat, or a drizzle of warm salted caramel to cut the chocolate richness. For a cozy winter vibe, add toasted hazelnuts, a dollop of freshly whipped cream, or a handful of fresh raspberries for a bright, tart contrast to the deep fudgy flavor.
9.My waffles keep sticking to the iron—what am I doing wrong? ▾
Sticking almost always traces back to one of three easy fixes: your iron isn’t fully preheated, you skipped greasing the plates, or you tried to lift the waffle too early before it set. Let your iron preheat for a full 5 minutes before adding batter, brush plates lightly with melted butter even if they’re nonstick, and wait until steam slows before checking doneness.
10.Can I make these gluten-free for friends with dietary restrictions? ▾
Absolutely! Swap the all-purpose flour for a 1:1 gluten-free all-purpose baking blend that contains xanthan gum, and the recipe will perform exactly the same. Skip using single gluten-free flours like almond or coconut flour on their own, as those will drastically change the texture and won’t deliver that rich, signature chewy, fudgy brownie crumb you’re after.

Comments (14)

2 days ago

OMG these are a GAME CHANGER. I made them for Saturday brunch with my roommates and we all ate way too many, no regrets. So fudgy, not too cakey, exactly the brownie texture I wanted in waffle form. Drizzled a little salted caramel on top and *chefs kiss*

1 day ago

Wait salted caramel drizzle is such a good call! I was just gonna do powdered sugar, I’m definitely adding that next time I make them.

1 day ago

So glad you loved them! Salted caramel is the perfect pairing—pro tip, a tiny scoop of vanilla ice cream on top while they’re still warm takes it to the next level.

3 days ago

15 minute cook time? Sign me up. I threw these together on a school morning before my kids left for class and they went crazy for them. I didn’t even have time to make a fancy topping, just a little chocolate syrup and they thought it was a special treat. Will be adding this to our weekly rotation for sure!

2 days ago

That’s what we love to hear! Quick, kid-approved recipes are the best for busy school mornings—so happy this worked out for your family.

1 week ago

Perfect dorm recipe! I have a tiny countertop waffle maker in my dorm and even making these from scratch was so easy, no fancy tools required. My whole hall smelled like brownies when I cooked them last night, half my floor knocked asking for a bite. SO good, 10/10, will be making these every study night from now on.

1 week ago

Wait, has anyone tried making these with a 1:1 gluten free flour blend? I’ve been looking for a good gluten free waffle recipe that doesn’t taste like cardboard, and these look too good to pass up. Giving 4 stars for now because I haven’t made them yet, but I’ll update once I do!

5 days ago

I made them with Bob’s Red Mill 1:1 GF flour last weekend and they came out perfect! No weird texture, just as fudgy as the original recipe.

3 days ago

Great question! We’ve tested this with 1:1 gluten free all purpose flour and it works beautifully—just make sure you don’t overmix the batter to keep that fudgy texture.

2 weeks ago

Brought these to my neighborhood potluck last weekend and people were asking for the recipe before I even set the plate down! I cut them into little bite-sized squares, put out a bowl of whipped cream and sprinkles for dipping, and they were gone in 10 minutes flat. Absolute crowd pleaser.

2 weeks ago

The bite-sized potluck idea is genius! I’m definitely stealing that for my next neighborhood get together—so happy they were a hit!

3 days ago

Made these for my teenage son’s birthday sleepover and let me tell you, a bunch of 16 year old boys can put away some waffles. I served them with ice cream and hot fudge for a build-your-own sundae bar and they thought I was the coolest dad ever. Easy recipe, zero complaints, total win.

5 days ago

Wait, I was worried these would be too sweet, but the fudgy dark chocolate base is perfectly balanced! I added a handful of chopped walnuts to the batter for a little crunch and it was chef’s kiss. Great recipe, super straightforward even for someone who bakes as rarely as I do.

3 days ago

Walnut addition is so smart! I usually add pecans to my brownies, can’t believe I didn’t think to toss them in these waffles. Trying that this weekend!

2 weeks ago

Okay, hold up—meal prep hack? I made a big batch of these on Sunday, stuck them in the freezer, and popped them in the toaster all week for a quick breakfast. They taste just as fudgy as the day I made them! Why didn’t I think of brownie waffles for meal prep before?

1 week ago

Wait that’s the hack I needed! I usually make regular waffles for freezer prep but these are way more fun. Do you wrap them individually in plastic wrap or just stick them in a freezer bag?

1 week ago

Freezer prep is such a great call! We recommend letting them cool completely, then storing in an airtight freezer bag with parchment paper between each waffle so they don’t stick. They toast up perfectly in 1-2 minutes!

2 days ago

Made these for my husband for our first Saturday morning in our new house and he declared them ‘better than any restaurant brunch we’ve ever had’. The easy difficulty rating is no joke, I’m a total beginner in the kitchen and they came out perfectly on the first try. 10/10, will be making these for years to come.

1 week ago

Made these before an early morning hike last weekend and they were the perfect portable snack! I wrapped them up in foil, brought a little peanut butter to slather on top, and they kept me full for miles. Way better than boring granola bars, that’s for sure.

5 days ago

What a fun on-the-go use for these! Peanut butter and fudgy brownie waffles sounds like the ultimate hiking fuel—we’re definitely trying that on our next trail day.

yesterday

My granddaughter asked for ‘chocolate waffles’ for her sleepover with her friends and I was so happy to find this easy recipe! The girls decorated them with sprinkles, mini marshmallows, and chocolate chips, and they had the best time. I even snuck a bite myself, and they’re just as fudgy as the brownies I’ve been making for 40 years.

2 hours ago

This is exactly what I’m looking for my daughter’s upcoming sleepover! Did you use a regular waffle iron or the mini one? I feel like mini waffles would be so cute for the kids.

5 days ago

Wait a second—these taste exactly like the edge pieces of a pan of brownies, you know, the chewy fudgy ones everyone fights over? I’m obsessed. I cooked mine a minute longer than the recipe said to get that extra crispy edge and it was perfect. No notes, 10/10.

3 days ago

Oh my god you get it. The edge pieces are the only good part of brownies, I’m so glad someone else cooks these a little longer for that extra chew. Game changer.

2 days ago

Love the extra cook time hack! If you love that chewy edge, giving them 30-60 seconds longer in the waffle iron is the perfect trick—glad you loved the texture!

3 days ago

I was skeptical that brownie waffles would actually be fudgy and not dry, but man was I wrong. I cooked these on my cast iron waffle maker out on the patio for Sunday brunch and even my picky father-in-law went back for seconds. Served them with a little bourbon whipped cream, highly recommend.

2 days ago

Bourbon whipped cream sounds incredible! Cast iron waffle irons make everything taste better, so glad these won over your father-in-law—that’s the ultimate seal of approval.

30 minutes ago

Made these last minute when my kid’s friends showed up after school and they were a total hit. I didn’t have any fancy toppings so we used leftover Halloween candy to top them and the kids thought it was the best snack ever. So easy, minimal cleanup, zero stress. Will be keeping this recipe saved for last minute guest moments.



