
bubble waffle ingredients
intro
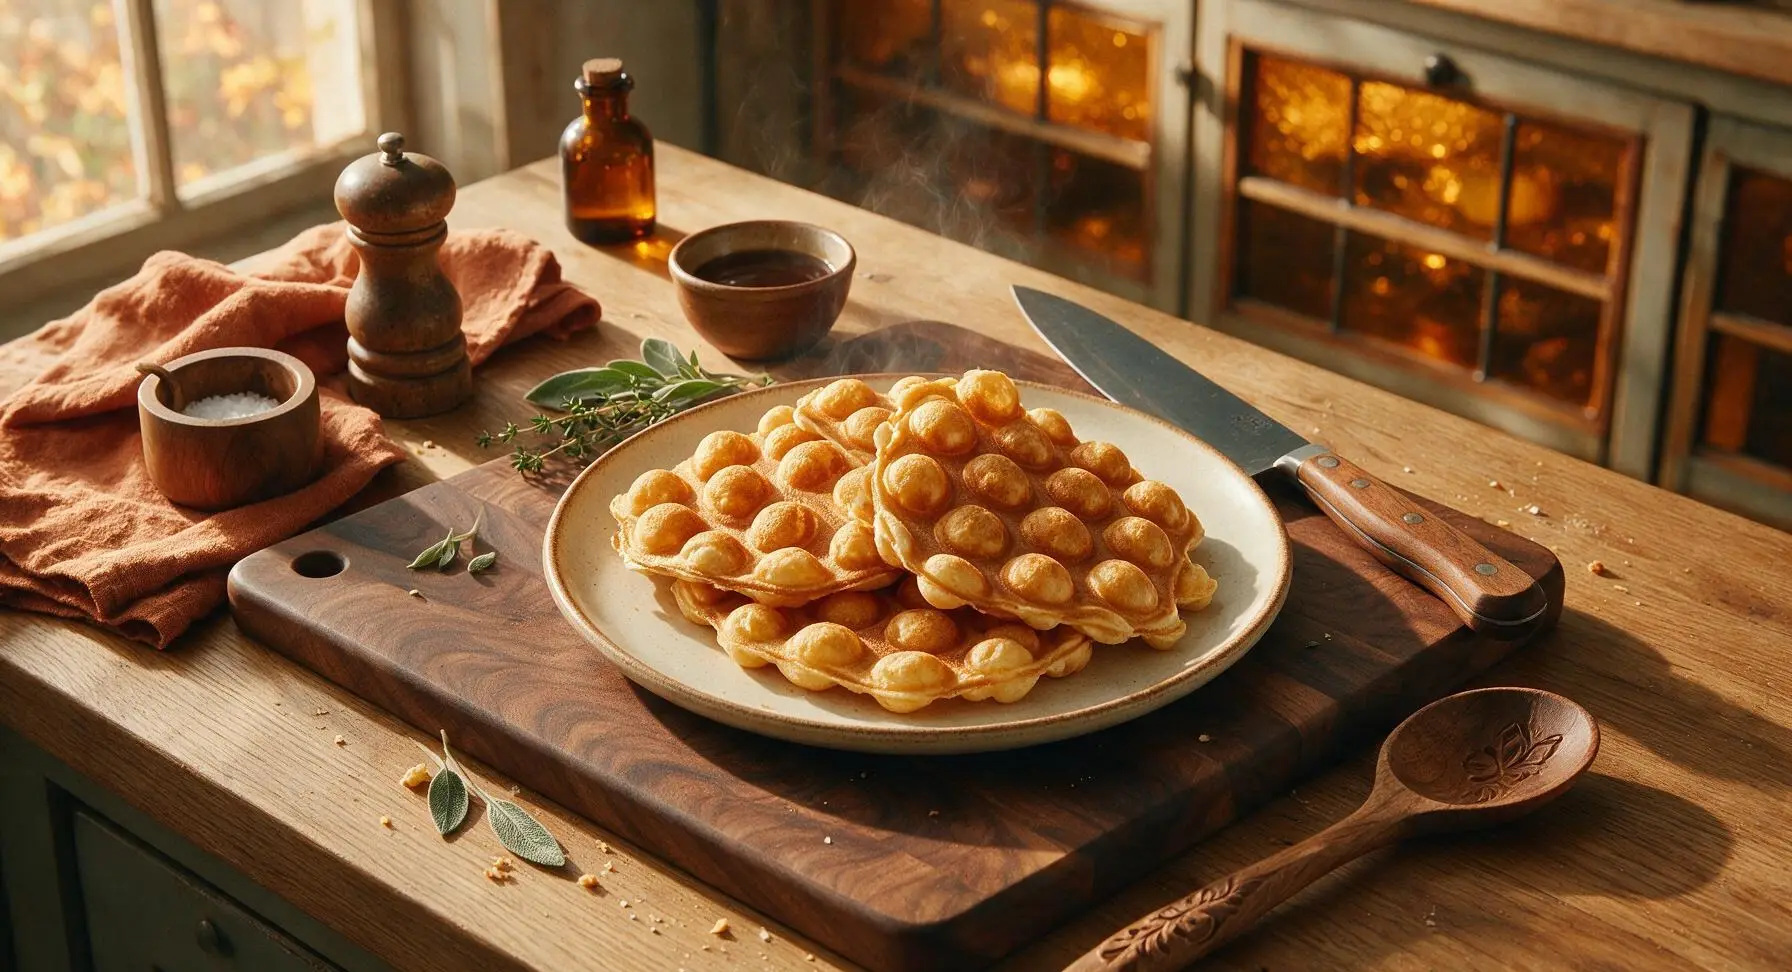
Crisp, golden Hong Kong-style bubble waffles with pillowy air pockets, perfect for loading with ice cream and fresh fruit for a fun, shareable summer party treat.
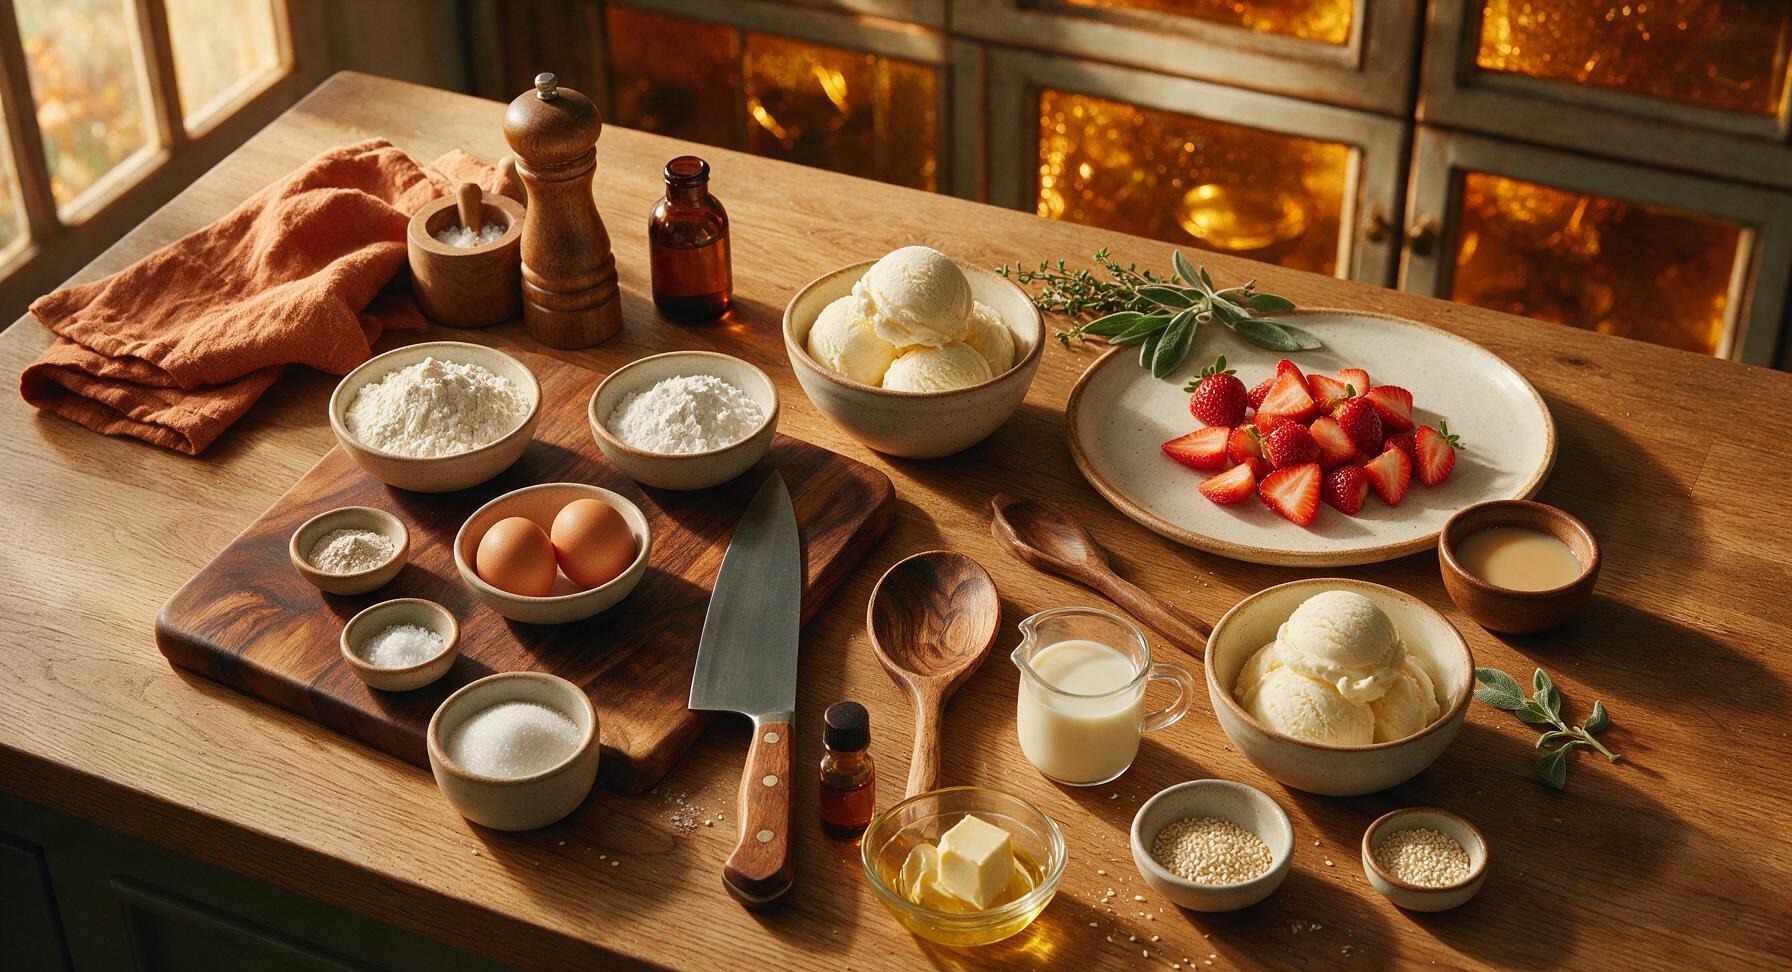
Ingredients
Steps
Sift Dry Ingredients
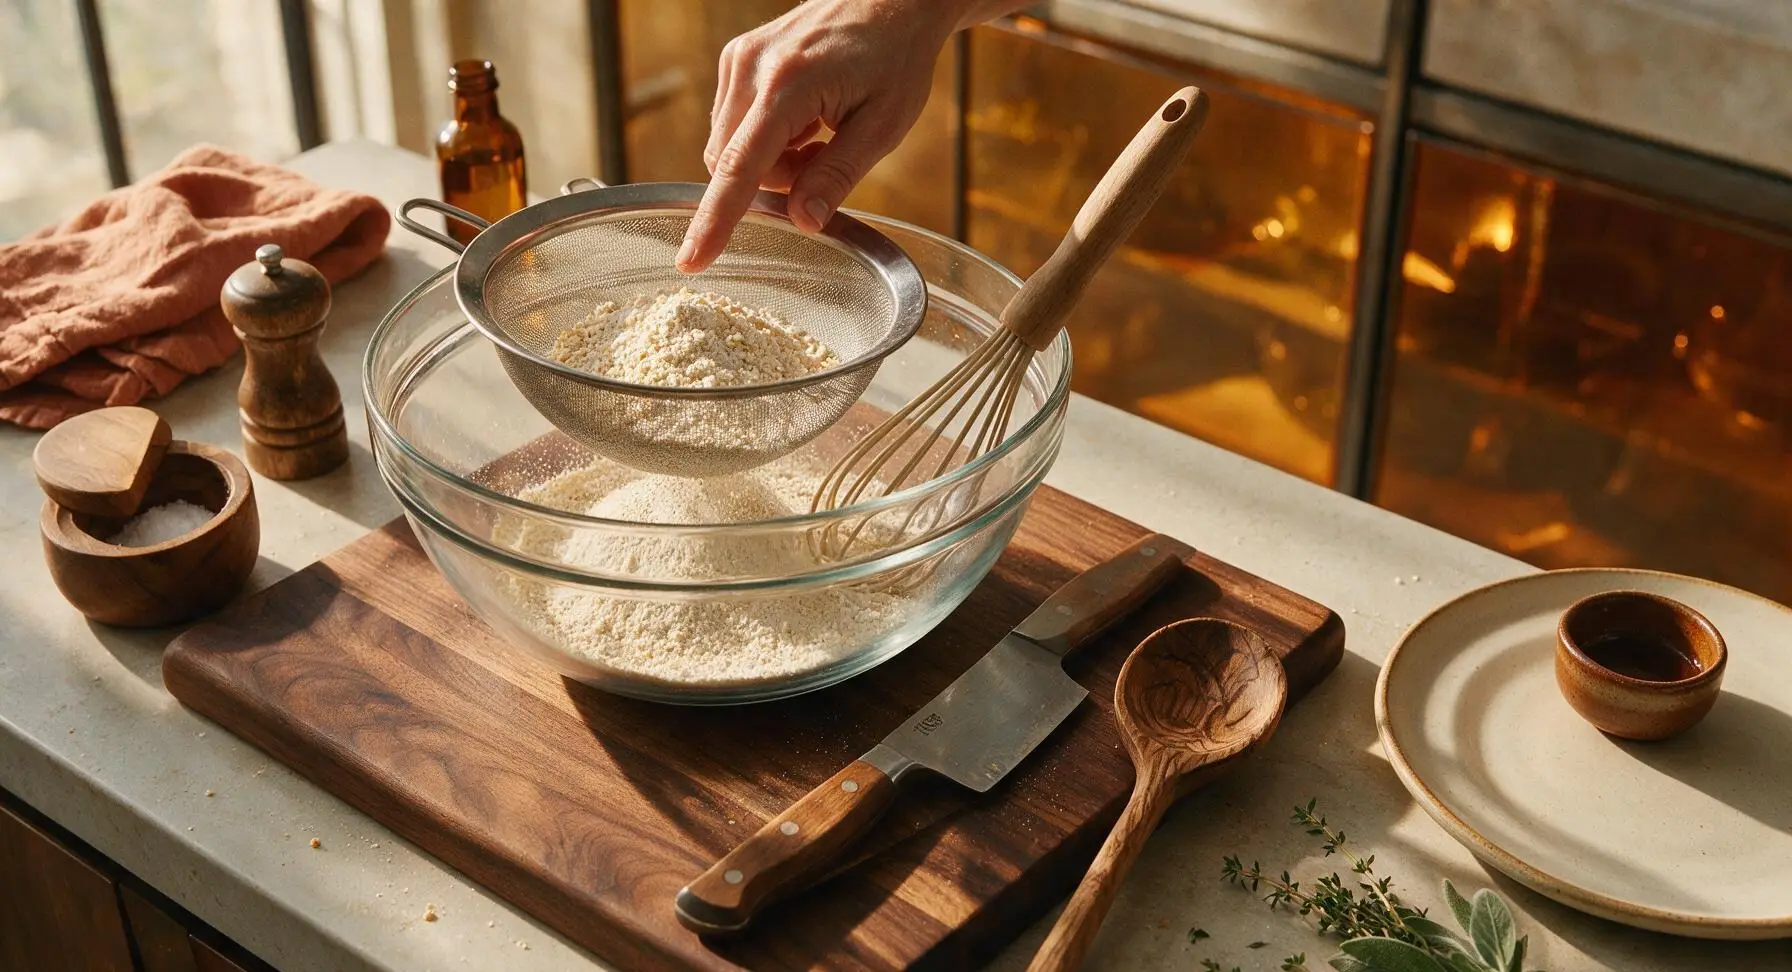
Place the fine-mesh stainless steel sieve over the large clear glass mixing bowl. Add 140g all-purpose flour, 35g tapioca starch, 2 tsp baking powder, 1/4 tsp fine sea salt, and 50g granulated sugar to the sieve. Tap the sieve edge gently to sift all ingredients into the bowl below, breaking up any large lumps with the silicone whisk as needed. The finished dry mixture should be completely uniform, pale off-white, and free of clumps.
Whisk Smooth Batter
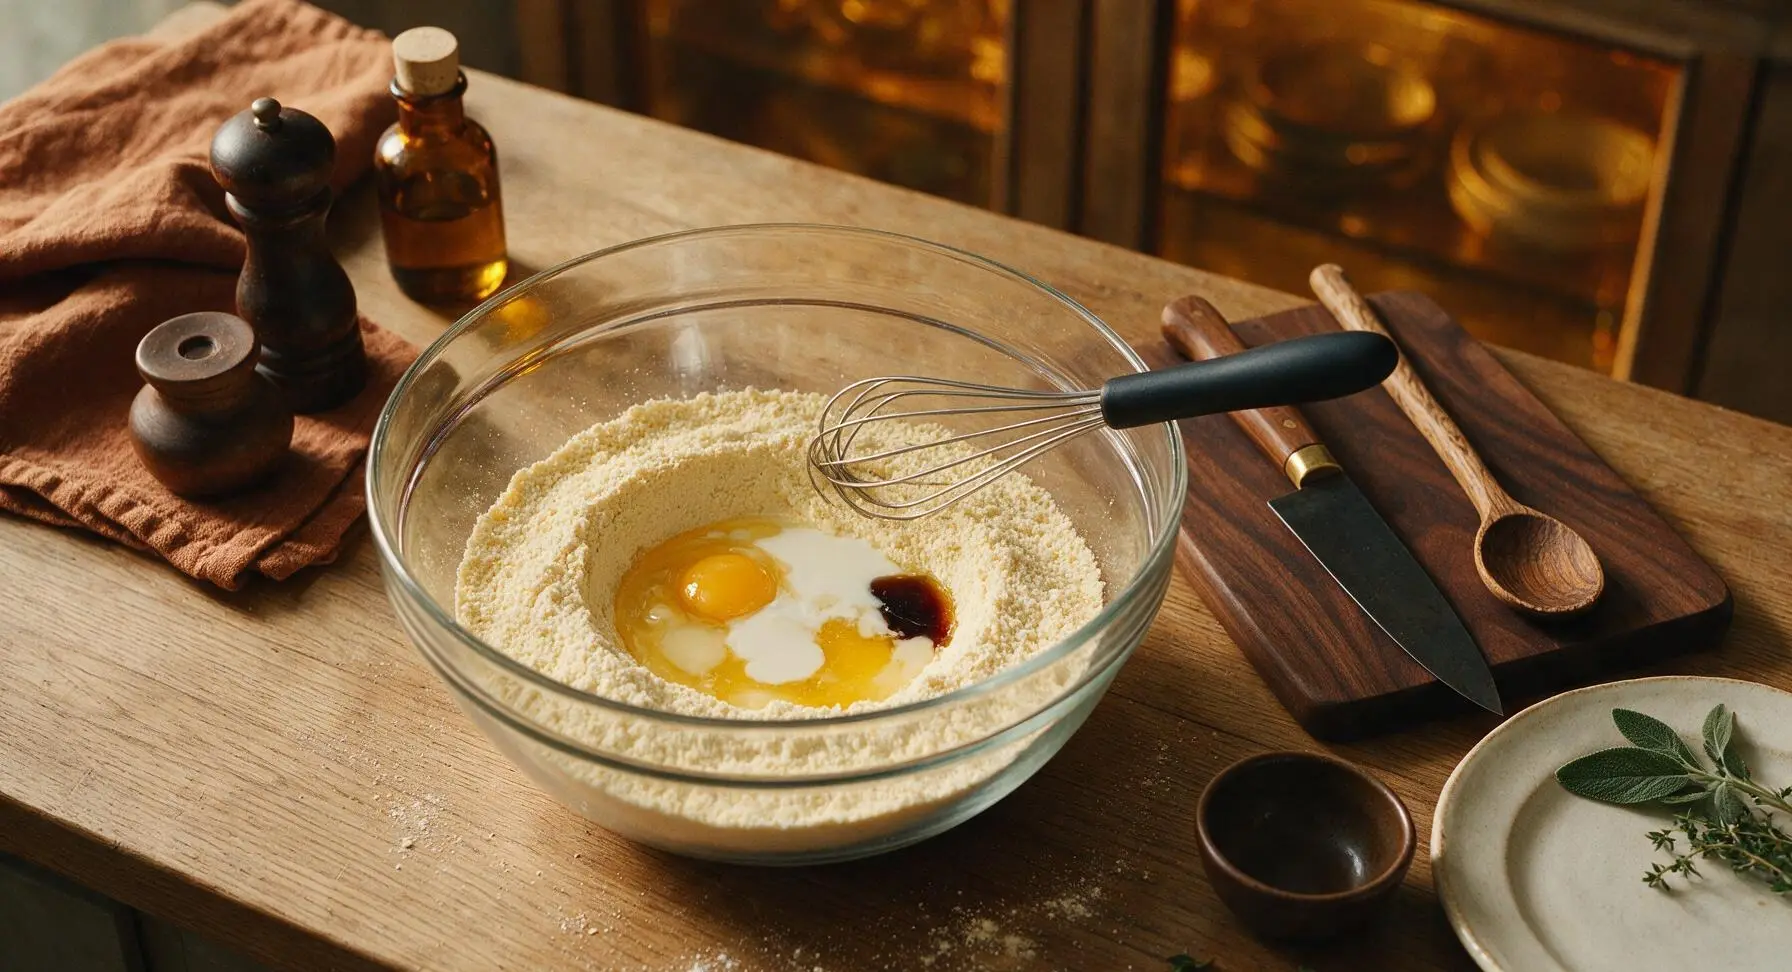
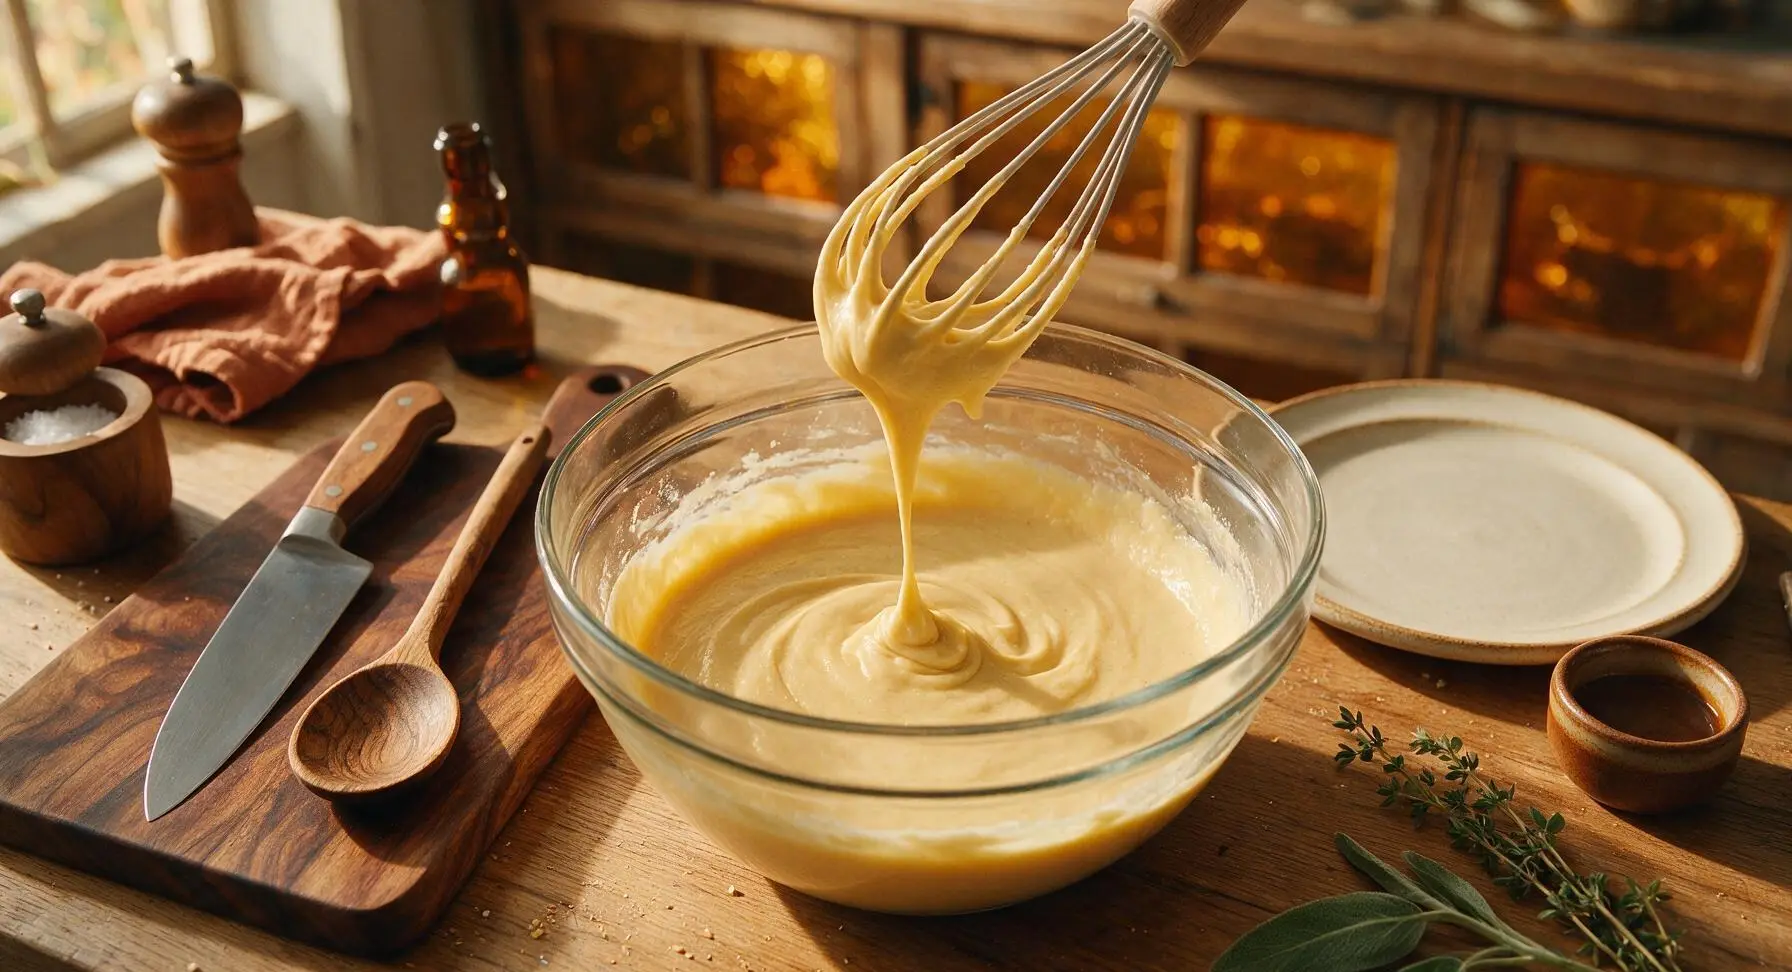
Press a shallow well into the center of the sifted dry ingredient mixture in the glass bowl. Crack the 2 large eggs into the well, then pour in 80ml whole milk, 60ml evaporated milk, 1 tsp pure vanilla extract, and the 25g cooled melted unsalted butter. Use the silicone whisk to stir the wet ingredients slowly in the well center, gradually drawing dry ingredients in from the edges to avoid lumps. Whisk just until the batter is smooth, with the thick, pourable consistency of heavy cream and no visible flour streaks.
Rest the Batter
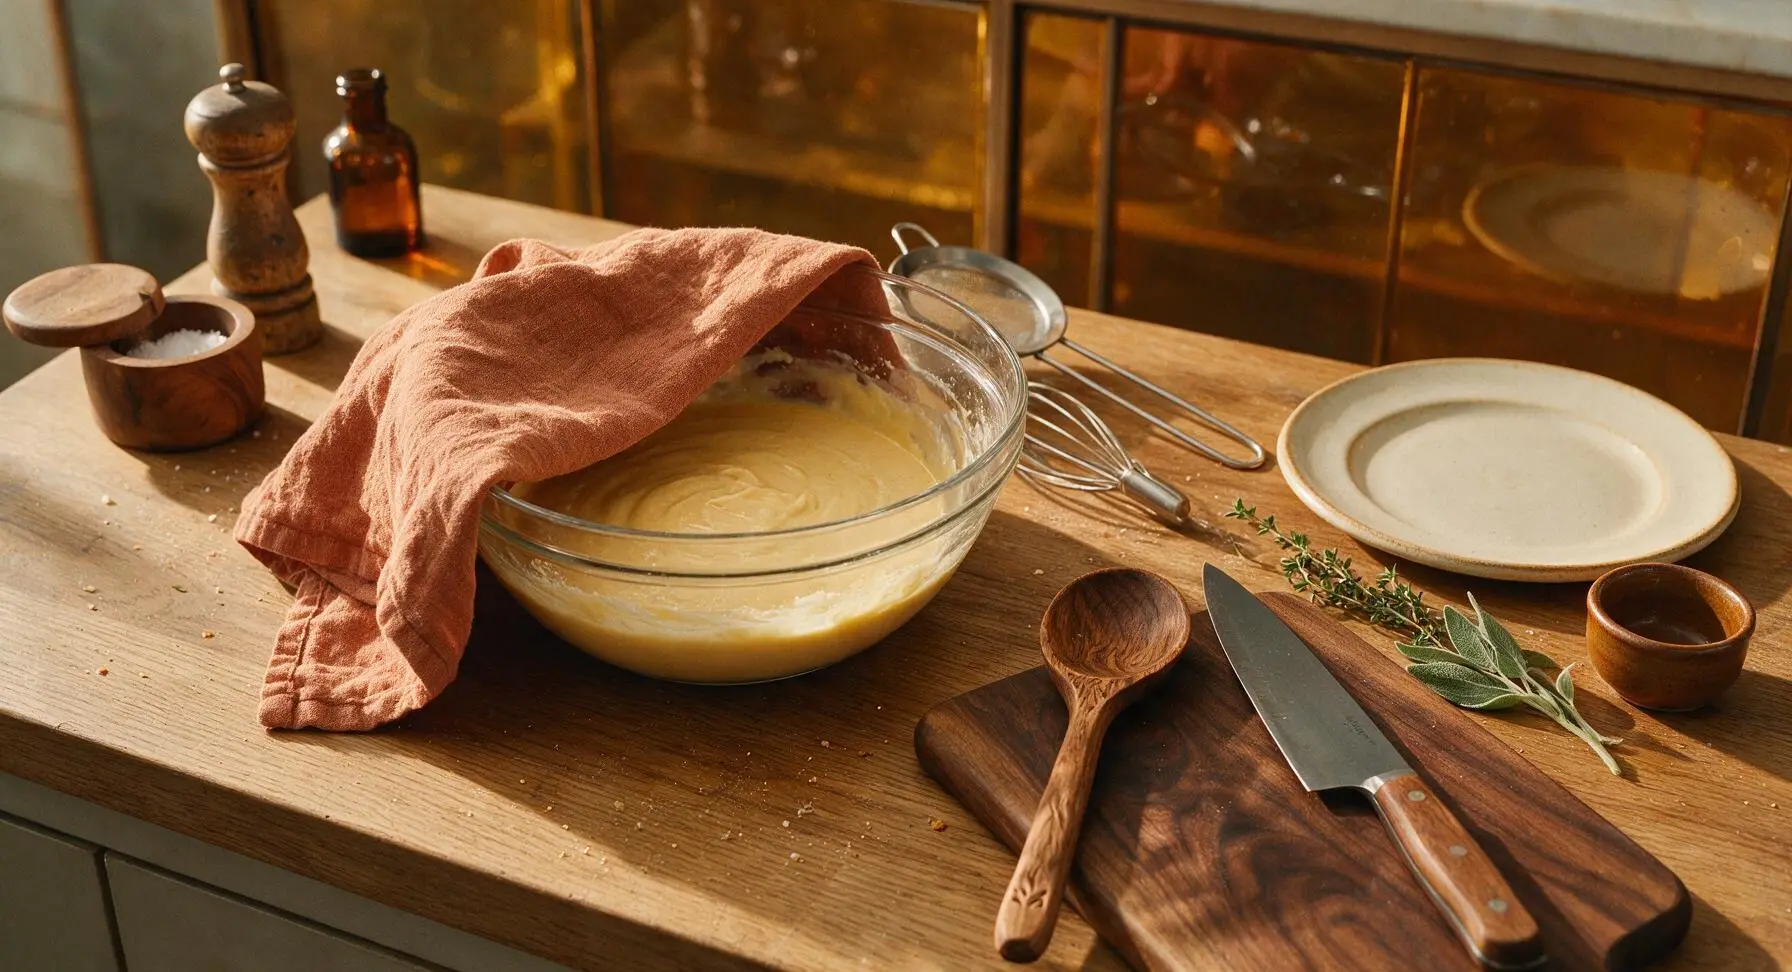
Loosely cover the mixing bowl with a corner of the folded linen towel, and set it aside on the counter away from direct window light to rest for 10 minutes at room temperature. This rest period allows starch and flour granules to fully absorb liquid, which creates crisp, defined bubble shapes instead of dense, uneven waffles. Do not stir the batter again after the rest period is complete.
Preheat Waffle Pan
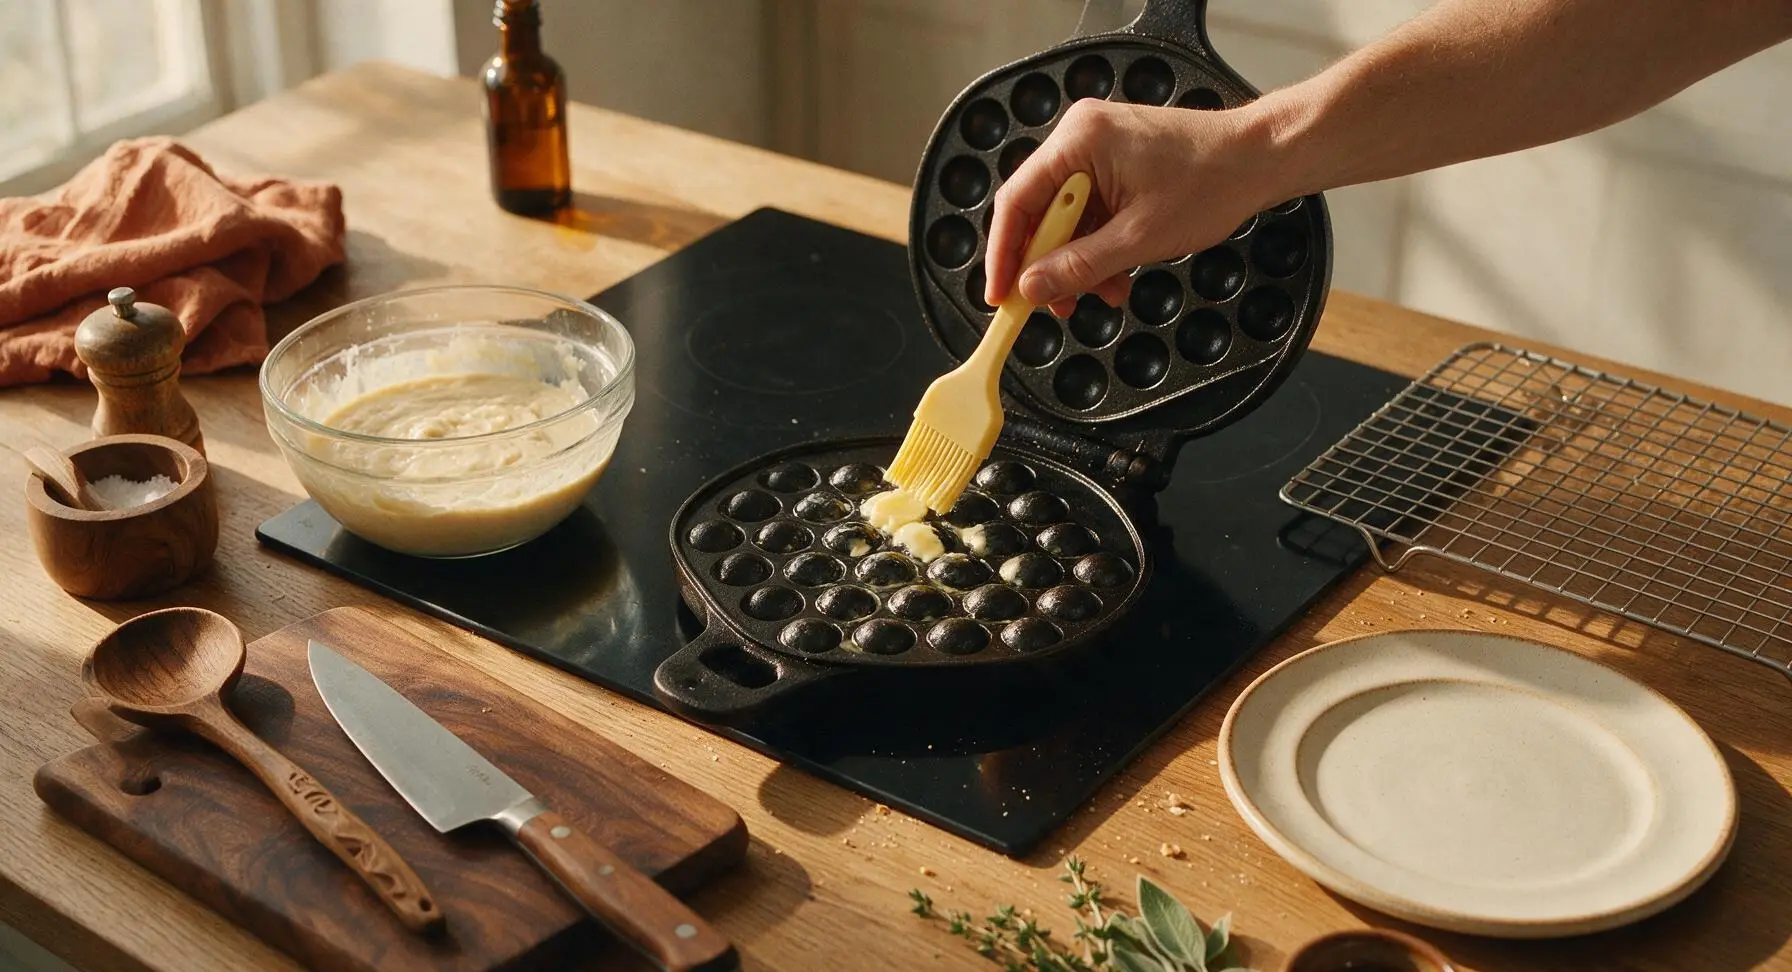
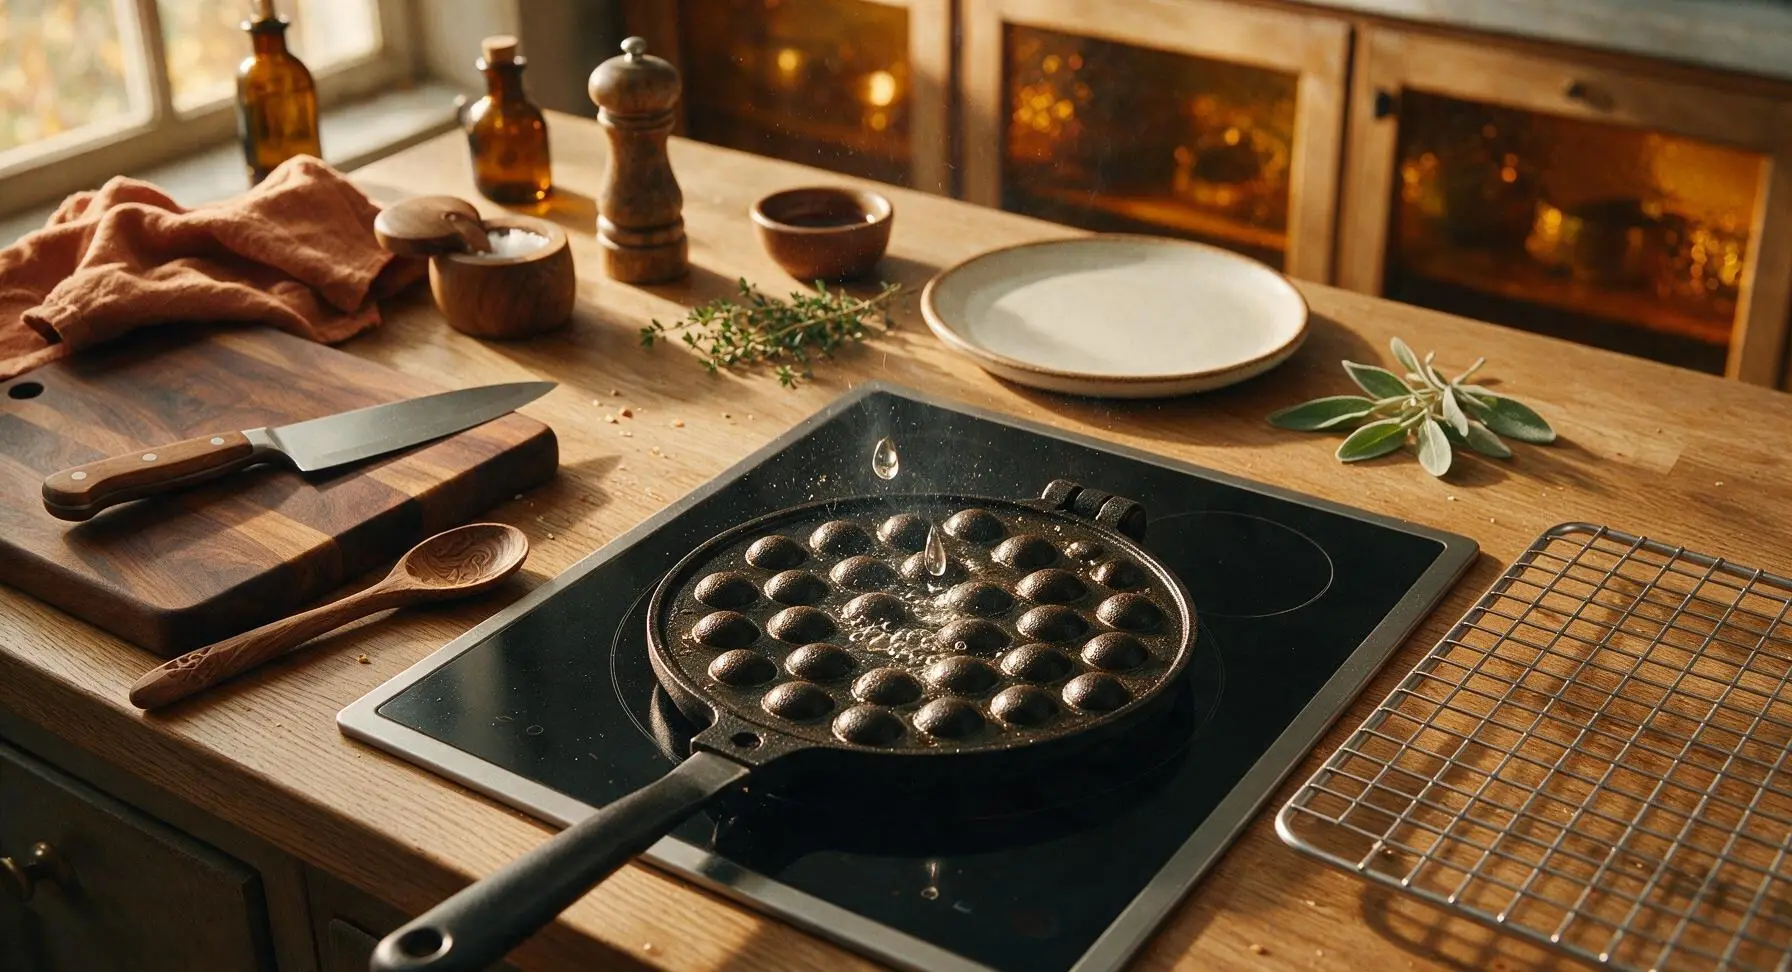
After the 10-minute batter rest, retrieve the cast iron bubble waffle pan and stainless steel cooling rack from lower storage. Place the waffle pan on the central matte black induction cooktop, and set the cooling rack to the right of the cooktop. Preheat the pan over medium heat (350°F / 175°C) for 3 minutes total, flipping the hinged pan every 30 seconds to ensure even heat across all bubble molds. Test pan temperature by sprinkling a single drop of water on the surface: it should sizzle, dance across the metal, and evaporate in 2 seconds. Use the small silicone pastry brush to coat both pan mold sides with a thin 1/4 tsp layer of melted butter to prevent sticking.
Cook Crisp Waffles
Pour 1/2 cup (120ml) of rested batter into the center of the bottom preheated pan mold. Tilt the pan gently in a slow circular motion to spread batter evenly across all bubble indentations, taking care not to overfill (overfilling causes batter to leak out when the pan closes). Immediately close the hinged lid, flip the pan over, and cook for 1 minute on the first side. Flip the pan again and cook for 45 seconds to 1 minute on the second side, until the waffle is deep golden brown and pulls away cleanly from the pan molds when opened. Transfer the cooked waffle to the stainless steel cooling rack for 1 minute to keep the exterior crisp. Repeat with remaining batter to make 4 total waffles, re-greasing the pan lightly every 2 waffles as needed.
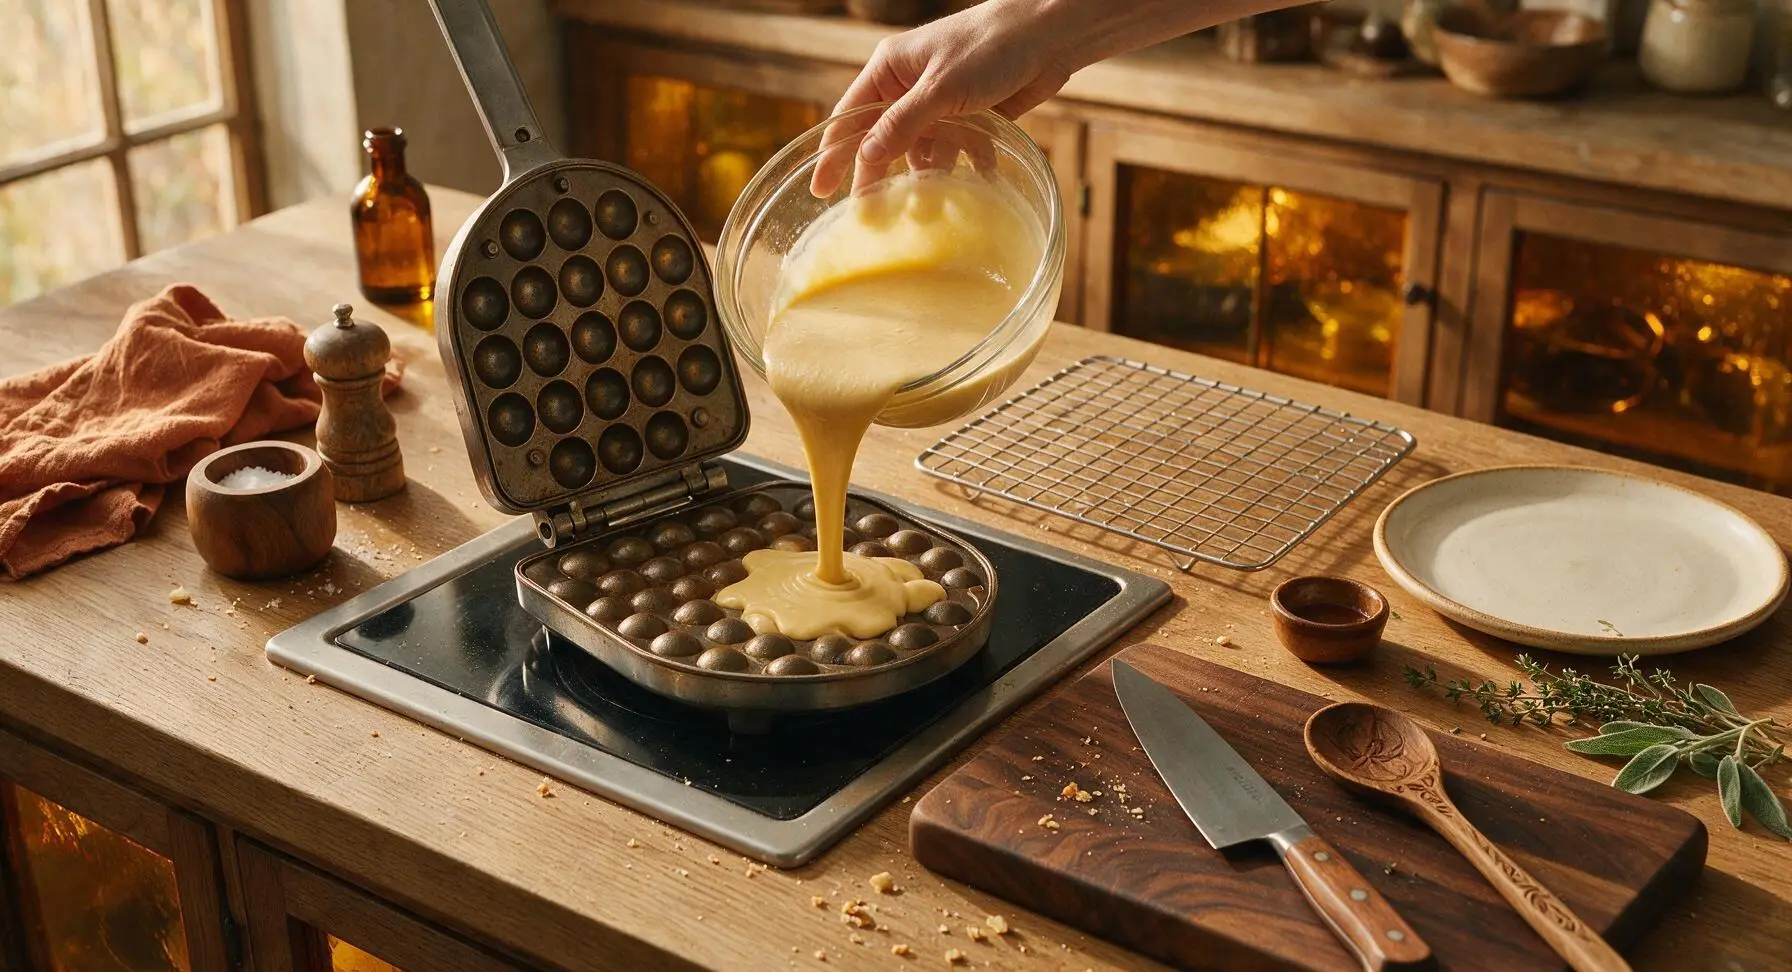
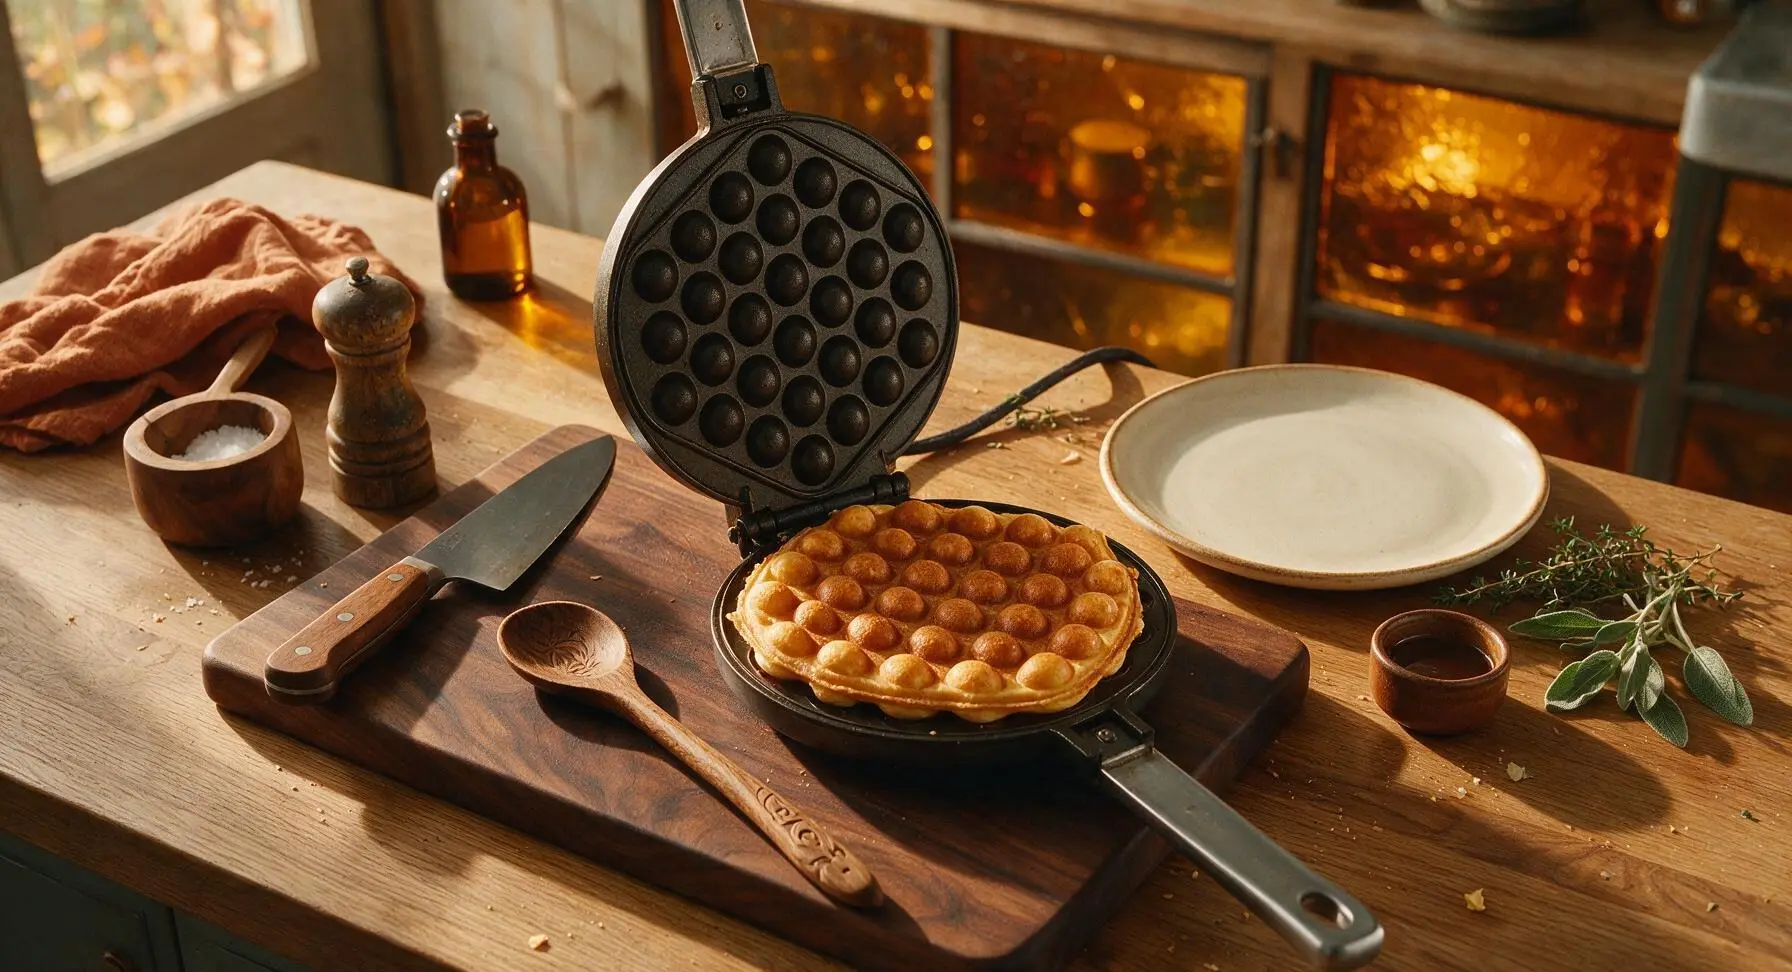
Plate and Serve
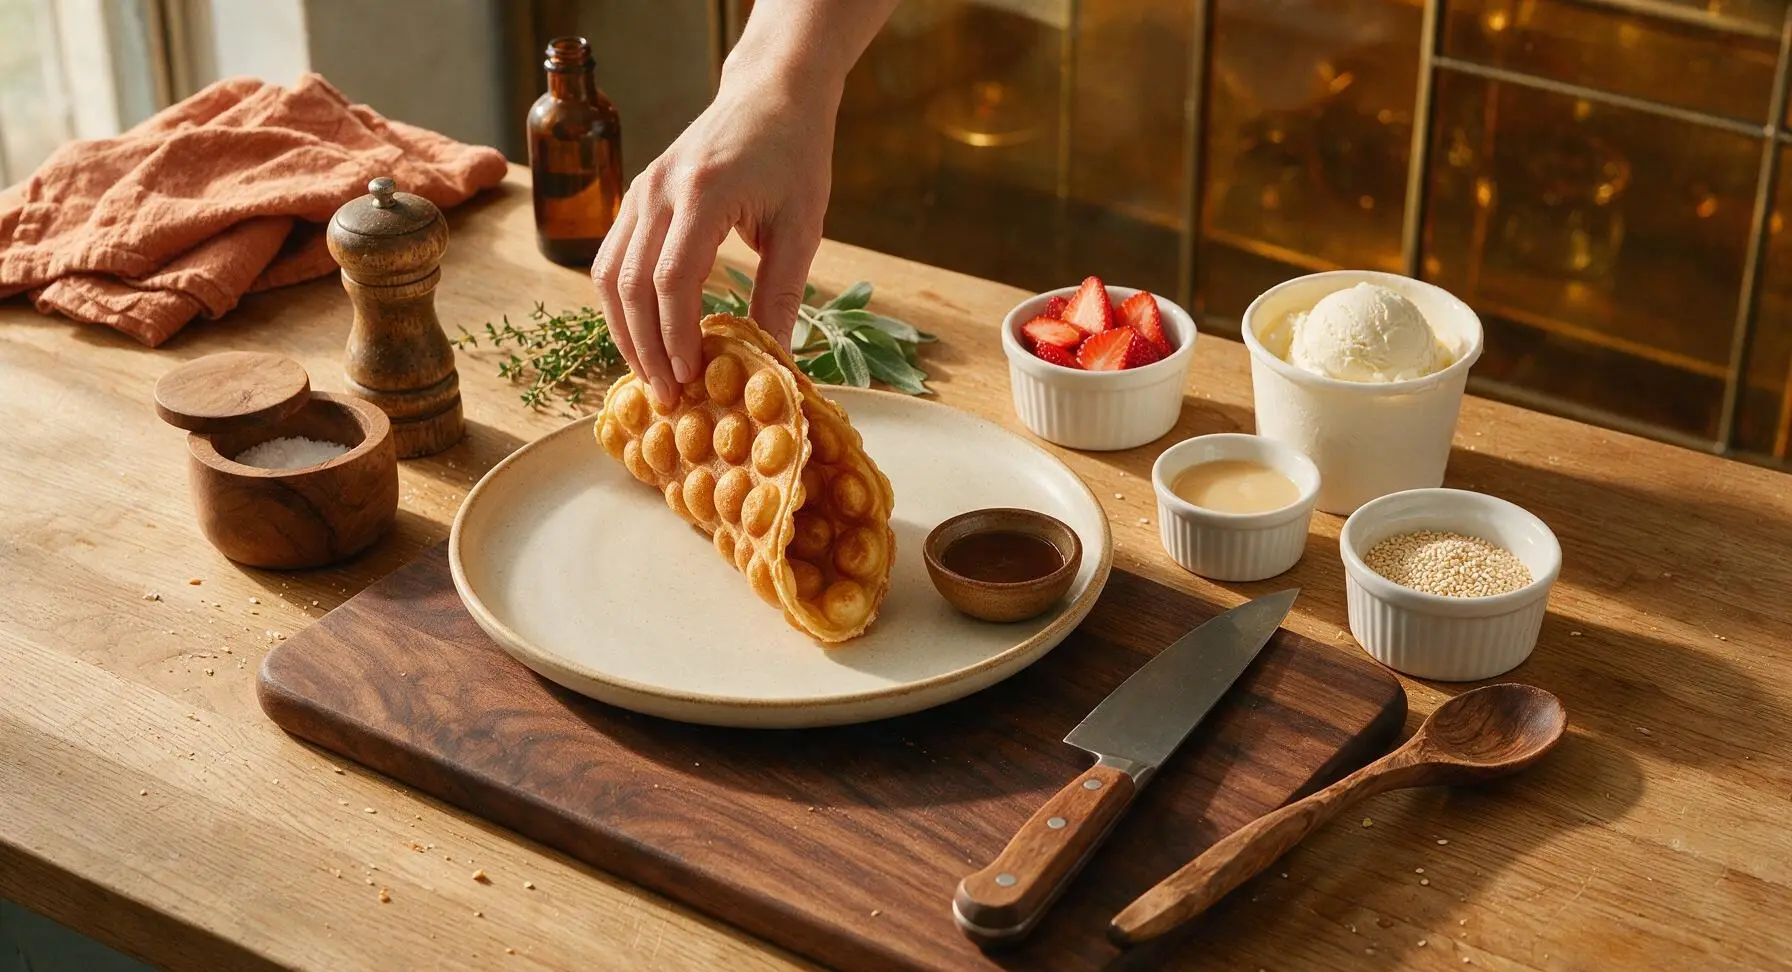
Take one warm waffle from the cooling rack and fold it gently into a loose cone shape, shaping it quickly while it is still flexible (waffles harden and become crisp as they cool, and will crack if folded too late). Place the folded waffle cone upright on the matte cream ceramic serving plate. Tuck one scoop of vanilla ice cream into the cone opening, top with 2-3 fresh strawberry slices, drizzle with 1/2 tbsp sweetened condensed milk, and sprinkle with a pinch of toasted white sesame seeds. Serve immediately, while the waffle is crisp and the ice cream is cold and firm.
Tips
2.Always flip the closed pan immediately after adding batter and latching the lid: this ensures batter flows evenly into every rounded mold, creating full, puffy bubbles instead of flat, empty pockets on one side of the waffle.
3.Let cooked waffles rest on the wire rack for 1 minute instead of stacking them on a plate: stacking traps steam between waffles, which softens the crisp exterior and makes them soggy before serving.






OMG these came out SO crispy and perfect!!! I’ve been chasing that street cart bubble waffle taste since I visited Hong Kong 3 years ago and this recipe nailed it. My kids went crazy for them, we loaded ours up with matcha ice cream and mochi bits for movie night. Total game changer, will be making these every weekend now.
Wait, these are actually way easier than I thought they’d be?? I bought a cheap bubble waffle pan off Amazon last month and messed up two batches from a different recipe before finding this. 15 minute cook time is no joke, they crisp up perfectly if you don’t overfill the molds. Brought a batch to my office potluck yesterday and people were begging for the link.
Perfect easy late night snack for my dorm! I don’t have a fancy bubble waffle pan so I just poured the batter in my regular waffle maker out of desperation, and it still tasted insane. Crispy edges, soft chewy pockets, I ate half the batch plain before I even thought to add toppings. 10/10 no notes.
Wait, has anyone tried making these with a 1:1 gluten free flour blend? I’ve been craving bubble waffles so bad since going GF and I’m nervous the texture will be off if I swap the all-purpose flour.
Made these for my kids’ after school snack today and they demolished an entire batch in 10 minutes flat. I added a little extra vanilla extract to the batter and dusted them with powdered sugar, so good. Even my super picky 7 year old asked for seconds, which never happens.
Made these for my weekend brunch spread last Sunday and they were the star of the show! I set up a little topping bar with fresh strawberries, whipped cream, chocolate syrup, and boba pearls, my guests were taking photos of their waffles for 10 minutes before eating. 10/10 will be a permanent brunch staple from now on.
Tweaked the recipe a little to add a tiny pinch of five spice powder to the batter and OH MY GOD it’s next level. Gives it that warm, aromatic kick that pairs so good with coconut ice cream. Don’t sleep on that small addition, trust me.
Uh oh, my first batch came out a little soggy? Did I do something wrong? I followed the measurements exactly but they didn’t crisp up like the photos, they were kind of soft and floppy. Any tips?
Can I make the batter ahead of time and store it in the fridge for quick weekday snacks? My kids beg for these every morning before school but I don’t have time to mix up batter from scratch at 7am!
Just made these for a late night study snack with my roommates and we’re all obsessed. We didn’t even have toppings, just ate them straight off the pan warm and they were chef’s kiss. Way cheaper than buying them from the boba shop down the street too, will be making these nonstop now.