
bubble waffle recipe easy

title 1
bubble waffle recipe easy
⏱️ cook time 12 minutes
🍽️ servings 4
⚡ Difficulty easy

intro

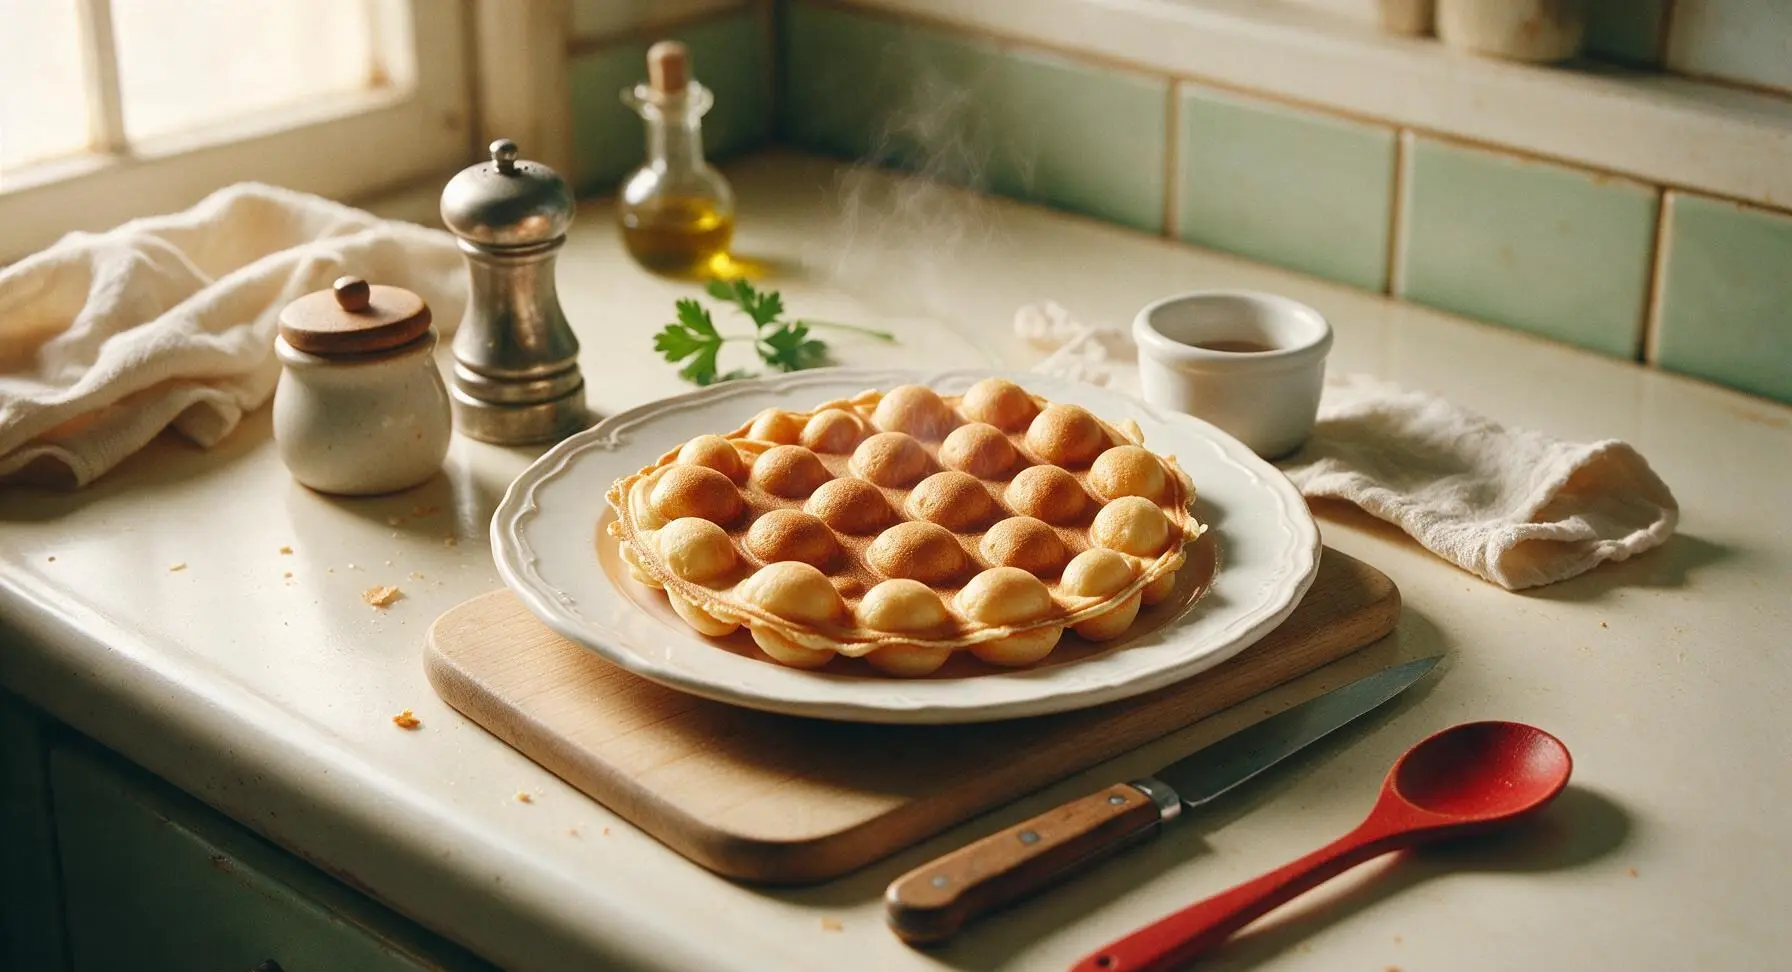
Crisp at the edges, soft and pillowy in every bubbly pocket, these easy Hong Kong-style bubble waffles are a fast, fun treat ready in under 25 minutes, perfect for customizing with your favorite toppings.

Ingredients
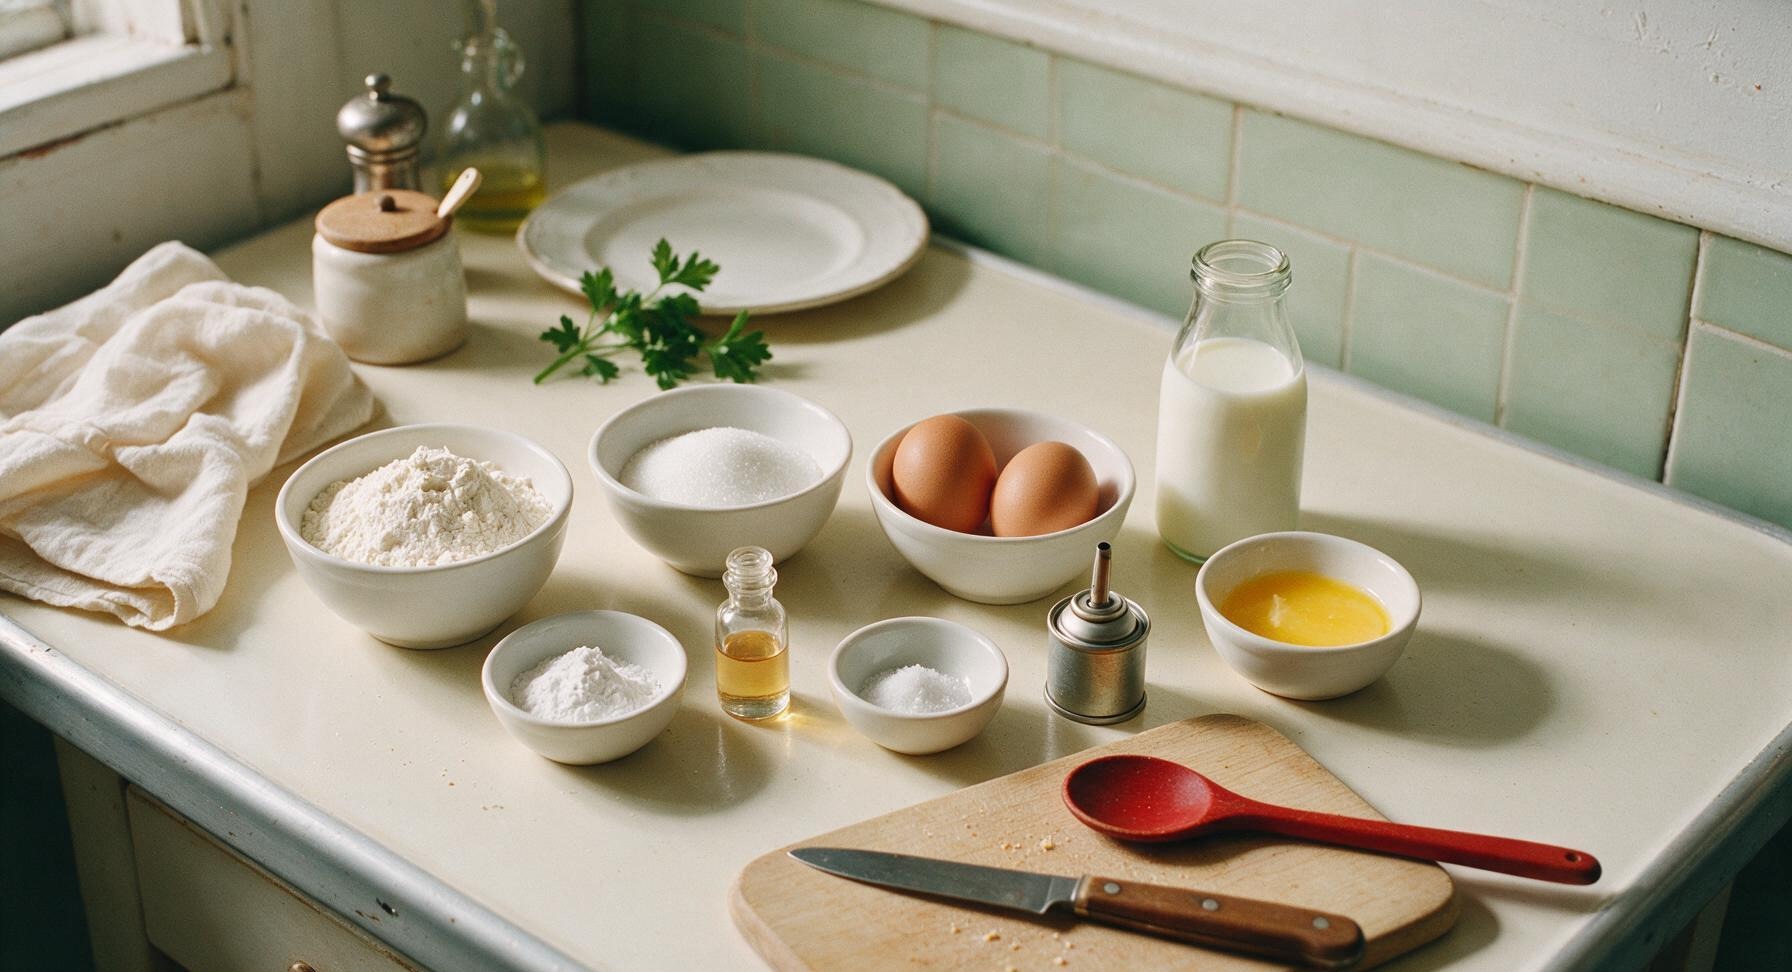
All-purpose flour 1 ½ cups (180g)
Large eggs 2
Whole milk 1 cup (240ml)
Granulated sugar ¼ cup (50g)
Unsalted butter (melted, cooled) 2 tbsp (28g)
Baking powder 2 tsp
Vanilla extract 1 tsp
Fine table salt ¼ tsp
Non-stick cooking spray 1 tsp (for waffle plates)

Steps

1

Combine Dry Ingredients

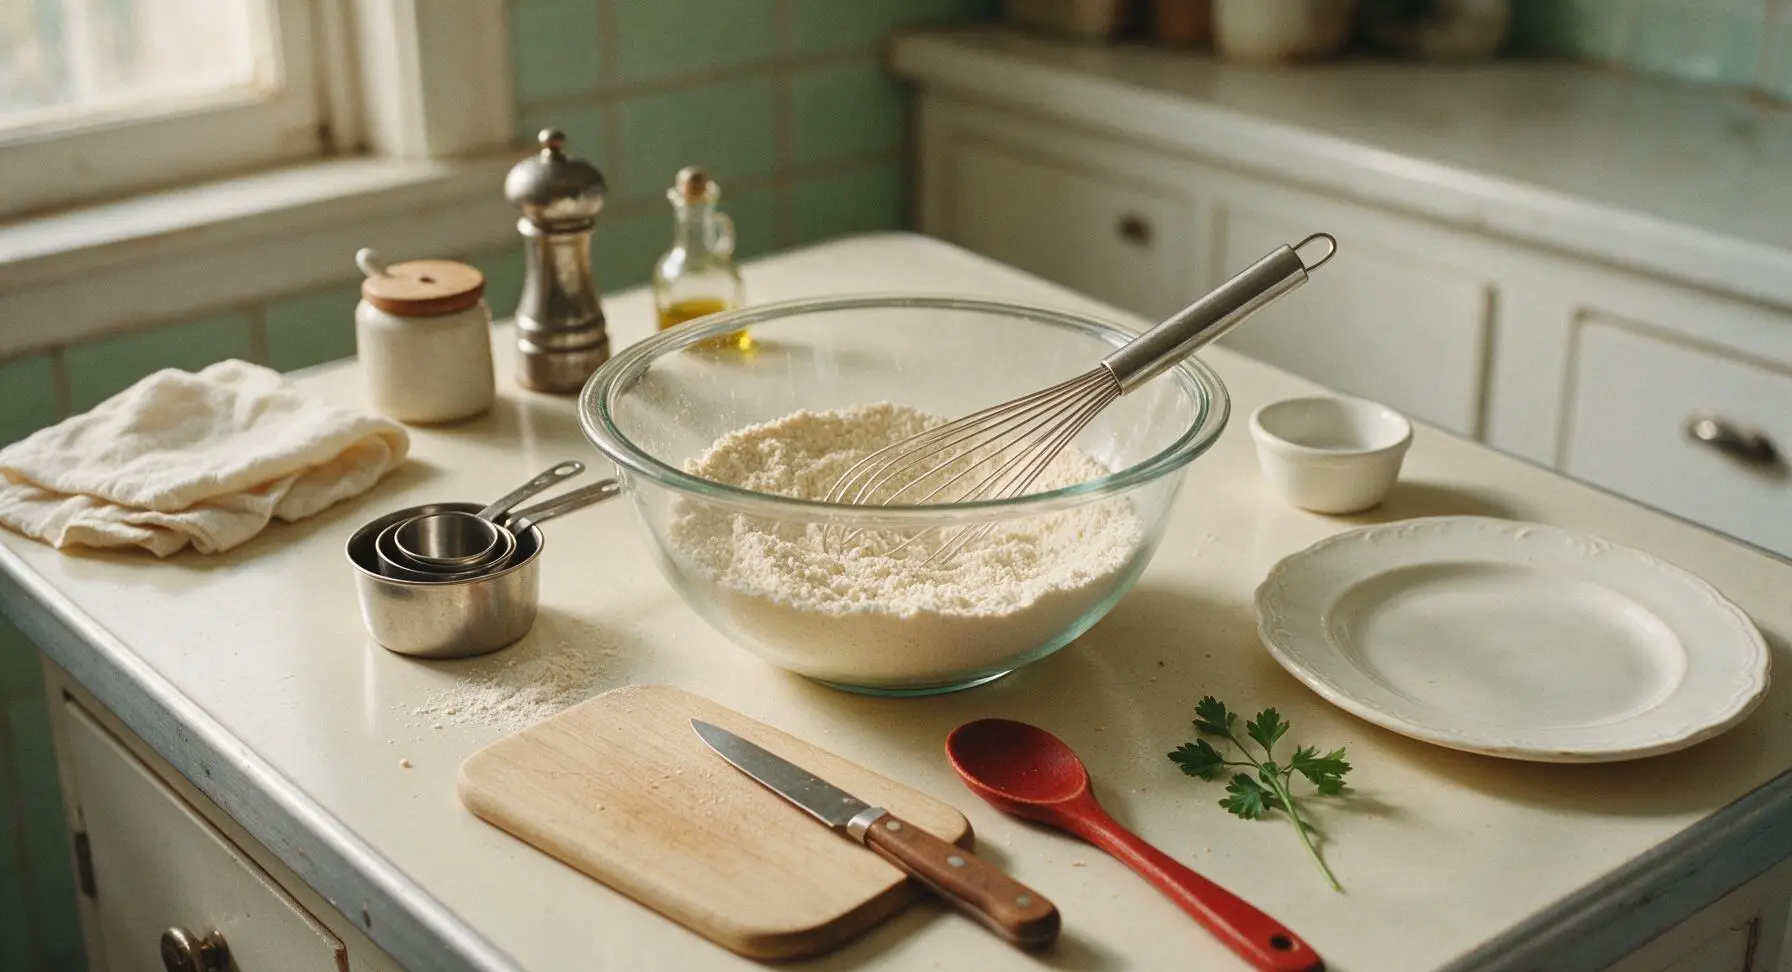
Add the 1 ½ cups all-purpose flour, ¼ cup granulated sugar, 2 tsp baking powder, and ¼ tsp fine salt to the large clear glass mixing bowl. Use the stainless steel wire whisk to stir the dry ingredients for 30 seconds until fully blended, with no visible clumps of baking powder. Evenly mixed dry ingredients ensure consistent leavening, so every bubble pocket rises evenly during cooking.
Step 1
step1:Combine Dry Ingredients
2

Mix Smooth Batter

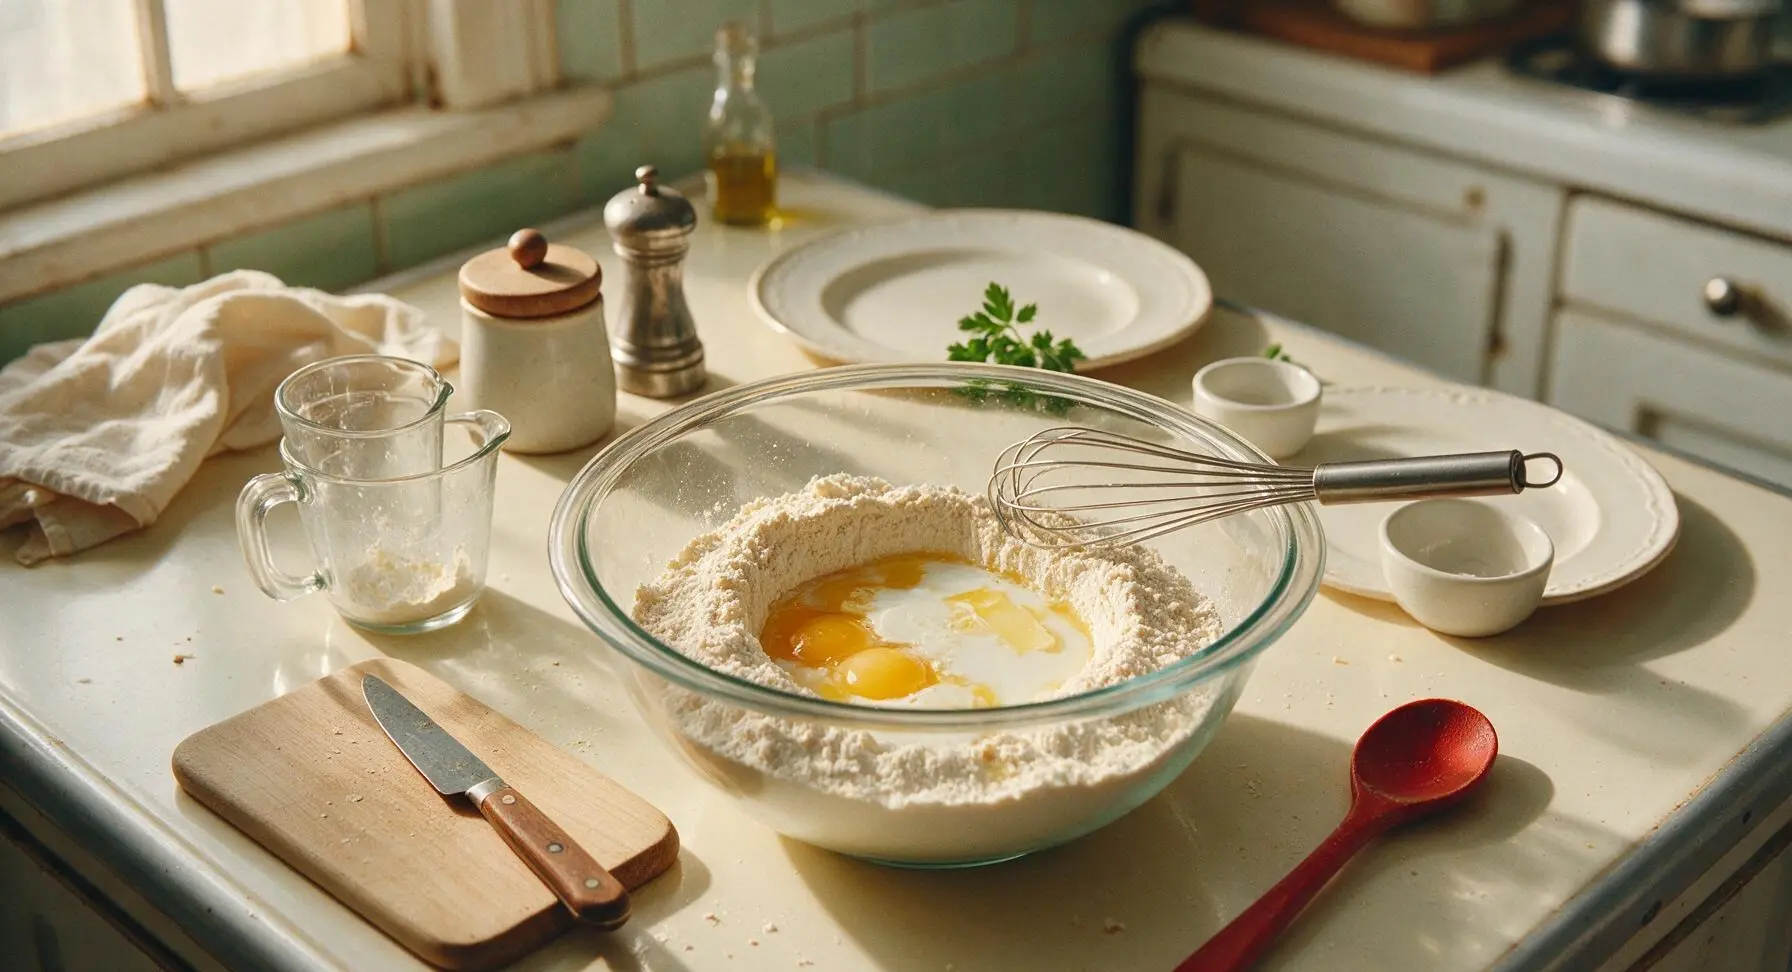
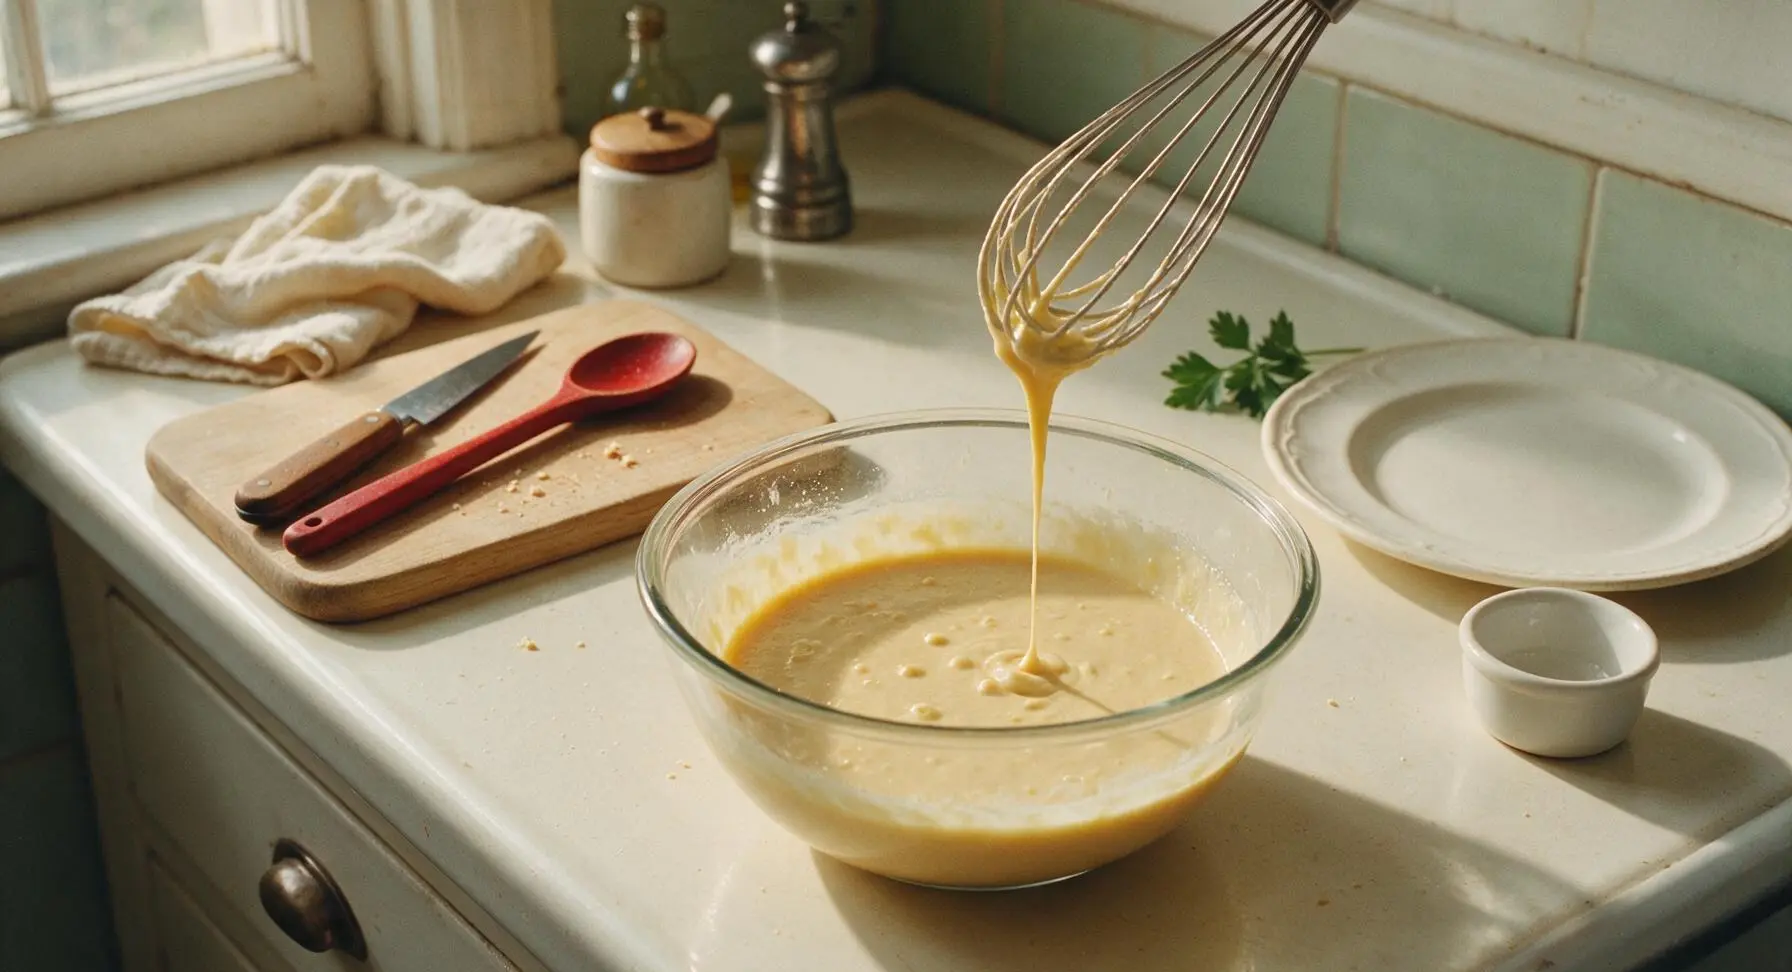
Make a 2-inch wide well in the center of the mixed dry ingredients. Crack the 2 large eggs into the well, then pour in 1 cup whole milk, 2 tbsp cooled melted butter, and 1 tsp vanilla extract. Whisk slowly at first to combine ingredients without splashing, then increase speed slightly to mix for 1 minute until the batter is a smooth pale golden color, with only tiny, pea-sized lumps remaining. Do not overmix, as this will develop gluten and create tough waffles.
Step 2
step2:Mix Smooth Batter
Step 2
step2:Mix Smooth Batter
3

Preheat Waffle Maker

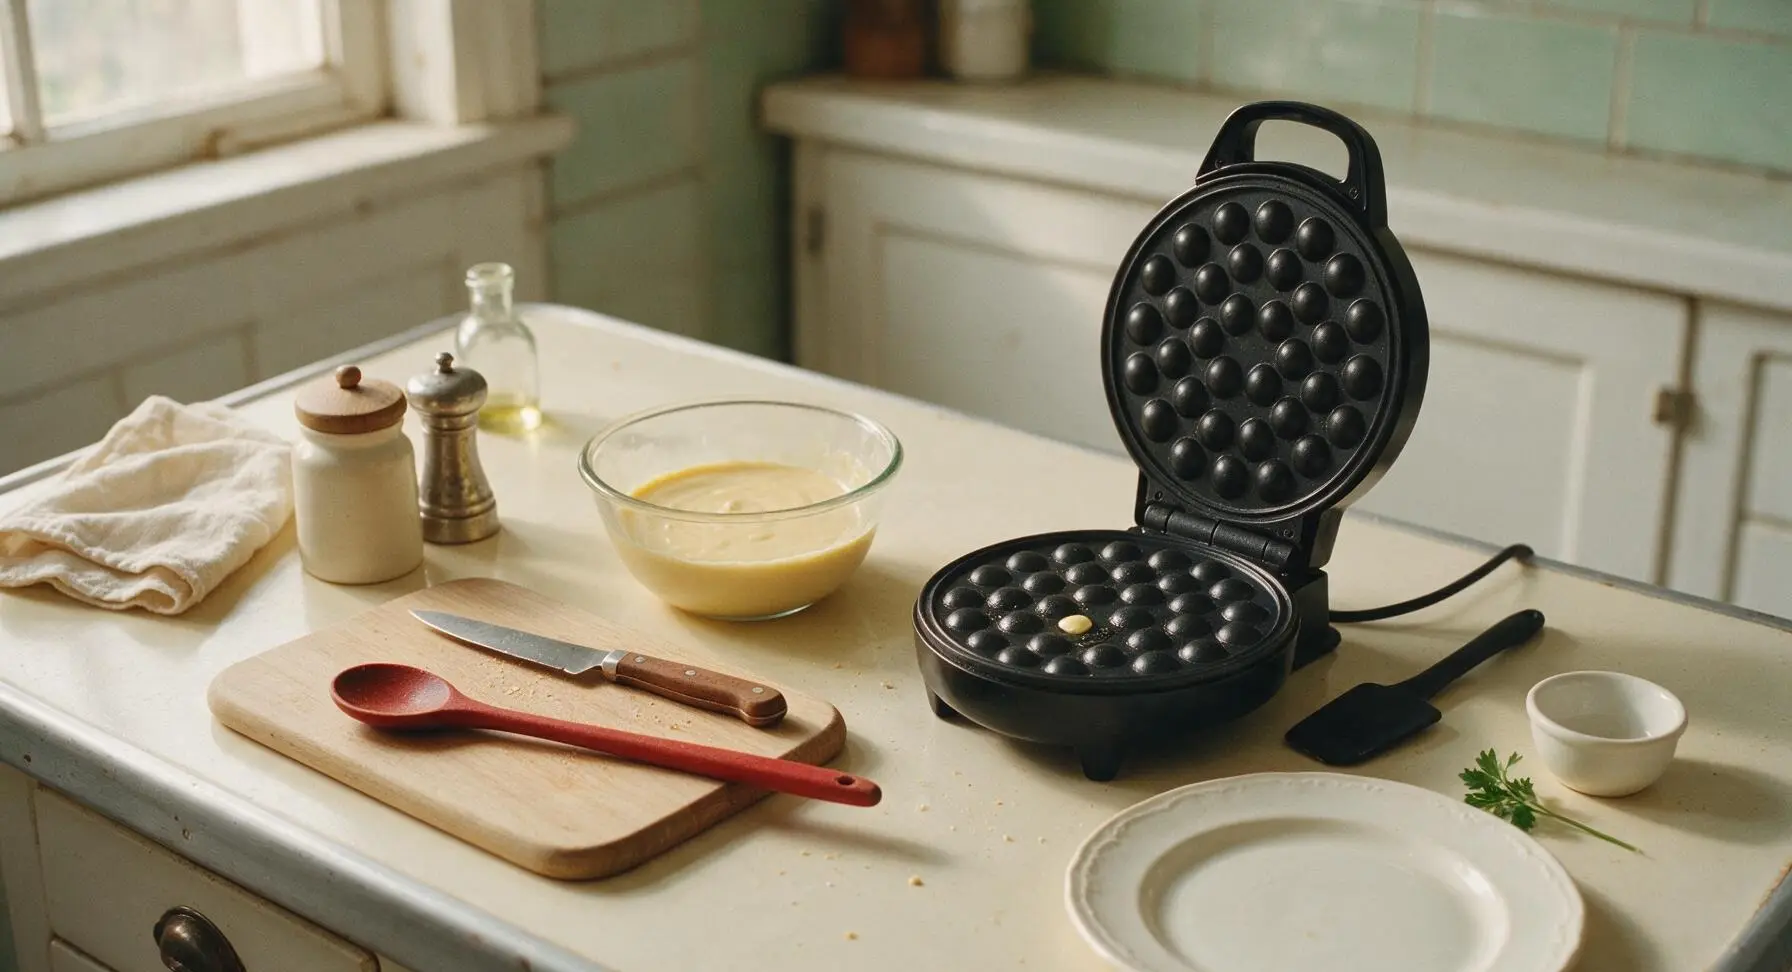
Place the matte black non-stick electric bubble waffle maker in its fixed center-right counter position, plug it in, and preheat to medium-high heat (375°F / 190°C) for 3 minutes. Lightly coat both top and bottom cooking plates with non-stick cooking spray, holding the can 6 inches from the plates to avoid over-saturating the surface. The iron is fully preheated when a single drop of water sizzles and evaporates within 2 seconds of touching the lower plate.
Step 3
step3:Preheat Waffle Maker
4

Pour Batter Evenly

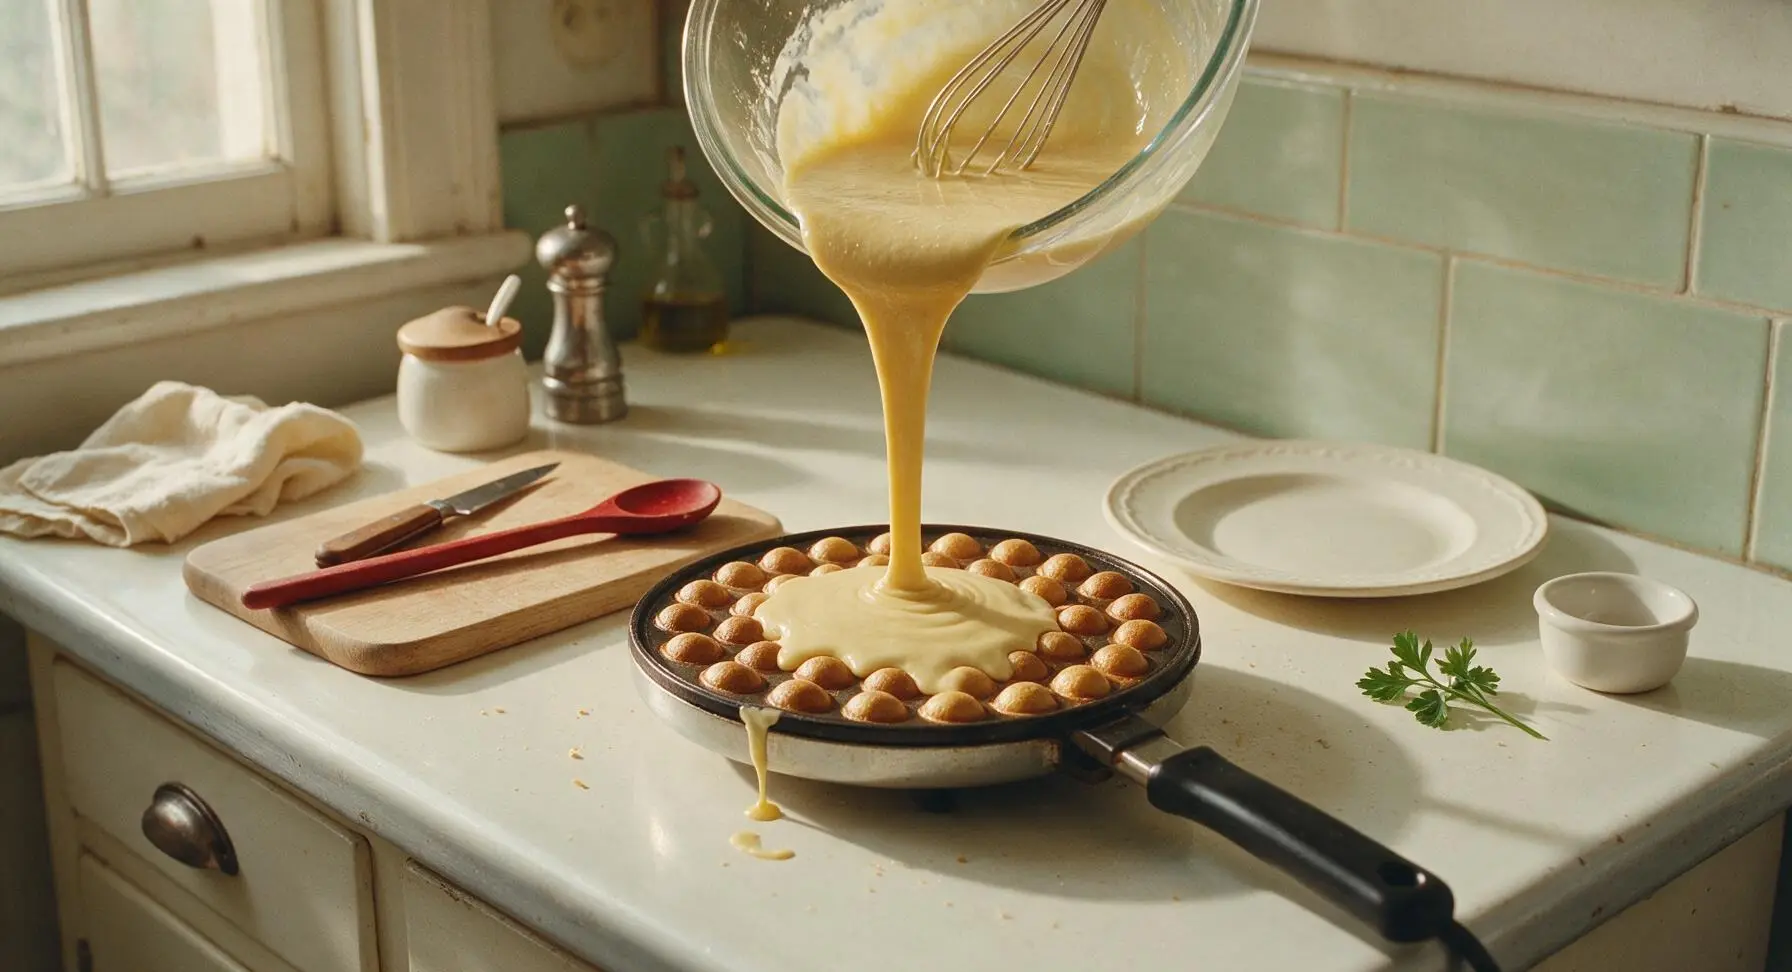
Ladle ¾ cup of the smooth batter directly onto the center of the preheated lower waffle plate, pouring slowly so the batter flows outward to fill the bubble indentations evenly. Do not overfill the plate: excess batter will leak out the sides of the closed iron, burn, and make a mess. Immediately close the waffle maker lid and latch it securely once batter is poured.
Step 4
step4:Pour Batter Evenly
5

Cook Until Golden

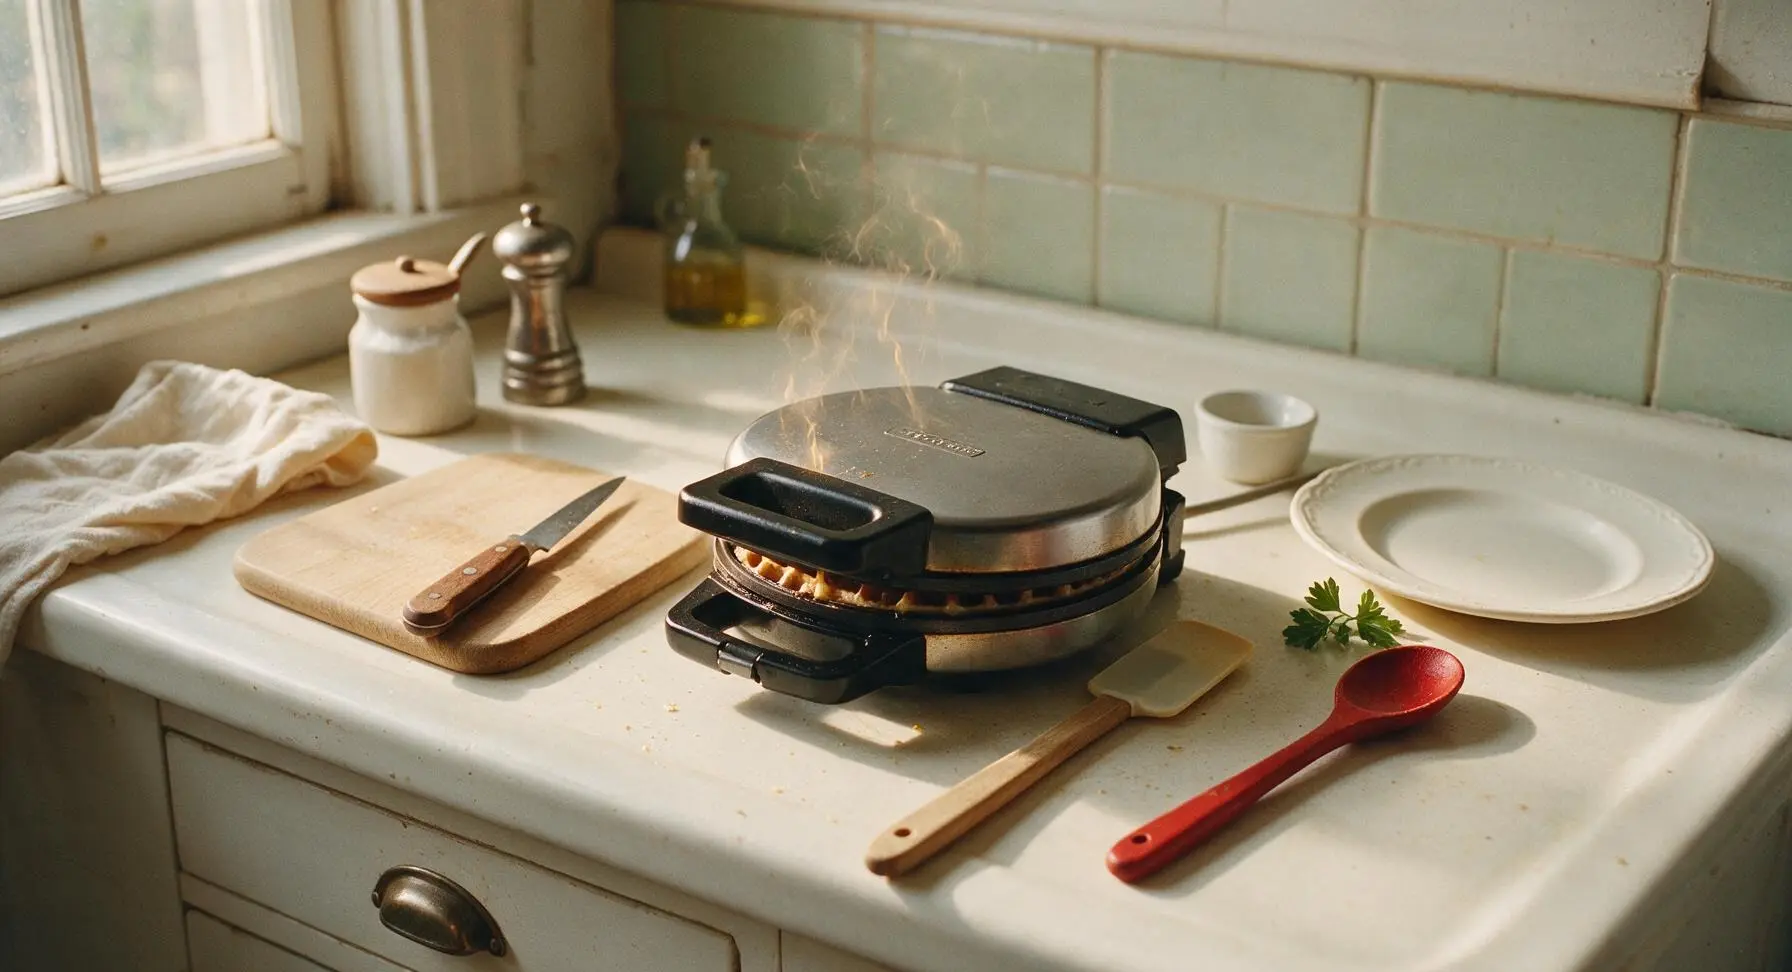
Cook the waffle for 3 to 4 minutes total, flipping the closed waffle maker 180 degrees at the 2-minute mark to ensure even browning on both sides. Resist the urge to open the lid before the 3-minute mark, as this will cause the partially set waffle to tear and split. The waffle is done when it is deep golden brown, crisp around the edges, and releases easily from the non-stick plates with no sticking.
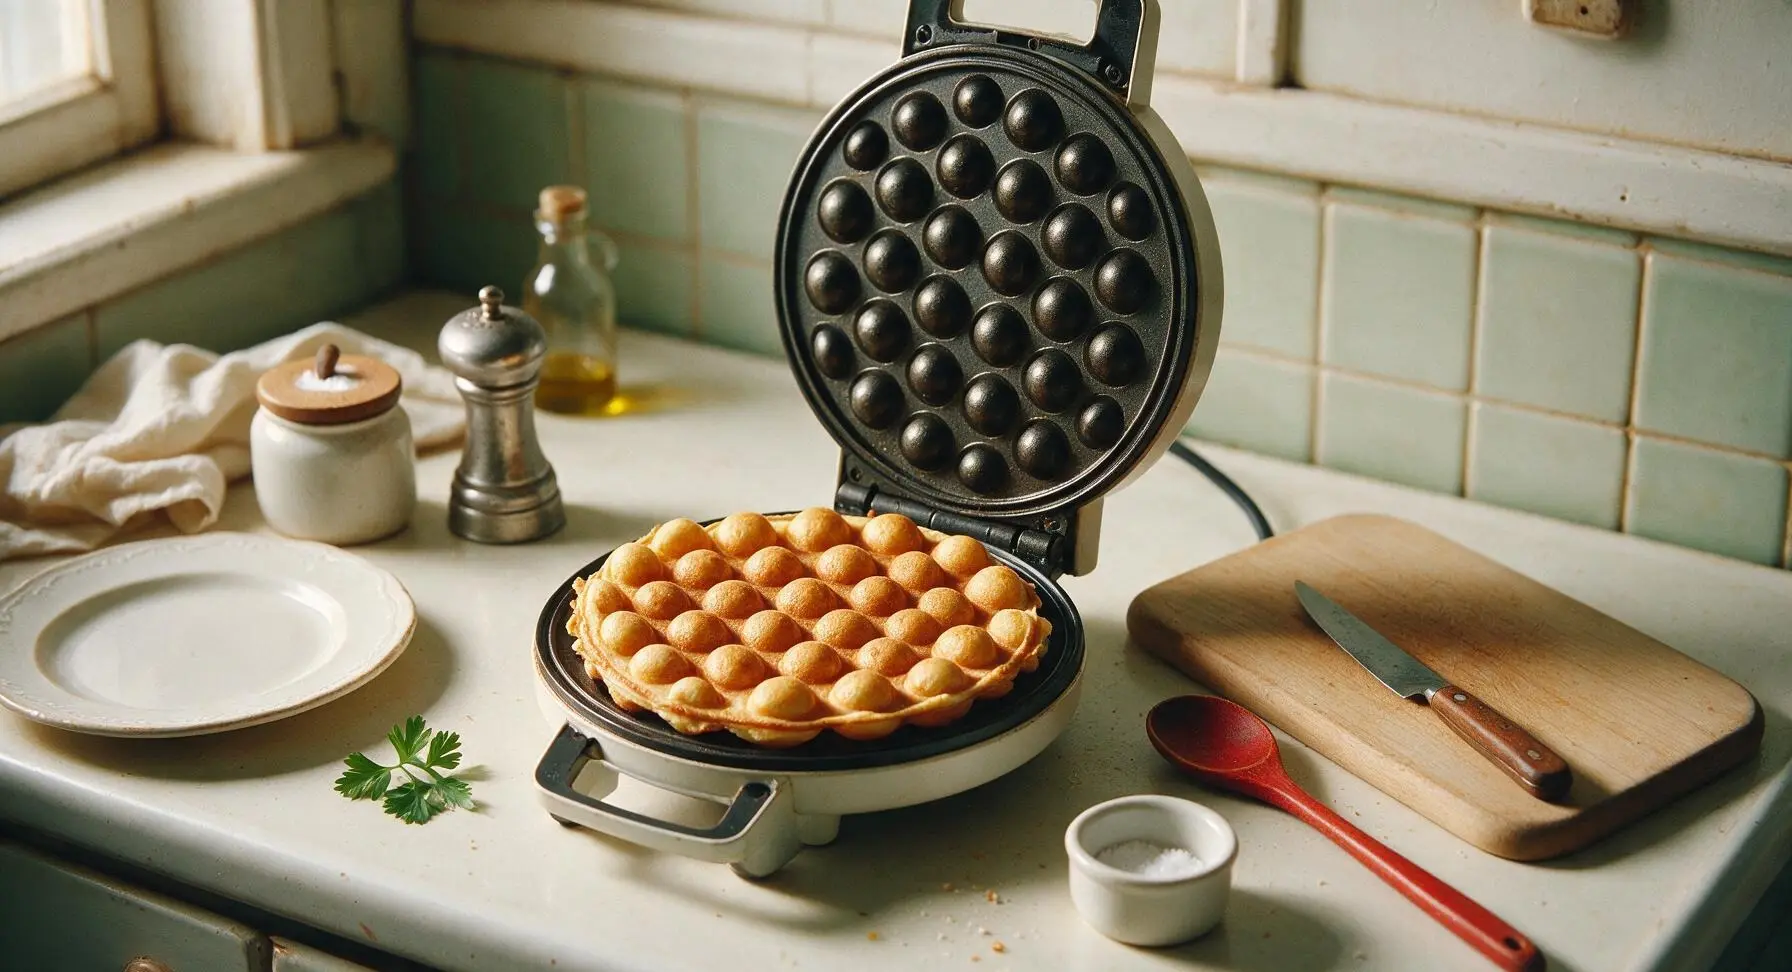
Step 5
step5:Cook Until Golden
Step 5
step5:Cook Until Golden
6

Shape Warm Waffle

Use the silicone spatula to gently loosen the edges of the cooked waffle from the non-stick plates, then carefully lift the waffle out of the iron. Let the waffle rest for 10 seconds, then fold it into a loose cone shape while it is still hot and pliable, holding the shape for 15 seconds until it sets. If you wait longer than 30 seconds to shape, the waffle will become crisp and crack when folded.
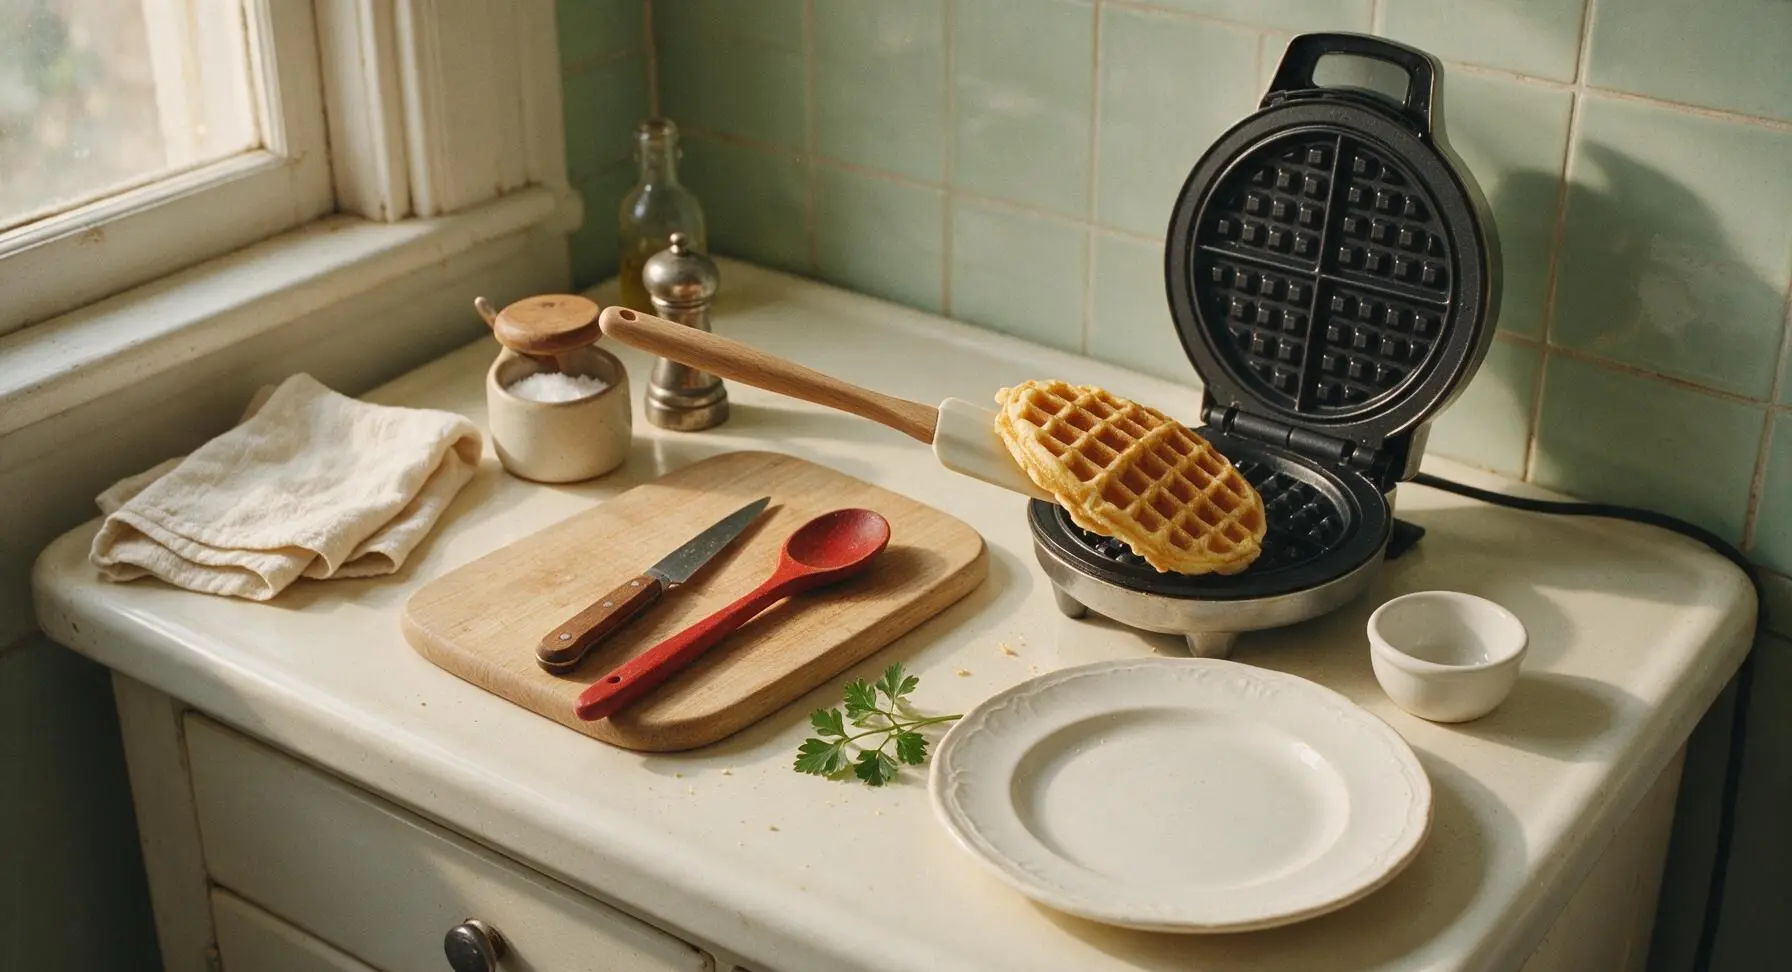
Step 6
step6:Shape Warm Waffle
7

Plate and Serve

Stand the shaped waffle cone upright on the matte off-white ceramic serving plate. Add your favorite toppings: a small scoop of vanilla ice cream, sliced fresh strawberries, a mint sprig, a light dusting of powdered sugar, or a drizzle of chocolate syrup all pair beautifully. Repeat the cooking, shaping, and plating process with the remaining batter to make 4 total waffles, serving immediately while the waffles are warm and crisp.
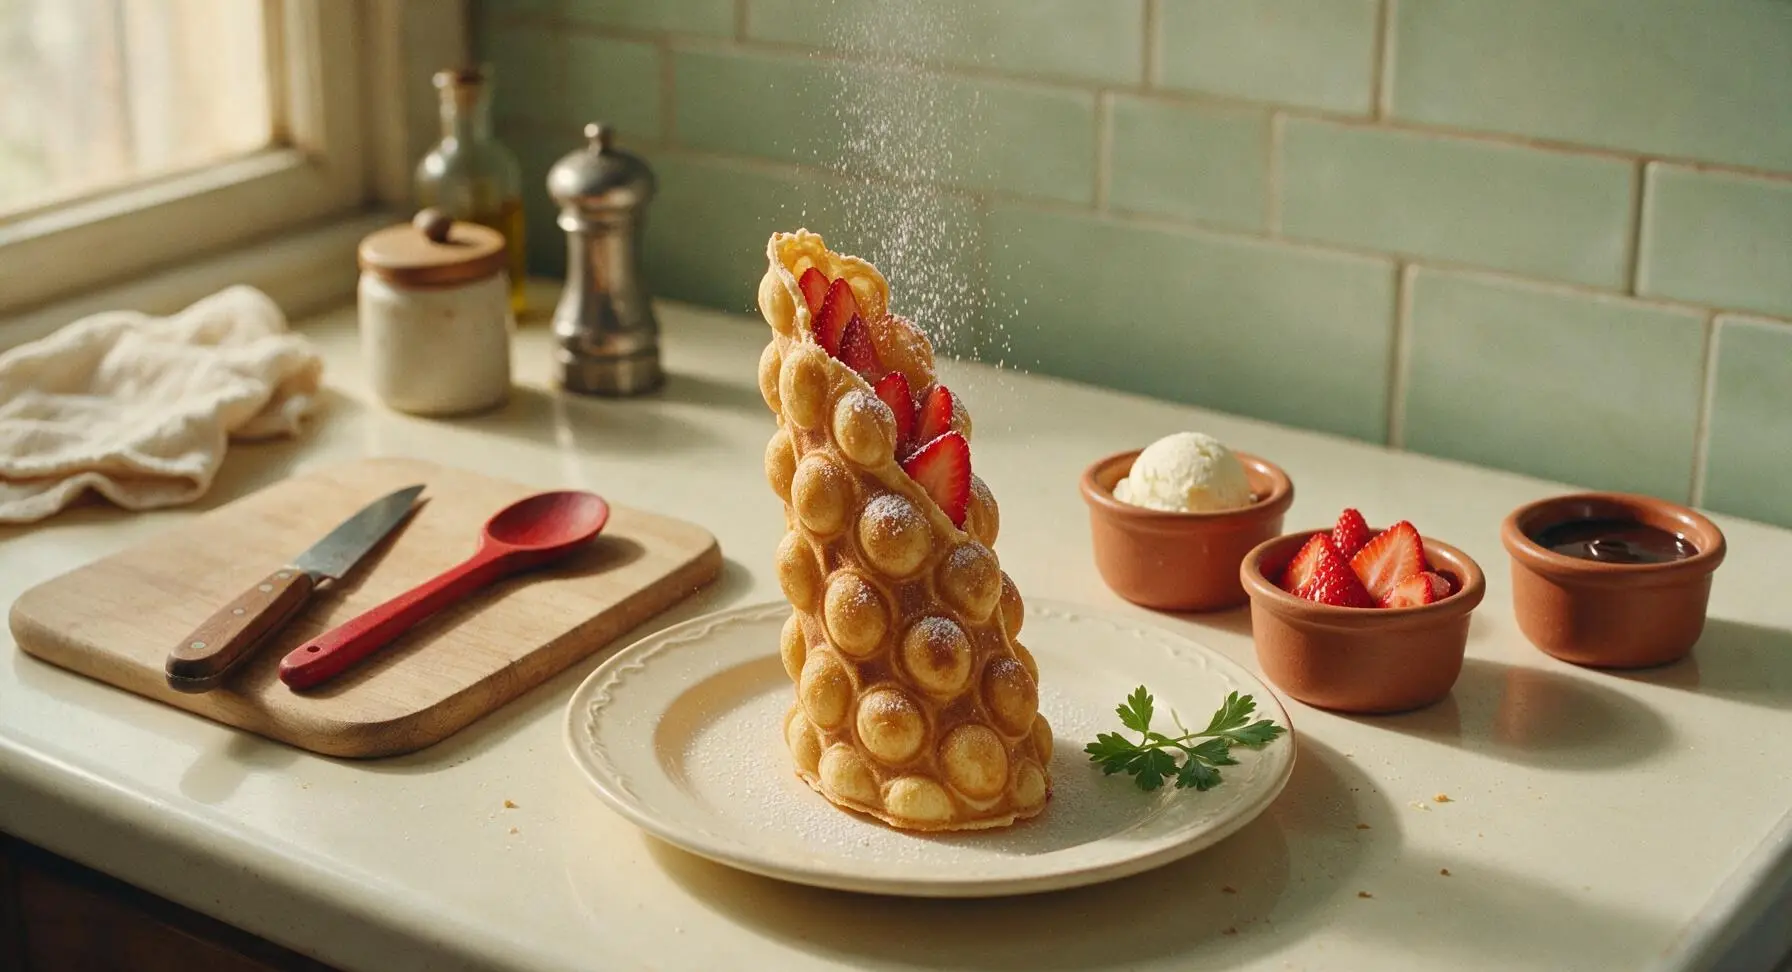
Step 7
step7:Plate and Serve

Tips

1.Cool melted butter for 2 minutes before adding it to the batter: hot butter will partially cook the eggs as you mix, creating small lumpy egg bits that ruin the smooth batter texture and create uneven pockets in the finished waffle.
2.Resist overmixing the batter: a few tiny flour lumps are completely normal and will disappear during cooking, but overmixing develops gluten in the flour, leading to tough, chewy waffles instead of light, crisp ones with tender bubble centers.
3.Shape the waffle within 15 seconds of removing it from the iron: once the waffle cools past 30 seconds, it becomes rigid and brittle, and will crack along the bubble lines when you try to fold it into the classic cone shape.


✨ You May Also Like

Desserts & Baking
🍜 Italy

Creamy, coffee-kissed classic Northern Italian no-bake dessert, with layers of rum-spiked mascarpone cream, soft ladyfingers, and a rich cocoa dusting.

⏱️ 4 hours 3Desserts & Baking ★ 4.7
Desserts & Baking
🍜 France

Flaky, shatteringly crisp, buttery French croissants with golden exteriors and soft, airy layered interiors, perfect for pairing with coffee for a special morning treat.

⏱️ 12 hours Desserts & Baking ★ 4.5
Desserts & Baking
🍜 United States

Warm, spiced baked apples topped with a fluffy golden biscuit crust, this cozy dessert pairs perfectly with vanilla ice cream for cool-weather comfort.

⏱️ 55 minuteDesserts & Baking ★ 4.6
Desserts & Baking
🍜 United States

A star-spangled classic American blueberry pie with buttery flaky crust and bright sweet-tart filling, perfect for summer patriotic gatherings.

⏱️ 1 hour 25Desserts & Baking ★ 4.7
Desserts & Baking
🍜 United States

A beloved no-bake regional Maine candy with a chewy coconut-potato center coated in rich dark chocolate, a New England holiday staple since the 1870s.

⏱️ 2 hours 3Desserts & Baking ★ 4.8
Desserts & Baking
🍜 France

Luxuriously creamy, floral frozen custard made with aromatic Tahitian vanilla beans, boasting a smooth, rich texture that melts slowly on the tongue.

⏱️ 3 hours 3Desserts & Baking ★ 4.5

bubble waffle recipe easy:Frequently Asked Questions

1.Do I need a special bubble waffle appliance to make this recipe? ▾
You’ll get the most authentic, iconic bubbled shape with an electric or stovetop bubble waffle pan, but a standard Belgian waffle iron works in a pinch if that’s what you have. Just preheat whatever tool you use fully first—this guarantees crisp edges, soft pillowy pockets, and no sticky mess when you go to remove the waffle.
2.How long does this recipe actually take to make from start to finish? ▾
These bubble waffles live up to their easy name, clocking in right around 22 to 24 minutes total. You’ll spend about 10 minutes mixing the simple batter from pantry staples, then 2 to 3 minutes cooking each waffle, so you can have a fresh, hot batch ready to top faster than takeout.
3.Can I use a milk alternative instead of whole milk in the batter? ▾
Whole milk gives the richest, most tender crumb in those soft bubbly pockets, but you can swap in unsweetened oat milk or 2% milk if that’s what you have on hand. Skip very thin, watery options like skim milk or unsweetened almond milk, though—those lead to drier, less flavorful waffles that don’t hold their crisp edge well.
4.Why does the recipe call for cooled melted butter instead of hot melted butter? ▾
Hot melted butter will partially cook the eggs in your batter if you pour it straight in, leading to tiny, lumpy scrambled egg bits throughout your waffle mix instead of a smooth, uniform batter. Let melted butter sit 2 to 3 minutes after melting so it drops to just above room temperature before stirring it in for perfectly consistent results.
5.How do I get my bubble waffles crisp on the edges instead of soggy? ▾
The two biggest tricks for crisp edges are preheating your waffle maker fully before pouring batter, and not opening the lid too early while the waffle cooks. If you peek before the 2-minute mark, steam escapes and the waffle will deflate and turn soggy. Wait until steam stops billowing out for that perfect crisp bite.
6.Can I make the batter ahead of time to cut down on prep? ▾
You can mix the batter up to 12 hours ahead and store it tightly covered in the fridge, just give it a gentle stir before pouring it into your waffle maker. Don’t let it sit longer than 24 hours, though—the egg proteins will break down and lose their lift, leaving you with flat, dense waffles instead of light, pillowy bubbled pockets.
7.What are the best toppings to serve with these bubble waffles? ▾
These waffles are super customizable, so you can go sweet or savory to match your mood. Classic sweet picks include whipped cream, fresh berries, chocolate drizzle, ice cream, or a dusting of powdered sugar. For a savory twist, try shredded cheese, crispy bacon bits, or maple syrup paired with fried chicken for a fun brunch option.
8.Why are my bubble waffles sticking to the pan when I try to remove them? ▾
Sticking almost always happens for one of two reasons: your pan wasn’t fully preheated before you added the batter, or you tried to remove the waffle too early. If your pan is nonstick, you won’t even need extra cooking spray once it’s hot enough. Wait until the waffle releases easily with a gentle nudge from a silicone spatula before lifting it out.
9.Can I use a different type of flour instead of all-purpose flour for this recipe? ▾
All-purpose flour gives the perfect balance of crisp edges and soft, chewy pockets for that classic Hong Kong-style texture. You can swap in a 1:1 gluten-free all-purpose baking blend for a gluten-free version, but skip heavy whole wheat flour or cake flour—those lead to either dense, dry waffles or floppy ones that can’t hold toppings.
10.Do I need to whip the eggs separately to get light, fluffy waffle pockets? ▾
You don’t need any fancy mixing steps for this easy recipe—just whisk the eggs together with the sugar, milk, and cooled melted butter before stirring in the flour until just combined. Overmixing will make your waffles tough, so stop stirring as soon as you no longer see dry flour streaks, even if a few small lumps remain.
11.How should I store leftover bubble waffles, and how do I reheat them? ▾
Let leftover waffles cool completely, then store them in an airtight container in the fridge for up to 3 days, or freeze them for up to 1 month. To reheat and bring back that signature crisp edge, pop them in a toaster or 350°F oven for 3 to 4 minutes—skip the microwave, which will turn them chewy and soggy.
12.Can I adjust the amount of sugar in the batter to make these less sweet? ▾
The granulated sugar in this recipe is balanced to work for both sweet and savory toppings, but you can cut it by half if you prefer a less sweet, more neutral waffle base. Don’t cut the sugar out entirely, though—it helps edges caramelize to that perfect golden crisp as the waffle cooks, so you’ll miss that signature texture without it.
13.Why are the bubbly pockets in my waffles coming out dense instead of pillowy? ▾
Dense pockets usually come from overmixing the batter, which develops too much gluten in the flour and leads to a tough, chewy texture instead of a light, soft crumb. It can also happen if your waffle maker isn’t hot enough when you pour the batter in, so the waffle cooks slowly instead of puffing up immediately on contact.
14.Can I make these bubble waffles without eggs to fit a vegan diet? ▾
Large eggs are a core ingredient in this recipe, as they provide structure, lift, and that rich, tender texture in every bubbly pocket. You can test a vegan swap using ¼ cup unsweetened applesauce or a commercial egg replacer per egg, but note the final texture will be slightly less light and pillowy than the classic egg-based version.

Comments (19)

2 days ago

OMG these bubble waffles were a total game changer for Saturday morning breakfast! My kids went crazy for the crispy bubbles and soft middle, I even let them load theirs up with sprinkles and Nutella. 12 minute cook time is no joke, I had the whole batch done before they even finished arguing over who got the purple plate. SO good, already added to our weekly rotation!

yesterday

Wait did you use a regular bubble waffle maker or the stovetop method? I’ve been nervous to buy a special appliance!

2 hours ago

So happy your family loved them! You can use either a standard bubble waffle iron or even a stovetop bubble waffle pan if you don’t want a countertop appliance, both work great with this batter!

1 week ago

Perfect easy recipe for my tiny dorm kitchen! I don’t have a fancy waffle maker so I cooked these in my mini waffle iron and they still came out bubbly and crisp. I topped mine with boba pearls and condensed milk and it tasted exactly like the ones I get at the mall food court for $8. Saved so much money lmao

5 days ago

Wait does the mini waffle iron actually get the bubble texture? I have one of those tiny Dash ones and I’ve been scared to try!

3 days ago

Great hack using a mini waffle iron! If yours has the grooved grid, you’ll still get that fun crispy texture even if the bubbles are a little smaller—sounds like your boba topping was chef’s kiss!

3 days ago

Brought these to my neighborhood block party potluck last weekend and they were GONE in 10 minutes flat. People kept asking me for the recipe all night! I made a little topping bar with fresh fruit, whipped cream, chocolate syrup, and crushed Oreos so people could customize their own. 10/10, zero complaints.

2 days ago

Did you make the batter ahead of time or cook them on site? I need something easy for my 4th of July cookout!

yesterday

Love the topping bar idea! You can mix the batter up to 24 hours ahead and keep it covered in the fridge, just give it a quick stir before cooking if you want to prep for your cookout ahead of time!

5 days ago

Wait, can I swap the all purpose flour for a 1:1 gluten free blend? I’ve been craving bubble waffles forever since I had to cut out gluten and most shop bought ones have cross contamination risks. This recipe looks so easy I want to make it this weekend!

3 days ago

I used Bob’s Red Mill 1:1 blend last week and it worked perfectly! No weird texture at all, my husband who eats regular gluten didn’t even notice a difference

2 days ago

Great question! We’ve tested this with 1:1 gluten free all purpose flour blends and it works beautifully, just make sure your blend includes xanthan gum for the best fluffy, crisp texture!

yesterday

Made these for my friend’s birthday brunch yesterday and everyone was obsessed! I will say my first batch came out a little soggier than I wanted because I didn’t let the iron get hot enough, but once I waited an extra minute they were perfectly crispy on the outside and chewy inside. 10/10 will make again!

2 hours ago

Ugh I had the same issue with my first batch! I realized I was pouring too much batter too, once I used a 1/3 cup measure it was perfect

30 minutes ago

So glad they were a hit at the brunch! The key is waiting for your waffle iron to fully preheat (most have a little indicator light!) and not peeking for the first 2 minutes of cooking to let that crispy bubble crust form.

2 weeks ago

I remember making something similar to these when my kids were little back in the 70s, I lost my old recipe so I was so happy to find this easy version! My granddaughter helped me stir the batter and we topped ours with strawberry jam and powdered sugar, just like I used to make. Tastes exactly like I remembered.

1 week ago

This makes our day! There’s nothing better than passing down favorite recipes with the next generation, and the strawberry jam and powdered sugar topping sounds absolutely perfect.

1 week ago

Wait has anyone tried making these ahead and freezing them? I need quick breakfast options for my early work days, and these look way more fun than regular frozen waffles.

5 days ago

I froze a batch last week! I just let them cool completely, stacked them with parchment paper between each, and popped them in the toaster straight from the freezer for 2 minutes. Crisped right up perfectly!

3 days ago

Has anyone tested this with flax eggs instead of regular eggs? I’m vegan and would love to make these for my roommate’s birthday breakfast next week!

2 days ago

Great question! We’ve tested this recipe with flax eggs (1 tbsp ground flax + 3 tbsp water per egg, left to thicken for 5 minutes) and it works wonderfully for a vegan version!

30 minutes ago

I’m literally the worst at cooking, like I burn toast half the time, and these still came out amazing! The instructions are so straightforward, I didn’t mess up a single step. I topped mine with maple syrup and fried chicken for a sweet and savory dinner and it slapped.

just now

Oh the fried chicken and bubble waffle combo is elite! I add a little hot honey to mine and it’s life changing, you have to try it next time

5 days ago

I added a teaspoon of matcha powder to half the batter for a fun twist and it was incredible! The earthy matcha paired so well with white chocolate drizzle and fresh raspberries. Will definitely be experimenting with more flavors now.

3 days ago

That matcha twist sounds genius! We love hearing about fun flavor variations, the white chocolate and raspberry pairing sounds like the perfect complement to the earthy matcha.

1 week ago

Made these for my daughter’s soccer team snack after their game last Saturday and all the kids (and parents!) were begging for seconds. I cut them into little bite sized pieces and served them with a side of chocolate dip, it was way more popular than the usual orange slices lol

5 days ago

Stealing this idea for our next team snack! The orange slices always get left behind, this is such a fun treat for the kids after running around for an hour

2 hours ago

Love that I didn’t have to buy any fancy ingredients for this! I already had everything in my pantry, no special trip to the grocery store needed. Tastes way better than the expensive bubble waffle mix I bought last month that was super bland.

30 minutes ago

That’s what we love to hear! No fancy ingredients or complicated steps required for delicious, crispy bubble waffles—save your money for the fun toppings!

2 days ago

Made these at 1am after a night out with friends and they hit DIFFERENT. I didn’t even have any fancy toppings, just ate them straight off the iron with a little powdered sugar, and it was the best late night snack I’ve ever made. No drive thru needed.

yesterday

LMAO same! I made these last weekend after my friend’s house party and everyone was crowding the kitchen waiting for them to cook, 10/10 drunk food

2 days ago

I stirred a handful of mini chocolate chips into the batter right before cooking and every little bubble had melty chocolate in it. Literally heaven, I will never make regular waffles again.

1 week ago

Made these for my wife for our first Sunday brunch in our new house and she said they’re better than the ones we had on our honeymoon in Hong Kong. Win for me! 12 minute cook time meant I didn’t have to wake up at the crack of dawn to surprise her.

5 days ago

Pretty solid recipe! I wish there was a note about how high to set the stovetop heat if you’re using a pan instead of an electric iron, I had mine a little too high at first and burned the edges. Once I turned it down to medium they were perfect, though.

yesterday

Even my golden retriever was sitting by the kitchen counter begging for a bite while these were cooking! I gave him a tiny plain piece (no toppings, don’t worry!) and he did a little happy dance. 10/10, pup approved.

2 weeks ago

I run a little weekend bake stand at my local farmers market and I tested these out to add to the menu last weekend. They sold out by 10am! People loved that they were easy to hold while walking around the market, and the customizable toppings were a huge hit.

just now

Added a teaspoon of cinnamon and a splash of vanilla extract to the batter and it made the whole house smell like a fall festival while these were cooking. So warm and cozy, perfect for a rainy Sunday morning. Served mine with cream cheese glaze and it was chef’s kiss.



