
Bunny Bread
intro
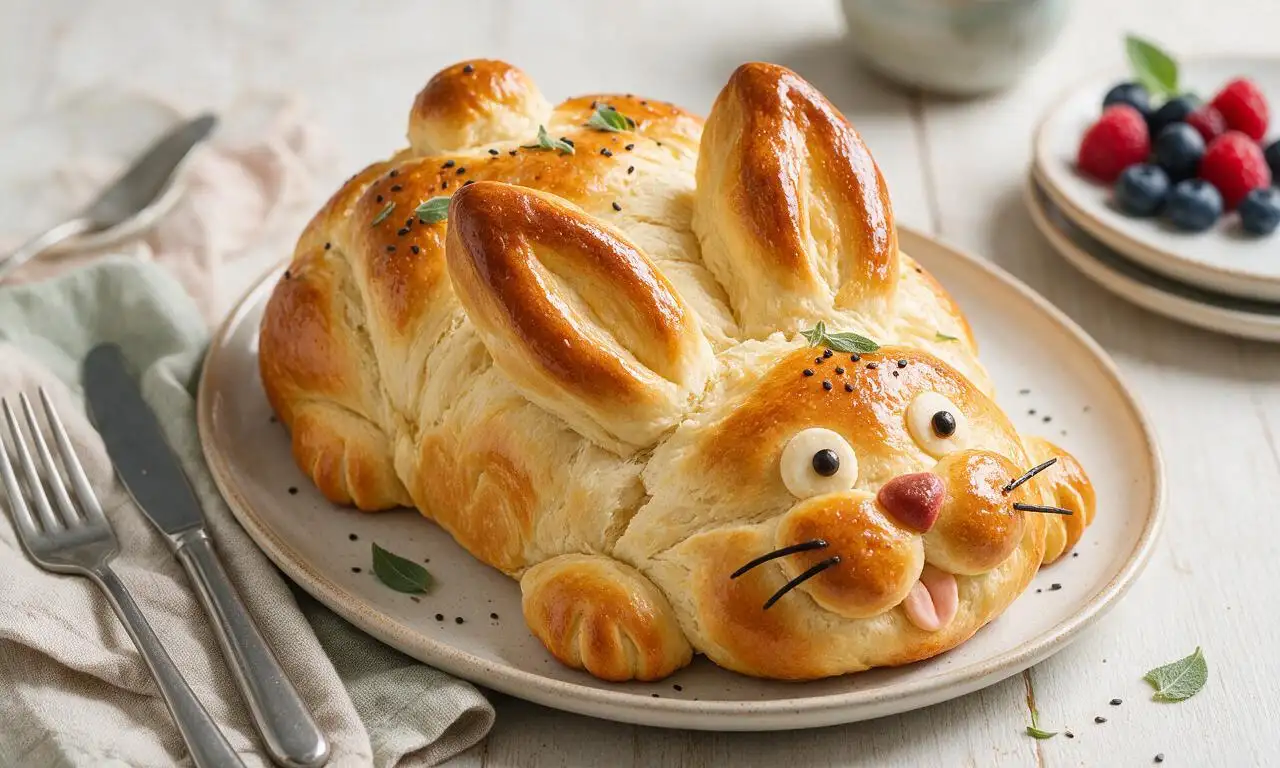
Soft, fluffy, slightly sweet pull-apart bread shaped like a cheerful Easter bunny, with a buttery golden crust, perfect for festive spring holiday brunches.
Ingredients
Steps
Activate the yeast
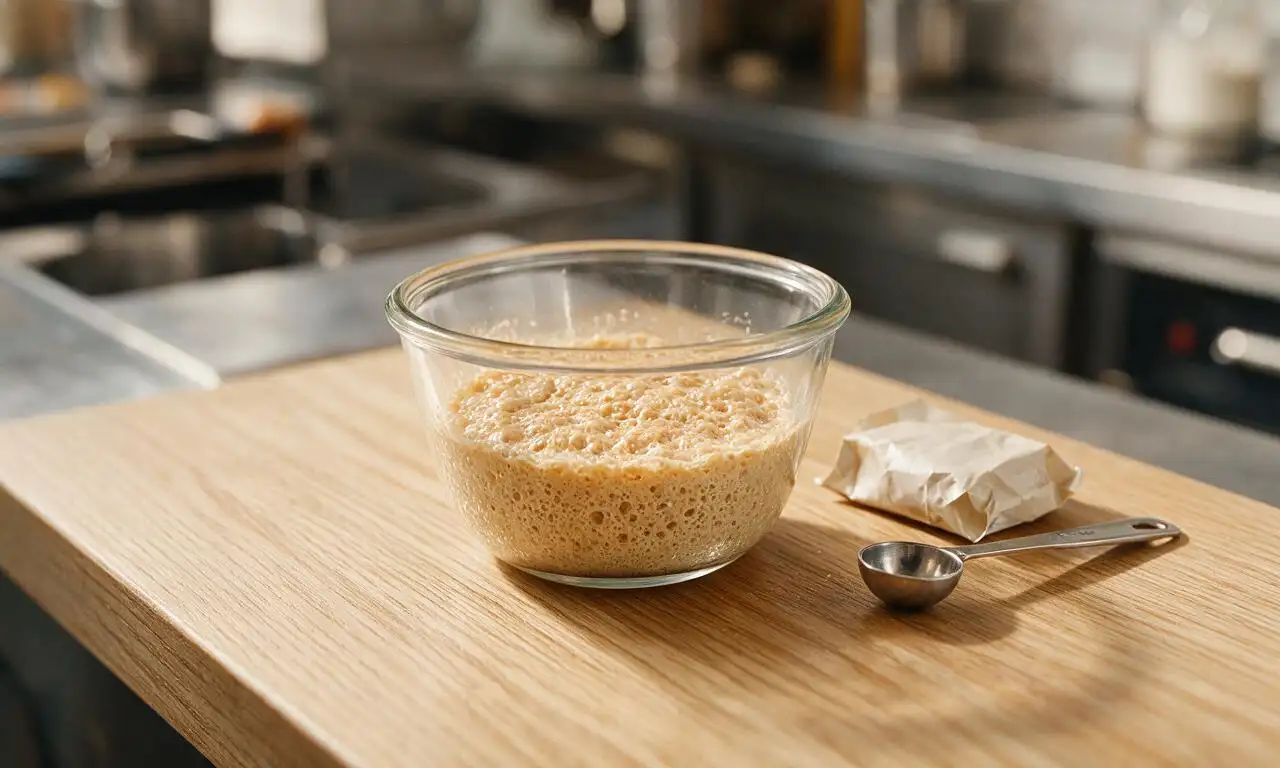
In a small mixing bowl, combine warmed whole milk (heated to exactly 38C/100F, do not exceed 43C/110F to avoid killing yeast), 1 tablespoon (13g) of granulated sugar, and the full 7g packet of active dry yeast. Stir gently to dissolve, then let rest for 5-7 minutes at room temperature until the surface is foamy and frothy, confirming the yeast is active.
Mix and knead dough
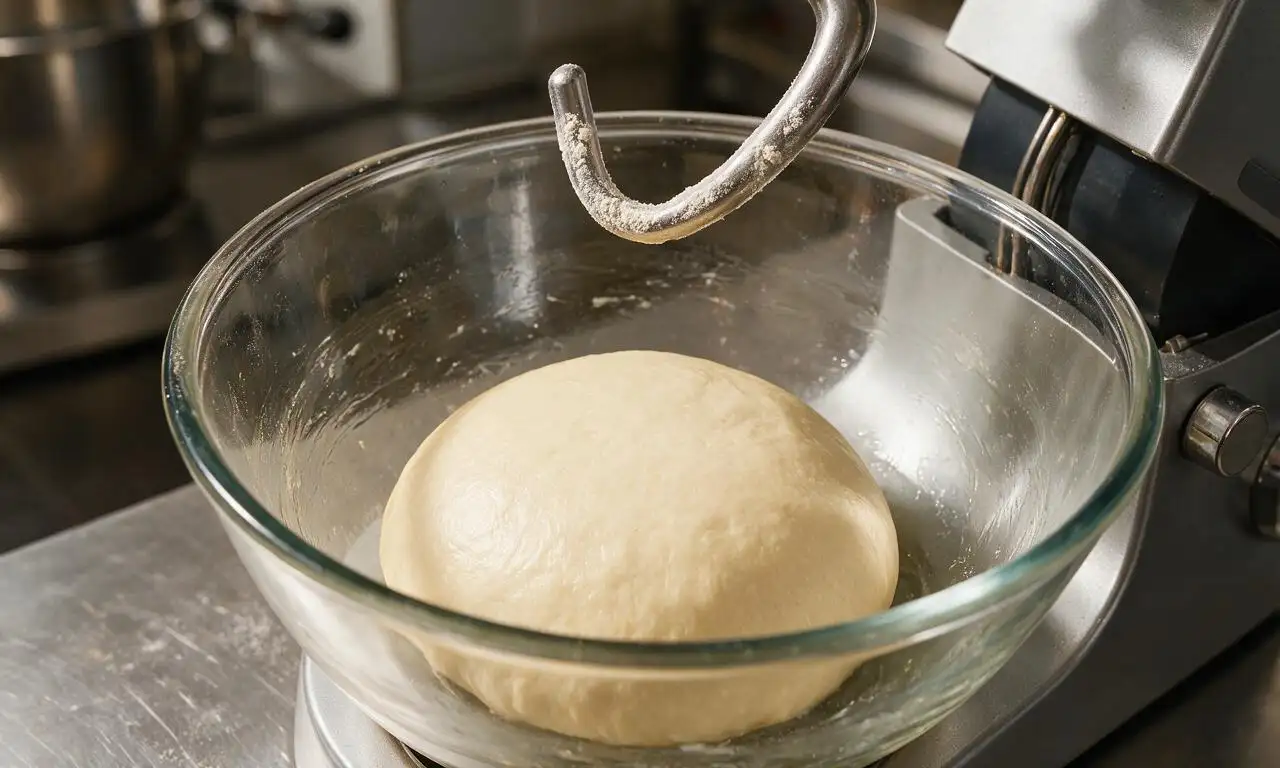
In a large stand mixer fitted with a dough hook, combine the foamy yeast mixture, remaining 2 tablespoons (25g) granulated sugar, 57g (4 tbsp) cooled melted unsalted butter, 1 tsp fine sea salt, and 480g (4 cups) all-purpose flour. Mix on low speed (setting 2 on most stand mixers) for 2 minutes until a shaggy, lumpy dough forms, then increase speed to medium-low (setting 4) and knead for 7-8 minutes until the dough is smooth, elastic, and pulls cleanly away from the bowl sides. If kneading by hand, turn the shaggy dough onto a lightly floured surface and knead for 10-12 minutes until smooth.
First dough rise
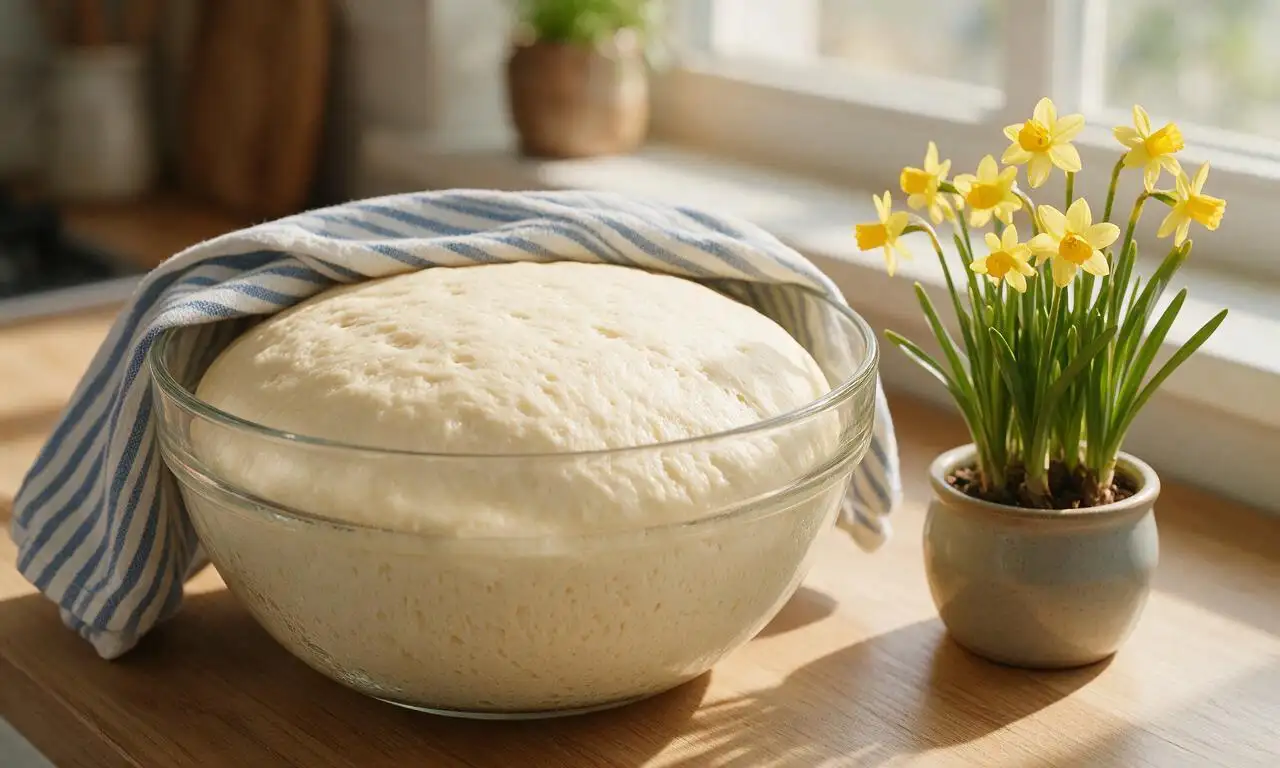
Coat the inside of a large clean bowl with 1g (1/4 tsp) of softened unsalted butter to prevent sticking, place the kneaded dough ball seam-side down in the bowl, and cover tightly with a damp lint-free kitchen towel or plastic wrap. Let the dough rise in a warm, draft-free spot (consistent 24C/75F) for 60 minutes, until it doubles in volume and leaves a 1-inch deep indent when pressed with a floured finger.
Shape the bunny form
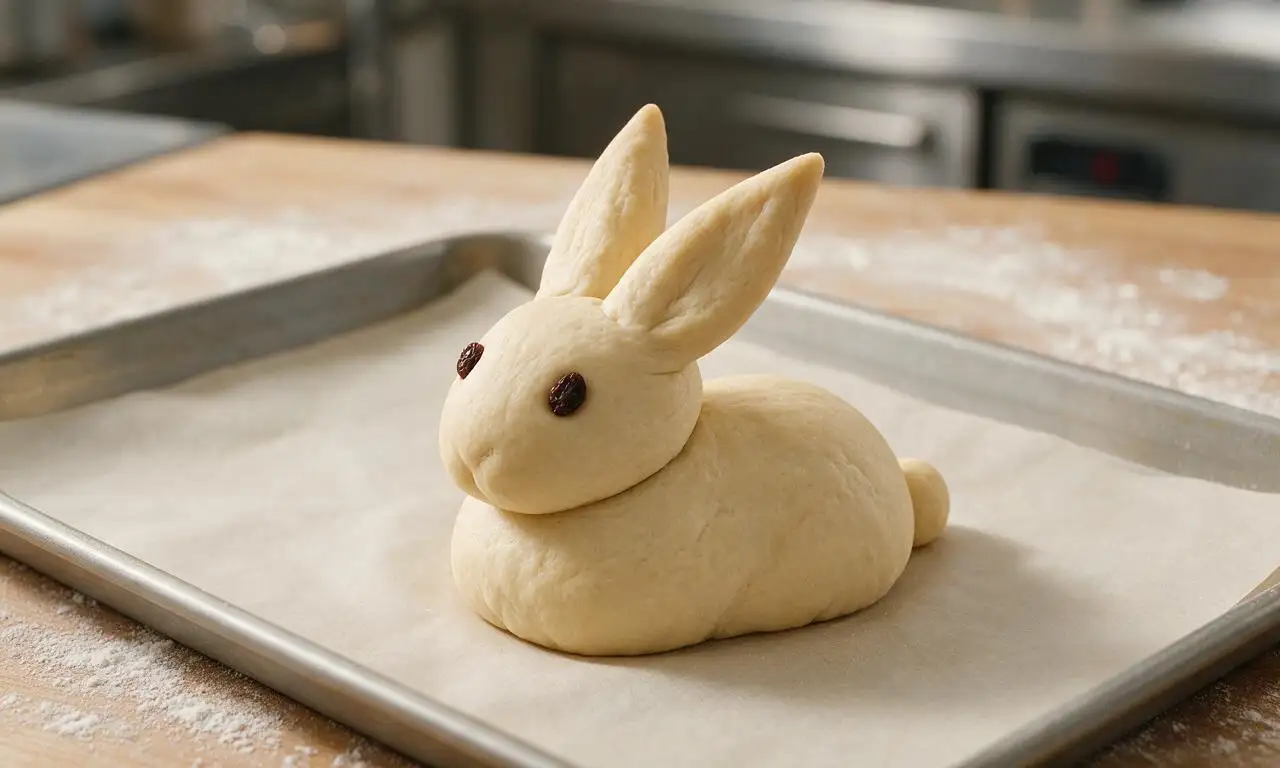
Punch the center of the risen dough firmly to release all trapped air, then turn it out onto a lightly floured work surface. Divide the dough with a bench scraper: set aside 220g (approx 1/4 of total dough) for the round head, two 60g (2 oz) pieces for the ears, one 30g (1 oz) piece for the round tail, and use the remaining 450g (just over half the total dough) to form a plump 8-inch oval for the bunny body. Arrange pieces on a parchment paper-lined baking sheet: place the 8-inch oval body first, set the round head against one narrow end of the body, roll each ear piece into a 6-inch long tapered oval (wider at the base, pointed at the tip) and tuck the wide base 1/2 inch under the top edge of the head, roll the 30g tail piece into a smooth ball and tuck it 1/2 inch under the opposite narrow end of the body. Press two raisins firmly into the head, spaced 1 inch apart, to form the bunny’s eyes.
Second proofing rise
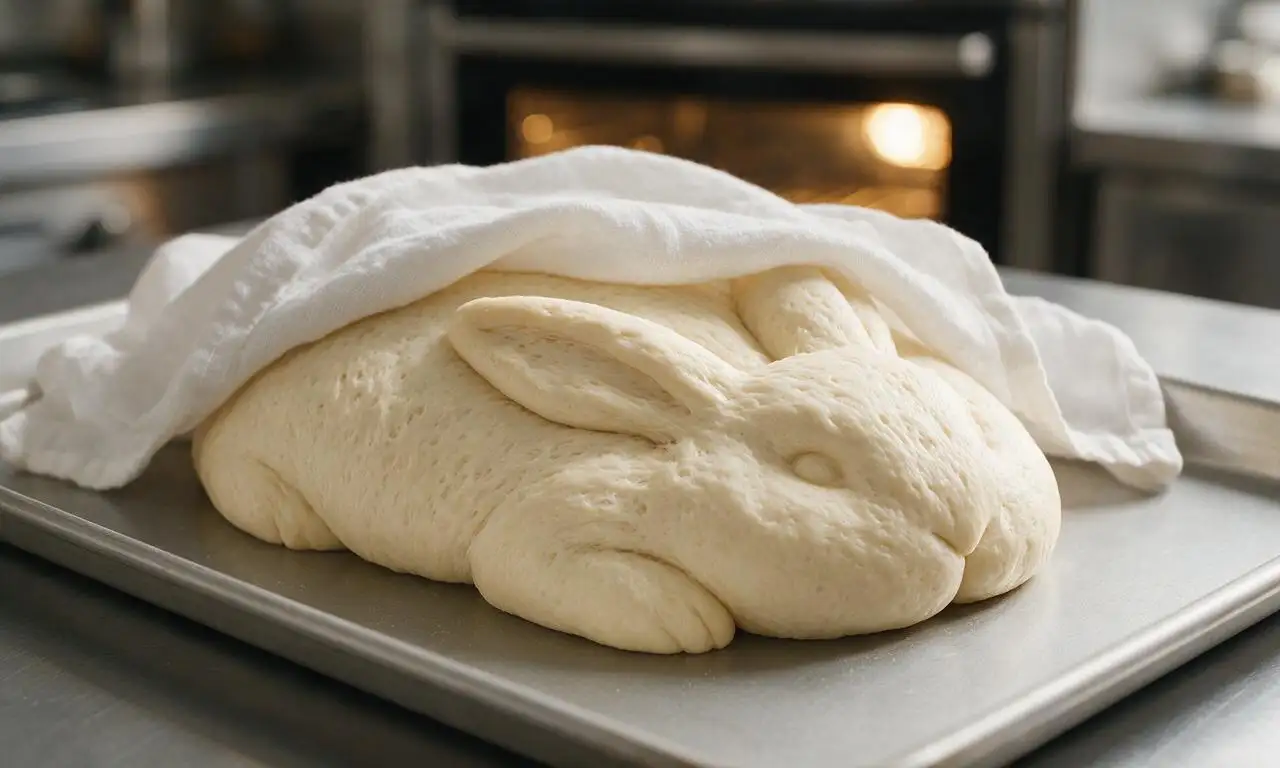
Loosely drape a clean damp kitchen towel over the shaped bunny dough, and let it rise for a second time in the same warm draft-free spot for 25-30 minutes, until the dough is puffy and springs back slowly halfway when poked gently with a floured finger. During the last 10 minutes of this rise, preheat your oven to 180C/350F, with an oven rack positioned in the middle position.
Bake to golden brown
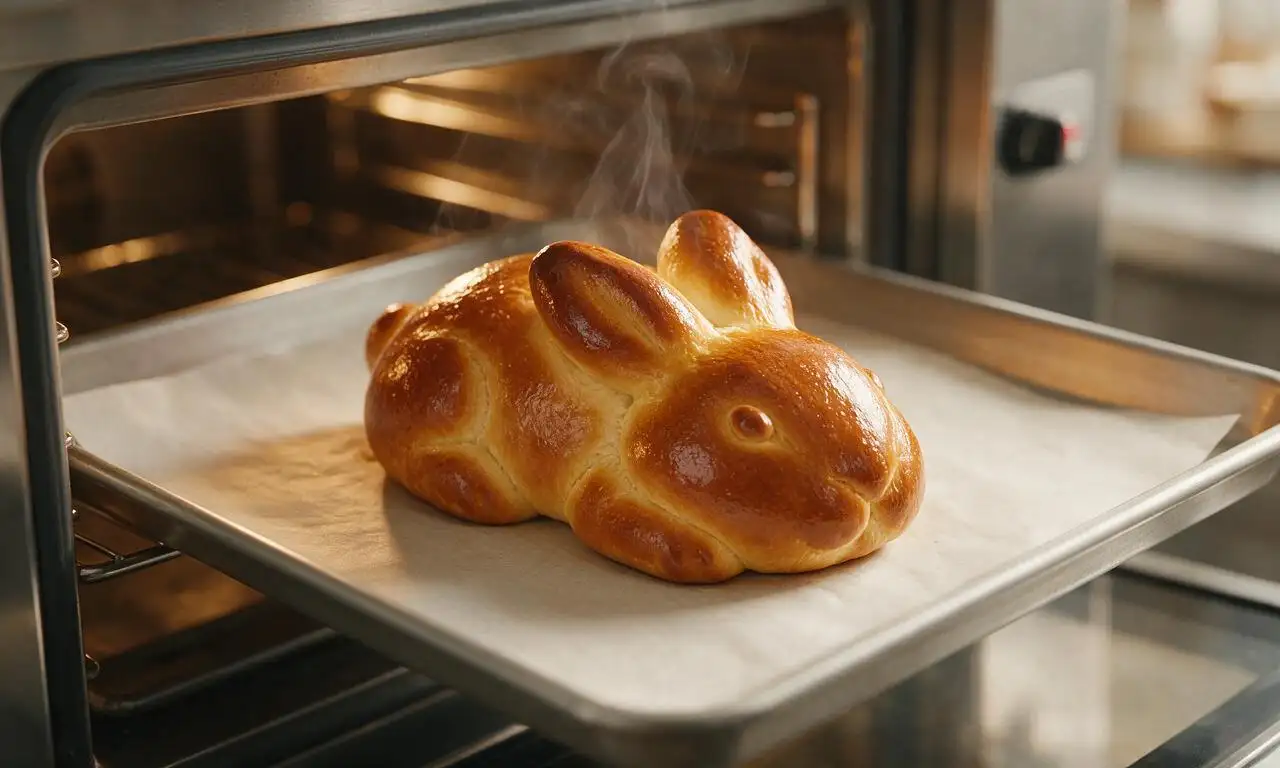
Whisk 1 large egg with 15ml (1 tbsp) cold water to make a smooth egg wash, then gently brush the entire exposed surface of the risen bunny dough with the wash, taking care not to press hard and deflate the dough. Bake for 22-25 minutes, until the crust is an even deep golden brown, and the internal temperature of the thickest part of the body reads 93C/200F on an instant-read food thermometer. If the ears or tail start to darken too quickly after 15 minutes of baking, cover them loosely with a small strip of aluminum foil to prevent burning.
Cool and serve
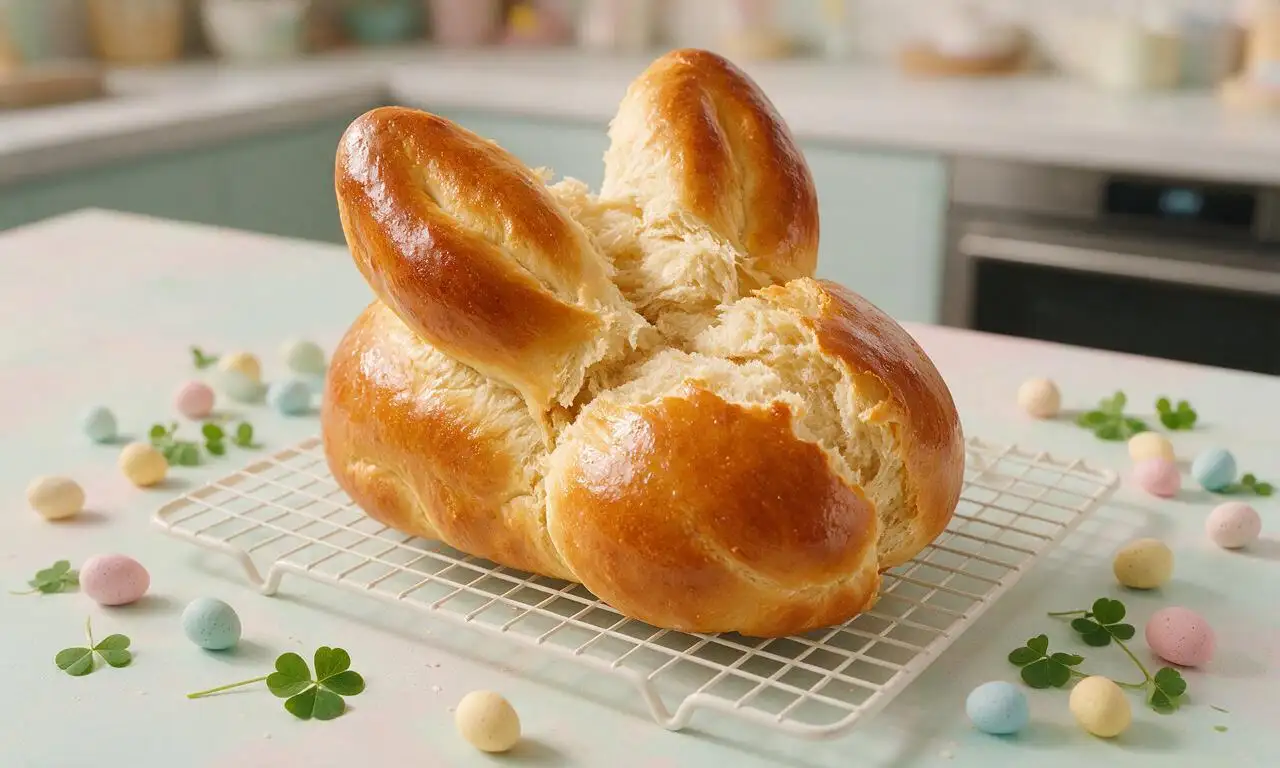
Lift the baked bunny bread off the baking sheet using the parchment paper edges, and transfer it to a wire cooling rack. Brush the warm crust with the remaining 12g (approx 1 tbsp) melted unsalted butter for a soft, glossy finish. Let the bread cool for 10 minutes before serving, as the interior crumb will be very hot straight from the oven; the soft bread pulls apart easily into shareable pieces.
Tips
2.If you do not have a warm draft-free spot for proofing, place the covered dough bowl inside a turned-off oven with the interior light on; this creates a consistent 24-27C/75-80F environment ideal for rising.
3.To prevent attached dough pieces (ears, tail, head) from separating during baking, press the connecting seams firmly together and dab a tiny drop of water on the joint to help the pieces adhere as they rise and bake.






OMG this bunny bread was the star of our Easter brunch yesterday! My kids went crazy for the floppy ears, they kept begging for extra butter to slather on the warm slices. I was worried it would be too fussy for a weeknight test run but it was so easy! Only thing I did extra was brush the top with a little honey butter right when it came out of the oven. 10/10 will make this every year from now on.
First time ever making yeast bread and I didn’t mess it up! I was so intimidated by the rise time but the instructions were super straightforward. My bunny came out a little lopsided (one ear is definitely bigger than the other lmao) but my roommate thought it looked charming. Tastes incredible too, soft and fluffy just like the bakery loaves I buy.
Swapped the all purpose flour for my go-to 1:1 gluten free baking flour and it turned out perfect! I was nervous the texture would be off but it was soft, chewy, and held the bunny shape perfectly. Brought it to our neighborhood Easter egg hunt potluck and no one even realized it was gluten free. Multiple people asked for the recipe!
Made this for our big family Easter gathering this past weekend and it was such a hit! I paired it with a side of homemade strawberry jam and whipped cinnamon butter for serving. Everyone kept commenting on how cute it was, even my super picky teenage cousin went back for a second slice. Only note: make sure you give it enough time to rise the second time, I rushed mine a little and one part was denser than the rest.
I’ve been making Easter bread for 40+ years and this is now my go-to bunny shape tutorial! I used my go-to sweet bread dough recipe but followed the shaping steps here, and my grandkids thought I was a total genius. The little raisin eyes and almond slice nose are such a cute touch, way easier than the fancy decorated sugar cookies I usually stress over.
Wait is this freezable? I like to prep holiday sides a week ahead so I’m not running around like a crazy person the day of. Tasted amazing when I made a test loaf last night, would love to make a double batch and freeze half for Easter morning.
Made this in my tiny dorm kitchen with just a toaster oven (I had to adjust the temp a little and bake it longer, oops) and it still slapped! Me and my suitemates ate the whole thing in like 10 minutes while we dyed Easter eggs. Super affordable ingredients too, didn’t have to drop a ton of cash at the campus grocery store.
Game. Changer. I signed up to bring bread to my son’s soccer team Easter party and almost bought a boring loaf from the grocery store. This bunny bread looked so cute on the snack table, all the kids crowded around it immediately. I used a little pink food coloring to dye a small piece of dough for the inner ears and it looked so professional, the other parents were asking if I bought it from a fancy bakery.
SO good. I served this alongside my usual quiche and fruit platter for Easter brunch with friends and it was the first thing to disappear. The texture is perfect—soft inside, slightly crisp crust on the outside. I will say, if you’re making this for a bigger crowd you might want to make two loaves, because a single bunny goes fast!
Followed the recipe exactly and my bunny came out looking like a weird mutated cat instead of a rabbit lmao. Tastes great though! 5 stars for flavor, zero stars for my shaping skills. Next time I’ll watch the shaping video twice before I start.
I made mini versions of this for each place setting at our Easter dinner table! Split the dough into 8 smaller bunnies instead of one big one, adjusted the bake time to about 18 minutes, and they were perfect. Tied a little name tag around each ear so people knew where to sit, it doubled as a party favor too. Everyone took theirs home!
Added a little cinnamon and sugar swirl inside the dough when I shaped it and y’all, it was insane. Tasted like a giant fluffy cinnamon roll shaped like a bunny. My husband ate three slices before we even finished setting the table. The recipe says easy and it’s not lying, even with the extra swirl step it was totally doable on a busy Saturday morning.
I was skeptical that an “easy” bread recipe would actually be easy, but no weird fancy ingredients, no complicated steps, just straightforward instructions and a super cute final product. I didn’t even have to run to the store, I had all the ingredients in my pantry already. 10/10 for lazy bakers like me.
We made this as a group activity for my kid’s 2nd grade class Easter party and it was so much fun! The kids loved helping shape the ears and add the little faces. The dough is really forgiving, so even when the kids squished it a million times it still baked up fluffy and delicious. Way better activity than dyeing eggs which always turns into a huge mess.
Made this with my 7 year old daughter for her school’s Easter bake sale and it sold out in 10 minutes! She picked out sparkly sugar to sprinkle on the ears and was so proud to tell people she helped make it. We ended up making three more loaves after the first one sold so fast, we raised almost $100 for the school’s art program.
Brought this to my office potluck yesterday and I won the “best dish” prize! Beat out like 12 different casseroles and a whole platter of gourmet cupcakes. People were shocked when I told them how easy it was to make, everyone thought I spent hours on it. Little do they know I knocked it out in between work meetings on Sunday.