
Bunny Bread Rolls
intro
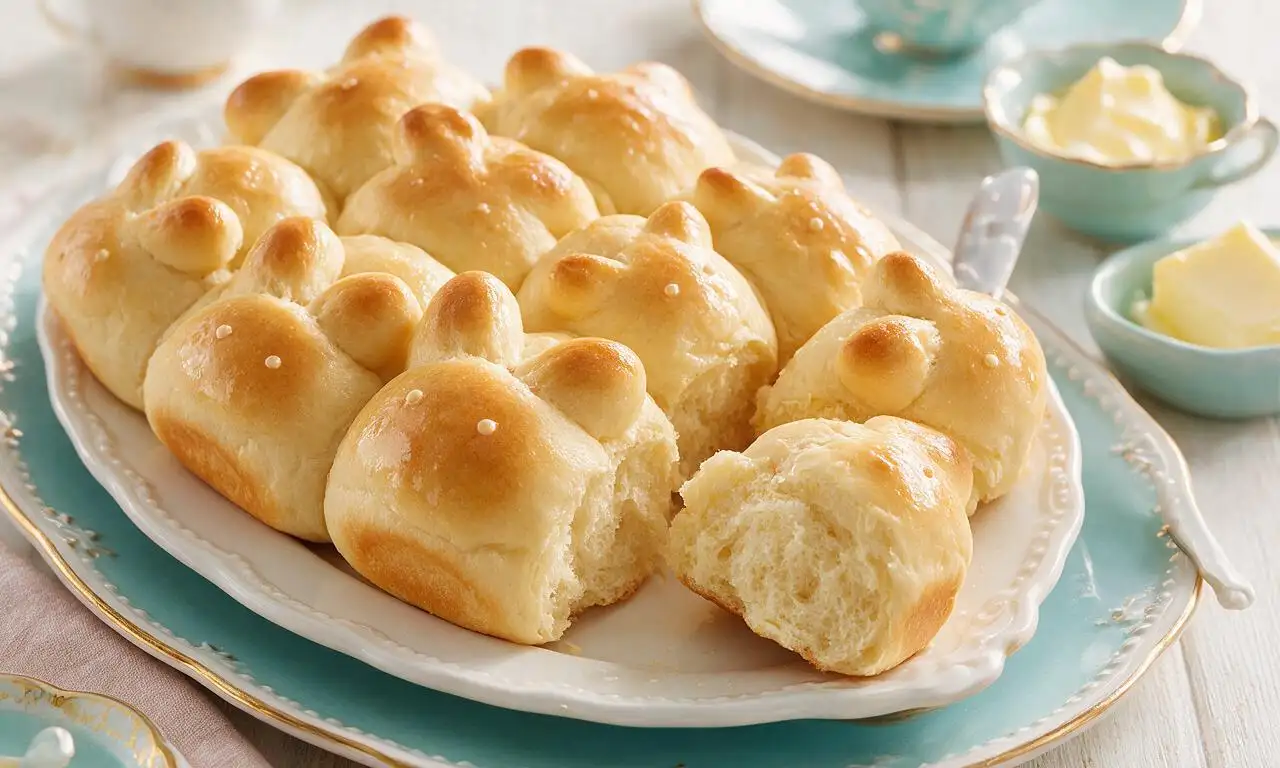
Soft, fluffy buttery yeast rolls shaped like adorable bunnies, with a tender sweet crumb, perfect for Easter spring gatherings and kid-friendly meals.
Ingredients
Steps
Activate the yeast
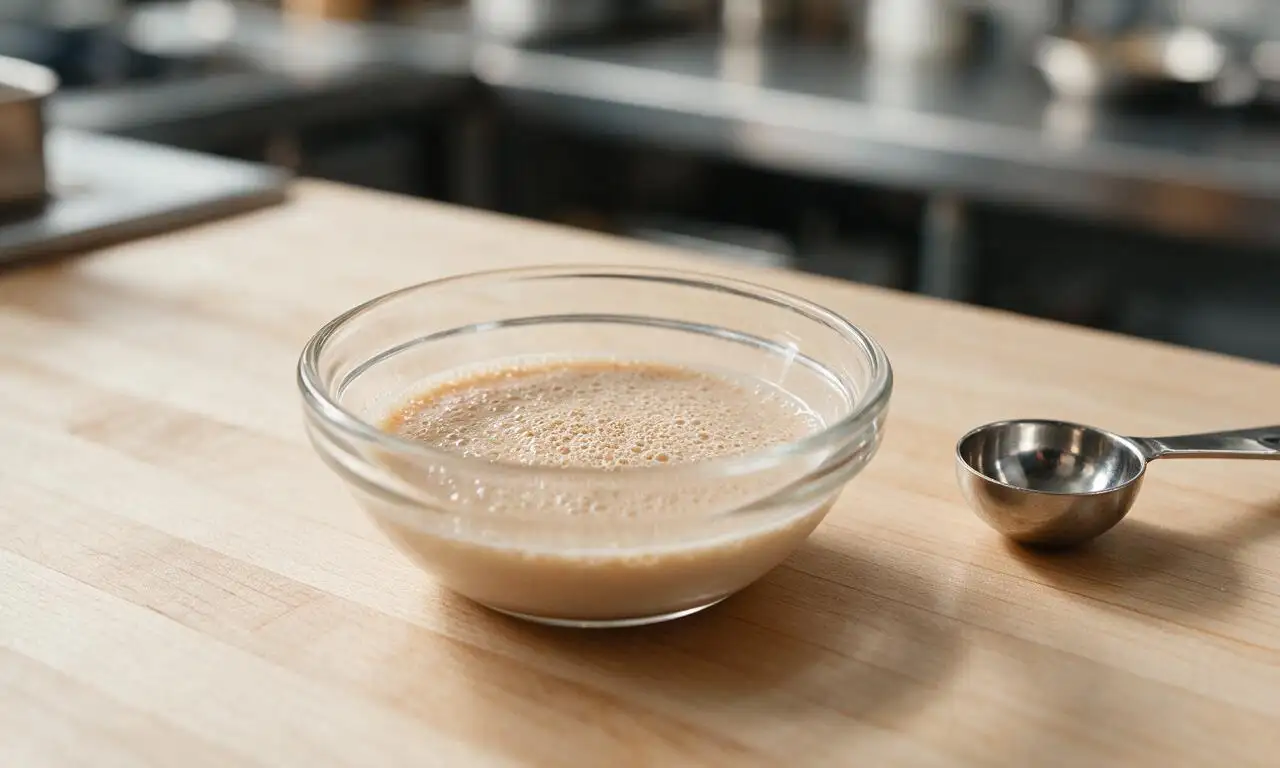
In a small mixing bowl, combine 240ml warmed (38°C/100°F) whole milk (dough portion), 1 tablespoon of the measured granulated sugar, and 7g instant dry yeast. Stir gently to combine, then let rest for 5-7 minutes at room temperature until the mixture forms a foamy, frothy top and smells faintly of yeast, confirming the yeast is active.
Mix and knead dough
In a large stand mixer bowl (or regular mixing bowl for hand kneading), combine the foamy yeast mixture, remaining granulated sugar, 57g melted cooled butter, room temperature large egg, 6g fine sea salt, and 480g all-purpose flour. Knead on low mixer speed (or by hand on a lightly floured counter) for 8-10 minutes, until the dough forms a smooth, elastic ball that pulls cleanly away from the bowl sides and is no longer sticky to light touch.
Complete first rise
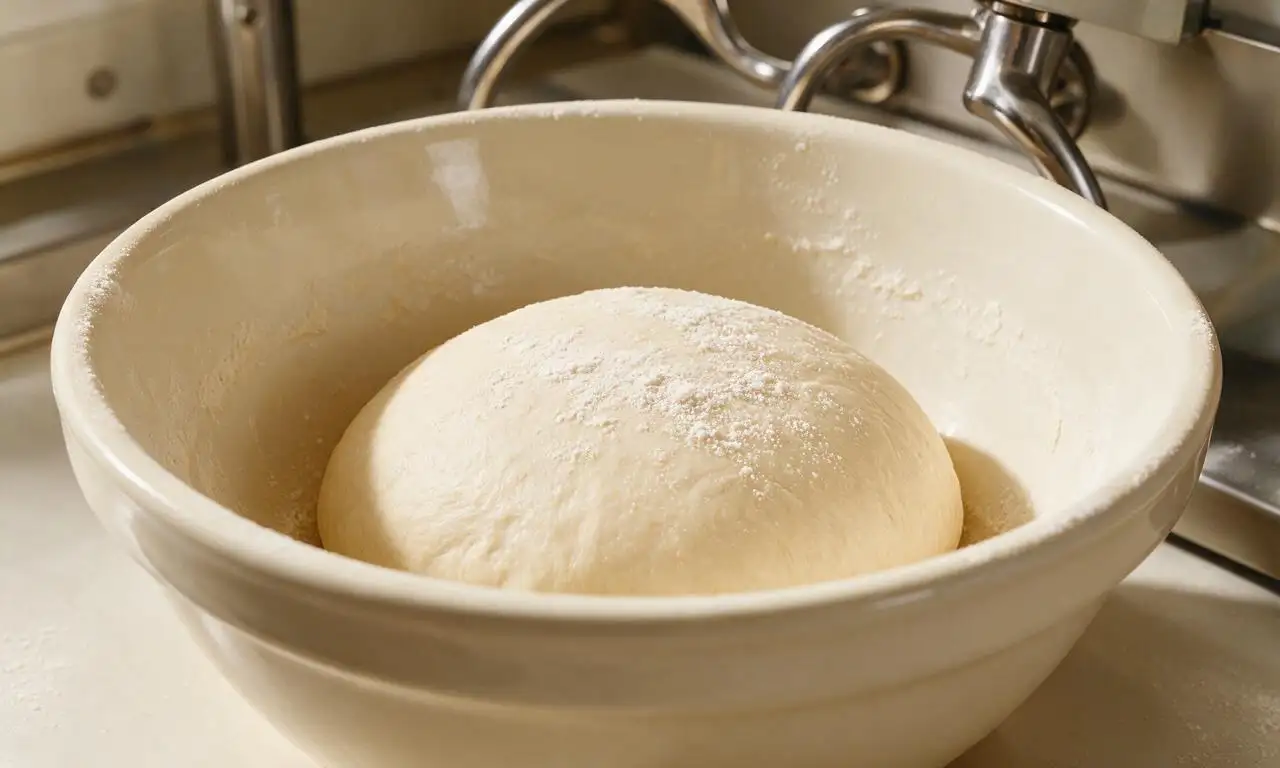
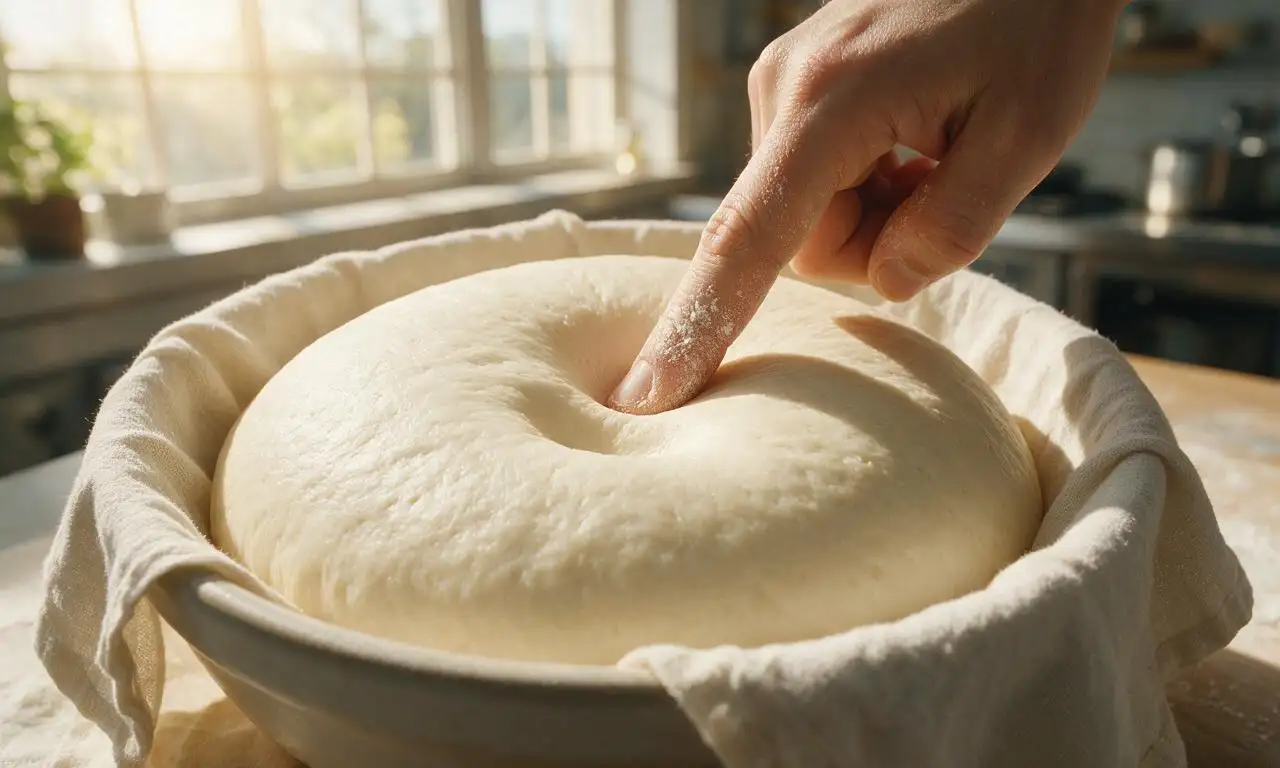
Coat the inside of the mixing bowl with 5ml (1 teaspoon) of neutral canola oil, place the dough ball back into the bowl, and cover tightly with a clean damp kitchen towel. Let rise in a warm, draft-free spot (24-27°C / 75-80°F) for 60 minutes, until the dough doubles in size; a floured finger pressed into the dough will leave an indent that does not spring back when ready.
Shape bunny rolls
Punch down the risen dough firmly to release all trapped air, then divide evenly into 8 equal portions (approximately 95g each). For each bunny: set aside 20g of the portion, roll the remaining 75g into a tight, smooth ball for the body, and place pieces 5cm (2 inches) apart on a parchment-paper lined baking sheet. Split the reserved 20g piece into two equal 10g pieces, roll each into a 5cm (2 inch) long tapered ear shape, then tuck the wide end of each ear 1cm under the top edge of the body ball to secure. Press two small raisins into the dough just below the ears to form bunny eyes.
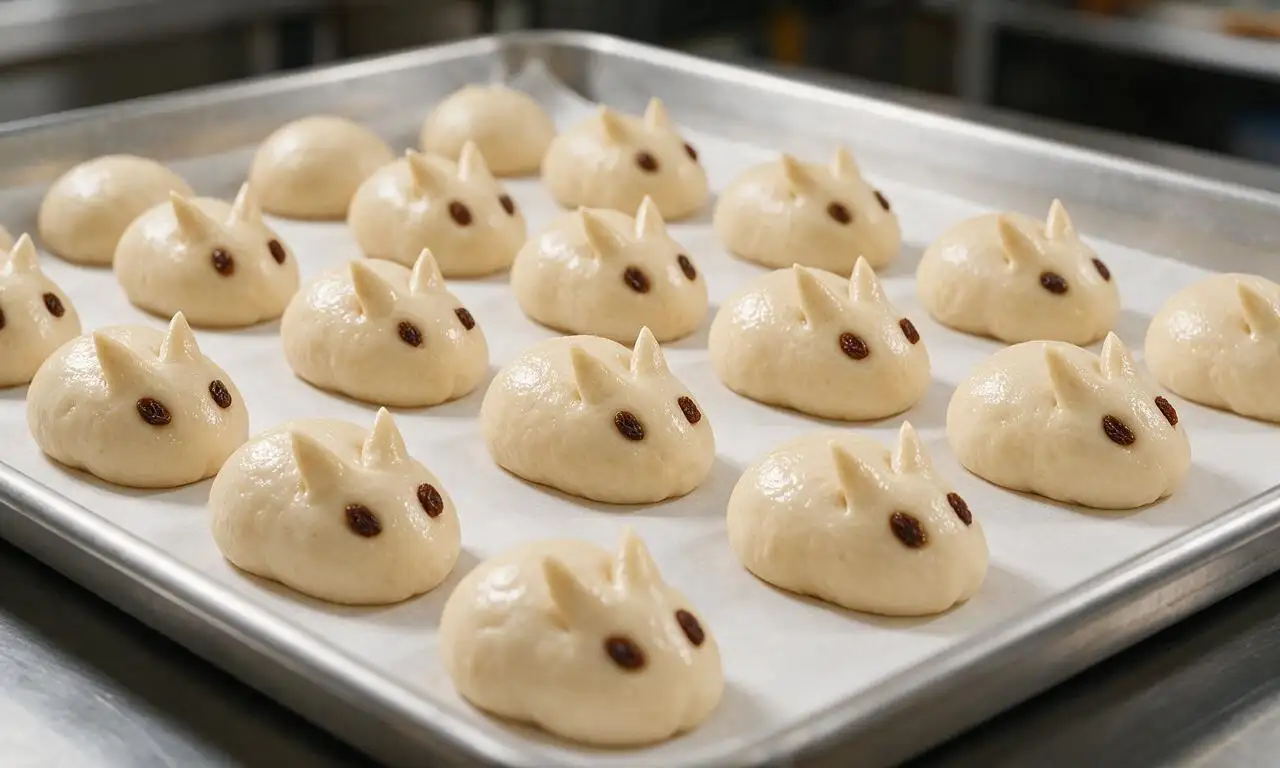
Complete second rise
Cover the shaped bunnies loosely with a clean dry cotton kitchen towel, and let rise again in the same warm draft-free spot for 25-30 minutes, until the rolls are puffy and have increased by 50% in size. Halfway through this rise time (at the 15 minute mark), preheat your oven to 190°C (375°F) to ensure it is fully heated when the rolls are ready to bake.
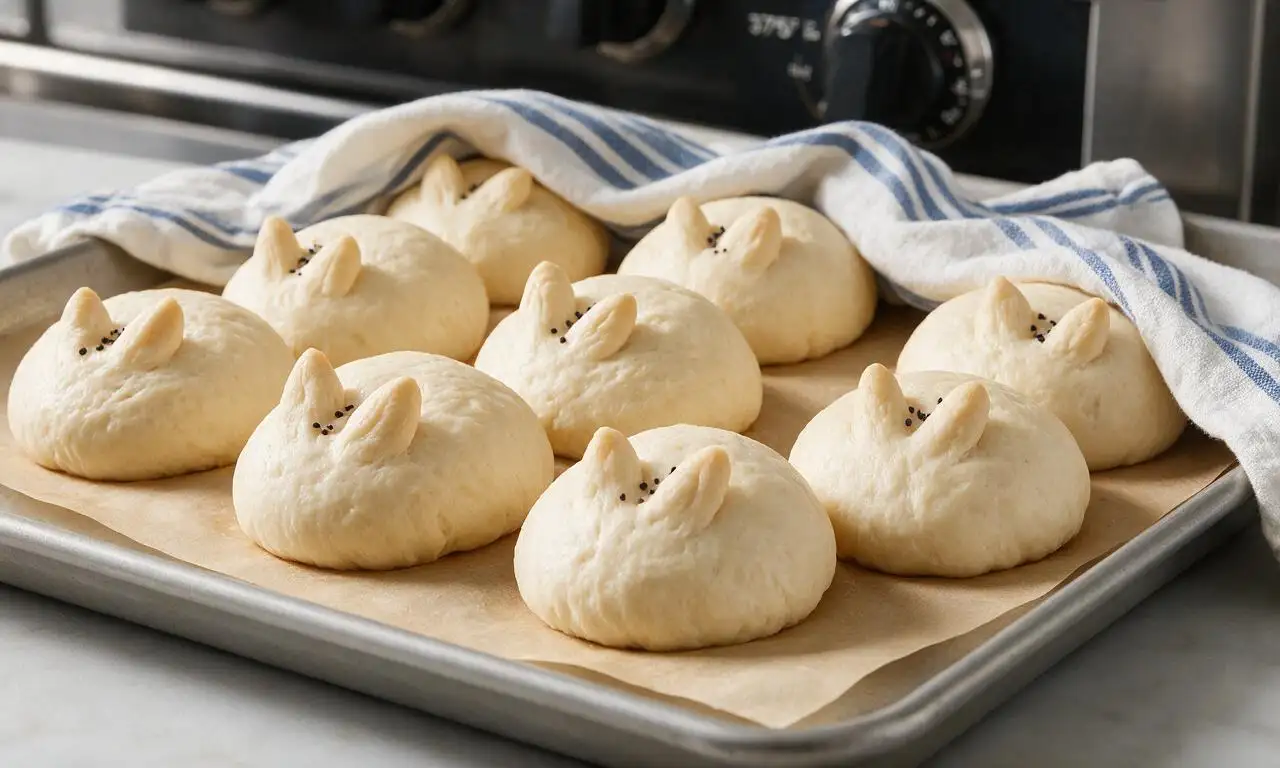
Bake and finish rolls
Once the second rise is complete, gently brush the top of each bunny roll with 15ml (1 tablespoon) of whole milk to create a golden crust. Bake on the middle oven rack at 190°C (375°F) for 15-18 minutes, until the tops are evenly golden brown and the internal temperature of the rolls reaches 88°C (190°F). Remove from the oven, transfer rolls to a wire cooling rack, brush warm rolls with 14g (1 tablespoon) melted butter for a soft, rich finish, then let cool for 10 minutes before serving.
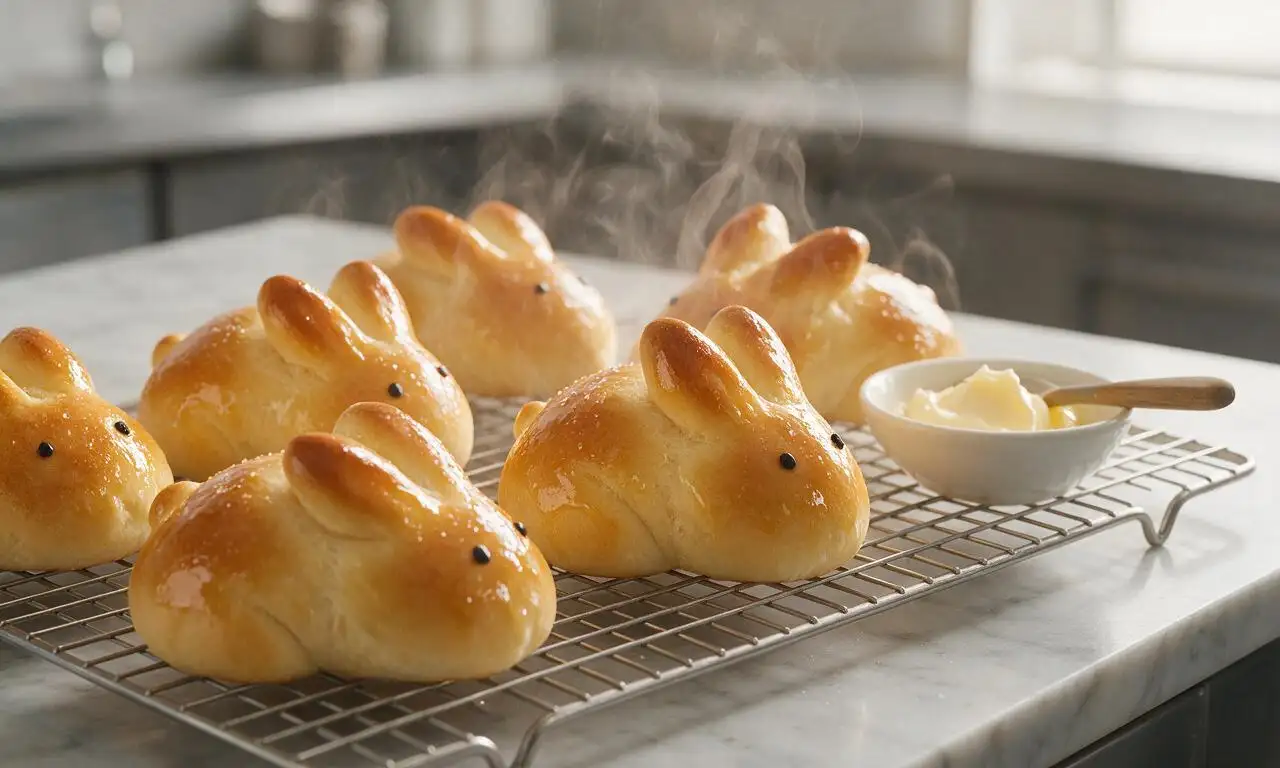
Tips
2.Tuck the wide end of each bunny ear firmly 1cm under the dough body when shaping; loose ears will pop off and separate during the second rise and baking.
3.For extra festive flair, add a tiny pink sprinkle or candy melt dot for a bunny nose, or dust fully cooled rolls with a light coating of powdered sugar for a sweet finish.






OMG these bunny rolls were the star of our Easter dinner! My kids went absolutely nuts when they saw them, and they were so soft even the pickiest one ate two without complaining. I was worried shaping them would be hard but it was way easier than I thought, total game changer for holiday meals!
Brought these to our neighborhood potluck last weekend and people were begging for the recipe before I even set the plate down! The little raisin eyes are such a cute touch, I added a tiny pink sprinkle for noses to make them extra festive. SO good, even better than the dinner rolls I usually buy from the bakery.
Super easy for a first-time bread baker! Mine came out a little lopsided because I messed up cutting the ears, but they still tasted amazing. Only note is I had to add an extra 5 minutes of bake time because my oven runs cold, but that’s just my appliance being weird. Will definitely make these again for my niece’s baby shower!
I make dinner rolls every Sunday for family dinner and these are officially our new favorite! The texture is so pillowy soft, they stay good for days in an airtight container which is perfect for leftover ham sandwiches the next day. My husband thought I spent hours on them, little does he know how simple the recipe is 😂
My 3 year old refused to eat any bread for like 2 weeks until I made these! She kept yelling ‘bunny bread!’ and ate a whole roll with her soup last night. 10/10, will be making these on repeat even when it’s not Easter.
Made these in my tiny dorm oven with my roommates and they turned out insane! We didn’t have raisins so we used chocolate chips for the eyes, which made them even better. Only issue was we ate the whole batch in like 10 minutes oops.
These were the perfect addition to my Easter brunch spread! I made a double batch because I knew they’d be popular, and I only had 2 left over by the end of the party. The shaping instructions were so clear, even my 10 year old was able to help form the bunnies with me.
Taste was great but my rolls didn’t rise as much as the pictures show? I think I killed my yeast because the water was too hot when I mixed it in. Bummed they were a little dense, but the flavor was still really good so I’ll try again next week.
I was skeptical that ‘easy’ bread rolls could actually be easy, but this recipe didn’t lie! Total time was exactly what was listed, no weird hidden steps, and the rolls came out perfectly soft and fluffy. Brushed a little melted butter and garlic salt on top right out of the oven and *chef’s kiss*.
Just pulled these out of the oven and they look SO CUTE. I added little powdered sugar tails because I’m serving them with strawberry jam for a baby shower tea, they look like they came straight from a fancy bakery! Can’t wait to bite into one.
Nice simple recipe, great for new bakers. I added a touch of honey to the dough for a little extra sweetness and it paired really nicely with the soft texture. Shaping is straightforward, no fancy tools required which is a big plus.
Made these for my kid’s soccer team snack after practice and all the kids went wild! The other parents were all asking where I got the idea, I told them it was this super easy recipe. Way more fun than bringing granola bars, that’s for sure.
I swapped the dairy milk for oat milk and used vegan butter and these came out perfectly! I was worried the substitutions would mess up the texture but they were just as soft and pillowy as the reviews said. So happy I can make these for my vegan sister when she visits for our family dinner next month.