
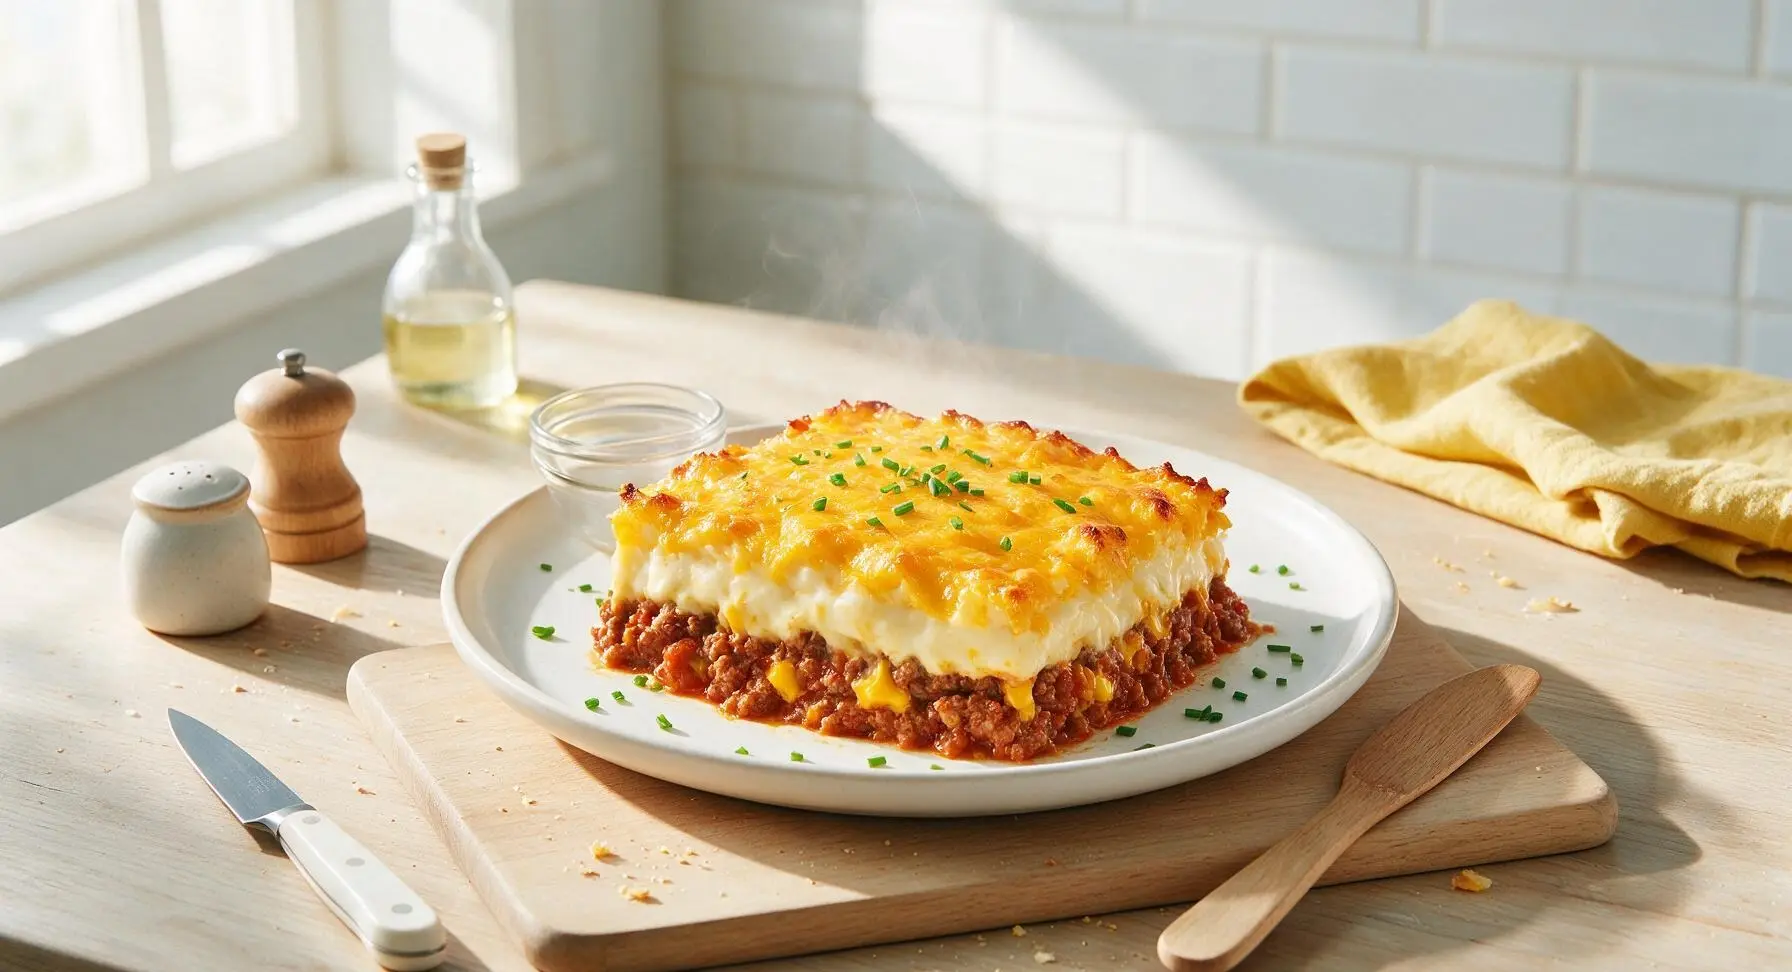
burger casserole

title 1
burger casserole
⏱️ cook time 35 minutes
🍽️ servings 6
⚡ Difficulty easy

intro

All the juicy, cheesy, tangy flavor of a classic cheeseburger baked into a hearty, no-fuss casserole—no grill required, ready in under an hour.

Ingredients
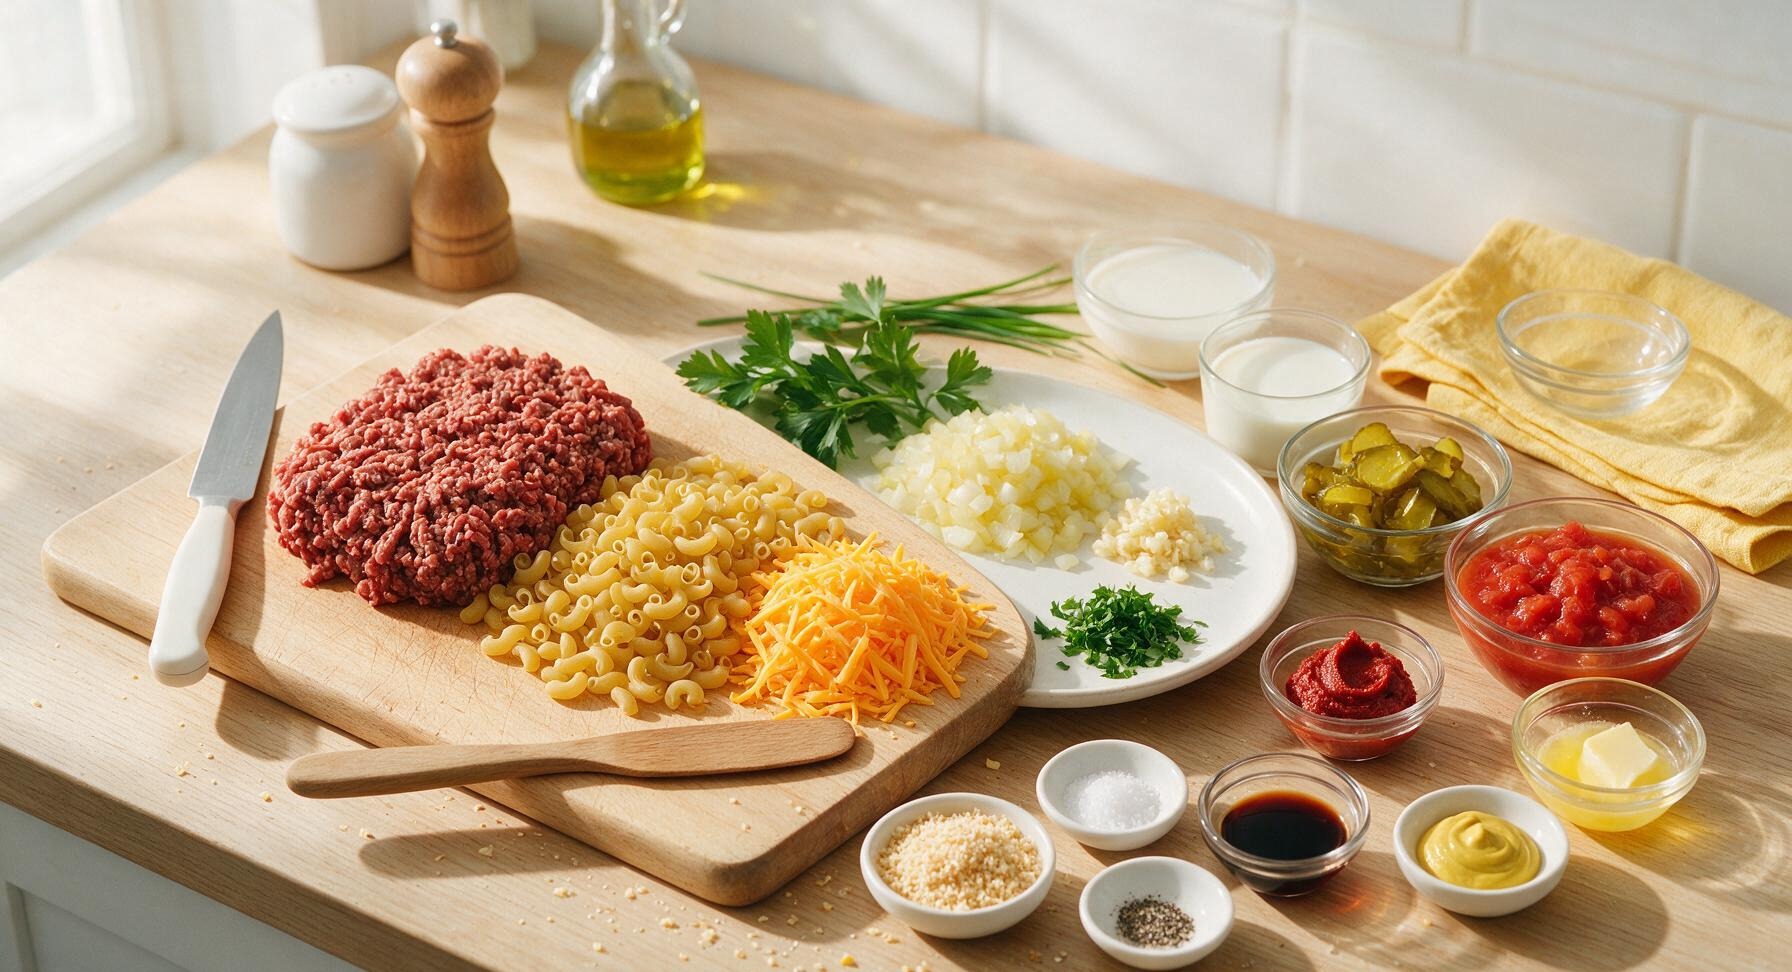
80/20 ground beef 500g
Dry elbow macaroni 200g
Shredded sharp cheddar cheese 200g
Yellow onion 1 medium (150g, finely diced)
Garlic cloves 3 (10g total, minced)
Dill pickle slices 100g, chopped (plus extra for garnish)
Canned crushed tomatoes 200g
Tomato paste 2 tbsp (30g)
Whole milk 120ml
Panko breadcrumbs 50g
Unsalted butter 2 tbsp (28g, melted)
Kosher salt 1 tsp
Freshly ground black pepper 1/2 tsp
Worcestershire sauce 1 tbsp (15ml)
Yellow mustard 1 tsp
Fresh flat-leaf parsley 2 tbsp (chopped, for garnish)

Steps

1

Preheat and Cook Pasta

Preheat oven to 190°C (375°F). Fill a medium stockpot with 2 liters of water, add 1 tsp kosher salt, and bring to a rolling boil over high heat. Add 200g dry elbow macaroni, stir once, and cook for 6 minutes (2 minutes short of package al dente directions, as pasta will finish baking in the casserole). Drain cooked pasta, toss with 1/4 tsp olive oil to prevent clumping, and set aside. Place the 12-inch seasoned cast iron skillet on the stovetop over medium heat to preheat for browning beef.
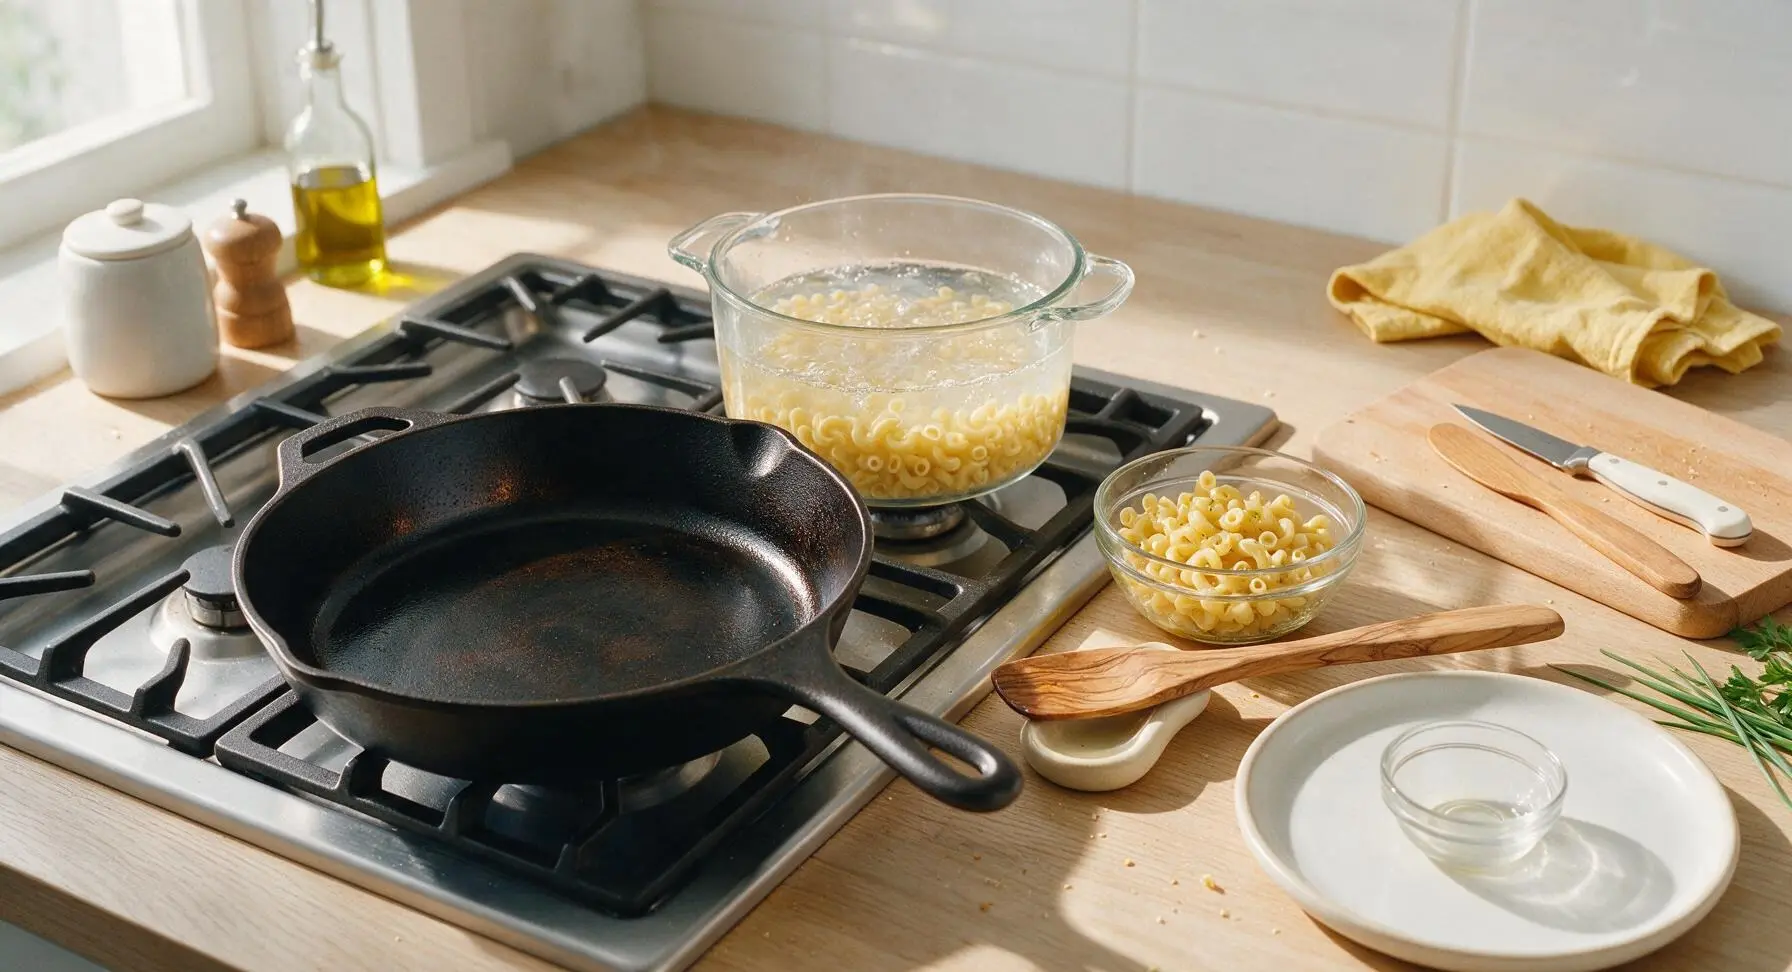
Step 1
step1:Preheat and Cook Pasta
2

Brown the Ground Beef

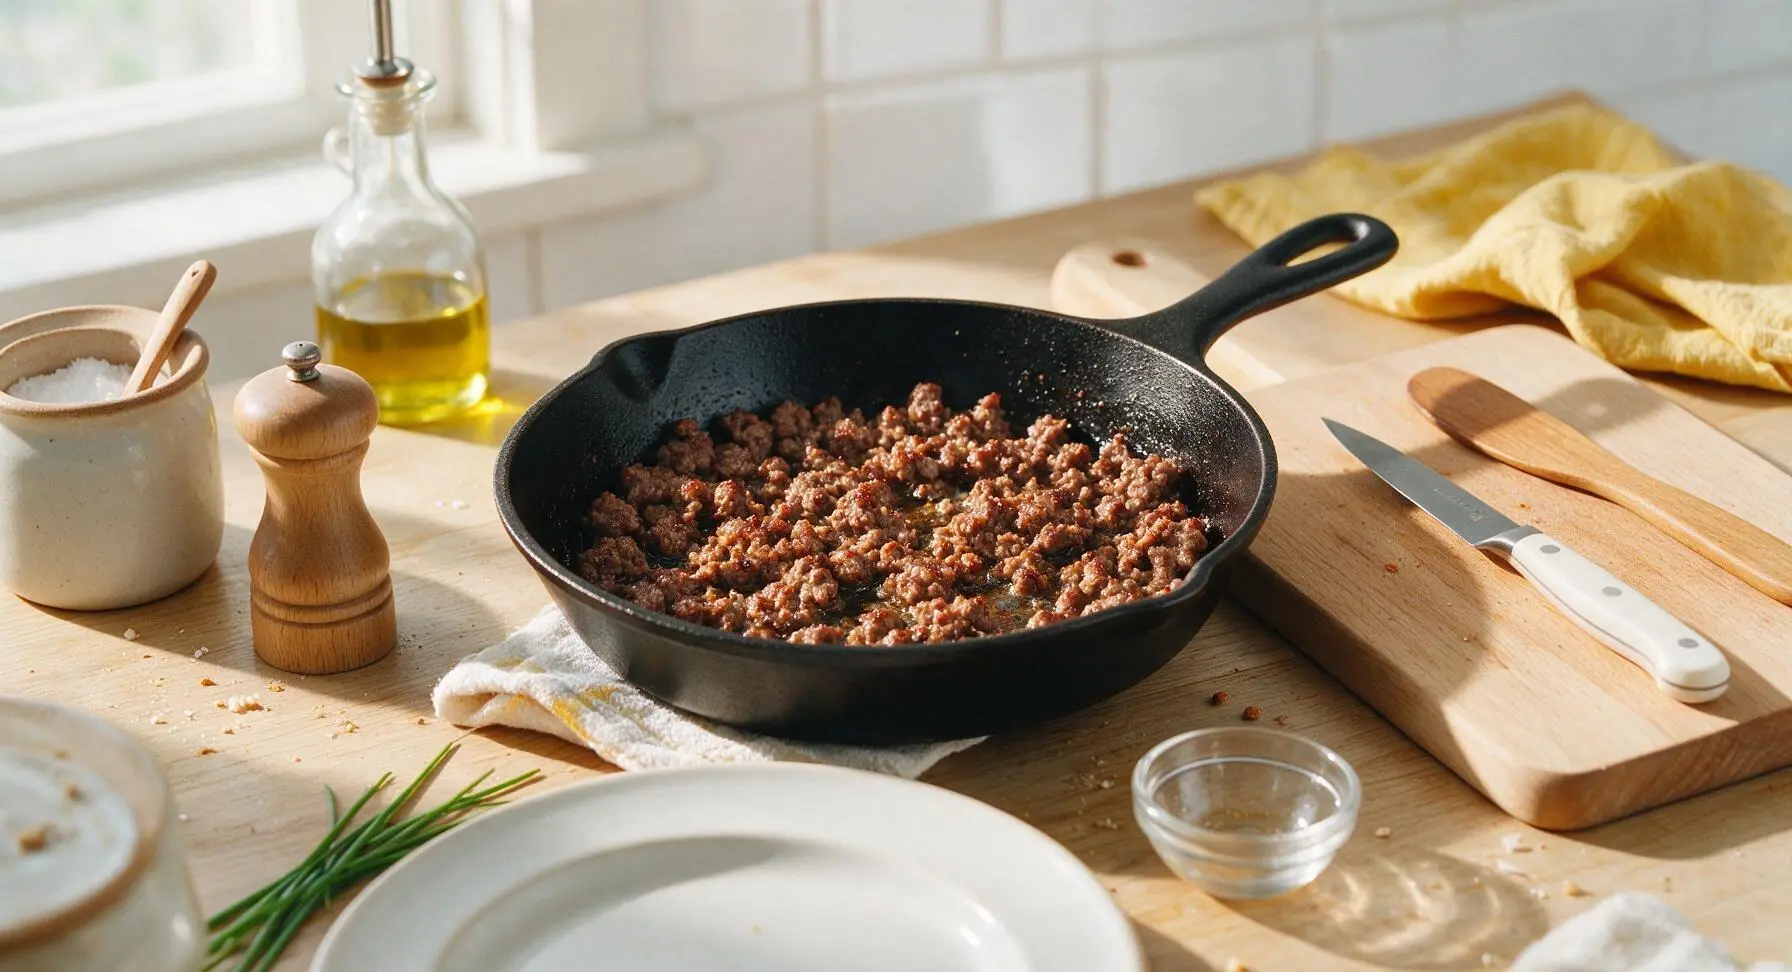
Add 500g 80/20 ground beef to the preheated cast iron skillet, breaking it apart with the olive wood turner as it cooks. Cook for 6-7 minutes over medium heat, until the beef is fully browned with no pink remaining, and small crispy brown bits form at the edges of the pan. Use a slotted spoon to transfer the browned beef to a clean plate, leaving 1 tbsp of rendered beef fat in the skillet for cooking vegetables.
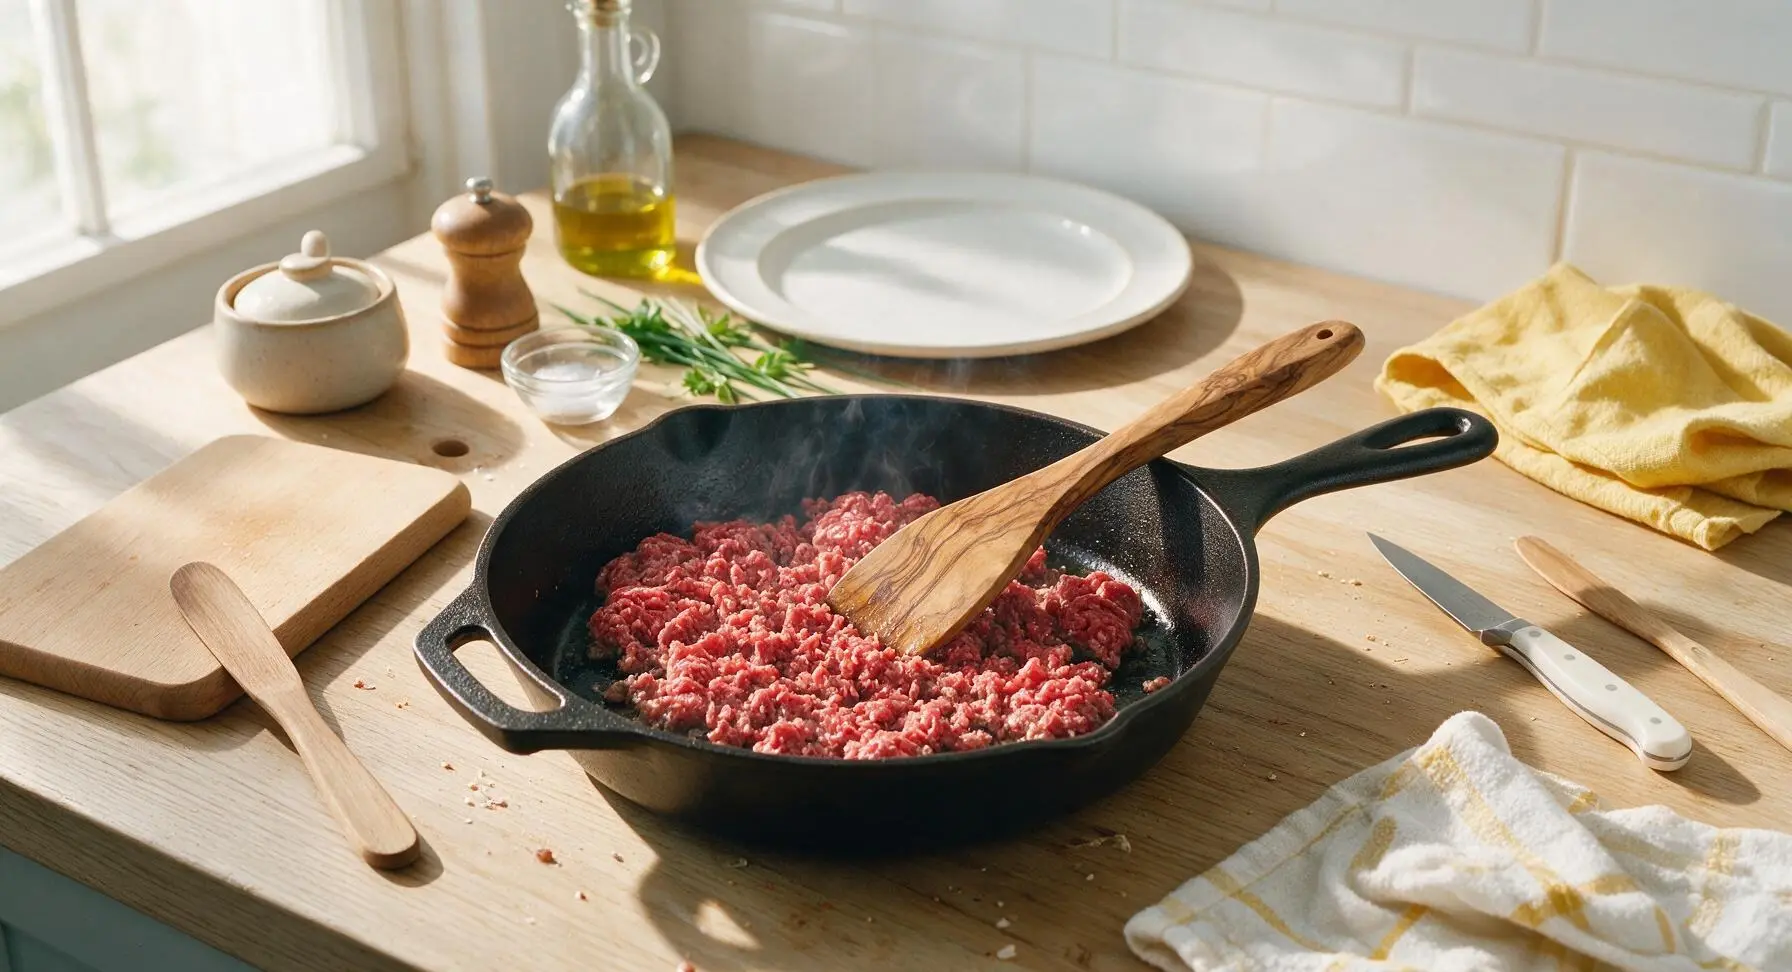
Step 2
step2:Brown the Ground Beef
Step 2
step2:Brown the Ground Beef
3

Sauté Aromatic Vegetables

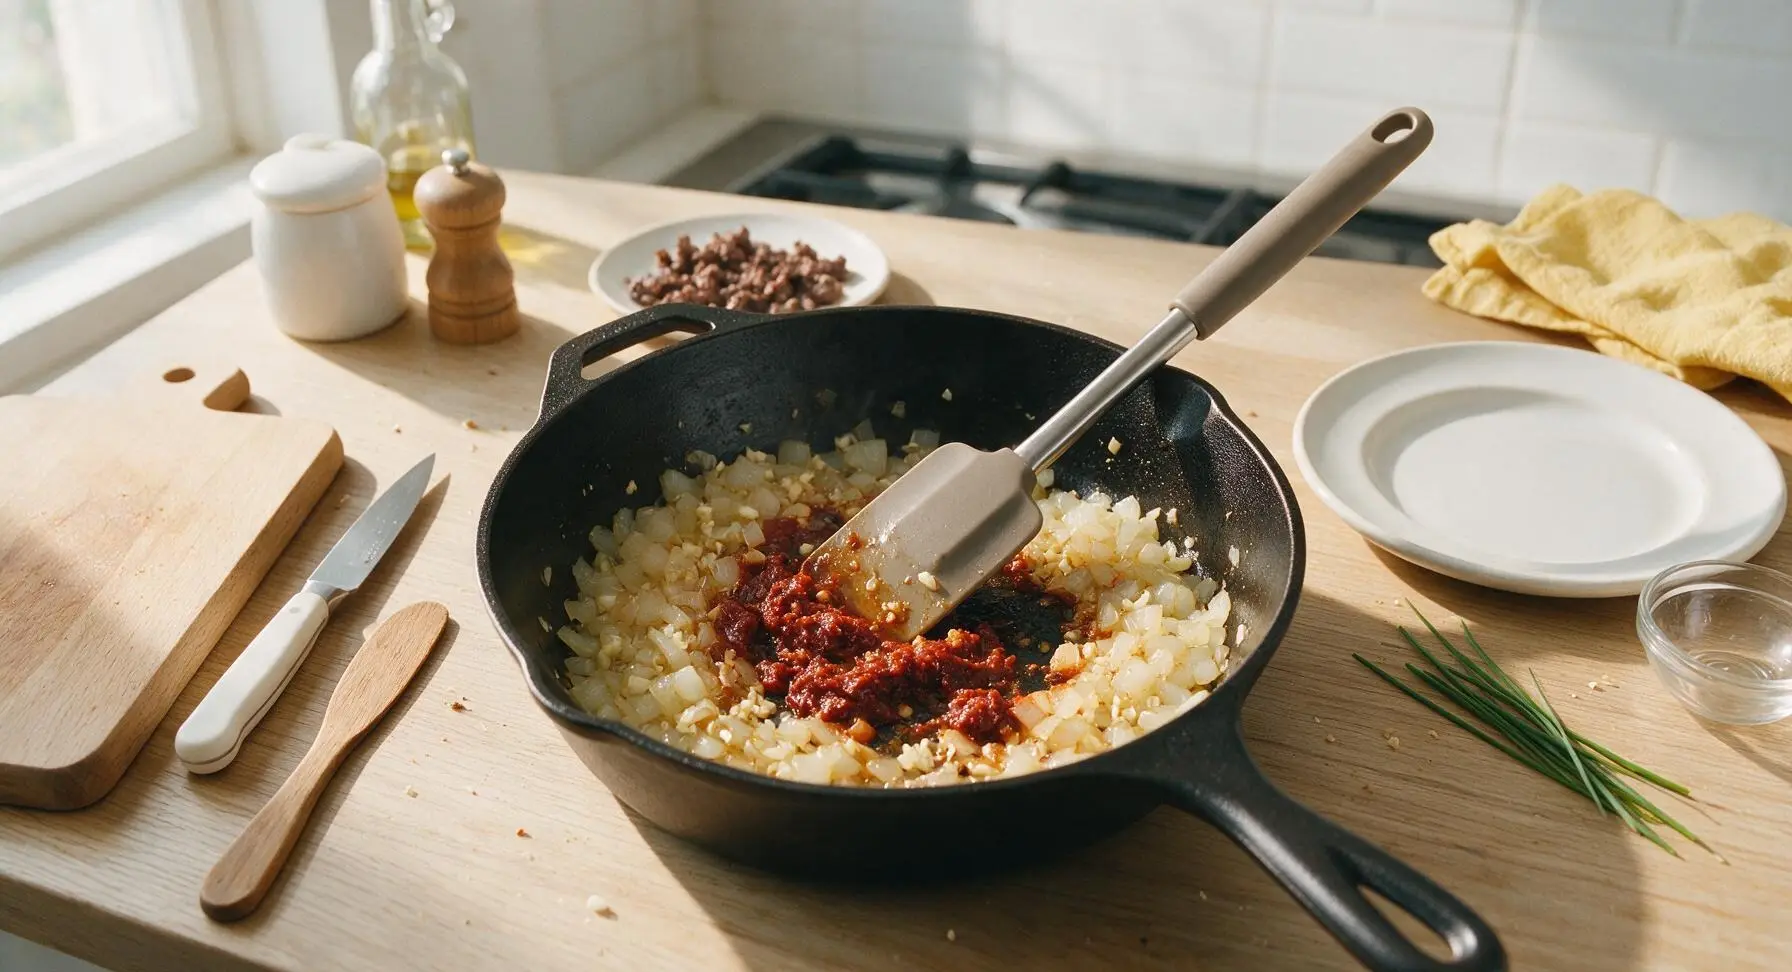
Add the diced 150g yellow onion to the reserved beef fat in the skillet, cooking for 3 minutes over medium heat until soft and translucent. Add 3 minced garlic cloves, stirring constantly for 30 seconds until fragrant, taking care not to burn the garlic. Stir in 2 tbsp tomato paste, cooking for 1 minute until the paste darkens slightly to a deep rust color and smells sweet and rich.
Step 3
step3:Sauté Aromatic Vegetables
4

Build Casserole Sauce

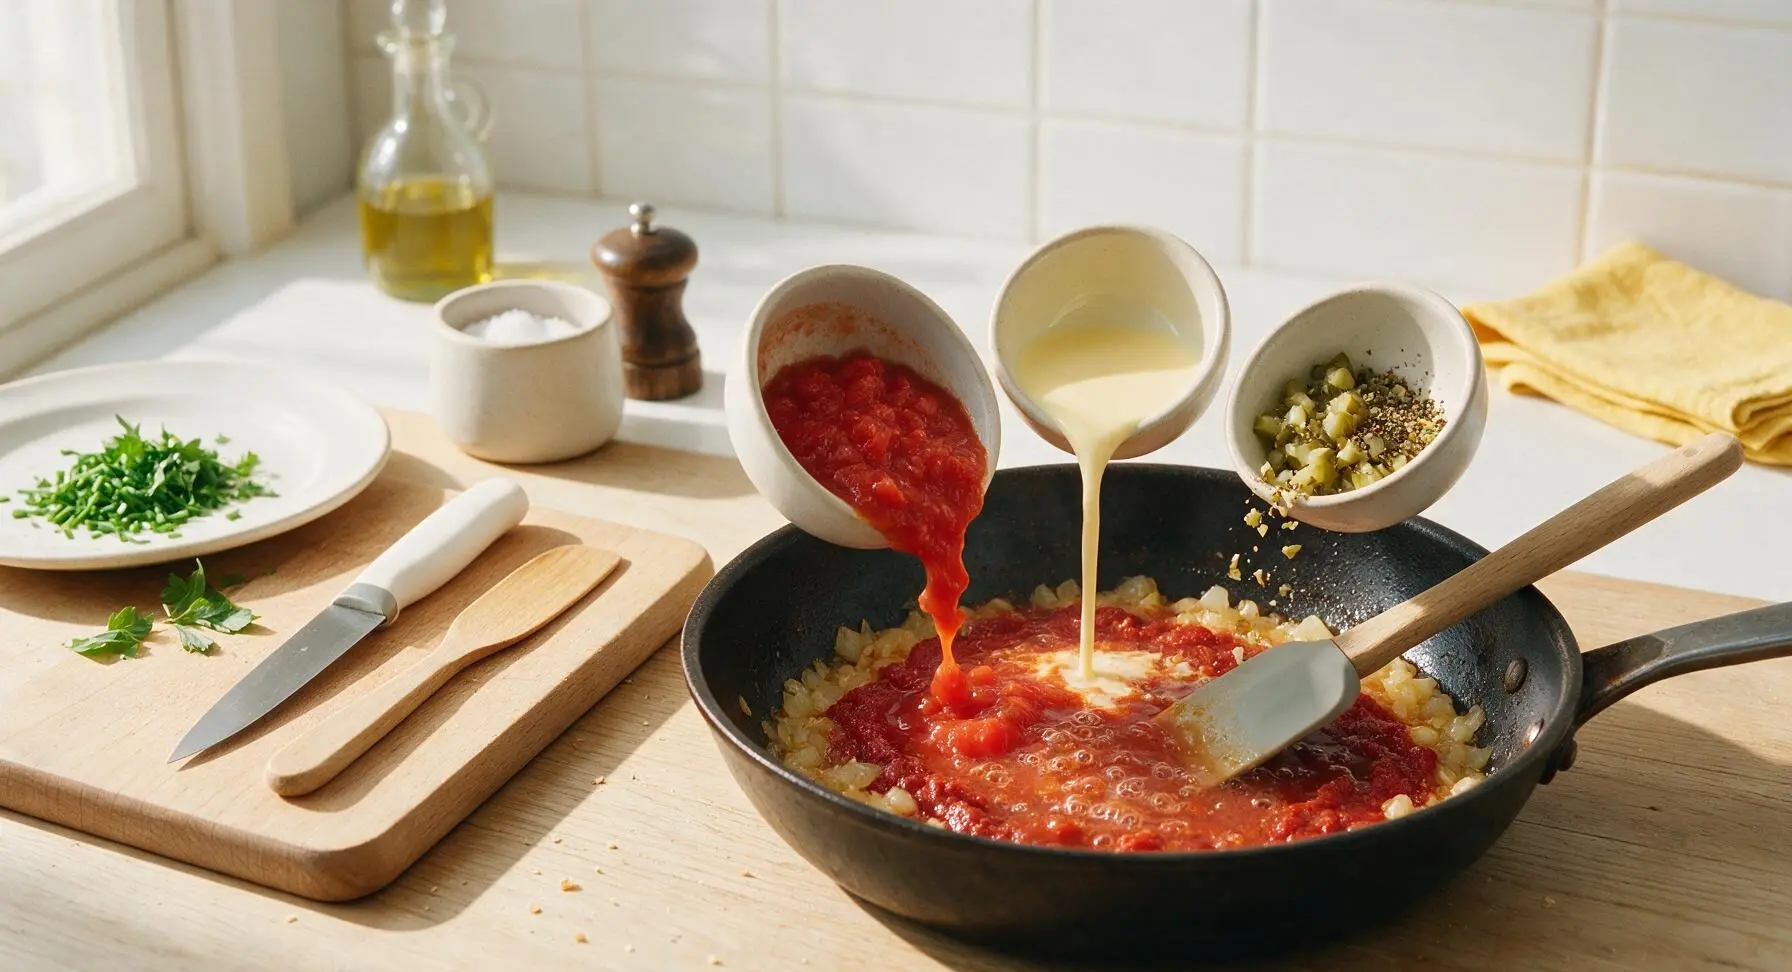
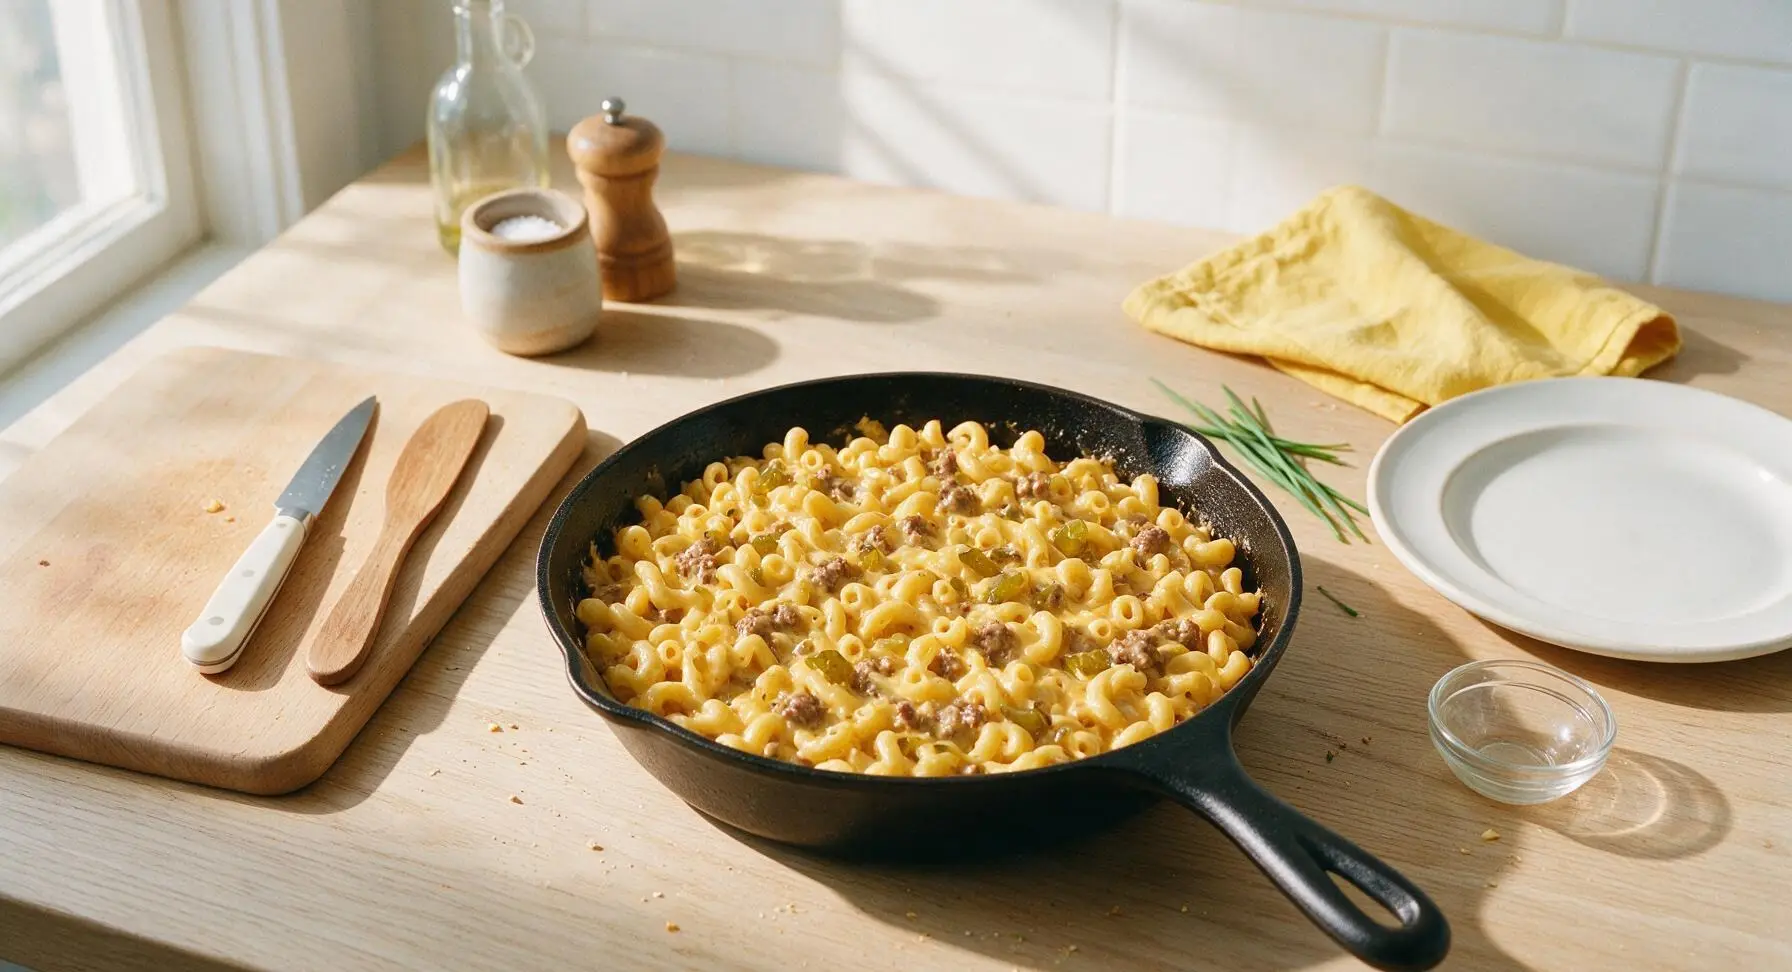
Pour 200g crushed tomatoes, 1 tbsp Worcestershire sauce, 1 tsp yellow mustard, 120ml whole milk, 1/2 tsp black pepper, and 100g chopped dill pickles into the skillet with the sautéed aromatics. Stir to combine, then bring the mixture to a gentle simmer for 3 minutes. Fold in 150g of the shredded sharp cheddar cheese, stirring until fully melted and smooth, then add the drained cooked macaroni and browned ground beef, tossing until every noodle is evenly coated in glossy sauce.
Step 4
step4:Build Casserole Sauce
Step 4
step4:Build Casserole Sauce
5

Assemble in Baking Dish

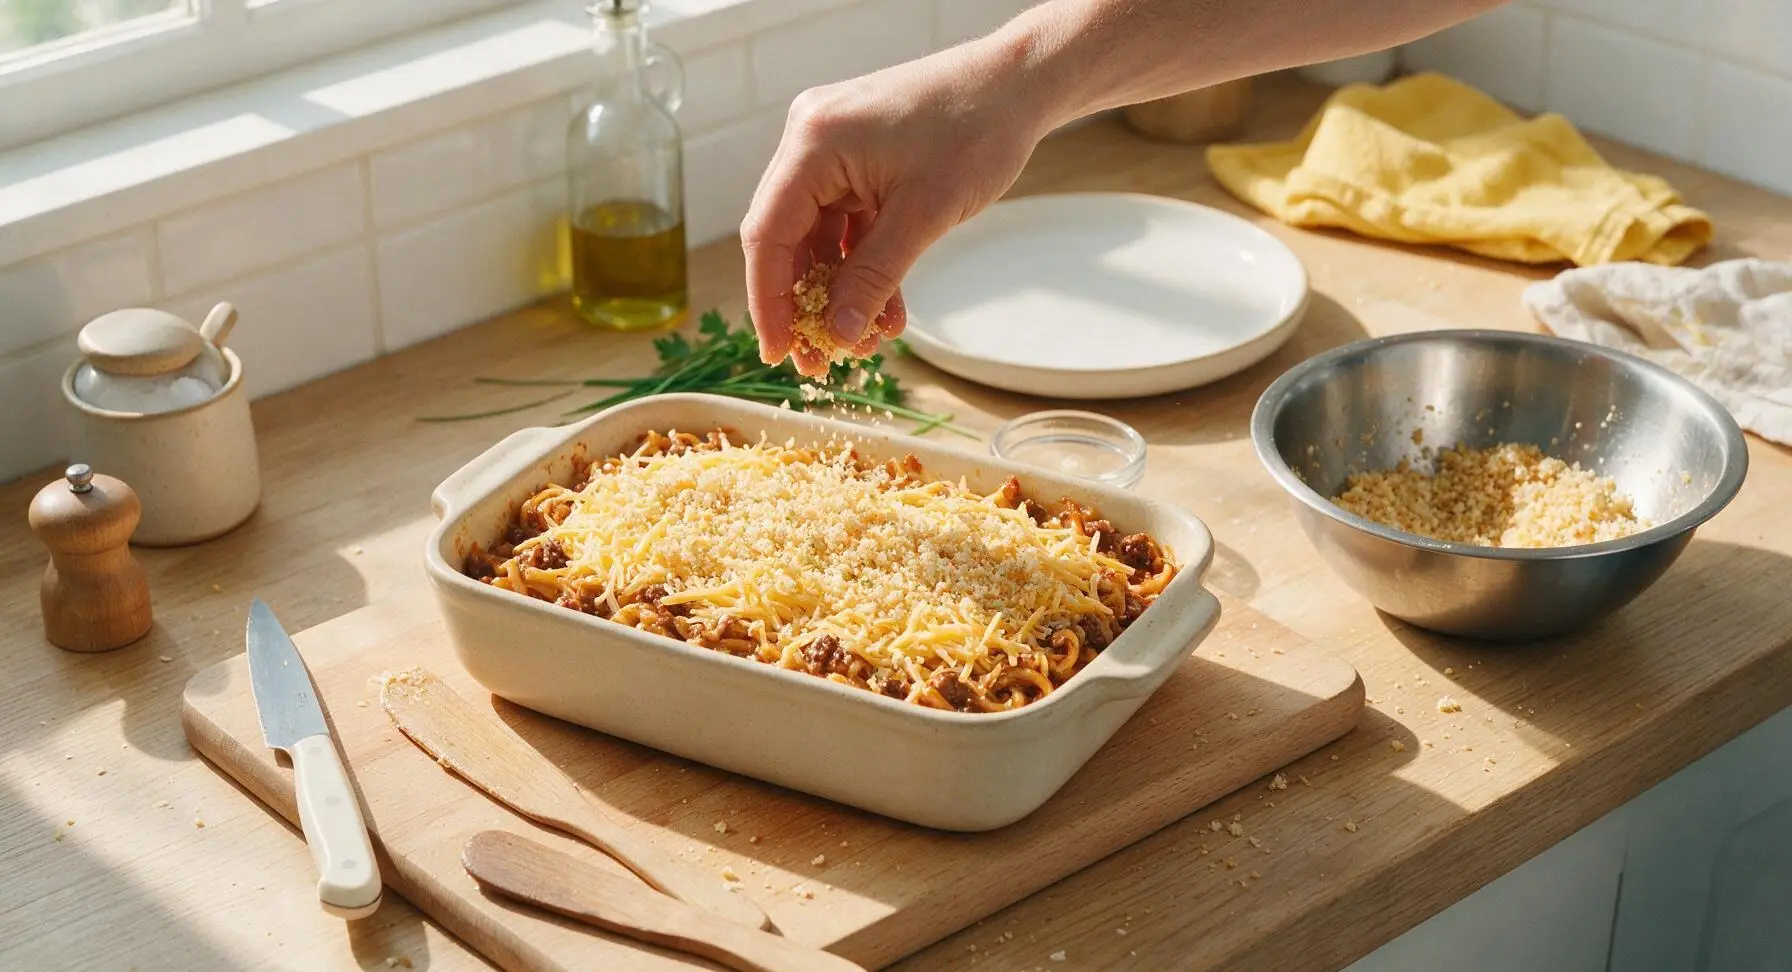
Transfer the entire beef and pasta mixture from the skillet into the 9x13 inch matte cream stoneware casserole dish, spreading it into an even layer with the silicone spatula. Sprinkle the remaining 50g of shredded sharp cheddar evenly over the top of the casserole. Mix 50g panko breadcrumbs with 28g melted unsalted butter in the medium stainless steel mixing bowl, then scatter the buttered crumbs in an even layer over the cheese.
Step 5
step5:Assemble in Baking Dish
6

Bake Until Golden Bubbly

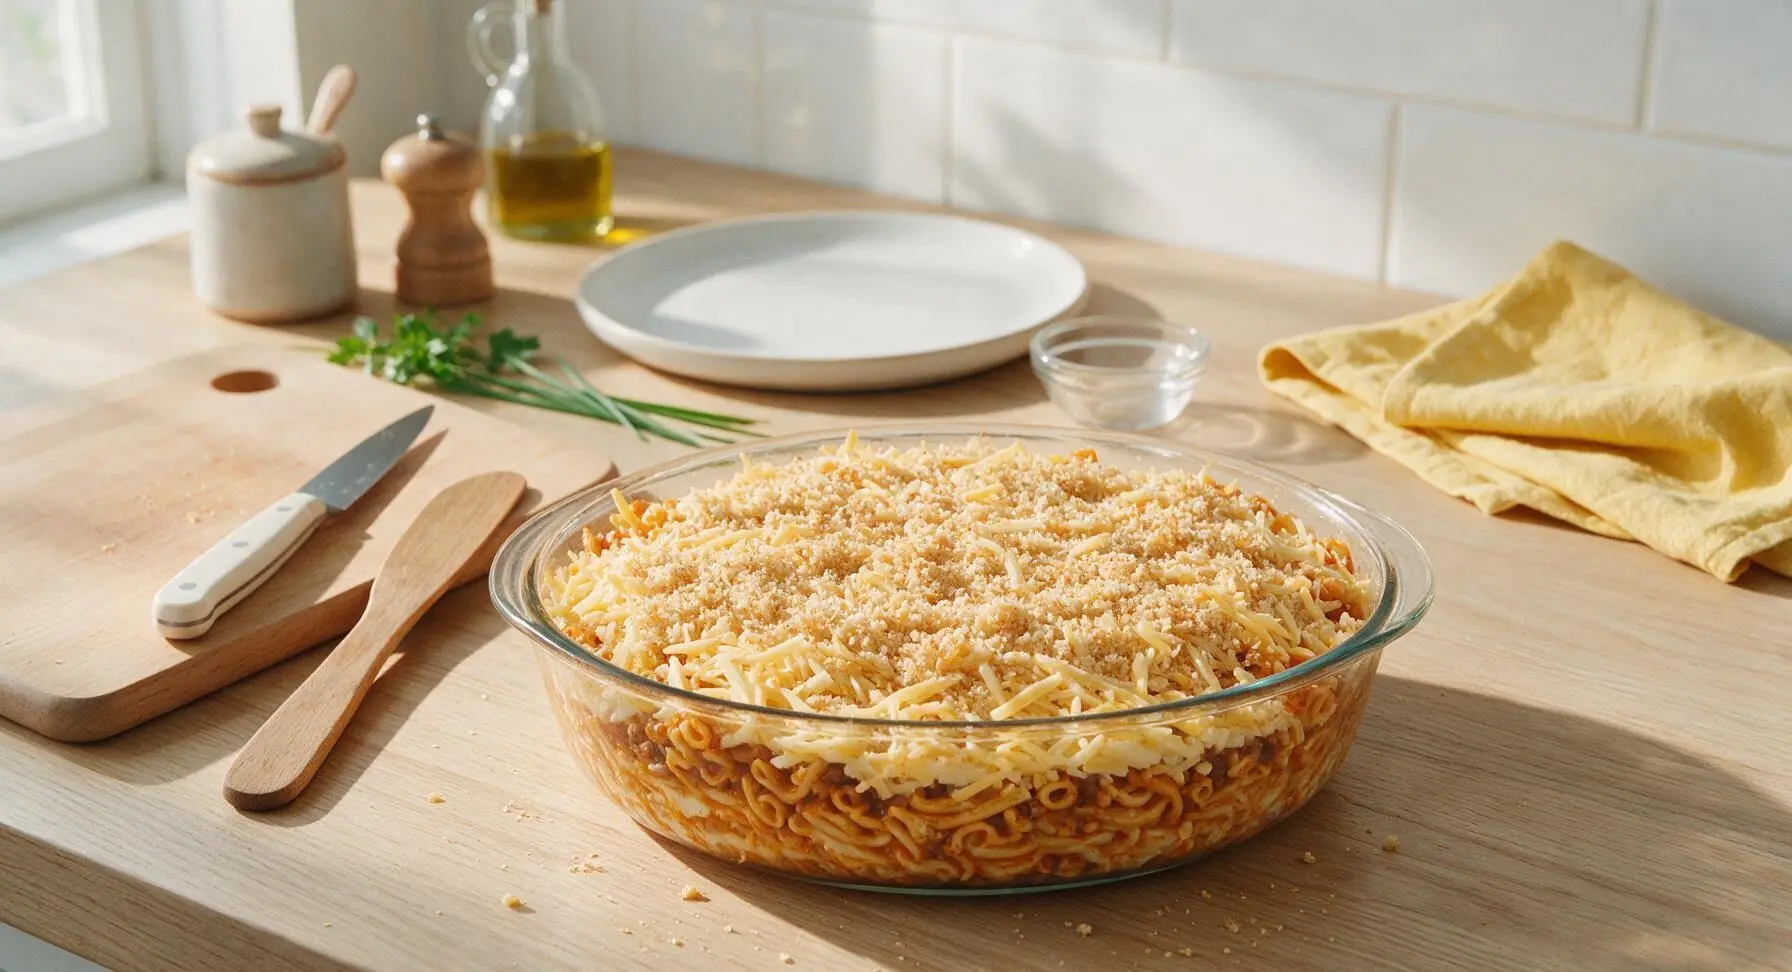
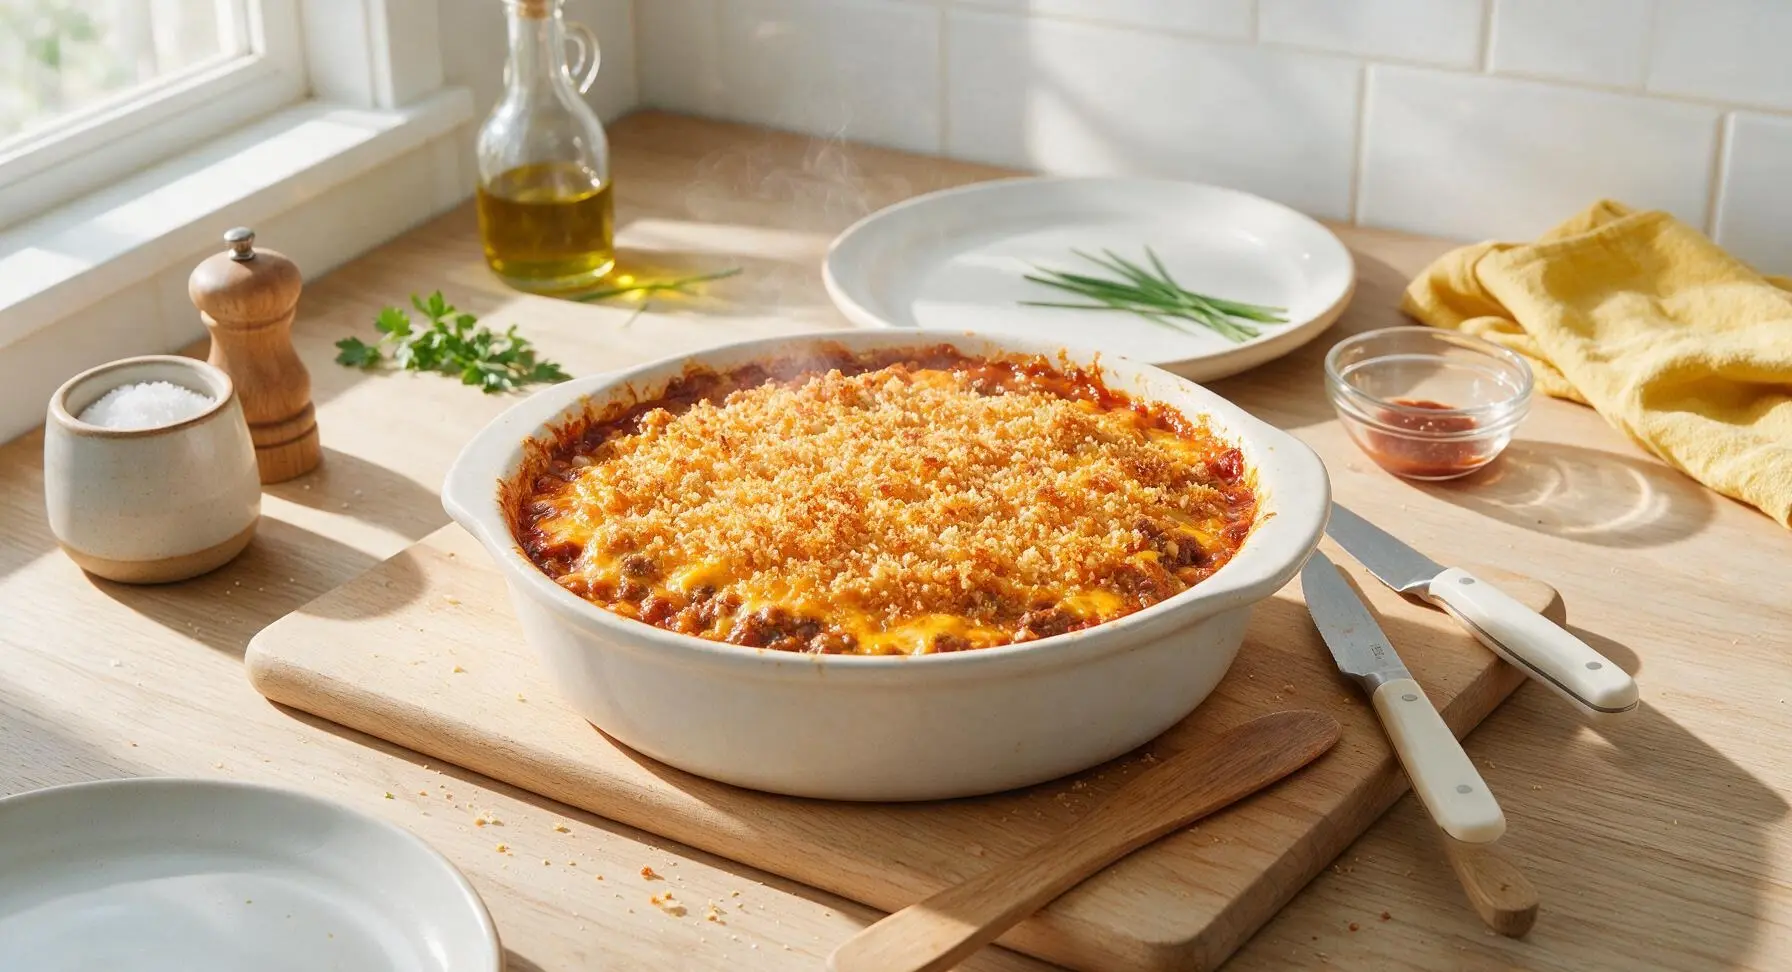
Place the assembled casserole on the middle rack of the preheated oven, and bake for 20-22 minutes, until the edges are bubbling vigorously, the cheese is fully melted, and the panko topping is deep golden brown and crispy. Remove the casserole from the oven using oven mitts, and let it rest for 5 minutes on the counter to allow the sauce to set.
Step 6
step6:Bake Until Golden Bubbly
Step 6
step6:Bake Until Golden Bubbly
7

Garnish and Serve

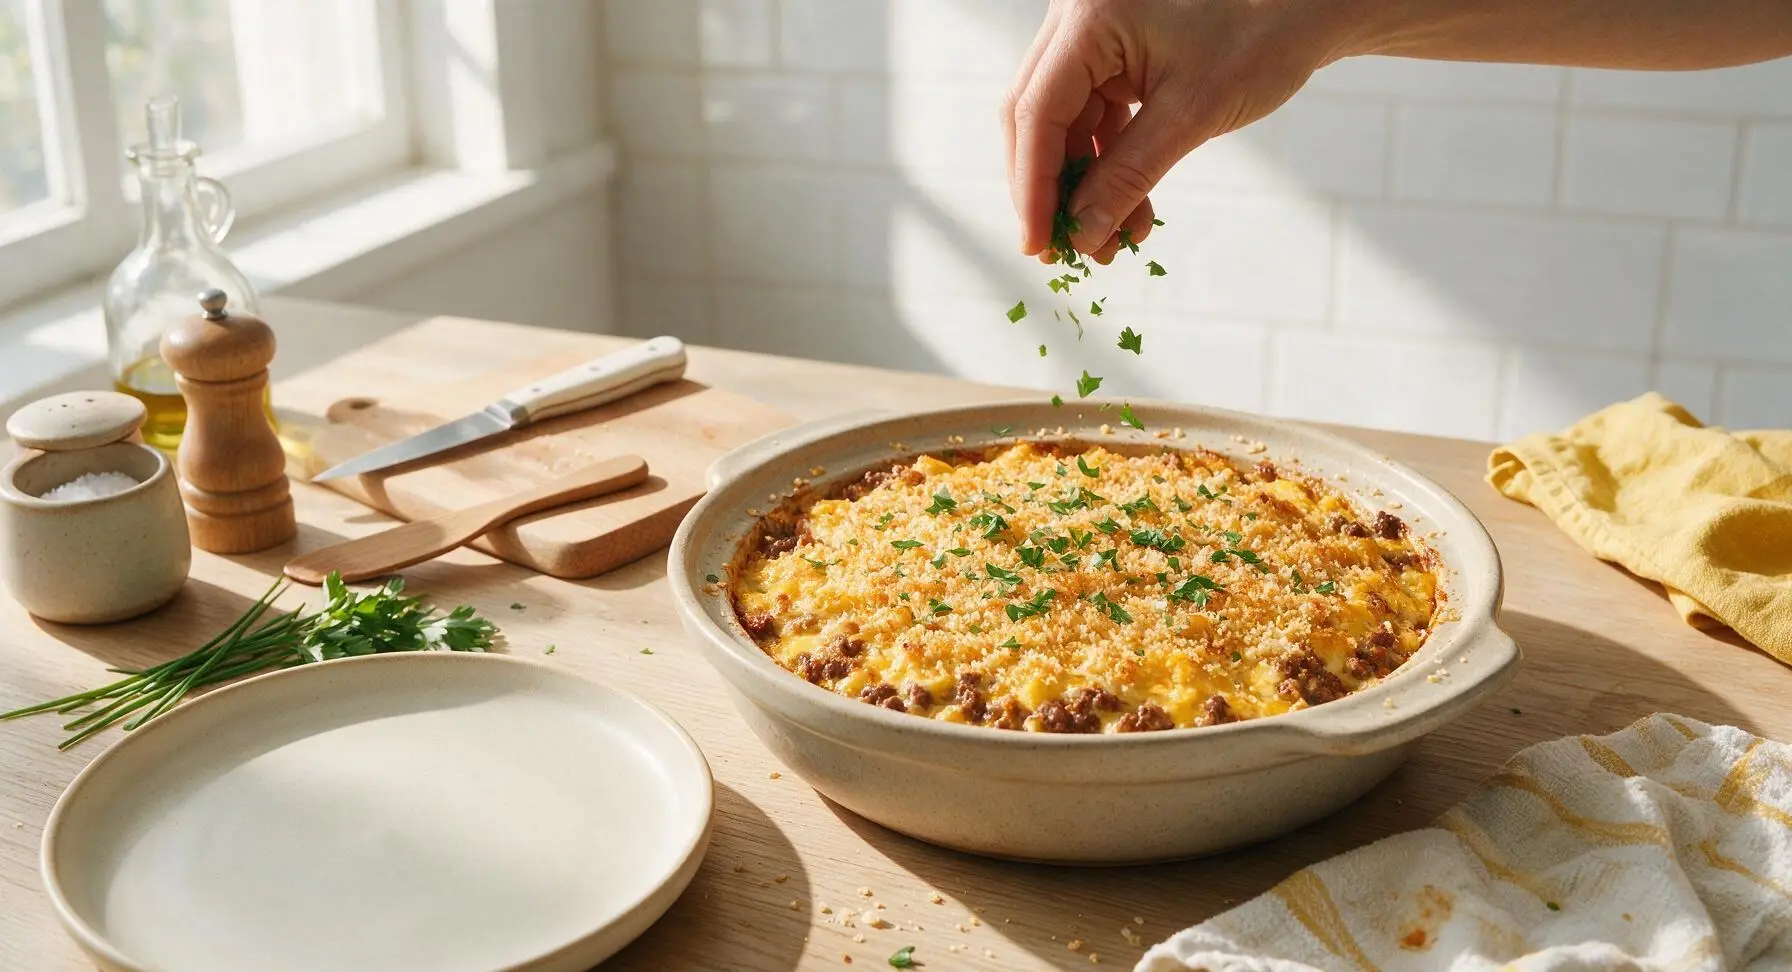
Sprinkle the top of the rested casserole with 2 tbsp chopped fresh flat-leaf parsley, and extra chopped dill pickles if desired. Scoop generous 1-cup portions onto the matte cream ceramic dinner plate, and serve with a small side of ketchup or yellow mustard for dipping if preferred.
Step 7
step7:Garnish and Serve

Tips

1.Cook pasta 2 minutes shorter than package al dente directions: the noodles will absorb flavorful sauce and finish cooking in the hot oven, preventing mushy, overcooked pasta in the final dish.
2.Use 80/20 ground beef instead of leaner blends: the small amount of rendered fat adds rich, beefy depth to the aromatic vegetable base without needing extra cooking oil, and keeps the casserole moist through baking.
3.Let the casserole rest a full 5 minutes after removing it from the oven: this allows the bubbling hot cheese and tomato sauce to thicken and set, so portions hold their neat shape instead of running across the plate when scooped.


✨ You May Also Like

Main Course
🍜 United Kingdom

A showstopping classic of tender seared beef, savory mushroom duxelles, and crisp prosciutto wrapped in flaky golden puff pastry, baked to juicy perfection.

⏱️ 2 hours 1Main Course ★ 4.7
Main Course
🍜 India

Tender charred marinated chicken simmered in a rich, spiced creamy tomato sauce, this iconic Anglo-Indian curry pairs perfectly with basmati rice or warm naan.

⏱️ 50 minuteMain Course ★ 4.6
Main Course
🍜 Thailand

Classic tangy, sweet, and savory Thai stir-fried rice noodles with shrimp, tofu, and crunchy garnishes, balancing all five core Thai flavor profiles.

⏱️ 30 minuteMain Course ★ 4.5
Main Course
🍜 United Kingdom

Crispy golden beer-battered cod and fluffy double-fried chips, served with tangy tartar sauce and malt vinegar: the timeless, beloved British pub comfort classic.

⏱️ 45 minuteMain Course ★ 4.7
Main Course
🍜 Mexico

Smoky, chile-marinated pork tacos with caramelized pineapple, fresh cilantro, and lime: a beloved classic Mexican street food perfect for casual summer gatherings.

⏱️ 1 hour 45Main Course ★ 4.8
Main Course
🍜 United States

Crunchy Fritos corn chips layered with savory beef chili and melted cheddar, topped with cool, zesty fixings for a beloved, cozy Tex-Mex comfort food.

⏱️ 35 minuteMain Course ★ 4.8

burger casserole:Frequently Asked Questions

1.Why do you recommend 80/20 ground beef instead of a leaner blend for this casserole? ▾
That 20% fat content is exactly what gives this dish the juicy, savory classic cheeseburger flavor you’d get from a grill-side patty. Leaner blends like 90/10 cook up dry and crumbly, lacking that rich, meaty depth. Just drain any excess rendered fat after browning the beef to keep the casserole from turning greasy, no extra cooking oil needed.
2.Can I use a different pasta shape if I don’t have dry elbow macaroni on hand? ▾
Absolutely! Elbow macaroni is classic because its curved nooks catch cheese and meat sauce perfectly, but small, sturdy shapes like rotini, cavatappi, or small shells work just as well. Avoid long, thin pasta like spaghetti or delicate shapes like orzo, as they won’t hold up to the hearty filling and can turn mushy during baking.
3.Do I need to fully pre-cook the elbow macaroni before baking the casserole? ▾
For this under-an-hour recipe, parboil the macaroni 2 minutes short of the package’s al dente cook time. It will finish cooking fully in the oven as it absorbs the savory meat and cheese juices, so you won’t end up with mushy, overcooked pasta by the time the casserole is bubbly and golden on top.
4.Why is shredded sharp cheddar recommended instead of mild cheddar? ▾
Sharp cheddar has a bolder, tangier, more concentrated cheese flavor that cuts through the rich beef and pasta to match that classic cheeseburger taste. Mild cheddar can taste flat or get lost among other savory ingredients. For the creamiest melt, shred your own block cheddar instead of pre-shredded, which has anti-caking agents that cause grainy melted texture.
5.Can I prep this cheeseburger casserole ahead of time for busy weeknights? ▾
Definitely! Assemble the fully cooled, browned beef, sautéed onion and garlic, parboiled pasta, and half the cheese in a baking dish, cover tightly, and refrigerate for up to 2 days before baking. Add 10 to 12 minutes to the bake time if cooking straight from the fridge, until the center is hot and bubbly.
6.I’ve had watery casseroles before—how do I avoid that with this recipe? ▾
First, drain excess rendered fat from your browned ground beef, and don’t overcook your pasta so it doesn’t leach extra water and turn mushy. Avoid adding overly watery mix-ins like unseeded raw tomatoes, and let the casserole rest 5 minutes after baking so the filling sets before you slice and serve it.
7.Do I need a grill or any special equipment to make this recipe? ▾
Nope, that’s the best part of this dish! All you need is a large skillet to brown beef and sauté onion and garlic, a pot to parboil pasta, a standard 9x13-inch baking dish, and your regular oven. There’s no grilling, fancy cast iron, or specialty gadgets required to get classic cheeseburger flavor in under an hour.
8.Can I add my favorite classic cheeseburger toppings to the casserole? ▾
Absolutely! Stir in diced dill pickles for that iconic burger tang, mix in crumbled cooked bacon for extra savoriness, or top with shredded lettuce, diced tomato, and a drizzle of ketchup and mustard after baking. Hold off on adding cold, crisp toppings until right before serving so they don’t get soggy in the oven.
9.How fine should I dice the yellow onion for this recipe? ▾
Dice your yellow onion to a uniform ¼-inch small dice so it softens fully while sautéing and distributes evenly throughout the casserole. You don’t want large, crunchy raw onion chunks in every bite, but you also don’t want to mince it so fine it disappears—this onion adds that classic burger-topping sweetness and depth.
10.How do I keep the garlic from burning when I sauté it with the onion? ▾
Add your minced garlic to the skillet during the last 30 to 60 seconds of cooking the onion, right after the onion turns soft and translucent. Garlic cooks much faster than onion, and burnt garlic adds a bitter, unpleasant taste to the whole dish. Stir constantly until fragrant, then add beef back to the pan to stop it from overcooking.
11.Can I freeze leftover cheeseburger casserole for quick future meals? ▾
Yes! Let the fully baked casserole cool completely, then cut it into individual portions, wrap tightly in plastic wrap and foil, and freeze for up to 3 months. Reheat portions in a 350°F oven for 20 to 25 minutes, or in the microwave for 2 to 3 minutes, until heated all the way through.
12.What temperature should I bake the casserole at, and how do I know it’s done? ▾
Bake it uncovered at 375°F for 20 to 25 minutes. It’s fully done when the edges are bubbling, the cheddar on top is fully melted and just starting to turn golden in spots, and the center reaches 165°F on an instant-read thermometer to confirm all ingredients are safely heated through.
13.Can I make this recipe gluten-free for guests with dietary restrictions? ▾
Absolutely! Swap the regular elbow macaroni for your favorite gluten-free short pasta shape (rice or corn-based options have the sturdiest, closest texture to regular wheat pasta), double-check that your shredded cheddar has no hidden gluten additives, and you’ll have a gluten-free version that tastes identical to the classic, no extra tweaks needed.

Comments (5)

1 week ago

OMG this was such a game changer for our weeknight family dinner! I was so tired of the same old taco Tuesday and spaghetti nights, threw this together in literally 10 minutes of prep, baked it for the 25 minutes the recipe said, and my boys devoured it. Even my super picky 7 year old asked for seconds — that’s basically a miracle in my house! I added a handful of chopped dill pickles on top before serving like the tip suggested and chef’s kiss. SO good, will be adding this to our regular meal prep rotation for sure!

5 days ago

Wait the dill pickle topping is such a good call! I did that last time I made it too, tastes just like a classic fast food burger but way less greasy. My husband thought I spent hours cooking instead of just throwing a casserole together lmao

3 days ago

So happy your family loved it! The dill pickle topping is one of our favorite little hacks too — it adds that perfect tangy bite to cut through the richness of the cheese and ground beef. Thanks for leaving such a sweet review!

2 days ago

Super easy recipe, came together way faster than I thought it would after a long day at work. Only thing I’d change next time is I definitely used too much yellow onion, my eyes were watering the whole time I was chopping lol, and I’d maybe add a little extra ketchup mixed into the beef layer for more of that classic burger flavor? Otherwise it was totally solid, brought the leftovers to an office potluck and everyone was asking where I got the recipe.

yesterday

Thanks for the great feedback! Adding a little extra ketchup (or even a splash of yellow mustard!) is such a tasty customization, we love that people tweak this to fit their own taste preferences. Pro tip next time: use frozen pre-diced onion to skip the teary chopping step on those busy work nights!

2 weeks ago

Wait this is perfect for my weekly Sunday meal prep! It reheats so well in the microwave, I don’t even get that weird rubbery cheese texture you get with a lot of baked casseroles. Made a big pan Sunday night, portioned it out into containers for lunch all week, and I’ve been looking forward to it every day between classes. 10/10, so cheap to make too even on a broke college student budget.

3 days ago

Brought this to our neighborhood block party potluck last weekend and it was GONE in 15 minutes. People were literally hovering over the dish waiting to get a scoop! I topped mine with crispy fried onions and a drizzle of special sauce (equal parts mayo, ketchup, sweet relish) and it was chef’s kiss. Will absolutely be making this for every get together from now on.

2 days ago

Oh the crispy fried onion topping sounds insane! I’m making this for my kid’s soccer team potluck this weekend, definitely stealing that idea. Thanks for the tip!

5 minutes ago

Just popped this in the oven! The whole apartment smells incredible already, I can barely wait the 35 minutes for it to finish baking. I tossed a handful of bacon bits into the beef layer because duh, bacon makes everything better. Prep was so straightforward even I, a person who burns toast half the time, didn’t mess it up. Giving it 5 stars in advance because there’s no way this doesn’t slap — will update once I dig in!



