
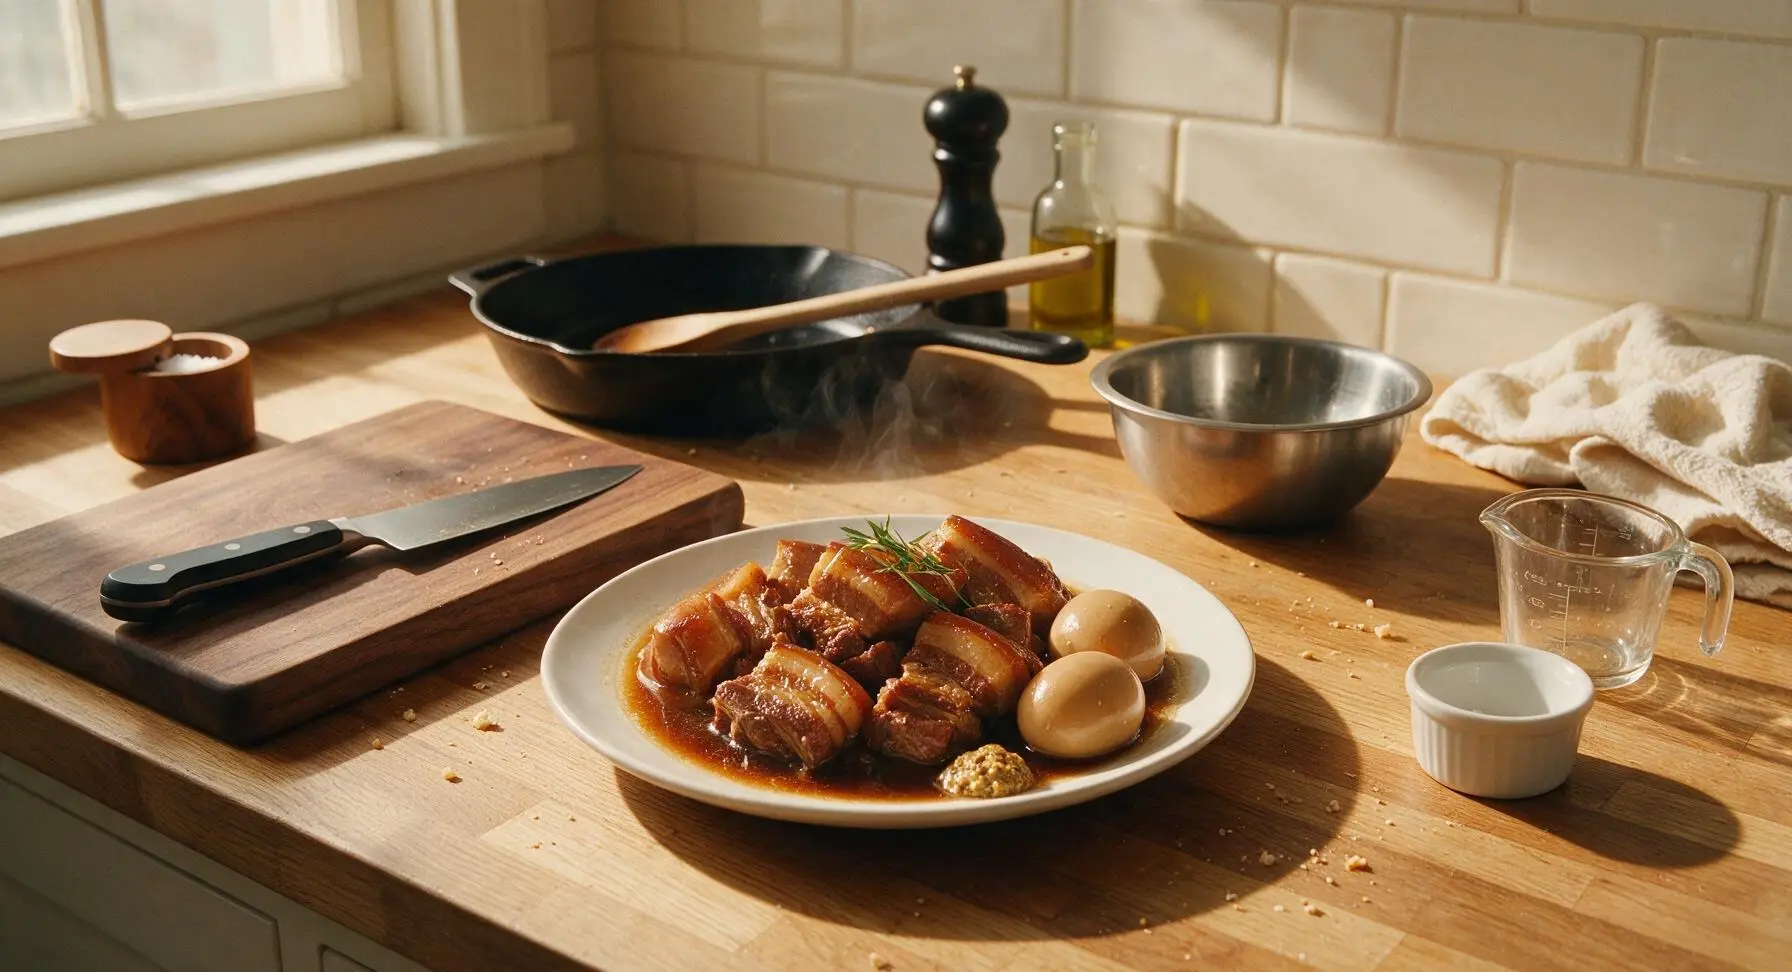
Buta No Kakuni

title 1
Buta No Kakuni
⏱️ cook time 2 hours 30 minutes
🍽️ servings 4
⚡ Difficulty medium

intro

Melt-in-your-mouth slow-braised pork belly in a sweet-savory soy-dashi broth, served with jammy marinated soft-boiled eggs and spicy mustard for a classic, umami-rich Japanese comfort meal.

Ingredients
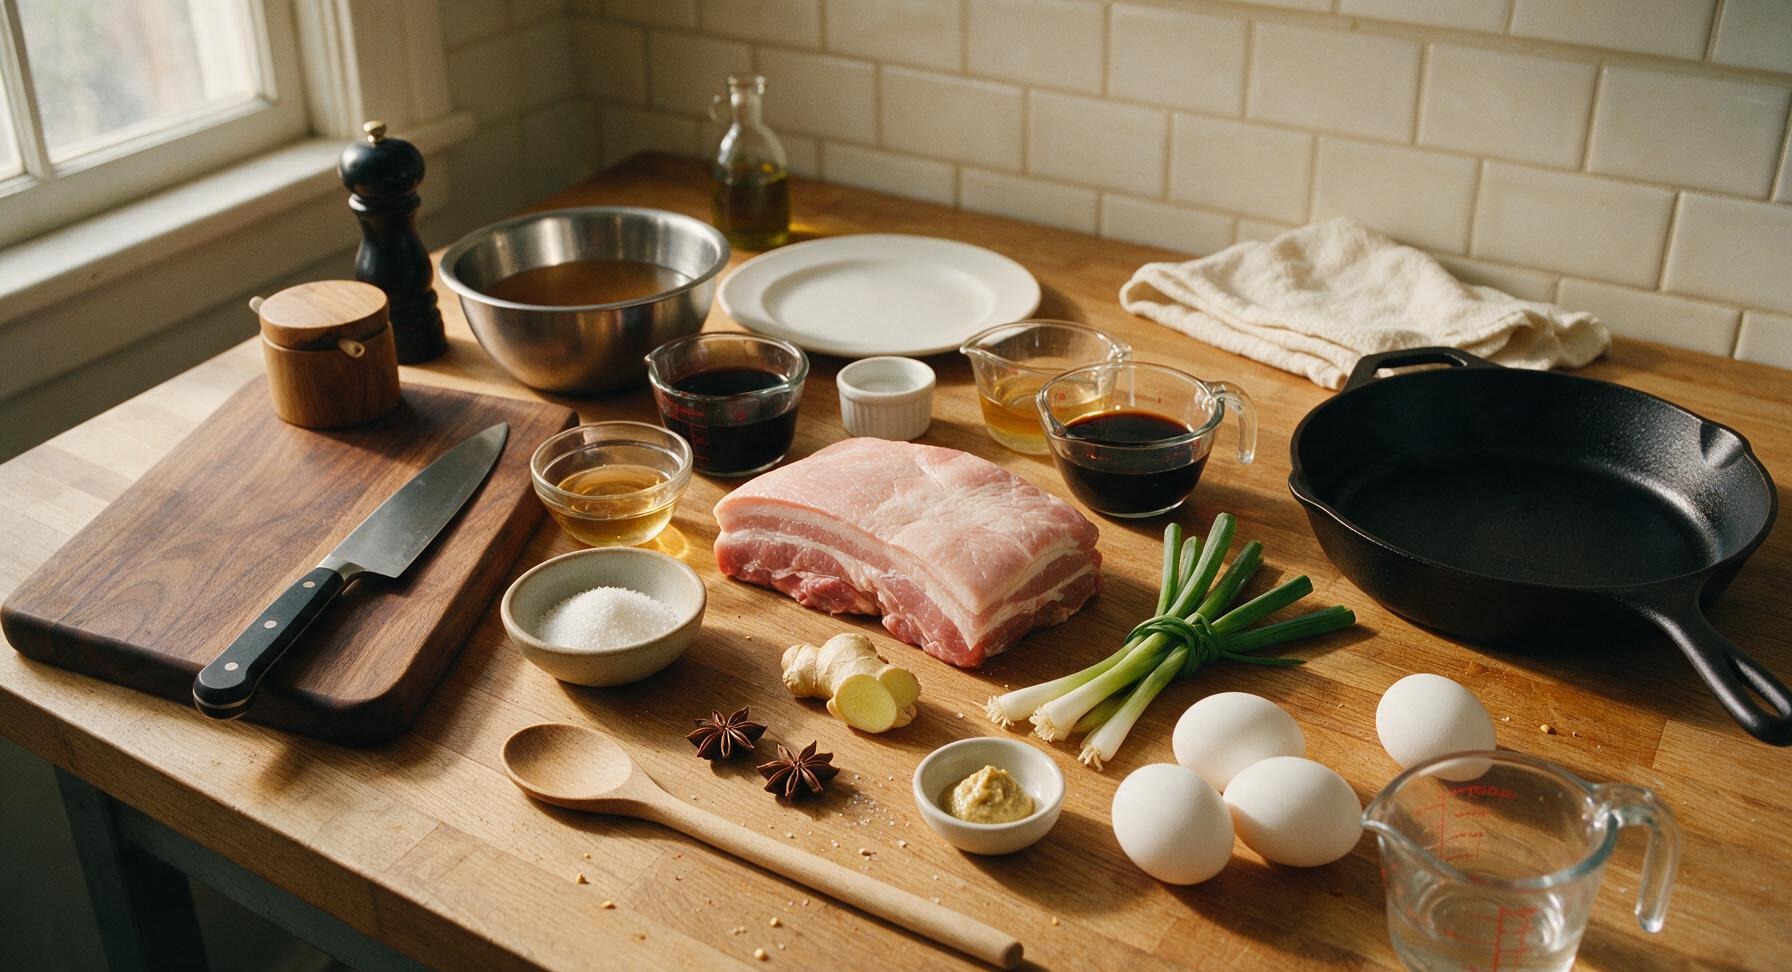
Boneless skin-on pork belly 800g
Dashi stock 600ml
Koikuchi Japanese soy sauce 120ml
Mirin 80ml
Cooking sake 80ml
Granulated sugar 3 tbsp
Fresh ginger 5cm knob, thinly sliced
Scallions 4 stalks, tied in a bundle
Large eggs 4
Whole star anise 2
Karashi Japanese hot mustard 2 tsp (for serving)

Steps

1

Blanch Pork Belly

Place the whole 800g skin-on pork belly into the matte indigo enameled Dutch oven, cover with 2L cold water, and set over medium-high heat to bring to a rolling boil. Reduce heat to maintain a gentle simmer, and cook for 15 minutes. Use the light beech wood skimmer to remove all grey foamy scum that rises to the surface every 3-4 minutes. Once blanched, transfer pork to the medium brushed stainless steel mixing bowl, rinse lightly under cool running water, and discard all blanching water. Pat pork dry with the edge of the linen towel.

2

Sear Pork Cubes

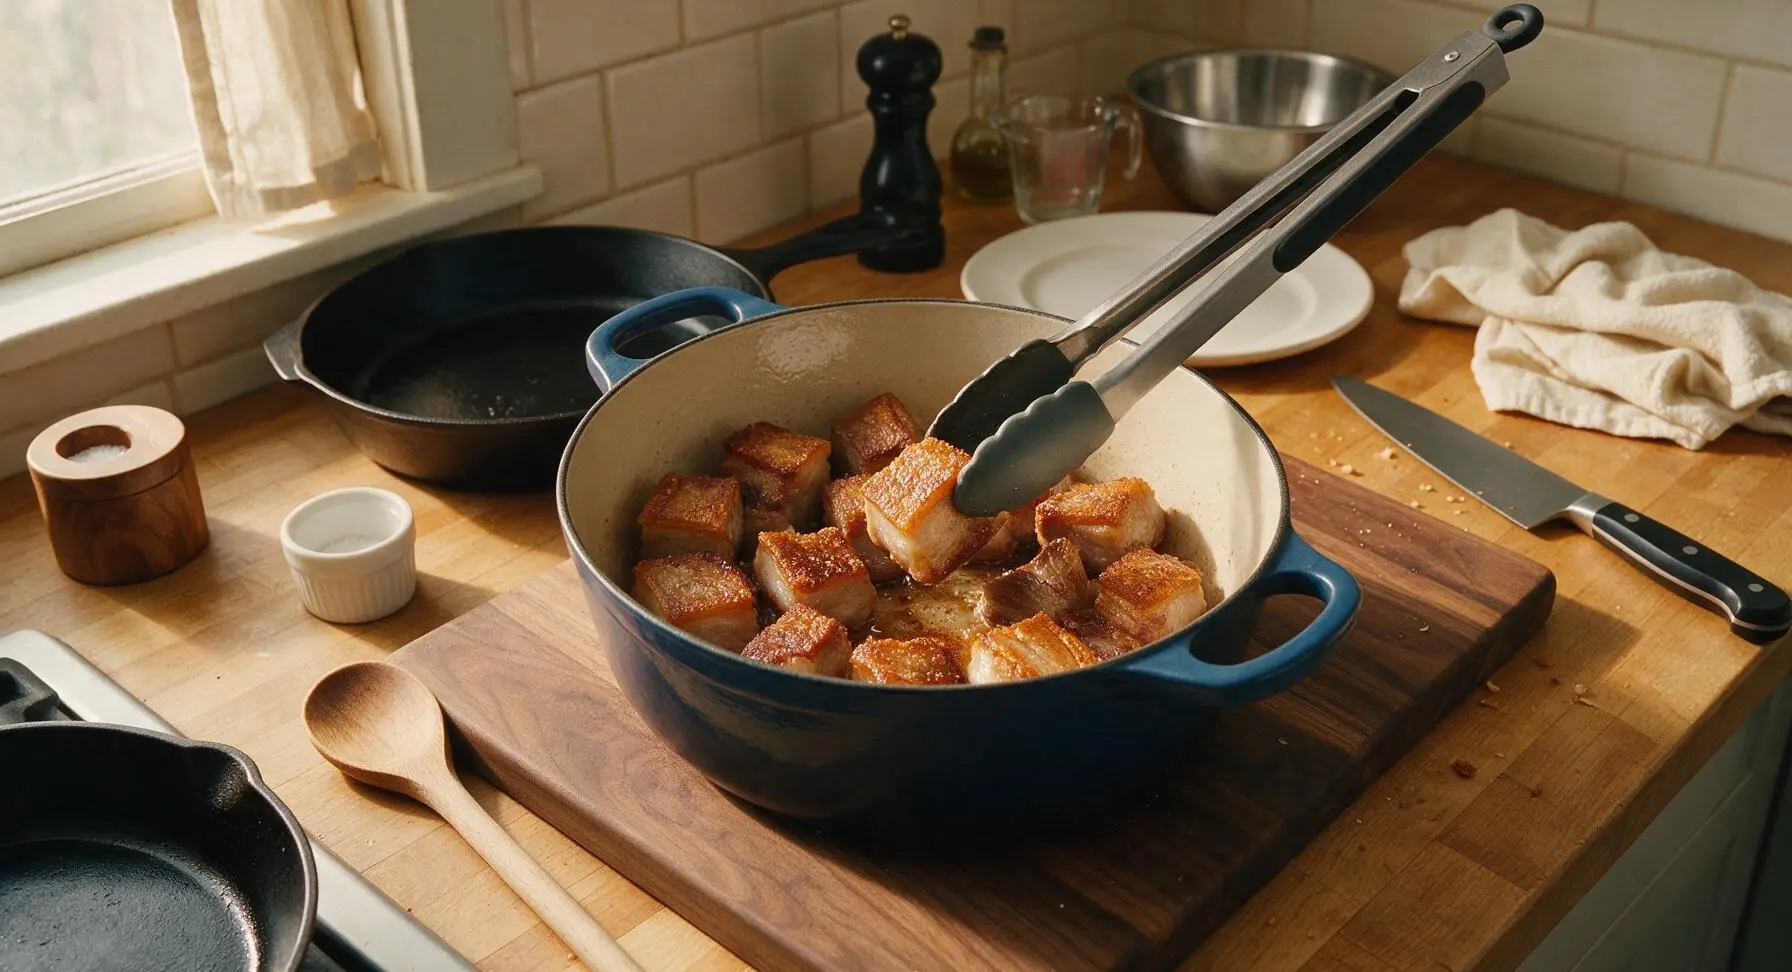
Place the blanched, dried pork belly on the honey maple cutting board. Use the walnut-handled chef knife to cut the pork into uniform 5cm square cubes, trimming any loose hanging fat bits but leaving the skin fully intact. Return the empty Dutch oven to medium heat, add 1 tsp neutral canola oil, then place the pork cubes skin-side down in a single layer. Sear for 3-4 minutes per side until deep golden brown on all surfaces, using the stainless steel silicone-tipped tongs to turn the cubes. Transfer seared pork back to the stainless steel mixing bowl, and pour out any excess rendered fat from the pot, leaving only a thin light coating.
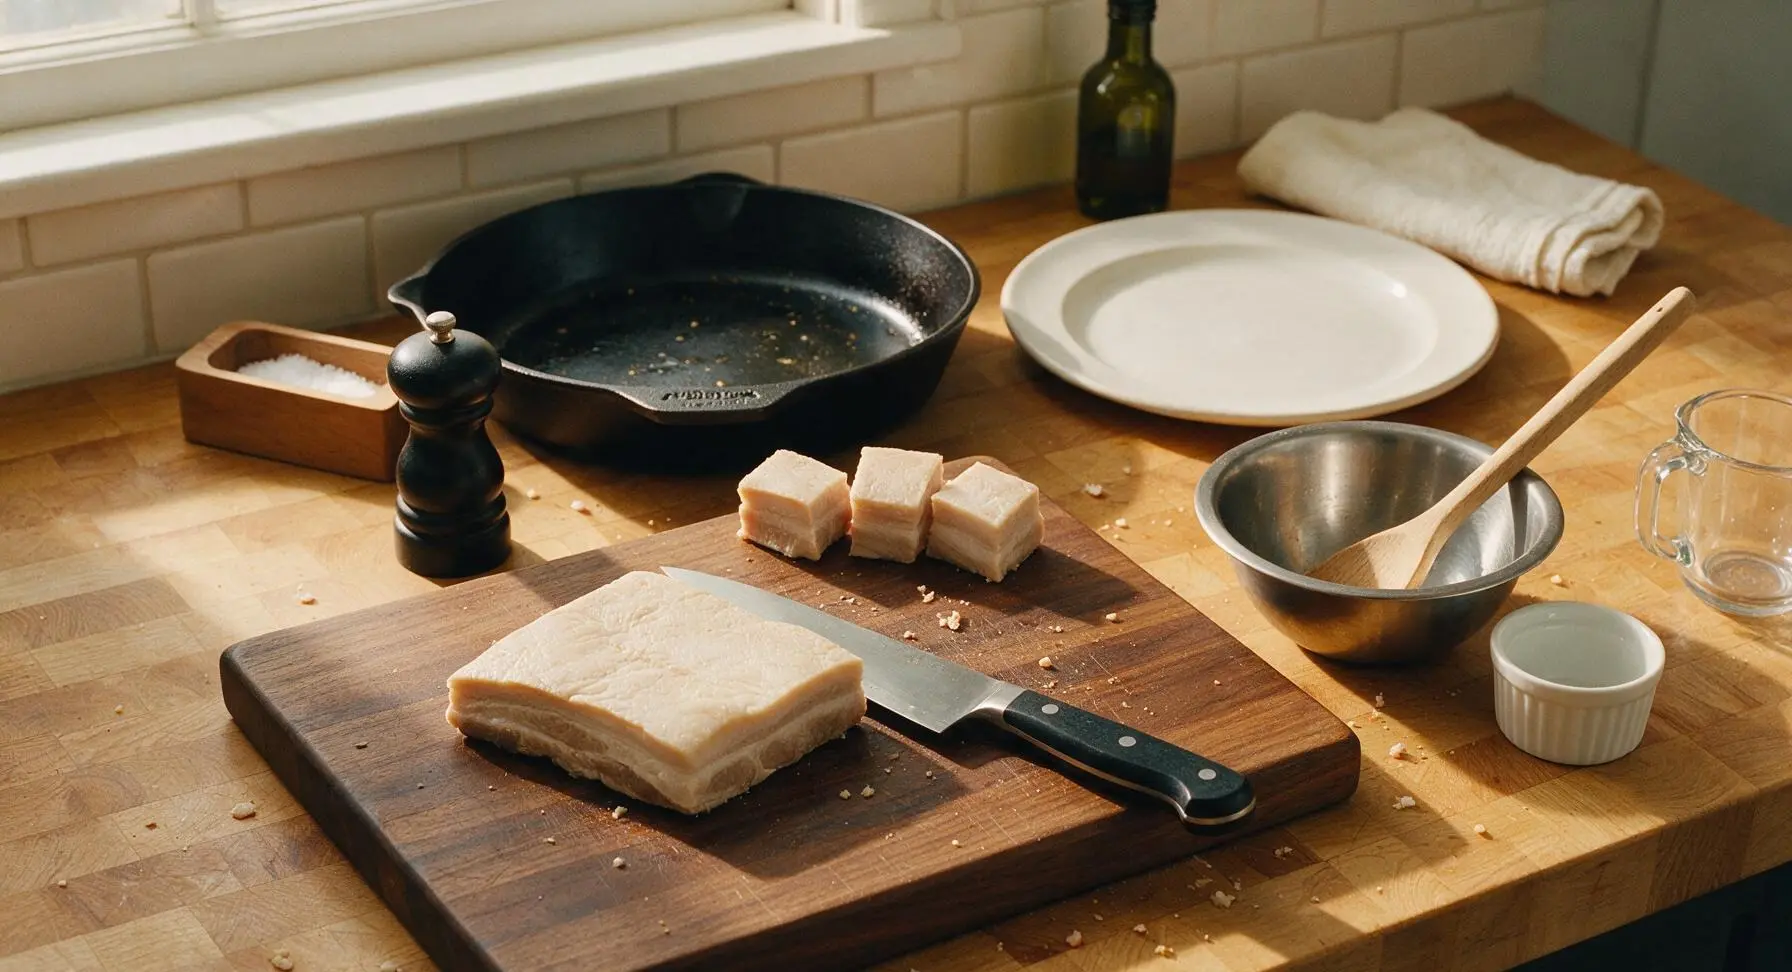
Step 2
step2:Sear Pork Cubes
Step 2
step2:Sear Pork Cubes
3

Build Braising Liquid

Return the Dutch oven with the thin fat coating to medium-low heat. Add the sliced ginger, tied scallion bundle, and star anise, toasting for 30 seconds until fragrant. Pour in the 80ml sake, 80ml mirin, 120ml soy sauce, 3 tbsp granulated sugar, and 600ml dashi stock, stirring with the long oak wooden spoon until the sugar fully dissolves. Bring the liquid to a gentle simmer, scraping up any browned fond bits from the bottom of the pot to incorporate into the sauce.
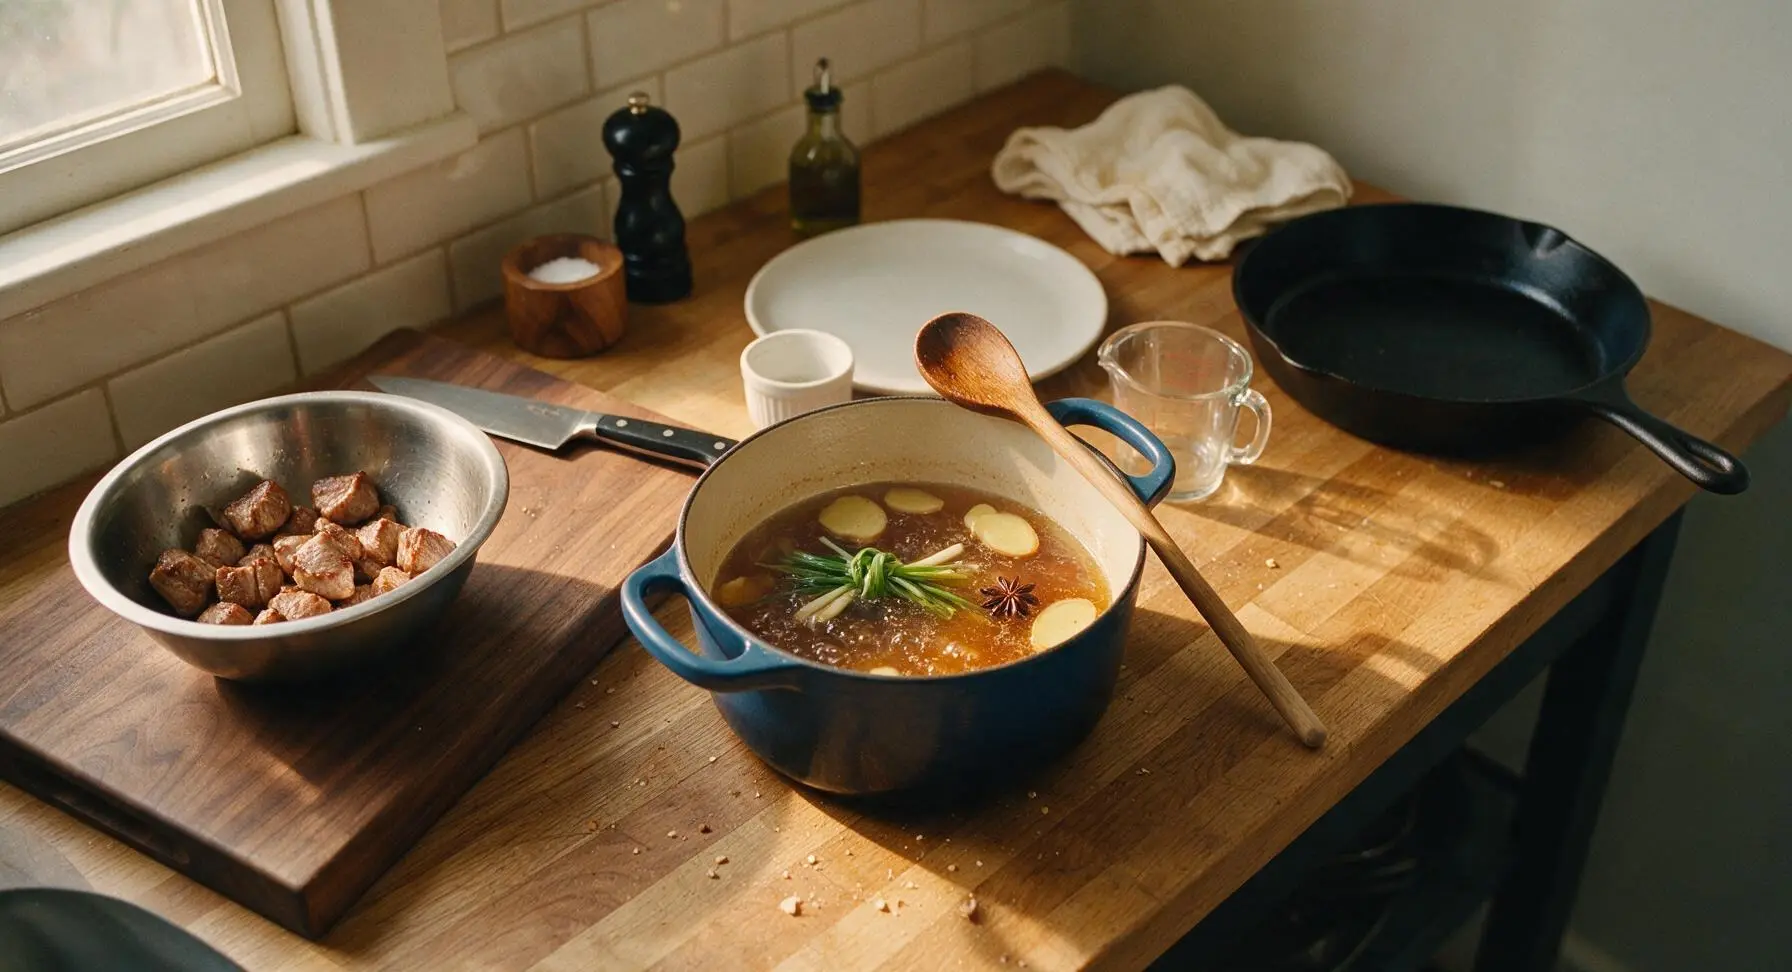
Step 3
step3:Build Braising Liquid
4

Slow Braise Pork

Carefully add the seared pork cubes back into the braising liquid, arranging them skin-side up so they are mostly submerged. Cut a circle of parchment paper to fit the pot interior and place it directly on top of the liquid (as an otoshibuta/drop lid) to keep pork evenly submerged, then cover the Dutch oven with its domed lid. Reduce heat to the lowest setting, and braise for 2 hours, checking every 30 minutes to ensure the liquid stays at a bare simmer (small bubbles only, no rapid boiling). The pork is ready when a wooden chopstick slides easily through the thickest part with no resistance.
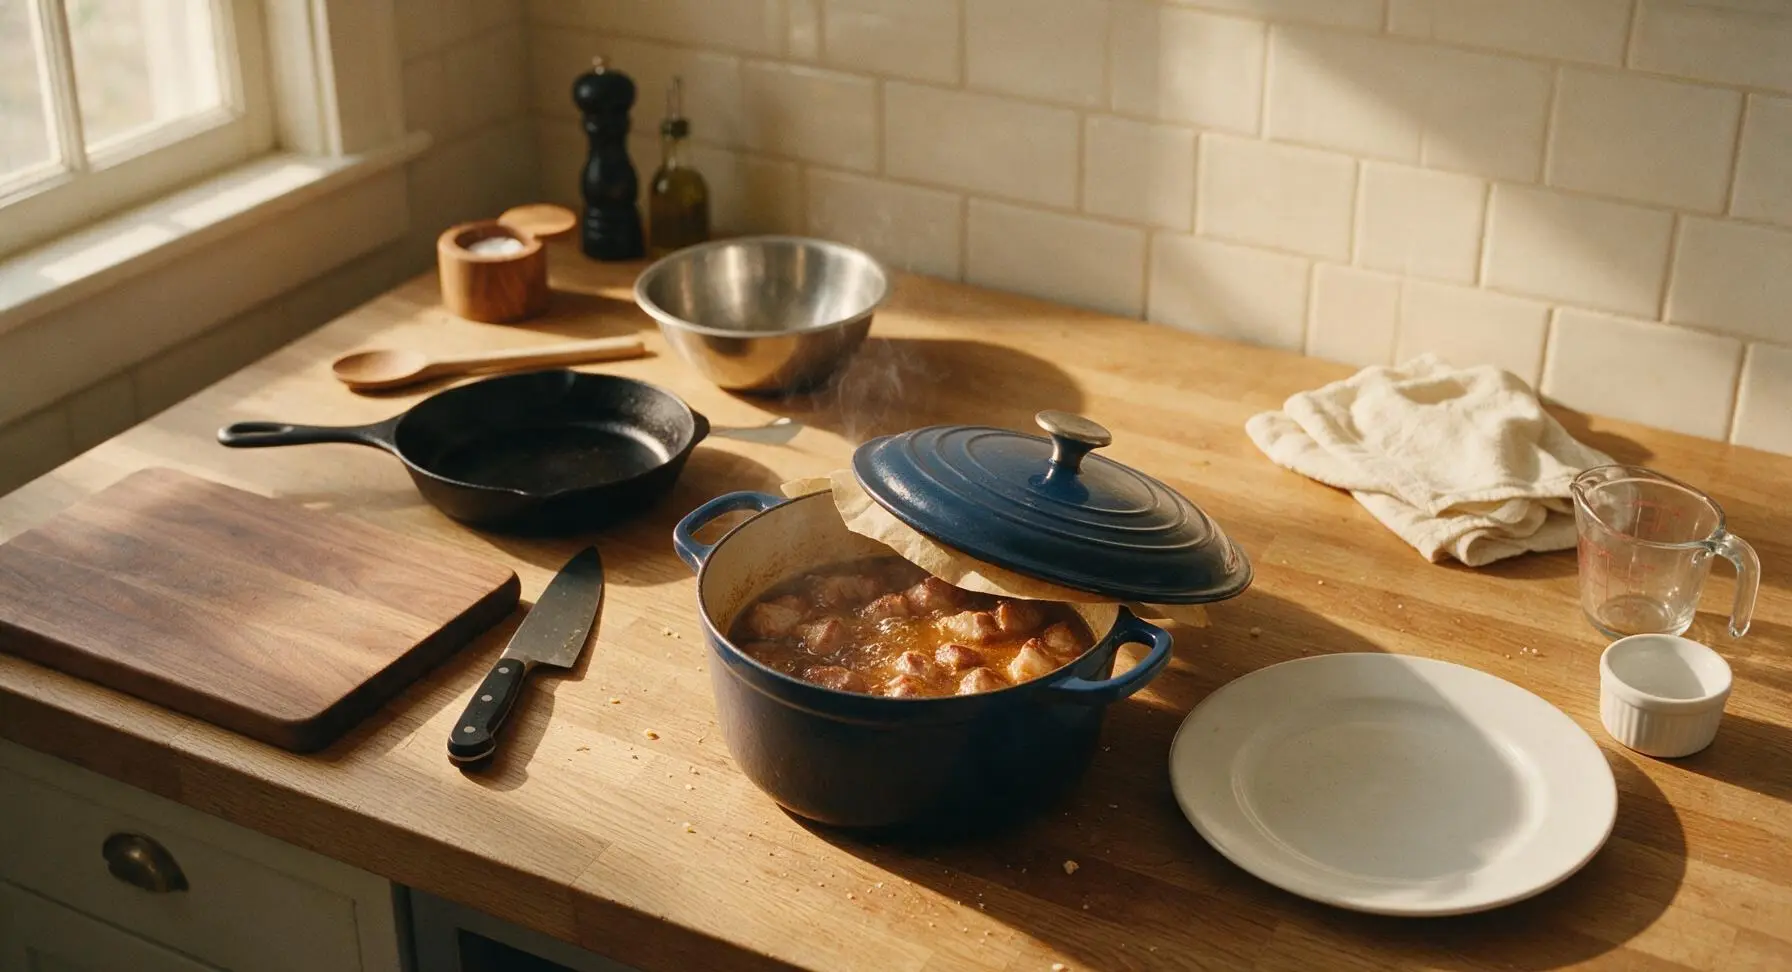
Step 4
step4:Slow Braise Pork
5

Add Soft Boiled Eggs

During the final 30 minutes of pork braising time, bring a small pot of water to a rolling boil, gently lower 4 large eggs into the water, and cook for exactly 6 minutes for a jammy soft yolk. Transfer eggs immediately to an ice water bath to stop cooking for 5 minutes, then peel carefully once cool enough to handle. When the pork is fully tender, turn off the heat, tuck the peeled whole eggs into the braising liquid between pork cubes, replace the drop lid and pot lid, and rest for 20 minutes off heat to let eggs marinate and pork reabsorb juices.
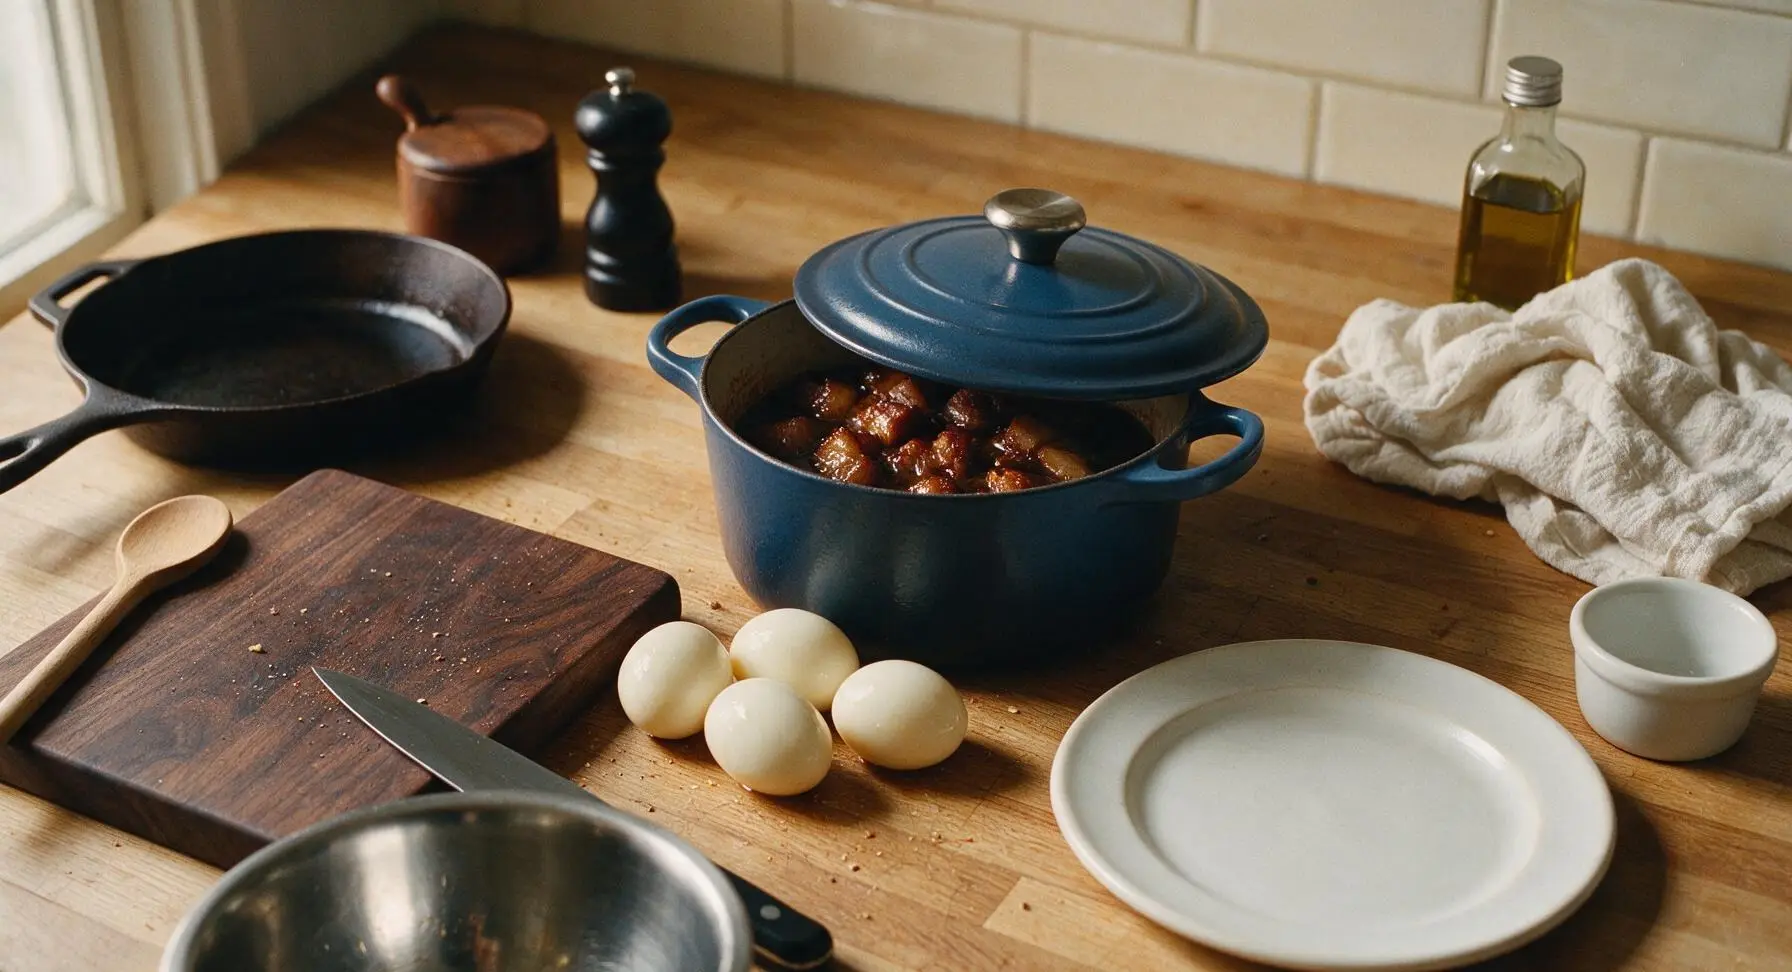
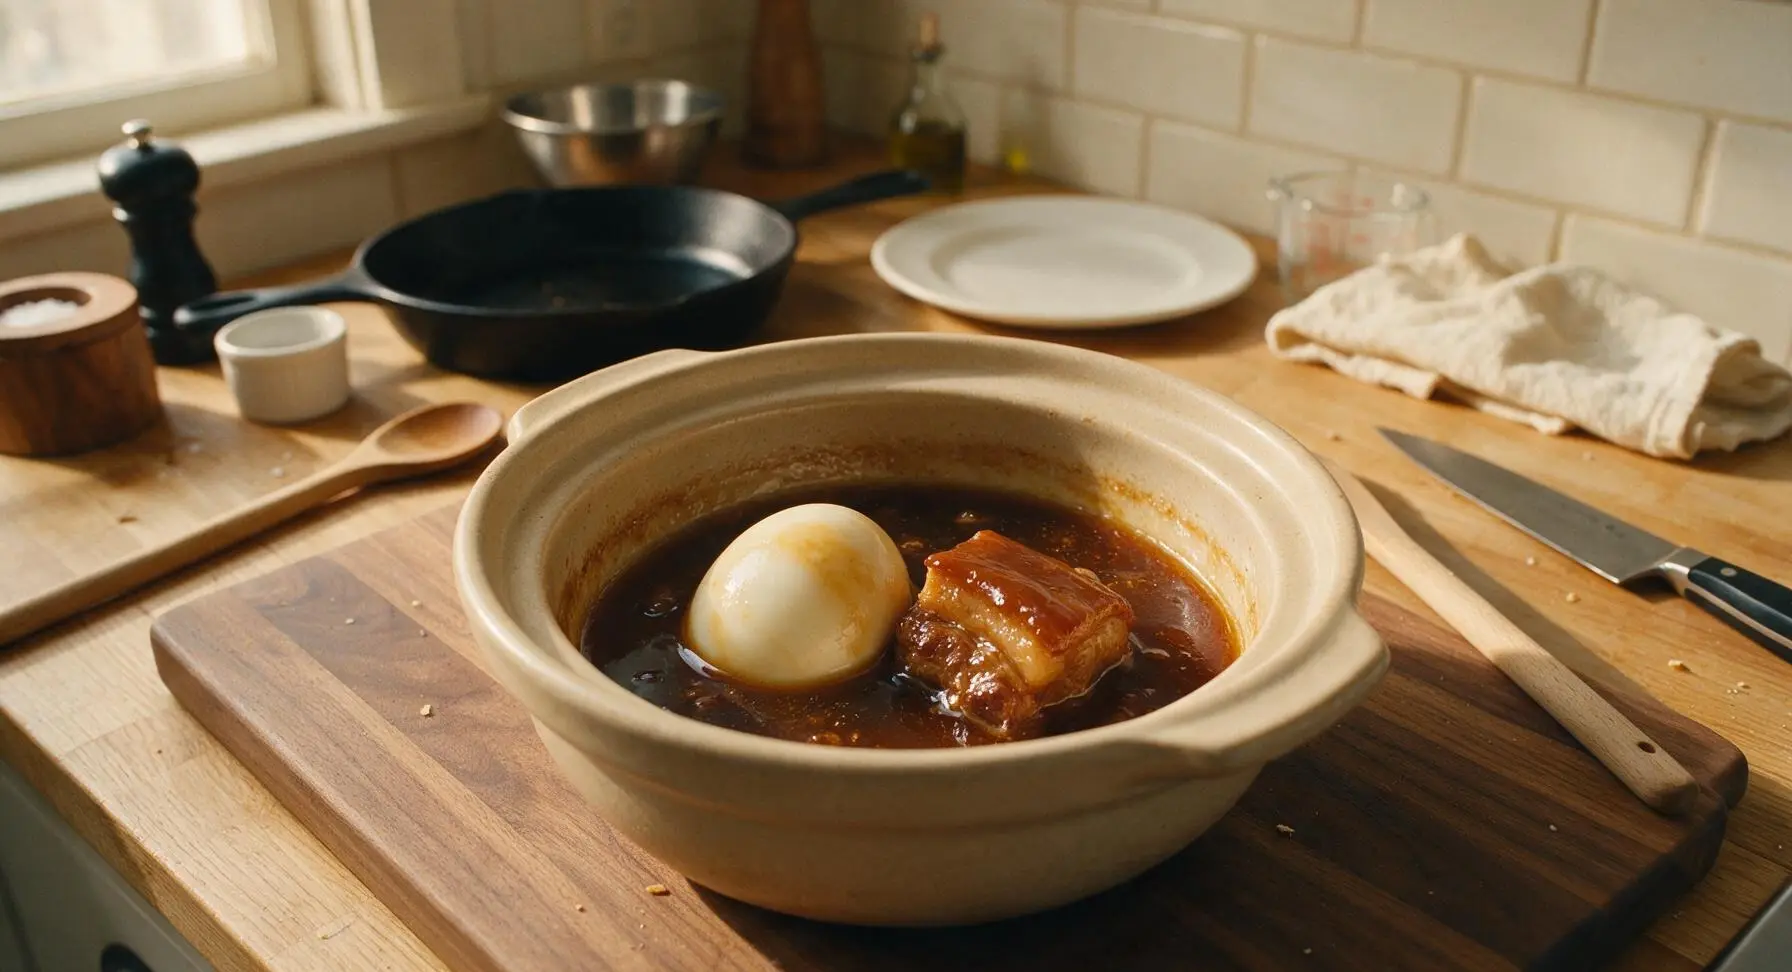
Step 5
step5:Add Soft Boiled Eggs
Step 5
step5:Add Soft Boiled Eggs
6

Reduce Braising Sauce

Use the silicone-tipped tongs to carefully transfer the pork cubes and marinated eggs to a clean plate, set aside. Pour the remaining braising liquid through the small fine-mesh stainless steel strainer into the small stainless steel saucepan, discarding the cooked ginger, scallions, and star anise caught in the strainer. Bring the strained liquid to a gentle simmer over medium heat, and cook for 8-10 minutes until reduced by half, thick enough to coat the back of a spoon.
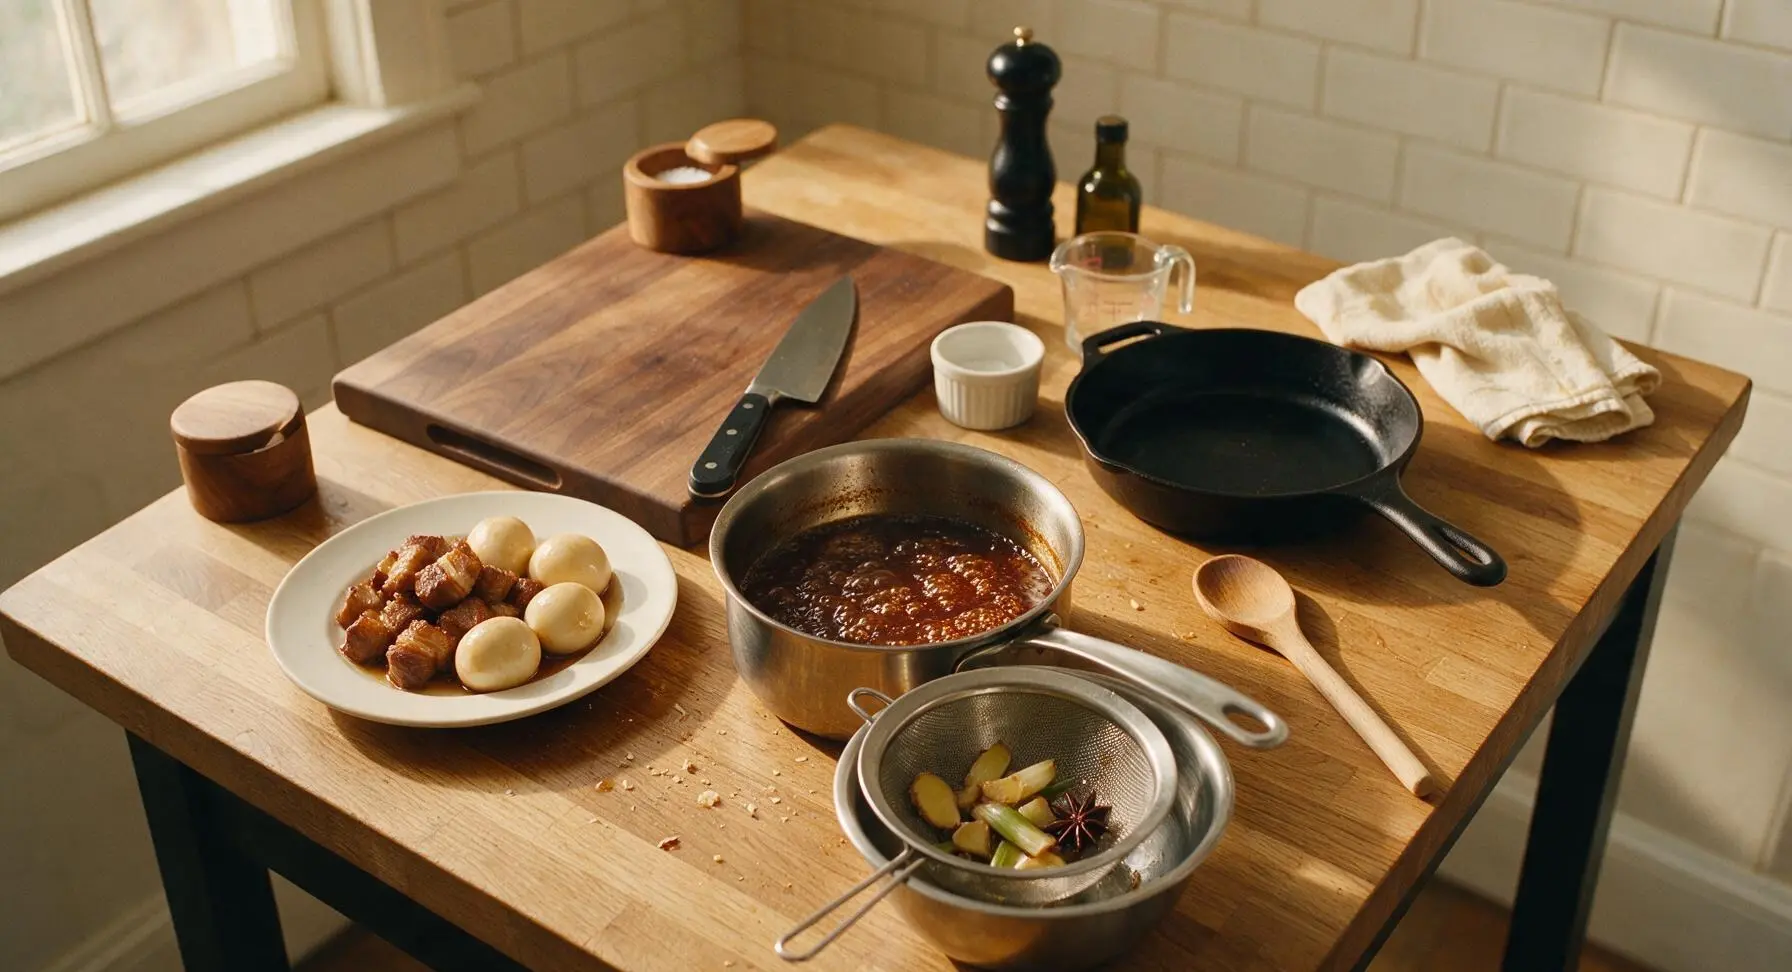
Step 6
step6:Reduce Braising Sauce
7

Plate and Serve

Slice the marinated eggs in half lengthwise. Place 2-3 pork cubes per person on the off-white ceramic dinner plates, spoon the reduced braising sauce generously over the pork. Tuck two egg halves next to the pork, place a small 1/2 tsp dollop of karashi mustard on the side of each plate, and garnish with a light sprinkle of thinly sliced scallion greens. Serve immediately while warm.
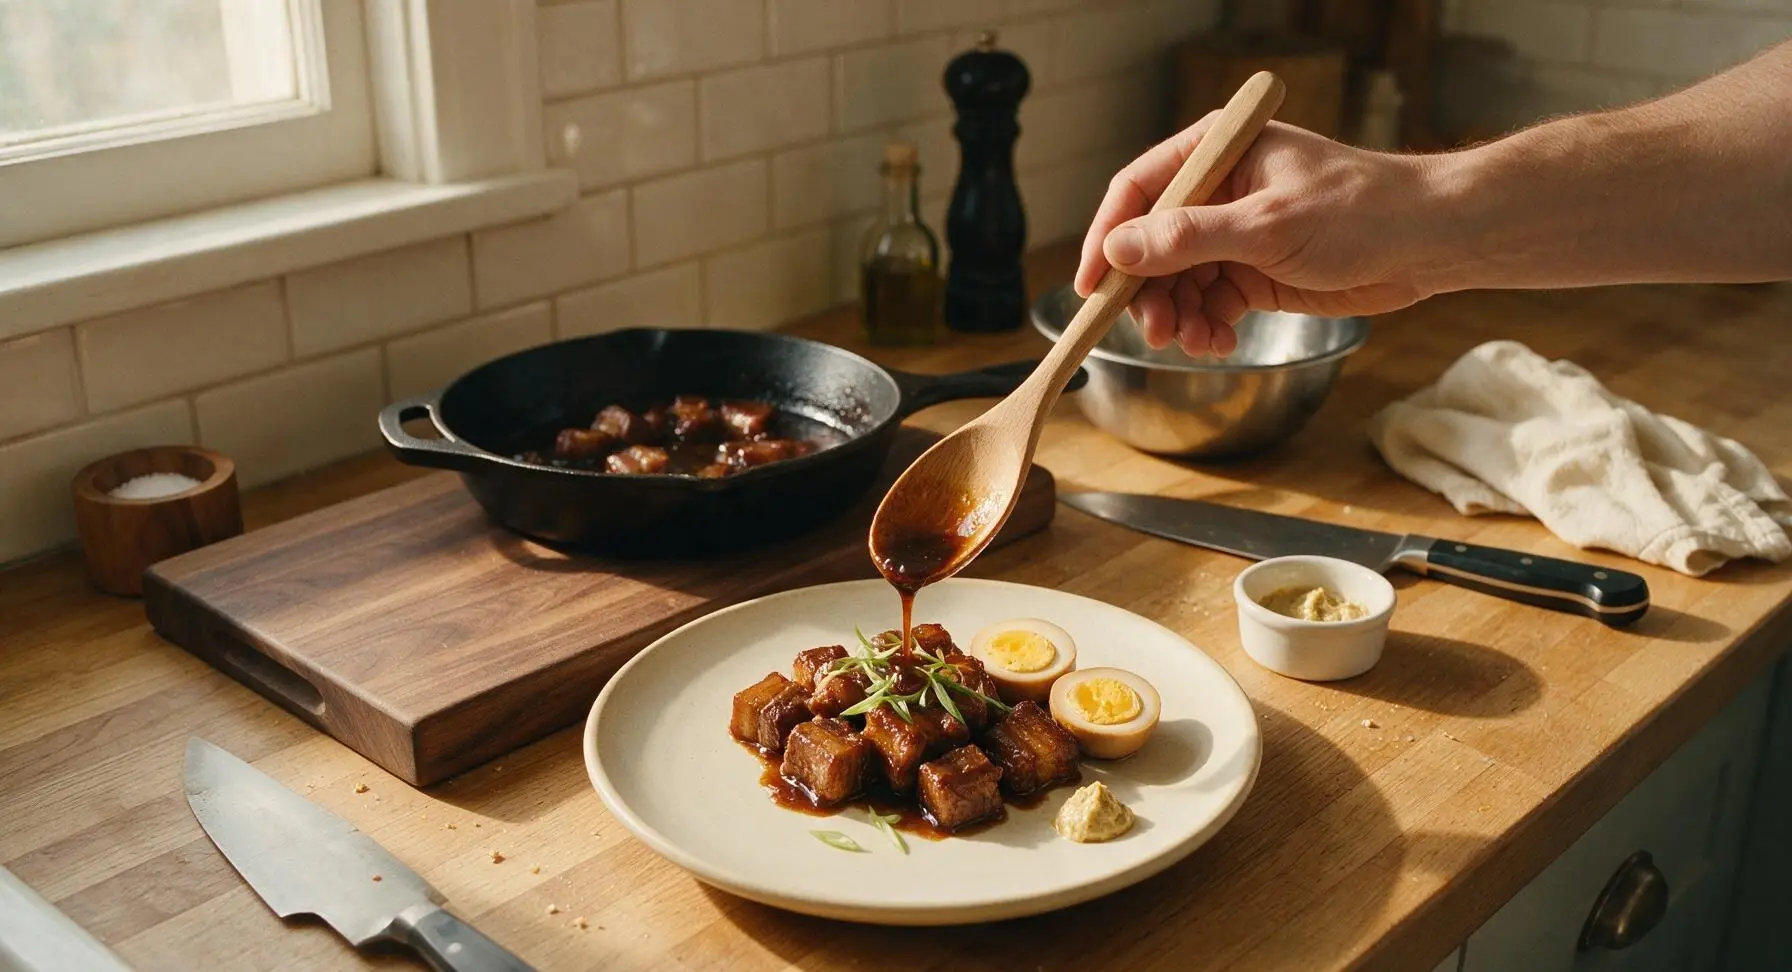
Step 7
step7:Plate and Serve

Tips

1.Do not rush the braise with high heat: Rapid boiling will cause pork muscle fibers to seize up and become tough, while a bare, low simmer slowly breaks down connective tissue to create the signature melt-in-your-mouth texture without making the meat fall apart.
2.Use a drop lid (parchment circle) during braising: This lightweight lid sits directly on the food surface, keeping pork evenly submerged in liquid without constant stirring, preventing top pieces from drying out and ensuring even flavor absorption across every cube.
3.Let the pork rest in the turned-off braising liquid for 20 minutes before reducing the sauce: This rest period allows the meat fibers to relax and reabsorb flavorful juices, so the pork stays moist instead of leaking all its juice onto the plate when sliced.


✨ You May Also Like

Main Course
🍜 United Kingdom

A showstopping classic of tender seared beef, savory mushroom duxelles, and crisp prosciutto wrapped in flaky golden puff pastry, baked to juicy perfection.

⏱️ 2 hours 1Main Course ★ 4.7
Main Course
🍜 India

Tender charred marinated chicken simmered in a rich, spiced creamy tomato sauce, this iconic Anglo-Indian curry pairs perfectly with basmati rice or warm naan.

⏱️ 50 minuteMain Course ★ 4.6
Main Course
🍜 Thailand

Classic tangy, sweet, and savory Thai stir-fried rice noodles with shrimp, tofu, and crunchy garnishes, balancing all five core Thai flavor profiles.

⏱️ 30 minuteMain Course ★ 4.5
Main Course
🍜 United Kingdom

Crispy golden beer-battered cod and fluffy double-fried chips, served with tangy tartar sauce and malt vinegar: the timeless, beloved British pub comfort classic.

⏱️ 45 minuteMain Course ★ 4.7
Main Course
🍜 Mexico

Smoky, chile-marinated pork tacos with caramelized pineapple, fresh cilantro, and lime: a beloved classic Mexican street food perfect for casual summer gatherings.

⏱️ 1 hour 45Main Course ★ 4.8
Main Course
🍜 United States

Crunchy Fritos corn chips layered with savory beef chili and melted cheddar, topped with cool, zesty fixings for a beloved, cozy Tex-Mex comfort food.

⏱️ 35 minuteMain Course ★ 4.8

Buta No Kakuni:Frequently Asked Questions

1.Do I really need skin-on pork belly to make authentic buta no kakuni? ▾
Absolutely—skin-on pork belly is non-negotiable for classic kakuni texture. The skin breaks down during slow braising to become silky, gelatinous, and rich, giving the broth that luxuriously thick, unctuous mouthfeel that defines the dish. If you use skinless belly, you’ll miss that signature sticky, melt-in-your-mouth finish. If skinless is all you can find, ask your butcher for a thin skin slab to add to the braising pot.
2.Can I substitute dashi stock if I don’t have any pre-made on hand? ▾
You can make a quick, workable substitute easily. Mix 1 teaspoon of instant hon-dashi powder per 2 cups of warm water for a near-authentic flavor, or use low-sodium chicken broth with a small pinch of dried kombu steeped for 10 minutes as a last resort. Skip heavy beef or vegetable broths, as they will overpower the delicate sweet-savory balance of the braise.
3.Why do you use both mirin and cooking sake? Can I just use one instead? ▾
They serve very different purposes, so swapping one for the other will throw off the dish’s flavor balance. Cooking sake adds deep umami, cuts through pork richness, and tenderizes meat as it braises, while mirin adds mild, rounded sweetness and a glossy sheen to the final sauce. In a pinch, use 3 parts sake to 1 part sugar plus a dash of rice vinegar as a mirin replacement, not a straight swap.
4.How long do I need to braise the pork to get that famous melt-in-your-mouth texture? ▾
Plan for a minimum of 2.5 hours of low, gentle simmering on the stovetop, or 4 hours on low in a slow cooker. You’ll know it’s done when a fork slides into the thickest part of the pork with zero resistance, and the fat layer is translucent rather than opaque. Don’t rush this with high heat—boiling will make pork tough and stringy instead of tender.
5.Do I actually have to sear the pork belly before adding braising liquid? ▾
Searing is a critical step you shouldn’t skip. First, it renders excess surface fat so the final dish doesn’t feel greasy, and second, it creates deep, toasty Maillard reaction flavor on the pork edges that seeps into the braising liquid. Pat the pork completely dry before searing over medium-high heat to get a crisp, golden crust on all sides before adding liquid.
6.What’s the easiest way to get neat, evenly cut pork belly cubes? ▾
The simplest pro trick is to pop the whole pork belly slab in the freezer for 45 minutes before cutting. This firms up the soft fat and meat so you can slice clean, uniform 2-inch cubes without the fat squishing or tearing. Uniform pieces cook at the exact same rate, so you won’t end up with some overcooked mushy bits and some undercooked chewy chunks.
7.Can I make buta no kakuni ahead of time for meal prep or a dinner party? ▾
Kakuni actually tastes better made 1 to 2 days ahead! Let the braised pork cool completely in its cooking liquid, then store it covered in the fridge. The fat will solidify on top so you can easily skim excess grease if you prefer, and the pork will absorb even more sweet-savory broth flavor as it rests. Gently reheat in the braising liquid over low heat before serving.
8.How do I make the jammy marinated soft-boiled eggs that are traditionally served with kakuni? ▾
Boil large room-temperature eggs for exactly 6.5 minutes, then plunge them straight into an ice bath to stop cooking and make peeling easy. Peel the eggs, then submerge them in cooled kakuni braising liquid for at least 4 hours (or overnight) in the fridge. The whites will take on deep umami flavor, and the yolk will stay soft, runny, and perfectly jammy.
9.What kind of soy sauce works best? Can I use regular grocery store soy? ▾
Koikuchi Japanese soy sauce is ideal because it has balanced, not overly salty umami depth that doesn’t overpower the dashi. If you only have standard American grocery store light soy sauce, cut it with 1 tablespoon of water per ¼ cup of soy and add a tiny pinch of sugar to mimic koikuchi’s milder, rounder profile. Skip dark soy sauce, which is too salty and will darken the pork unpleasantly.
10.Why is my pork belly tough even after I braised it for hours? ▾
This almost always happens if your braising heat is too high. If the liquid is at a rolling boil instead of a gentle, barely bubbling simmer, the muscle fibers in the pork will seize up and turn tough, even with long cooking. Turn the heat down so only 1 or 2 bubbles break the surface every few seconds, and keep the pot lid slightly ajar to maintain a consistent temperature.
11.What should I serve with buta no kakuni besides the marinated eggs? ▾
Classic pairings include fluffy steamed short-grain white rice, blanched bok choy or mustard greens, and a small dollop of spicy Japanese karashi mustard to cut through richness. You can also serve it over udon noodles, or alongside tangy pickled daikon (takuan) for a bright contrast to the sweet, fatty pork. Skip heavy, creamy sides that will compete with the dish’s umami.
12.Can I make this in a pressure cooker to cut down on cook time? ▾
You absolutely can, and it cuts total cook time down to 35 minutes on high pressure. Sear the pork first as you would for the stovetop method, add all braising ingredients, seal the pressure cooker, and cook on high for 35 minutes, then let pressure release naturally for 15 minutes. Note the sauce will be thinner, so simmer it uncovered for 10 minutes after cooking to thicken.
13.How much excess fat should I skim off the top of the braising liquid? ▾
You don’t need to skim all the fat—some of that fat carries huge amounts of flavor and gives the sauce its signature silky texture. Aim to skim off about ⅓ of the surface fat after braising, or up to half if you prefer a lighter dish. If you make it ahead, the solidified fat layer on top of the chilled pork makes this step super easy to do evenly.
14.Can I use skinless pork belly if that’s the only option my grocery store carries? ▾
You can, but you’ll miss the signature gelatinous, sticky skin texture that makes kakuni so special. To mimic that richness, add a 2-inch piece of dried kombu and 1 tablespoon of bloomed unflavored gelatin to the braising liquid to give the sauce that thick, velvety mouthfeel. You may also want to reduce the final sauce a little longer to get a glossier coating for the pork.
15.Is there a good non-alcoholic substitute for the mirin and cooking sake? ▾
For a reliable non-alcoholic swap, replace cooking sake with equal parts low-sodium chicken broth plus 1 teaspoon of rice vinegar per ½ cup of sake, and replace mirin with 2 parts white grape juice mixed with 1 part rice vinegar and a pinch of sugar. These swaps won’t be an exact match, but they’ll deliver the right balance of sweet, tangy, and savory flavor.
16.How do I keep the pork from falling apart completely while it braises? ▾
The key is to avoid moving the pork too much once it’s in the braising liquid, and keep heat low enough that the liquid isn’t bubbling vigorously. If simmering on the stovetop, arrange pork in a single layer with the skin side up, and don’t stir it during the braise. Letting it rest for 20 minutes after cooking before serving also helps the pieces hold their shape better.
17.What’s the point of the spicy mustard served on the side with kakuni? ▾
The sharp, hot kick of Japanese karashi mustard cuts through the rich, fatty pork and sweet-savory braising liquid to keep every bite feeling balanced, not heavy. You only need a tiny dab per piece of pork—don’t slather it on like American yellow mustard. If you don’t have karashi, a small amount of hot Chinese mustard works as a close substitute, but skip creamy Dijon.
18.How long will leftover buta no kakuni last in the fridge or freezer? ▾
Stored in an airtight container completely submerged in its braising liquid, leftover kakuni will stay fresh for up to 4 days in the fridge, or up to 3 months in the freezer. Thaw frozen kakuni in the fridge overnight before reheating gently over low heat on the stovetop. Skip high-heat microwaving, as that can make the pork tough and cause the fat to separate from the sauce.

Comments (16)

2 days ago

OMG this pork belly came out so melt-in-your-mouth tender! I made it for our Sunday family dinner and my picky 7 year old asked for seconds before he even finished his first serving. Already added the ingredients to my weekly meal prep rotation, worth every minute of cook time!

1 week ago

Brought this to my office potluck last week and people were literally hovering over the crockpot waiting for seconds. Didn’t even have leftovers to bring home, that’s how good it was! The sweet-savory balance is absolutely perfect.

3 days ago

I’ve tried making kakuni twice before at home and it always came out too tough or too salty. Followed this recipe exactly and it turned out just like the stuff I had at that tiny ramen shop in Denver I love! SO good.

5 minutes ago

Okay as a total newbie to Japanese cooking I was nervous to tackle this since it’s medium difficulty, but the steps were super straightforward! Mine didn’t look as pretty as the photos but it tasted insane. My roommates thought I ordered takeout lmao.

2 weeks ago

Made this for my partner’s birthday dinner since pork belly is his favorite, and he said it’s better than the kakuni we had on our trip to Tokyo last year. Win for date night! Served it over rice with some pickled veggies on the side, chef’s kiss.

30 minutes ago

This was SO good when I made it last month, already a household favorite! Quick question: I don’t have any mirin on hand right now, can I substitute it with something else? I really want to make this again tonight for dinner!

5 minutes ago

Great question! You can substitute mirin with a mix of 1 tbsp dry sherry + 1 tsp sugar for every 1 tbsp of mirin called for, or even a slightly sweet white wine if that’s all you have. Just make sure to adjust the sugar level to taste so the balance stays right! Hope it turns out delicious.

5 days ago

Has anyone tried making a big batch of this to freeze for meal prep? I’m wondering if the texture holds up after being frozen and reheated.

3 days ago

I froze half of my batch last month! Just stored it in an airtight container with a little of the braising liquid, and when I reheated it in the microwave it was just as tender and flavorful as the night I made it. Total game changer for busy work weeks!

2 hours ago

I’m getting ready to make this for a dinner party this weekend, so excited! Wait, do I really need to blanch the pork first? I’m always tempted to skip that step to save time, will it ruin the dish if I do?

30 minutes ago

Great question! We really don’t recommend skipping the blanching step! It helps draw out impurities and excess fat from the pork belly, which keeps the braising liquid clear and cuts down on that overly greasy texture that can throw off the dish. It only adds 10 minutes total to the cook time, it’s so worth it!

1 week ago

This is the first kakuni recipe that didn’t turn out too sweet for my taste! I usually cut the sugar by half in most recipes but followed this one exactly and it was perfect. Served it on top of homemade tonkotsu ramen last night, unreal.

5 days ago

Oh my gosh I never thought to put this on ramen! That’s such a good idea, I’m making this this weekend specifically to top my ramen bowls now, thanks for the tip!

yesterday

Help! My pork came out really tough even after braising for the full 2.5 hours. Did I do something wrong? I cut the pieces too big maybe?

2 hours ago

Sorry to hear your pork was tough! The most common culprit is the heat being too high during braising — you want it at a super gentle simmer, not a rolling boil, otherwise the muscle fibers seize up. Cutting pieces larger than 2 inches can also make it take longer to get tender. Next time, keep the heat low and give it extra time if you can poke a chopstick through the pork easily!

3 days ago

Does anyone know if this works with gluten free soy sauce? I have celiac so I can’t use regular soy, but I’ve been craving kakuni for months!

2 days ago

I made this last week with tamari (gluten free soy sauce) and it tasted exactly like the regular version! Just make sure you’re not using low-sodium tamari unless you want to adjust the salt to taste, mine came out perfectly balanced.

2 days ago

OMG I made this last night and my whole house smelled incredible for hours! The only thing was my braising liquid got a little too thick and started burning a bit at the bottom of the pot halfway through. Any tips for that next time?

yesterday

I had that happen the first time I made it too! I turned the heat down just a tiny bit and added a splash more dashi (you could use water too) when I noticed it getting thick, and it fixed it right up. No burnt taste after that!

2 hours ago

Great tip from CastIronCooker! We also recommend using a heavy-bottomed pot for braising if you have one, as it distributes heat more evenly and prevents hot spots that cause burning. Keeping the lid slightly ajar can also help regulate the temperature if your stove runs hot!

1 week ago

My kids loved it! They kept calling it "Japanese candy pork" because the glaze is so sweet and savory. I served it with steamed rice and roasted broccoli, it was a full hit at the dinner table. Already planning to make it again next month for my parents' anniversary visit!

5 days ago

"Japanese candy pork" is the perfect name for this! My 3 boys devoured an entire tray of it last week too, I've never seen them eat veggies so fast when I serve this, ha!

3 days ago

Wait this is such a perfect family meal idea! I’ve been looking for something a little fancier than our usual taco Tuesday rotation that my kids will actually eat, adding this to next week’s menu stat.

5 days ago

I added a little extra ginger and a tiny splash of chili oil to my batch because I love a little kick, and it was chef's kiss. If you’re a spice fan I highly recommend it! Wondering if anyone has tried adding boiled eggs to the braising liquid like they do with chashu?

3 days ago

Love that spicy twist! Adding soft or hard boiled eggs to the braising liquid during the last 30 minutes of cooking is such a great call — they soak up all that delicious savory-sweet flavor and make the perfect side to go with the pork. We might have to add that as a pro tip in the recipe notes!

2 days ago

I did exactly that last time I made this! Used soft boiled eggs, peeled them, and let them sit in the leftover braising liquid in the fridge overnight, and they were the best ramen eggs I’ve ever made at home. 10/10 recommend.

2 weeks ago

Wait how do you all get your pork belly pieces to look so perfect and square? Mine fell apart a little when I was flipping them while braising, they still tasted amazing but looked kind of messy when I served them to guests. Any tricks?

1 week ago

I let my pork belly chill in the fridge for an hour after blanching it before I cut it into pieces! It firms up the fat so it cuts super cleanly and doesn’t fall apart as easy when you flip it during braising. Game changer for presentation.

5 days ago

That’s such a great pro tip! Another trick is to tie each piece of pork belly lightly with kitchen twine before braising to help it hold its shape, especially if you’re serving it for guests. You can snip the twine off right before serving, and it’ll hold that nice square shape perfectly!

3 days ago

I’ve made so many braised pork belly recipes that take 4+ hours and I was skeptical this would be as good with a 2.5 hour cook time, but wow, I was wrong. It’s just as tender and flavorful as the all-day versions I’ve made before. This is going to be my new go-to recipe!

2 days ago

Same! I thought for sure 2.5 hours wouldn’t be enough, but the low simmer and quick blanch step really cut down the cook time without sacrificing texture at all. I don’t have 4+ hours to spend on dinner most weeknights so this is perfect.

yesterday

So glad you loved it! The key to the shorter cook time is cutting the pork into uniform 2-inch pieces and keeping that gentle consistent simmer, so it gets perfectly tender without needing to braise all day. Thanks for giving the recipe a try!



