
Buttermilk
intro
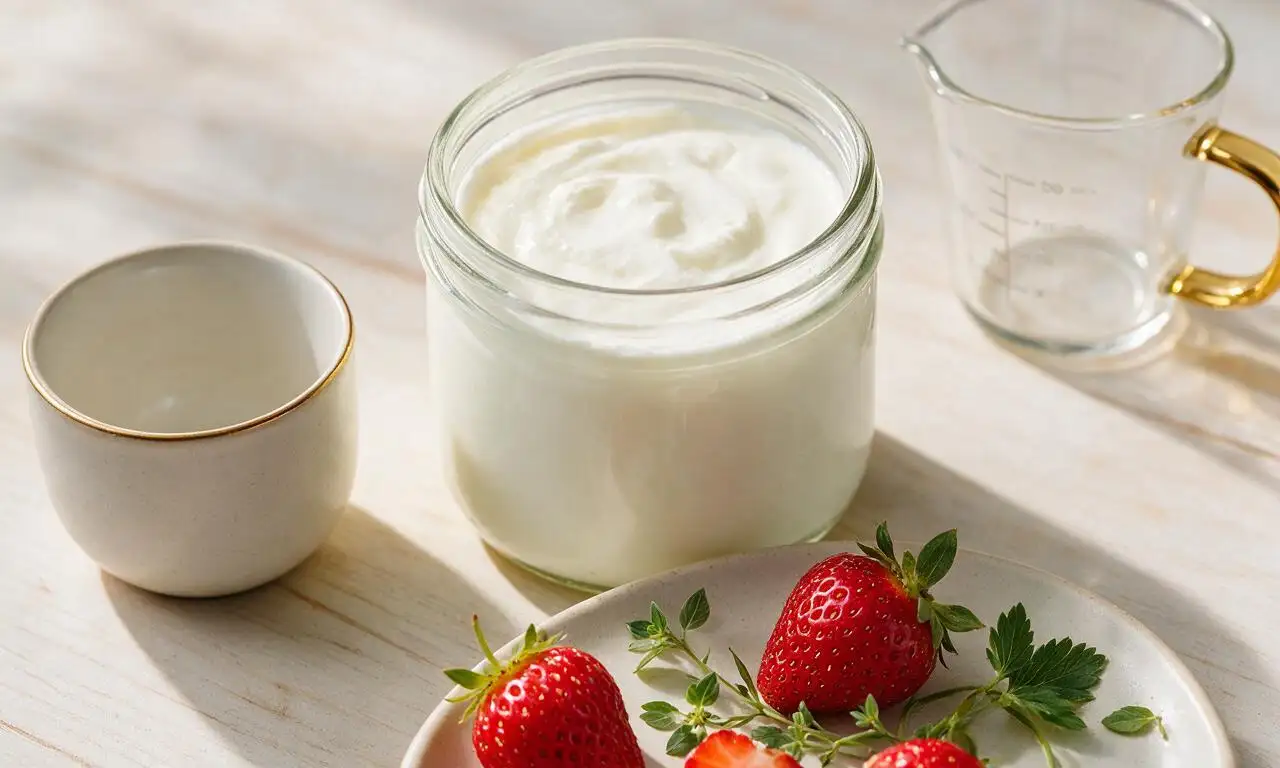
Tangy, creamy homemade cultured buttermilk, a versatile staple for baking, marinating, and light drinking, made with just two simple ingredients.
Ingredients
Steps
Sanitize equipment
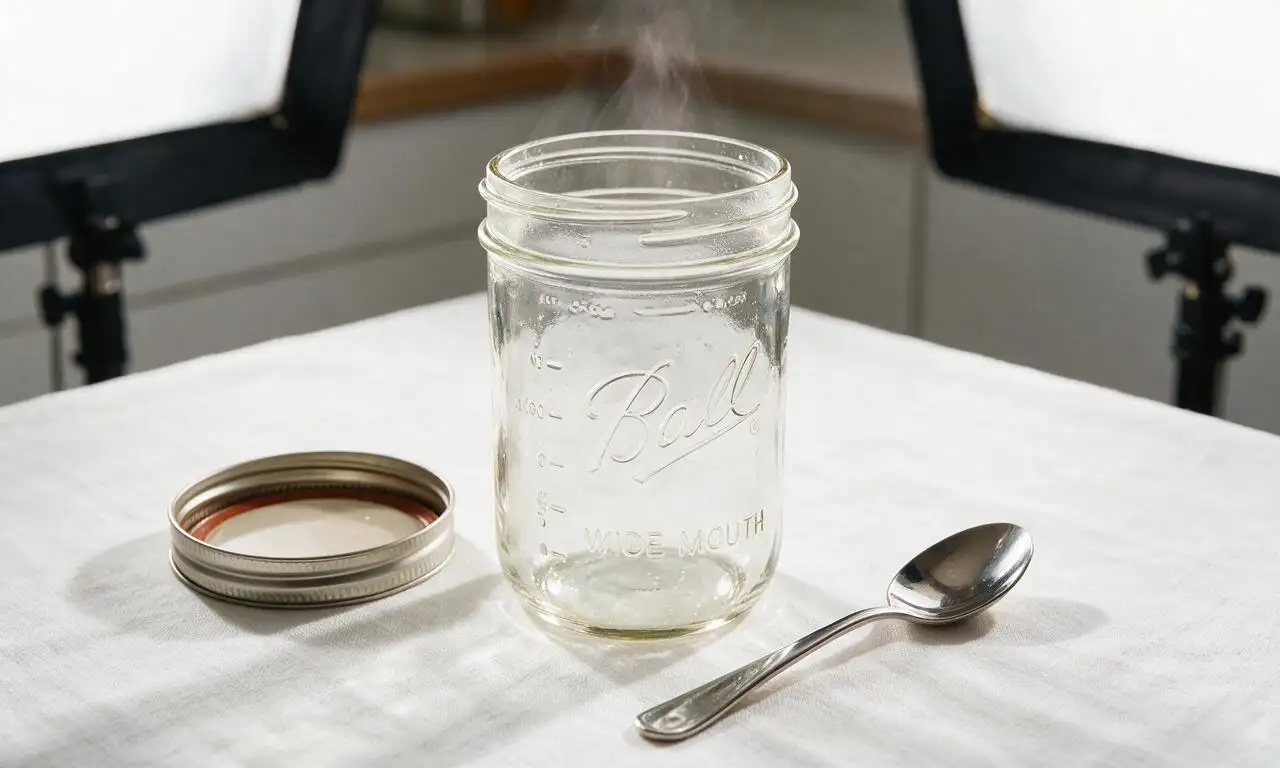
Wash a 1-quart (1 L) glass jar, its screw-top lid, and a metal stirring spoon with hot soapy water, then rinse with 2 cups (480 ml) of boiling water to kill unwanted bacteria that could spoil the culture. Wipe the jar rim with a clean paper towel to remove any leftover soap residue.
Warm the base milk
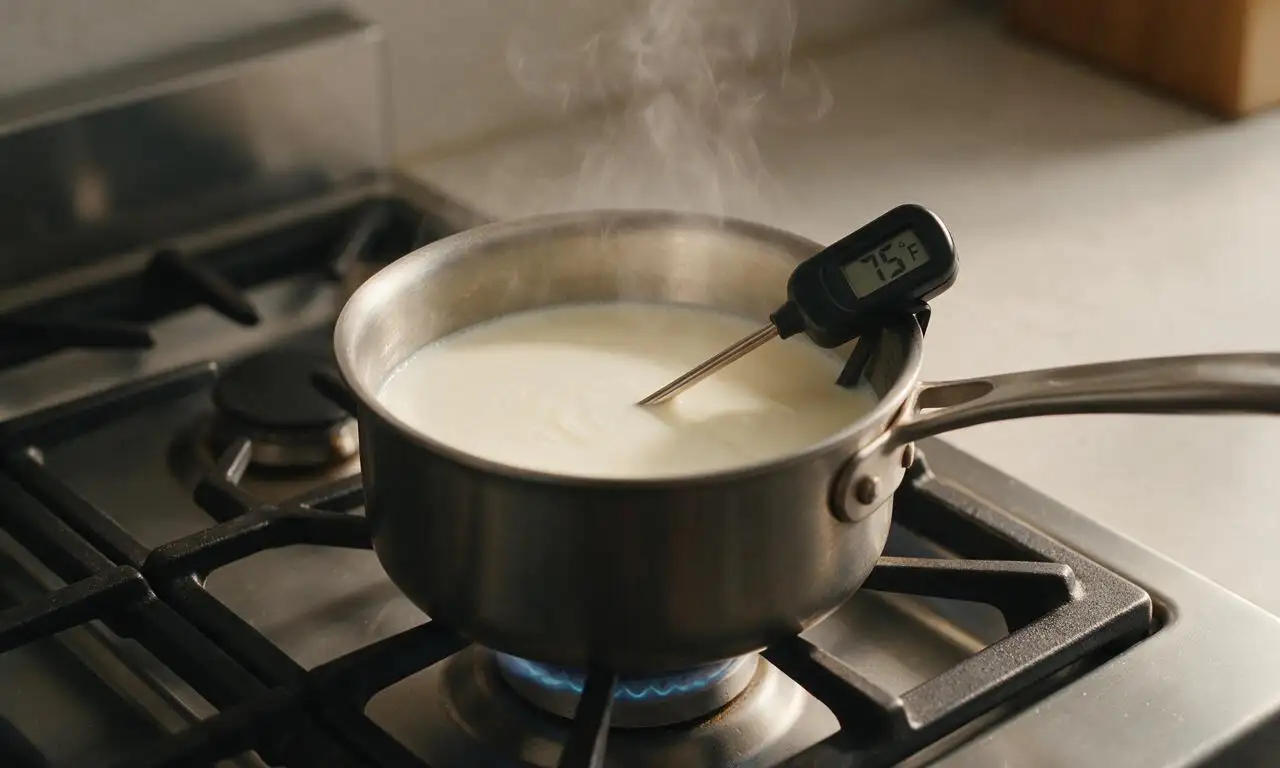
Pour 4 cups (960 ml) of whole pasteurized milk into a small heavy-bottomed saucepan, and heat over medium-low heat to 24°C (75°F), stirring every 30 seconds to prevent scalding on the pan bottom. Do not heat above 27°C (80°F), as excess heat will kill the live starter cultures added later.
Combine with starter
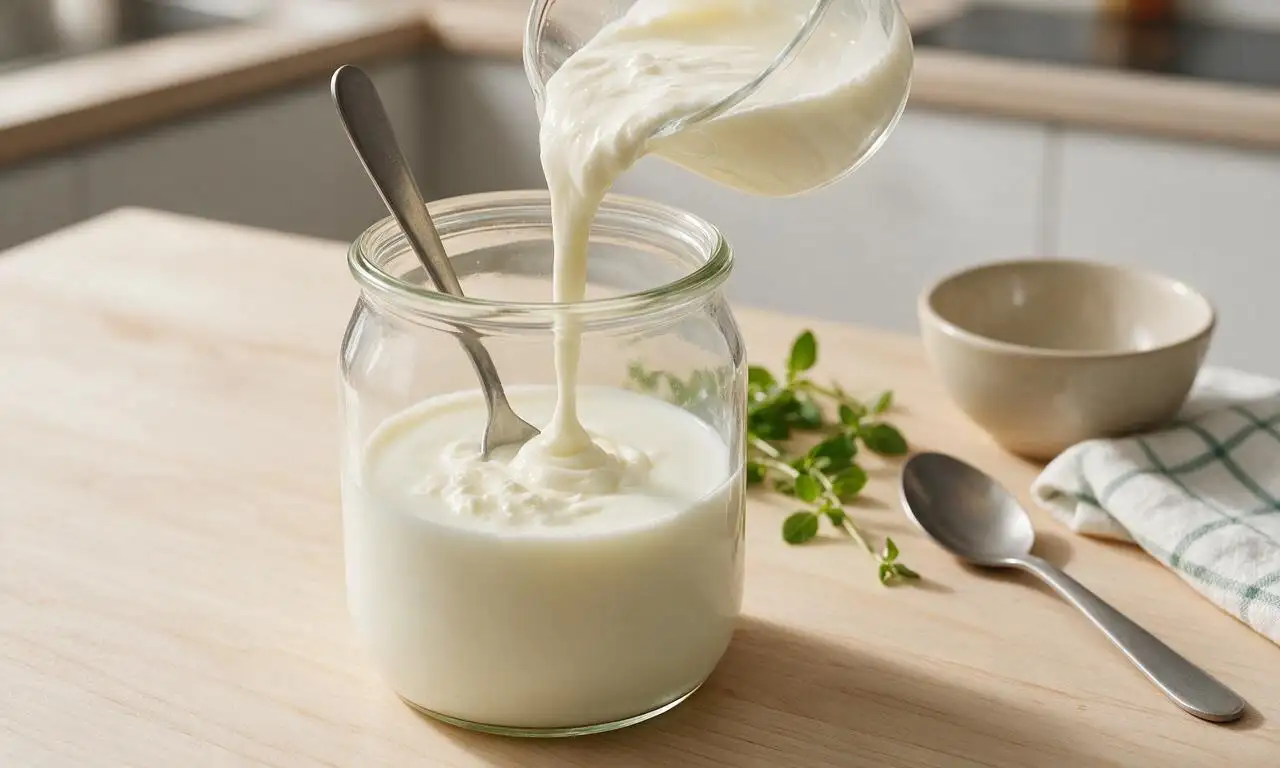
Pour the warmed milk into the sanitized glass jar, then add 1/4 cup (60 ml) of fresh live-culture buttermilk. Stir slowly and evenly with the sanitized spoon for 15 seconds to fully distribute the starter bacteria throughout the milk, ensuring no clumps remain.
Incubate the mixture
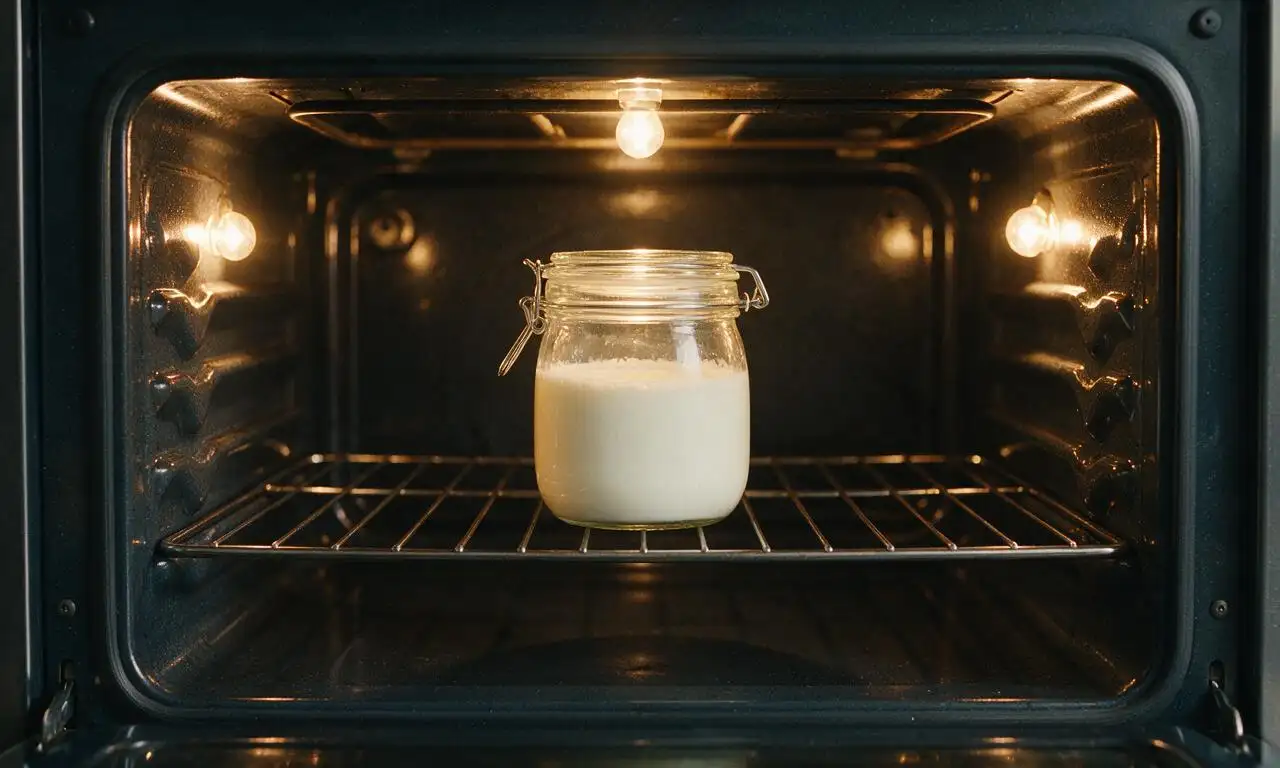
Seal the jar loosely (do not tighten the lid fully, as small amounts of fermentation gas need to escape) and place it in a draft-free spot held at a consistent 21-24°C (70-75°F) — such as a turned-off oven with the interior light on — for 12 to 24 hours. Avoid moving or jostling the jar during incubation.
Check for doneness
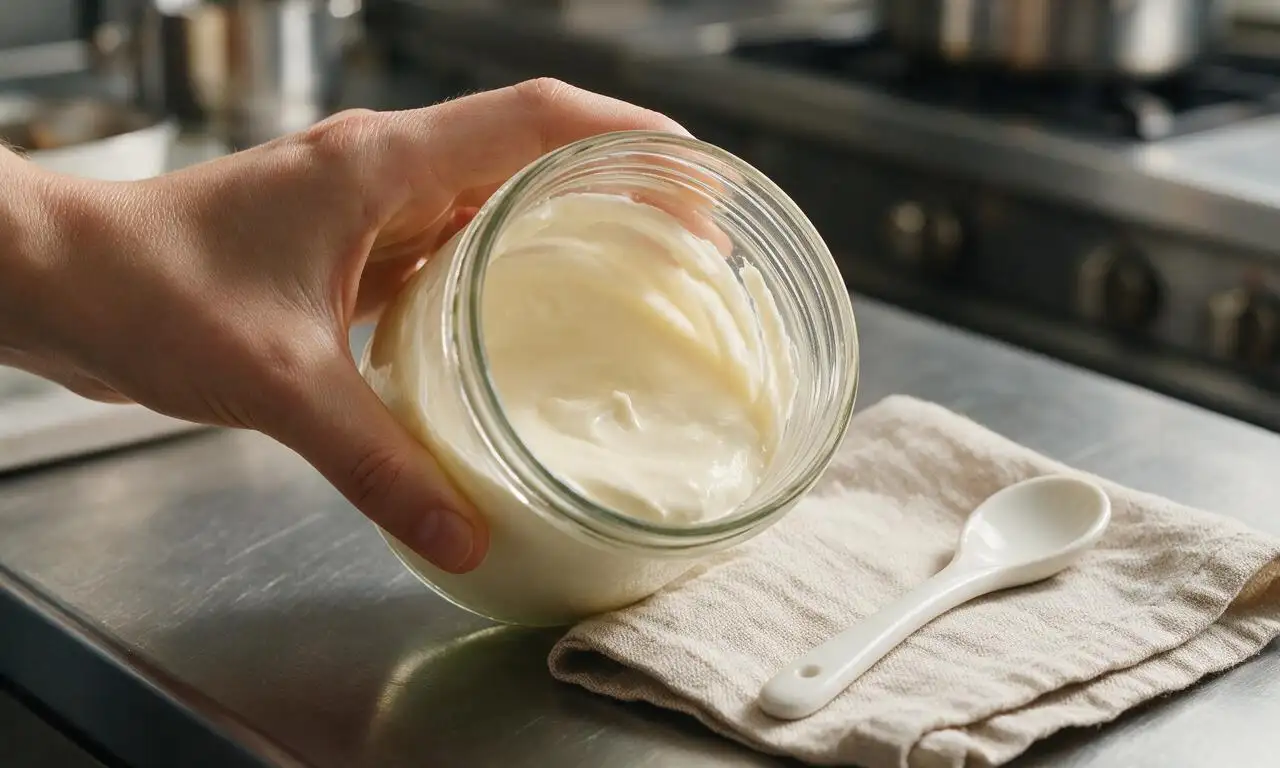
After 12 hours of incubation, gently tilt the jar to check consistency: fully cultured buttermilk will be thick enough to coat the jar sides, with a smooth, slightly lumpy texture and bright tangy aroma. If it remains thin and tastes like plain milk, re-seal loosely and continue incubating, checking every 3 hours for up to 12 additional hours.
Chill to set
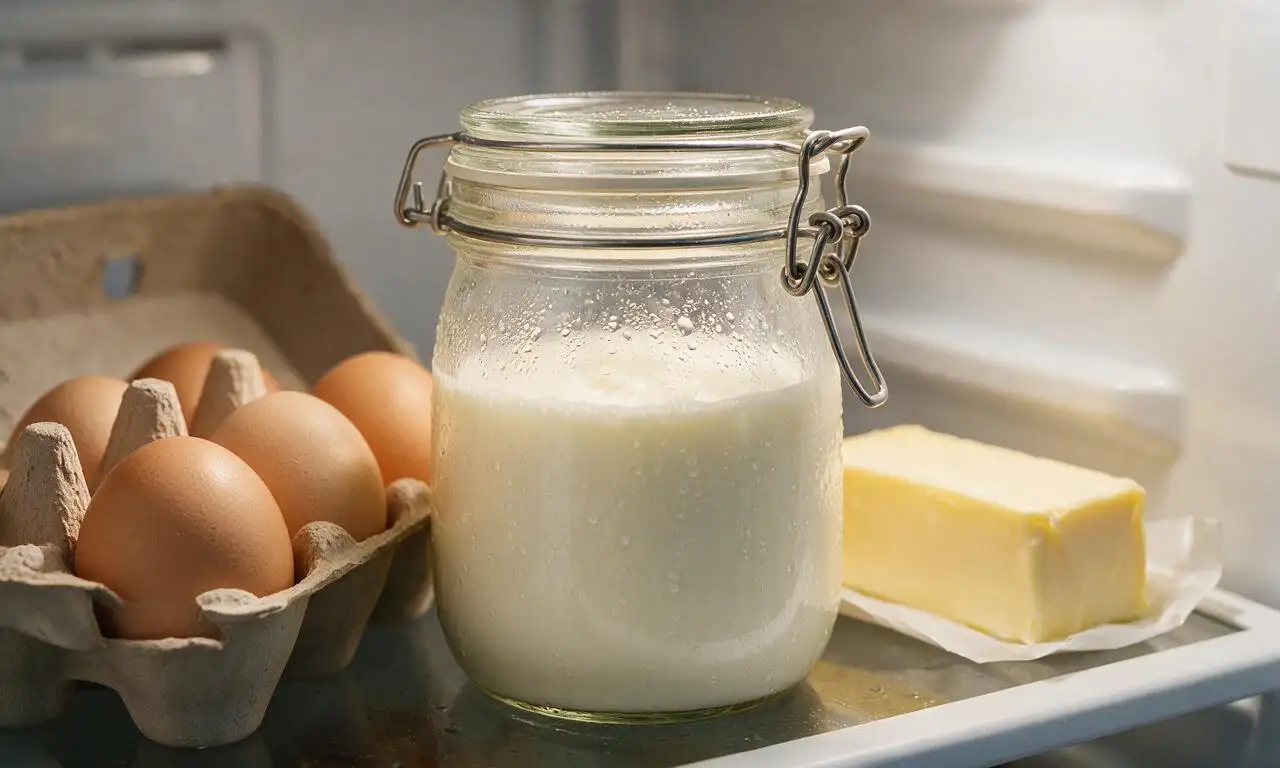
Once the buttermilk reaches the desired thick, tangy consistency, tighten the jar lid fully and place it on a middle shelf of the refrigerator set to 4°C (40°F) for a minimum of 6 hours to halt fermentation and chill completely. The buttermilk will thicken slightly more as it cools.
Tips
2.Reserve 1/4 cup (60 ml) of your finished chilled buttermilk to use as the starter for your next batch; you can repeat this indefinitely as long as you keep the starter refrigerated and use it within 2 weeks.
3.Homemade buttermilk will stay fresh in the refrigerator for up to 2 weeks; it is normal for milk solids to separate from clear whey during storage, so simply shake the jar gently before use.






OMG this homemade cultured buttermilk is a total game changer! I always forget to pick up buttermilk from the grocery store for my weekend pancake batches, and this is so easy to throw together. My kids devoured the pancakes I made with it this morning, said they were extra fluffy! 10/10 will be making this on repeat for meal prep.
Wait, is this really that easy? I’ve been scared to try cultured dairy at home because I thought I needed fancy equipment! I brought store-bought buttermilk to my last church potluck for the fried chicken dip and everyone raved, can only imagine how much better homemade would be.
SO good! I used this buttermilk to make my grandma’s famous buttermilk scones for our family dinner last Sunday and everyone asked for the recipe for the scones AND the buttermilk. Creamy, tangy, exactly the real deal not that watery grocery store stuff.
Wait how long does this last in the fridge once it’s done culturing? I live alone so I don’t go through buttermilk super fast, don’t want to make a whole batch and have it go bad before I can use it.
Y’all I used this buttermilk for my fried chicken brine last night and I swear it was the juiciest, most tender chicken I’ve ever made. My husband said it was better than his mom’s, which is the highest compliment you can get in this house lmao.
I was so nervous I messed this up! I left it on the counter for almost 26 hours because I got called into work unexpectedly, thought for sure it would be ruined. Turns out it was perfectly thick and tangy? Wild how forgiving this recipe is for total newbies like me.
Game. Changer. I’ve been trying to make copycat restaurant ranch for years and could never get that tang right, turns out the secret is homemade buttermilk! My roommates are already begging me to make a double batch next time so we don’t run out.
Wait, can I use lactose-free milk to make this? I’m super sensitive to lactose but I miss having buttermilk for my cornbread and waffles, the store bought lactose free version is so expensive.
This is so perfect for my weekly meal prep! I spend 10 minutes putting it together on Sunday night, let it culture while I’m at work on Monday, and it’s ready to go for all my baking and dressing recipes for the week. Zero effort, maximum payoff.
My grandma used to make her own buttermilk all the time when I was a kid, and this tastes exactly like I remember! Tangy, thick, perfect for flaky buttermilk biscuits. I’ll never go back to the store bought stuff that’s full of weird additives.
Wait a second, I thought buttermilk was the leftover liquid from making butter? Is this the same thing? I’m a total new cook so sorry if that’s a dumb question lol.
I used this to make buttermilk crema for my street taco night last week and my friends literally asked if I ordered it from our favorite local Mexican spot. SO creamy and tangy, I even stirred a little into my coleslaw for the taco spread and it was chef’s kiss.
I used a quarter cup of my last batch of this homemade buttermilk as the starter for my new batch instead of store bought, and it worked like a charm! It’s like the gift that keeps on giving, I haven’t bought buttermilk from the store in a month now.