1.Can I use low-fat or non-fat buttermilk instead of full-fat for these donuts?
▾
You absolutely can, though full-fat buttermilk delivers the richest, tangiest crumb and most tender bite. If using low-fat or non-fat, stir 1 extra tablespoon of cooled melted butter into your wet ingredients to replace the missing fat, so your donuts don’t turn out dry or dense after frying.
2.Why do I need to use a room-temperature egg for the donut dough?
▾
Room-temperature eggs mix more evenly into the dough, creating a smooth, consistent batter that traps air better for that signature fluffy rise. Cold eggs can cause melted butter to seize up into small clumps, leading to uneven texture and patchy, uneven browning when you fry the donuts.
3.Can I make these donuts without a countertop deep fryer?
▾
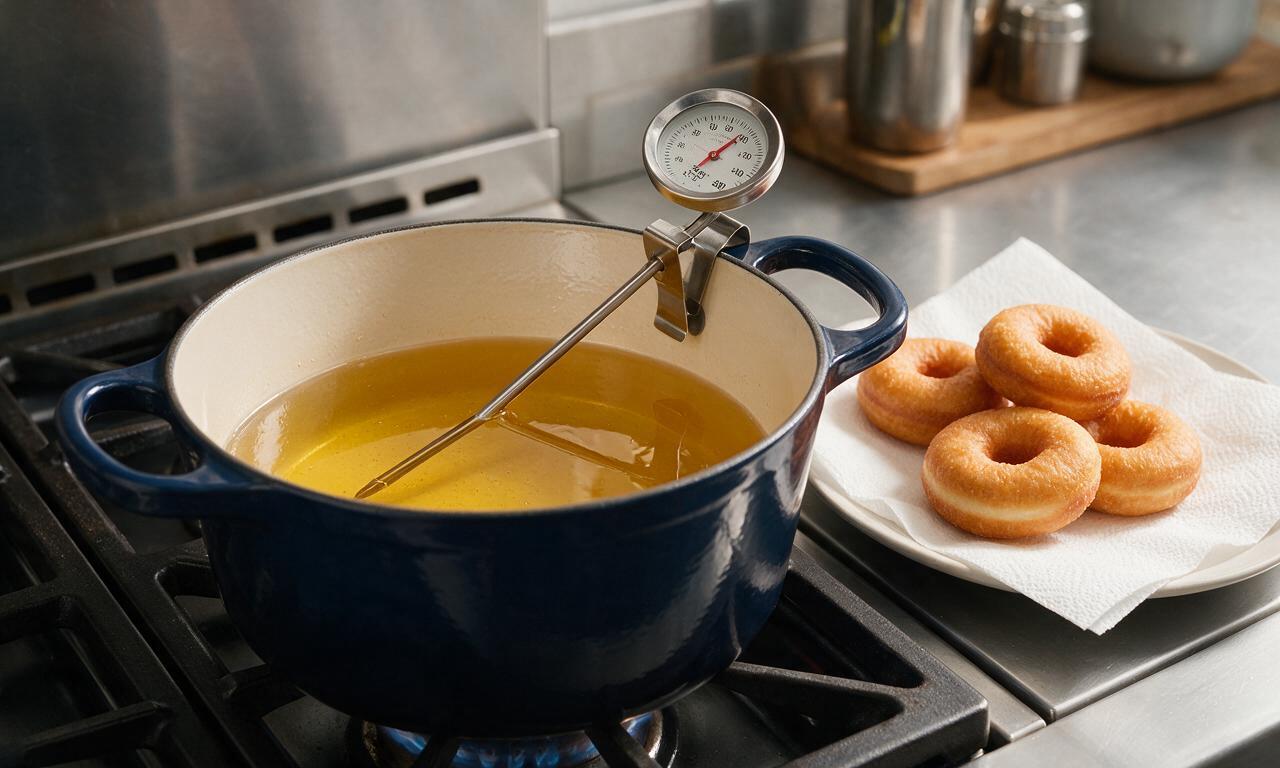
Definitely! You don’t need specialty equipment for perfect results. Use a heavy-bottomed Dutch oven or deep saucepan, clip a candy thermometer to the side to track oil temperature, and fry in small batches—you’ll get the same crisp, golden exterior and soft interior as a countertop fryer.
4.What type of oil is best for frying these buttermilk donuts?
▾
Reach for a neutral, high-smoke-point oil like canola, vegetable, peanut, or refined avocado oil. These won’t burn or impart off-flavors at the 365°F to 375°F frying temperature we use, so the tangy buttermilk and sweet vanilla glaze stay the star, not bitter, burnt oil notes.
5.How thick should I roll the donut dough for the fluffiest results?
▾
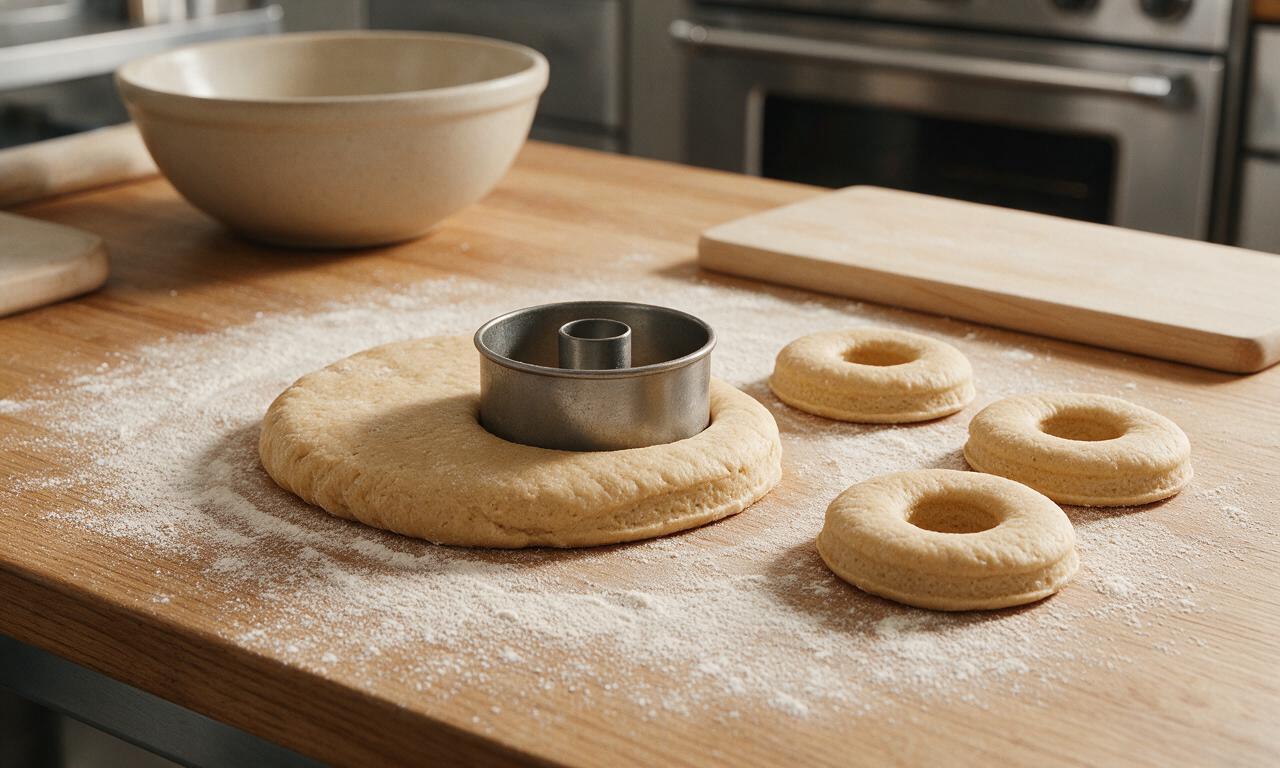
Roll your chilled dough to a consistent ½-inch thickness before cutting. If you roll it thinner, your donuts will turn out flat and crisp instead of light and pillowy. If you roll it much thicker, the center may not cook through before the exterior gets too dark, leaving a raw, doughy middle.
6.Do I really need to chill the dough before cutting and frying?
▾
Chilling the dough for at least 1 hour (and up to 4 hours) is non-negotiable for fluffy, well-shaped donuts. Warm, soft dough spreads out as soon as it hits hot oil, leading to greasy, misshapen donuts. Chilled dough holds its cut shape, rises evenly, and absorbs less excess oil during frying.
7.What can I use if I don’t have a dedicated donut cutter to shape these?
▾
No donut cutter? No problem! Grab a 3-inch round cookie or biscuit cutter for the outer donut shape, then use a 1-inch round cutter (or even the clean cap of a standard water bottle) to punch out center holes. Use sharp, clean cuts so donuts rise evenly instead of turning lopsided.
8.How do I keep my donuts from turning out greasy after frying?
▾
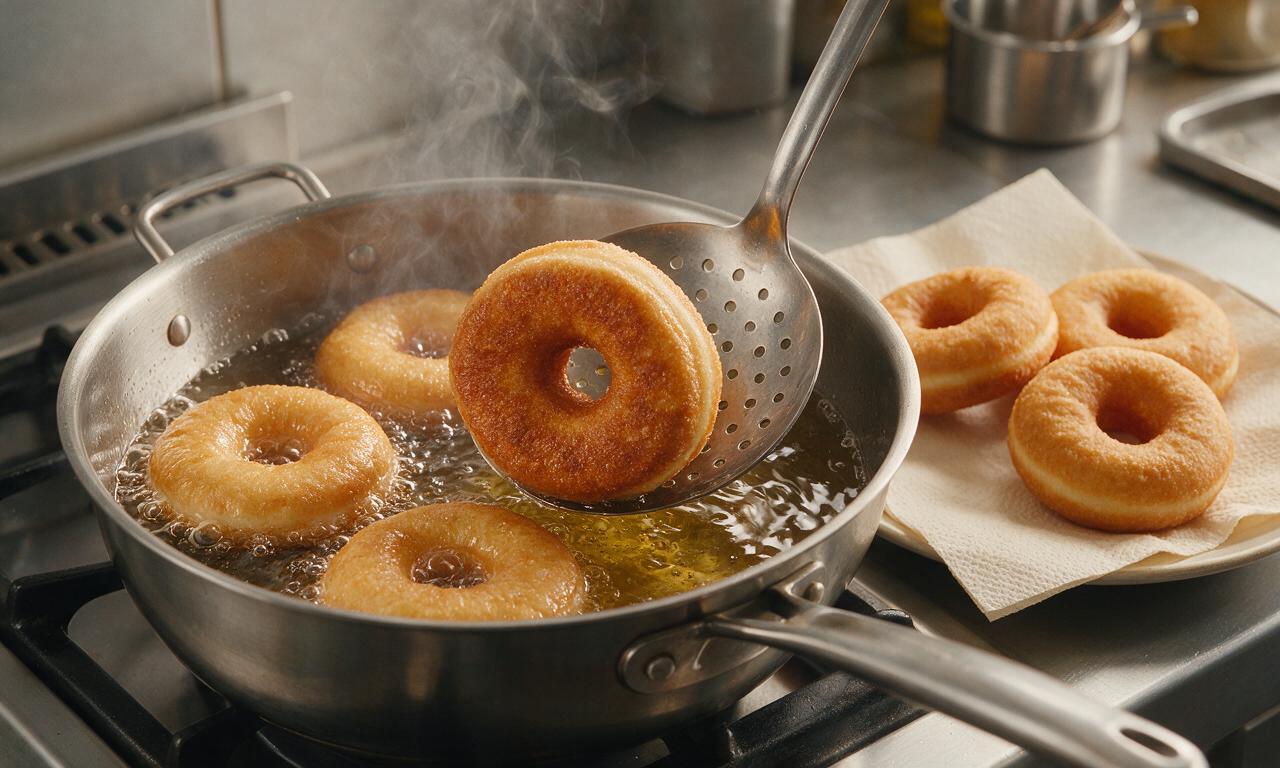
First, hold your oil steady between 365°F and 375°F—if it’s too cool, the dough soaks up oil like a sponge. Second, don’t overcrowd the pot, which drops oil temp fast. Third, let fried donuts drain on a wire rack over paper towels for 1 to 2 minutes before glazing to shed excess oil.
9.How thick should the vanilla glaze be for the perfect coating?
▾
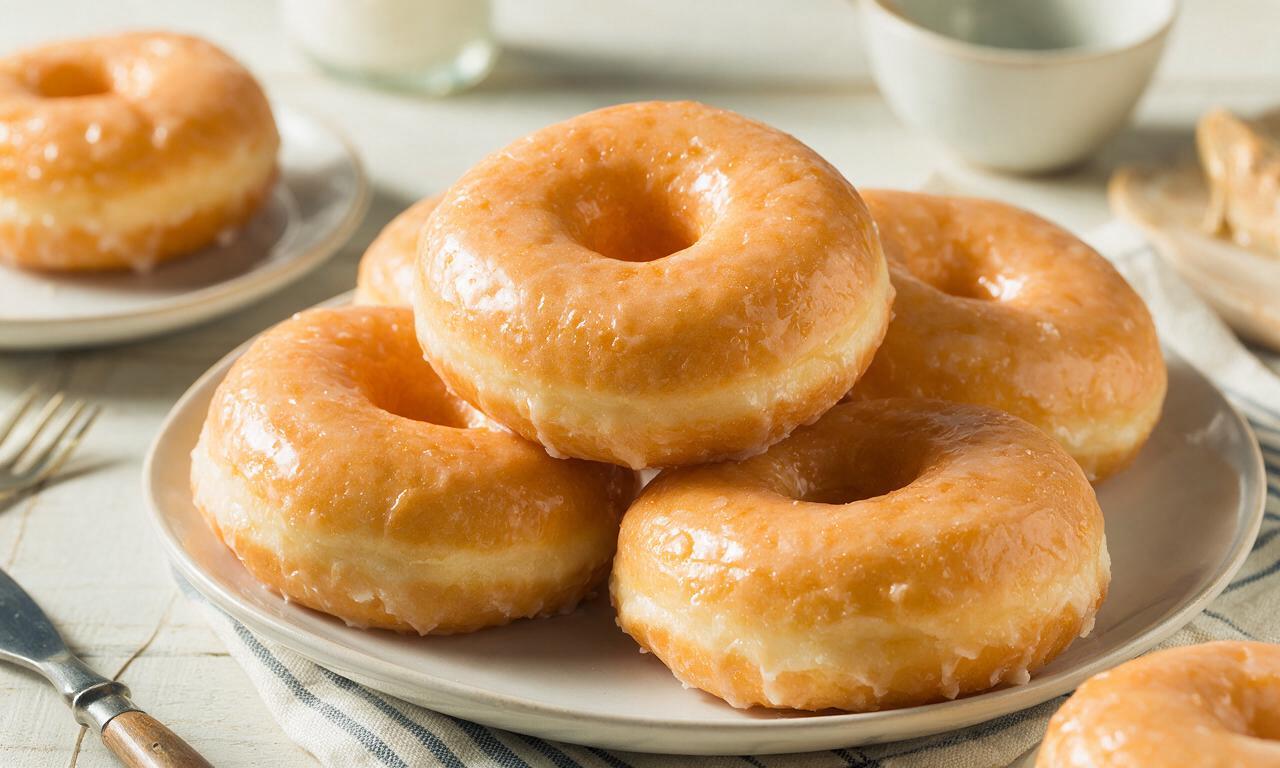
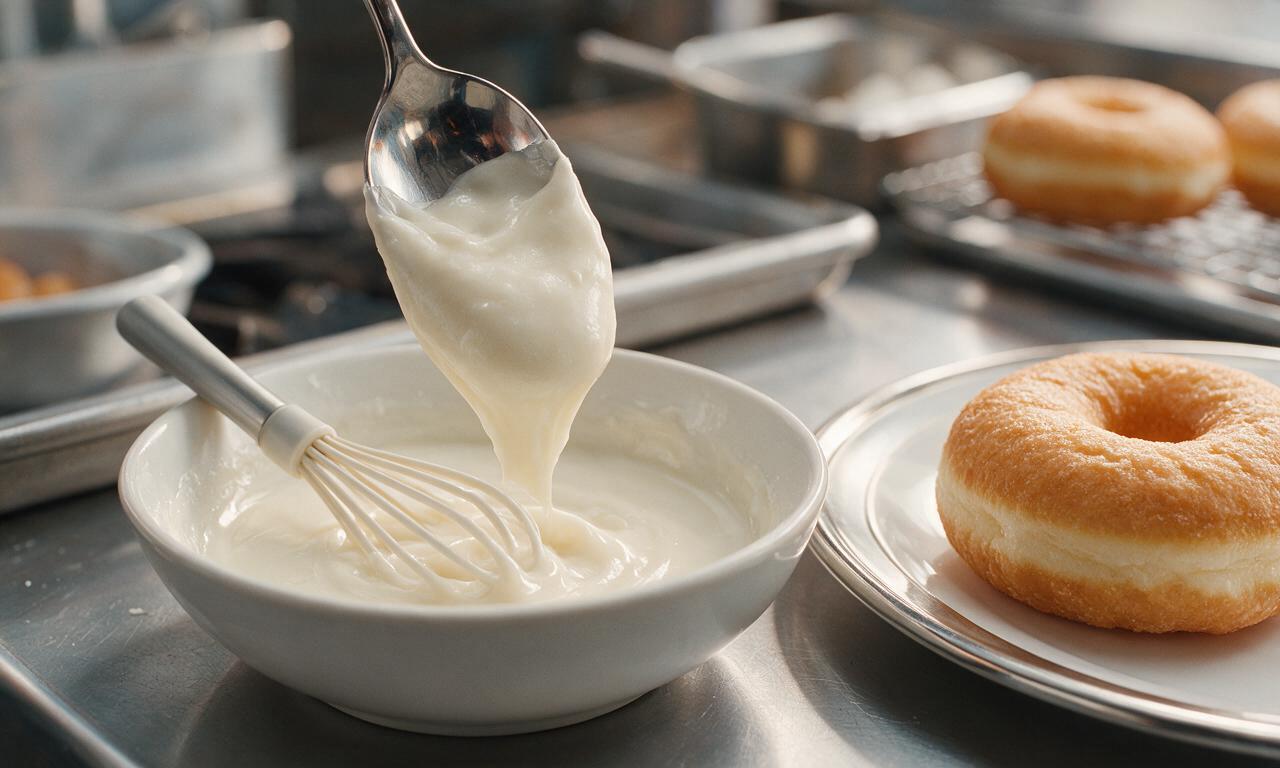
The classic crisp vanilla glaze mixes powdered sugar, a splash of whole milk, a tiny pinch of salt, and pure vanilla extract to a thick, honey-like consistency. It should coat the back of a spoon without running off too fast—thin with extra milk or thicken with more sugar as needed.
10.Should I glaze the donuts while they’re hot, or wait for them to cool?
▾
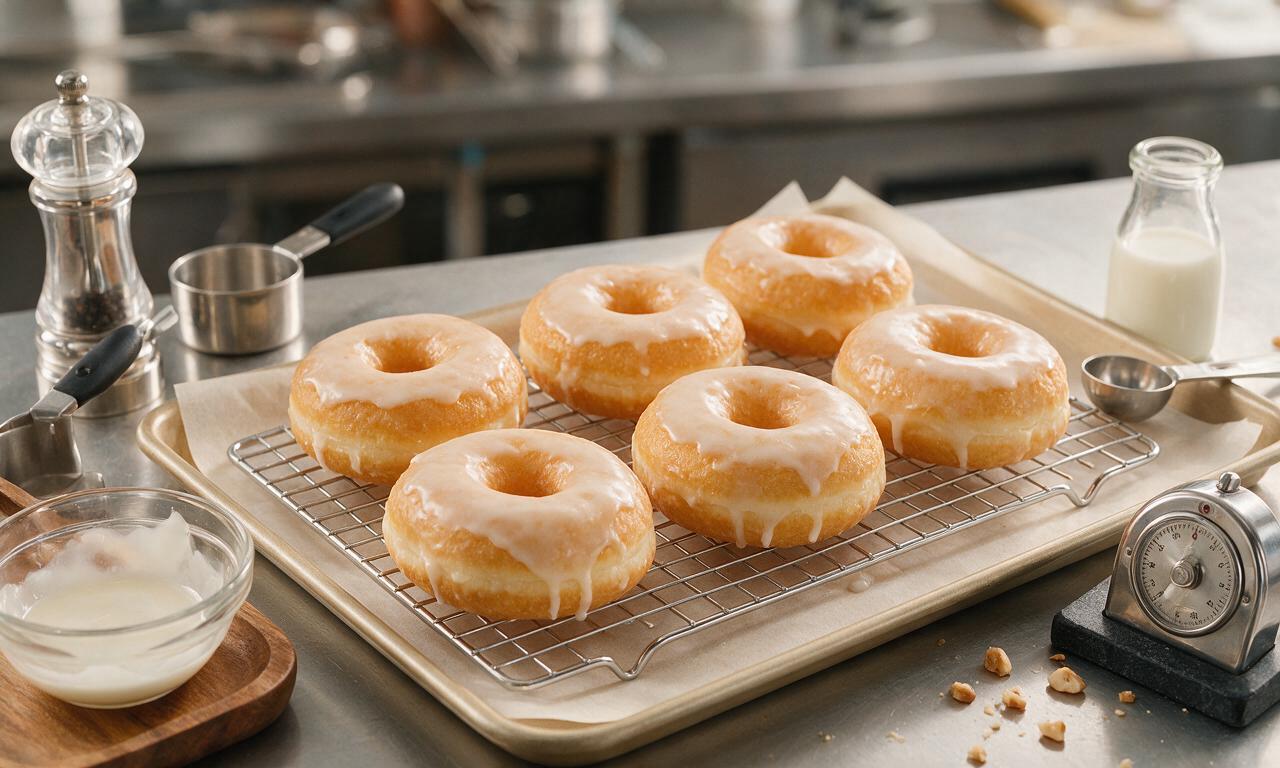
Glaze donuts when they’re warm, not piping hot—about 2 to 3 minutes after they come out of the fryer. If they’re too hot, the glaze will melt right off and pool at the base. If they’re fully cool, the glaze won’t set into that signature thin, crisp shell that sticks perfectly.
11.Can I bake these buttermilk donuts instead of frying them?
▾
You can bake them for a lighter take, though they won’t have that same crisp, old-fashioned fried edge. Pipe the dough into a greased donut pan, bake at 375°F for 10 to 12 minutes until puffed and golden, then dip in glaze as usual. Note baked donuts have a softer, more cake-like texture.
12.How do I know when the donuts are fully done frying?
▾
Fry each side for 1 to 1.5 minutes, until deep golden brown all over. They’re cooked through when they float easily to the top of the oil, spring back slightly when you poke the side gently, and a toothpick inserted into the thickest part comes out with a few moist crumbs, no wet dough.
13.Can I mix the donut dough ahead of time to fry fresh later?
▾
Yes! Mix the dough, wrap it tightly in plastic wrap, and store it in the fridge for up to 24 hours before rolling, cutting, and frying. Just let the dough sit on the counter for 10 minutes to take the harsh chill off so it’s easy to roll, then proceed with the recipe as written.
14.What should I do with the donut holes I cut out from the dough?
▾
Don’t toss those cut-out centers! Fry them up right alongside the full-sized donuts—they only need 45 seconds to 1 minute total in the hot oil, since they’re smaller. Toss them in cinnamon sugar, dip them in extra glaze, or snack on them plain as a fun cook’s treat while you work.
15.Why did my donuts turn out dense instead of light and fluffy?
▾
Dense donuts usually come from one of three common missteps: overmixing the dough (which develops tough gluten), using expired leavening that’s lost its rise power, or frying in oil that’s too hot, which cooks the outside fast before the inside can puff. Mix only until no dry flour remains, and check leavening dates first.
16.How should I store leftover glazed buttermilk donuts?
▾
Store leftover donuts in an airtight container at room temperature for up to 2 days, layered between sheets of parchment paper to keep the glaze from sticking. Don’t refrigerate them—cold air dries out the tender crumb fast and makes the glaze turn soggy instead of crisp. Warm leftovers 5 seconds in the microwave for best texture.
17.Can I freeze these donuts to enjoy later?
▾
You can freeze unglazed donuts for up to 3 months! Let them cool completely after frying, wrap each individually in plastic wrap, and tuck them into a labeled freezer bag. When you’re ready to eat, thaw at room temperature for 30 minutes, warm slightly, and dip in fresh glaze for a just-made taste.
18.I don’t have buttermilk on hand—can I make a quick substitute?
▾
Absolutely! Make a quick buttermilk dupe by stirring 1 tablespoon of white vinegar or lemon juice into a 1-cup measuring cup, then topping it up with regular whole milk. Let it sit for 5 minutes at room temperature until it curdles slightly, and it will work exactly like store-bought buttermilk for that tangy, tender crumb.
19.Can I use salted butter instead of unsalted butter in the donut dough?
▾
You can, just add a little less extra salt to your dry ingredient mix to account for the salt in the butter. For every ½ cup (1 stick) of salted butter you use in place of unsalted, cut ¼ teaspoon of salt from the recipe. This keeps your donuts from tasting overly salty while preserving that rich, buttery crumb.







OMG these donuts are SO good! I made them for my kid’s soccer team snack this weekend and every single kid (and parent!) asked for the recipe. They came out so light and fluffy, the glaze is perfectly sweet not cloying. 10/10 will be making these for our next potluck for sure.
Really solid recipe! Mine came out a tiny bit denser than I expected, I think I overworked the dough when I was rolling it out. The glaze was absolute perfection though, even my picky teen ate two donuts before school yesterday. Definitely worth the 45 minute cook time, way better than the grocery store donuts we usually grab on Sundays.
Game changer!!! I’ve tried so many homemade buttermilk donut recipes that turn out heavy or greasy, and these were perfectly light. Made a double batch for my apartment brunch last weekend and they were gone in 15 minutes flat. The vanilla glaze cracks just right when you take a bite, chef’s kiss.
I was so nervous to make these because I thought donuts would be way too hard for a beginner, but the steps were super easy to follow! My only oops was I made the glaze a little too thick at first, but a splash more milk fixed it right up. My roommate said these taste better than the fancy donut shop down the street, I feel so proud!
These are delicious! I prepped the dough the night before and let it rise in the fridge overnight, which made breakfast so easy this morning. Only reason I’m not giving 5 stars is I wish the recipe noted how long the glaze takes to set, mine was still drippy 10 minutes after dipping. Otherwise, total hit with the whole family.
Made these for my dad’s birthday since glazed donuts are his favorite, and he said they’re the best he’s ever had — even better than the ones his grandma used to make when he was a kid! The buttermilk adds that perfect little tang that cuts the sweetness, I will never buy store bought donuts again.
Brought these to our neighborhood block party last weekend and people were lining up to get one! I added a little sprinkle of flaky sea salt on top of the glaze and it was chef’s kiss, the salt makes the sweet glaze pop so much. Already got three texts from neighbors asking for the link to this recipe.
These were pretty good, but I had a lot of trouble with the dough being too sticky even after adding the recommended amount of flour. I ended up adding almost an extra half cup before I could roll it out, which might be why mine were a little chewy instead of fluffy. Flavor was great though, the glaze is amazing.