
Buttermilk Oat Waffles

title 1
Buttermilk Oat Waffles
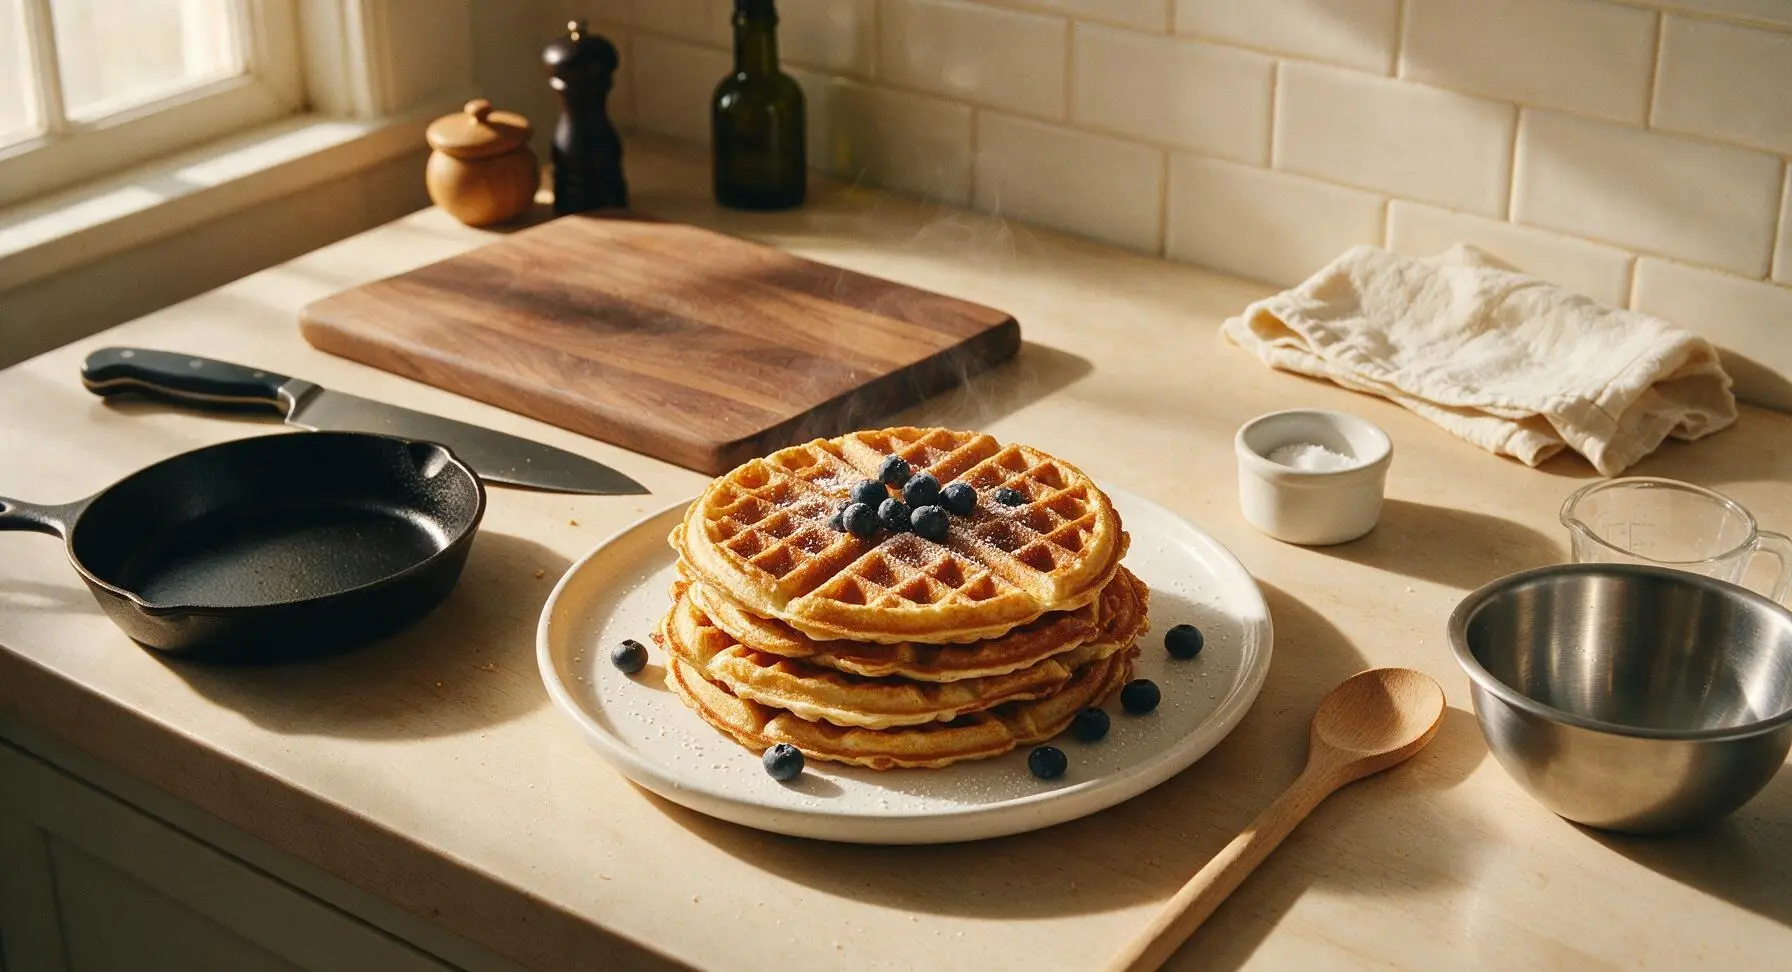
⏱️ cook time 15 minutes
🍽️ servings 4
⚡ Difficulty easy

intro

Crisp at the edges, light and fluffy inside, these golden buttermilk oat waffles have warm nutty depth, perfect for cozy meals, ready in just 25 minutes total.

Ingredients
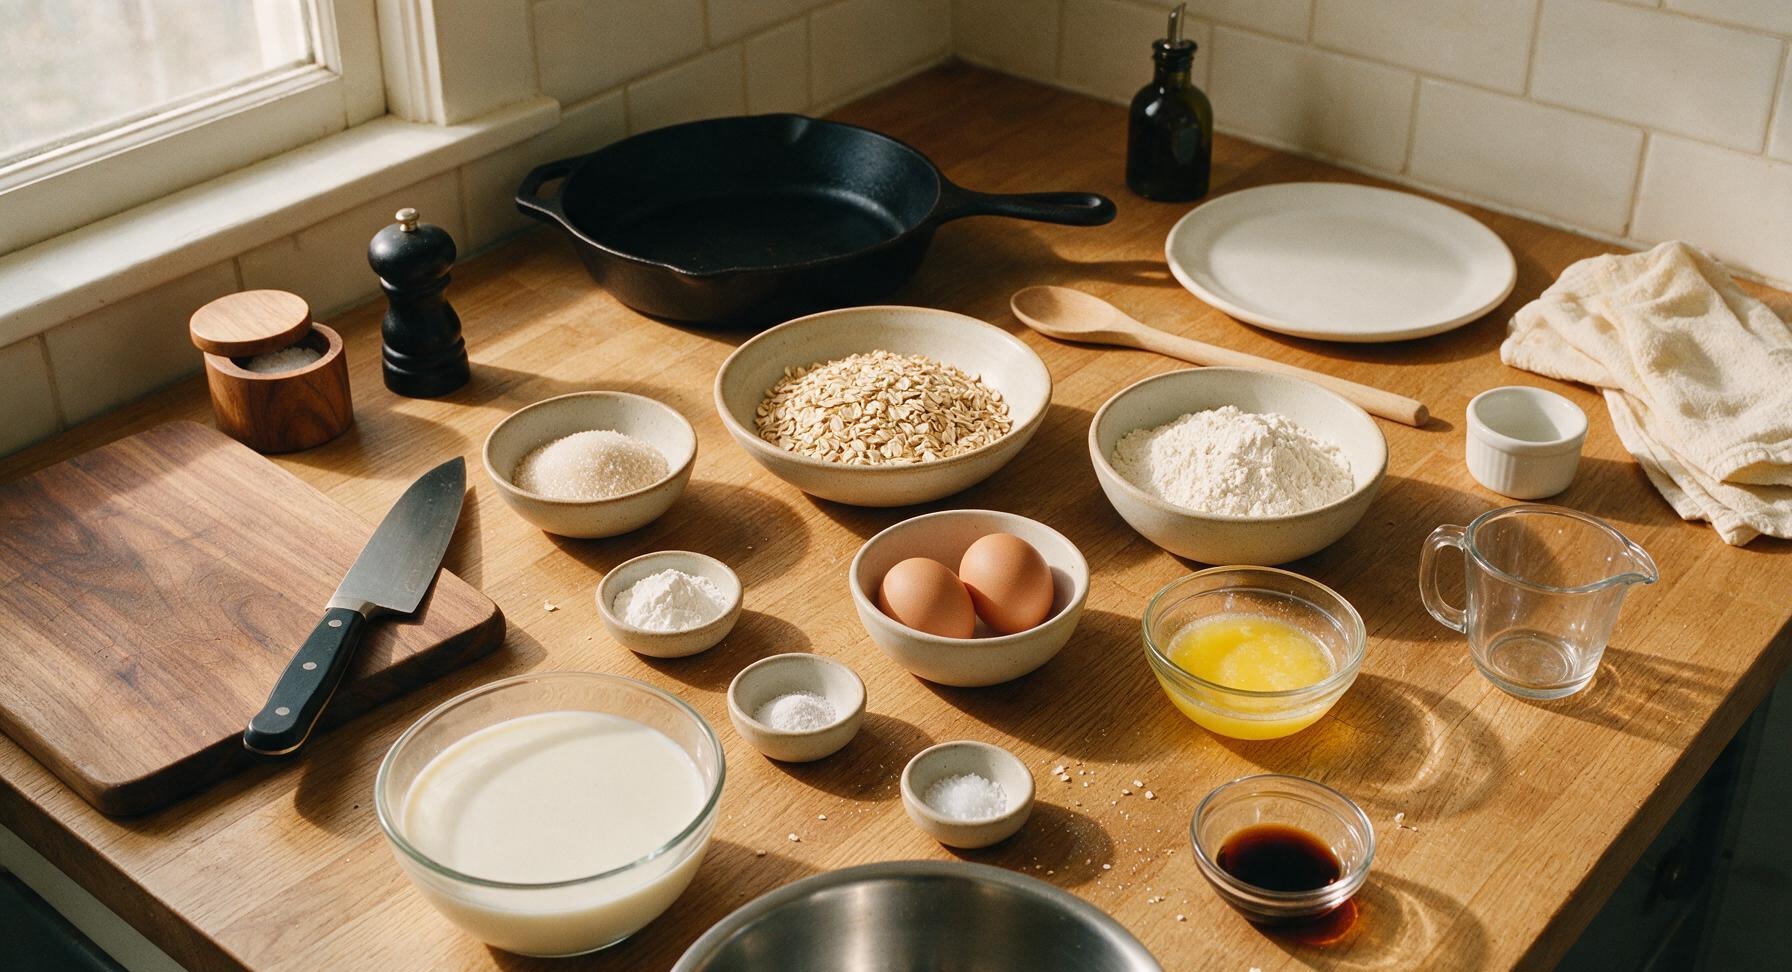
Old-fashioned rolled oats 1 cup (90g)
All-purpose flour 1 cup (120g)
Low-fat buttermilk 2 cups (480ml)
Large eggs 2 whole
Unsalted butter, melted and cooled 2 tbsp (28g)
Granulated sugar 2 tbsp (25g)
Baking powder 1 tsp (4g)
Baking soda 1/4 tsp (1.25g)
Fine sea salt 1/4 tsp (1.5g)
Pure vanilla extract 1 tsp (5ml)

Steps

1

Preheat Waffle Maker

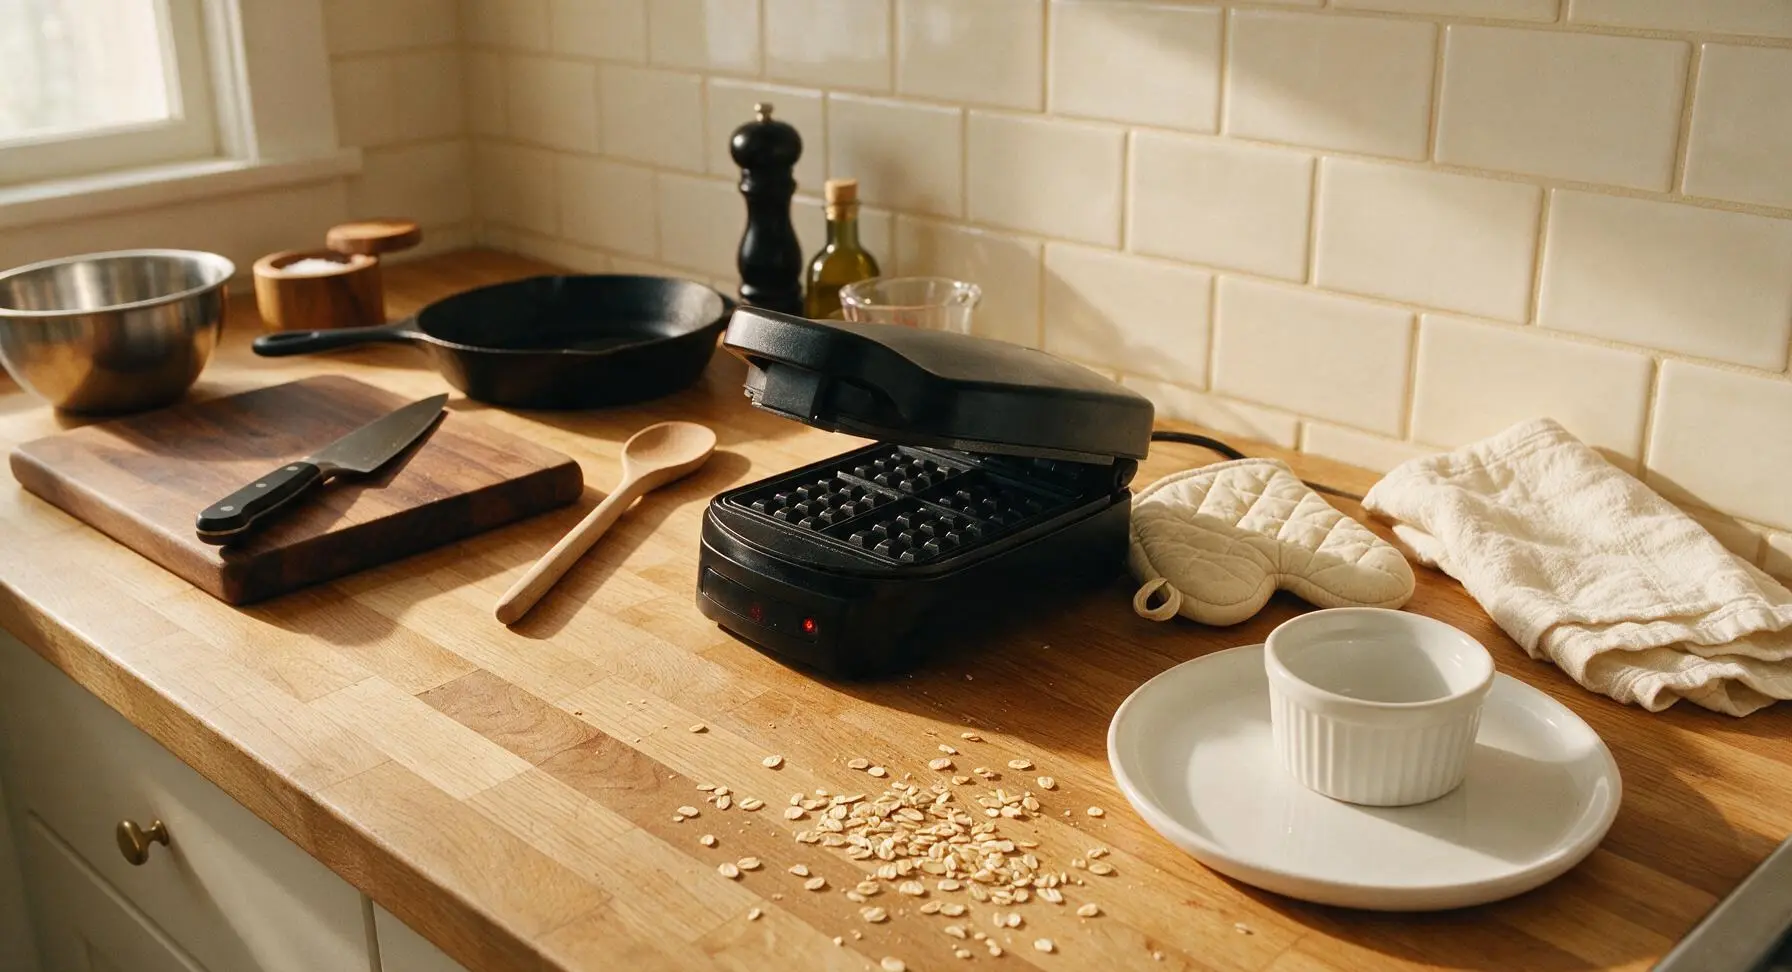
Plug in the matte black Belgian waffle maker, set it to medium-high heat (375°F / 190°C), and allow it to preheat fully for 5 minutes while you prepare the batter. The indicator light will turn off when it reaches the correct cooking temperature; do not pour batter before it is fully preheated to avoid sticking.
Step 1
step1:Preheat Waffle Maker
2

Combine Dry Ingredients

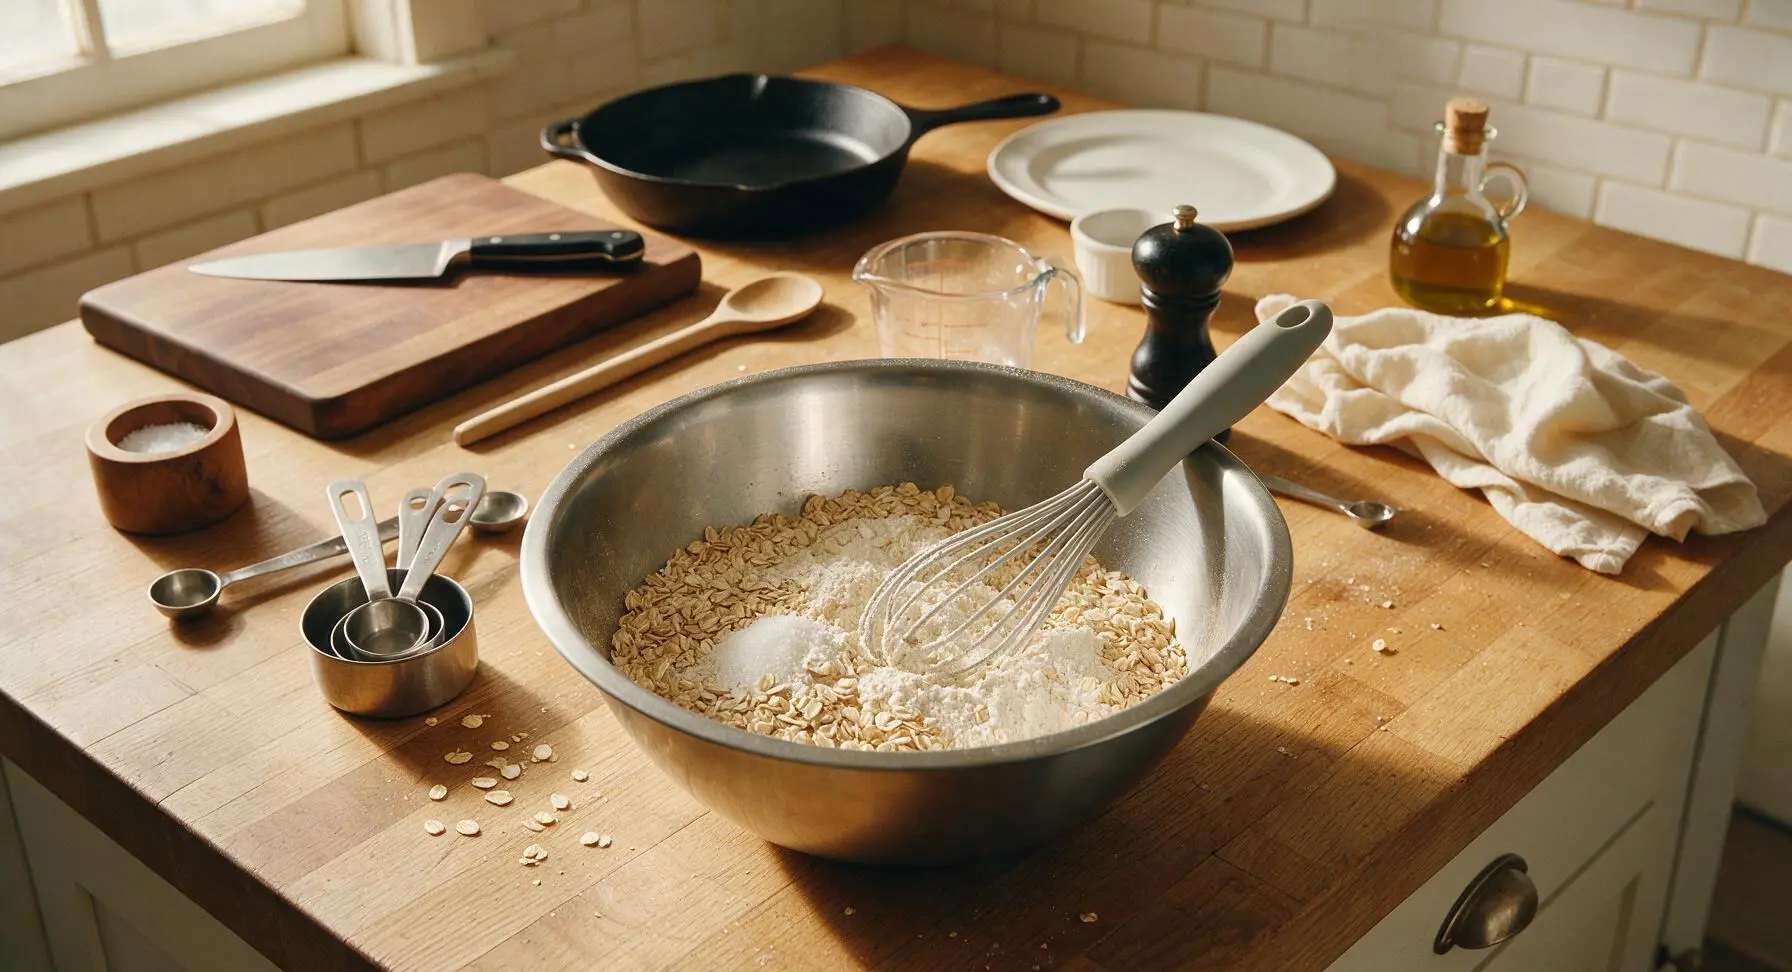
In the large brushed stainless steel mixing bowl, add 1 cup (90g) old-fashioned rolled oats, 1 cup (120g) all-purpose flour, 2 tbsp (25g) granulated sugar, 1 tsp (4g) baking powder, 1/4 tsp (1.25g) baking soda, and 1/4 tsp (1.5g) fine sea salt. Use the light gray silicone whisk to stir the dry ingredients together for 30 seconds until fully combined, with no clumps of baking soda visible.
Step 2
step2:Combine Dry Ingredients
3

Whisk Wet Ingredients

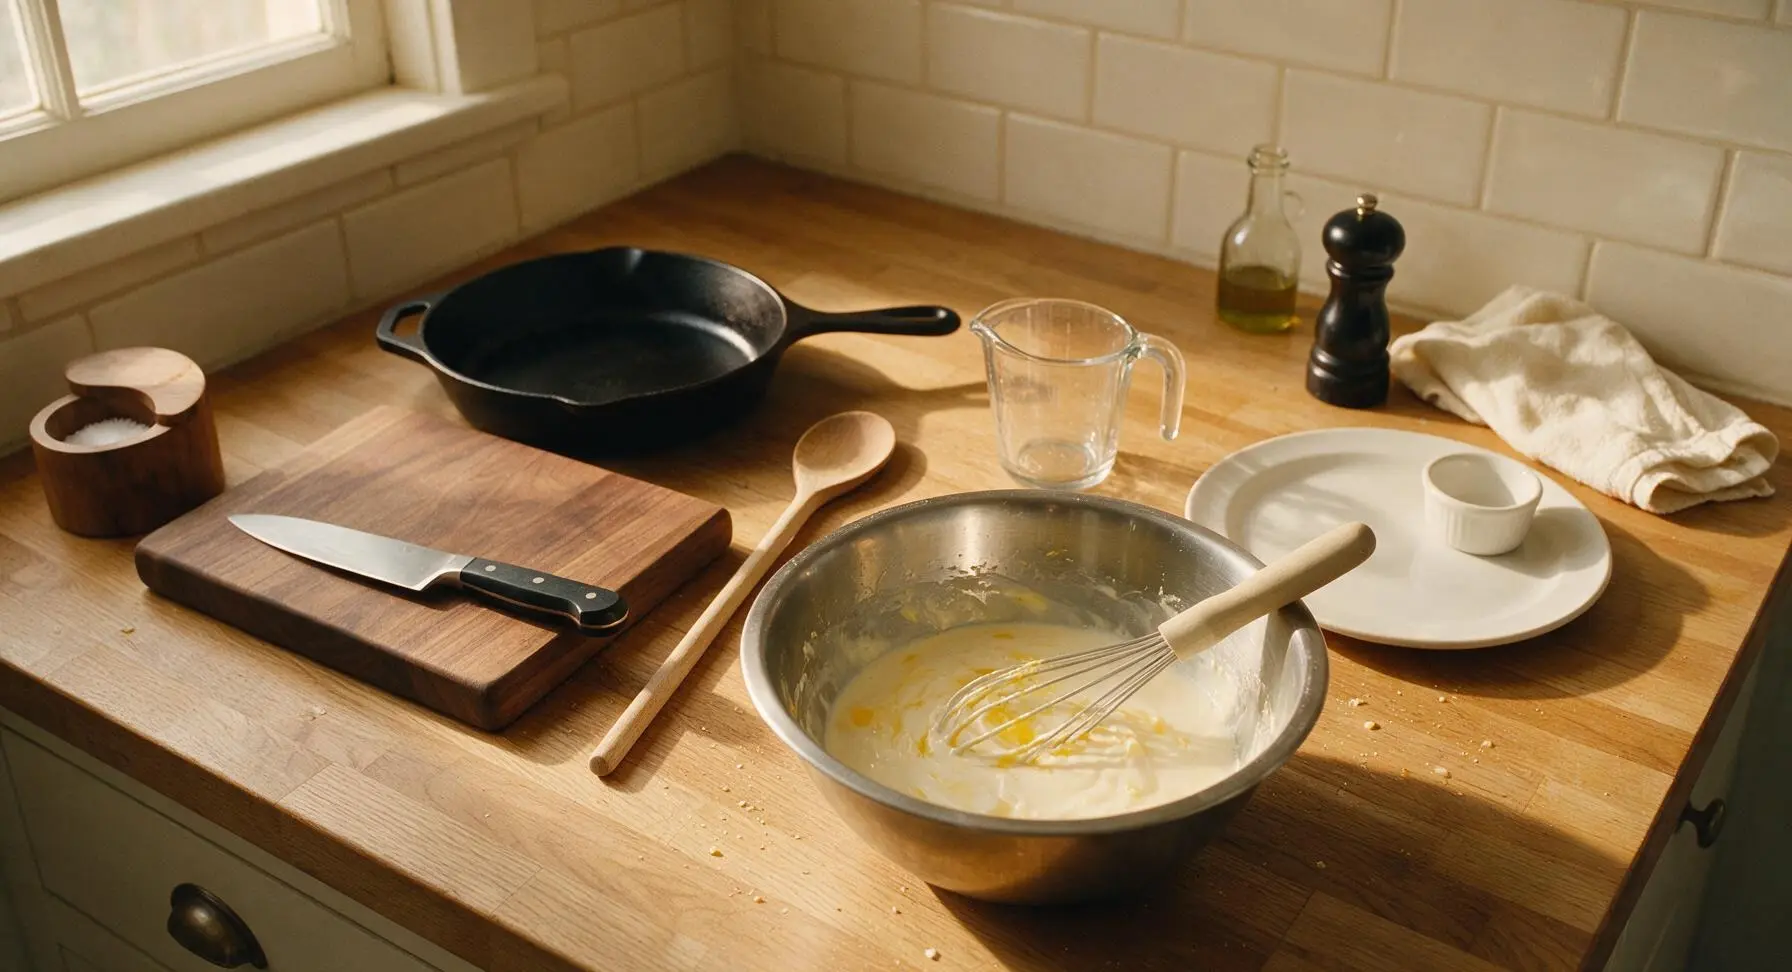
In the medium stainless steel mixing bowl, crack the 2 large eggs, then add 2 cups (480ml) buttermilk, 2 tbsp (28g) cooled melted unsalted butter, and 1 tsp (5ml) vanilla extract. Whisk with the same silicone whisk for 20 seconds until the eggs are fully incorporated, the mixture is smooth, and no streaks of egg white remain.
Step 3
step3:Whisk Wet Ingredients
4

Fold Batter Together

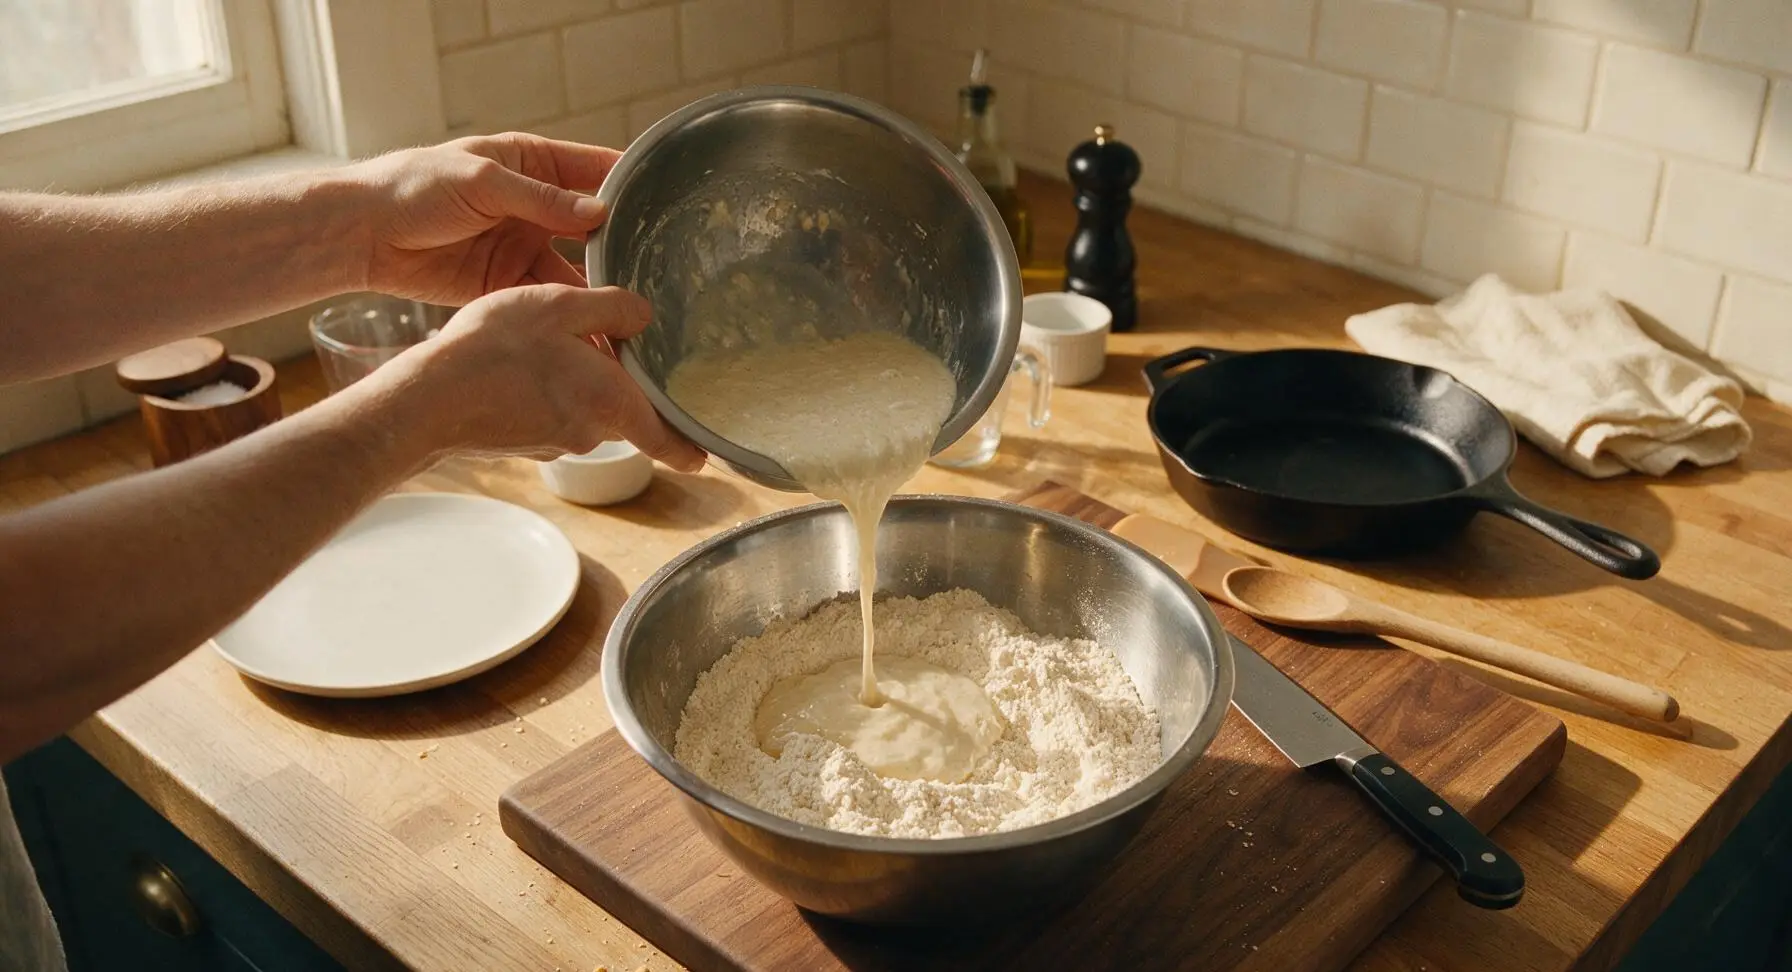
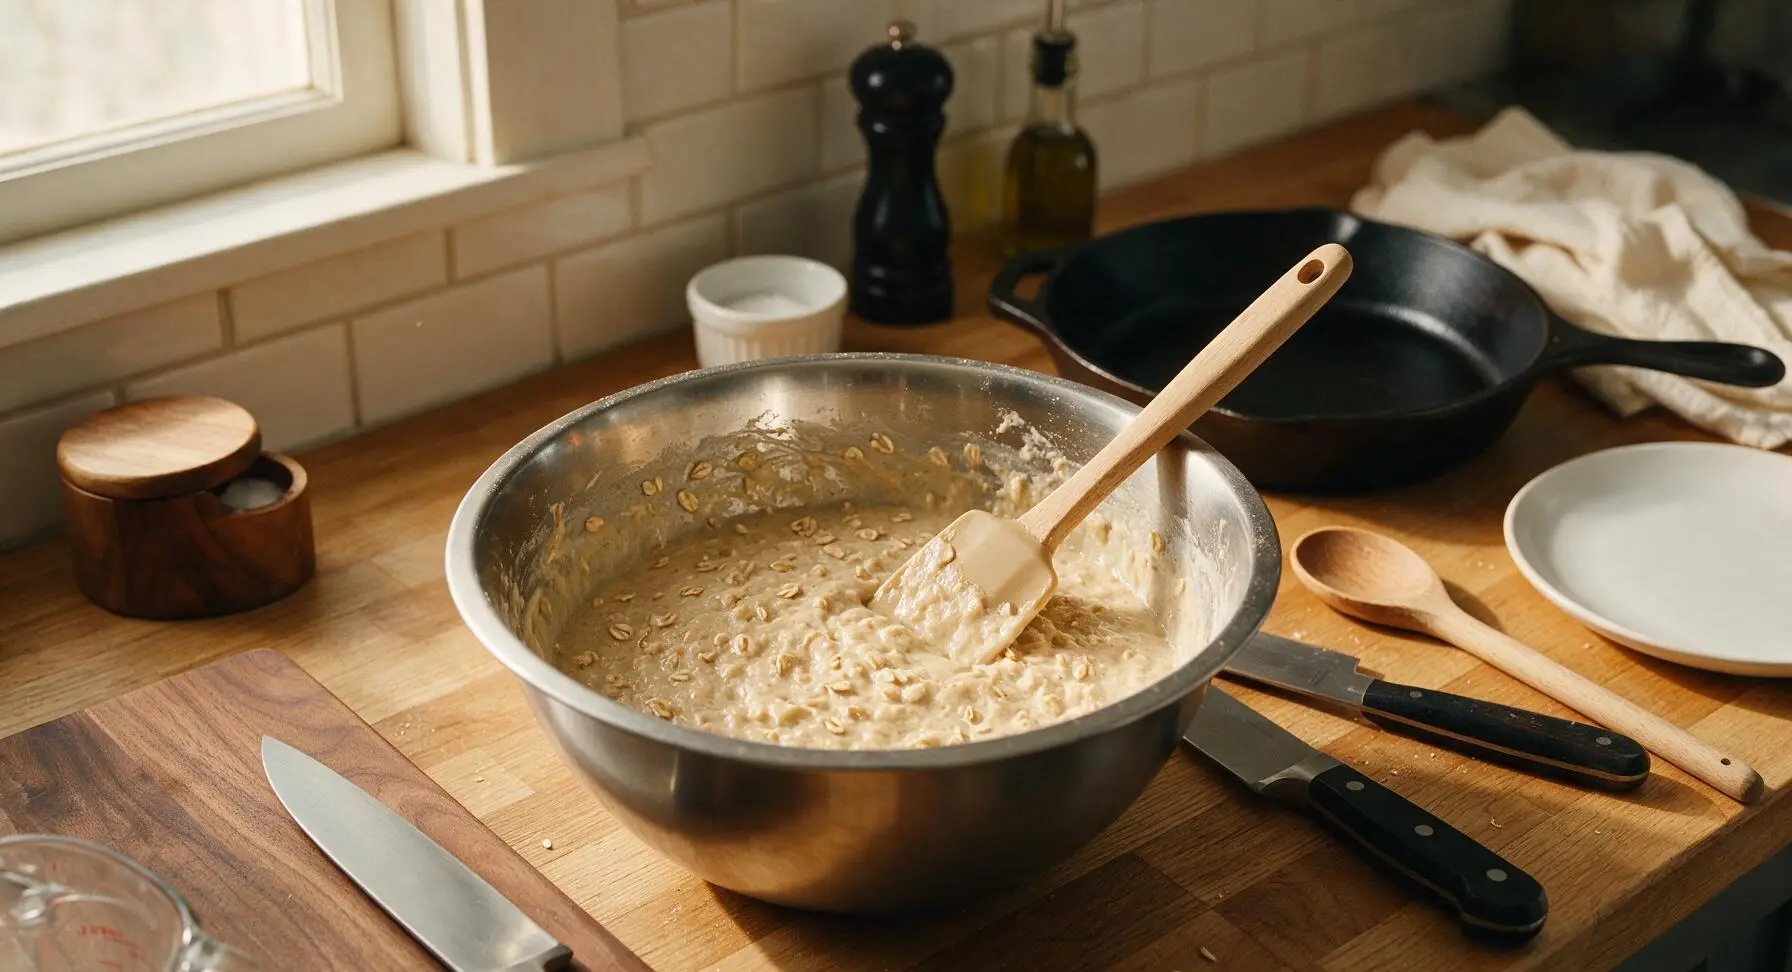
Pour the entire wet ingredient mixture into the large bowl with the dry ingredients. Use the light tan silicone spatula to gently fold the mixtures together, stirring only just until no large pockets of dry flour remain. Stop mixing as soon as the batter comes together; the batter will be slightly lumpy with visible oat pieces, and overmixing will result in tough waffles.
Step 4
step4:Fold Batter Together
Step 4
step4:Fold Batter Together
5

Cook Waffles in Batches

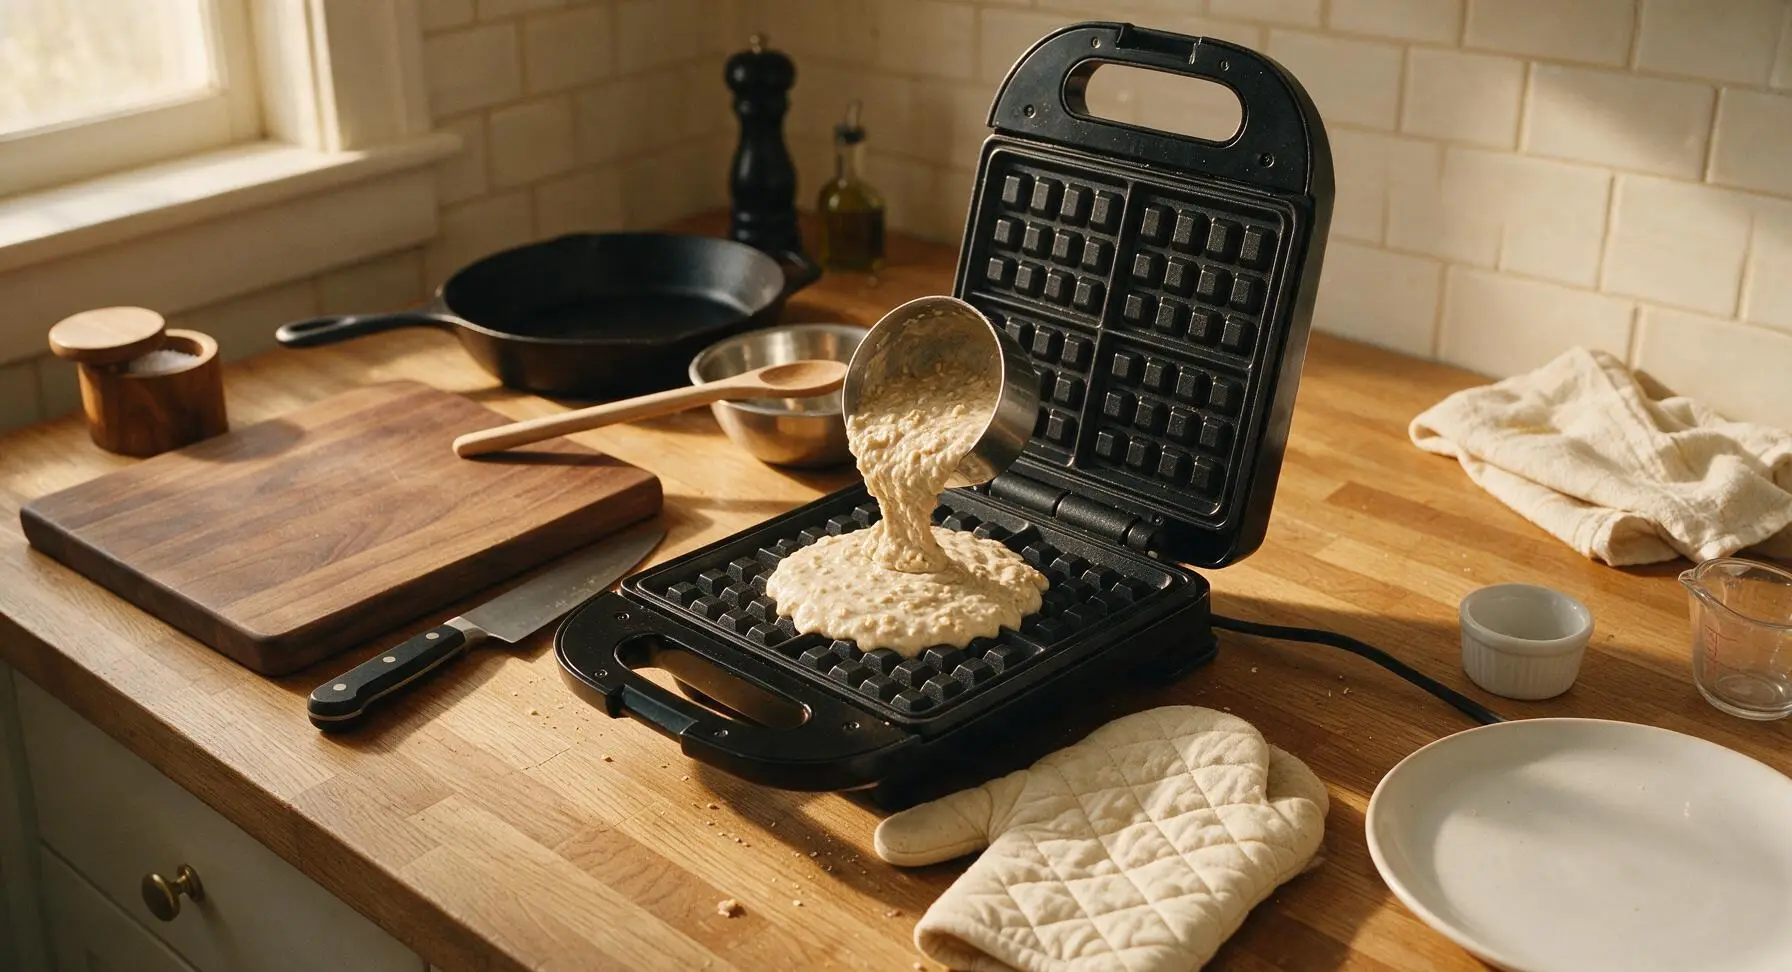
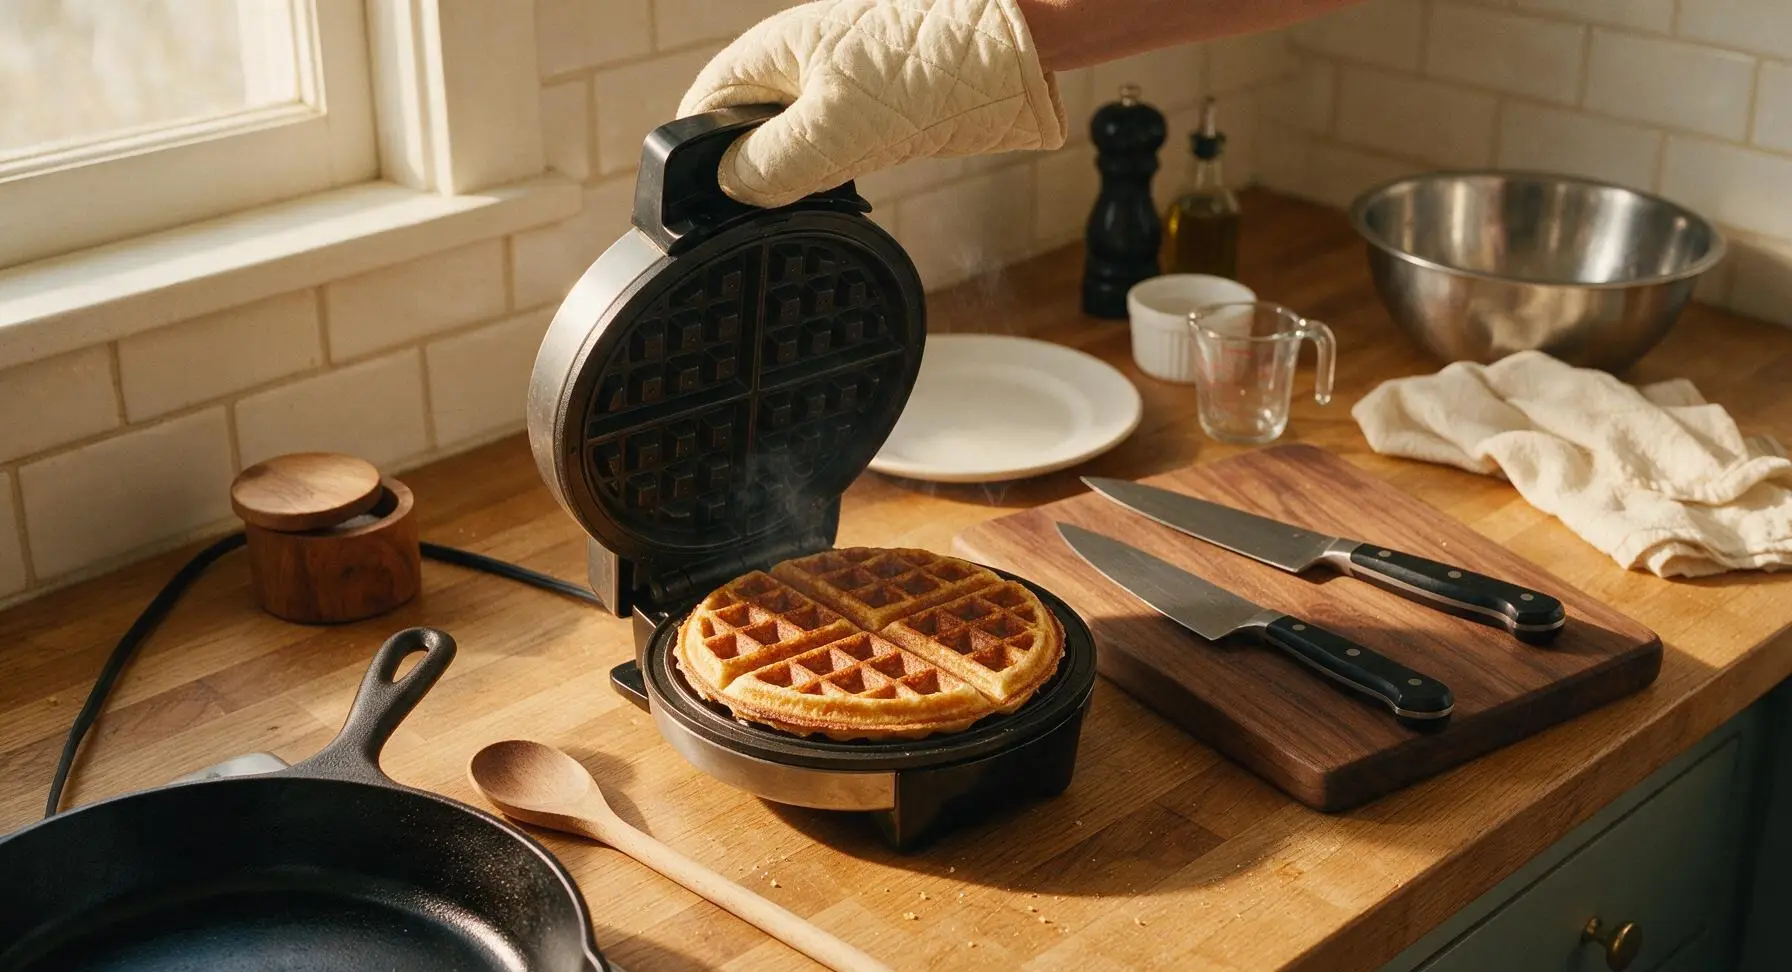
Once the waffle maker is preheated, lightly coat the grid plates with non-stick spray or a thin brush of melted butter if needed. Pour 3/4 cup of batter onto the center of the lower waffle grid, close the lid, and cook for 3.5 to 4 minutes, until the waffle is deep golden brown, crisp on the outside, and no steady stream of steam escapes from the waffle maker edges. Use the cream quilted oven mitt to lift the lid carefully to avoid steam burns.
Step 5
step5:Cook Waffles in Batches
Step 5
step5:Cook Waffles in Batches
6

Rest Cooked Waffles

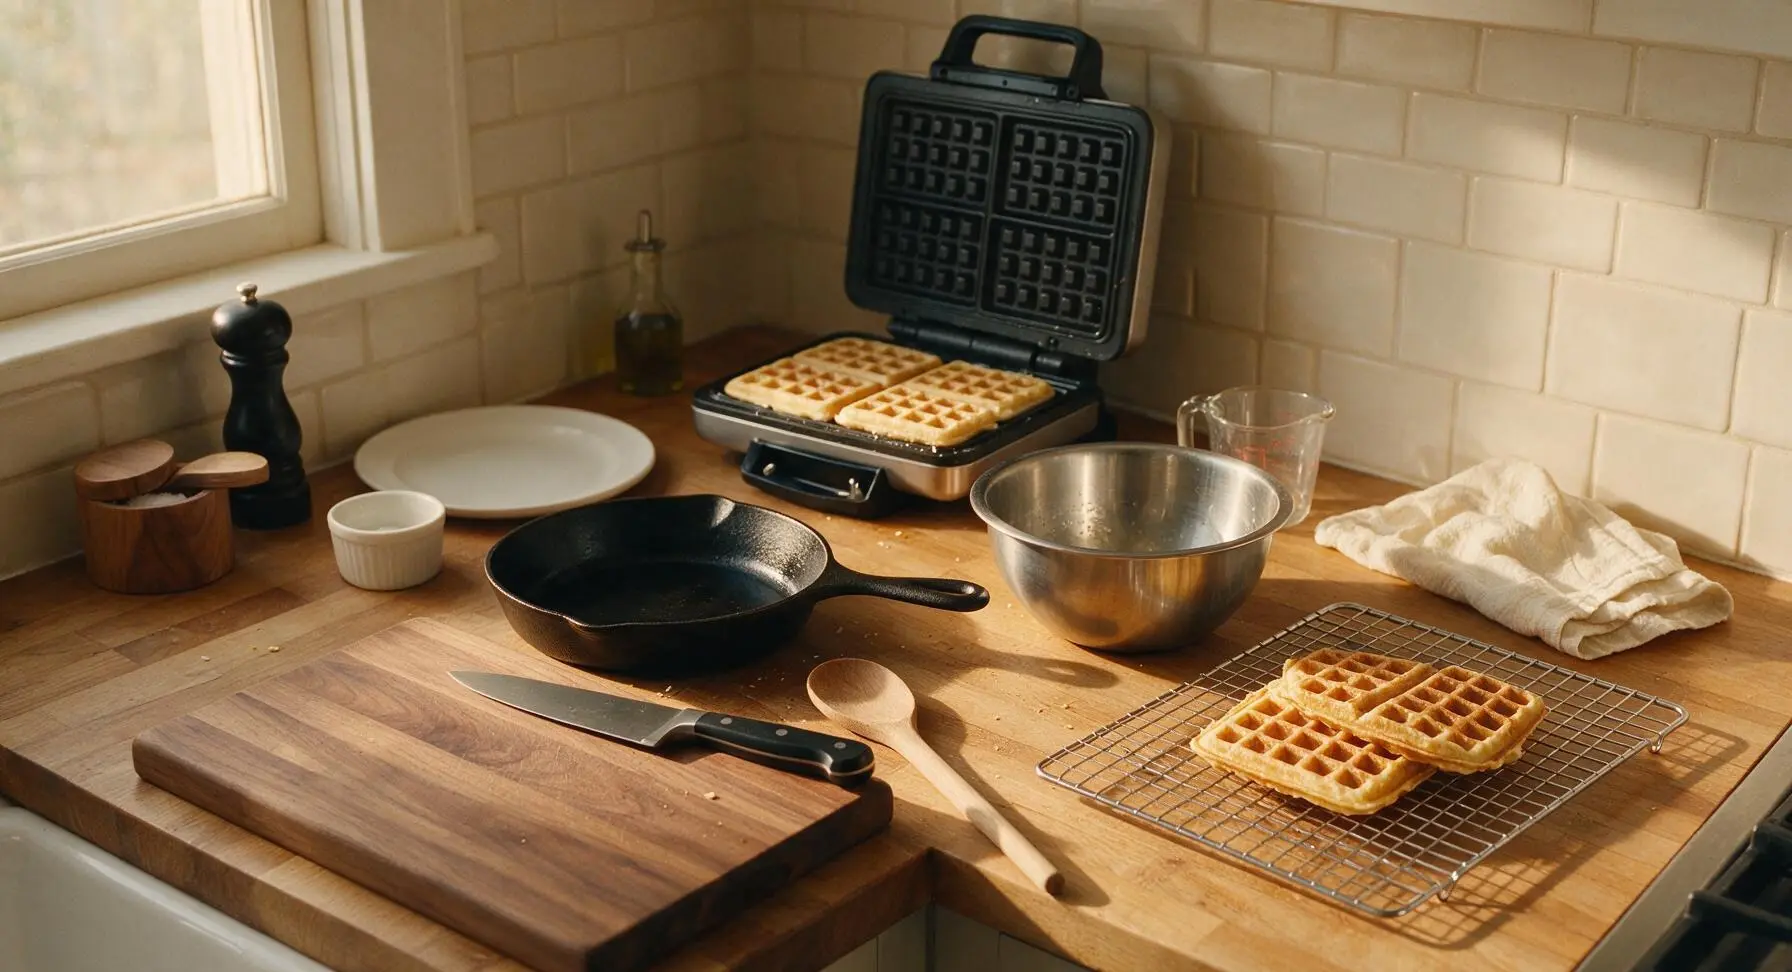
Transfer each cooked waffle to the chrome wire cooling rack set over the left section of the counter, and repeat the cooking process with the remaining batter, making 4 total waffles. Do not stack waffles directly on a plate immediately after cooking, as trapped steam will soften crisp edges; resting on the rack in a single layer for 1 minute keeps exterior crisp while the interior sets.
Step 6
step6:Rest Cooked Waffles
7

Plate and Serve Warm

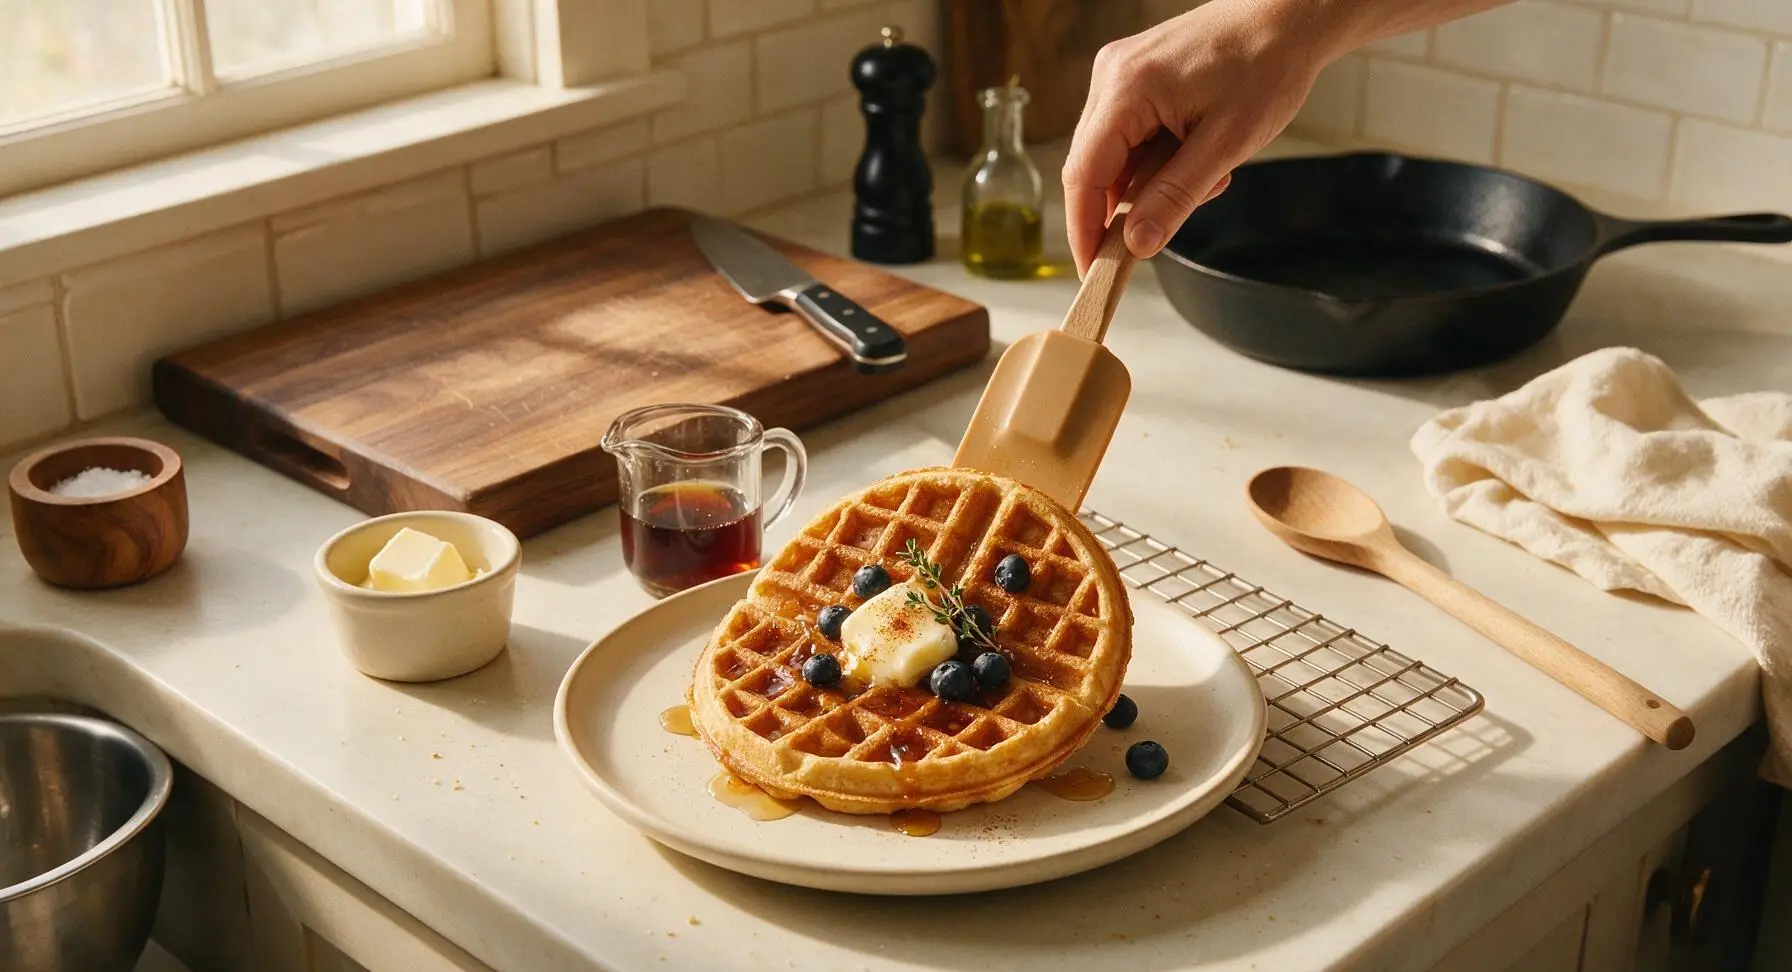
Transfer one fully rested waffle to the matte cream ceramic dinner plate. Top with a 1-tablespoon pat of salted butter, 2 tablespoons of pure maple syrup, and a light pinch of ground cinnamon if desired. Add optional garnishes like fresh blueberries or a small thyme sprig, and serve immediately while the waffle edges are crisp and the butter is fully melted.
Step 7
step7:Plate and Serve Warm

Tips

1.For extra tender waffles with no gritty oat texture, mix the batter 10 minutes before cooking and let it rest at room temperature: this gives the rolled oats time to soften in the buttermilk and allows the leavening to activate, creating a lighter, fluffier interior without extra mixing.
2.Resist the urge to overmix the batter: lumps are completely normal and expected, and overstirring develops gluten in the flour, which will result in dense, tough waffles instead of light, crisp ones. Stop folding as soon as you no longer see visible dry flour pockets.
3.To keep waffles crisp while cooking batches, place the wire rack of cooked waffles on a baking sheet in a 200°F (95°C) oven instead of stacking them on a plate: trapped steam from hot waffles will quickly turn crisp edges soft and soggy if stacked immediately. These waffles freeze well for up to 3 months; reheat directly in a toaster from frozen for quick weekday breakfasts.


✨ You May Also Like

Breakfast
🍜 United States

Crisp-edged, fluffy lard griddle cakes are a nostalgic homestyle staple, with rich savoriness from rendered lard, perfect topped with maple syrup or savory gravy.

⏱️ 25 minuteBreakfast ★ 4.8
Breakfast
🍜 United States

Flaky, buttery homemade buttermilk biscuits smothered in creamy, peppery pork sausage gravy: a beloved, hearty Southern American comfort food classic.

⏱️ 35 minuteBreakfast ★ 4.8
Breakfast
🍜 United States

Golden, custardy brioche stuffed with sweet cream cheese and fresh berries, pan-fried to crisp perfection. An indulgent, cozy breakfast perfect for slow weekend mornings.

⏱️ 30 minuteBreakfast ★ 4.7
Breakfast
🍜 United States

Flaky, buttery Southern-style biscuits stuffed with savory salty country ham, a portable, satisfying classic perfect for casual on-the-go meals.

⏱️ 25 minuteBreakfast ★ 4.8
Breakfast
🍜 United States

Iconic puffy baked pancake popularized in Seattle, with crisp golden edges and soft custardy center, served warm with classic sweet toppings.

⏱️ 35 minuteBreakfast ★ 4.6
Breakfast
🍜 United States

Fluffy, golden pancakes studded with juicy peak-summer mixed berries, drizzled with maple syrup for a bright, comforting, crowd-pleasing family breakfast.

⏱️ 25 minuteBreakfast ★ 4.7

Buttermilk Oat Waffles :Frequently Asked Questions

1.Can I use instant oats instead of old-fashioned rolled oats for these waffles? ▾
You can, but you’ll lose some of that signature warm, nutty, slightly chewy depth old-fashioned rolled oats deliver. If instant oats are all you have, cut the oat measurement by 2 tablespoons per cup called for, and don’t overmix the batter—this prevents dense, gummy waffles, since instant oats break down much faster during cooking.
2.Why do my waffles turn out soggy instead of crisp at the edges? ▾
Great question! The most common culprits are pouring batter before your waffle iron is fully preheated, or popping the lid too early mid-cook. Make sure your melted butter is fully cooled so it doesn’t cook eggs prematurely in the batter, and rest cooked waffles on a wire rack for 30 seconds instead of stacking them immediately to lock in crisp edges.
3.Can I substitute regular milk for low-fat buttermilk if I don’t have any on hand? ▾
You can make a quick DIY swap that works perfectly! For every cup of low-fat buttermilk the recipe calls for, add 1 tablespoon of white vinegar or lemon juice to a liquid measuring cup, then top with regular low-fat milk to the 1-cup line. Let it sit 5 minutes until slightly curdled, and it will deliver the same tang and fluffy lift as store-bought buttermilk.
4.How long does it actually take to make these waffles from start to finish? ▾
The total time clocks in at just 25 minutes, as advertised! You’ll spend about 10 minutes prepping and mixing the batter, then 12 to 15 minutes cooking waffles in batches in a standard waffle iron. There’s no required resting time for the batter, so you won’t be stuck waiting around to dig in.
5.Do I need to grind the rolled oats into flour for this recipe? ▾
Nope! That’s part of what gives these waffles their cozy, nutty depth and perfect balanced texture. You’ll stir whole old-fashioned rolled oats directly into the batter as-is, so they retain a little tender, toothsome bite that pairs beautifully with the light, fluffy interior and crisp, golden cooked edges.
6.Why does the recipe specify melted and cooled unsalted butter, instead of warm melted butter? ▾
Warm melted butter can partially cook the raw eggs when you stir them into the batter, creating tiny lumpy scrambled egg bits that ruin the smooth, fluffy crumb. Cooling butter for 3 to 4 minutes after melting brings it to a temperature that blends evenly with other ingredients without interfering with eggs or leavening power.
7.Can I make this batter ahead of time for busy weekday mornings? ▾
You can mix the dry ingredients (oats, flour, salt, leavening) in an airtight container up to 1 week ahead to cut down on morning prep time, but I don’t recommend mixing full wet and dry batter more than 30 minutes before cooking. The leavening loses power over time, leading to dense, flat waffles instead of light, fluffy ones.
8.What toppings pair best with these buttermilk oat waffles? ▾
The warm, nutty, slightly tangy base pairs beautifully with both sweet and savory toppings! For classic cozy vibes, go for pure maple syrup, fresh berries, a dollop of whipped cream, or a sprinkle of cinnamon. For savory brunch, top with a fried egg, crispy bacon, a drizzle of hot honey, or sliced avocado.
9.Can I use whole wheat flour instead of all-purpose flour for a higher-fiber swap? ▾
You can swap up to half of the all-purpose flour for whole wheat flour without ruining the light, tender texture. If you swap 100% of the AP flour for whole wheat, the waffles will turn out denser and grainier, with a heavier crumb that loses that signature fluffy interior and crisp edge contrast.
10.How do I keep waffles warm while I cook batches for a group? ▾
Don’t stack cooked waffles on a plate, as trapped steam will turn them soggy fast! Instead, arrange cooked waffles in a single layer on a wire rack set over a baking sheet, and hold them in a 200°F oven while you cook remaining batter. This keeps edges crisp and interiors fluffy for up to 20 minutes.
11.What size eggs work best for this recipe? ▾
The recipe is tested for large grade A eggs, the standard sold in most U.S. grocery stores. If you only have medium or extra-large eggs, follow a simple weight guideline: 2 large eggs equal roughly 100 grams of liquid egg (no shells), so adjust your count up or down to match that for the most consistent batter texture.
12.Can I make these waffles gluten-free? ▾
Absolutely! Swap the all-purpose flour for a 1:1 gluten-free baking blend that contains xanthan gum, and make sure your rolled oats are certified gluten-free to avoid cross-contamination. The buttermilk, eggs, and butter are all naturally gluten-free, so you’ll get the same crisp edges and fluffy, nutty interior as the original.
13.Why are my waffles sticking to the waffle iron? ▾
This usually happens if your iron isn’t fully preheated, or if you skipped greasing the grids even if your iron is labeled non-stick. Use a light coating of non-stick spray or melted butter on the grids before pouring the first batch of batter, and wait for the iron’s preheat indicator light to turn on before adding batter to prevent sticking.
14.How thick should the batter be before I pour it onto the waffle iron? ▾
The batter should be thick enough to slowly drip off a stirred spoon—not runny like thin pancake batter, but not so thick that it clumps and won’t spread easily across the iron grids. If it’s too thick, stir in 1 tablespoon of extra buttermilk at a time; if too runny, add 1 tablespoon of flour to adjust.
15.Can I freeze leftover cooked waffles for quick meals later? ▾
Definitely! Let cooked waffles cool completely to room temperature first, then stack them between sheets of parchment paper to prevent sticking, and store in a sealed freezer bag for up to 3 months. Reheat straight from frozen in a toaster or toaster oven for 2 to 3 minutes to bring back crisp edges and fluffy texture.
16.Do I need a Belgian waffle maker to make this recipe, or will a standard waffle iron work? ▾
Both work perfectly! If you’re using a deep-grid Belgian waffle maker, pour about ⅔ cup of batter per waffle to avoid overflow as it rises. If you’re using a thinner standard American waffle iron, use ½ cup of batter per waffle, and adjust cook time by 30 to 60 seconds to hit that golden, crisp finish.
17.Can I use full-fat buttermilk instead of low-fat for this recipe? ▾
Absolutely! Full-fat buttermilk will make the waffles even richer, with a slightly softer, more tender crumb and a more pronounced tangy, creamy flavor. You won’t need to adjust any other measurements for this swap—just use it exactly as you would low-fat buttermilk, and you’ll get delicious, consistent results.
18.What’s causing my waffles to turn out dense and heavy instead of light and fluffy? ▾
The most common cause is overmixing the batter! When you stir too vigorously or for too long, you develop gluten in the flour that makes waffles tough and dense. Mix just until dry ingredients are moistened—small lumps are totally fine, and will disappear as waffles cook, leaving you with that perfect light, fluffy crumb.
19.Can I add mix-ins like chocolate chips or blueberries to the batter? ▾
Of course! Fold up to ½ cup of your favorite mix-ins into the batter right before you start cooking, so they don’t sink to the bottom or bleed color into the whole batch. Great options include mini chocolate chips, fresh blueberries, chopped toasted pecans, lemon zest, or a pinch of cinnamon for extra warm, cozy flavor.

Comments (13)

3 days ago

OMG these are so easy to throw together on a busy school morning! My kids are super picky and they gobbled these up no questions asked. I did sub regular milk for buttermilk once because I ran out, and it was fine but definitely not as tangy and fluffy. Pro tip: don’t skip the buttermilk, y’all!

2 days ago

So glad you enjoyed them! You’re totally right about the buttermilk making a huge difference for that tangy fluff — if you ever run out again, you can make a quick dupe with 1 cup milk + 1 tbsp white vinegar left to sit for 5 minutes!

1 week ago

Made a double batch of these for meal prep last Sunday and they froze perfectly! I pop one in the toaster on weekday mornings and it tastes just as fresh as the day I made them. Way better than the frozen store-bought waffles I used to buy.

5 days ago

Wait how do you wrap them for the freezer? I tried freezing waffles once and they got all icy and gross!

3 days ago

Great question! Let them cool completely first, then layer them between sheets of parchment paper in an airtight container or freezer bag — they’ll stay good for up to 3 months with no freezer burn!

2 hours ago

SO good! I topped mine with cinnamon roasted peaches and a dollop of whipped cream, felt like I was eating at a fancy brunch spot but I made it in 15 minutes total? Wild. The oat flour gives it such a nice nutty depth I didn’t know I needed in waffles.

5 days ago

Wait, can I use certified gluten free oats for this to make it GF? My kid has celiac and we’ve been hunting for a solid waffle recipe that doesn’t come out dense or gummy.

3 days ago

I did this last week! Just make sure your oats are actually certified GF (not just regular old fashioned oats) and it worked perfectly — no gummy texture at all, my whole family ate them even the non-GF folks!

2 weeks ago

Brought these to my neighborhood potluck last weekend and people were asking for the recipe before I even set the platter down! I cut them into quarters so people could grab small bites with a drizzle of maple syrup, total crowd pleaser.

yesterday

Okay full transparency, I’ve never made waffles from scratch before, I always used the box mix. This was so easy even I didn’t mess it up? My roommate said these are the best waffles he’s ever had. 10/10 will be making again.

2 hours ago

Same! I was intimidated by from-scratch waffles but this recipe has like zero fancy steps, I didn’t even have to pull out my stand mixer.

30 minutes ago

Love hearing that! This recipe is designed to be super approachable for new cooks — no fancy equipment or complicated techniques required, just good, cozy waffles.

30 minutes ago

These are so delicious, I made them last weekend for my book club! Is there a way to make these dairy free? My partner is lactose intolerant and I’d love to make these for our anniversary breakfast next weekend.

5 minutes ago

Absolutely! Swap the buttermilk for dairy-free buttermilk (oat milk + apple cider vinegar works great) and use melted dairy-free butter in place of regular butter, and it’ll turn out just as fluffy and delicious!

5 minutes ago

Quick heads up for anyone who loves extra crispy waffles like me: let the batter rest for 10 minutes before pouring, and leave the waffles in the iron 30 seconds longer than the indicator light says. Game. Changer. No soggy waffles here!

just now

Thank you for this tip!! I always end up with soggy middles no matter what I do, I’m testing this out tomorrow morning for sure.

3 days ago

Made these for my partner’s birthday breakfast today and he said they’re better than the diner waffles we get on road trips! I added a dash of vanilla extract and a pinch of nutmeg to the batter, so cozy for fall.

1 week ago

I added a scoop of vanilla protein powder to the batter to bump up the protein for post-gym breakfasts, and it didn’t mess up the texture at all! Super filling, kept me full all morning until lunch.

5 days ago

Did you adjust the liquid at all when you added protein powder? I tried adding protein to waffles once and they came out super dry.

3 days ago

Great hack! If you add protein powder, just add an extra 2-3 tablespoons of buttermilk to keep the batter the right consistency so it doesn’t dry out while cooking.

2 weeks ago

Full disclosure, I hate oatmeal. Like, will avoid it at all costs hate it. But my wife made these last night for brinner (breakfast for dinner, duh) and I ate three of them? The oat flavor is so mild, you just get that nice texture, no mushy oatmeal vibe at all. Convert over here.

1 week ago

This is the best review ever! So glad we could convert an oat hater — the finely ground oats give such a great texture without that mushy cooked oatmeal taste, which is exactly why we love this recipe so much.

just now

I used the dark, robust maple syrup from my uncle’s small farm on these and it was absolute perfection. The slight tang from the buttermilk cuts through the sweetness so well, I didn’t even add extra butter. 15 minute cook time is no joke either, I went from rummaging in the pantry to eating waffles in less than 20 minutes total.

2 days ago

Help! My waffle iron is super old, it doesn’t have a doneness indicator light. What setting should I use, and how do I know when these are done cooking? I really don’t want to burn my first batch!

yesterday

I have my grandma’s 1970s waffle iron with no lights too! I set mine to medium heat, pour 1/2 cup batter, and cook for about 3 and a half minutes — they come out perfect every time, no burning!

yesterday

Great tip from RetroKitchenRose! If you don’t have an indicator light, wait until there’s no more steam coming out of the waffle iron — that’s a foolproof sign the waffles are cooked through and crispy on the outside.



