
Butterscotch Pie
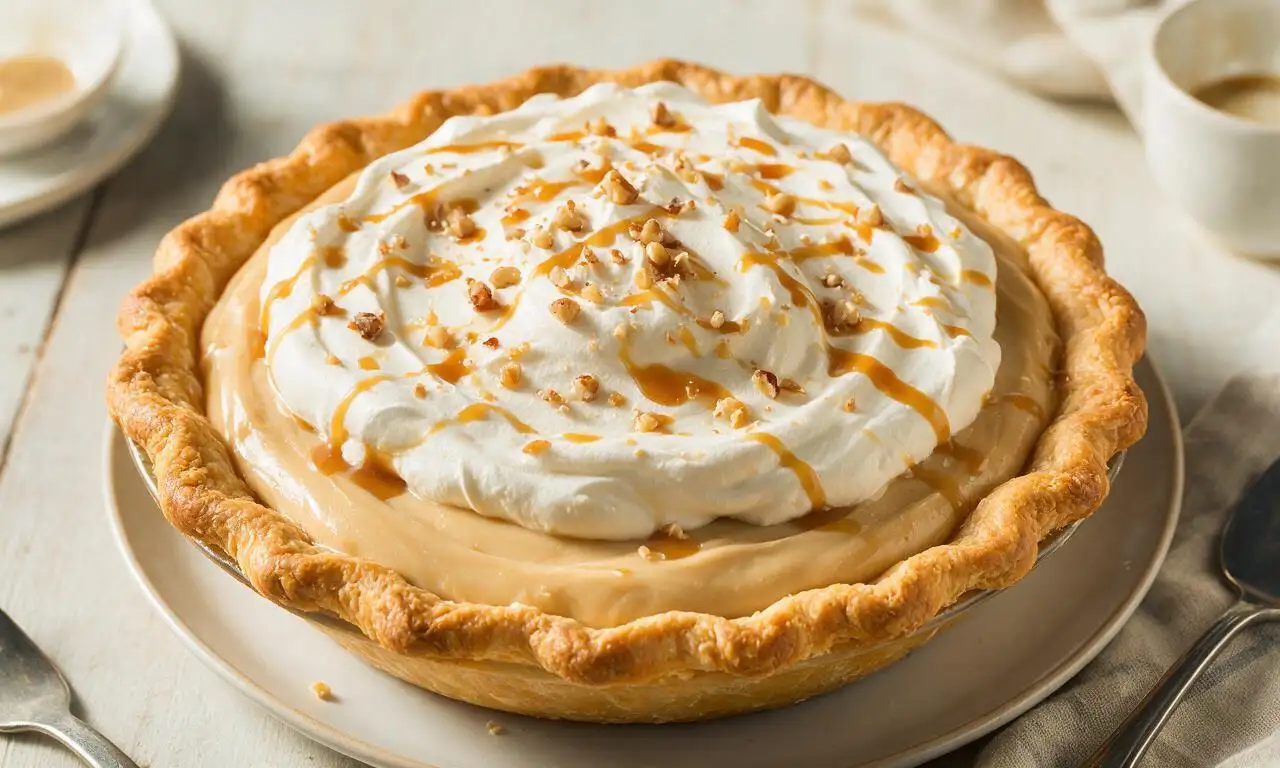
intro
Velvety, caramel-kissed butterscotch custard in a flaky crust, topped with billowy whipped cream. This nostalgic, cozy pie delivers rich, warm sweet flavor in every bite.
Ingredients
Steps
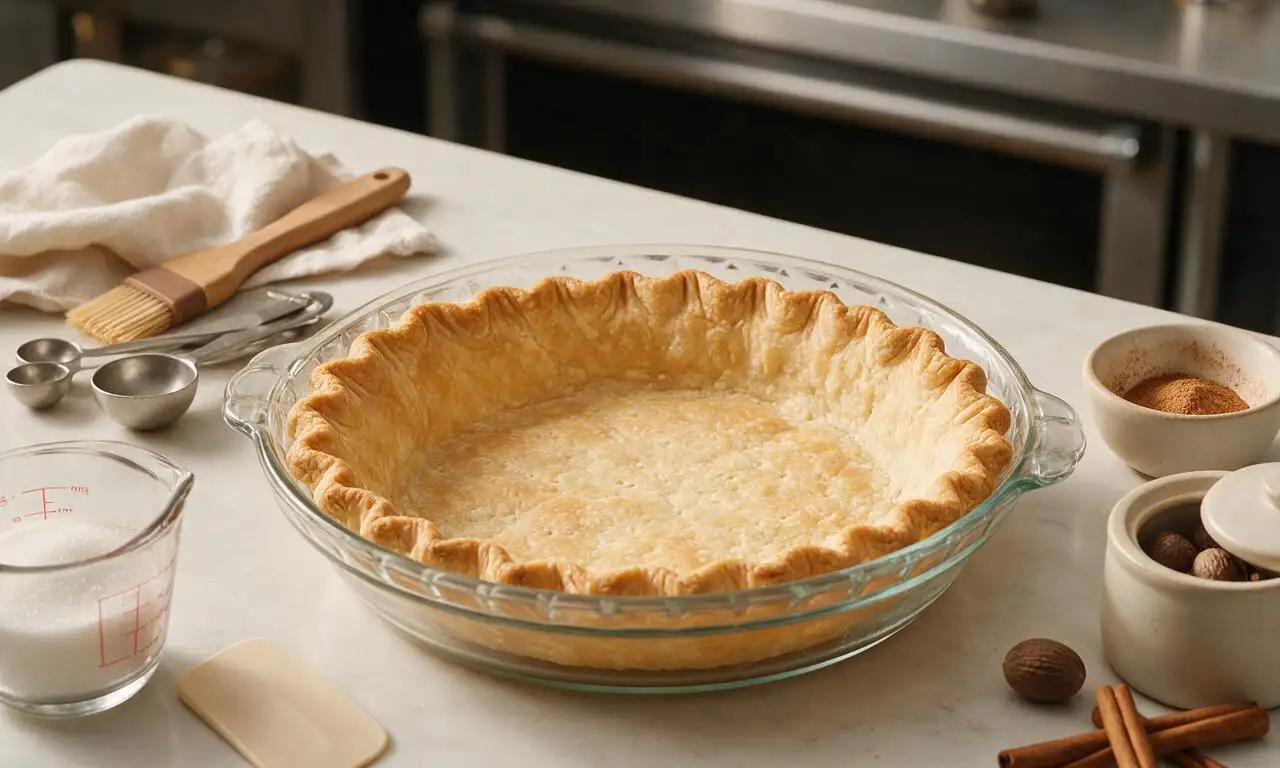
Prep baked pie crust
Set your fully cooled 9-inch pre-baked flaky pie crust on a wire rack at room temperature. If using homemade crust, confirm it is deep golden brown across the bottom with no raw dough patches, and cooled for at least 30 minutes before filling to prevent sogginess.
Mix custard slurry
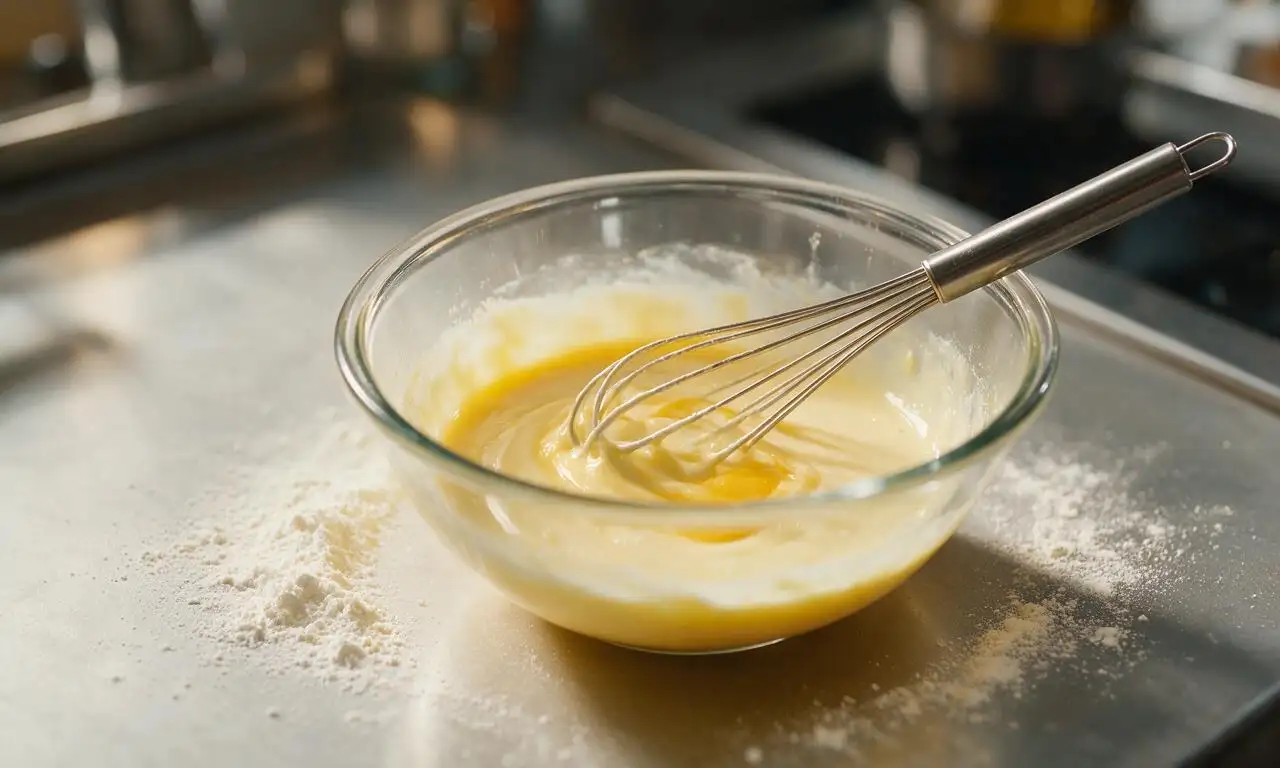
In a medium heatproof bowl, whisk together 3 large egg yolks, 24 grams (3 tablespoons) cornstarch, and 120ml (½ cup) of the measured whole milk until completely smooth, with no visible lumps of cornstarch. Set this slurry within arm’s reach of your stovetop for easy access during cooking.
Cook butterscotch base
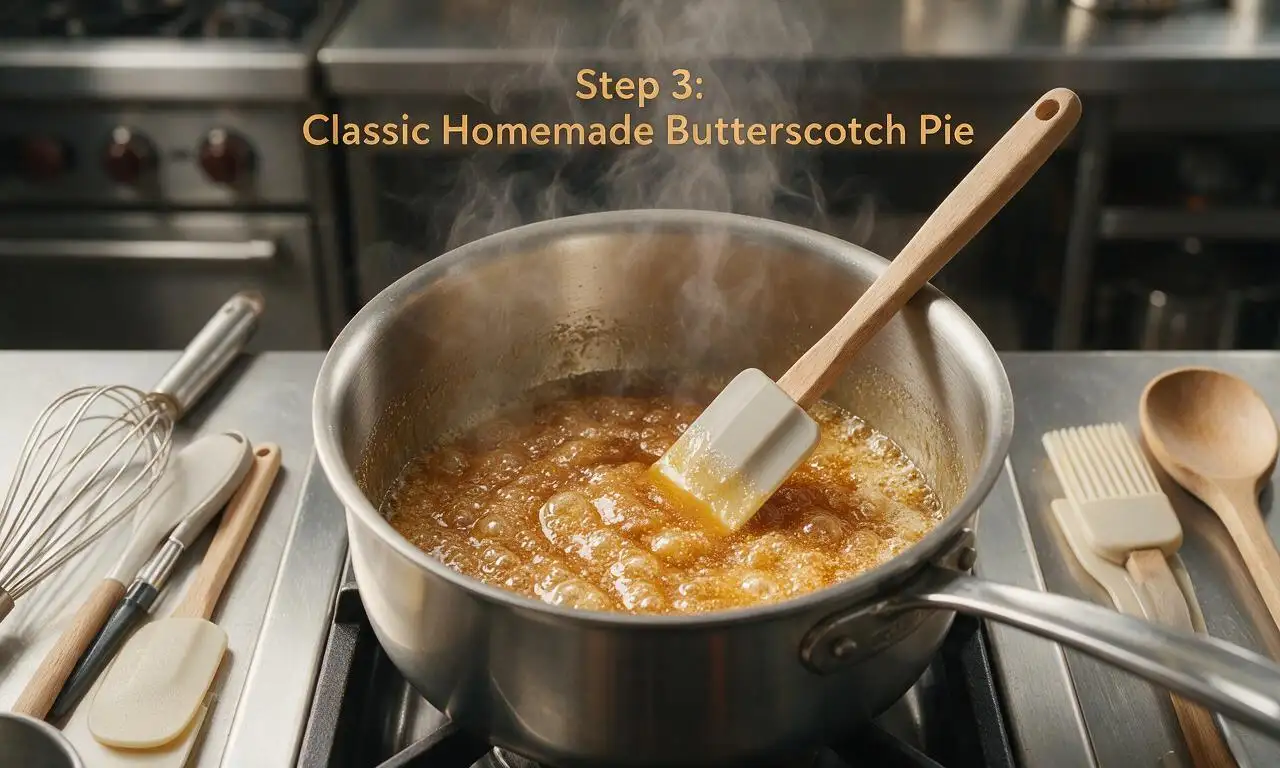
In a heavy-bottomed 2-quart saucepan over medium-low heat, melt 57 grams (4 tablespoons) unsalted butter, then stir in 200 grams (1 firmly packed cup) light brown sugar and 1 gram (¼ teaspoon) fine sea salt. Cook, stirring constantly with a heatproof silicone spatula, for 3 full minutes until the sugar is fully melted, bubbling gently, and smells of warm toasted caramel. Do not raise heat above medium-low to avoid burning the sugar and creating bitter flavor.
Temper and thicken custard
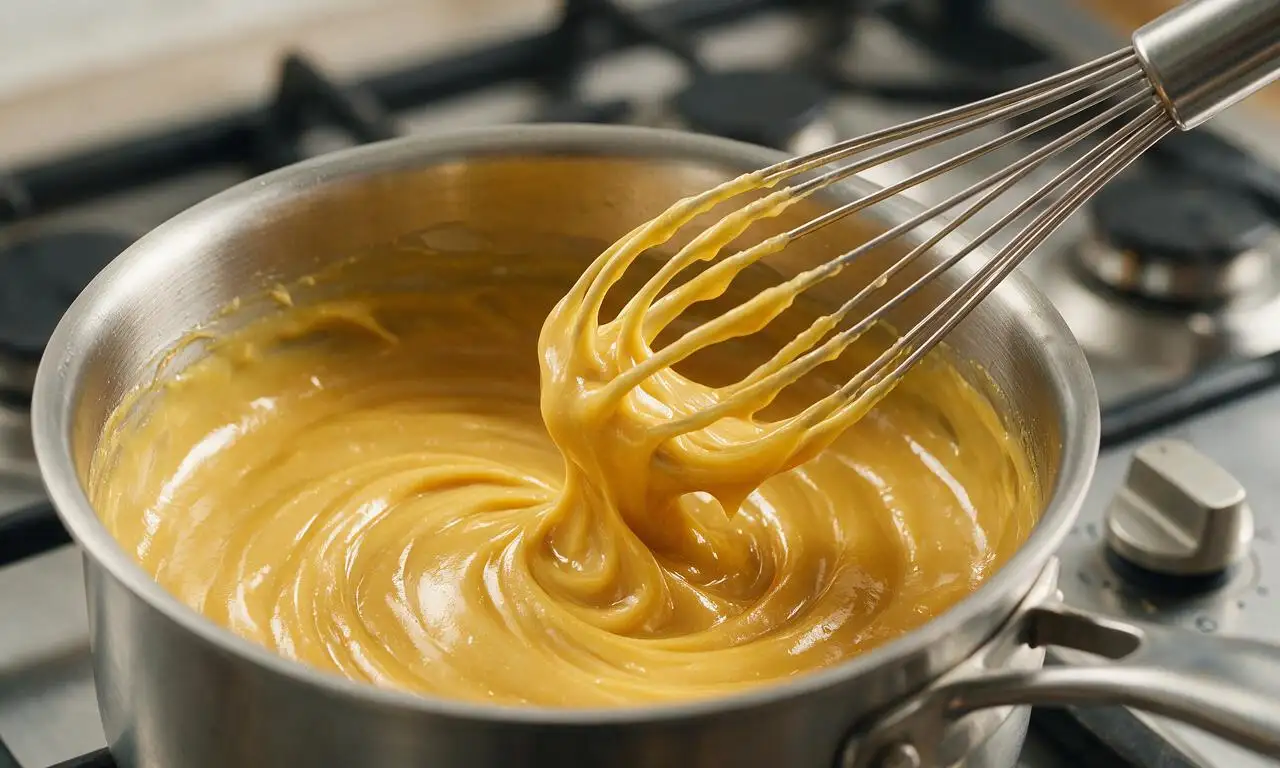
Slowly pour the remaining 360ml (1.5 cups) whole milk into the bubbling butterscotch base, stirring constantly, and bring to a gentle simmer (small bubbles breaking at pan edges, 82°C/180°F) over medium heat, about 4 minutes. Ladle 120ml (½ cup) of the hot butterscotch liquid into the reserved egg-cornstarch slurry while whisking nonstop to temper the eggs and prevent curdling, then pour the warmed slurry back into the saucepan. Cook, whisking constantly, for 2 full minutes until the custard thickens to a pudding-like consistency that coats the back of a spoon.
Strain custard into crust
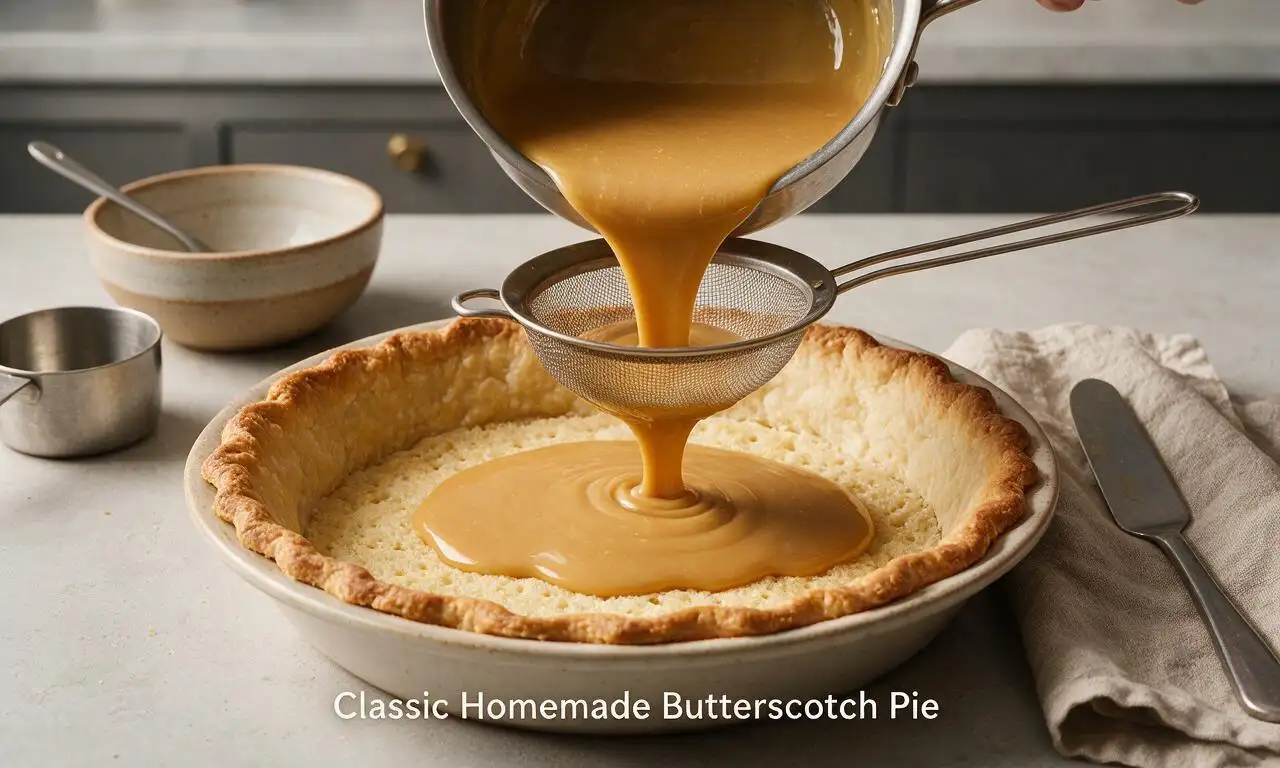
Remove the thickened custard from heat, stir in 5ml (1 teaspoon) pure vanilla extract. Pour the hot custard through a fine-mesh sieve directly into the cooled baked pie crust to catch any lumps of cooked egg or cornstarch. Smooth the top of the custard into an even layer with a small offset spatula.
Chill pie to set
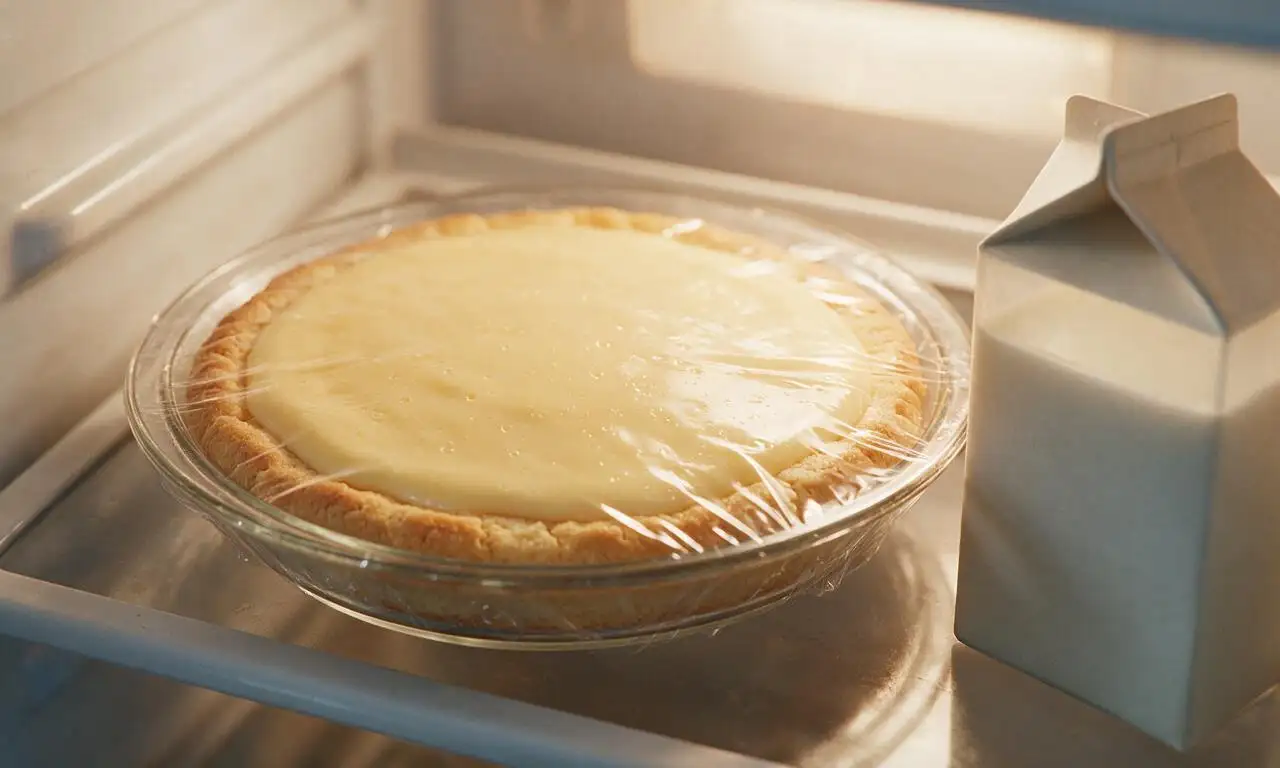
Press a sheet of plastic wrap directly onto the surface of the warm custard (to block air exposure and prevent a tough skin from forming). Place the pie on a level refrigerator shelf to chill for a minimum of 4 hours, until the custard is fully firm with no loose jiggling in the center when nudged.
Top and serve pie
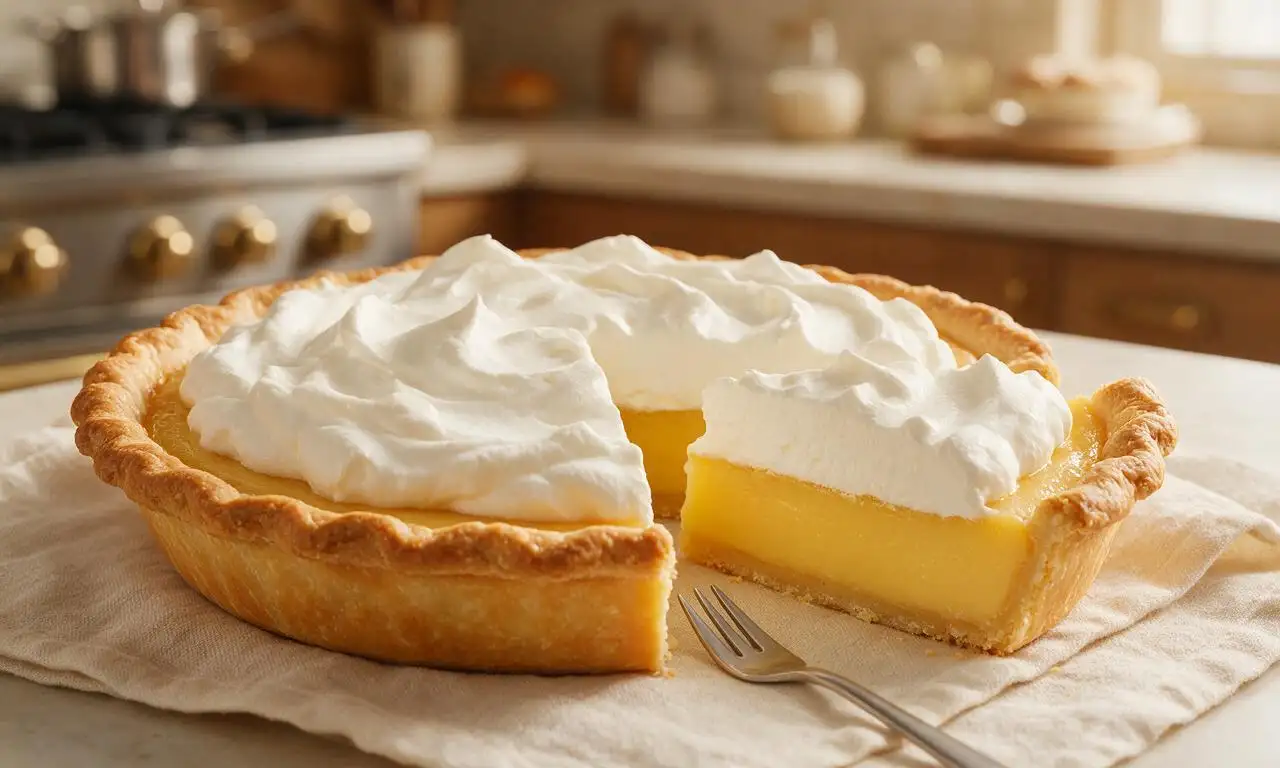
Just before serving, prepare the whipped cream: in a chilled mixing bowl, whip 240ml (1 cup) cold heavy whipping cream and 15 grams (2 tablespoons) powdered sugar with an electric mixer on medium speed for 2 minutes until soft, billowy peaks form. Remove the plastic wrap from the pie, dollop the whipped cream evenly over the set custard, then slice into 8 even pieces to serve.
Tips
2.Never skip pressing plastic wrap directly onto the warm custard surface before chilling—exposed air will form a tough, rubbery skin on top of the filling.
3.For the cleanest slices, dip your sharp knife in hot water and wipe it dry between each cut when serving the chilled pie.






OMG, this butterscotch pie was the star of our Sunday family dinner! My kids begged for seconds before they even finished their first slice. The filling is so rich and perfectly caramelized, not too sweet at all. I used a store-bought graham cracker crust to save time and it still turned out chef’s kiss. 10/10 will be making this for every potluck from now on!
Made this for my wife’s birthday and she said it’s better than the butterscotch pie her grandma used to make! Only hiccup was I almost burned the butterscotch when I got distracted tending to the brisket out back, but it still came out SO good. Took it to our neighborhood cookout and people were asking for the recipe before I even set the pie down.
Wait, y’all—4 HOURS of chill time?? I didn’t read that part all the way through and popped it in the fridge an hour before our book club, so it was totally runny when we cut into it. Bummed because the flavor was insane, but the texture was all off. Has anyone tried speeding up the chill in the freezer?
Tried this for my dorm floor potluck last week, even with my tiny apartment oven and zero fancy baking tools. Spent like $8 on ingredients total and everyone thought I bought it from the fancy bakery downtown. Game changer for impressing people on a college budget fr.
I’ve been making butterscotch pie for 60 years and this recipe is almost exactly the one my mother passed down to me! The ratio of brown sugar to butter is perfect, no weird artificial butterscotch flavor like so many newer recipes have. I topped mine with a dollop of freshly whipped cream and a sprinkle of flaky sea salt, just like we always did.
Is this pie good to make ahead for meal prep? I’m trying to stock the fridge with easy desserts for the week so I don’t buy candy bars every time I have a sweet craving after work.
Took this to the county fair pie contest last weekend and got second place! Only lost by 2 points to a triple berry pie that had a fancy lattice top. The judges kept commenting on how smooth the filling was, no lumps at all. Will be back next year with this recipe to take first.
Made this for my husband for our first married Thanksgiving, and he said it’s officially a non-negotiable holiday staple from now on. I was nervous because I’m still learning to bake, but the steps were straightforward even with the medium difficulty rating. The meringue top I added came out perfectly crispy too!
Wait, has anyone tried making this with a pretzel crust instead of regular pastry? I feel like the salty-sweet combo would be insane but I don’t want to mess up a good recipe.
Made this for my daughter’s soccer team end-of-season banquet. Between 12 10-year-olds and all the parents, the whole pie was gone in 8 minutes flat. Had three parents track me down to ask for the recipe before they left. Total dad win.
I’ve been chasing the old diner butterscotch pie flavor I remember from childhood road trips, and this is EXACTLY it. Not cloyingly sweet, that deep, toasty brown sugar flavor, silky smooth filling. I’m honestly emotional right now, I thought that taste was gone forever.
Help! I’m making this for my first ever Friendsgiving and my filling came out super lumpy? I followed the recipe exactly but I think I added the cornstarch too fast? Is there any way to save it, or do I have to start over??
I live in Arizona where it’s still 90 degrees in October, so I was worried the filling wouldn’t set right even with the chill time, but it turned out perfectly! I just made sure my fridge was cranked to the coldest setting while it chilled, and it sliced clean every time. SO good with a scoop of vanilla bean ice cream on top.
This pie is my new secret weapon for work potlucks. I’ve made it three times in the last two months and every single time people lose their minds over it. I don’t even tell people how easy it is, I just let them think I’m some master pastry chef. Worth every minute of cook time, even if I have to plan ahead for the chill time.
Has anyone tried making this dairy free? My son is lactose intolerant but he’s been begging for butterscotch pie, and I want to make it for his birthday next week.
I was worried this would be too hard since it’s marked medium difficulty, but the steps were super easy to follow! I’m not a super confident baker and mine turned out perfect on the first try. The only thing I changed was adding a little extra vanilla extract because I’m obsessed with vanilla.
Made this last night for our weekly family dinner and let me tell you—three kids, a husband, and even my picky mother-in-law all went back for seconds. I didn’t have time to make a homemade crust so I used a frozen deep dish crust, and it worked perfectly. Only complaint is I wish I’d made two pies!
I’ve made a lot of butterscotch pies in my day for church potlucks and family gatherings, and this one is hands down the best. The secret is cooking the butter and brown sugar long enough to get that deep, nutty butterscotch flavor instead of just tasting like sweet brown sugar mush. I’ll be keeping this recipe in my permanent rotation!