

Cake pops

title 1
Cake pops
⏱️ cook time 2 hours 15 minutes (includes 1 hour total chilling time)
🍽️ servings 24
⚡ Difficulty easy

intro

Bite-sized, moist cake balls coated in a smooth candy shell on sticks: fun, portable, customizable sweet treats ideal for group celebrations.

Ingredients

All-purpose flour 190 grams (1.5 cups)
Granulated sugar 200 grams (1 cup)
Baking powder 1.5 teaspoons
Fine table salt ¼ teaspoon
Unsalted butter (softened, for cake) 113 grams (½ cup / 1 stick)
Large eggs (room temperature) 2 whole
Whole milk 120 ml (½ cup)
Vanilla extract 2 teaspoons
Vanilla buttercream frosting 120 grams (½ cup)
Candy melts (assorted colors, for coating) 340 grams (12 oz / 2 cups)
6-inch lollipop sticks 24 count
Assorted decorative sprinkles 3 tablespoons

Steps

1

Bake the vanilla cake

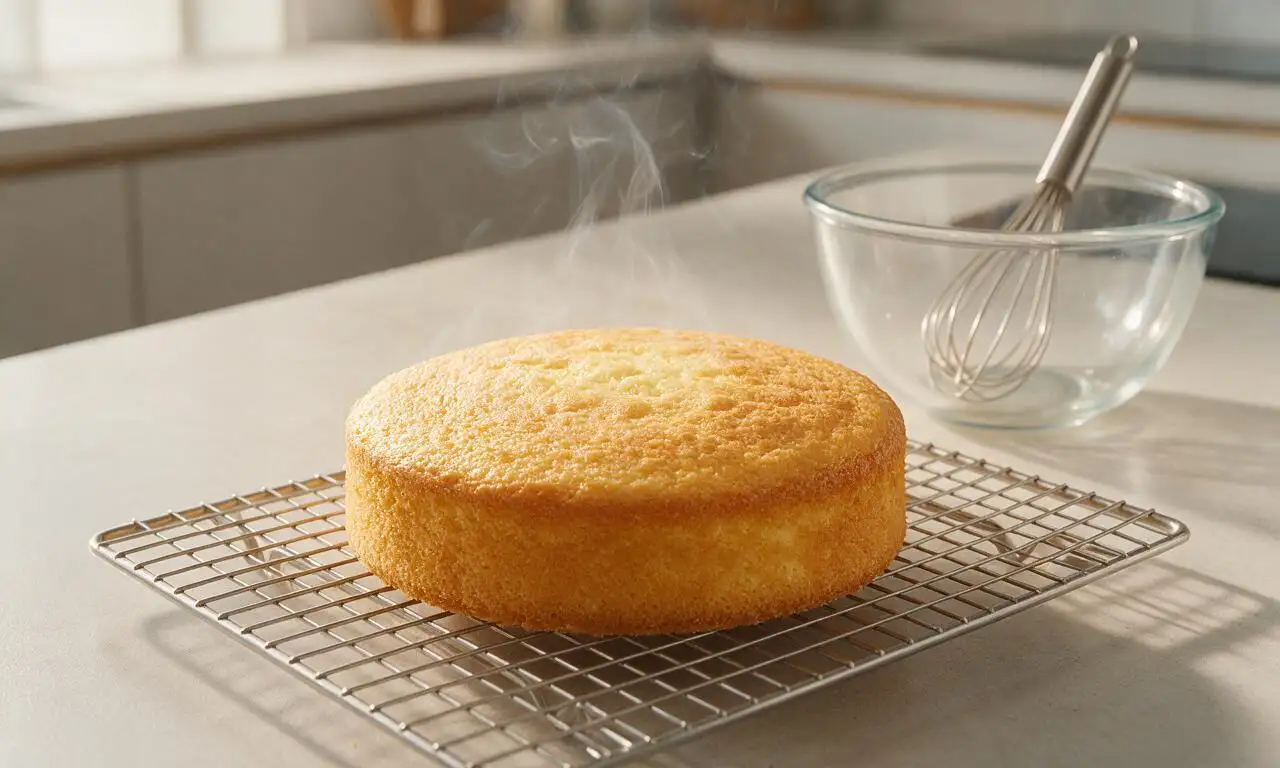
Preheat your oven to 175°C (350°F) and grease a 20cm (8-inch) square baking pan with nonstick spray or butter. Whisk 190g all-purpose flour, 200g granulated sugar, 1.5 tsp baking powder, and ¼ tsp fine table salt in a large mixing bowl. Beat in 113g softened unsalted butter, 2 room-temperature large eggs, 120ml whole milk, and 1 tsp vanilla extract on medium mixer speed for 2 minutes until the batter is completely smooth. Pour the batter evenly into the prepared pan, then bake for 22-25 minutes until a toothpick inserted into the center comes out with only a few dry crumbs. Set the pan on a wire rack to cool completely for 30 minutes before using.
Step 1
step1:Bake the vanilla cake
2

Mix cake pop dough

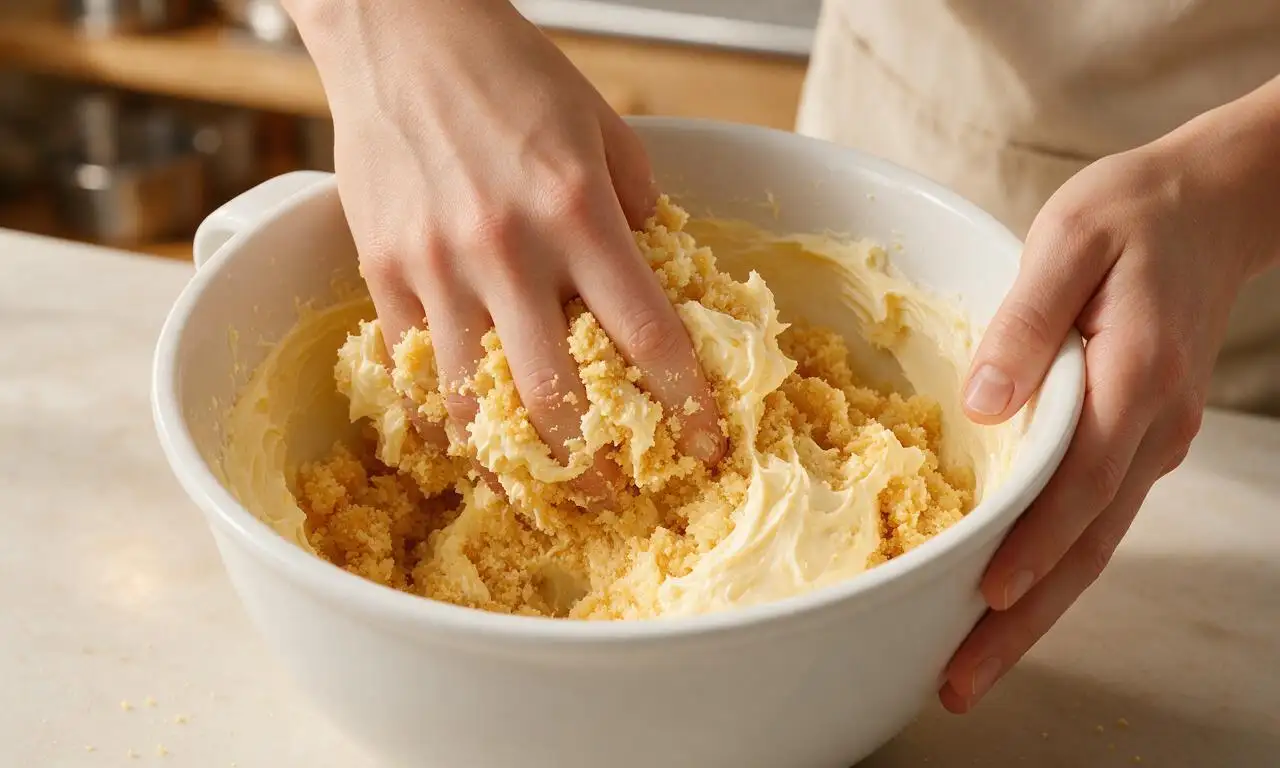
Once the cake is fully cooled to room temperature, break it into fine, even crumbs in a large bowl, pinching out any large, dry lumps until no chunks remain. Add 120g (½ cup) vanilla buttercream frosting and the remaining 1 tsp vanilla extract to the crumbs. Mix with clean, dry hands until the mixture holds together firmly when squeezed (similar to damp sand) and can be rolled into a tight ball without cracking along the edges.
Step 2
step2:Mix cake pop dough
3

Roll and chill cake balls

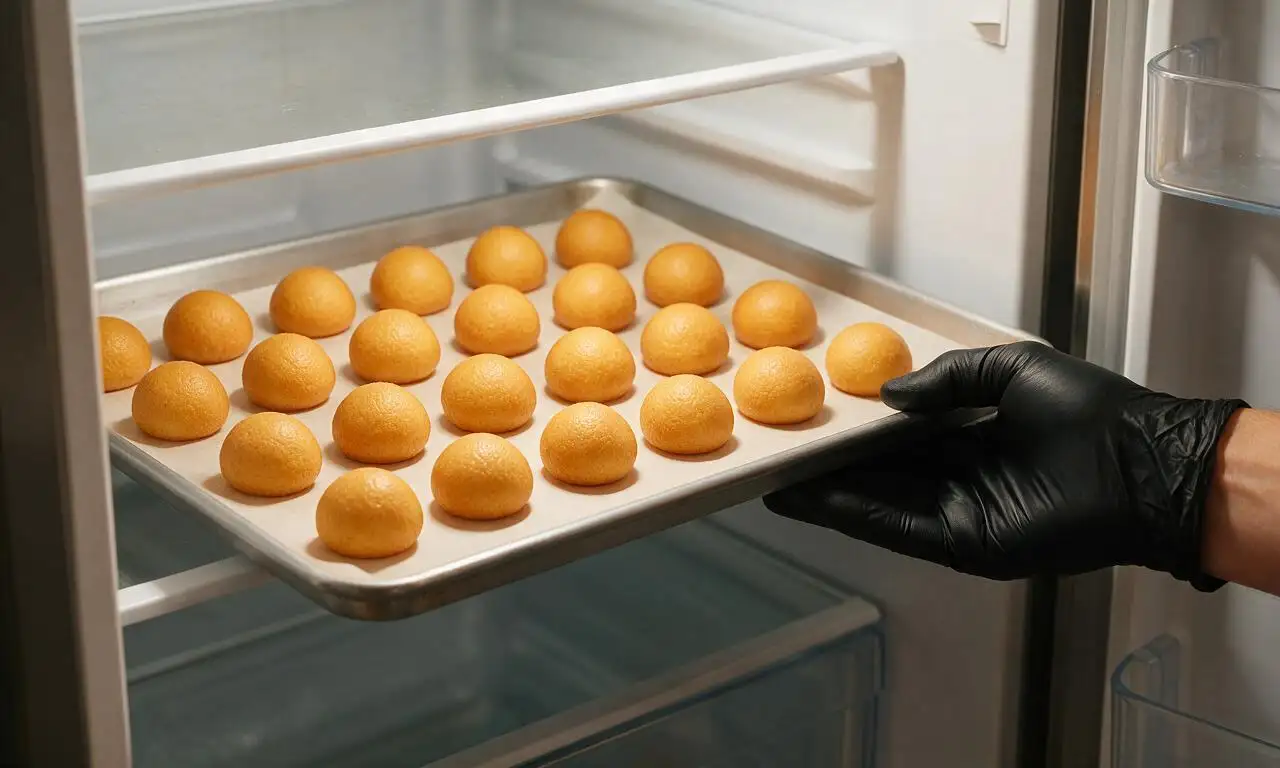
Scoop the cake mixture into 24 equal 30g (2 tablespoon) portions, rolling each portion between your palms into a smooth, perfectly round ball with no surface cracks. Place all rolled balls 2cm (1 inch) apart on a baking sheet lined with parchment paper. Refrigerate the tray for 45 minutes until the balls are firm to the touch; do not freeze them, as extreme cold will cause the candy coating to crack later.
Step 3
step3:Roll and chill cake balls
4

Prep coating and sticks

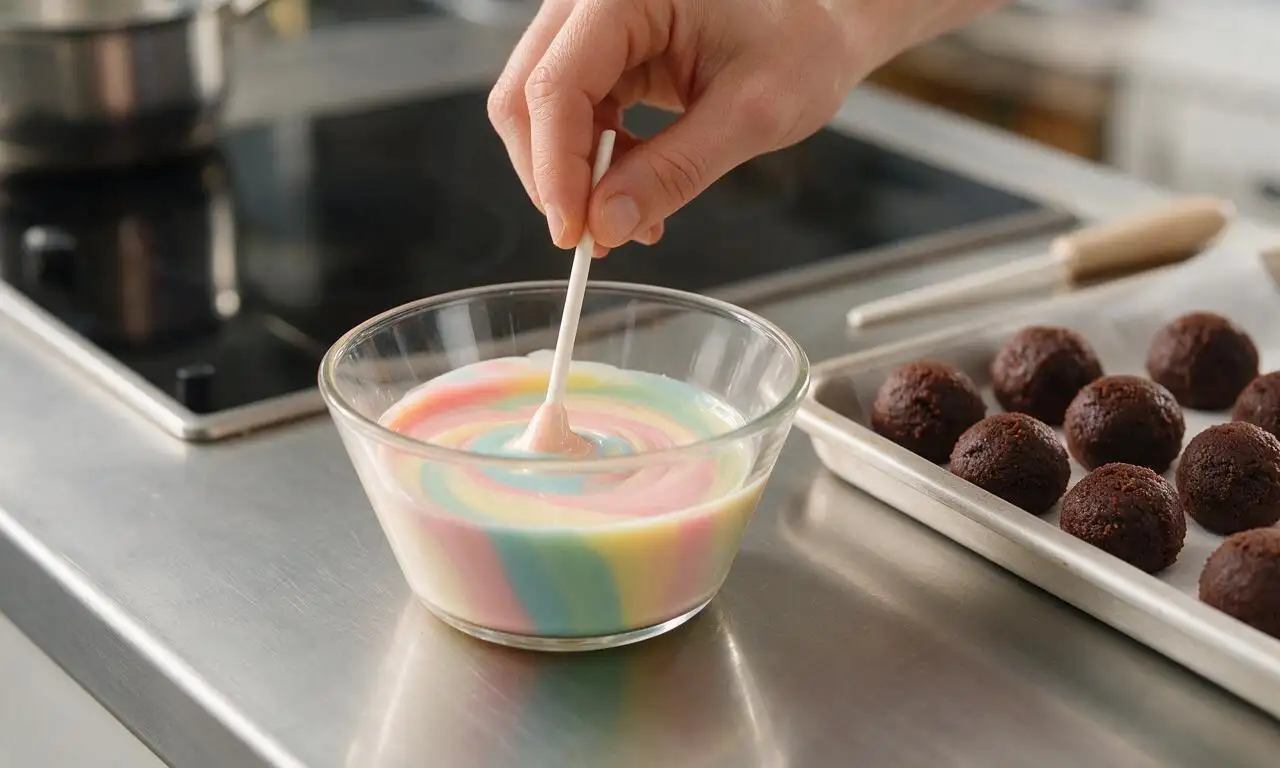
10 minutes before the cake balls finish chilling, melt 340g candy melts in a deep, narrow microwave-safe bowl: heat in 30-second bursts at 50% microwave power, stirring thoroughly between each burst, for a total of 1.5-2 minutes until the coating is completely smooth and lump-free. Take one 6-inch lollipop stick, dip 1cm (½ inch) of its tip into the melted candy, then push the dipped tip halfway into a chilled cake ball. Repeat for all 24 balls, then return the tray to the fridge for 5 minutes to let the candy anchors set fully.
Step 4
step4:Prep coating and sticks
5

Coat cake pops evenly

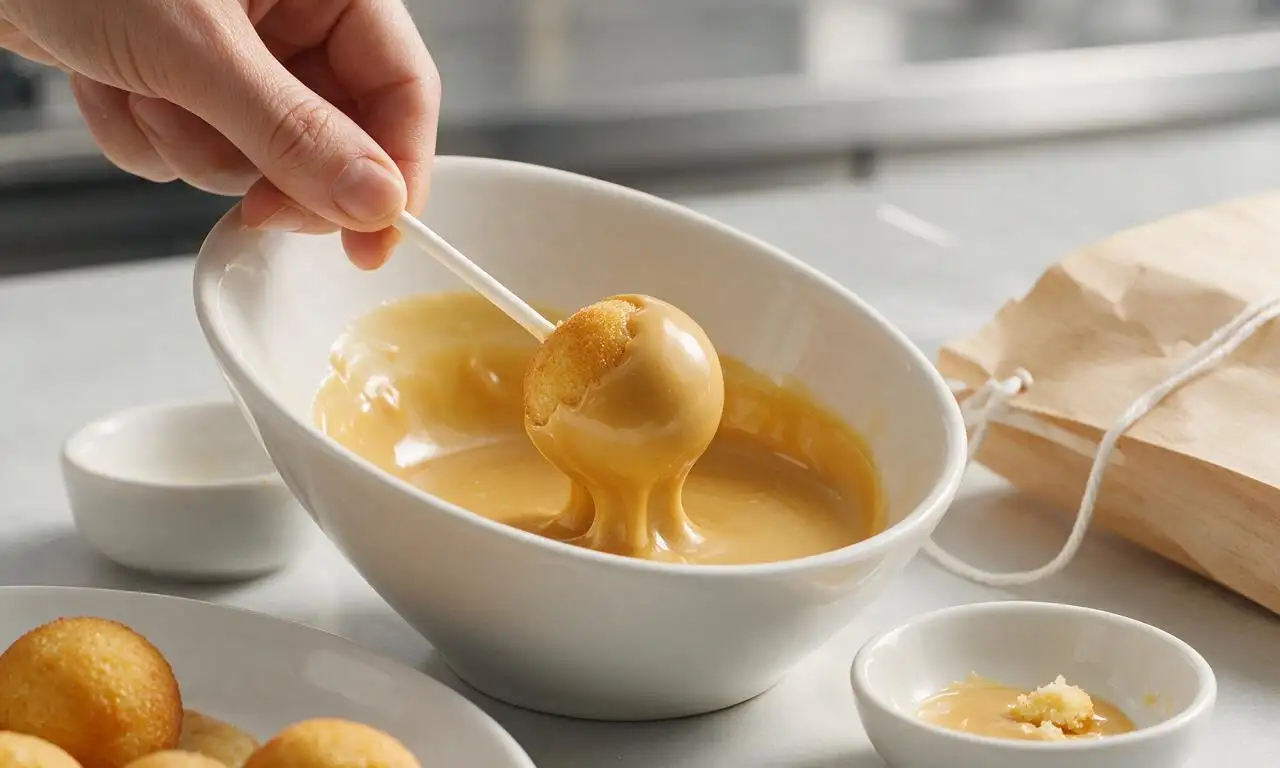
Hold each anchored cake pop by the stick, then submerge the entire cake ball fully into the melted candy coating, tilting the bowl as needed to cover every spot. Lift the pop out of the coating, then gently tap the stick against the edge of the bowl while slowly rotating the pop to let excess coating drip back into the bowl, creating a thin, smooth, even shell with no thick drips.
Step 5
step5:Coat cake pops evenly
6

Decorate and set pops

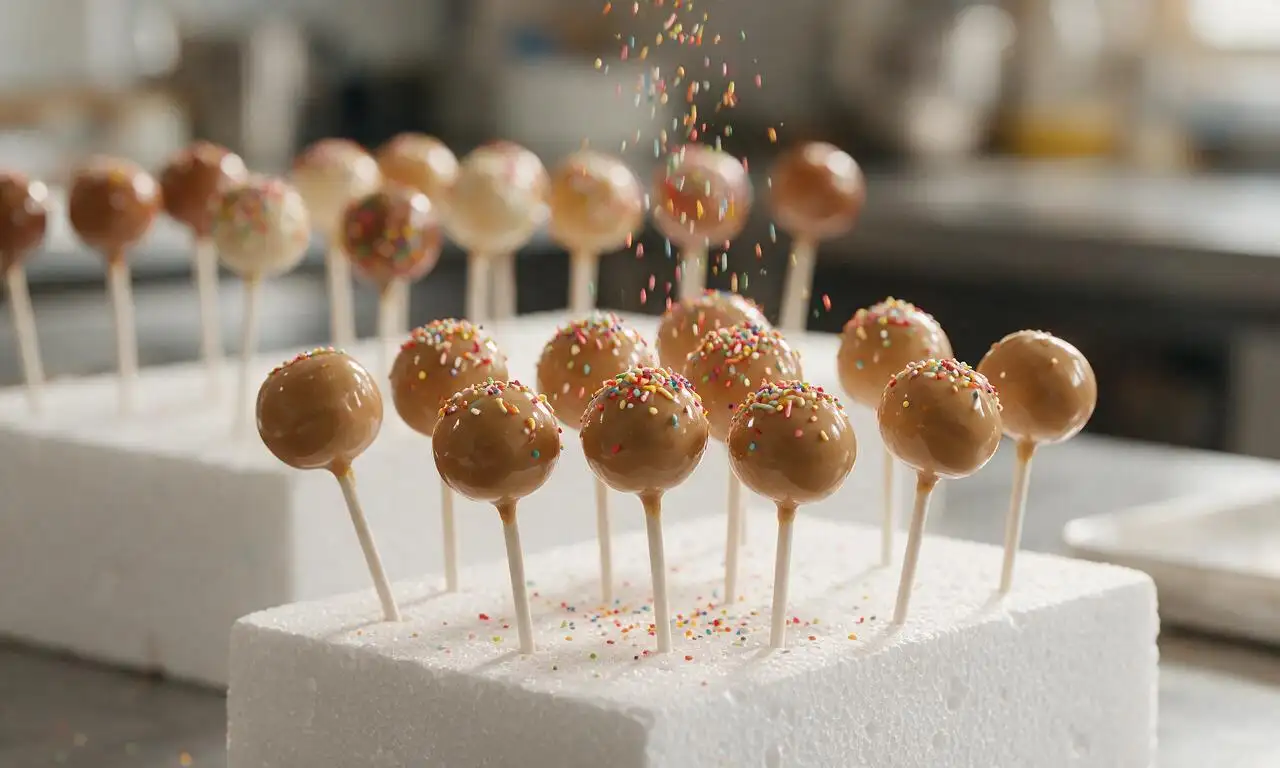
Immediately after tapping off excess coating (before the candy starts to set, which happens in 60-90 seconds), sprinkle a pinch of assorted decorative sprinkles over the wet shell, using 3 tablespoons total across all pops. Stand finished pops upright by pushing the stick ends into a styrofoam block or dedicated cake pop stand. Let the pops set at room temperature for 10 minutes until the coating is completely hard and glossy before serving.
Step 6
step6:Decorate and set pops

Tips

1.Avoid adding extra frosting to the cake crumb mixture; too much frosting makes the pops overly soft, causing them to slide off sticks or leak oil through the candy coating. The mixture should only just hold together when squeezed.
2.Never heat candy melts on full microwave power or for longer than 30 seconds at a time, as overheated coating becomes thick, clumpy, and will crack or develop a dull finish as it sets on cold cake balls.
3.If the candy coating thickens while you are mid-dip, reheat it in the microwave for 10 seconds at 50% power and stir thoroughly to return it to a smooth, fluid consistency before continuing.


✨ You May Also Like

Desserts & Baking
🍜 Italy

Creamy, coffee-kissed classic Northern Italian no-bake dessert, with layers of rum-spiked mascarpone cream, soft ladyfingers, and a rich cocoa dusting.

⏱️ 4 hours 3Desserts & Baking ★ 4.7
Desserts & Baking
🍜 France

Flaky, shatteringly crisp, buttery French croissants with golden exteriors and soft, airy layered interiors, perfect for pairing with coffee for a special morning treat.

⏱️ 12 hours Desserts & Baking ★ 4.5
Desserts & Baking
🍜 United States

Warm, spiced baked apples topped with a fluffy golden biscuit crust, this cozy dessert pairs perfectly with vanilla ice cream for cool-weather comfort.

⏱️ 55 minuteDesserts & Baking ★ 4.6
Desserts & Baking
🍜 United States

A star-spangled classic American blueberry pie with buttery flaky crust and bright sweet-tart filling, perfect for summer patriotic gatherings.

⏱️ 1 hour 25Desserts & Baking ★ 4.7
Desserts & Baking
🍜 United States

A beloved no-bake regional Maine candy with a chewy coconut-potato center coated in rich dark chocolate, a New England holiday staple since the 1870s.

⏱️ 2 hours 3Desserts & Baking ★ 4.8
Desserts & Baking
🍜 France

Luxuriously creamy, floral frozen custard made with aromatic Tahitian vanilla beans, boasting a smooth, rich texture that melts slowly on the tongue.

⏱️ 3 hours 3Desserts & Baking ★ 4.5

Cake pops:Frequently Asked Questions

1.Why do my cake pops keep falling off the stick when I dip them? ▾
This almost always happens if you skip the critical ‘glue’ step! Dip ½ inch of your lollipop stick tip into melted candy coating before pushing it ¾ of the way into a chilled cake ball, then place them back in the fridge for 5 minutes to set before full dipping. Overly moist cake mixtures or warm cake balls also cause slips, so don’t overmix crumbs with frosting and keep pops chilled until coating time.
2.Can I make the cake base for these cake pops ahead of time? ▾
Absolutely! The tender, classic cake base made with all-purpose flour, granulated sugar, baking powder, fine table salt, and softened unsalted butter stores beautifully. Wrap fully cooled, uncut cake tightly in plastic wrap for up to 3 days in the fridge, or freeze for up to 1 month. Let it come to cool room temperature before crumbling, no reheating needed.
3.Why does my candy coating crack after it sets on the cake pops? ▾
Cracking is almost always caused by a sharp temperature difference between cold cake pops and warm melted coating, or overly thick coating. Let your melted candy cool to roughly 90°F before dipping, and don’t freeze pops solid before coating—chill them just until firm (about 30 minutes in the fridge) to eliminate that temperature shock.
4.Do I have to use store-bought frosting to bind my cake crumbs? ▾
Not at all! Homemade buttercream works perfectly with this classic cake base. Start with 2 tablespoons of softened frosting per 2 cups of fine cake crumbs, adding 1 teaspoon at a time until the mixture holds together firmly when squeezed, like damp sand. Too much frosting makes pops mushy and prone to sliding off sticks mid-dip.
5.How do I get a perfectly smooth, even candy shell on my cake pops? ▾
After dipping each pop, hold it over your coating bowl and gently tap the wrist of your stick-holding hand to let excess coating drip off smoothly. If your coating is too thick to flow evenly, stir in ½ teaspoon of paramount crystals or refined coconut oil at a time until it reaches the consistency of heavy cream to eliminate lumpy drips.
6.Can I customize the flavor of these classic cake pops? ▾
Definitely! The neutral, tender vanilla cake base is extremely versatile. Mix in 1 teaspoon of citrus zest, a dash of ground cinnamon, a tablespoon of unsweetened cocoa powder, or a splash of almond extract to the batter before baking to match party themes, holiday color schemes, or your personal favorite flavor combinations.
7.How long do finished homemade cake pops stay fresh? ▾
Stored in an airtight container in the fridge, with layers separated by parchment paper to prevent sticking and smudging, finished cake pops stay moist and fresh for 7 to 10 days. You can also freeze uncoated, stick-inserted cake balls for up to 2 months; just thaw them in the fridge overnight before dipping for best results.
8.Why are my cake pops dense and mushy instead of light and moist? ▾
That texture usually comes from two common missteps: either you overbaked your base cake so it was overly dry, leading you to add too much frosting to compensate, or you overmixed crumbs and frosting into a thick paste. Keep your base cake tender by not overmixing the all-purpose flour batter once dry ingredients are added, and stop mixing crumbs as soon as they hold a firm shape.
9.What can I use if I don’t have a specialty cake pop stand for setting? ▾
No fancy equipment is required! Poke the stick ends into a block of clean craft foam, a repurposed Styrofoam shipping block, or even an upside-down colander with evenly spaced holes to hold pops upright while coating sets. In a pinch, set them dipped-side up on a parchment-lined baking sheet for a cute, rustic flat top.
10.Can I make these cake pops without store-bought candy melts for the coating? ▾
Yes! If you don’t have candy melts on hand, make a simple coating with 12 ounces of high-quality white, milk, or dark chocolate mixed with 1 tablespoon of refined coconut oil to thin it to a dippable consistency. Note that pure chocolate sets slightly softer than candy melts, so keep finished pops chilled until serving to avoid smudges.

Comments (3)

2 days ago

OMG these cake pops were SO good! I made them for my kid’s 3rd grade class party and every single kid (and their teacher!) asked for the recipe. The chilling time tip was totally a game changer—my first attempt at cake pops years ago was a goopy, sliding mess because I skipped letting them set properly. This recipe is so easy even for a casual, once-a-month baker like me!

yesterday

So glad these were a hit at your kid’s class party, Sarah! The full chilling step really does make all the difference for keeping cake pops firmly on their sticks and avoiding that messy slide right off. Great call sticking to the recommended timeline! If you test out fun coating flavors or wild sprinkle mixes next time, come back and tell us how they turn out 😊

1 week ago

Made these for an office potluck last week and people were swarming the platter before I even finished setting it down on the snack table! I did half the pops with milk chocolate coating and half with white chocolate + crushed pretzel bits on top, and the salty-sweet pretzel ones vanished first. Quick heads up for new bakers: don’t skip the full hour of total chill time, I almost cut it short because I was running late and would’ve totally regretted it. Super easy recipe, zero fancy equipment needed, will absolutely be making these again for future get-togethers.

2 hours ago

I’m so excited to make these for my niece’s birthday weekend! Quick question—can I make the cake base a day ahead of time before I form the pops and dip them? I want to spread out the work so I’m not stuck in the kitchen the whole party day! The instructions look so straightforward, just need to lock in my prep timeline.

30 minutes ago

I did exactly that last month for my daughter’s soccer team snack day! I baked the cake, let it cool completely, wrapped it tight in plastic wrap, and stashed it in the fridge for 2 days before mixing in frosting and rolling the pops. It worked exactly the same as making it same-day, no weird dry or soggy texture issues at all!

5 minutes ago

Great question, Luna! You absolutely can prep the baked cake base 1-2 days ahead, just store it tightly wrapped in the fridge like Beth mentioned. Pro tip: you can even roll the uncoated cake balls, arrange them on a lined tray, and keep them covered in the fridge for up to 2 days before dipping too—it’s a total game changer for party prep so you don’t feel rushed. Hope your niece’s birthday is such a fun day!



