
Cake Pops
intro
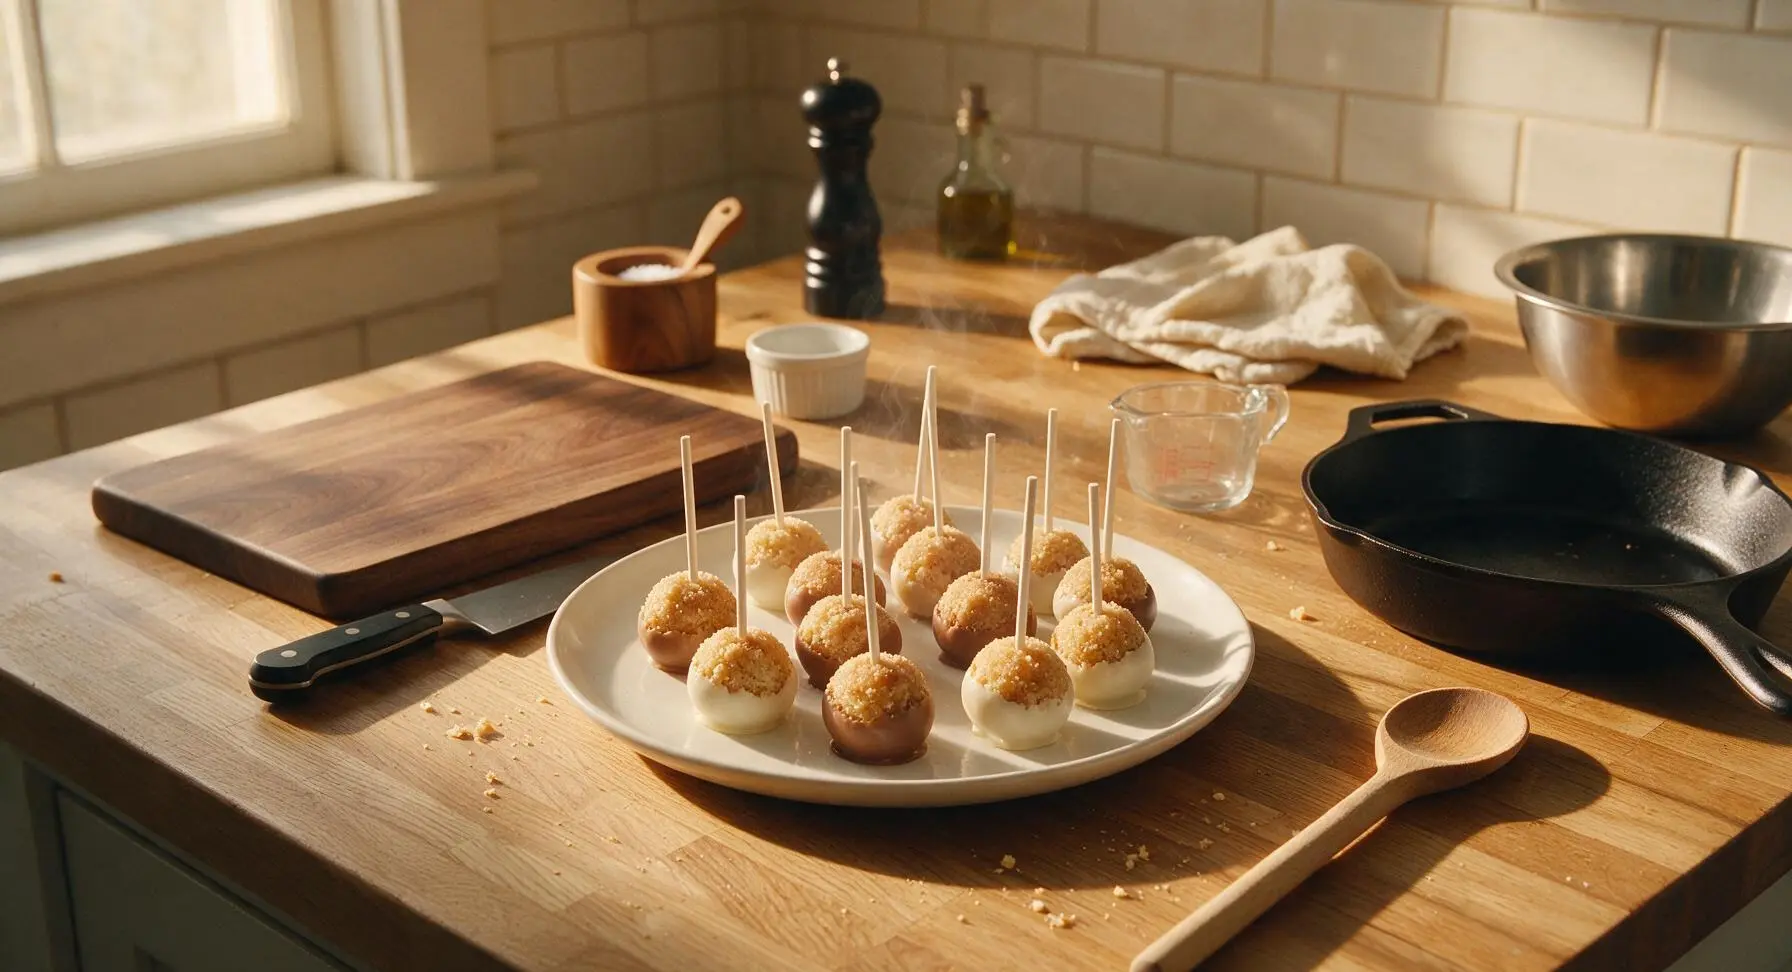
Moist, crumbly cake centers coated in crisp candy shell, these handheld, endlessly customizable cake pops are playful, portable celebration treats.
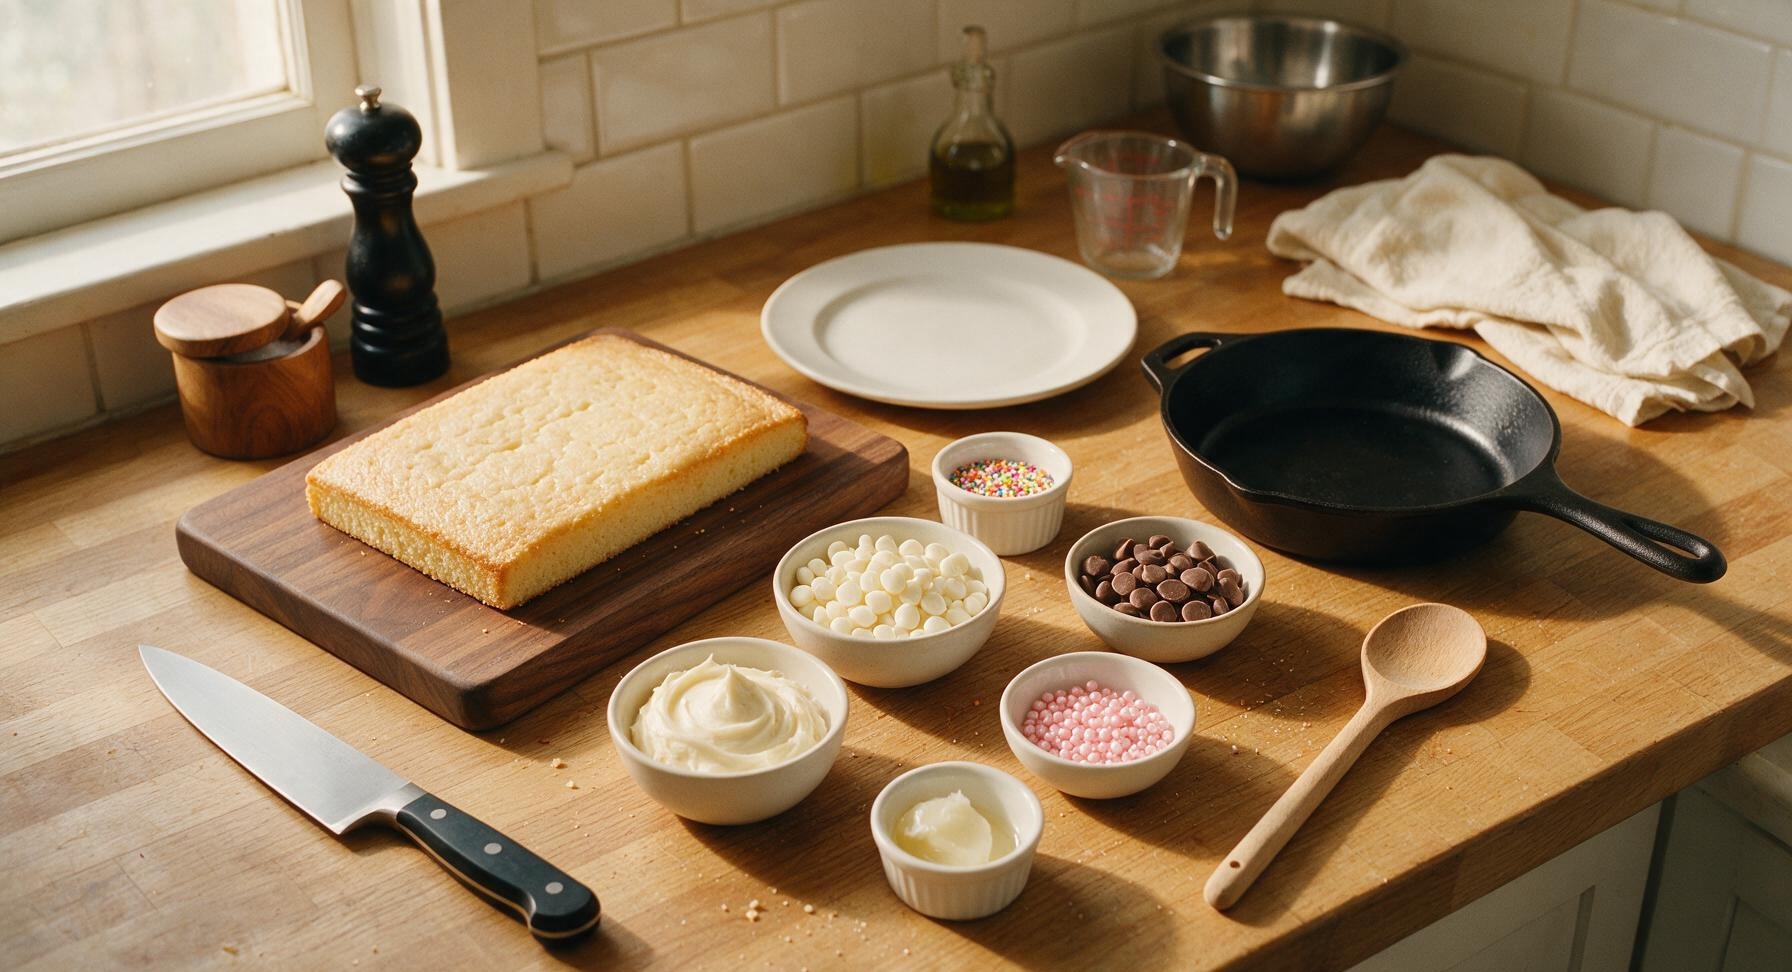
Ingredients
Steps
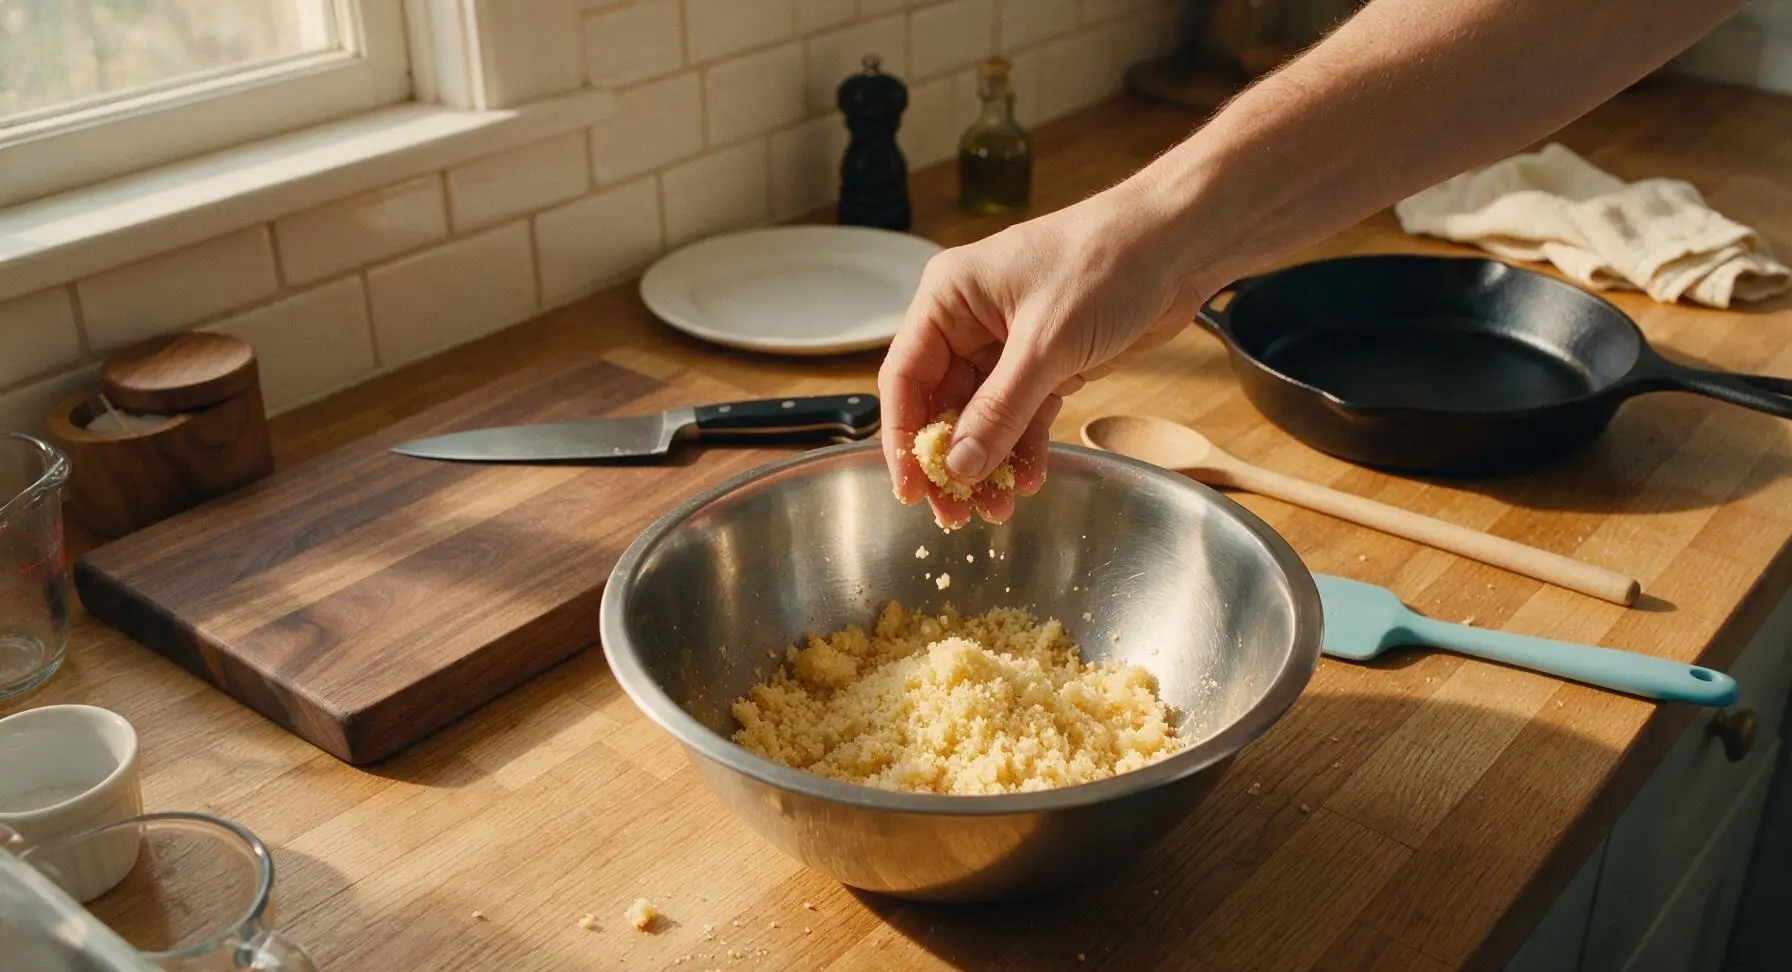
Crumble Cake to Fine Crumbs
Place the fully cooled, unfrosted 9x13 vanilla cake into the large stainless steel mixing bowl. Use clean, dry hands to break the cake into fine, even crumbs, rubbing pieces between your palms to work out any large lumps until no chunks larger than a pea remain. The final texture should resemble soft, damp sand, with no dry crusty clumps. This takes 3-4 minutes of gentle work.
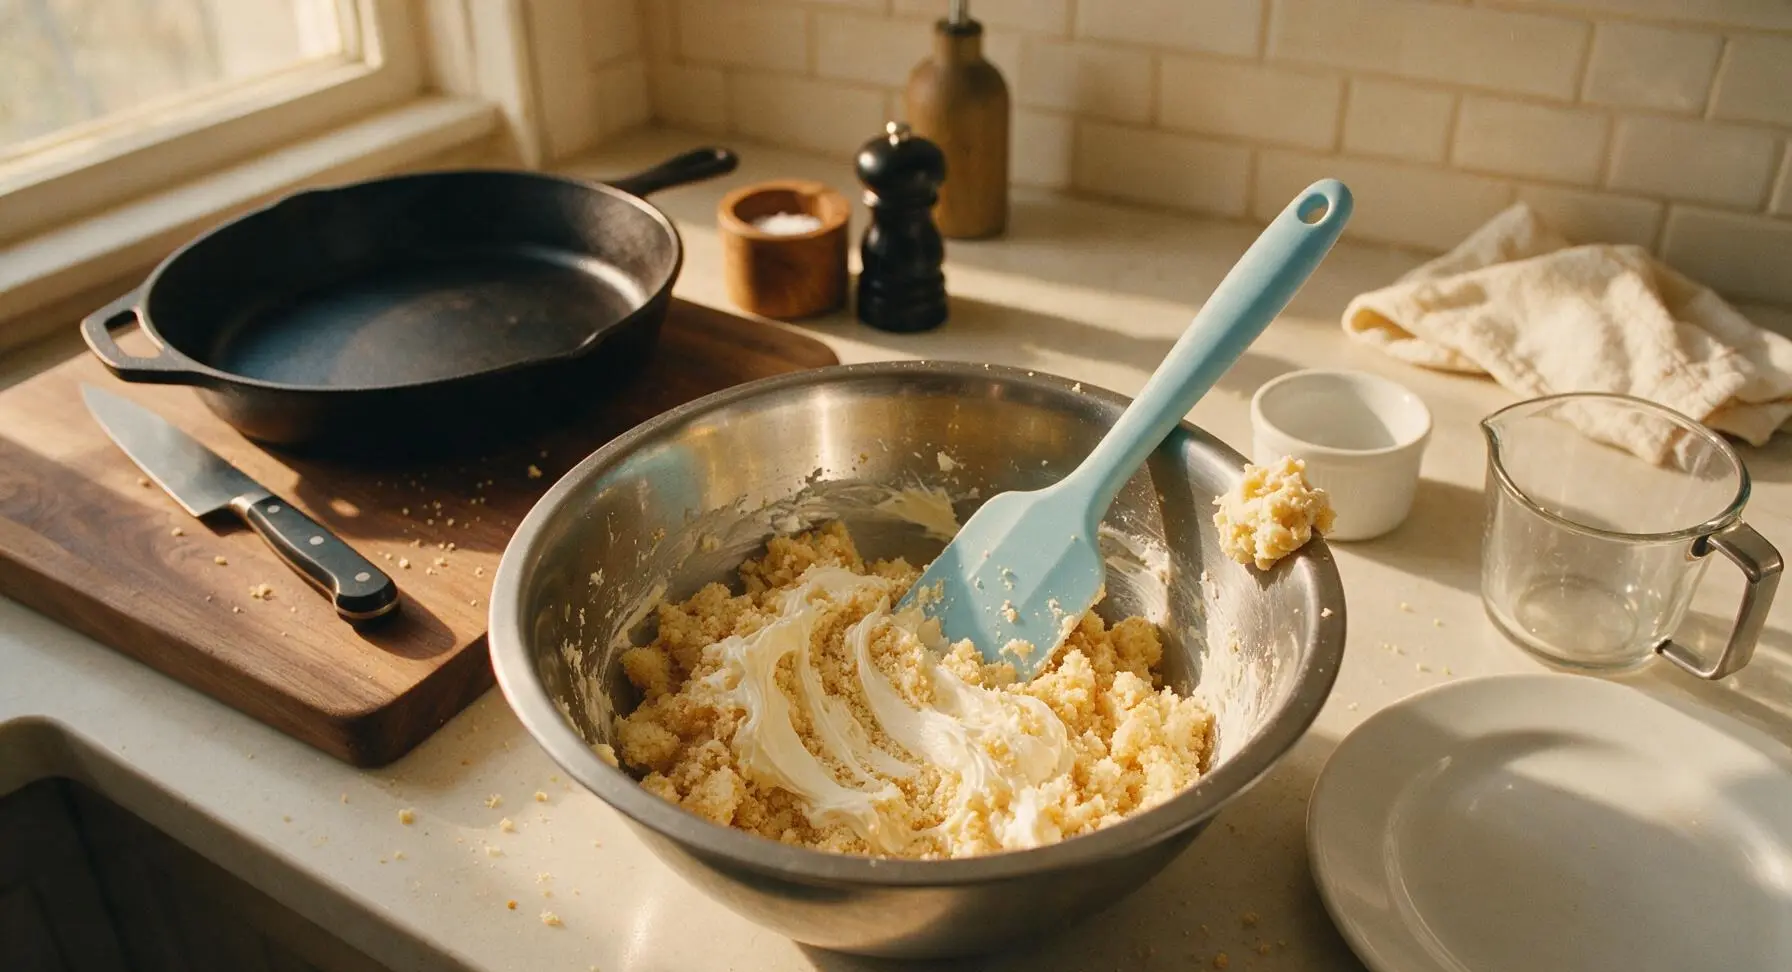
Mix in Frosting Binder
Add 120g of room-temperature vanilla buttercream to the cake crumbs in the mixing bowl. Use the pastel blue silicone spatula to fold and press the frosting into the crumbs until the mixture holds together firmly when squeezed in your palm, with a texture similar to soft playdough. Add up to 1 extra tablespoon of frosting if the mixture crumbles when squeezed; avoid over-adding frosting, as this creates mushy pops that slide off sticks.
Scoop and Roll Balls
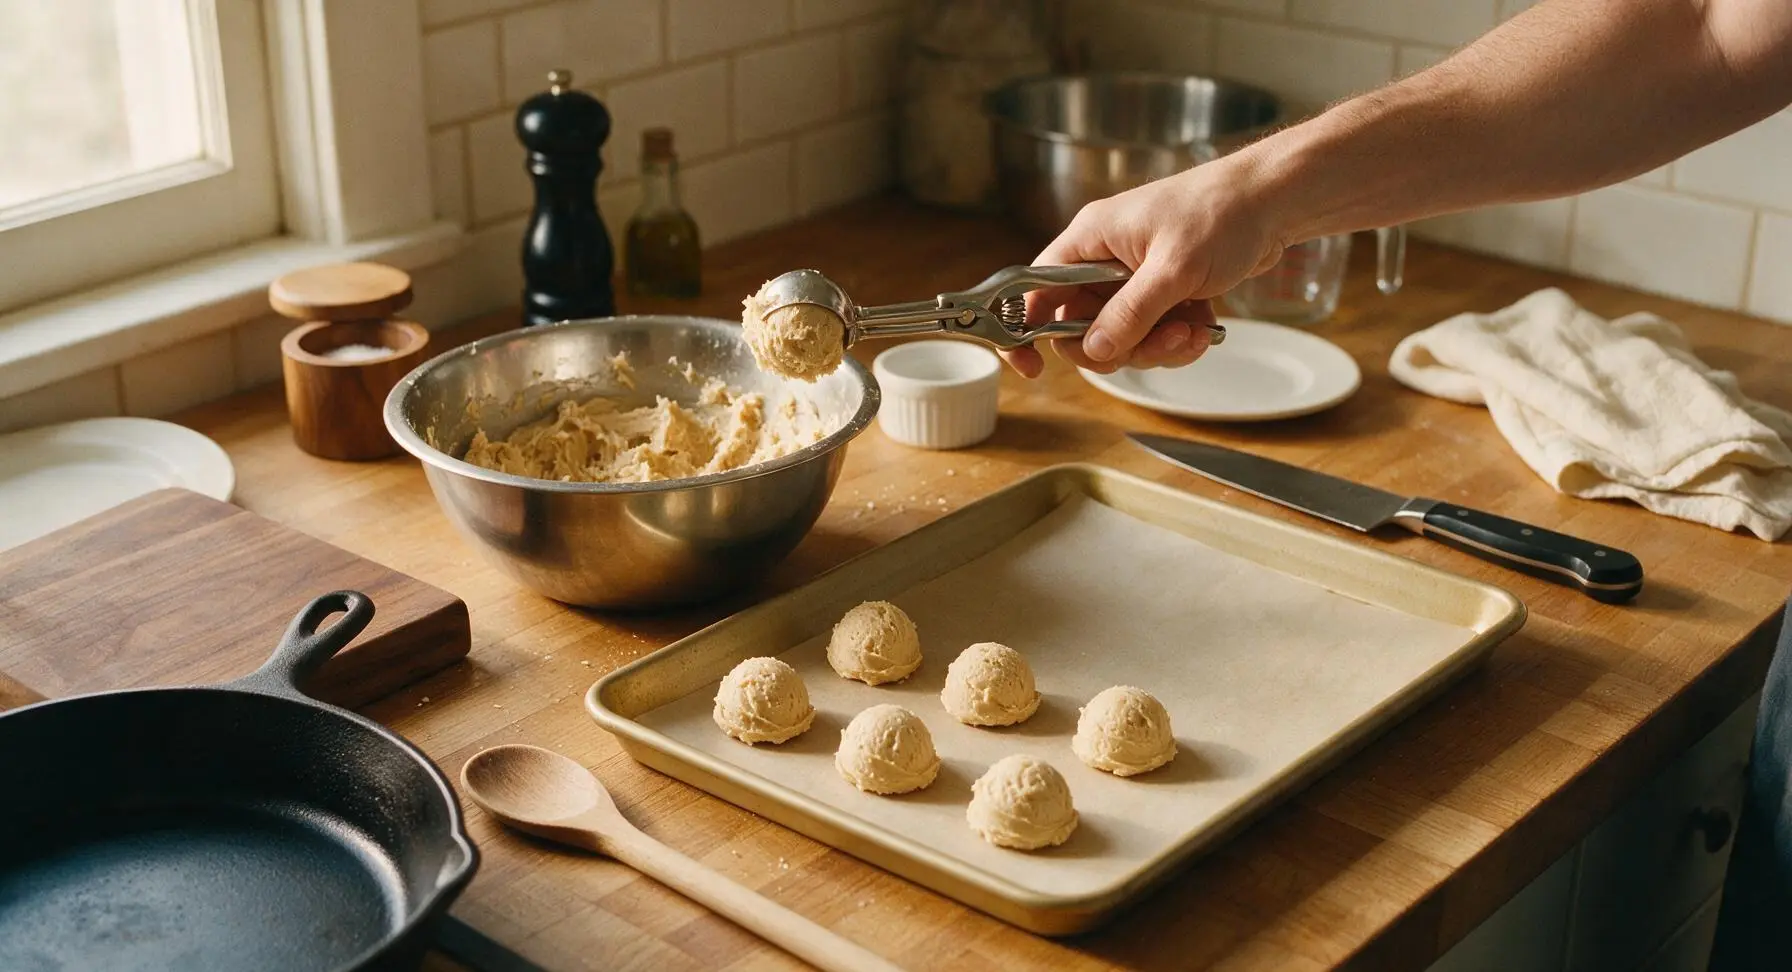
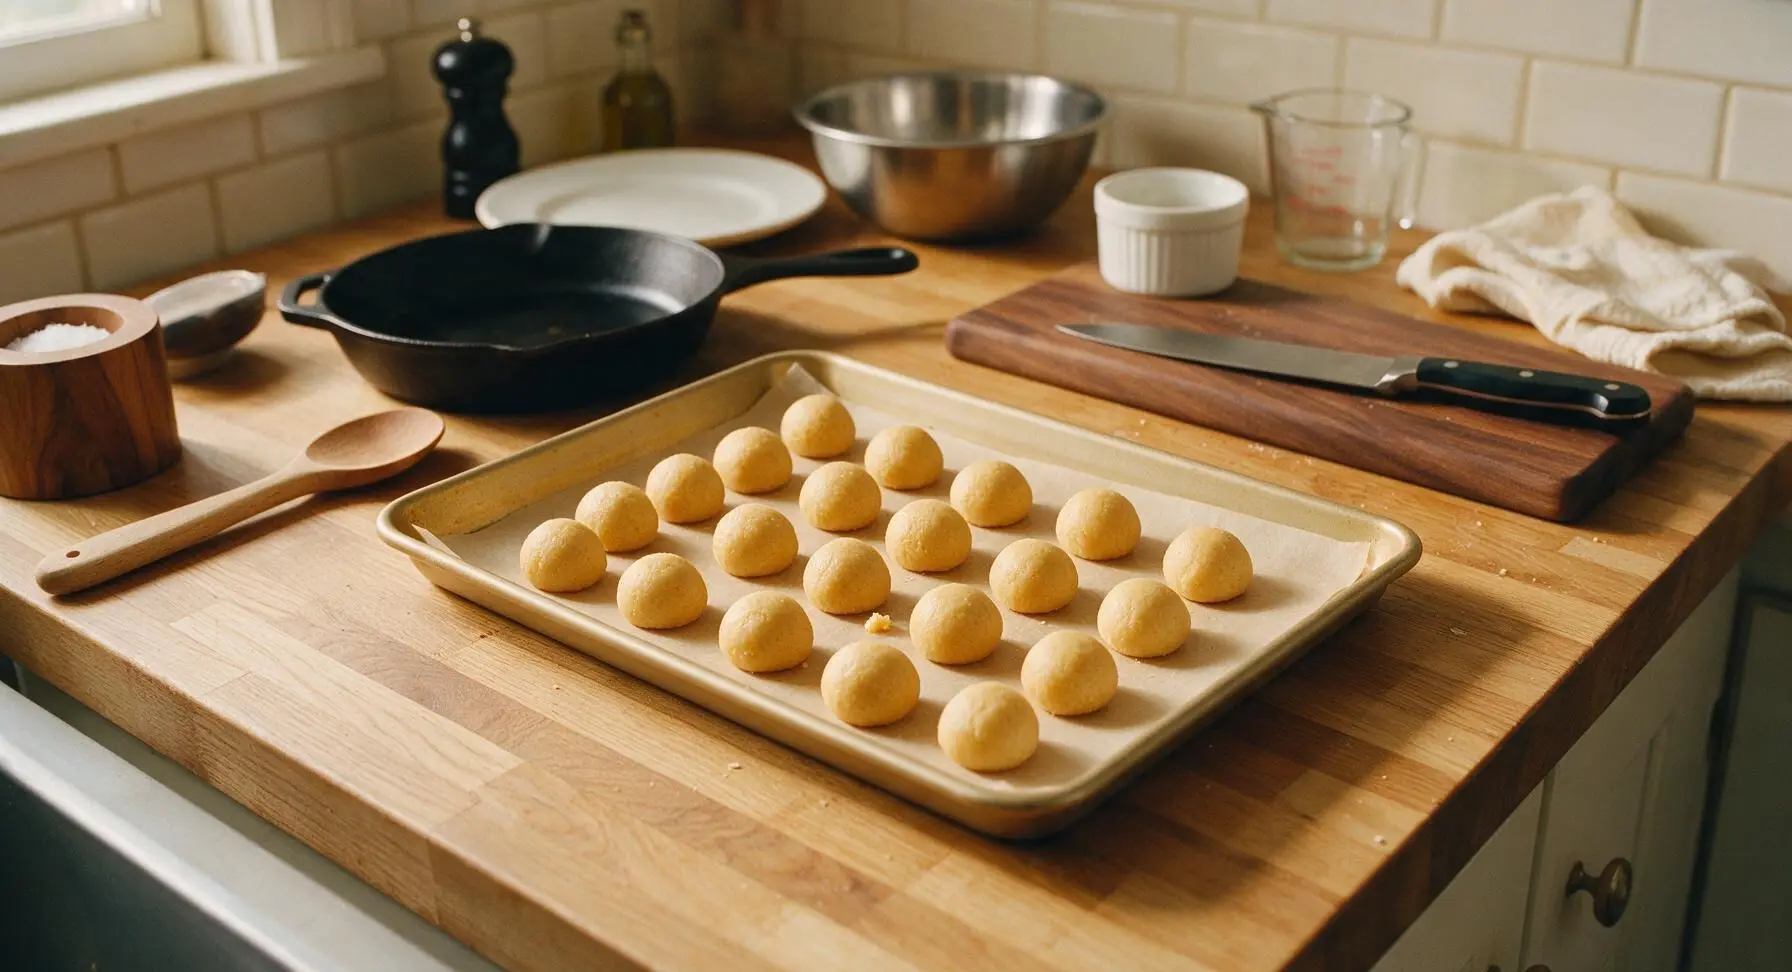
Use the 1-tablespoon spring-loaded cookie scoop to portion uniform mounds of the cake-frosting mixture. Roll each mound between clean, dry palms into smooth, tight 2.5cm round balls, applying gentle even pressure to avoid surface cracks. Place each rolled ball onto the parchment-lined light gold aluminum half-sheet tray, spaced 1cm apart. This yields exactly 24 uniform balls.
Chill Cake Balls Firm
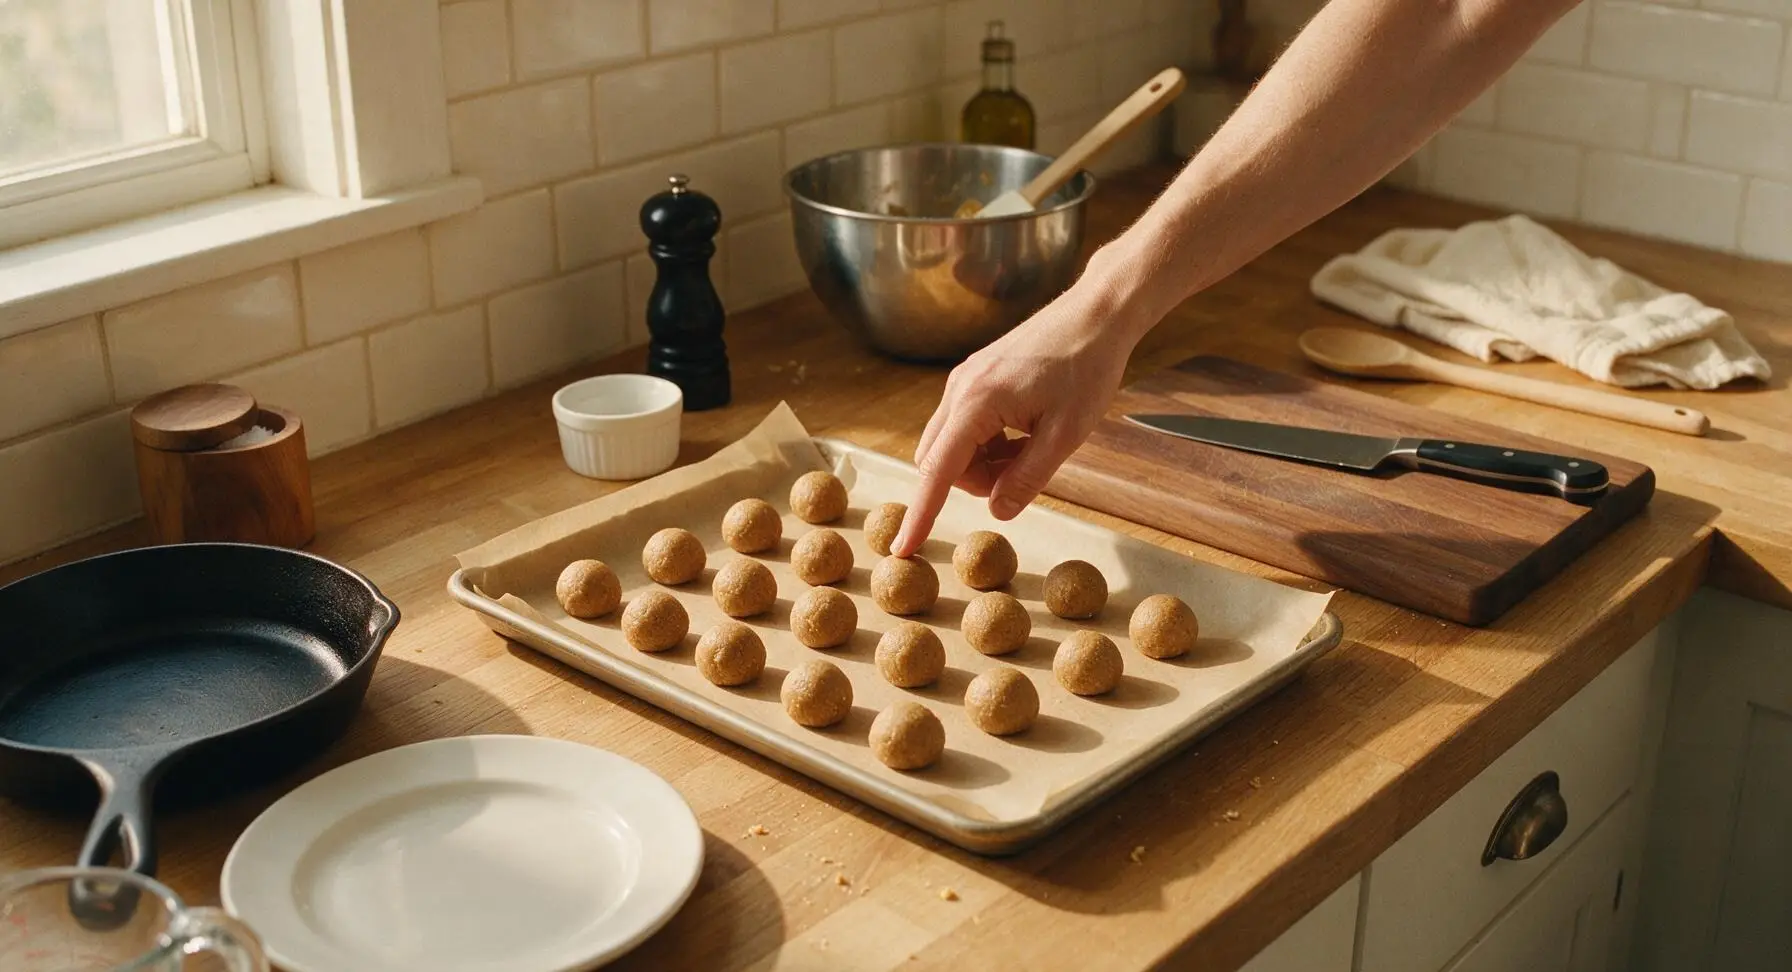
Place the tray of rolled cake balls into the refrigerator to chill for 25 minutes, until the balls are firm to the touch and hold their shape when picked up, with no soft give when pressed lightly with a finger. Do not freeze the balls, as extreme cold will cause candy coating to crack during dipping.
Melt Candy Coating Smooth
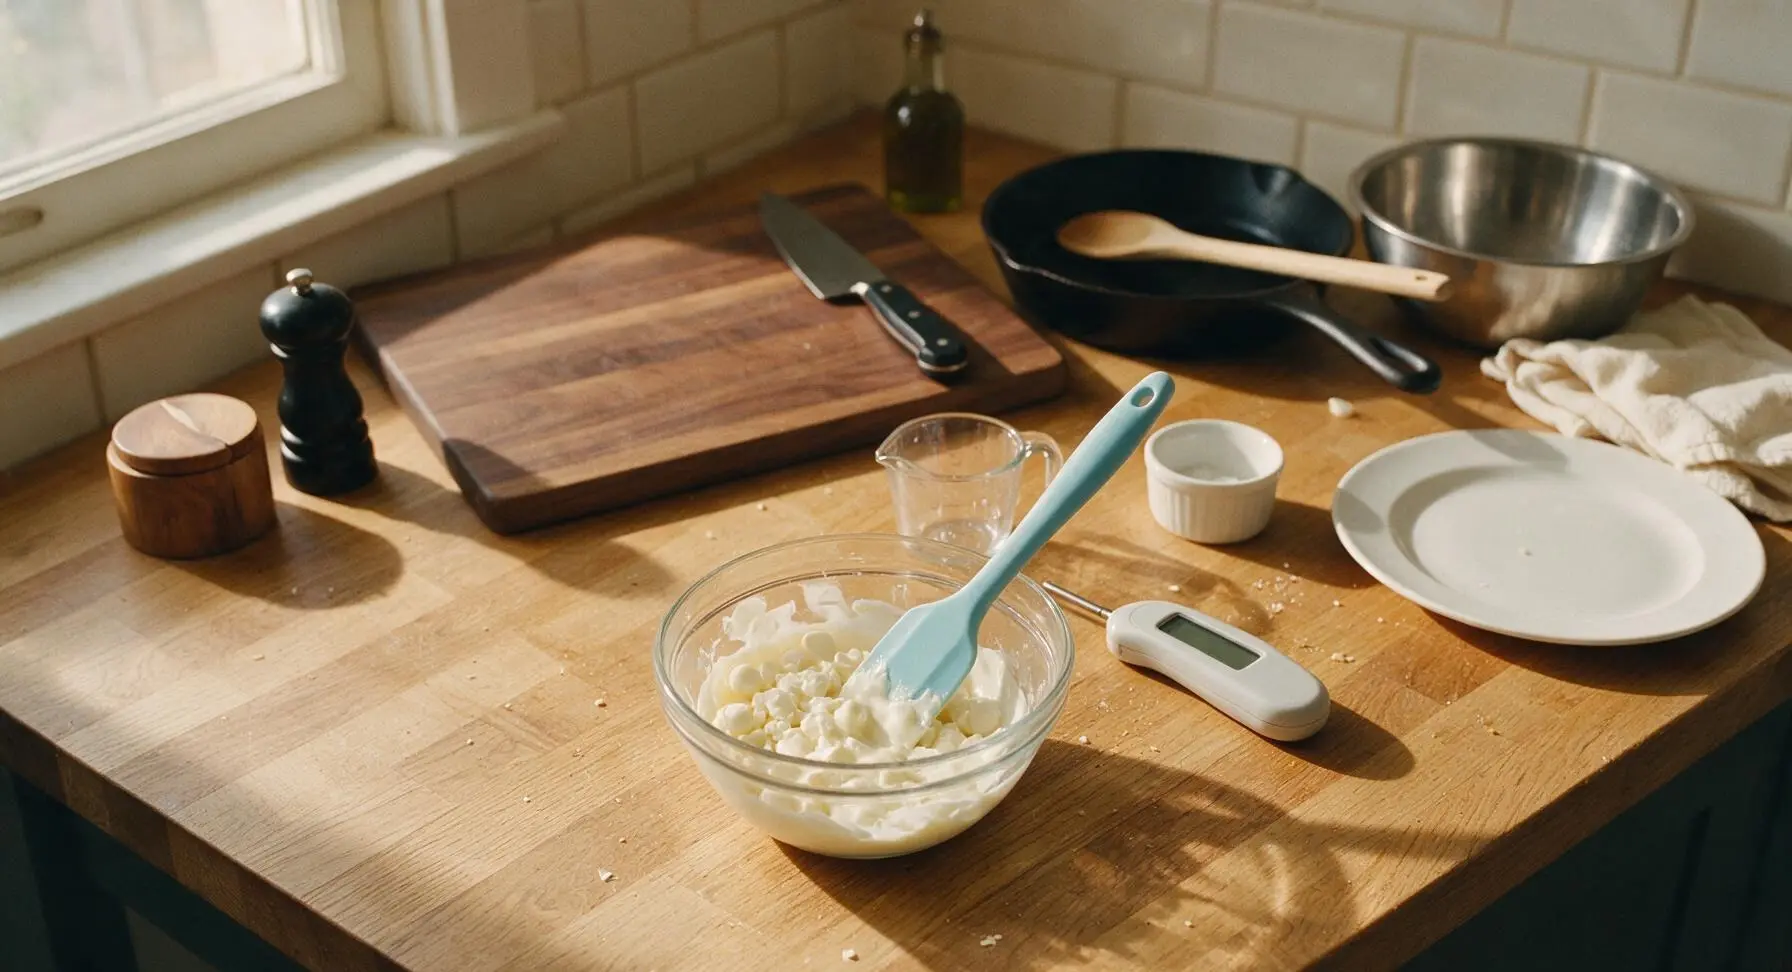
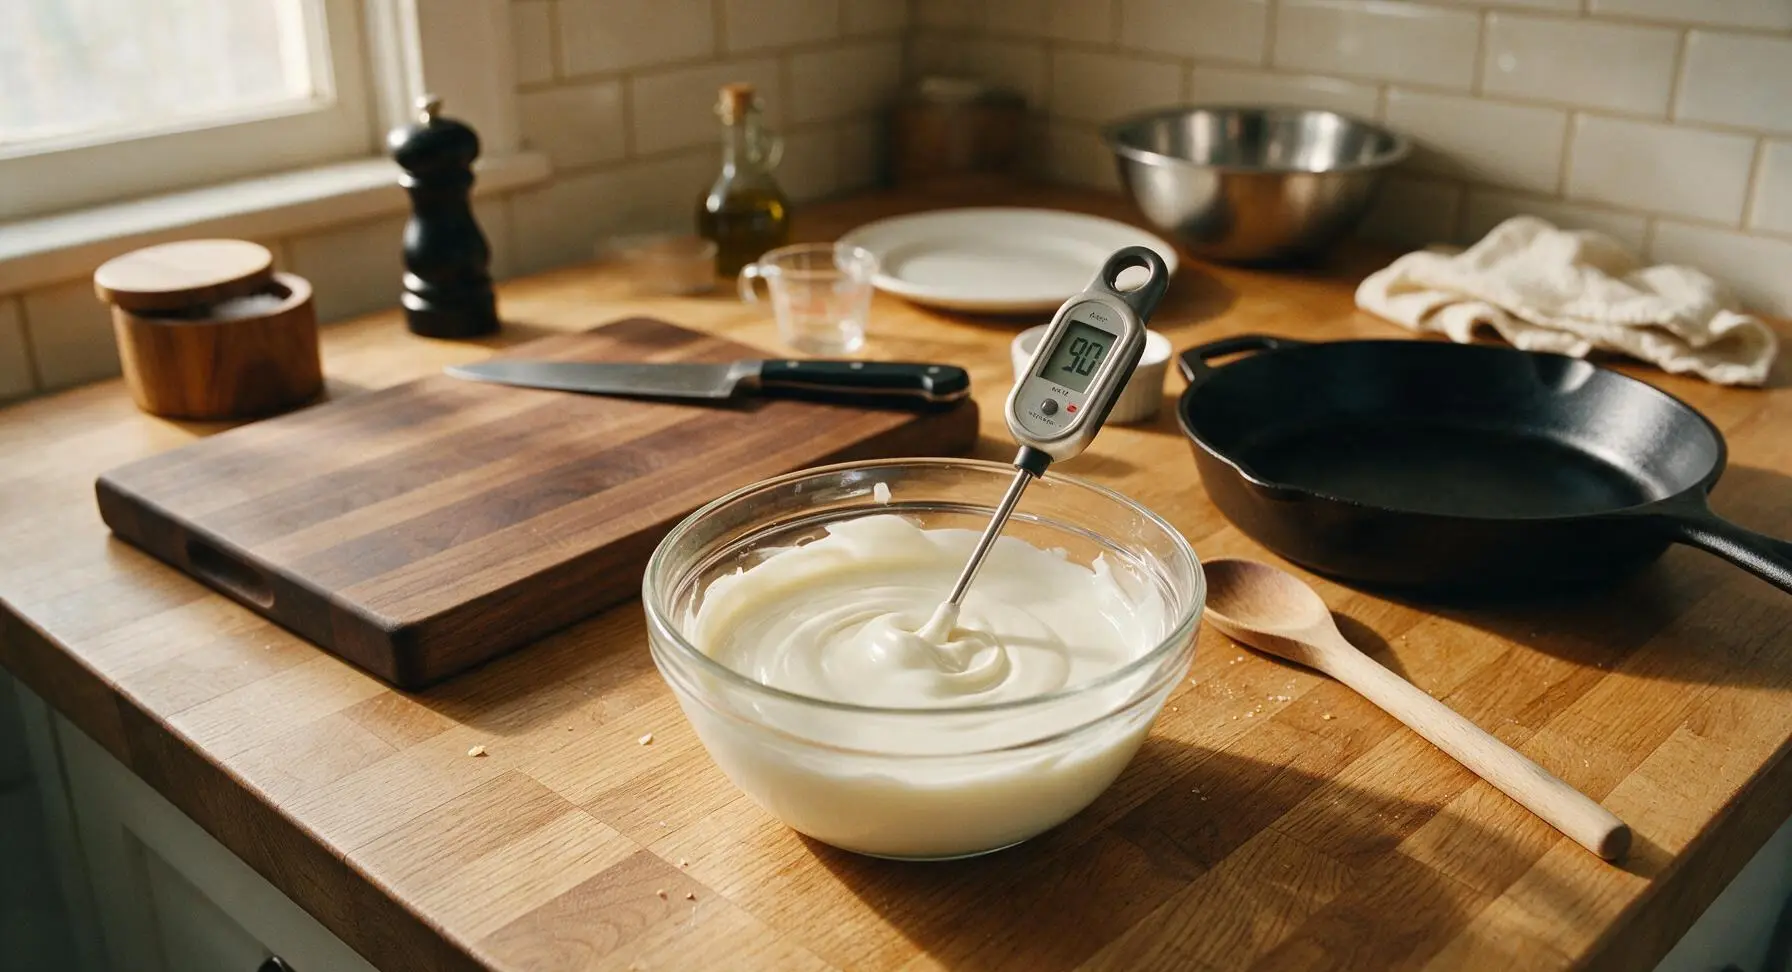
Place 340g white candy melts and 1 tablespoon vegetable shortening into the small clear tempered glass bowl. Microwave in 30-second bursts at 50% power, stirring between each burst with the silicone spatula, until the coating is completely smooth and reaches 90°F on the digital candy thermometer. Melt the 170g of milk chocolate candy melts using the same method once the white coating is ready, keeping both coatings warm while working.
Attach Sticks to Balls
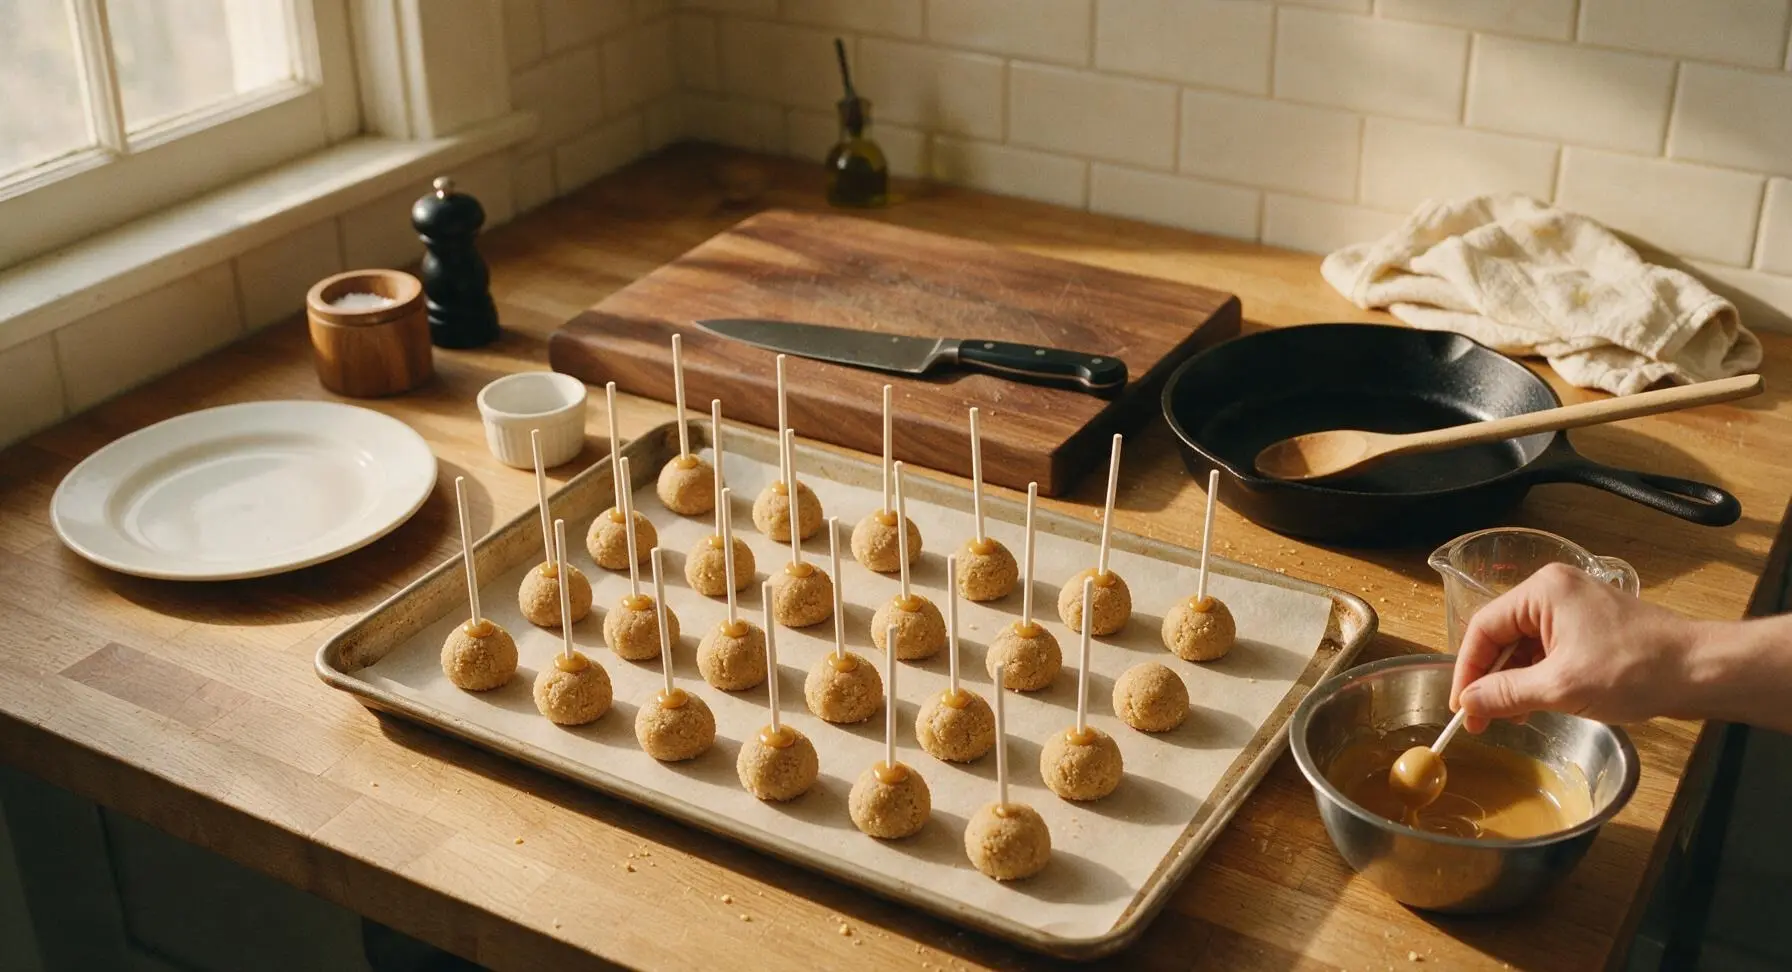
Remove the chilled cake balls from the refrigerator. Dip the tip of one white paper lollipop stick 1cm into the melted candy coating, then push the coated end 1.5cm into the center of a cake ball, taking care not to push all the way through. Repeat for all 24 balls, then return the tray to the refrigerator for 10 minutes to set the candy 'glue' holding the sticks firmly in place.
Dip Pops in Coating
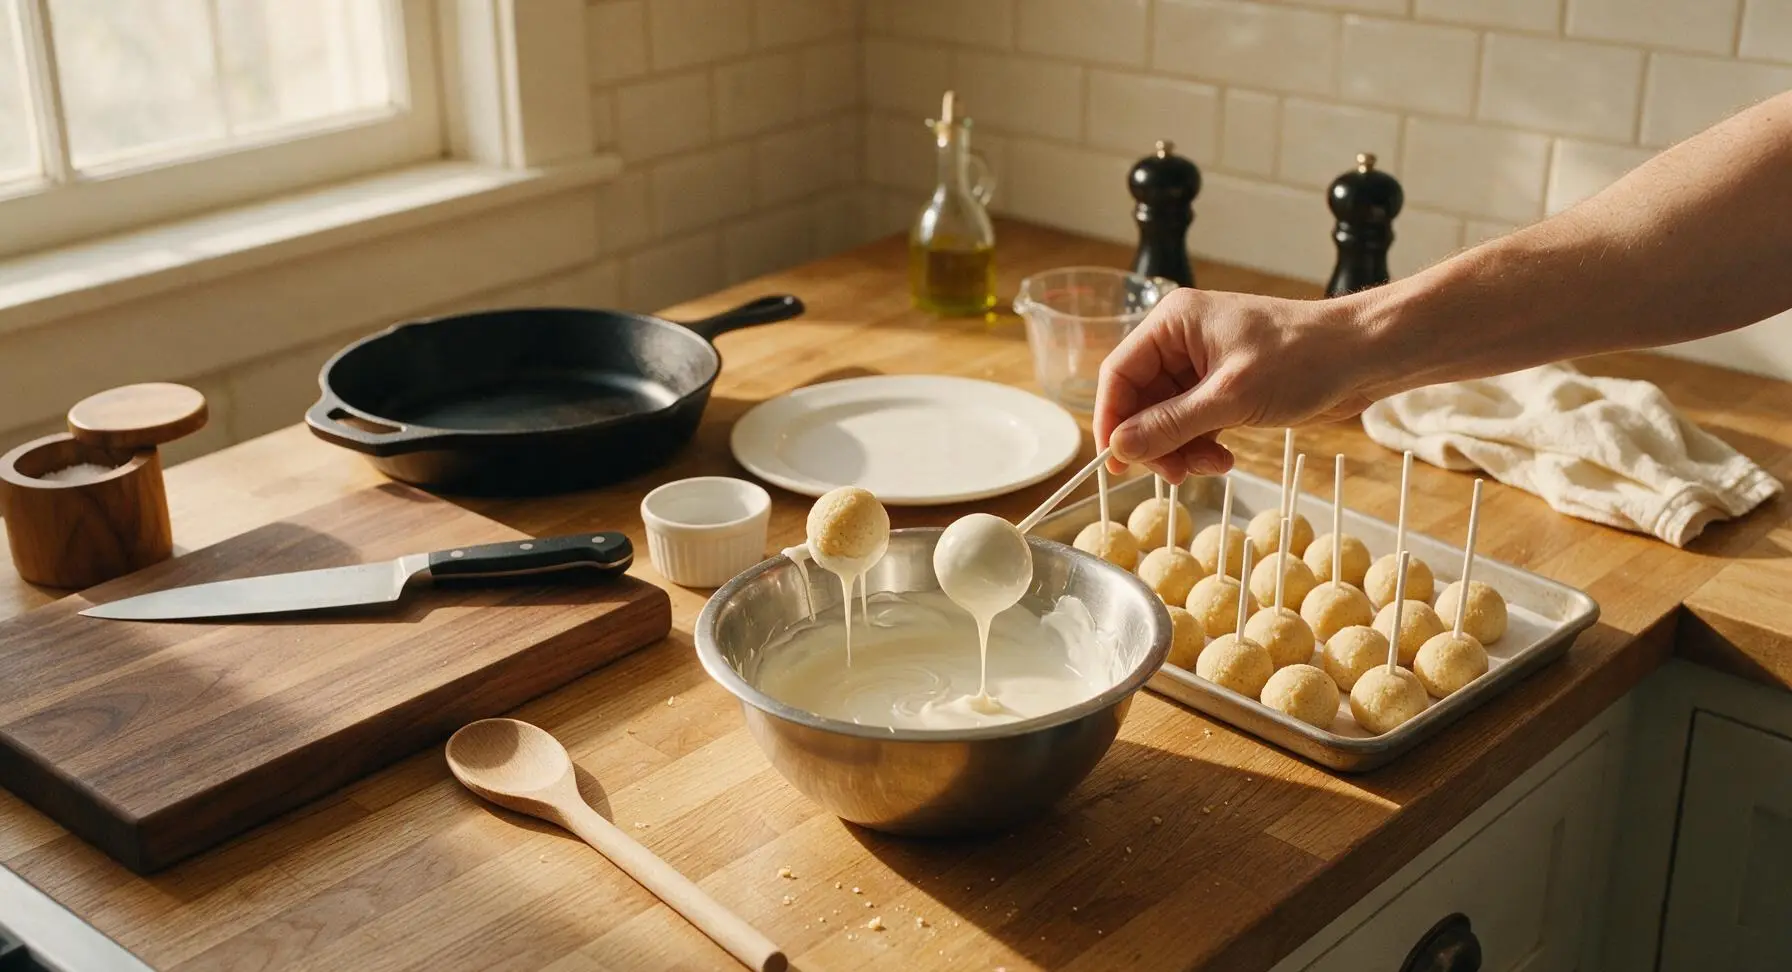
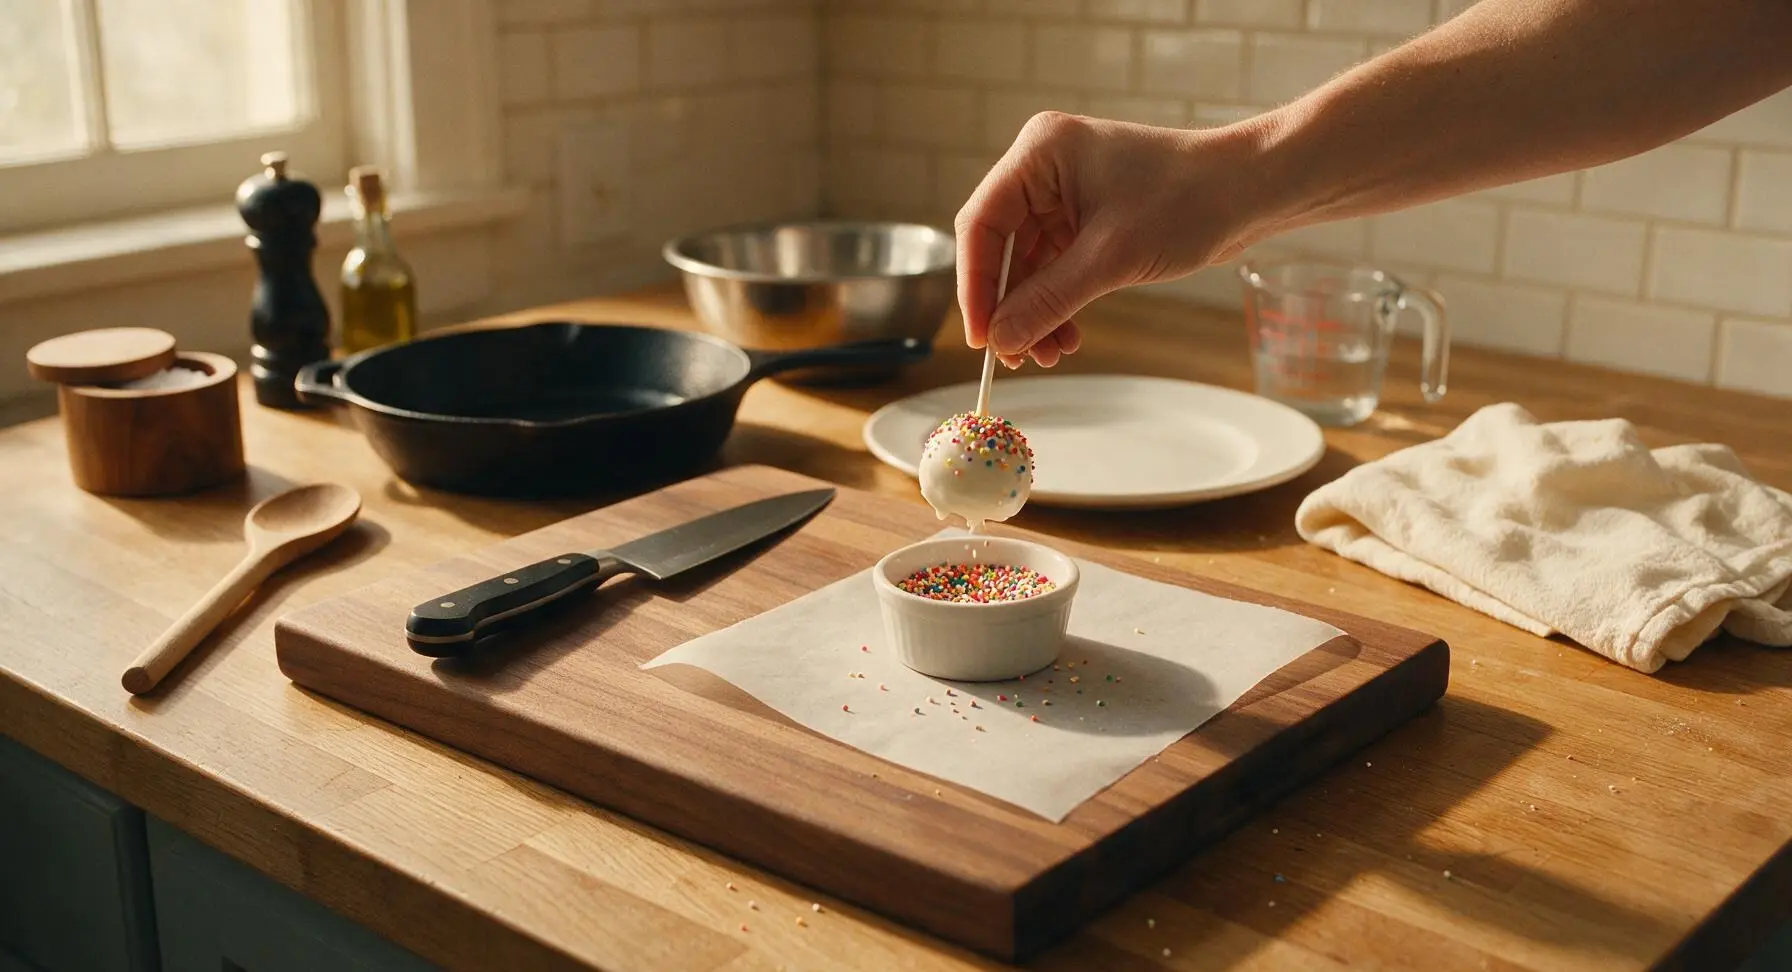
Holding a cake pop by the stick, submerge the entire cake ball fully into the melted candy coating, tilting the bowl as needed to cover the surface completely. Lift the pop out of the coating and gently tap the stick against the edge of the bowl to allow excess coating to drip off, creating a thin, even shell with no thick drips. While the coating is still wet, top with rainbow nonpareils or pastel sugar pearls as desired, alternating between white and milk chocolate coating for variety.
Set Pops Upright to Dry
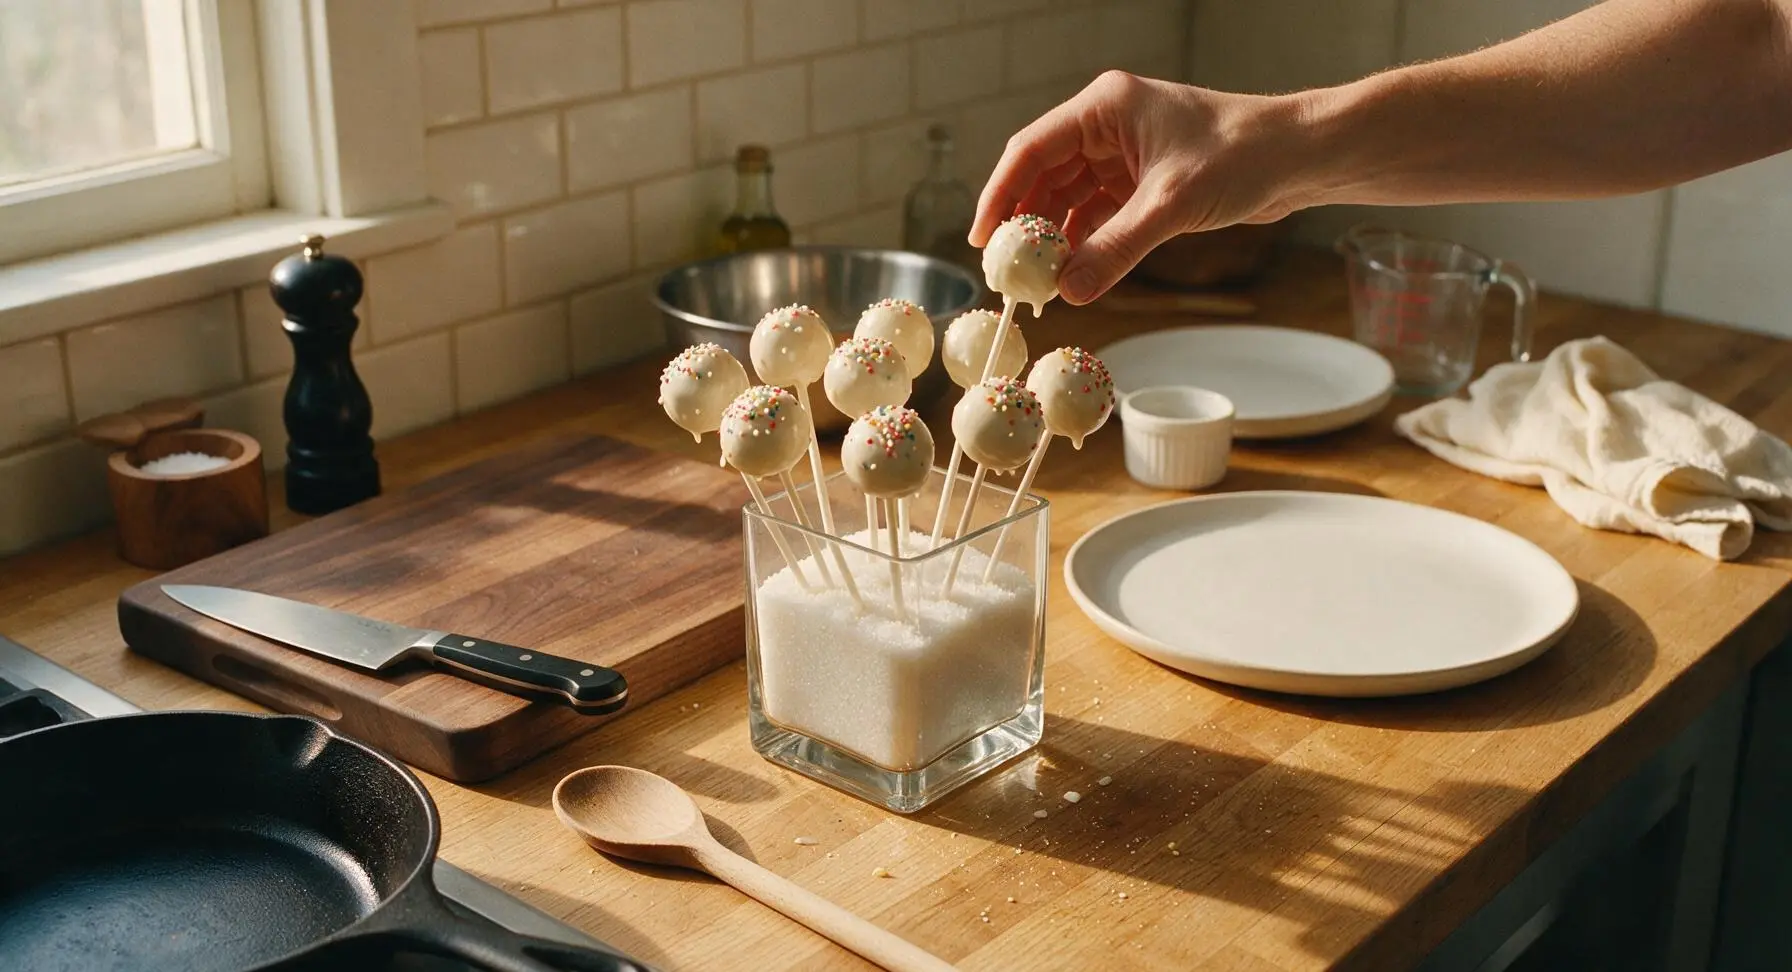
After dipping and decorating each pop, place the stick end into the thick clear square glass vase filled with white granulated sugar, spacing pops so they do not touch each other. Let pops rest at room temperature for 15 minutes until the candy coating is completely hard and set, with no sticky or soft spots when touched lightly. Once set, transfer pops to the matte white ceramic serving platter for serving.
Tips
2.Always let melted candy coating cool to 90°F before dipping: coating that is too hot will melt cold cake balls and cause them to fall off sticks, while coating that is too cool will be thick and create a lumpy, uneven shell.
3.Never freeze cake balls before dipping: the extreme temperature difference between frozen cake and warm coating causes the candy shell to crack as it sets. Refrigerator chilling for the recommended time creates the perfect firm texture without temperature shock.






OMG these cake pops are SO good! I made them for my son’s 3rd grade class party and every single kid asked for seconds. The 30 minute cook time is no joke, I knocked the whole batch out after work before school pick up, total game changer. Only thing I did different was add a little extra vanilla extract to the coating. 10/10
Made these for our office potluck last week and people were fighting over the last one. Super easy even for someone like me who burns toast half the time. Will definitely be making these again for the next tailgate.
Wait, can I use store-bought frosting instead of making the homemade version for the cake center? I’m crunched for time this weekend for my daughter’s birthday.
My kids loved it! We did a little decorating station after dinner last night with sprinkles, crushed Oreos, and mini M&Ms. It was such a fun family activity and the cake pops turned out way better than the overpriced ones from the coffee shop downtown.
Total beginner here, first time ever making any kind of cake pop and these came out perfect! I was worried they’d fall off the sticks or the candy coating would crack, but the instructions were so straightforward even I couldn’t mess it up.
These are perfect for quick snack prep! I made a batch on Sunday, stored them in the fridge, and grabbed one for a quick sweet treat all week. Way better than grabbing a candy bar from the vending machine at work.
Pro tip from someone who messed up the first batch: chill the cake balls for at least 10 minutes before you dip them in the coating! I skipped that step the first time and half of them slid right off the sticks into the melted candy. Second batch was perfect after I did that.
Has anyone tried making these with gluten free cake mix? My nephew has a gluten allergy and I want to make these for his graduation party next month.
I made these for my book club meeting and everyone was asking for the recipe! The only tiny issue I had was my white candy coating was a little lumpy when I melted it, but no one even noticed once we added sprinkles.
These are so easy my 10 year old made 90% of the batch by himself! He was so proud to bring them to his scout meeting and tell everyone he baked them. Definitely going to be a regular weekend bake in our house.
Wait how long do these stay fresh for? I want to make them a day ahead of my Halloween party so I don’t have to rush around day of.
Game changer for quick birthday treats! I forgot it was my roommate’s birthday yesterday, threw these together in 30 minutes, stuck a little candle in each one, and she thought I planned it for days. Total lifesaver.
I’ve tried so many cake pop recipes that turn out dry or crumbly, but these are perfectly moist every single time. I’ve made them 3 times in the last month for different events and they’re always a crowd favorite.
Made these with red velvet cake mix and cream cheese frosting for our Valentine’s day potluck at work and people were raving. The recipe is so easy to customize to any flavor, I’m already thinking of doing a lemon version for spring.
Quick question—do I need any special equipment to make these? I don’t have a fancy cake pop stand or anything, just regular baking sheets and a microwave.
These taste exactly like the cake pops I used to get at the mall as a kid! I was worried they wouldn’t live up to the nostalgia, but they’re even better because I can control how much chocolate coating is on them (read: way more than the mall gave).
I love that these are portion controlled! I used dark chocolate coating and added a little protein powder to the cake mix (don’t knock it till you try it) for a post-workout sweet treat that doesn’t derail my goals. So good!
My super picky toddler actually ate these which is a miracle in and of itself. I skipped the sprinkles since he hates crunchy textures and he gobbled two down after dinner. Only reason it’s not 5 stars is I wish the recipe made a couple more, we ran out in 10 minutes!