
California Lager
intro
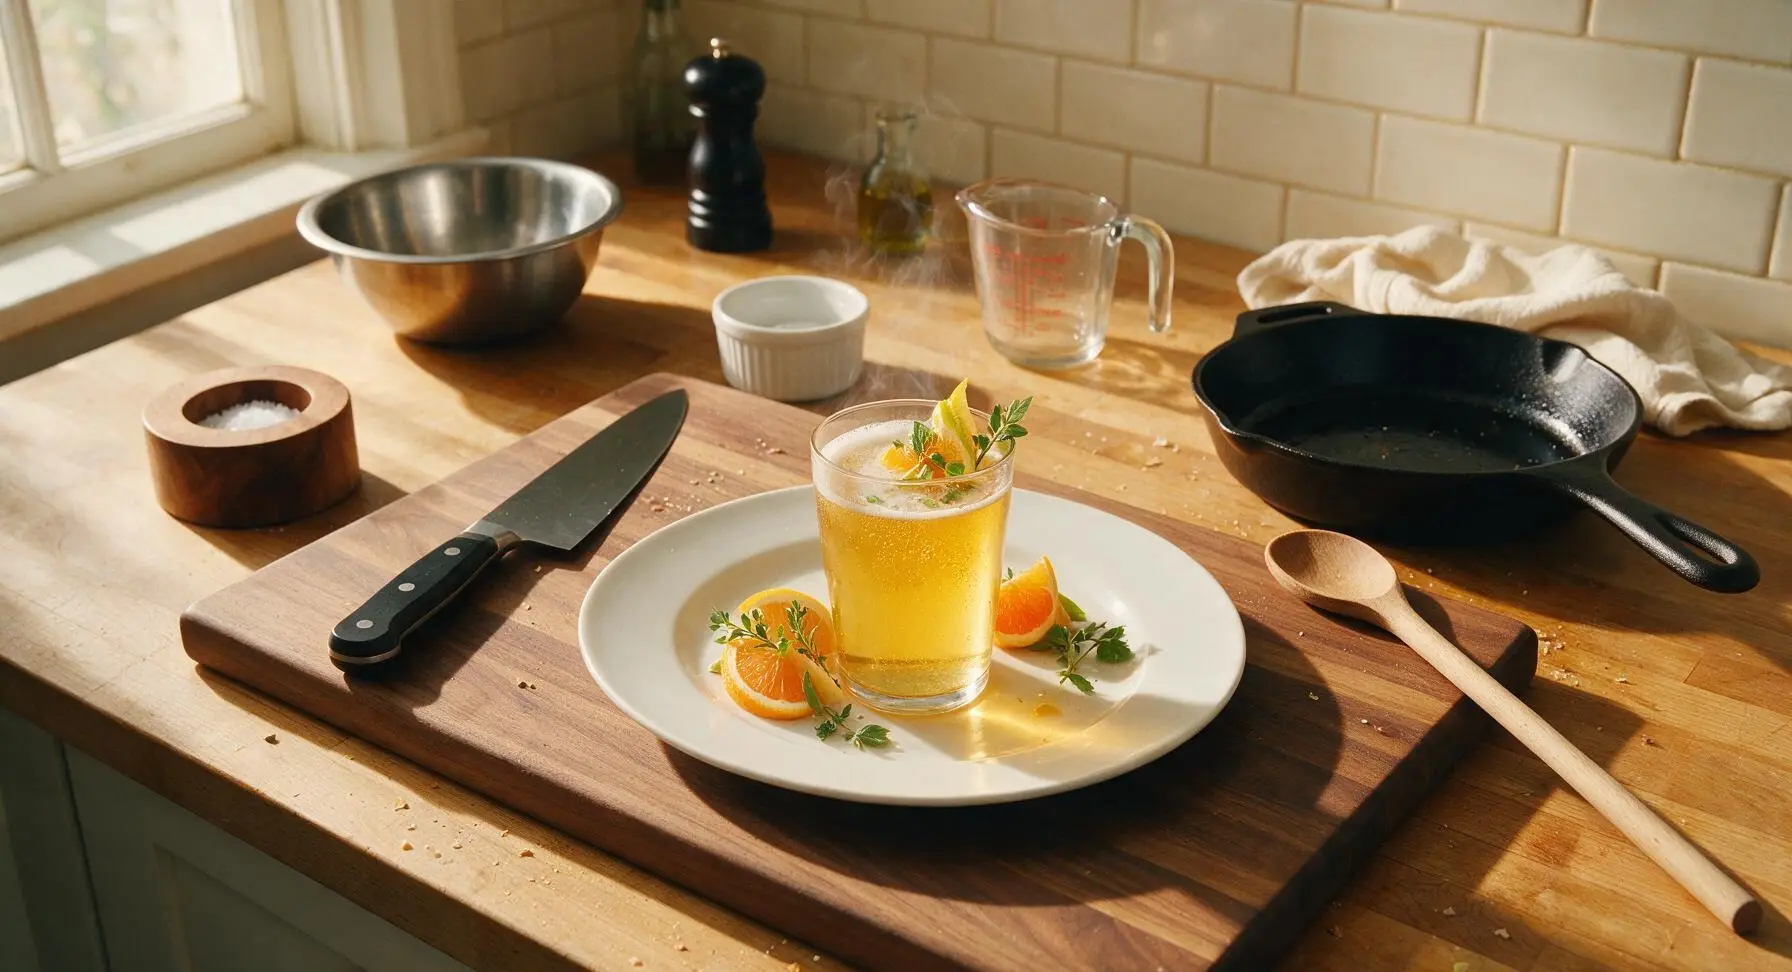
Crisp, bright, lightly hopped California Lager with soft malt sweetness, subtle citrus Cascade aroma, and a dry, clean finish—perfect for sunny summer days and casual backyard gatherings.
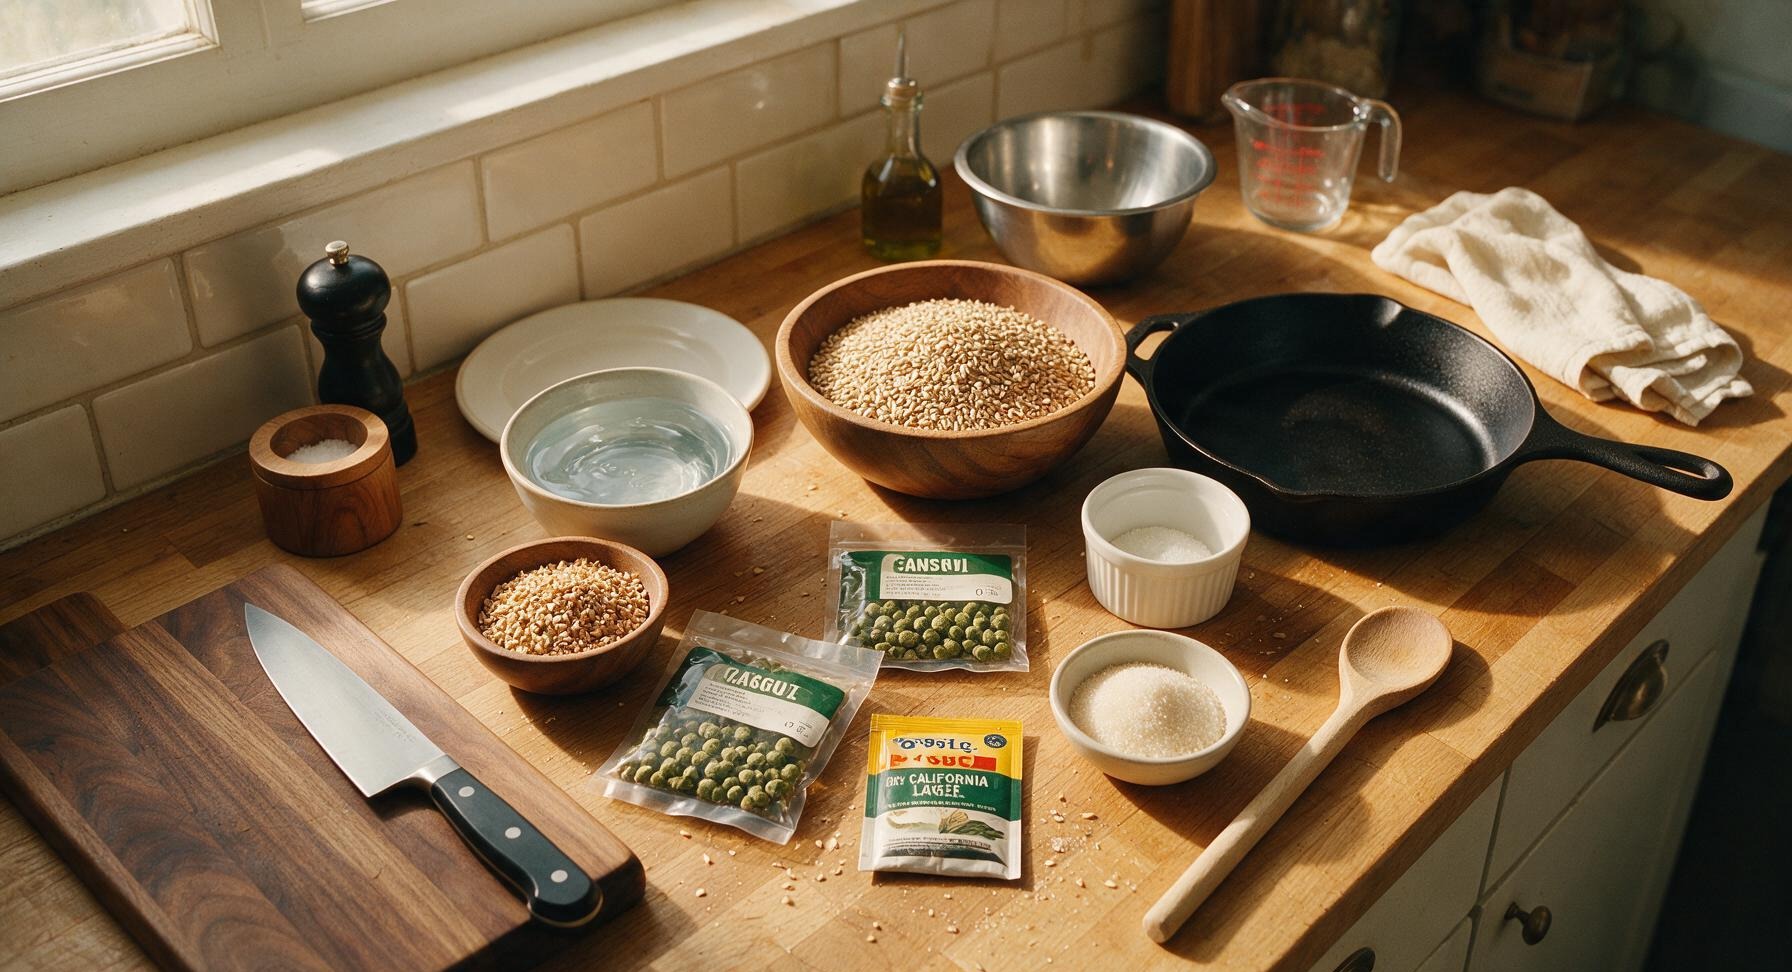
Ingredients
Steps
Sanitize Brewing Gear
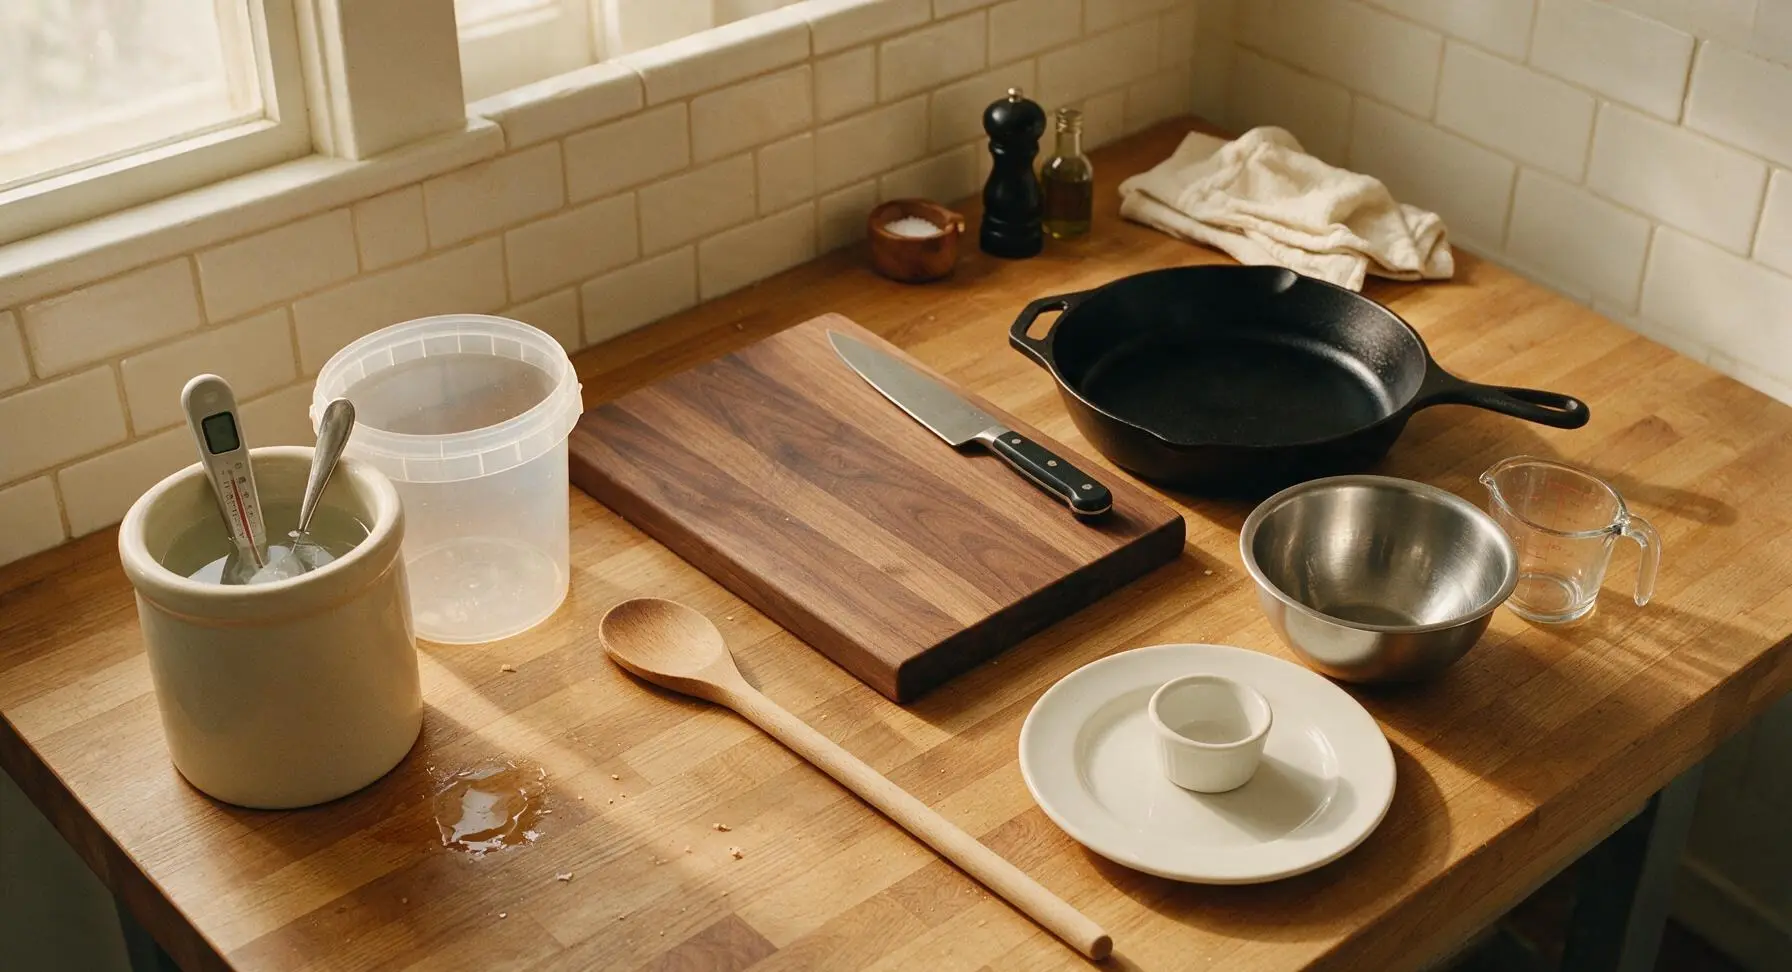
First, mix 1 tablespoon of no-rinse brewing sanitizer with 1 gallon of cool water in the matte cream ceramic sanitizer crock. Submerge the stainless steel stirring spoon, digital thermometer, fermentation bucket, airlock, auto-siphon, bottle capper, and bottle caps for 2 full minutes. Remove items and allow to air dry completely on the clean counter; no residual sanitizer suds should be visible before use to prevent off-flavors from unwanted bacteria.
Heat Strike Water
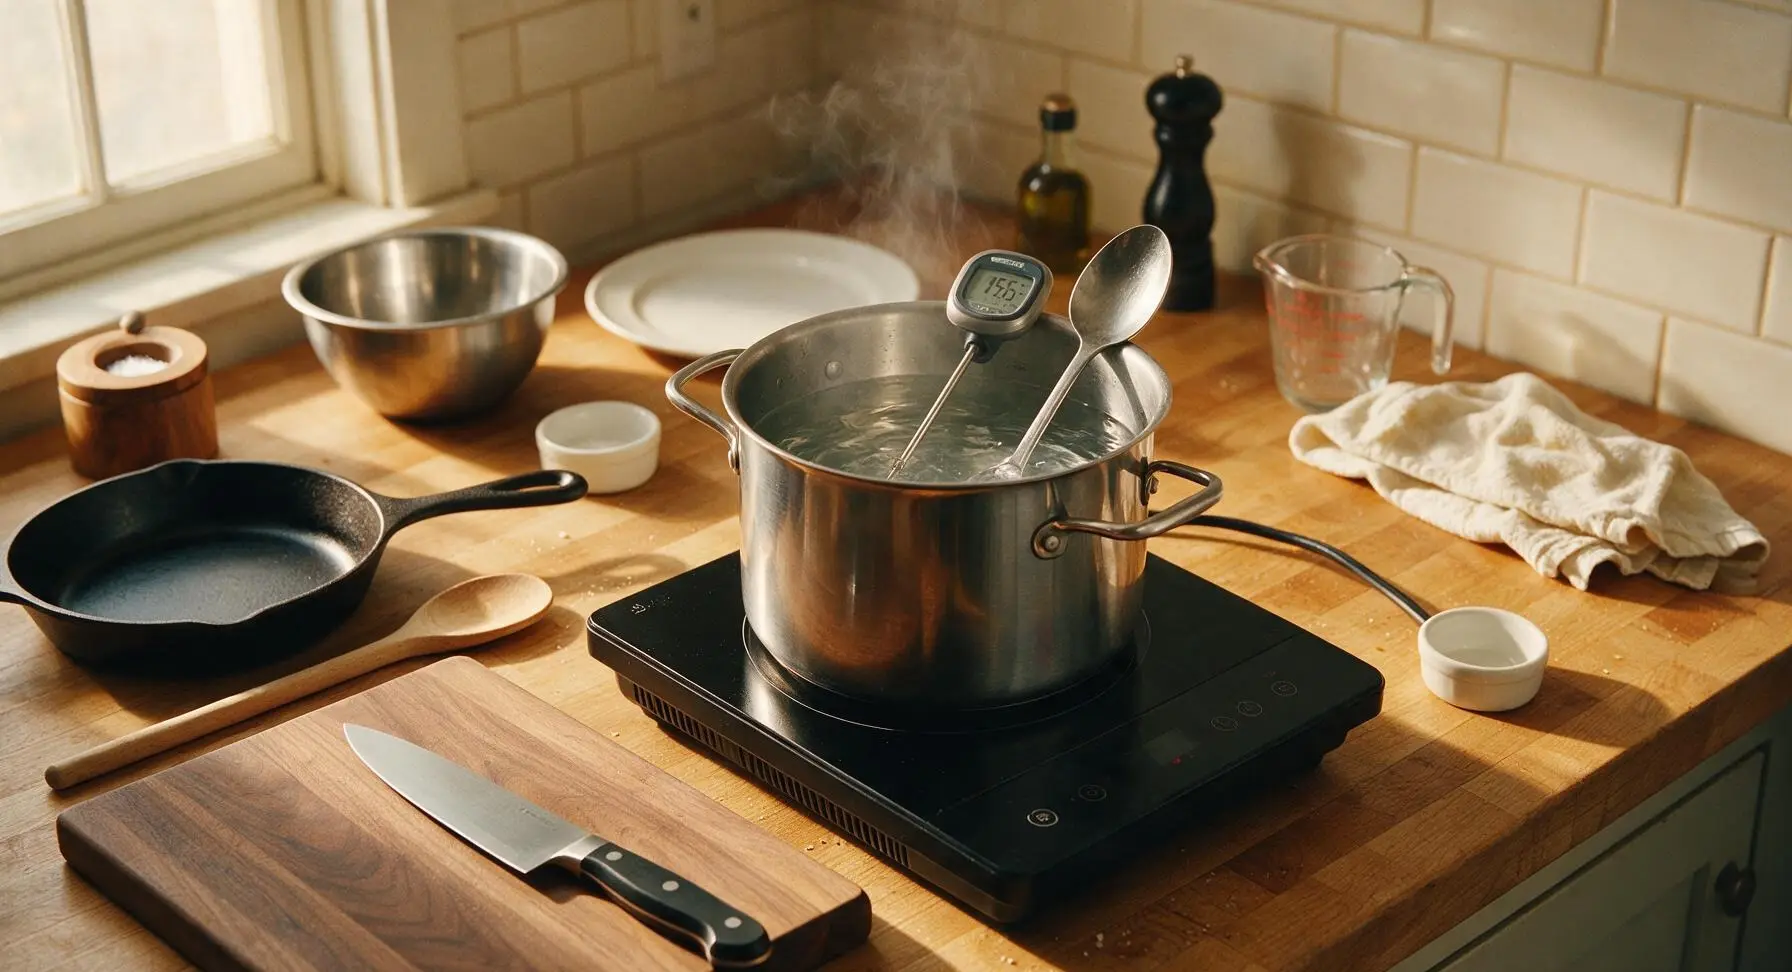
Set the polished stainless steel brew kettle on the center induction burner, then pour 3 gallons of filtered cold water into the kettle. Turn the burner to medium heat, warming the water to exactly 155°F (68°C), checking temperature regularly with the digital thermometer. Turn off the burner once target temperature is reached; the water will send up thin wispy steam but will not be at a rolling boil.
Mash the Grains
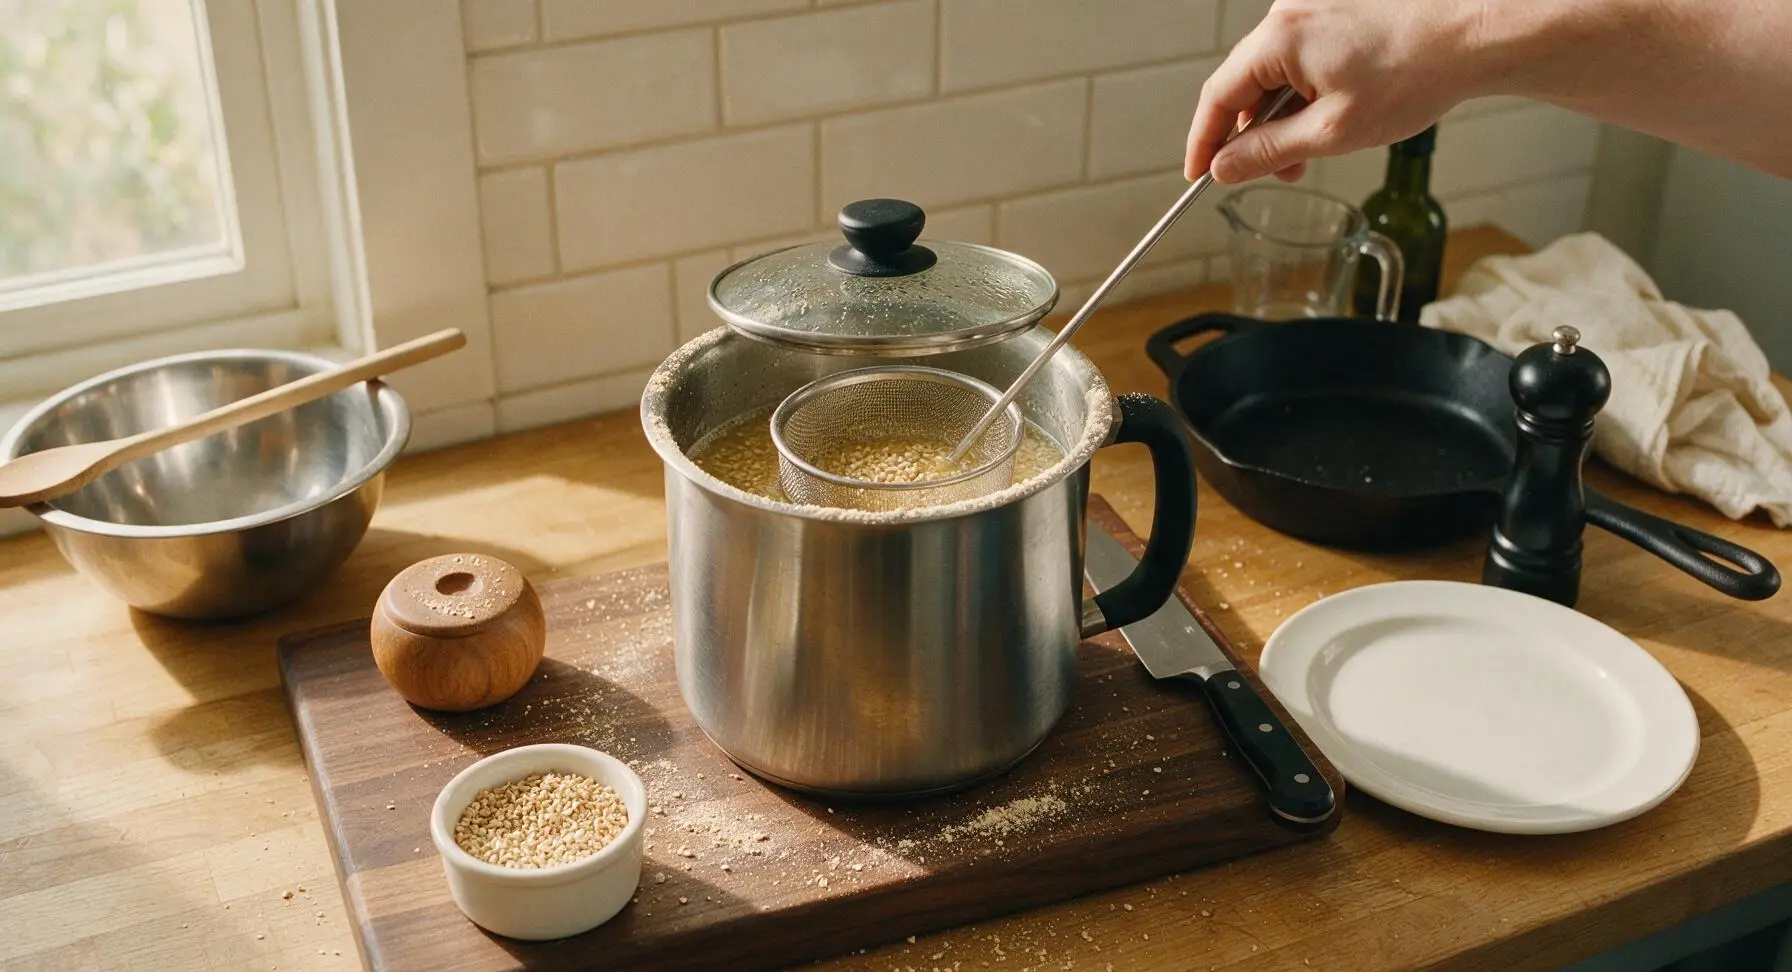
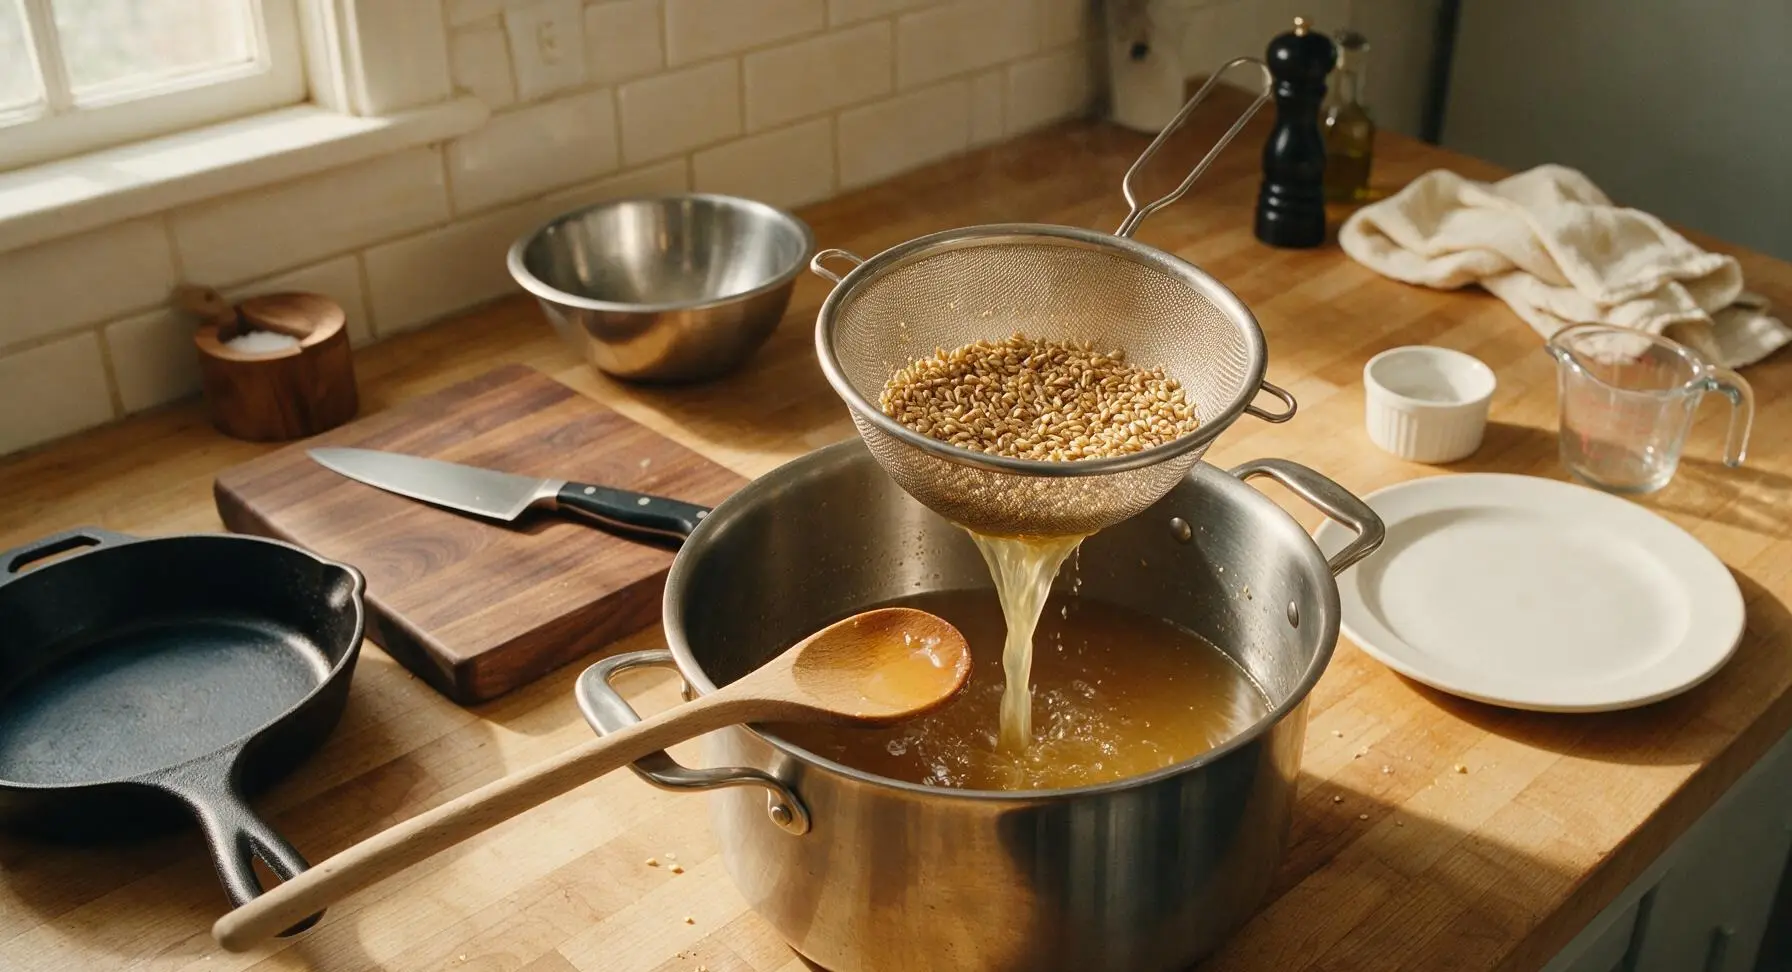
Set the fine mesh stainless steel grain basket inside the kettle, then add the crushed 2-row pale malt and caramel 10L malt to the basket, stirring thoroughly with the stainless steel spoon to break up any dry clumps of grain. Place the lid on the kettle and hold the temperature steady at 150–155°F (66–68°C) for 60 minutes, adjusting the burner as needed to maintain temperature. The mash will smell sweet and bready, with a thick porridge-like consistency. After 60 minutes, lift the grain basket to drain, leaving sweet pale golden wort in the kettle.
Boil and Add Hops
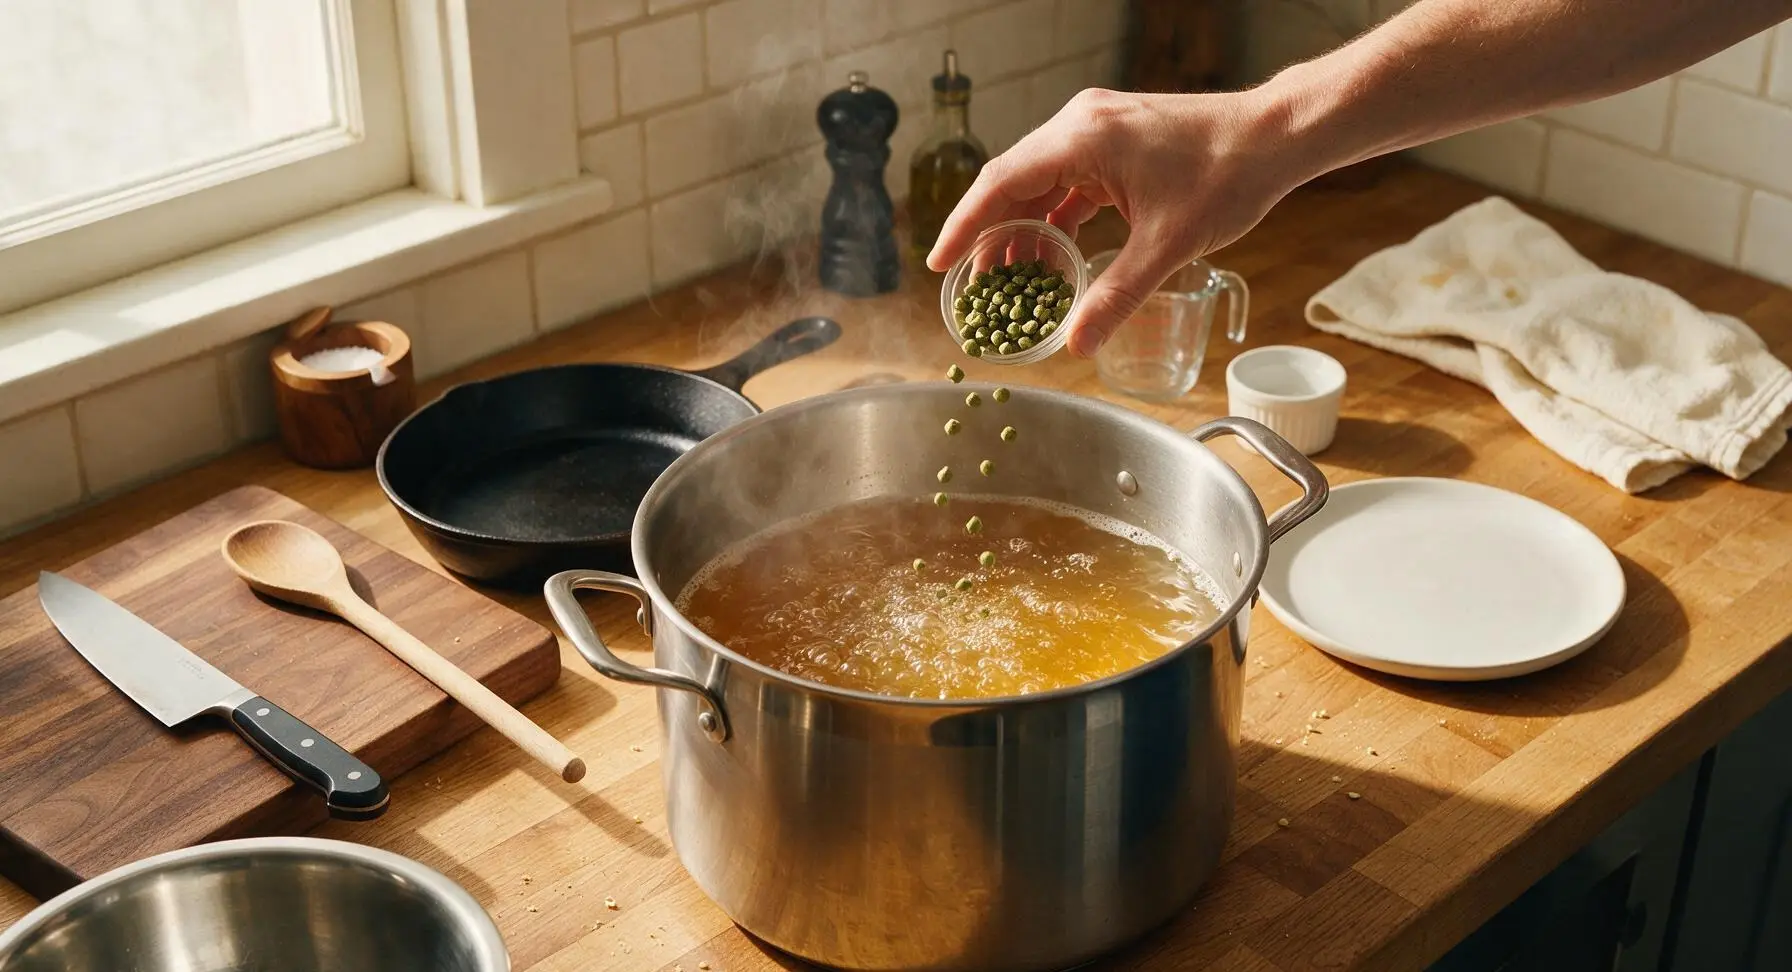
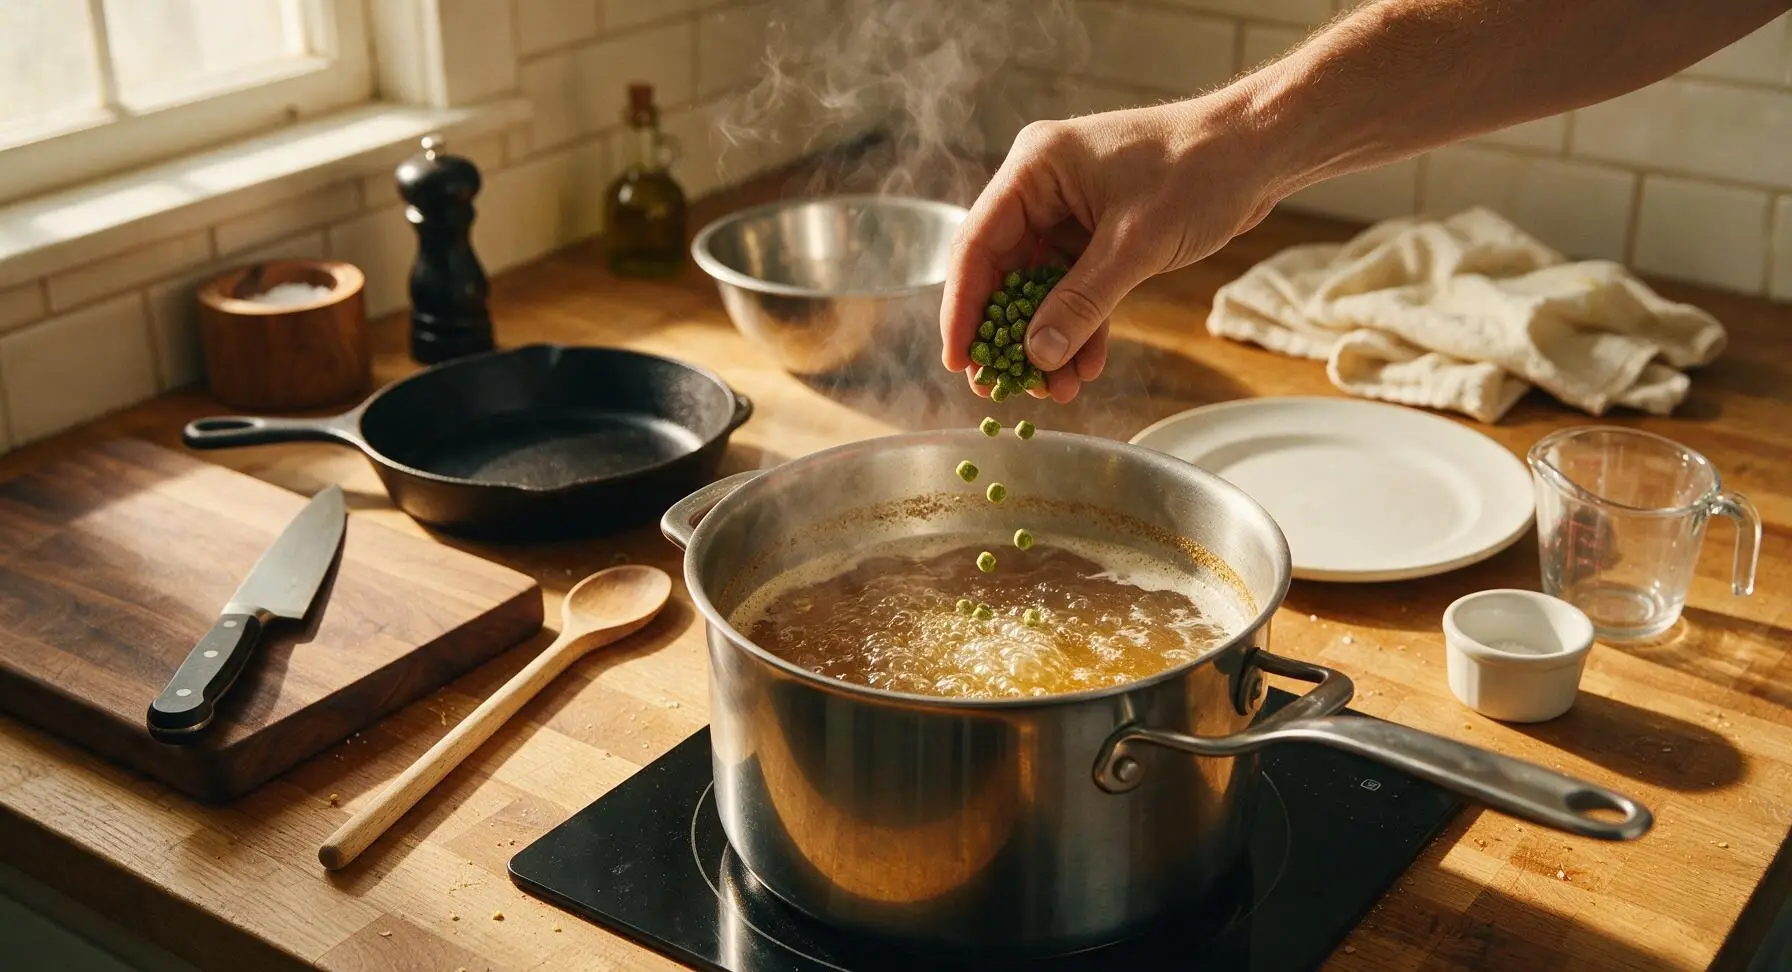
Remove the grain basket holding spent grains from the kettle, discarding the grains once fully drained. Turn the induction burner to high to bring the collected wort to a gentle rolling boil (212°F / 100°C). Once boiling is steady, add the full 28g of Magnum hop pellets from a prep bowl, then set a timer for 55 minutes. When 5 minutes remain on the timer, add the full 28g of Cascade hop pellets from a second prep bowl to add bright citrus aroma. Leave the kettle uncovered during the boil to allow harsh, volatile off-flavors to evaporate.
Cool Wort and Pitch Yeast
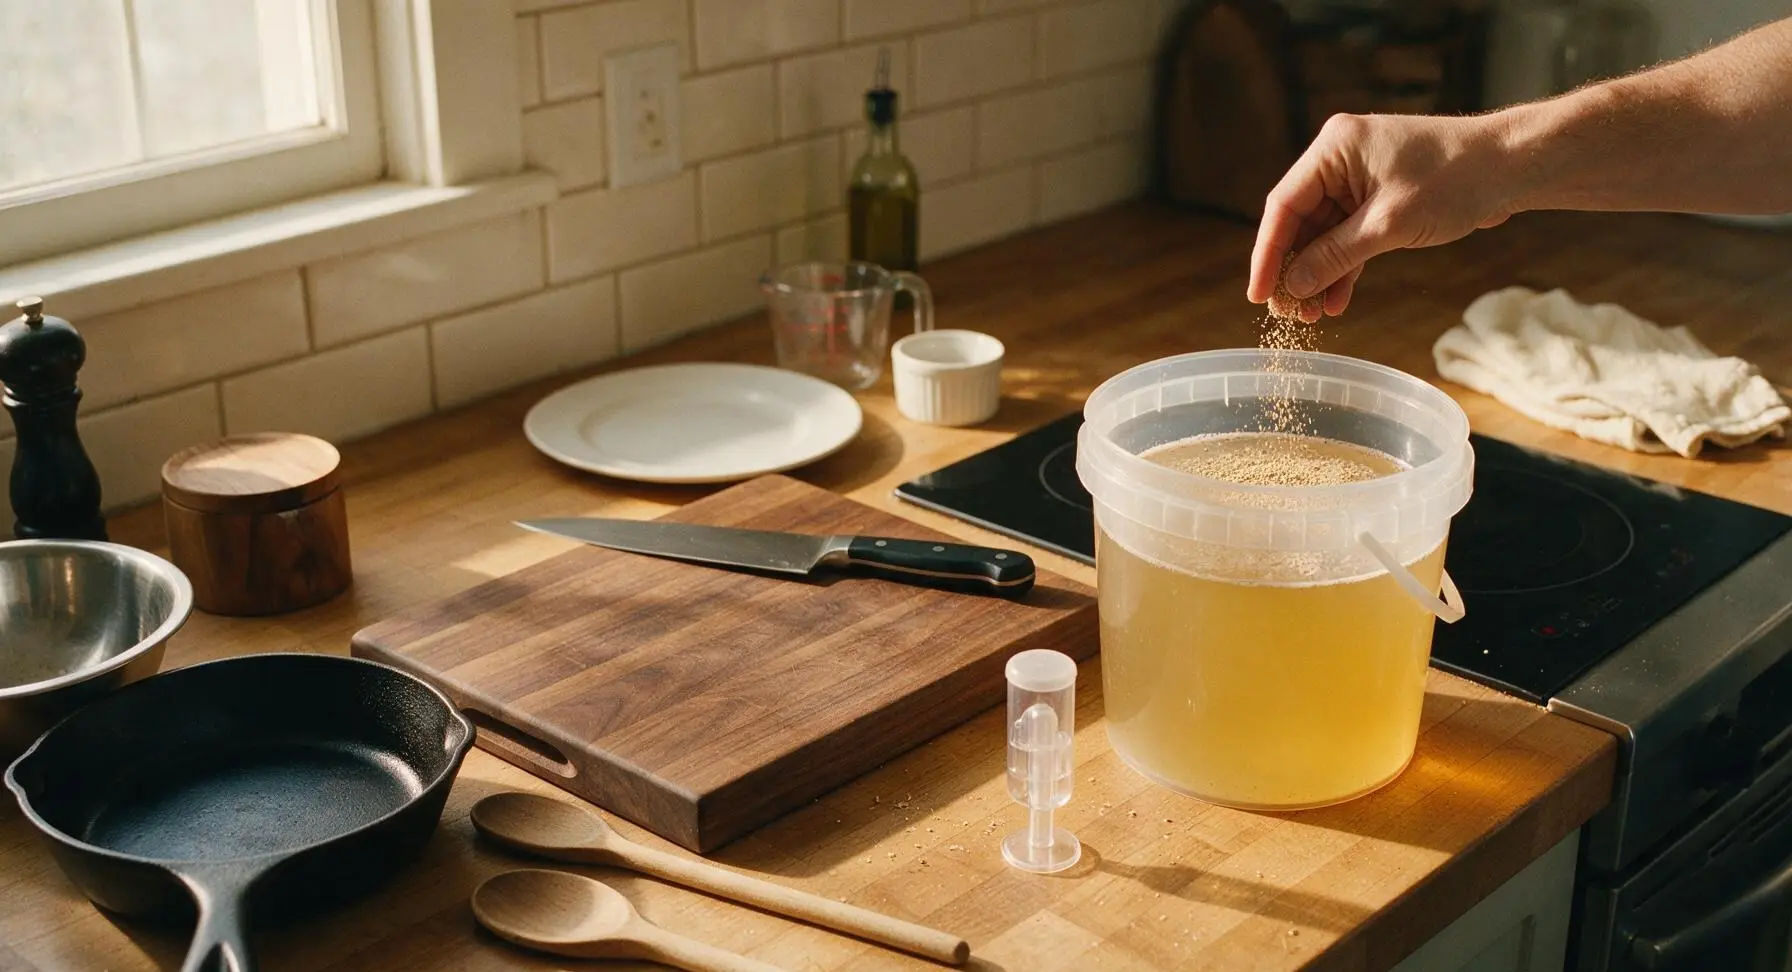
Turn off the burner once the 60-minute boil is complete. Place the lid on the kettle and cool the wort as quickly as possible to 55°F (13°C) by setting the kettle in an ice bath in the sink, until the outside of the kettle feels cool to the touch. Pour the cooled wort into the sanitized clear fermentation bucket, top up to 5 gallons total volume with the remaining filtered cold water, then sprinkle the entire packet of California Lager yeast evenly over the wort surface. Seal the bucket lid tightly, fill the airlock halfway with sanitizer solution, and insert it into the pre-drilled lid hole.
Ferment at Cool Temp
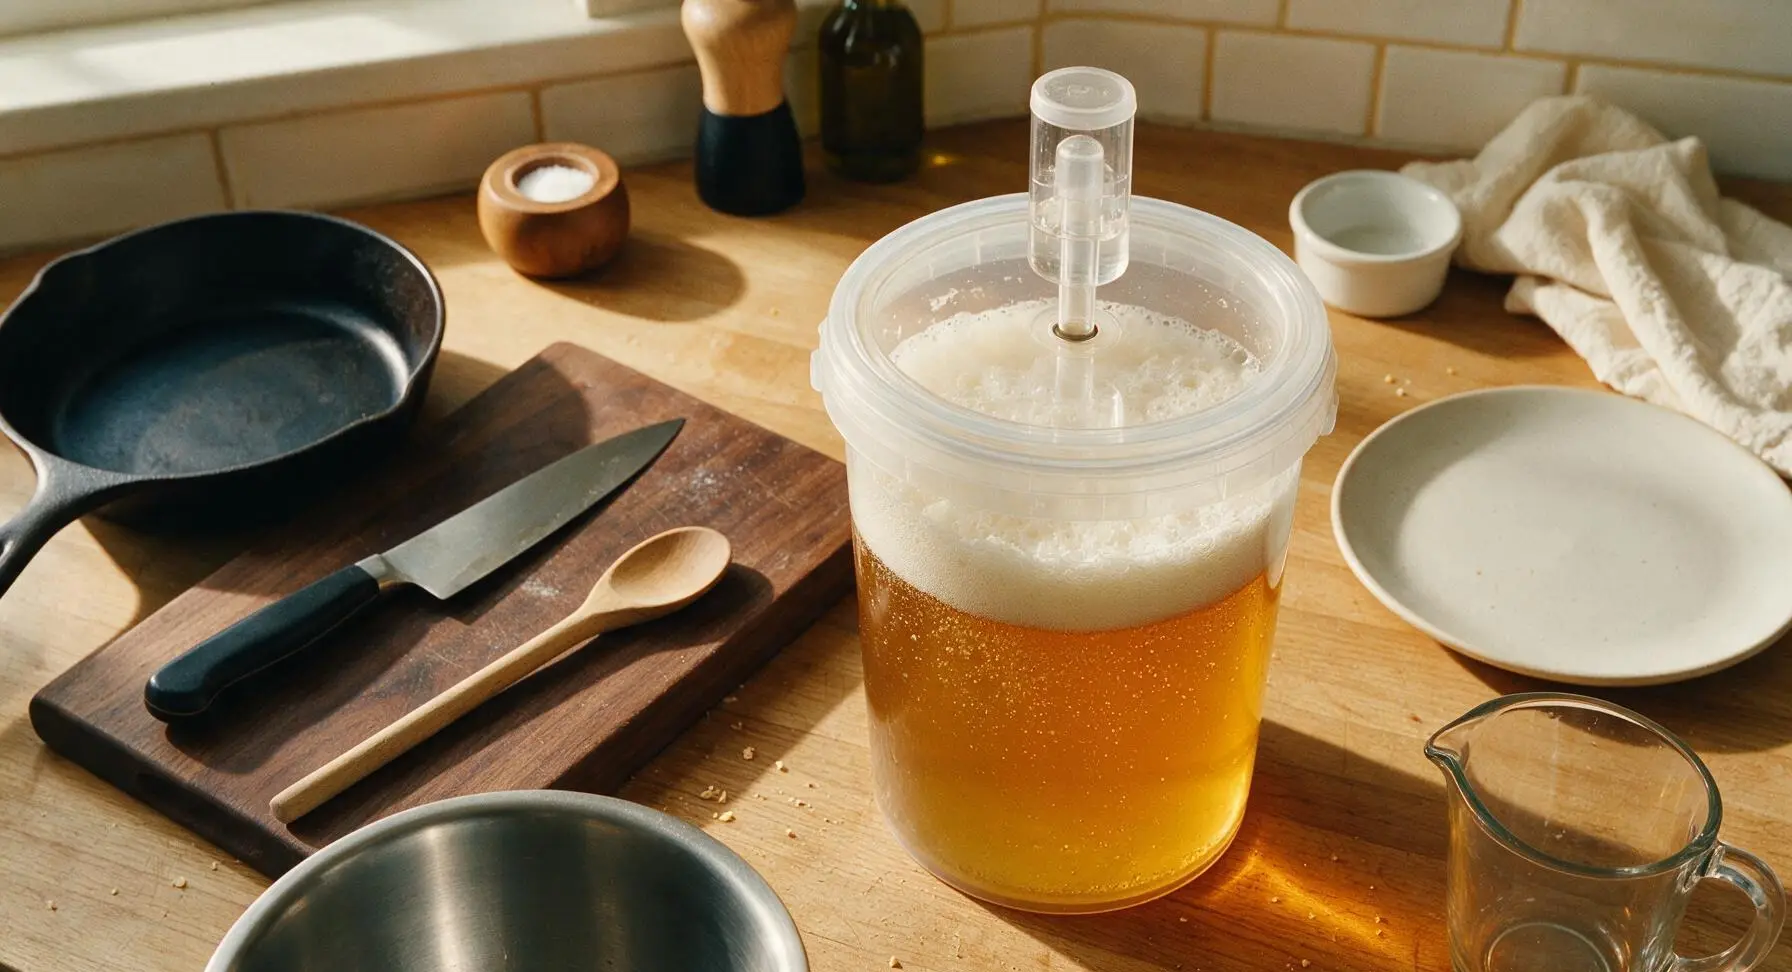
Leave the sealed fermentation bucket in a consistently cool, dark space held at 55–60°F (13–15°C) for 3 full weeks. Bubbles will rise through the airlock every few seconds for the first 7–10 days as active fermentation proceeds; when bubbling stops completely and the liquid looks clear with a thin layer of settled tan yeast at the bucket bottom, fermentation is complete. Avoid opening the bucket during this time to prevent contamination.
Bottle and Carbonate
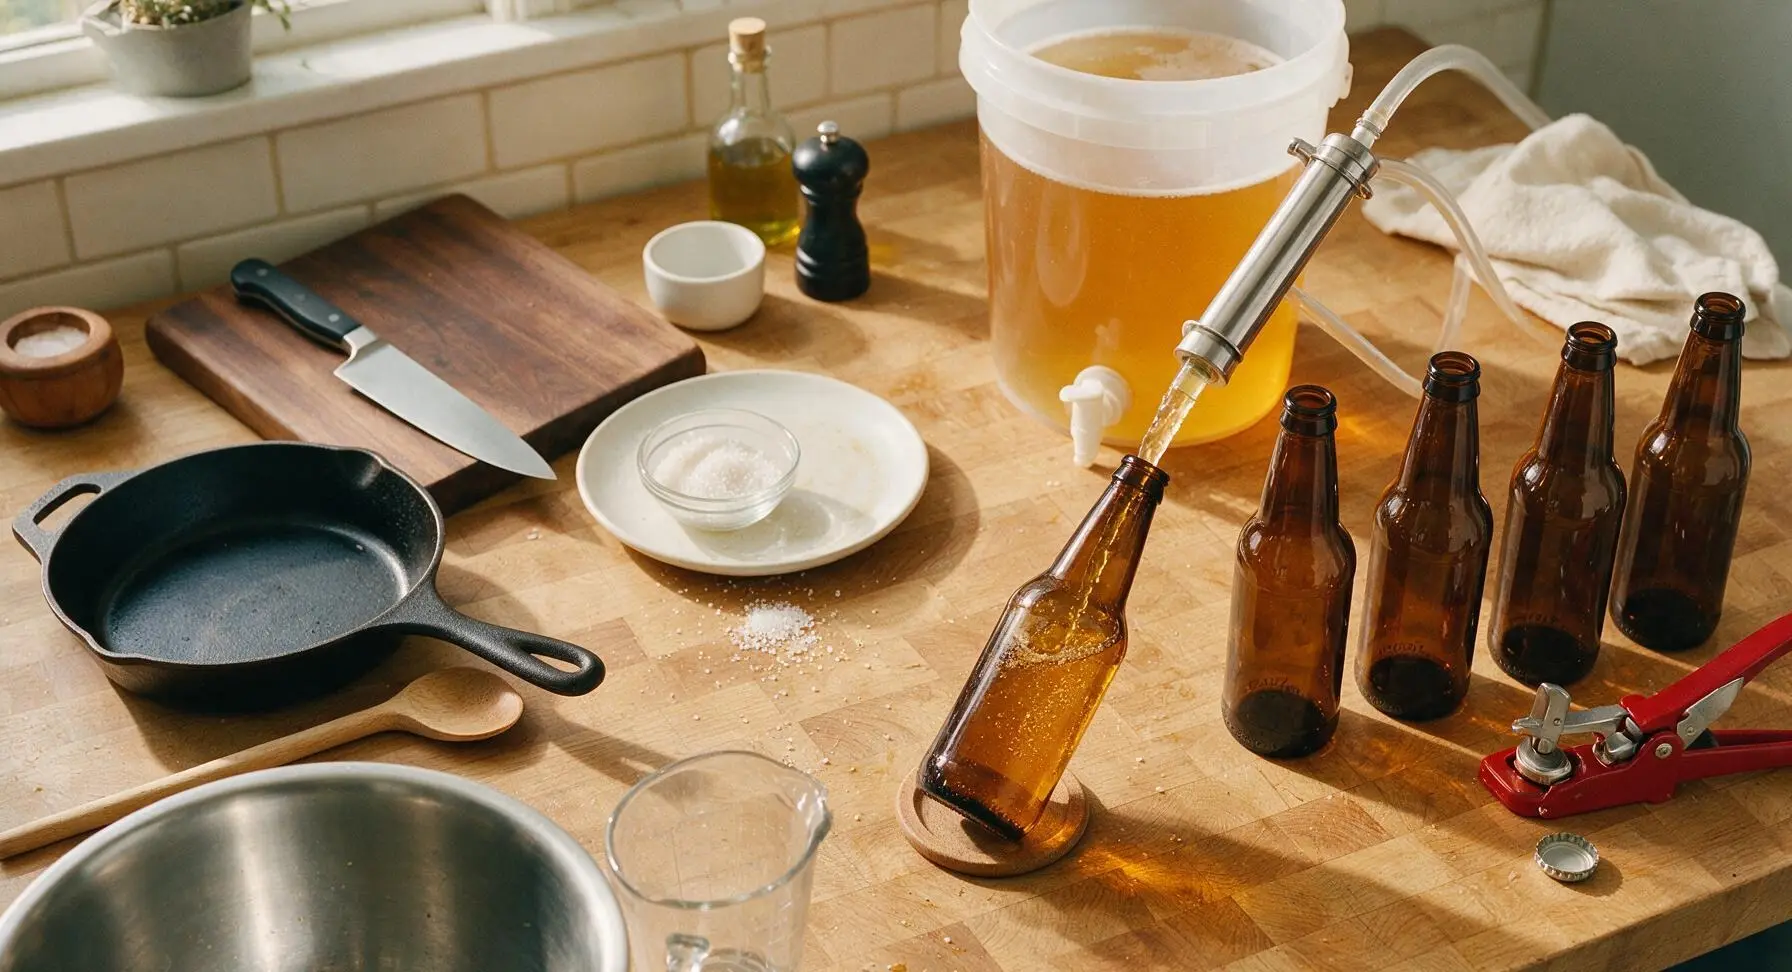
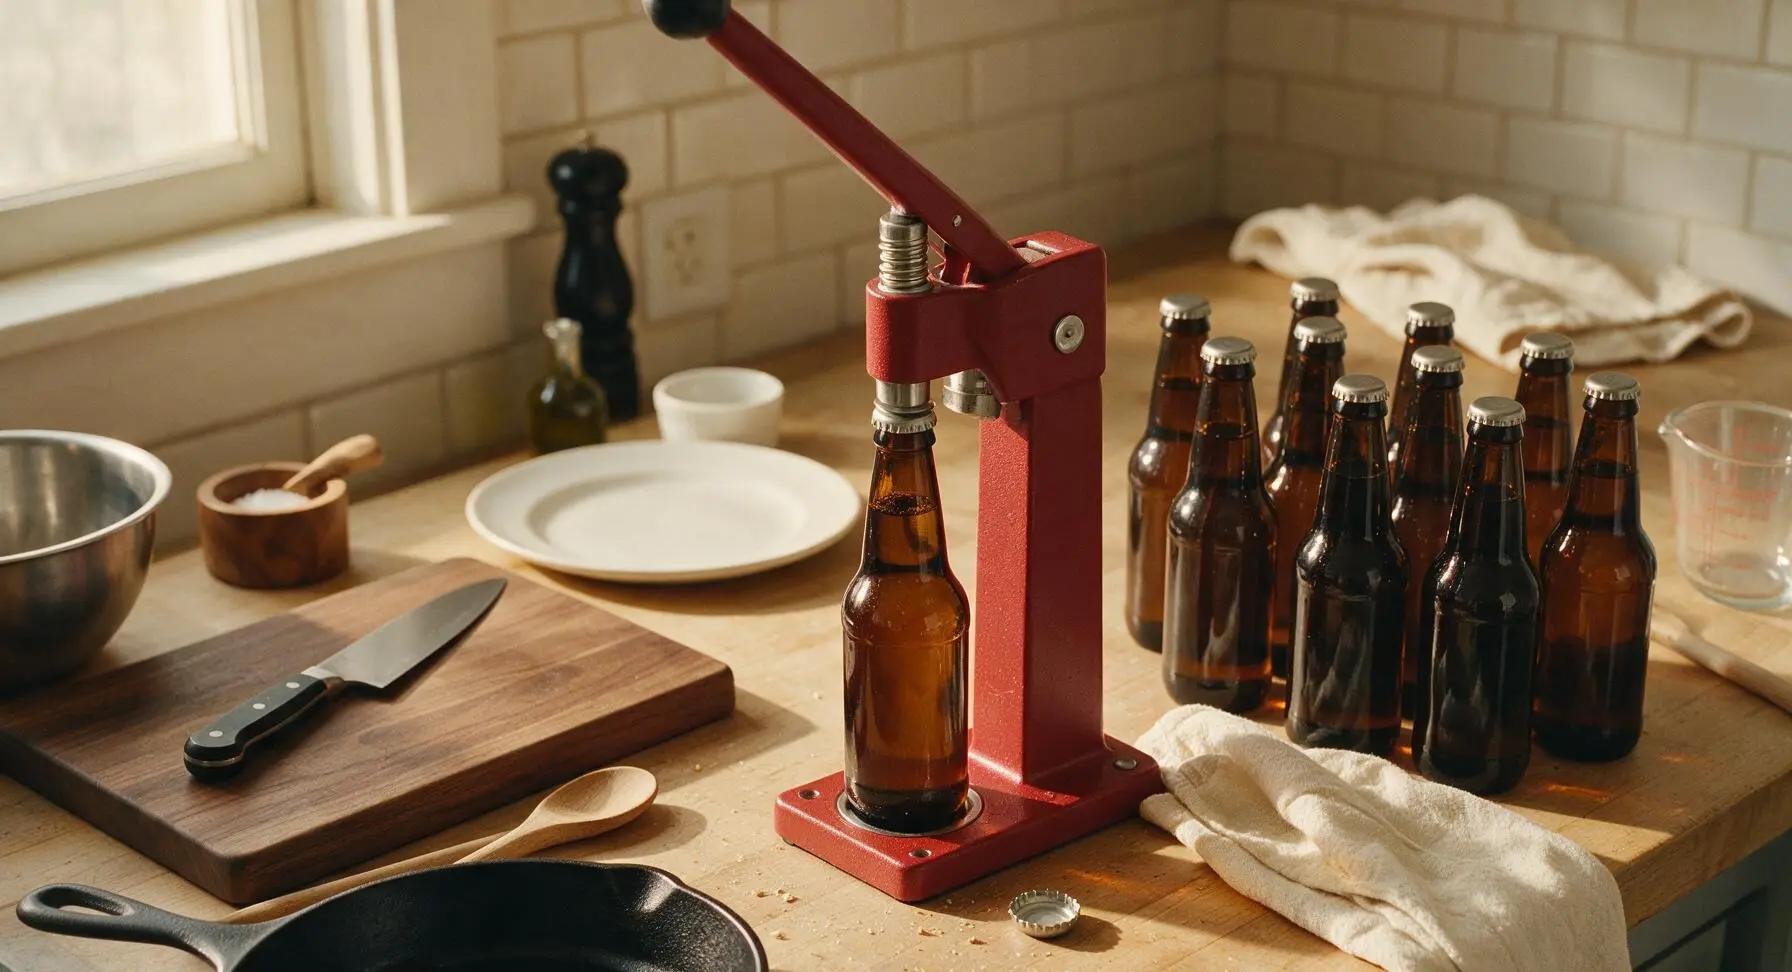
Once fermentation is complete, boil the 150g of corn sugar in 1 cup of water for 5 minutes (measured with the stainless steel measuring cup), cool, and add to the bottom of the sanitized fermentation bucket. Use the stainless steel auto-siphon to transfer the finished lager gently into the bucket, stirring slowly to evenly mix the priming sugar solution without introducing excess oxygen. Siphon the beer into sanitized amber 12oz bottles, leaving 1 inch of headspace at the top of each bottle, then crimp silver bottle caps on tightly with the red bench capper. Store sealed bottles at 65–70°F (18–21°C) for 1 full week to allow natural carbonation to develop.
Chill Before Serving
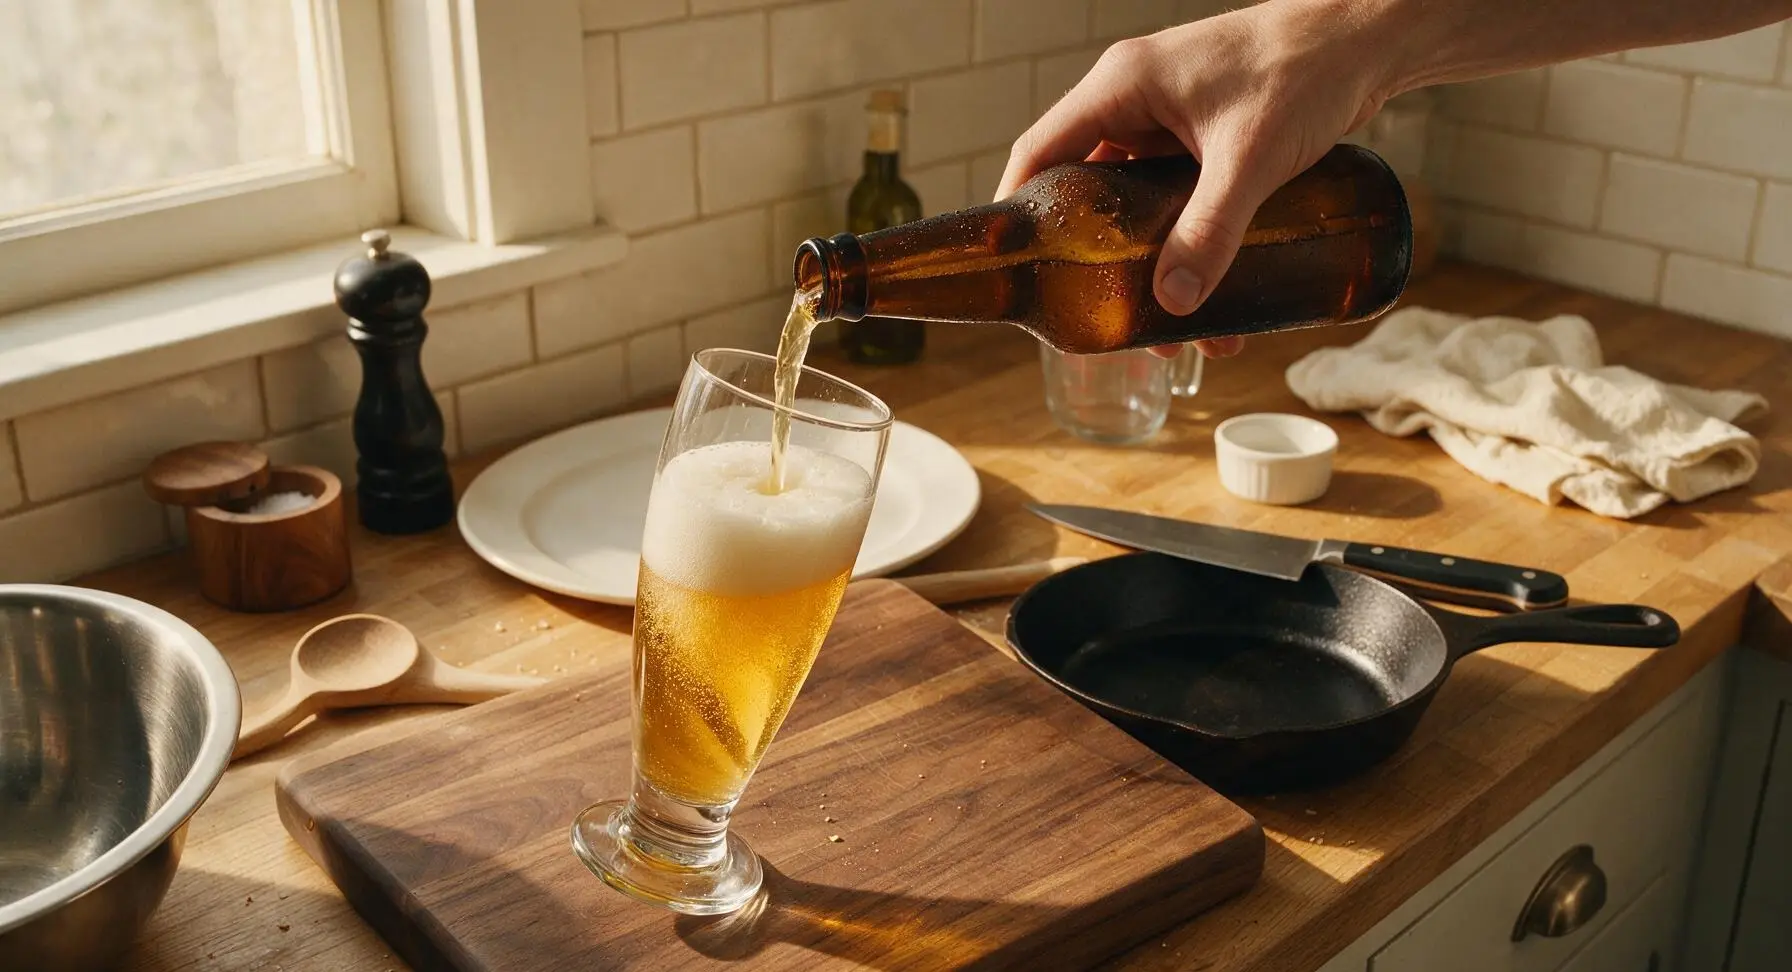
After 1 week of bottle carbonation, move the sealed lager bottles to the refrigerator to chill for at least 24 hours to 40°F (4°C) before serving. Pour slowly into a tilted clear pilsner glass, leaving the last 1/4 inch of beer in the bottle to hold settled yeast sediment, aiming for a 1-inch thick white foam head. Serve immediately for the crispiest, most refreshing flavor.
Tips
2.Maintain a steady fermentation temperature between 55–60°F for the full 3 weeks; temperatures above 65°F will produce fruity, estery notes typical of ales, which disrupt the clean, crisp profile classic to California Lager.
3.When pouring, leave the final 1/4 inch of beer in the bottle to avoid transferring fine settled yeast sediment into your glass; this keeps the lager brilliantly clear and prevents subtle yeasty bitterness from altering the clean flavor.






OMG this is the exact classic lager I’ve been trying to nail for over a year! Crisp, clean, not too hoppy, perfect for backyard BBQs. I brought a six pack to my neighbor’s potluck last weekend and everyone was begging for the recipe. Total game changer for my homebrew lineup.
First ever homebrew attempt here! The wort boil step was way easier to follow than I expected, but I got a little nervous holding the cool fermentation temp steady for 3 whole weeks. Ended up turning out SO good, just a tiny bit more yeasty bite than I thought it would be. Can’t wait to tweak it next batch!
Made this for my annual lake trip with the guys and it disappeared faster than the burgers! Super smooth, no weird aftertaste, way better than the store-bought lager we usually stock. My buddy even offered to pay me to make him a case for his birthday next month. 10/10 will brew on repeat.
Followed the recipe exactly but ended up with a little more carbonation than I wanted after the 1 week bottle carb step, a couple bottles gushed when I opened them. Flavor was spot on though, that classic California crispness is there for sure.
My husband is obsessed with west coast lagers so I surprised him by brewing this for our anniversary. He said it tasted exactly like the fancy craft lagers we used to buy on our trips to San Diego! We shared a few bottles with our dinner guests last night and everyone raved.
I’ve brewed a dozen different lager recipes over the years and this one is easily top 3. The 1 hour wort boil is totally manageable even on weeknights, I didn’t have to rearrange my whole schedule to make it work. Game changer for busy brewers who don’t want to skimp on flavor.
Just cracked my first bottle after the full 4 week wait and WOW. Crisp, refreshing, perfect for 100+ degree Arizona summer days. I added a tiny pinch of lime zest to a few bottles and it’s chef’s kiss. Will definitely be making this all summer long.
Quick question! I don’t have a dedicated fermentation fridge, can I get away with fermenting this in a cool basement that stays around 52-55 degrees? I’m so excited to brew this this weekend, don’t want to mess up the flavor before I even get started.
Brought a growler of this to our weekly game night and it was such a hit! My friends who usually only drink light, macro beers loved it just as much as our craft beer snob friend. That’s the mark of a perfect lager if you ask me.
Just finished the wort boil for my second batch of this! First batch was so good I barely got to keep any for myself, my whole family raided my beer fridge when they came over for Sunday dinner. This time I’m hiding a few bottles for my wife and I to enjoy on our camping trip next month.
Solid recipe! I messed up the first time by rushing the fermentation, only waited 2 weeks instead of 3 and it had a weird off flavor. Waited the full 3 weeks on my second batch and it was perfect. Don’t skip the full fermentation time y’all, it’s worth the wait!
As someone who grew up drinking classic California lagers at beach bonfires, this recipe hits every single nostalgia button. It’s not overly bitter, has that perfect subtle malt backbone, and goes with literally every food I’ve paired it with — burgers, tacos, grilled fish, you name it.
I was nervous about the medium difficulty rating going in, but the step-by-step instructions were so clear I never felt lost. The bottle carbonation step was way simpler than I thought it would be too, no flat bottles here! Ended up with perfectly bubbly, crisp lager every single bottle.
Just popped open my first bottle after the 4 week wait and it’s SO good. I was worried the Texas heat would mess with my fermentation temps but I kept it in a dark closet with a small fan and it turned out flawless. Already planning to brew a double batch next month for our Fourth of July party.
Pro tip for anyone making this: throw a couple bottles in the cooler when you head to your next potluck, people will lose their minds. I brought this to my office picnic last week and had three coworkers ask for the recipe before I even finished my first glass. Total crowd pleaser!
Really solid base lager recipe! I experimented by adding a small amount of Cascade hops at the end of the boil for a little extra citrus kick and it turned out amazing. The base is so balanced it’s super easy to tweak to your own taste preferences without messing it up.
I’ve paid $18 a six pack for fancy craft California lagers that don’t taste half as good as this turned out. The total time is 4 weeks which feels like forever when you’re waiting, but I promise it’s 100% worth the patience. No more overpaying for store-bought for me!
Made this with my teen son who’s been getting into homebrewing as a hobby, and it was such a fun weekend project! We loved doing the wort boil together, and checking on the fermentation progress every few days became our little ritual. The end result was delicious too, which is a bonus.
I was skeptical a medium-difficulty lager would turn out right on my first try, but this recipe was foolproof. That 1 week bottle carbonation step gave it the perfect fizz level, not too flat, not too bubbly. I already recommended it to three of my homebrewing friends who are always on the hunt for a solid classic lager.