1.Why does my hard candy turn out sticky instead of having that signature clean snap?
▾
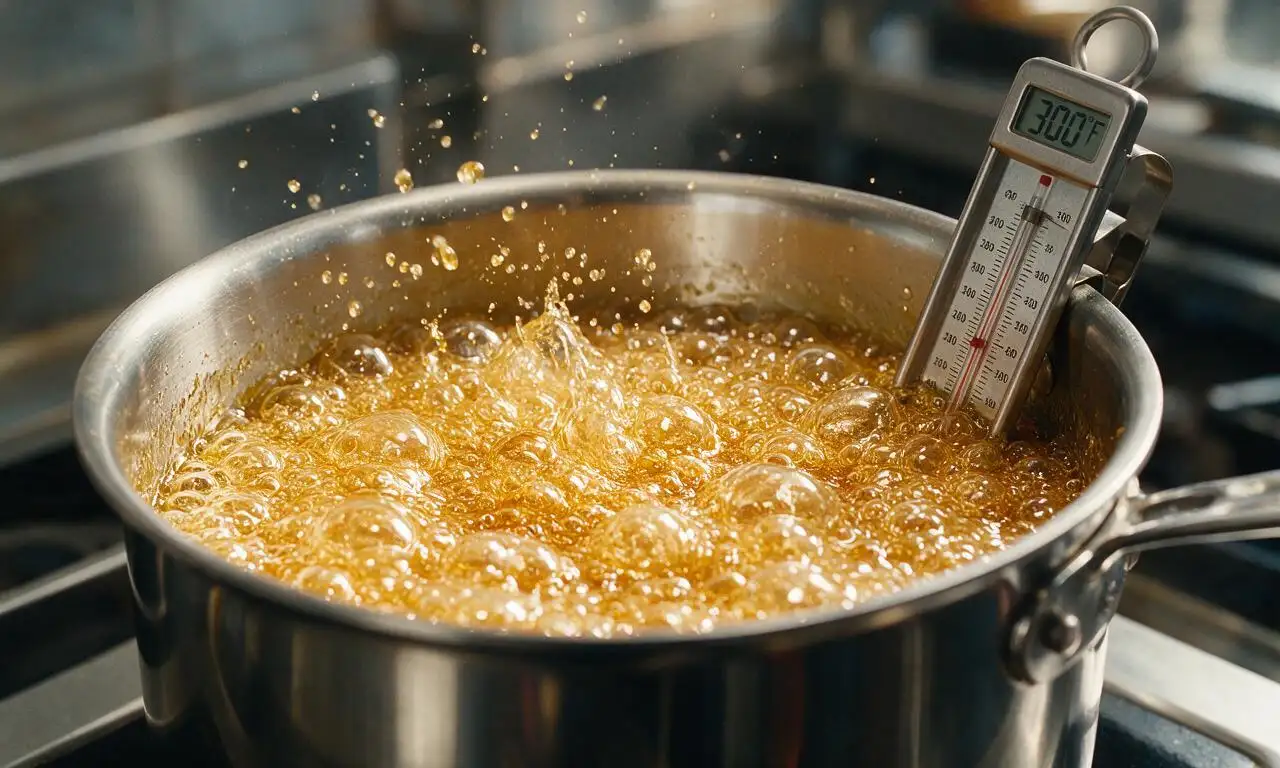
Sticky candy almost always traces to one of three common issues: you didn’t heat the syrup to the full 300–310°F hard-crack stage, you made it on a high-humidity day (over 50% relative humidity, when sugar pulls moisture from the air), or undissolved sugar crystals got into the cooling syrup. Use a calibrated candy thermometer, and avoid scraping syrup from pan sides when pouring.
2.Can I skip the light corn syrup in this recipe?
▾
I don’t recommend skipping light corn syrup here—it prevents the sugar crystal formation that causes grainy, uneven candy. If you need a substitute, use equal parts glucose syrup. Homemade swaps like honey or maple syrup alter the flavor, lower the set temperature, and lead to a softer, stickier final product that won’t hold that classic crisp snap.
3.How do I test for hard-crack stage if I don’t have a candy thermometer?
▾
Use the reliable cold water test: drop a tiny pea-sized bit of boiling syrup into a bowl of very cold ice water. It should instantly harden into brittle, clear threads that snap cleanly when bent, with no soft, chewy center. If it forms soft, pliable balls, keep cooking—you’re still at the soft or hard ball stage, not hard crack.
4.What kind of flavor extracts work best for this hard candy?
▾
Concentrated, food-grade flavor extracts labeled for candy making work best, but standard grocery store baking extracts work too—you may just need a tiny extra amount, since high heat can mute delicate flavor notes. Peppermint, cherry, orange, and butterscotch are classic picks, but cinnamon, root beer, or lemon also work great. Add extracts right before pouring, as high heat breaks down flavor quickly.
5.Why does this recipe call for unsalted butter instead of salted?
▾
Unsalted butter lets you control the exact salt level (you can add a tiny pinch to cut sweetness if you’d like!) and prevents overly salty, off notes that come from the widely varying salt content across salted butter brands. The small amount of butter adds that signature rich, smooth bite without greasiness, and unsalted butter gives the cleanest, most customizable flavor base.
6.Can I add food coloring to make festive colored candy?
▾
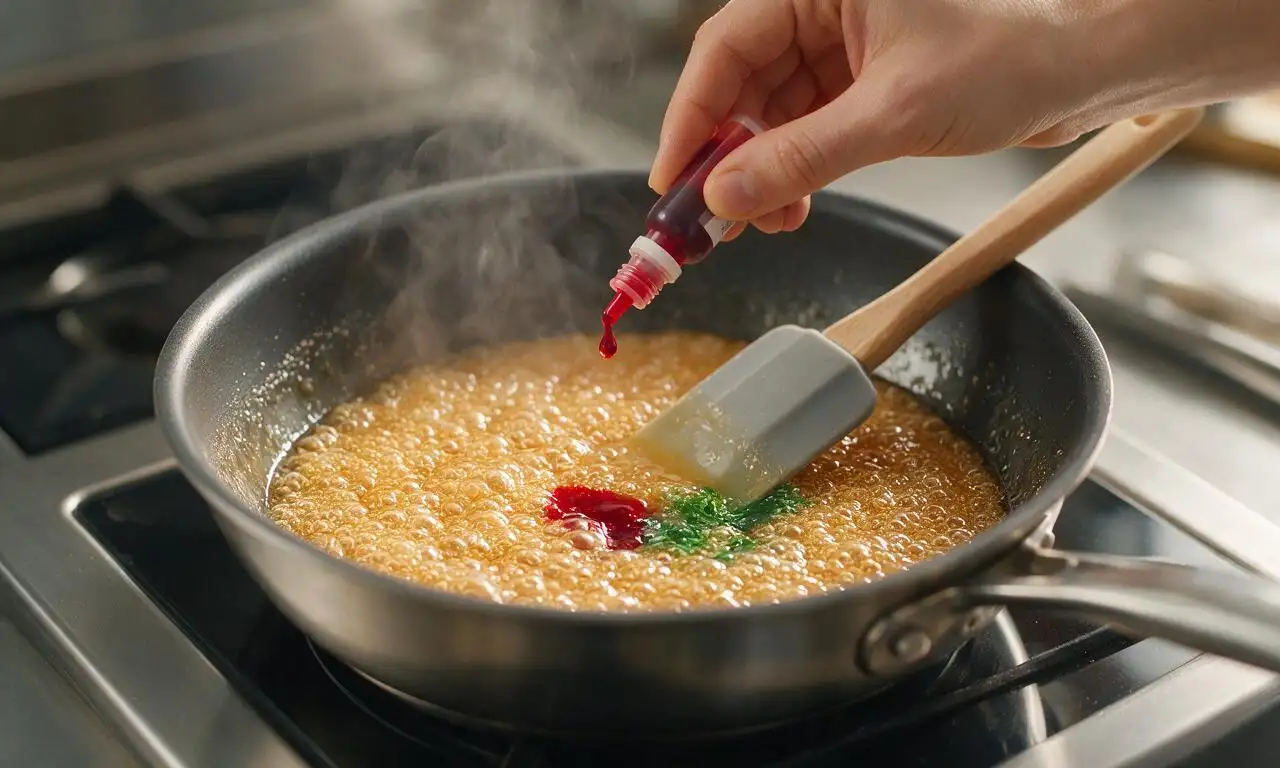
Absolutely! Gel or powder food coloring works best, since liquid coloring adds extra moisture that can make your candy sticky or grainy. Add 1–2 drops right after you take the syrup off the heat, right before stirring in your flavor extract, and stir quickly to evenly distribute it before pouring. Avoid over-stirring, which can trigger sugar crystal formation.
7.How long does homemade hard candy stay fresh, and what’s the best way to store it?
▾
When stored properly, this candy stays crisp and flavorful for up to 3 weeks. Let it cool completely, break it into pieces, and toss pieces lightly in a tiny bit of powdered sugar to prevent sticking, then store in an airtight container at cool room temperature, away from direct heat or steam. Skip the fridge—condensation will make surfaces sticky and ruin that clean snap.
8.Why did my candy turn out grainy instead of perfectly smooth?
▾
Grainy texture happens when undissolved sugar crystals get mixed into the fully cooked syrup. This can happen if you stir the syrup too vigorously once it starts boiling, if sugar crystals stuck to pan sides fall back into the syrup, or if you skip the corn syrup. Prevent this by brushing pan sides down with a wet pastry brush as the syrup boils to dissolve stray crystals.
9.Can I leave out the butter to make a clear, non-buttery hard candy?
▾
You can omit the butter if you want perfectly clear, bright fruit or mint-flavored hard candy, which works great for lollipops! Just note you’ll lose that signature rich, buttery depth that makes this classic recipe feel extra indulgent. If you skip butter, add a tiny pinch of fine salt to balance the pure sugar sweetness, and note the syrup will set slightly faster.
10.What’s the best surface to pour hot candy onto to cool safely?
▾
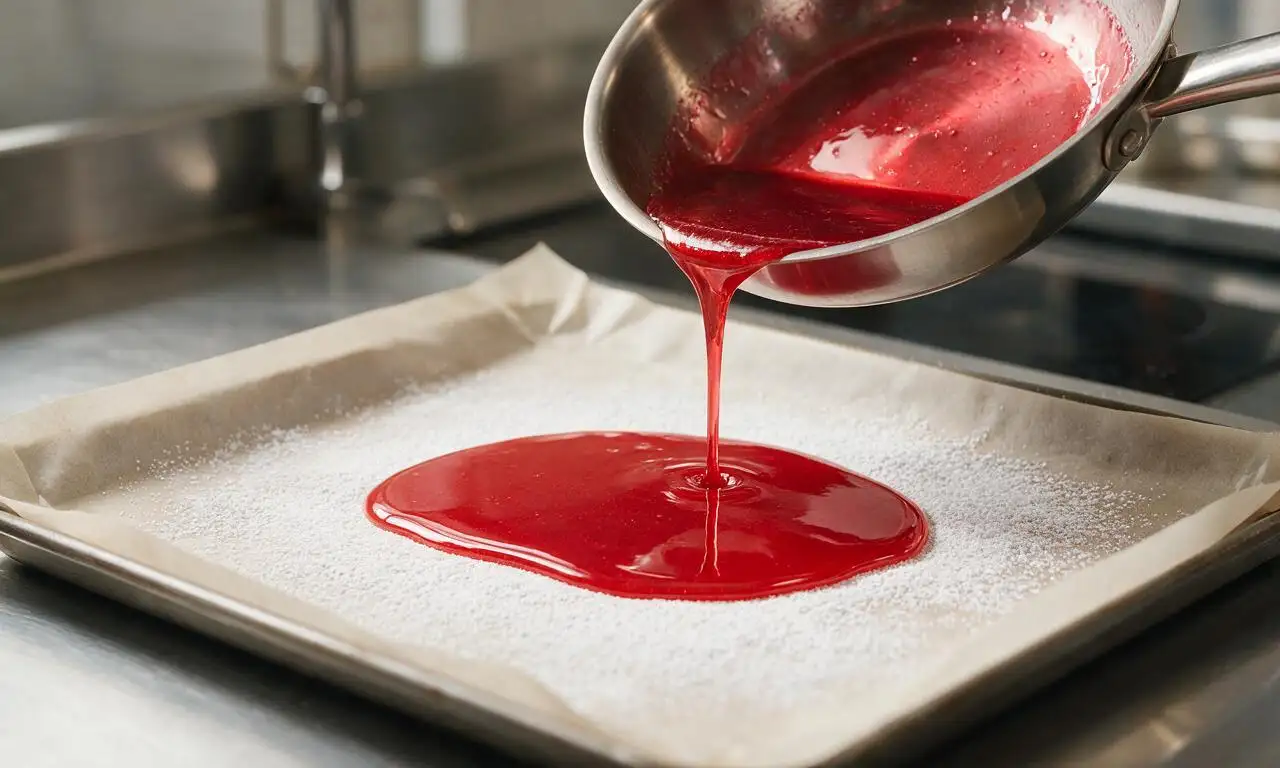
The safest, most nonstick option is a heavy rimmed baking sheet lined with a silicone baking mat, lightly coated with a thin layer of nonstick spray. A properly tempered marble slab also works well, as it helps the candy cool faster and more evenly. Avoid bare metal, parchment paper (which can wrinkle and stick), or plastic surfaces that will melt from 300°F+ syrup.
11.How do I break cooled candy into bite-sized pieces without making a huge mess?
▾
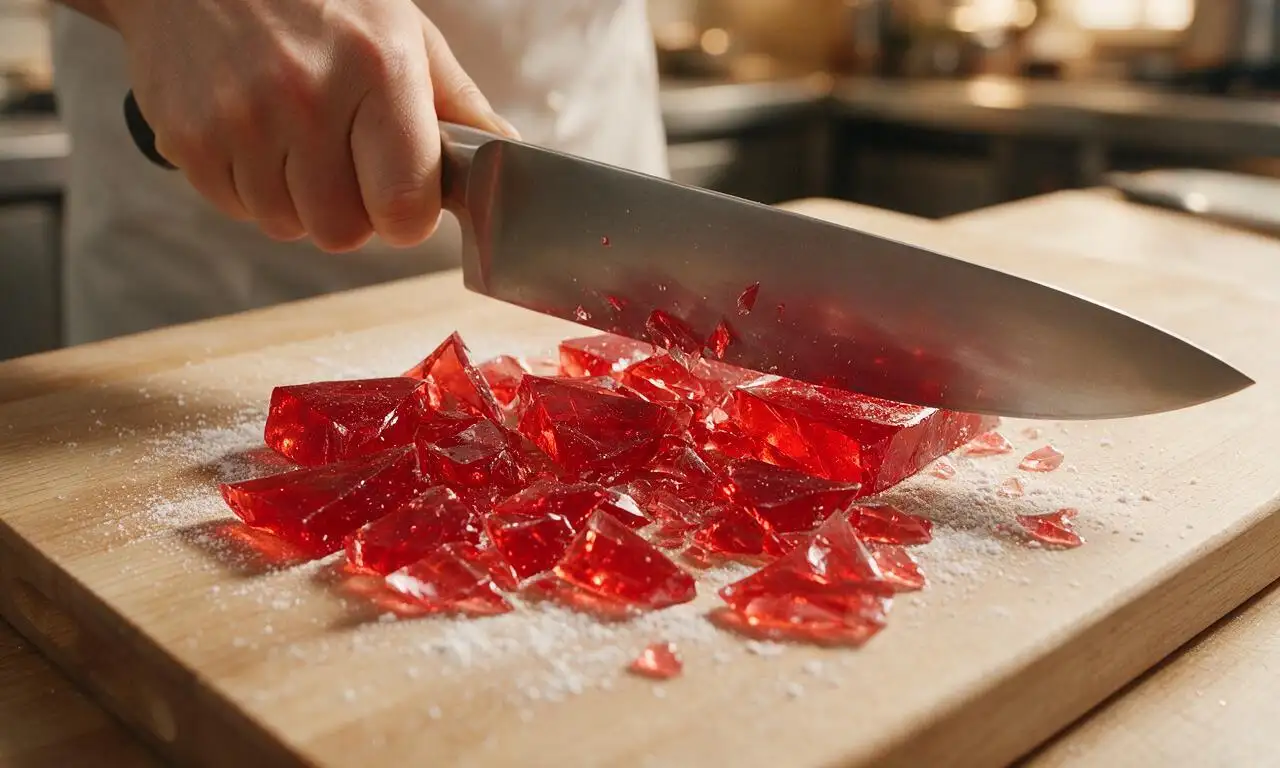
Once the candy is fully cooled and hard (about 1–2 hours at room temp), lift the whole sheet off the silicone mat and place it between two pieces of clean parchment paper. Tap it firmly with the handle of a heavy kitchen knife or small meat mallet to break it into irregular bite-sized pieces. Toss pieces in a light dusting of powdered sugar right away to keep cut edges from sticking.
12.Is this candy a good option for holiday gifting, and how should I package it?
▾
This candy is ideal for festive gifting and cold-weather snacking—it has a long shelf life, a satisfying snap, and you can customize flavors and colors to match any occasion. Once broken and dusted with powdered sugar, pack pieces into cellophane treat bags tied with ribbon, or small lidded glass jars, and make sure containers are fully airtight to prevent stickiness. Add a flavor tag for a thoughtful touch.
13.Why did the butter separate from my syrup while it was cooking?
▾
Butter separation usually happens if the syrup heats up too fast, if you use butter with a very high water content, or if you stir too aggressively once the butter melts. To fix it mid-cook, take the pan off the heat for 30 seconds, stir very gently in a slow, steady motion until the butter emulsifies back in, then return to heat to finish reaching hard-crack stage.
14.Do I really need to use filtered water, or can I use tap water?
▾
Filtered water is strongly recommended because tap water often has trace minerals, chlorine, or added chemicals that can cause slight discoloration, off-flavors, or even encourage sugar crystal formation that leads to grainy candy. If you only have tap water, boil it first for 1 minute and let sediment settle before using, but filtered water gives the clearest, cleanest-tasting results.
15.How do I avoid bad burns when working with such hot sugar syrup?
▾
Hot sugar syrup is over 300°F and sticks to skin far worse than boiling water, so always wear long oven mitts when handling the pan, keep kids and pets out of the kitchen while cooking, and never lean directly over the pan when adding extracts or coloring—those can cause the syrup to bubble up violently. Keep a bowl of ice water nearby to treat any small splashes immediately.
16.Can I mix in add-ins like nuts, sprinkles, or crushed candy canes?
▾
You can absolutely add small, dry add-ins for extra texture and flavor! Finely chopped toasted nuts, crushed candy canes, or tiny edible glitter work great, but skip anything with high moisture (like fresh fruit, soft caramel bits, or watery sprinkles) that will make the candy sticky. Sprinkle add-ins over the poured candy right after spreading, before it sets, so they stick firmly.
17.Why does my flavored candy (like peppermint) taste muted or bitter?
▾
Muted or bitter flavor almost always comes from adding the extract too early, when the syrup is still at full boiling temperature. High heat breaks down the delicate flavor compounds in extracts, and can even make them taste burnt or bitter. Wait to stir in extract until you’ve taken the pan off heat and let bubbling die down for 10–15 seconds, then pour immediately for bright, bold flavor.







OMG this hard candy recipe is a total game changer! I made a batch of cinnamon flavor for my kids’ fall festival potluck and every single piece was gone in 15 minutes. People were asking me for the recipe left and right! SO much better than the store-bought stuff that tastes like fake chemicals.
Made this for our annual camping trip last weekend and it held up way better than I expected even in the cooler — didn’t get sticky at all! Knocked a star off because I burned the first batch when I got distracted talking to my neighbor, oops. Second batch turned out chef’s kiss, though.
This tastes exactly like the old-fashioned hard candy my grandma used to make when I was a kid! I did half peppermint and half butterscotch and both flavors came out perfect. Already have the ingredients out to make a big batch for Christmas treat tins this year.
Help! I followed the recipe exactly but my candy turned out all grainy and crumbly instead of smooth and clear? I’m so frustrated, I was gonna give these out as party favors for my sister’s bridal shower.
Made a bunch of these in fun Halloween molds with orange and black food coloring for trick-or-treaters this year and the kids went absolutely nuts for them! Way cheaper than buying name brand candy, and I love that I can control what ingredients go in, no weird random preservatives.
Wait a second, I added a teaspoon of instant espresso powder to a small batch of this and it is LIFE CHANGING. Tastes like those fancy coffee hard candies they sell at the bookstore checkout but 100x better. My roommate is already begging me to make another batch.
Great base recipe for long-term food storage! Hard candy lasts forever if you keep it in an airtight container, which is perfect for emergency kits. I skipped the food coloring and did plain lemon flavor, tastes great. Only thing is it took me about 10 minutes longer to get to hard crack stage than the recipe said, probably because my kitchen was cold.
Told my kids we were making homemade hard candy yesterday and they thought it was gonna be a messy disaster. Joke’s on them, it came out perfect! We did blue raspberry and they’ve been passing pieces out to all the kids on the block the past couple days.
Just pulled my first batch out to cool and it looks perfect! I’m making these for our office potluck tomorrow, did cherry flavor with little edible glitter on top to make it fancy. Fingers crossed everyone loves it as much as the test piece I snuck tastes!
Made a big batch of the peppermint version when we got iced in last month and it got me through two whole days of no power, no internet, and kids bouncing off the walls. Only complaint is that my dog stole a piece off the counter when I turned my back, and now he keeps staring at the candy jar like he’s entitled to more. 10/10 for dog approval too I guess.
Wait, I tried to make this vegan by swapping the butter for coconut oil and the texture came out all weird and greasy? Did I do something wrong? I really wanted this to work for my vegan baking group meetup.
Made these for my cross country team to have as a quick sugar boost during our long meet last weekend and they worked like a charm! Light, easy to carry in a bag, no melting even when it was 75 degrees out. The kids kept asking when I’d make more. Total win.
I broke the cooled candy into shards, wrapped them in little twist tie candy wrappers, and tied them with twine to make cheap, cute party favors for my friend’s baby shower. People kept asking where I bought them! Total game changer for last minute party ideas, this recipe is so cheap to make too.
Ugh, I don’t know what I did wrong. My candy thermometer said 300 degrees but when I poured it, it was still super soft and never hardened up, even after an hour in the fridge. Wasted a whole bunch of sugar and flavor oil, total bummer.
Y’all, I added a pinch of cayenne to the cinnamon batch I made and it is the perfect sweet-heat kick! Took these to my Sunday church potluck and even the older folks who say they don’t like spicy food were coming back for seconds. So good.
Made this in my tiny dorm kitchen with a $10 candy thermometer I bought off Amazon and it actually worked! Super cheap to make, way better than spending money on candy from the campus convenience store when I’m pulling all nighters studying for midterms. My floor mates keep showing up at my door asking for more.
I’ve been making hard candy for 40+ years and this is hands down the most reliable, easy to follow recipe I’ve ever come across. No weird fancy ingredients, no fussy steps, just perfect old-fashioned hard candy every single time. I’ve already shared this link with all my former teacher friends!
Made a rainbow batch of these for my daughter’s 8th birthday party, did 6 different flavors each in a different color, and the kids lost their minds over them. The only reason I’m not giving 5 stars is that I forgot to grease my parchment paper and half the candy stuck so bad I had to chip it off with a butter knife, oops. Learned my lesson for next time!