
Candy Apple
intro
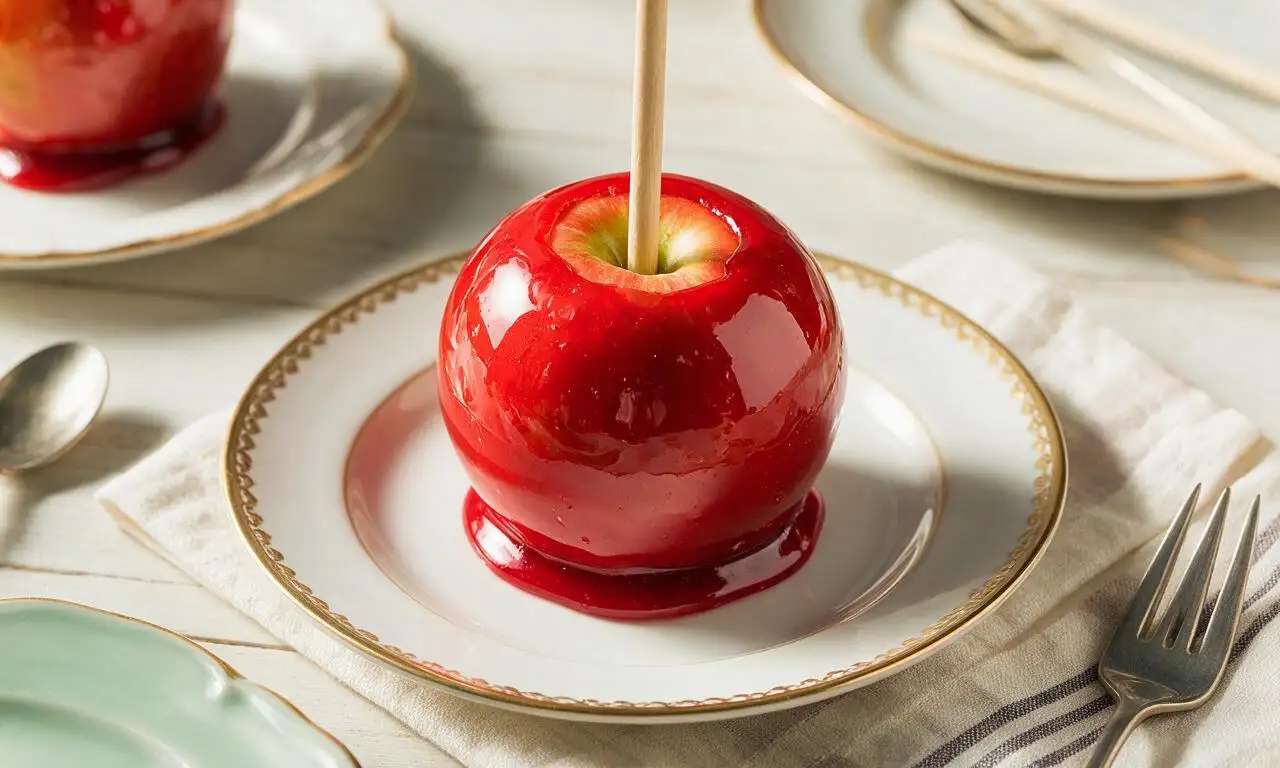
Glossy, crisp bright red hard candy coating draped over tart, juicy apples: a nostalgic fall and Halloween treat perfect for festive gatherings.
Ingredients
Steps
Prep apples and workspace
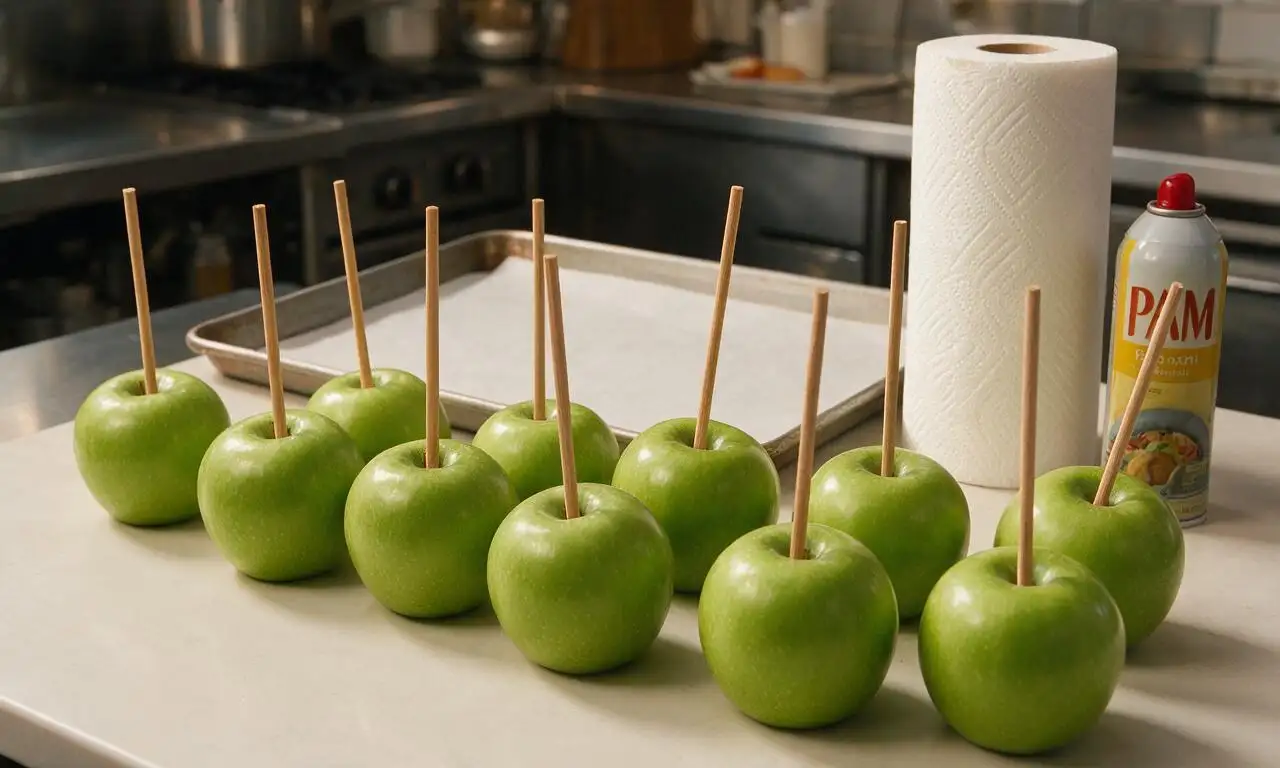
Wash 6 Granny Smith apples under hot running water for 30 seconds each to remove any waxy produce coating, then dry completely with lint-free paper towels. Remove apple stems, firmly insert one wooden stick 1 inch deep into the stem end of each apple. Line an 11x17 inch baking sheet with parchment paper and lightly coat with nonstick cooking spray, set aside at room temperature.
Mix candy syrup base
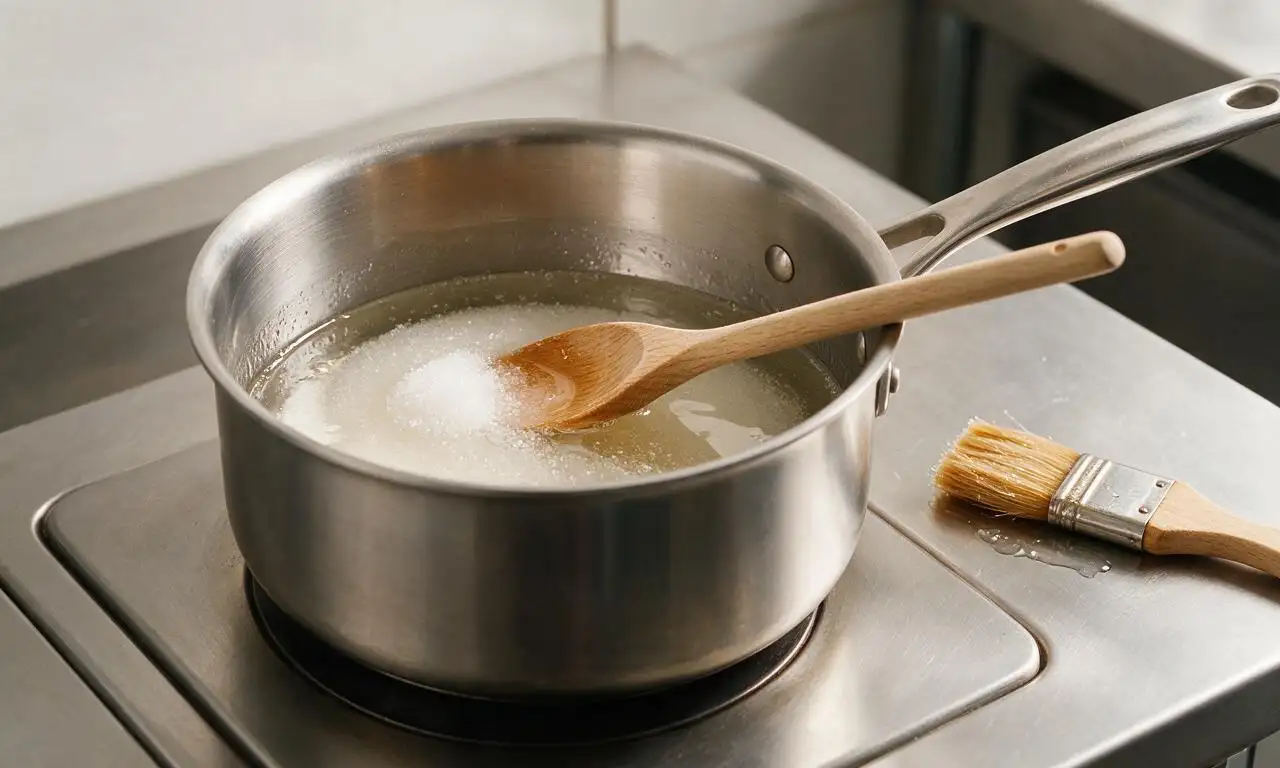
In a heavy-bottomed 2-quart saucepan, combine 2 cups (400g) granulated sugar, ½ cup (120ml) light corn syrup, and ½ cup (120ml) water. Stir over medium heat (325°F / 160°C stovetop setting) until the sugar fully dissolves into a clear liquid, about 3-4 minutes, brushing down the pan sides with a wet pastry brush to dissolve any stuck sugar granules.
Cook candy to hard crack
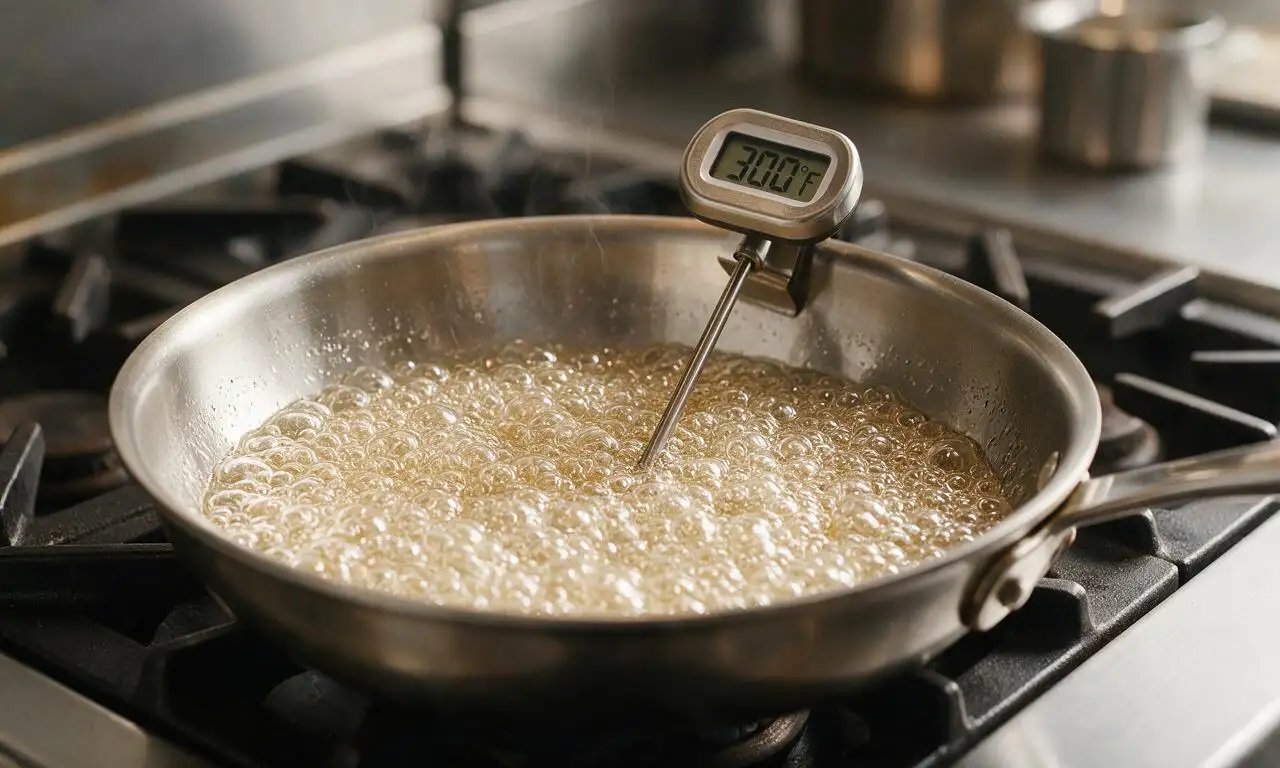
Once the syrup comes to a rolling boil, stop stirring entirely. Clip a candy thermometer to the side of the pan (ensure the tip is submerged in syrup but not touching the pan bottom), and cook over medium-high heat (375°F / 190°C stovetop setting) until the syrup reaches 300°F (149°C, hard crack stage), which takes 8-10 minutes. Do not stir during this cook time to avoid sugar crystallization.
Add color and flavor
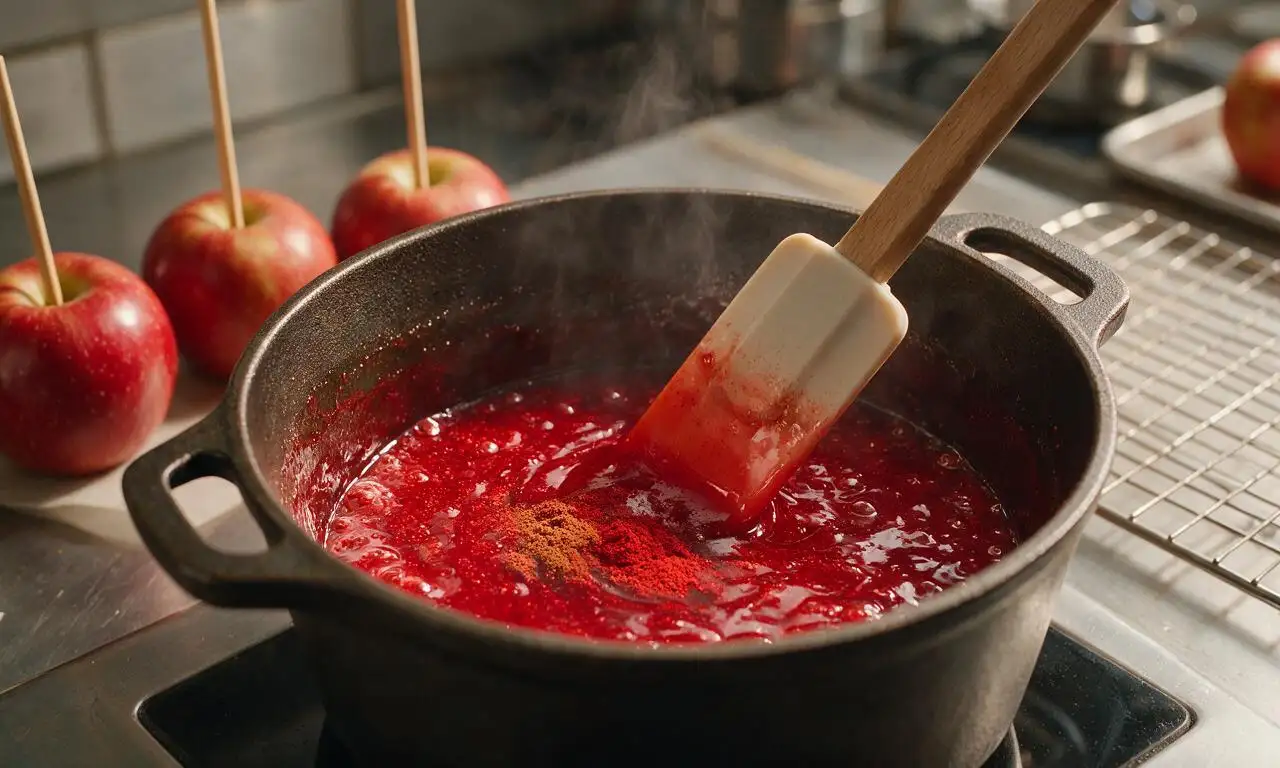
As soon as the syrup hits 300°F (149°C), immediately remove the pan from heat. Wait 30 seconds for the vigorous bubbling to subside, then stir in ½ teaspoon red gel food coloring and 1 teaspoon cinnamon extract until fully evenly incorporated, taking care to avoid splatters from the 300°F hot sugar that can cause severe burns.
Dip apples in candy
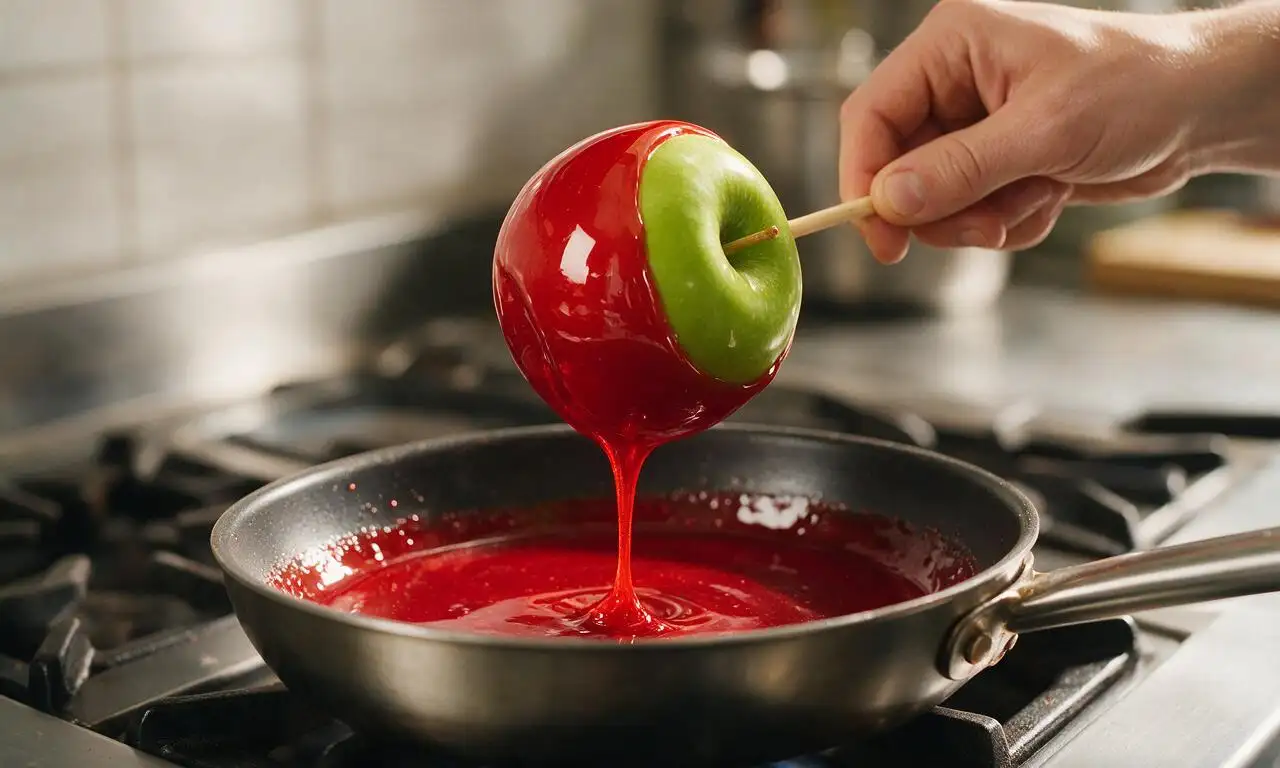
Tilt the saucepan slightly to create a deep pool of red candy. Hold each apple by its wooden stick, dip it fully into the candy, twirling it slowly at a 45-degree angle to coat the entire apple surface up to the base of the stick, about 5 seconds per apple. Let excess candy drip back into the pan for 2 seconds after coating to avoid thick, uneven drips on the apple bottom.
Let apples set fully
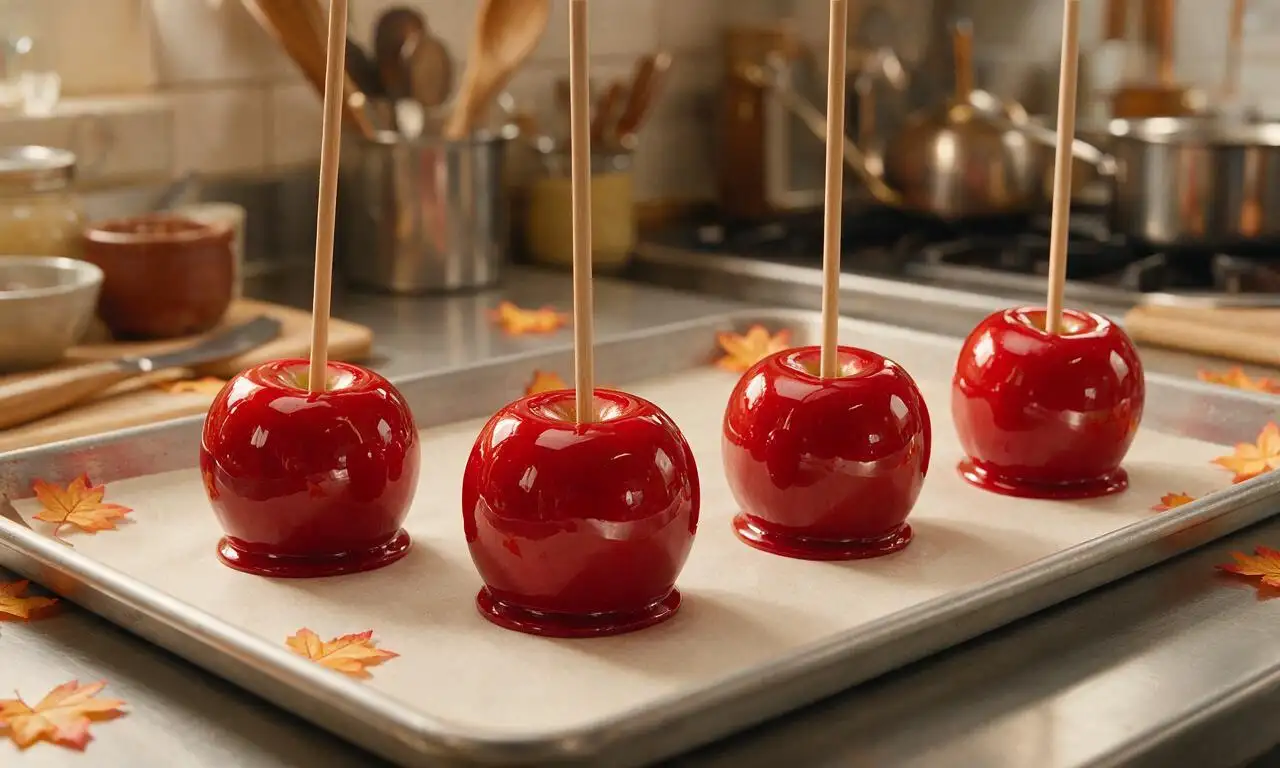
Place each dipped apple right side up on the prepared parchment-lined baking sheet, leaving 2 inches of space between each apple to prevent sticking. Let them rest at cool room temperature (65-70°F / 18-21°C) for 10-15 minutes until the candy coating is completely hard and glossy, with no tacky spots when lightly touched with a fingertip.
Tips
2.Use gel food coloring instead of liquid food coloring; liquid coloring adds excess moisture to the syrup, which will prevent the candy from setting to a crisp, snappy hard texture.
3.If the candy syrup thickens too much while you are dipping apples, set the pan back over low heat for 1-2 minutes until it returns to a thin, dippable consistency, but do not heat it above 310°F or it will develop a burnt, bitter flavor.






OMG these turned out PERFECT for our neighborhood fall block party! I was so nervous the candy would crack weird or not stick, but following the cook time exactly made it glossy and crisp without being tooth-breakingly hard. My kids kept sneaking bites before we even set them out on the treat table 😂 Only note is I added a little cinnamon to the candy mix and it was chef’s kiss. 10/10 will make every Halloween from now on!
Tried these last night for my kid’s 4th grade fall festival donation and I messed up the candy temp the first time oops. Second time around I used a candy thermometer like the recipe said and it worked way better! They looked so professional people asked if I bought them from a local candy shop. Wild.
Made these in my dorm kitchen with my roommate! We didn’t have popsicle sticks so we used plastic forks (don’t judge) and they still slapped. Took us a little longer than 30 minutes because we kept stopping to watch Halloween movies, but worth every second. SO good.
Game changer! I’ve been making candy apples every year for my kids’ Halloween party for a decade and I always struggled with the candy sliding off the apples after an hour or so. The tip to make sure the apples are totally dry and at room temp before dipping? *Chef’s kiss* No sliding, no splotches, perfect every single time. Got 6 perfect apples out of the batch and zero complaints from the kid crew.
Brought these to our office potluck yesterday and they were gone in 10 minutes flat. People were fighting over the last one! I rolled the bottoms in crushed peanuts and mini M&Ms after dipping for a little extra crunch and it was chef’s kiss. Will absolutely be adding this to my regular fall recipe rotation.
As someone who barely knows how to boil water without burning it, I was shocked these turned out as well as they did! Difficulty said medium so I was intimidated, but the step-by-step instructions were so easy to follow. Mine weren’t as pretty as the photos, but they tasted exactly like the candy apples I got at the fair as a kid. 10/10
I’ve been making candy apples for over 40 years and this recipe is hands down the best I’ve ever tried. The ratio of sugar to corn syrup is perfect, no weird bitter aftertaste like some recipes I’ve tested over the years. My grandkids begged for seconds before they even finished their first one. Only thing I did different was use my old copper pot to boil the candy, works like a charm every time.
Wait a heads up for anyone making these with small kids: the candy is SUPER hot when you’re dipping, so make sure you keep little hands far back from the pot! I learned that the hard way when my toddler reached up and got a tiny burn (she’s totally fine, no big scare, just a reminder!). Other than that, these were amazing, we added orange food coloring to make them extra bright for our Halloween porch display for trick or treaters.
I made these for my first ever Halloween party this weekend and they were such a hit! Only issue I had was the candy got too thick halfway through dipping, so the last couple apples had a really thick coating. Did I do something wrong? They still tasted great just a little crunchier than the first few.
These were SO good! I made a batch for my roommate’s birthday and we decorated them with edible glitter, caramel drizzle, and crushed Oreos. They looked like they came straight from a gourmet candy shop. Already got three texts from people at the party asking for the recipe. Easy to follow, perfect texture, 10/10 will make again.