
Candy apples

title 1
Candy apples
⏱️ cook time 45 minutes
🍽️ servings 6
⚡ Difficulty medium

intro

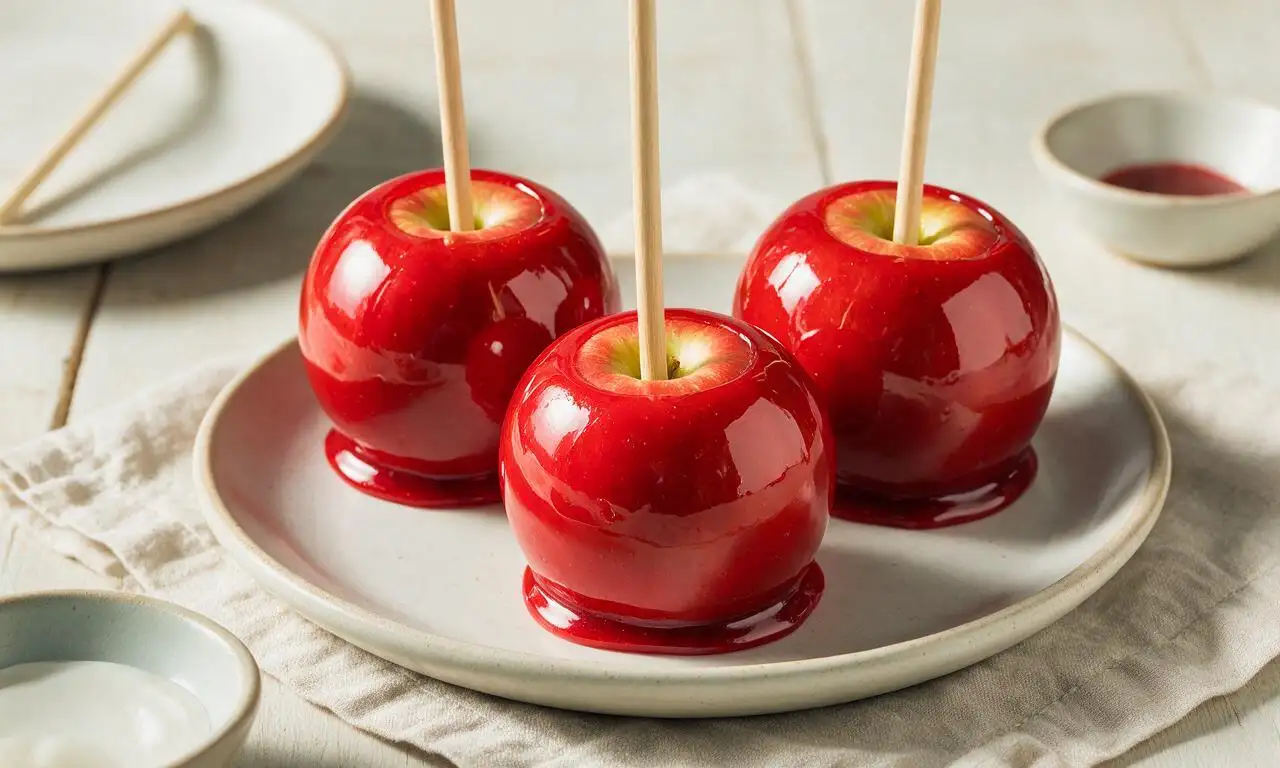
Glossy, crisp bright red hard candy coating over tart, juicy apples, a nostalgic fall and Halloween treat long popular at North American fairs and festivals.

Ingredients

Granny Smith apples 6 medium (approx 900g total)
Granulated white sugar 2 cups (400g)
Light corn syrup ¾ cup (177ml)
Cold water ½ cup (120ml)
Red gel food coloring 1 teaspoon (5ml)
Pure vanilla extract 1 teaspoon (5ml)
Nonstick cooking spray 1 short burst (approx 0.5g)

Steps

1

Prep apples and workspace

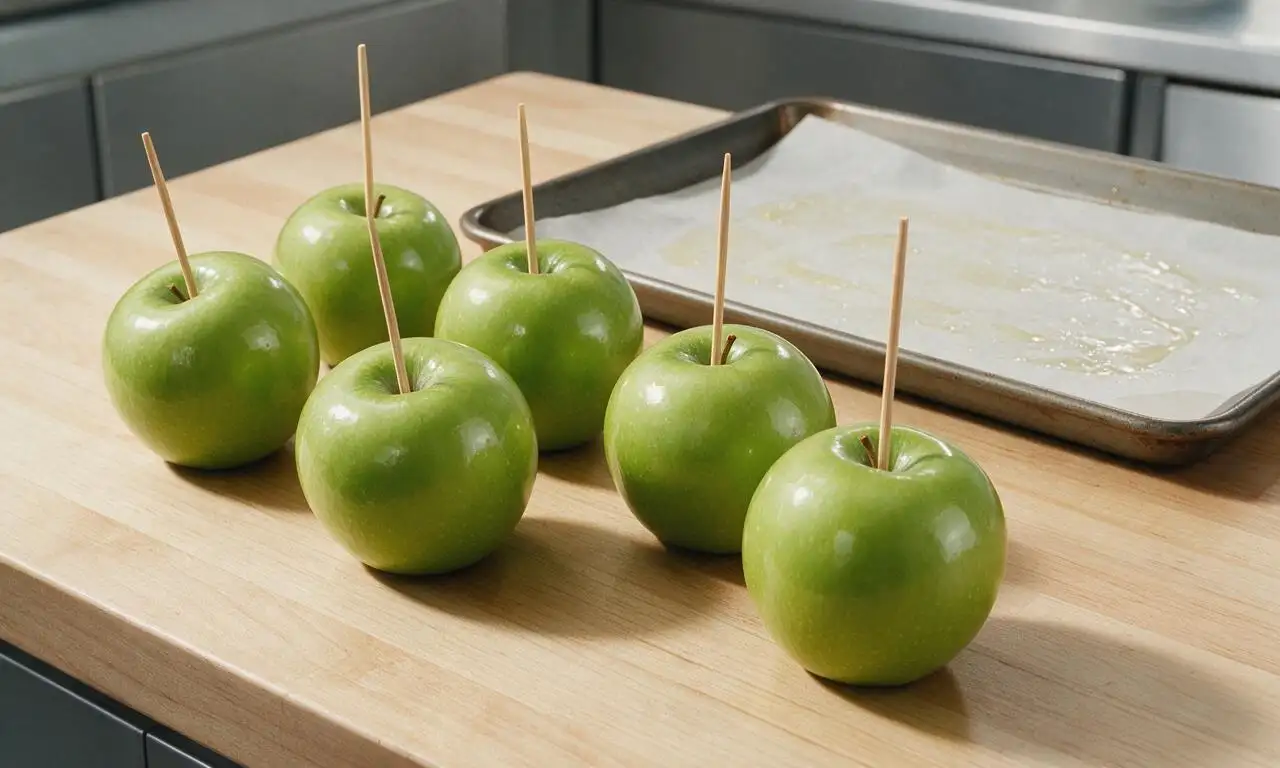
Wash 6 medium Granny Smith apples under hot running water for 30 seconds to remove all waxy produce coating, then pat completely dry with paper towels. Remove apple stems, then press one 6-inch wooden craft stick 1 inch deep into the stem end of each apple. Line a rimmed baking sheet with parchment paper, lightly coat with nonstick cooking spray, and set aside at room temperature.
Step 1
step1:Prep apples and workspace
2

Mix candy syrup base

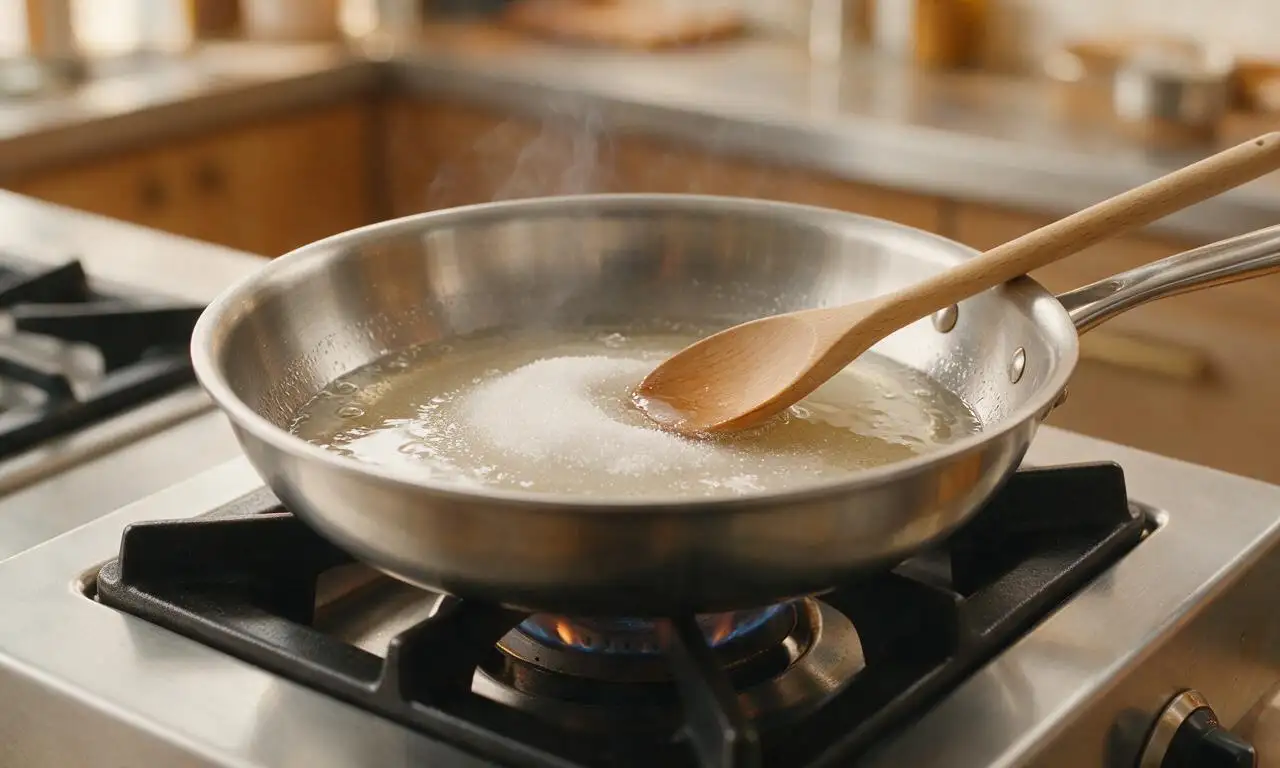
In a heavy-bottomed 2-quart saucepan, combine 2 cups (400g) granulated white sugar, ¾ cup (177ml) light corn syrup, and ½ cup (120ml) cold water. Stir the mixture over medium heat until all sugar fully dissolves, about 3 to 4 minutes, taking care not to splash syrup up the sides of the pan.
Step 2
step2:Mix candy syrup base
3

Cook syrup to hard crack

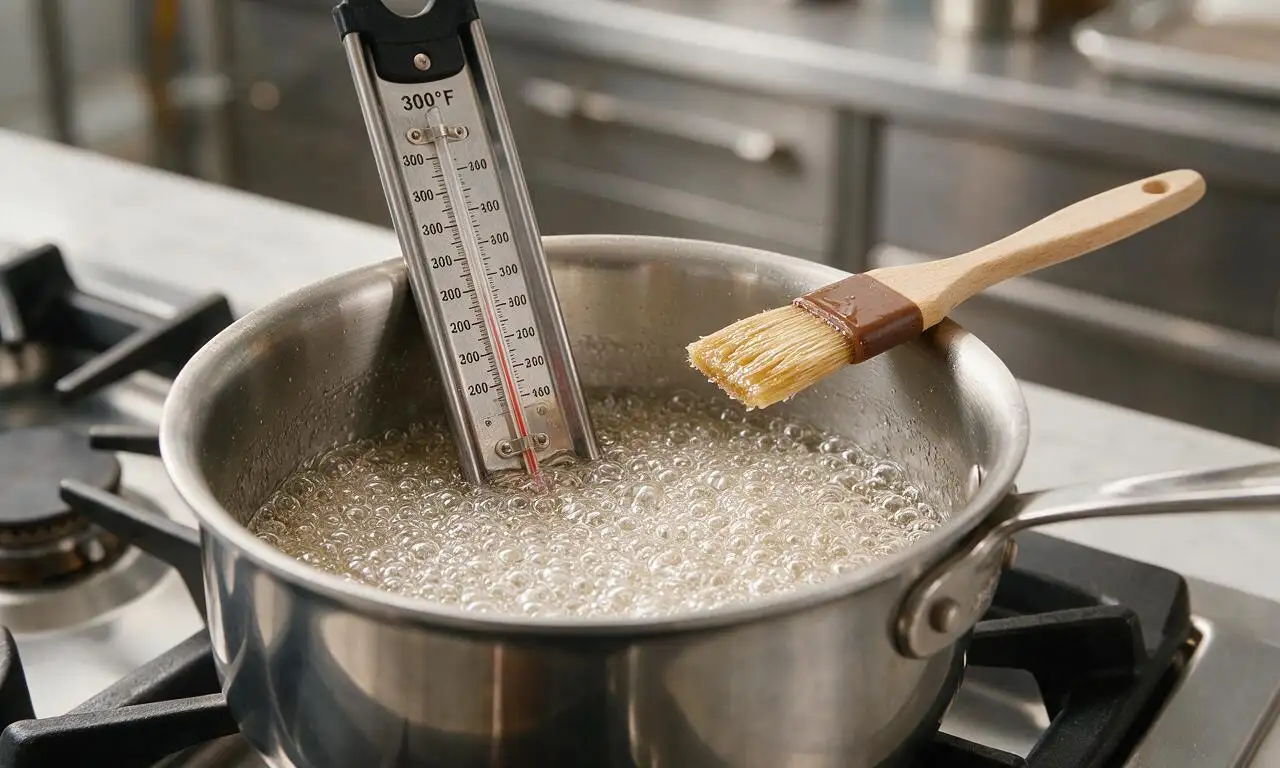
Once sugar is fully dissolved, stop stirring entirely, clip a candy thermometer to the side of the pan (ensuring it does not touch the pan bottom), and increase heat to medium-high. Let the syrup boil undisturbed until it reaches exactly 300°F (150°C, hard crack stage), which takes 8 to 10 minutes. If sugar crystals form on the pan sides, brush them away with a damp pastry brush to prevent graininess.
Step 3
step3:Cook syrup to hard crack
4

Add color and flavor

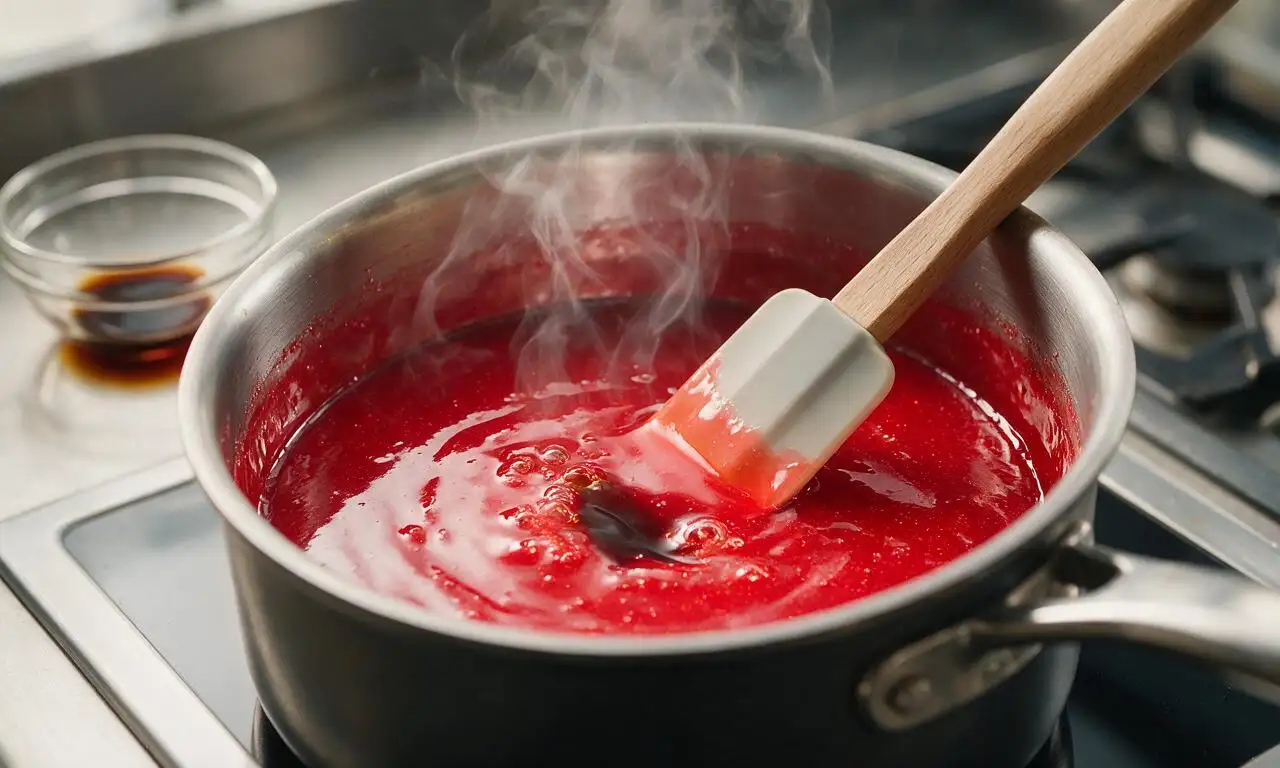
Immediately remove the pan from heat the moment the syrup hits 300°F to avoid burning. Carefully stir in 1 teaspoon (5ml) red gel food coloring and 1 teaspoon (5ml) pure vanilla extract, mixing slowly to avoid trapping air bubbles. Let the syrup rest for 30 seconds to allow large surface bubbles to pop.
Step 4
step4:Add color and flavor
5

Dip apples in candy

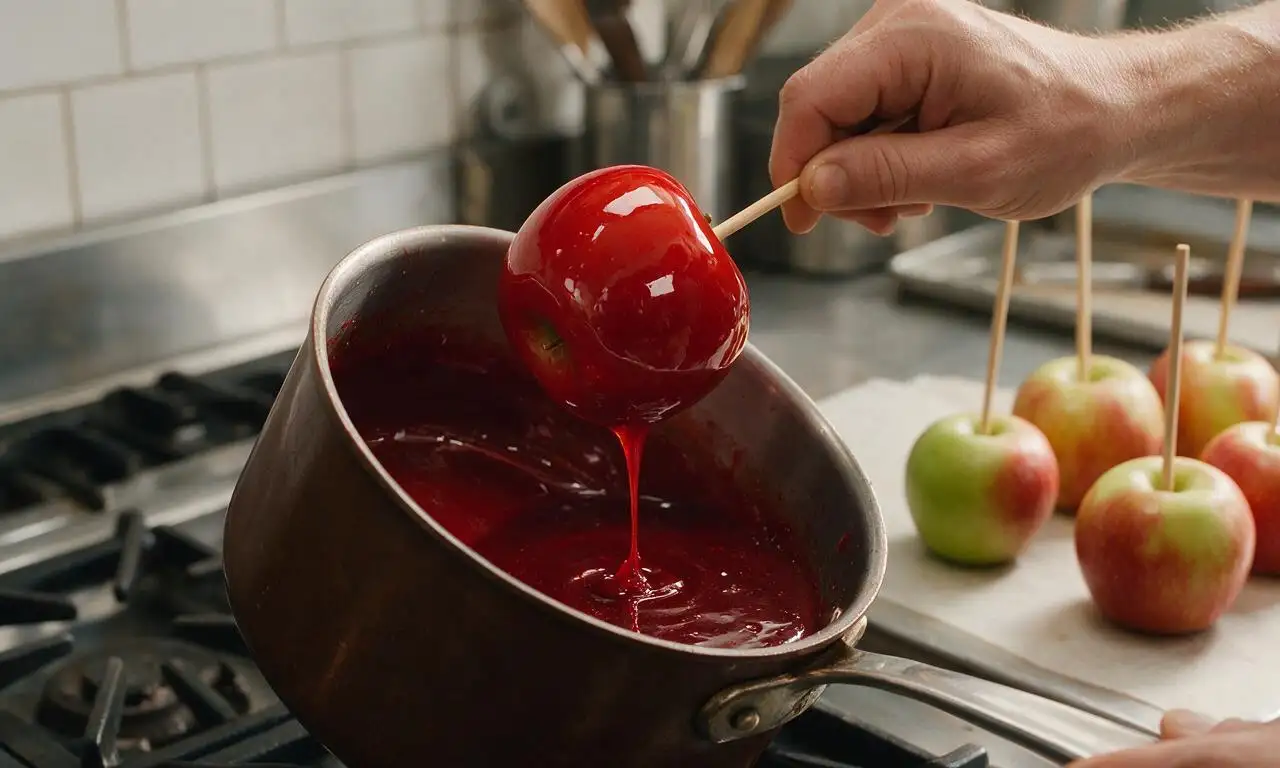
Hold each apple by its wooden stick, tilt the saucepan at a 45-degree angle, and dip the apple fully into the hot red syrup, rotating slowly to coat the entire apple surface evenly, about 5 seconds per apple. Lift the apple out of the syrup and hold it above the pan for 2 seconds to let excess candy drip back into the pot.
Step 5
step5:Dip apples in candy
6

Cool apples to set

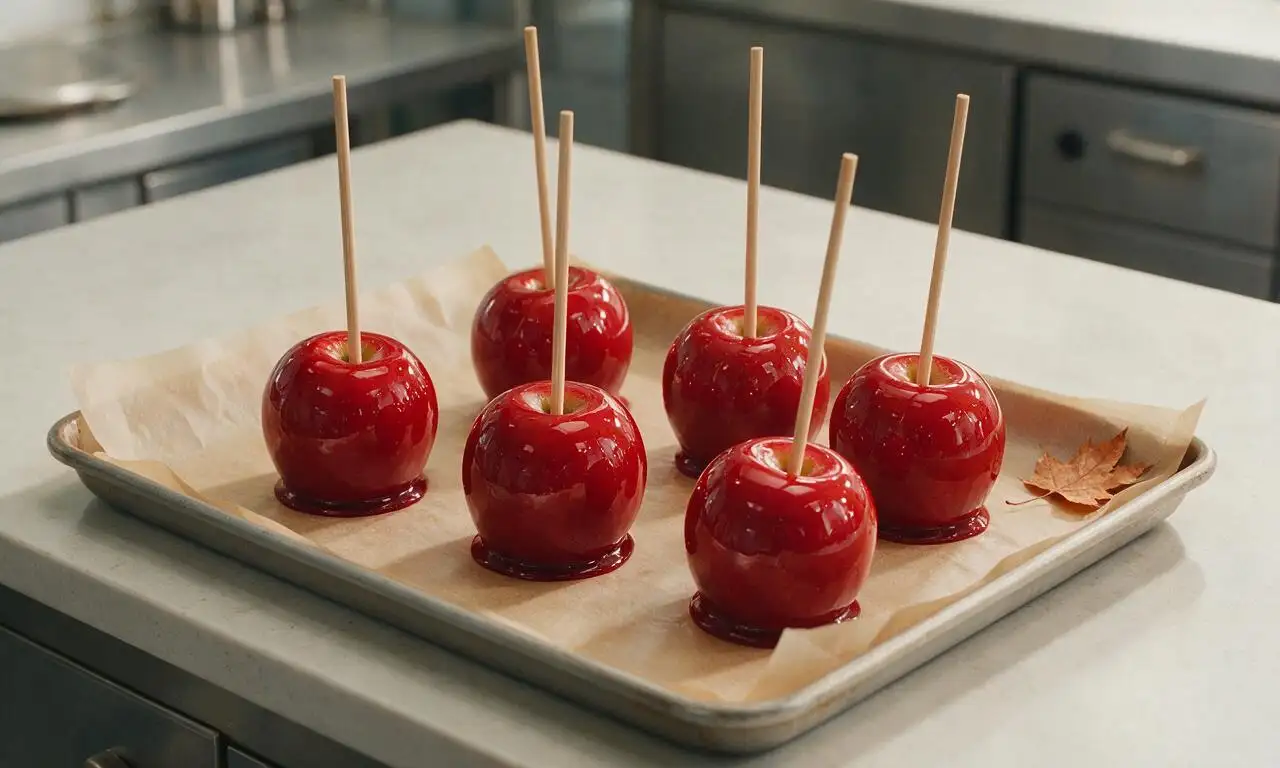
Place each coated apple upright on the prepared greased parchment-lined baking sheet, leaving 2 inches of space between each apple to prevent sticking. Let the apples cool completely at room temperature for 20 to 25 minutes until the candy coating is hard, smooth, and fully set. Do not refrigerate, as cold moisture will make the candy sticky.
Step 6
step6:Cool apples to set

Tips

1.Wash apples with hot water and dry completely before dipping: any leftover waxy produce coating or moisture will prevent the candy from adhering smoothly, causing sliding or bubbling.
2.Do not stir the syrup once it reaches a rolling boil: stirring can trigger sugar crystal formation, leading to a grainy, dull candy coating instead of a smooth, glossy shell.
3.Work quickly during dipping: the hot candy will thicken and harden in the pan within 5 minutes off heat; if it becomes too thick to coat, rewarm over low heat for 30 seconds to restore dippable consistency.


✨ You May Also Like

Desserts & Baking
🍜 Italy

Creamy, coffee-kissed classic Northern Italian no-bake dessert, with layers of rum-spiked mascarpone cream, soft ladyfingers, and a rich cocoa dusting.

⏱️ 4 hours 3Desserts & Baking ★ 4.7
Desserts & Baking
🍜 France

Flaky, shatteringly crisp, buttery French croissants with golden exteriors and soft, airy layered interiors, perfect for pairing with coffee for a special morning treat.

⏱️ 12 hours Desserts & Baking ★ 4.5
Desserts & Baking
🍜 United States

Warm, spiced baked apples topped with a fluffy golden biscuit crust, this cozy dessert pairs perfectly with vanilla ice cream for cool-weather comfort.

⏱️ 55 minuteDesserts & Baking ★ 4.6
Desserts & Baking
🍜 United States

A star-spangled classic American blueberry pie with buttery flaky crust and bright sweet-tart filling, perfect for summer patriotic gatherings.

⏱️ 1 hour 25Desserts & Baking ★ 4.7
Desserts & Baking
🍜 United States

A beloved no-bake regional Maine candy with a chewy coconut-potato center coated in rich dark chocolate, a New England holiday staple since the 1870s.

⏱️ 2 hours 3Desserts & Baking ★ 4.8
Desserts & Baking
🍜 France

Luxuriously creamy, floral frozen custard made with aromatic Tahitian vanilla beans, boasting a smooth, rich texture that melts slowly on the tongue.

⏱️ 3 hours 3Desserts & Baking ★ 4.5

Candy apples:Frequently Asked Questions

1.Why do you recommend Granny Smith apples instead of sweeter apple varieties for candy apples? ▾
Tart, firm Granny Smith apples create the perfect flavor balance against the ultra-sweet hard candy coating, so every bite isn’t cloyingly sugary. Their dense, crisp texture also holds up far better to hot candy than softer, sweeter apple types, which can turn mushy under the warm coating. Just be sure to scrub off any store-bought wax first so the candy sticks properly.
2.Can I skip the light corn syrup in the candy coating? ▾
I don’t recommend skipping it entirely! Light corn syrup stops sugar crystals from forming as you boil the sugar mixture, which keeps the coating perfectly smooth, glossy, and crackly instead of grainy. If you need a substitute, use equal parts glucose syrup. Skip honey or maple syrup here—they add competing flavors and are far more prone to causing grainy crystallization.
3.How do I keep the candy coating from sliding off my apples after dipping? ▾
The top culprit here is leftover wax or moisture on apple skins! Scrub apples under hot water with a stiff produce brush to strip every trace of grocery store produce wax, then pat them 100% dry with paper towels before inserting sticks. Also double check your candy hits 300–310°F (hard crack stage) — candy that’s too cool won’t set and stick properly.
4.Why do I need to use gel food coloring instead of liquid food coloring for the red coating? ▾
Gel food coloring is highly concentrated, so you only need a tiny drop to get that iconic bright, vivid candy apple red without adding extra liquid to your sugar mixture. Liquid food coloring adds too much moisture, which can throw off the candy’s texture, cause crystallization, or result in a dull, pale, streaky coating instead of that glossy, showstopping red.
5.How do I tell when the candy is ready for dipping if I don’t have a candy thermometer? ▾
Use the reliable cold water test! Drop a tiny pea-sized dollop of boiling sugar mixture into a bowl of very cold water. It should immediately harden into brittle, crisp threads that crack easily when you bend them, not form soft, chewy blobs. If it’s chewy, keep boiling for 1–2 minutes before testing again.
6.Can I make these candy apples ahead of time for a Halloween or fall party? ▾
You absolutely can! Store fully set candy apples in an airtight container in a cool, dry spot (not the fridge—fridge moisture will make the coating sticky and runny) for up to 3 days. Line the container with parchment paper so the apples don’t stick, and avoid stacking them to prevent chipping that glossy candy shell.
7.Why is my candy coating coming out sticky instead of crisp and hard? ▾
Sticky candy coating almost always means you didn’t boil the sugar mixture to the full hard-crack stage, or high humidity messed with your batch. On very humid or rainy days, boil the candy 2–3°F higher than 310°F to account for extra moisture in the air, and skip making them on extremely damp days if you can to avoid soft, sticky shells.
8.What kind of sticks work best for holding homemade candy apples? ▾
Skip thin popsicle sticks—they’re too flimsy to hold a heavy, candy-coated apple securely. Opt for thick, 6-inch wooden candy apple sticks, sturdy wide craft sticks, or even clean, thick apple twigs for a cute, rustic fall look. Insert them ¾ of the way into the apple core before heating your candy for quick, easy dipping.
9.Can I add extra toppings to my classic candy apples? ▾
Absolutely! Right after you dip each apple in the red candy coating, let excess candy drip off for 2–3 seconds, then roll the bottom half in toppings like chopped salted peanuts, rainbow sprinkles, crushed candy corn, or mini chocolate chips. Work fast—the candy sets completely in under a minute, so toppings won’t stick once the shell starts to harden.
10.What’s the easiest way to clean hard candy residue off my pots and utensils? ▾
Don’t scrub at hardened candy—you’ll risk scratching your cookware! As soon as you finish dipping apples, fill your used pot with hot water and bring it to a gentle simmer on the stove. The hot water will melt all leftover hard candy in 5–10 minutes, making it easy to wipe away with a soapy sponge with zero scrubbing required.
11.Why are there small, uneven bubbles all over my finished candy coating? ▾
Small bubbles on your finished coating usually come from stirring the sugar mixture too vigorously once it reaches boiling, or from dipping ice-cold apples. Let the boiling candy rest for 10–15 seconds off the heat before dipping to let rising bubbles pop, and use room-temperature apples to prevent condensation bubbles under the shell.

Comments (8)

2 days ago

OMG these turned out SO good! I made them for my kid’s fall festival potluck at school and every single one was gone in 10 minutes. I did add a tiny bit of extra cinnamon to the candy coating because my family loves warm spice, and it was chef’s kiss. Only tricky part was getting the candy to the right hard crack stage without burning it — totally worth the patience though!

yesterday

Wait how long did it take you to get to hard crack? I tried last weekend and my thermometer was off so I ended up with sticky, goopy candy that never set 😭

yesterday

So glad these were a hit at the potluck! Great call adding extra cinnamon — that’s such a tasty twist. If your candy thermometer is acting up, you can always test it by dropping a tiny bit of the hot syrup into a bowl of cold water: it should form hard, brittle threads that snap easily when you bend them, that means you’re at hard crack stage!

5 days ago

Made these for our annual bonfire with friends last weekend and they were a total game changer. Way better than the sad pre-made ones you get at the grocery store around Halloween. My only note is wear long sleeves when you’re dipping the apples — I got a tiny splash of hot candy on my wrist and it stung like crazy, ha.

3 days ago

Sounds like the perfect bonfire treat! Great tip about the long sleeves — hot candy syrup gets up to 300 degrees so it’s super important to protect your skin while dipping. So glad you and your friends enjoyed them!

1 week ago

First time ever making candy apples and this recipe didn’t let me down! I was so intimidated because I heard candy making is super finicky, but the step-by-step instructions were so clear. I topped half of mine with crushed peanuts and the other half with sprinkles for my niece’s birthday party, and everyone was asking for the recipe. 10/10!

3 days ago

Wait has anyone tried making these with green apples vs red? I usually love tart apples with sweet candy but I don’t want to mess up the texture or anything. Also, how do you store them if you make them the night before an event?

2 days ago

I used Granny Smith apples last year with this exact recipe and it was incredible! The tartness cuts the super sweet candy so perfectly. I stored mine in an airtight container in the fridge overnight and they were totally fine, just let them sit at room temp for 10 minutes before serving.

2 days ago

Great questions! Tart Granny Smith apples are actually our top pick for this recipe for exactly the reason PNW_Cook mentioned — that sweet-tart balance is unbeatable. For storing, keep them in an airtight container in a cool, dry place (fridge works great!) for up to 3 days, just make sure they’re not touching each other so the candy doesn’t stick!

yesterday

My kids loved it! I thought they’d turn their noses up at homemade vs the neon ones from the fair, but they said mine tasted even better. I did have a little trouble with the candy sliding off the first couple apples — turns out I didn’t dry them off well enough after washing! Learned my lesson quick.

2 hours ago

That’s such a common easy mistake! Any leftover moisture on the apple skin will make the candy slide right off, so patting them completely dry (and even letting them air dry for 10 minutes after washing) makes all the difference. So happy your kids preferred these to the fair versions — that’s the biggest win!

30 minutes ago

Flavor was great, but I struggled with the candy setting too fast once I took it off the heat. I only got 4 apples dipped before the coating got too thick to work with, and I had to reheat it which made it a little grainy. Maybe I had my heat too low? Not sure.

just now

Sorry to hear the candy set up too fast on you! That usually happens if the pan cools down too quickly once you take it off the burner. Next time, try keeping the pan on the absolute lowest heat setting while you dip — that keeps the syrup thin and smooth without burning it, and you won’t have to reheat it and risk grainy texture. Hope that helps for next time!

2 weeks ago

Made these for my neighborhood block party last weekend and they were such a hit! I rolled the edges in crushed Oreos after dipping and people went crazy for them. The candy had that perfect crunch, no sticky mess all over your fingers like some recipes I’ve tried before. Will absolutely be making these every Halloween from now on!

2 hours ago

Quick question — is this recipe gluten free? I want to make these for my son’s class party and there are a couple kids with celiac, so I need to make sure there’s no cross contamination or hidden gluten. Also, do the wooden sticks work better than the plastic popsicle sticks?

30 minutes ago

I made these last year for my GF kid’s class! As long as you use plain granulated sugar, corn syrup, and food coloring that’s GF (most standard ones are) this recipe is totally gluten free. I prefer wooden sticks because they feel sturdier when you’re twisting the apple to coat it.

5 minutes ago

Great question! Jen is totally right — this recipe is naturally gluten free as written, just double check your food coloring labels to be 100% sure if you’re serving folks with celiac. We also prefer thick wooden craft sticks because they hold the weight of the apple better than thin plastic ones, so less chance of the apple sliding off mid-dip!



