
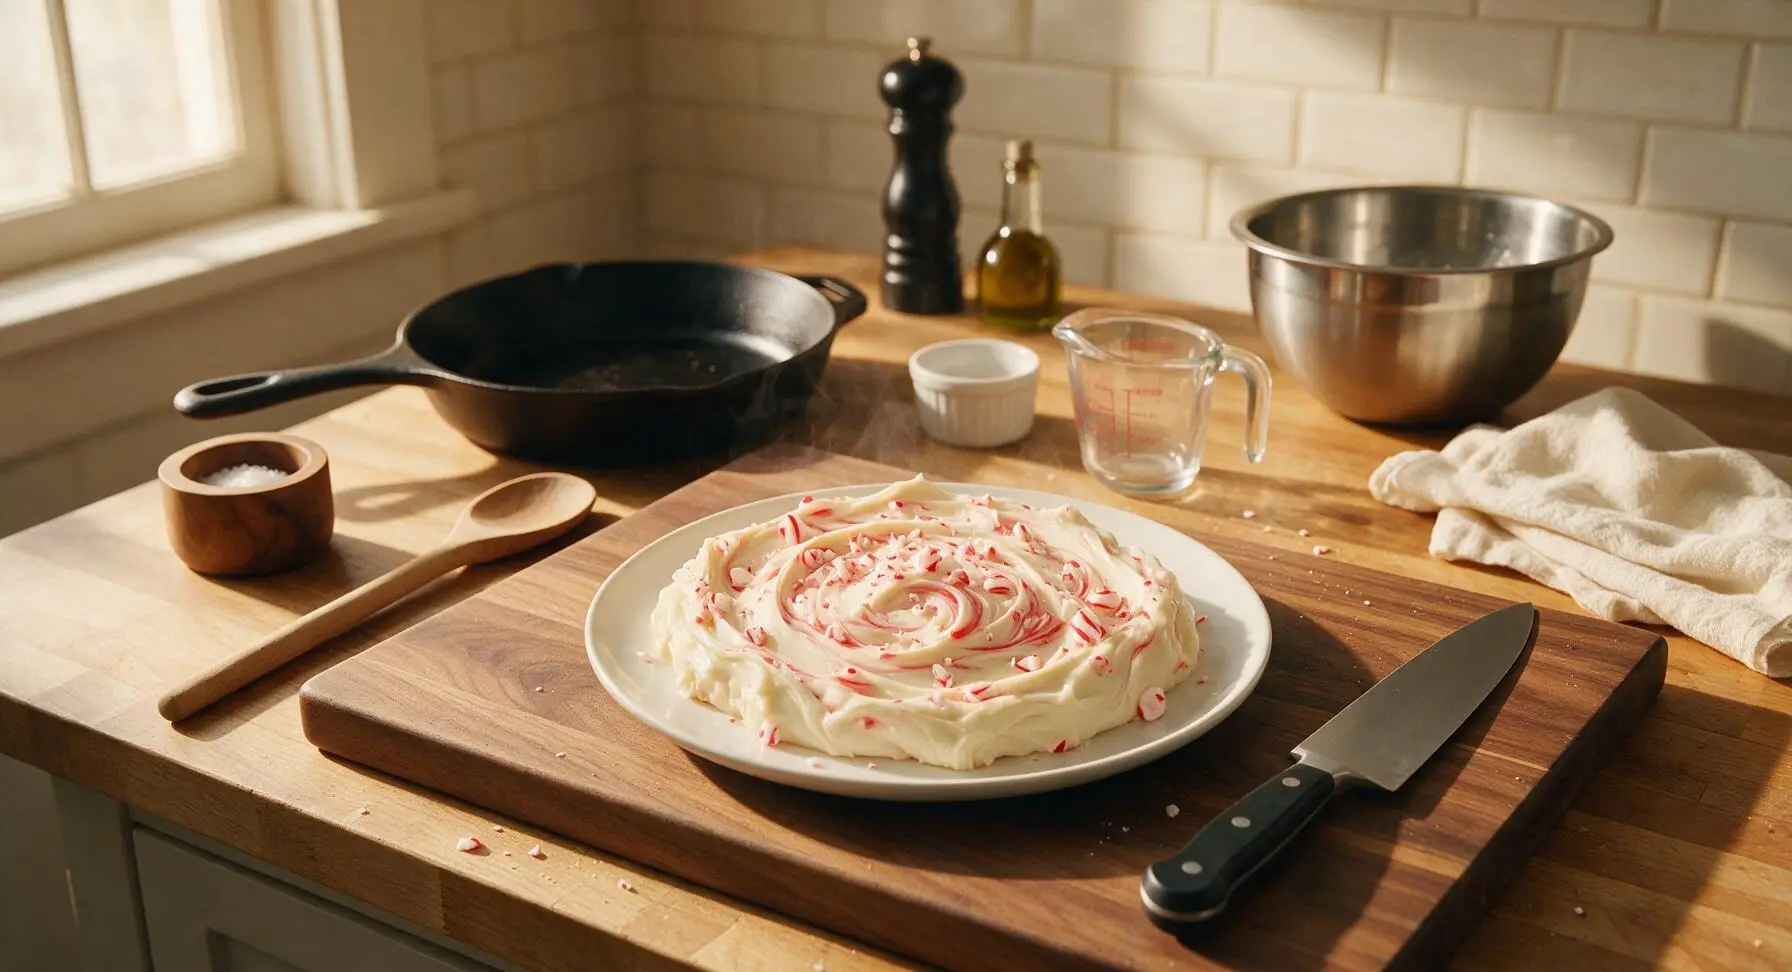
Candy Cane Fudge

title 1
Candy Cane Fudge
⏱️ cook time 2 hours 10 minutes (10 minutes active stovetop, 2 hours inactive chilling)
🍽️ servings 24
⚡ Difficulty easy

intro

Smooth, melt-in-your-mouth white chocolate fudge swirled with bright peppermint and crunchy crushed candy canes, a nostalgic, festive treat perfect for holiday gifting and Christmas spreads.

Ingredients
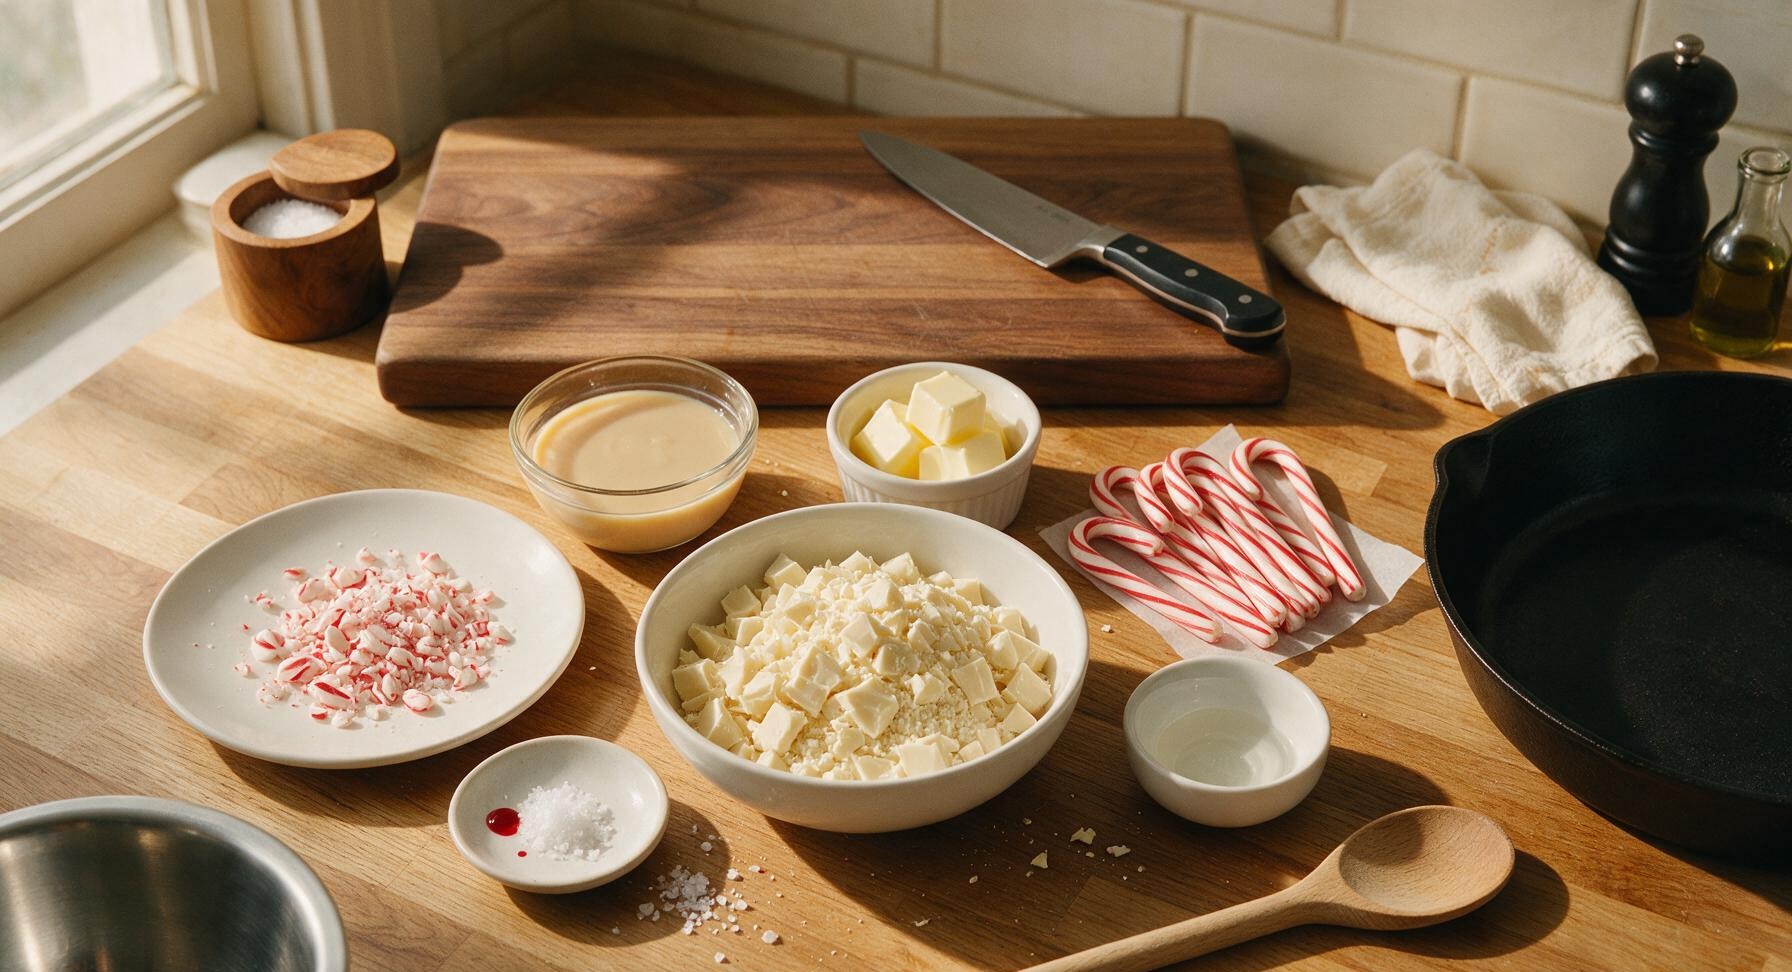
High-quality white chocolate, chopped 450g (3 cups)
Sweetened condensed milk 397g (1 14oz can)
Peppermint candy canes 12 pieces (150g total)
Unsalted butter, cubed 2 tbsp (28g)
Pure peppermint extract 1 tsp
Flaky sea salt 1/4 tsp, plus extra for topping
Red gel food coloring (optional, for marbling) 1 small drop

Steps

1

Line Baking Pan

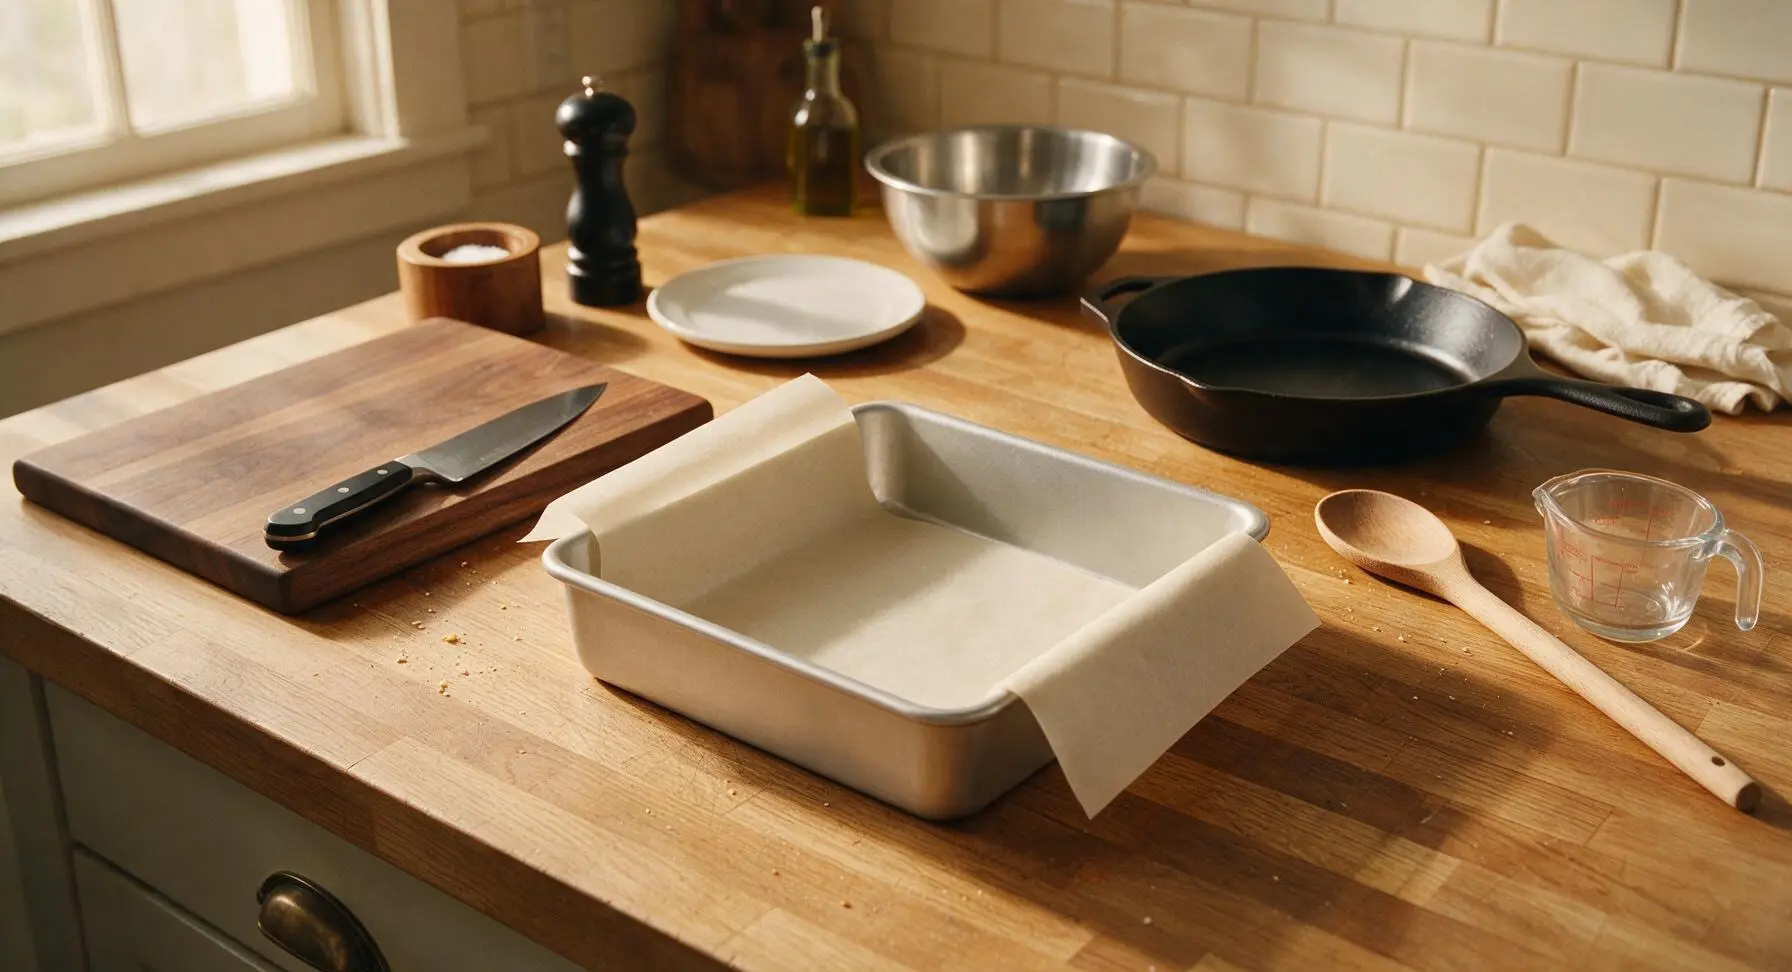
Line the 8-inch square matte silver aluminum baking pan with unbleached parchment paper, leaving 5cm of overhang on two opposite sides to use as handles for lifting the set fudge later. Smooth the paper flat against the pan bottom and sides, pressing out any air bubbles, and set the pan on the center of the counter. Gently push the pre-arranged ingredients to the sides of the counter to make clear workspace.
Step 1
step1:Line Baking Pan
2

Crush Candy Canes

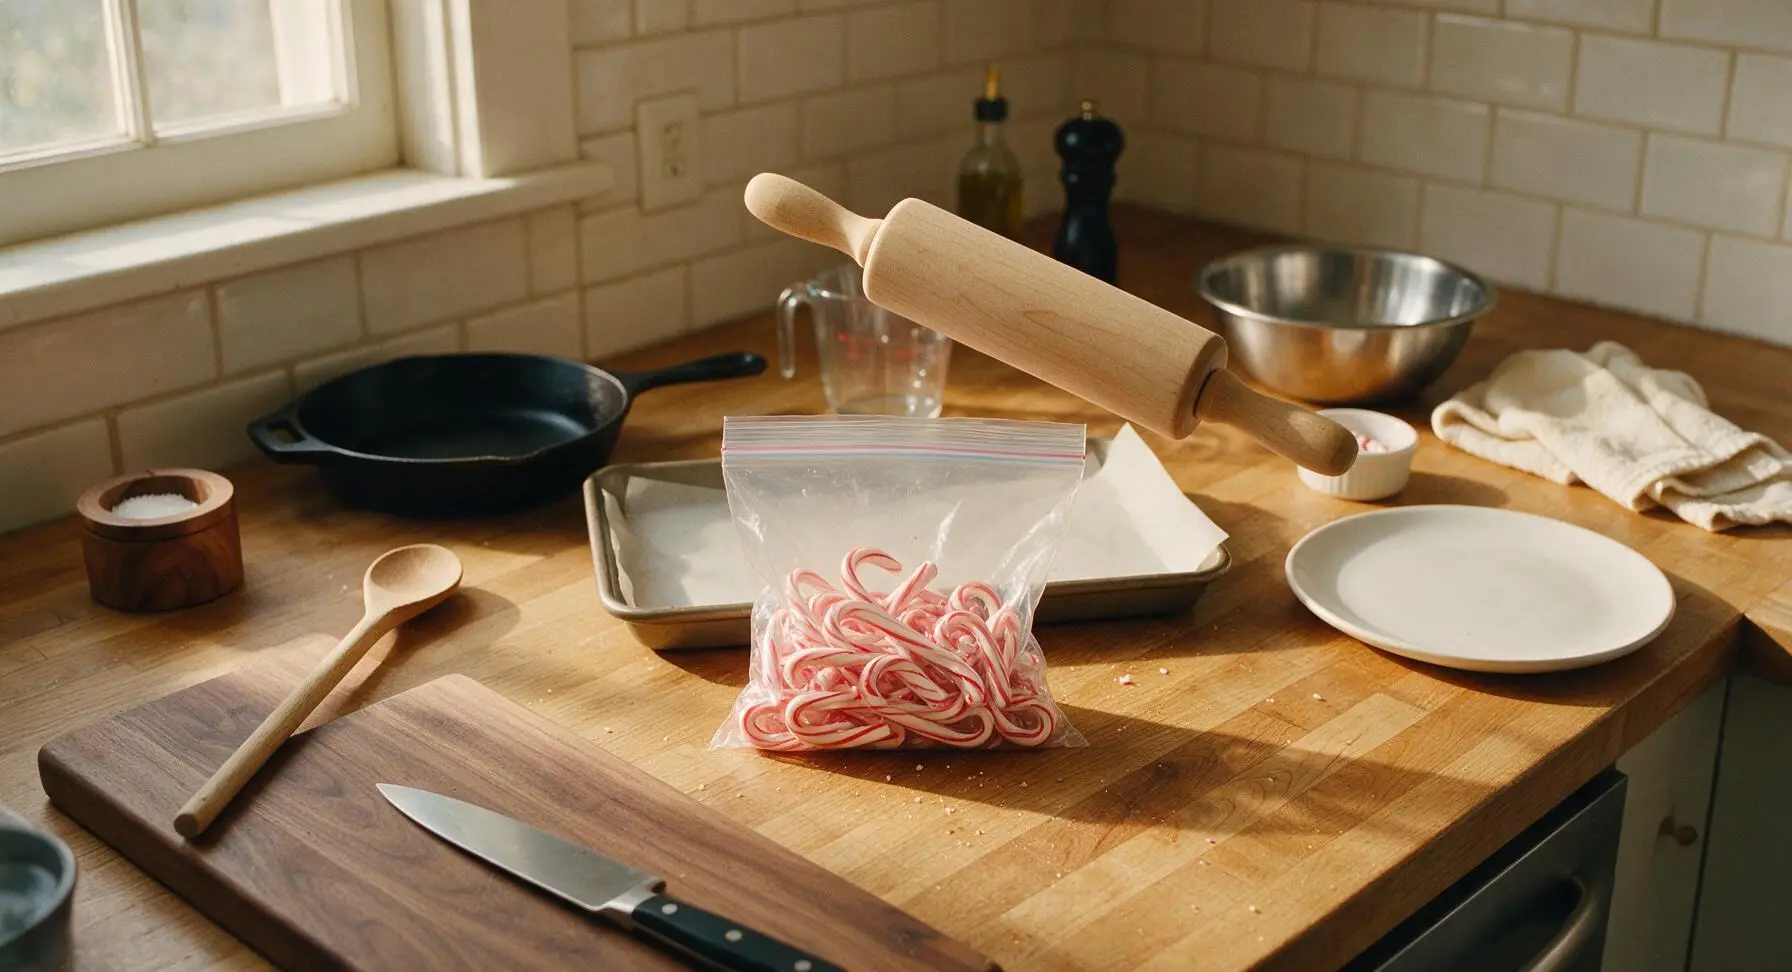
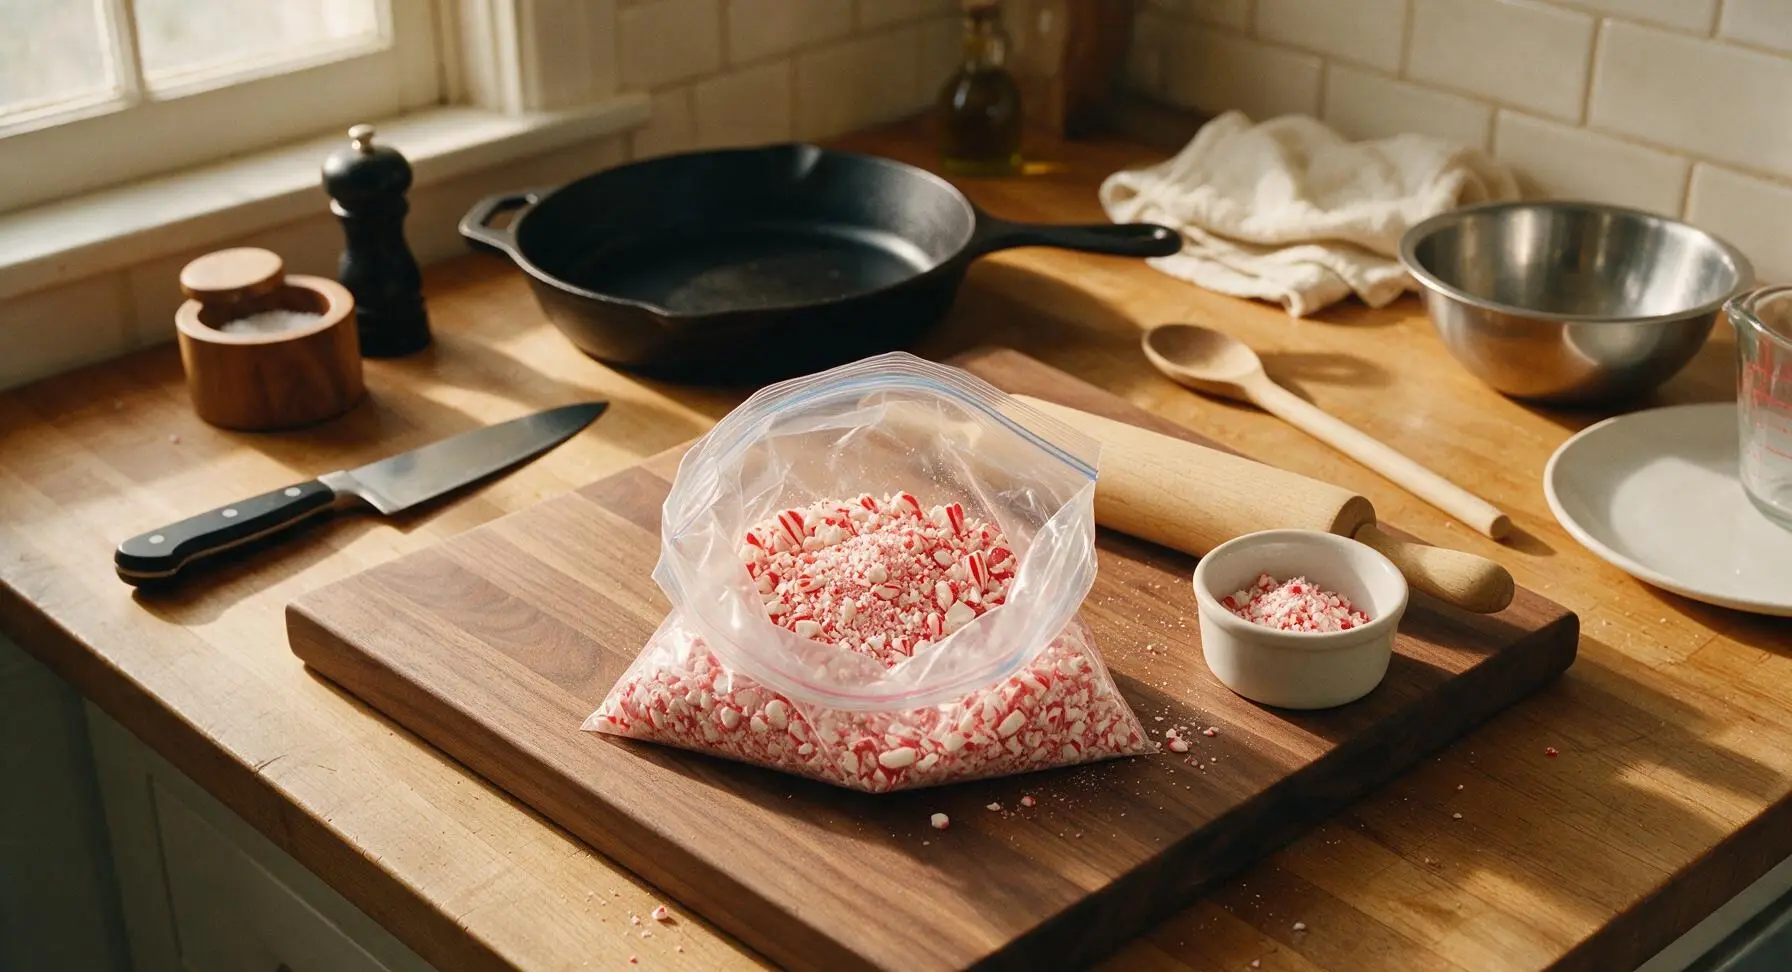
Unwrap 10 of the candy canes, place them inside the clear 1-quart resealable plastic bag, press out excess air, and seal tightly. Use the light maple wood rolling pin to gently tap and roll over the bag until the candy canes are crushed into a mix of fine powder and 5mm-sized chunky pieces—avoid crushing into completely fine dust, as varied texture adds visual and textural interest. Set aside 2 tablespoons of the crushed candy in one of the small white ramekins to use as a topping, leaving the remaining crushed candy in the sealed bag for mixing into the fudge.
Step 2
step2:Crush Candy Canes
Step 2
step2:Crush Candy Canes
3

Melt Fudge Base

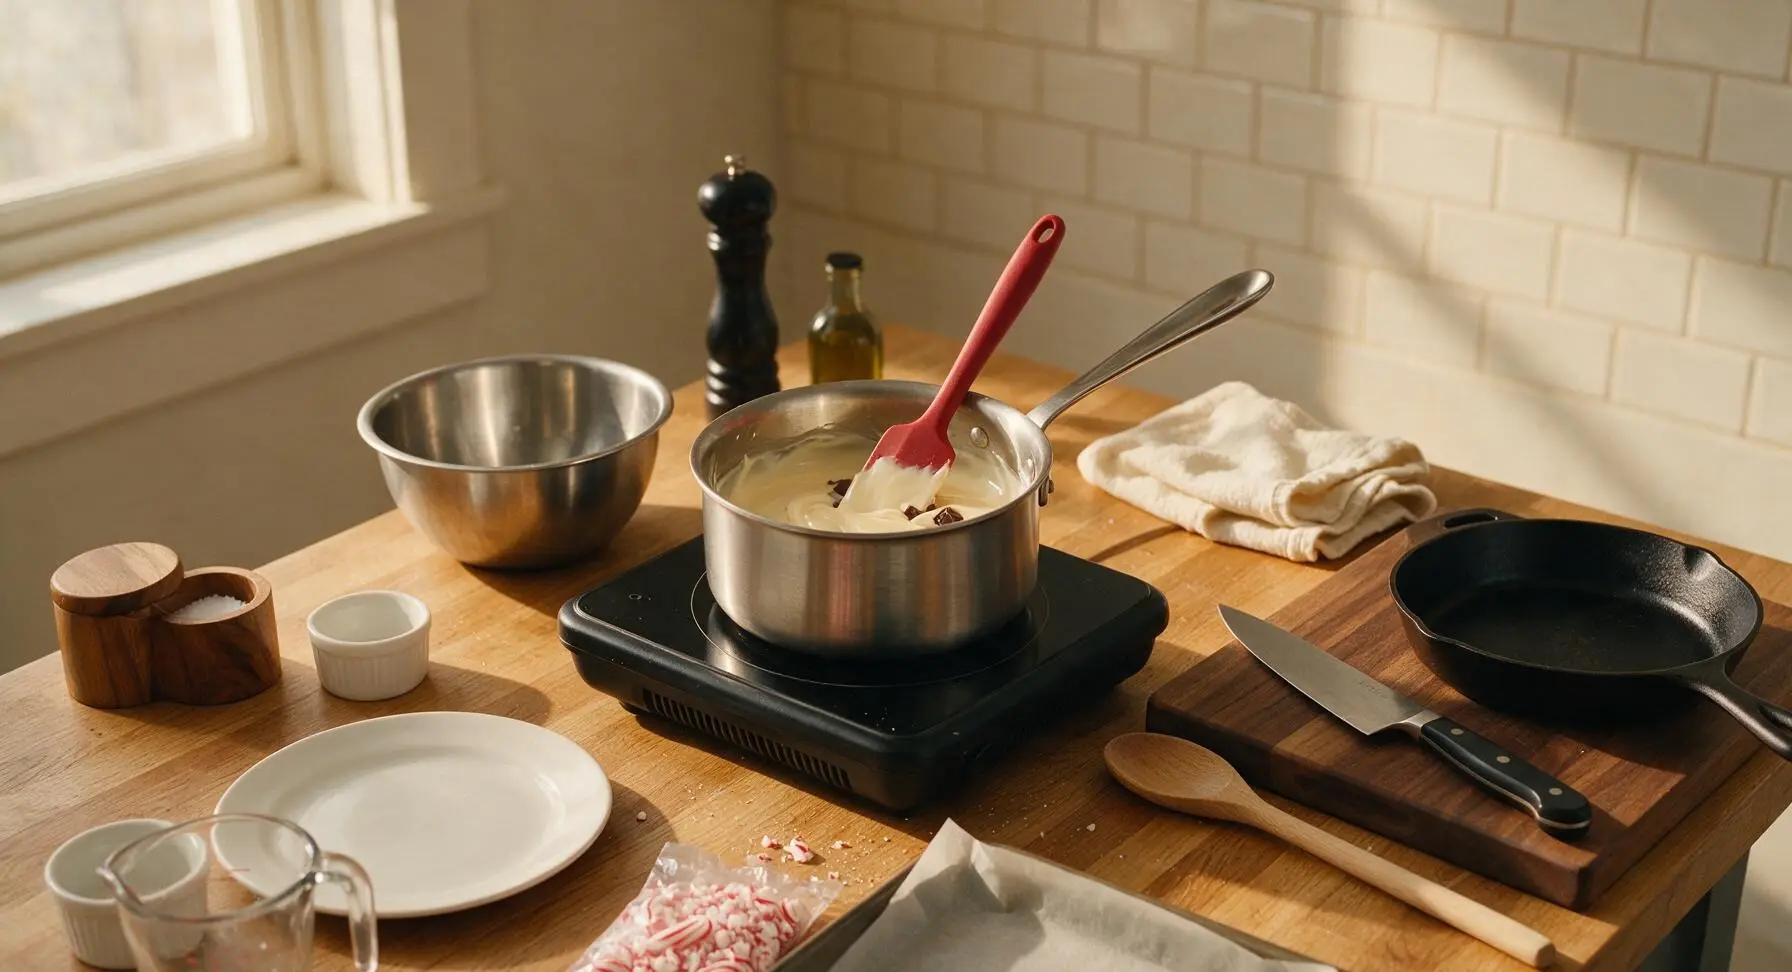
Place the 1.5-quart brushed stainless steel saucepan on the matte black portable induction burner at back center. Add the chopped white chocolate, cubed unsalted butter, and entire can of sweetened condensed milk to the pan. Stir constantly with the matte red silicone spatula, scraping the bottom and sides of the pan continuously to prevent scorching, for 6-8 minutes over the lowest heat setting until the mixture is completely smooth, with no remaining lumps of chocolate. The mixture will be thick, glossy, and pale ivory when fully melted. Remove the pan from heat immediately once smooth—do not overheat, as white chocolate can seize quickly at high temperatures.
Step 3
step3:Melt Fudge Base
4

Stir in Peppermint

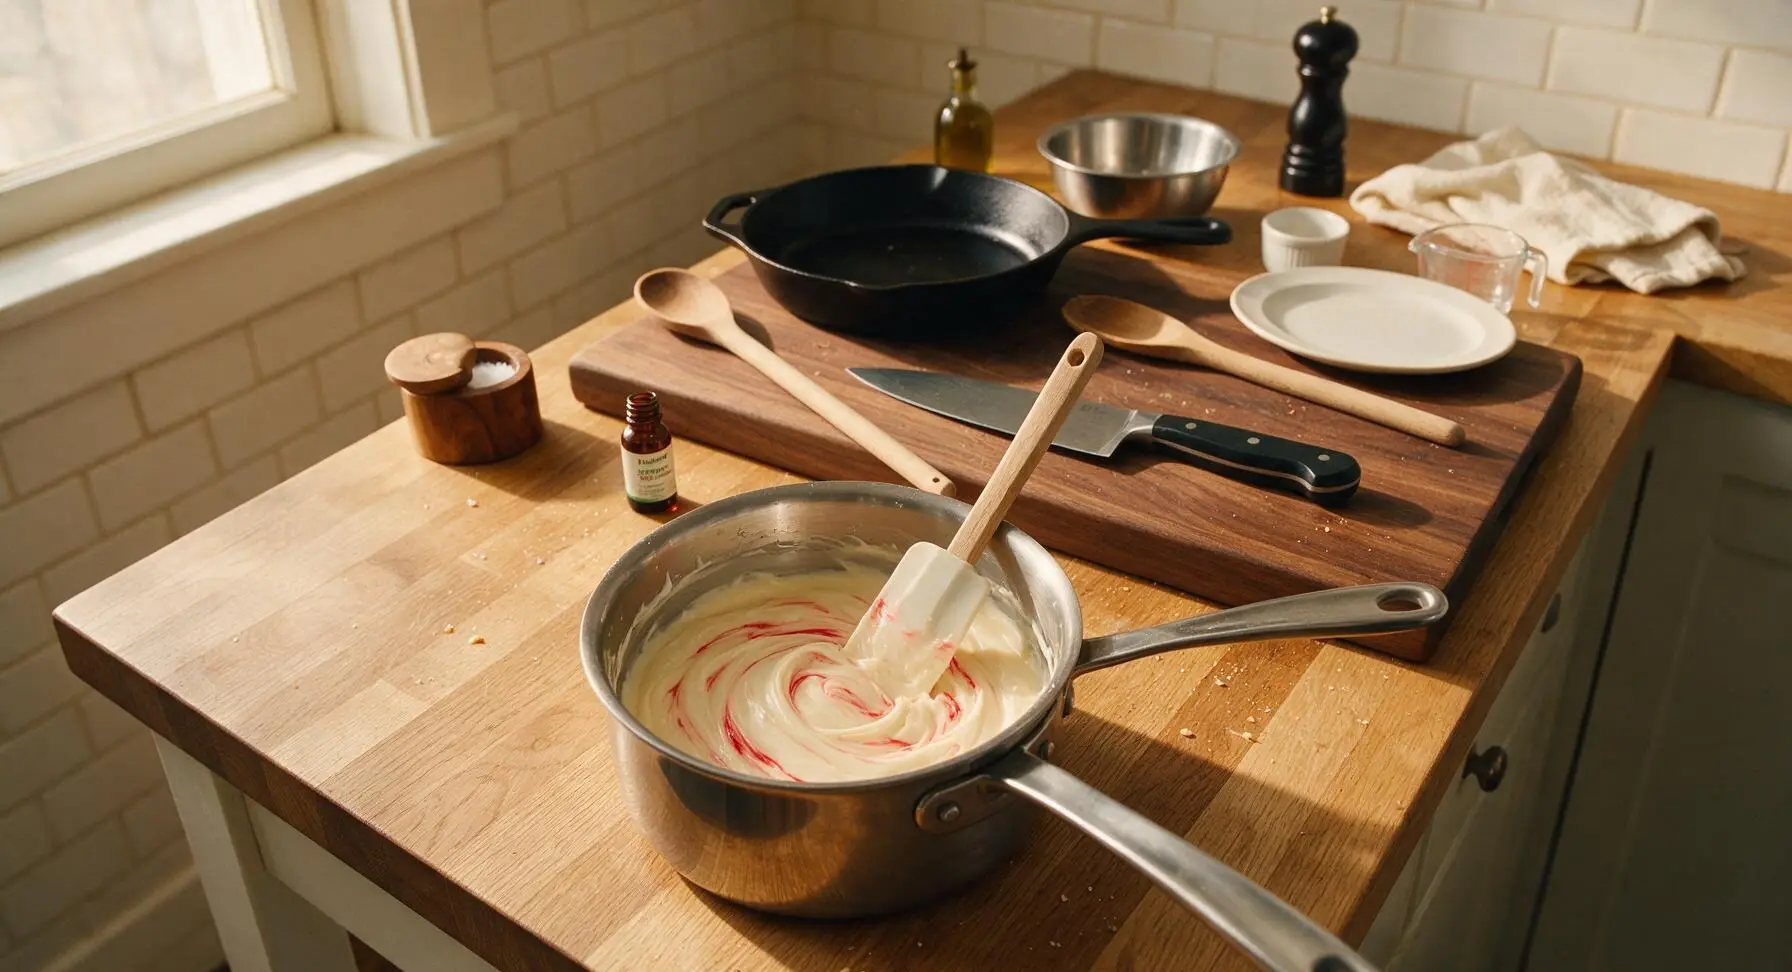
Once the fudge base is completely smooth and removed from heat, set the saucepan on a heat-safe section of the front counter. Stir in the pure peppermint extract and 1/4 tsp flaky sea salt with the red silicone spatula, mixing for 30 seconds until fully incorporated. If using the optional red gel food coloring, dip a toothpick into the coloring and drag it 2-3 times through the fudge base to create thin, wispy red streaks—do not fully mix, as you want a marbled effect rather than uniform pink fudge.
Step 4
step4:Stir in Peppermint
5

Fold in Crushed Candy

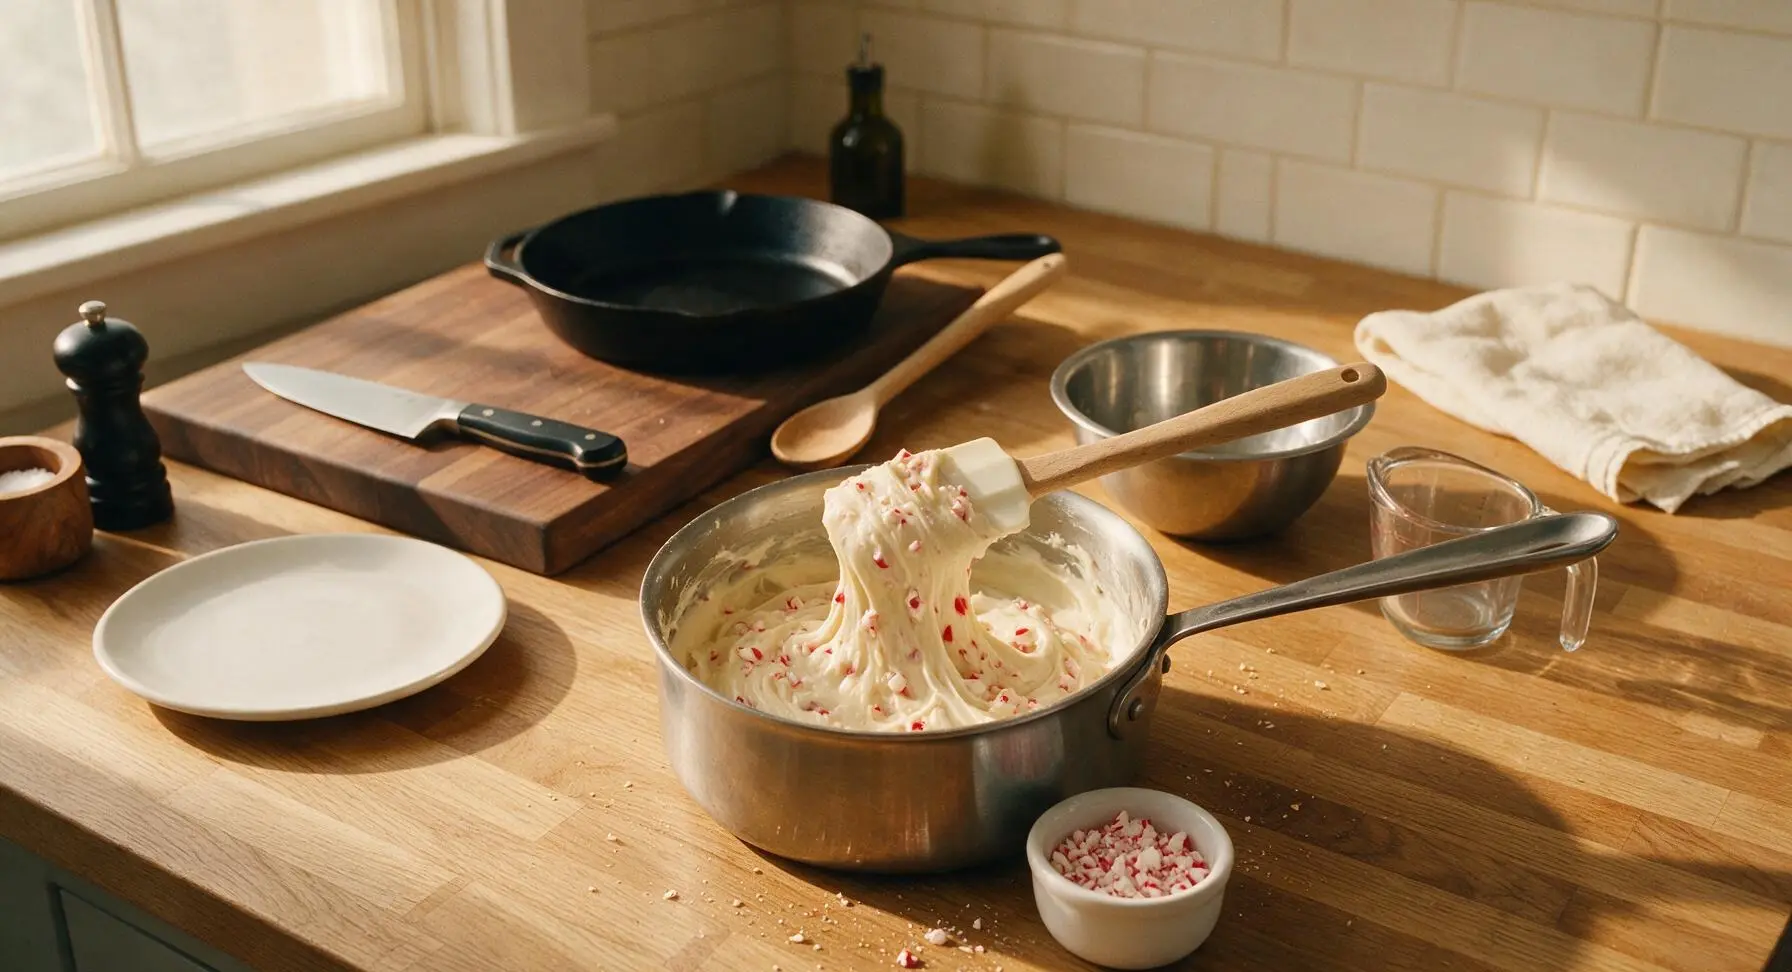
Pour all but the reserved 2 tablespoons of crushed candy canes from the plastic bag into the fudge base. Fold gently with the silicone spatula for 10-15 seconds only, just to distribute the candy pieces evenly through the fudge—overmixing will cause the candy canes to bleed their red color into the fudge and turn it uniformly pink, which mutes the bright marbled effect.
Step 5
step5:Fold in Crushed Candy
6

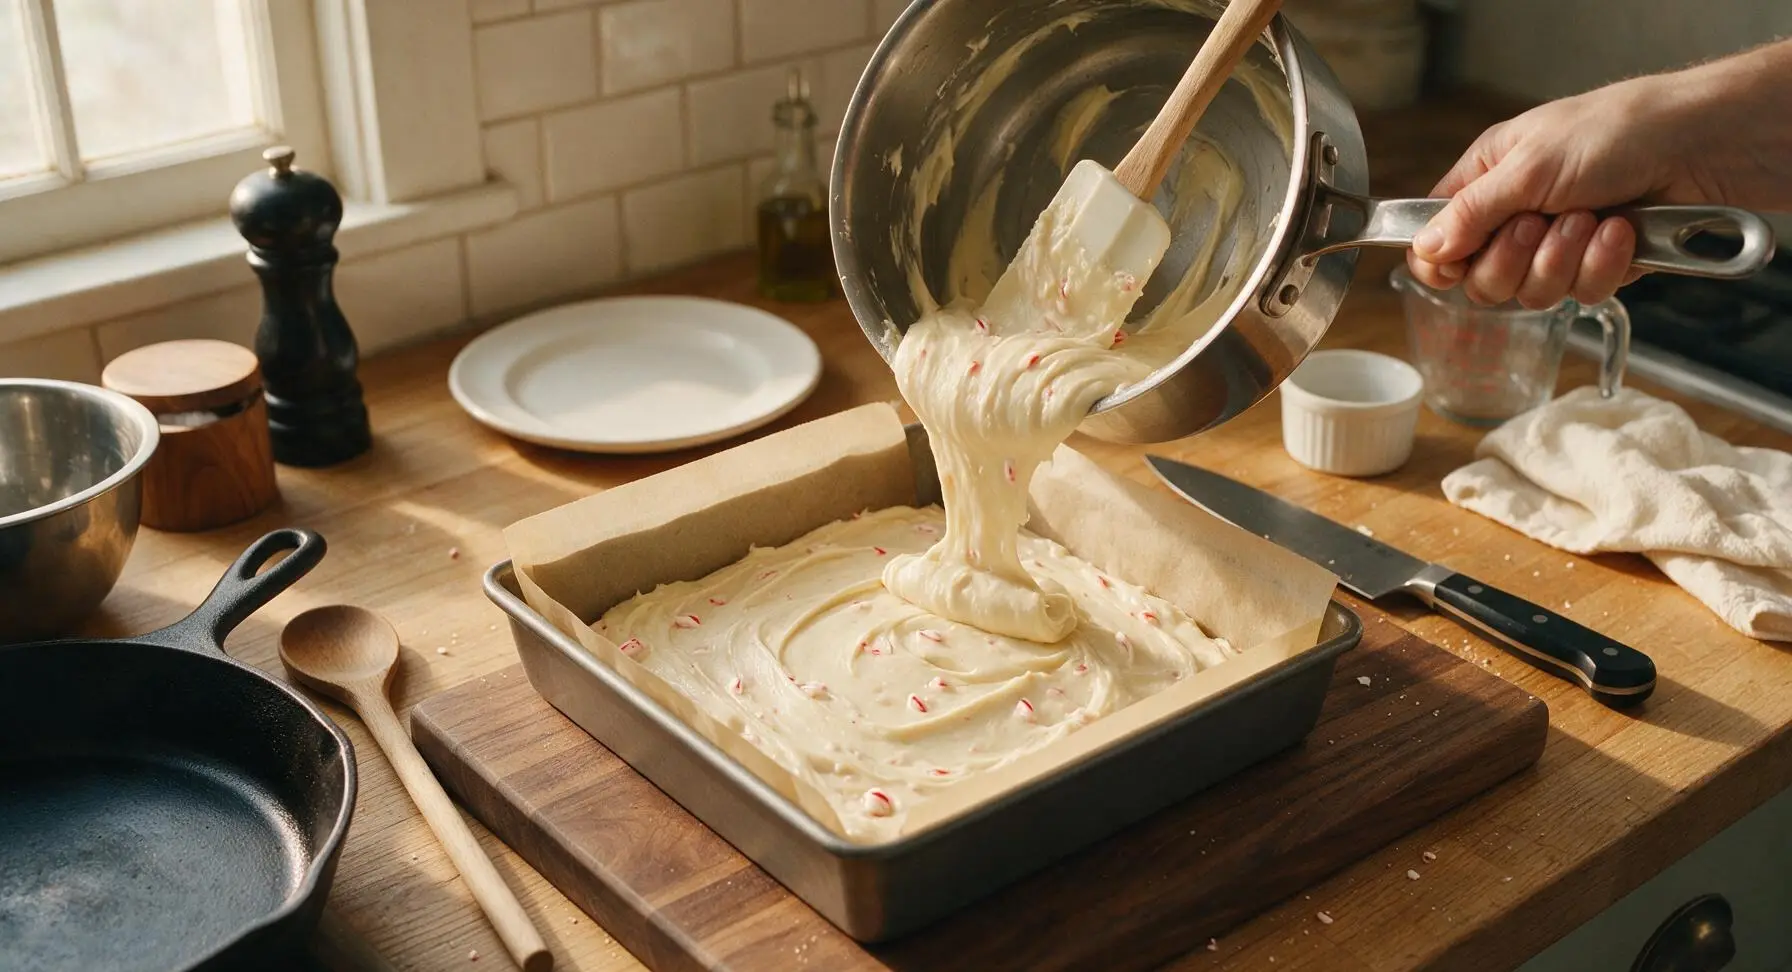
Pour and Spread Fudge

Immediately pour the entire fudge mixture from the saucepan into the parchment-lined 8-inch square baking pan. Use the silicone spatula to spread the fudge into an even, smooth layer across the entire pan, pressing gently into the corners to eliminate gaps. The surface should be mostly smooth, with subtle raised texture from the embedded candy pieces.
Step 6
step6:Pour and Spread Fudge
7

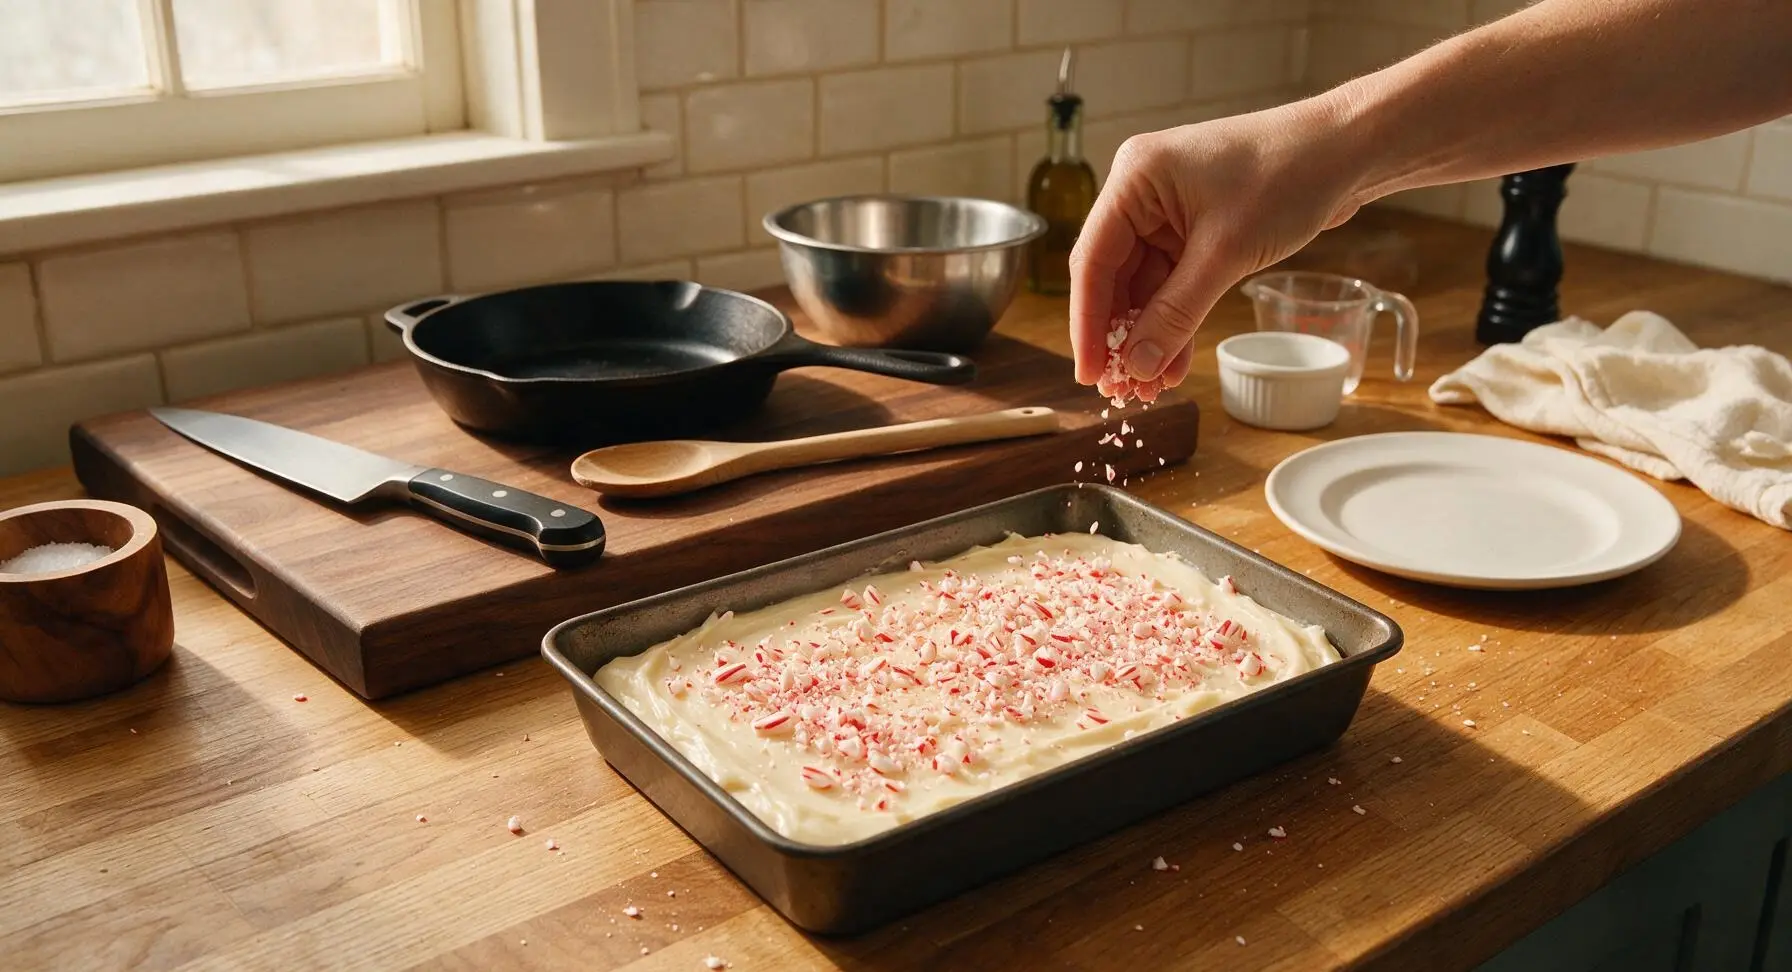
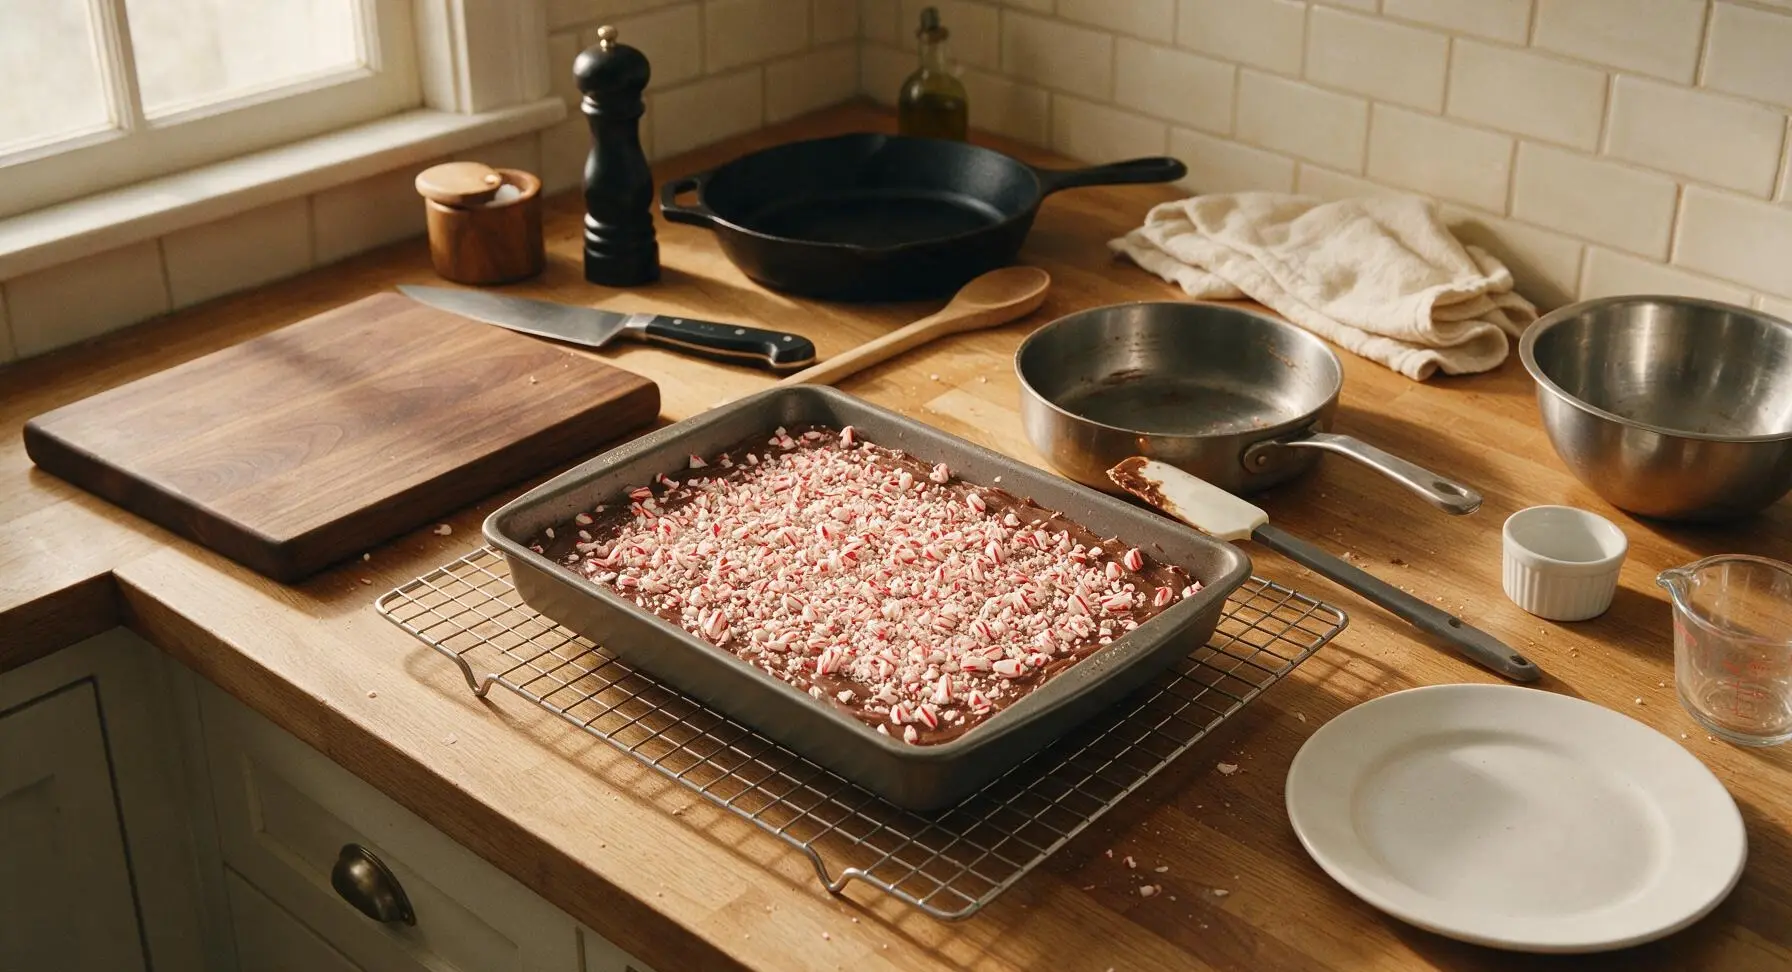
Top and Set Fudge

Sprinkle the reserved 2 tablespoons of crushed candy canes evenly over the top of the fudge, followed by a tiny pinch of extra flaky sea salt. Lift the pan gently and tap it on the counter 3-4 times to release any trapped air bubbles. Place the pan on the matte chrome wire cooling rack, then transfer the rack to the refrigerator to chill for a full 2 hours, until the fudge is completely firm to the touch and does not indent when pressed lightly with a finger.
Step 7
step7:Top and Set Fudge
Step 7
step7:Top and Set Fudge
8

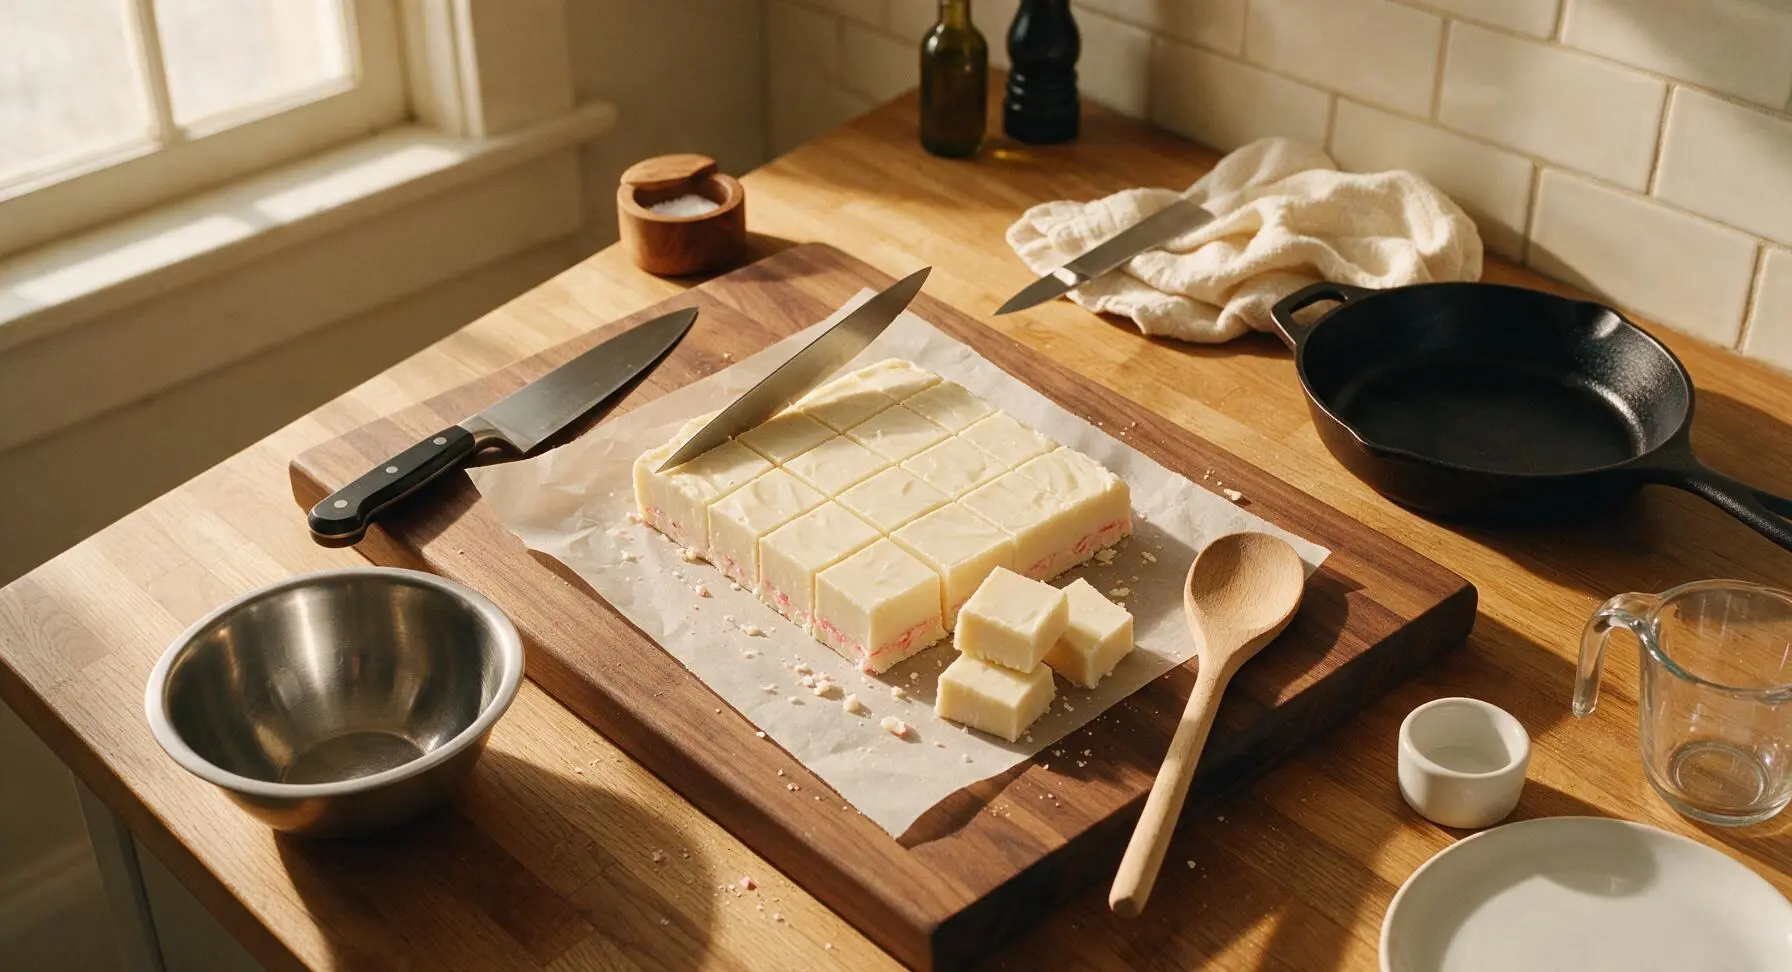
Cut into Squares

Once fully set after 2 hours of chilling, remove the pan from the refrigerator. Lift the solid fudge block out of the pan using the parchment paper overhang handles, and transfer it to a clean section of the counter. Use the sharp stainless steel paring knife to cut the fudge into 24 even 1.5-inch squares, wiping the knife blade clean on the heather gray linen towel between cuts to get smooth, clean edges without dragging. Arrange the cut squares on the round cream ceramic serving platter.
Step 8
step8:Cut into Squares

Tips

1.Opt for high-quality white chocolate made with at least 30% cocoa butter instead of budget white baking chips: baking chips contain added stabilizers that prevent smooth melting and result in a grainy, firm fudge instead of the desired melt-in-your-mouth creamy texture.
2.Never rush the melting process by turning up the heat: white chocolate scorches at 110°F, much lower than dark or milk chocolate, and even 30 seconds of too-high heat can cause it to seize into a lumpy, unusable mass. Constant stirring over the lowest heat setting guarantees a silky base.
3.Wait to fold in crushed candy canes until after you remove the fudge base from heat: adding candy canes to hot fudge will melt the hard candy, causing the red coloring to bleed and turn the entire batch a uniform pale pink instead of having bright, distinct red and white candy flecks throughout.


✨ You May Also Like

Desserts & Baking
🍜 Italy

Creamy, coffee-kissed classic Northern Italian no-bake dessert, with layers of rum-spiked mascarpone cream, soft ladyfingers, and a rich cocoa dusting.

⏱️ 4 hours 3Desserts & Baking ★ 4.7
Desserts & Baking
🍜 France

Flaky, shatteringly crisp, buttery French croissants with golden exteriors and soft, airy layered interiors, perfect for pairing with coffee for a special morning treat.

⏱️ 12 hours Desserts & Baking ★ 4.5
Desserts & Baking
🍜 United States

Warm, spiced baked apples topped with a fluffy golden biscuit crust, this cozy dessert pairs perfectly with vanilla ice cream for cool-weather comfort.

⏱️ 55 minuteDesserts & Baking ★ 4.6
Desserts & Baking
🍜 United States

A star-spangled classic American blueberry pie with buttery flaky crust and bright sweet-tart filling, perfect for summer patriotic gatherings.

⏱️ 1 hour 25Desserts & Baking ★ 4.7
Desserts & Baking
🍜 United States

A beloved no-bake regional Maine candy with a chewy coconut-potato center coated in rich dark chocolate, a New England holiday staple since the 1870s.

⏱️ 2 hours 3Desserts & Baking ★ 4.8
Desserts & Baking
🍜 France

Luxuriously creamy, floral frozen custard made with aromatic Tahitian vanilla beans, boasting a smooth, rich texture that melts slowly on the tongue.

⏱️ 3 hours 3Desserts & Baking ★ 4.5

Candy Cane Fudge:Frequently Asked Questions

1.Why does my candy cane fudge turn out grainy instead of smooth? ▾
Grainy fudge almost always traces back to overheated chocolate or trapped moisture. Melt your high-quality white chocolate with sweetened condensed milk and cubed unsalted butter over low, gentle heat (no boiling!) and ensure no steam or water drips into the mixture, as even a drop can seize chocolate. Stir slowly and evenly, and avoid overmixing once you add peppermint extract to keep that silky texture.
2.Can I make this candy cane fudge ahead of time for holiday gifting? ▾
Absolutely! This fudge stores beautifully, which makes it ideal for holiday gifting. Once fully set and cut into squares, keep it in an airtight container between layers of parchment paper in the fridge for up to 2 weeks, or frozen for up to 3 months. Let it sit at cool room temperature for 10 minutes before serving or packing into tins for the best texture.
3.Do I have to use high-quality white chocolate, or will regular baking chips work? ▾
I strongly recommend high-quality chopped white chocolate over standard budget white baking chips for the best result. Most cheap baking chips have added stabilizers that prevent smooth melting, leading to waxy, dull fudge. Chopped premium white baking bars melt into that luxuriously creamy base with a clean, sweet vanilla note that pairs perfectly with bright peppermint.
4.How do I get that pretty red-and-white peppermint swirl without muddying the colors? ▾
For a clean, festive swirl, reserve ¼ cup of crushed candy canes and a small scoop of plain fudge base before mixing in peppermint extract and most of the candy. After spreading the mint-spiked fudge in your pan, dot the top with the reserved plain fudge, drag a toothpick through in gentle S-curves, then top with remaining candy—don’t over-swirl, or you’ll get a muddled pink mess.
5.My fudge is too soft and won’t set up properly—what went wrong? ▾
Soft, unset fudge usually happens if you didn’t fully melt the chocolate into the base, or added too much liquid. Double check that your white chocolate is completely smooth when melted with sweetened condensed milk and cubed unsalted butter, and stick to the recommended amount of pure peppermint extract. If it stays soft after 4 hours in the fridge, re-melt gently and cook 1-2 minutes longer before re-setting.
6.Can I leave out the peppermint extract for a milder mint flavor? ▾
You can skip it, but you’ll lose that bright, cool peppermint kick that balances the sweet white chocolate. If you prefer milder mint, cut the peppermint extract in half instead of omitting it entirely, and let the crushed candy canes deliver most of the mint flavor and crunch. Always use pure peppermint extract for a clean, non-artificial taste, not imitation mint flavoring.
7.What’s the best way to crush candy canes without making a sticky, powdery mess? ▾
Skip the food processor—it will turn most of the candy to fine dust and leave hard-to-clean sticky residue on the blades. Instead, place unwrapped candy canes in a sealed heavy-duty zip-top bag, squeeze out all air, and gently bash them with a rolling pin or heavy skillet until you have a mix of small crunchy chunks and a little fine powder.
8.Do I need a candy thermometer to make this candy cane fudge? ▾
No candy thermometer is required for this easy, approachable fudge! Unlike traditional cooked fudge that relies on precise temperature readings to form sugar crystals, this version sets as melted white chocolate and sweetened condensed milk cool. All you need is a heatproof bowl, a small saucepan for a simple double boiler, and an 8x8 inch baking pan—no fancy gear required.
9.Can I add extra mix-ins like nuts or chocolate chips to this fudge? ▾
Absolutely, as long as you don’t overload the base so it still sets properly. Stir in up to ½ cup of add-ins after taking the melted fudge base off the heat—great options include chopped toasted macadamia nuts, mini semi-sweet chocolate chips, or crushed shortbread bits. Avoid adding extra candy canes, as too much crunchy candy can make fudge crumbly instead of smooth.

Comments (16)

1 week ago

OMG this candy cane fudge was a total hit at my kid’s class holiday party last week! I was worried it’d be too complicated since I’m not a big baker, but it was SO easy — 10 minutes of stirring on the stove then pop it in the fridge? Game changer. Crushed candy canes on top give the perfect peppermint crunch, even the teachers asked for the recipe!

6 days ago

So glad it was a hit at the class party! We love how low-effort this fudge is for busy holiday schedules — pro tip: line your pan with parchment paper for super easy slicing next time!

2 days ago

Wait, do I use regular sweetened condensed milk or the peppermint flavored kind? I grabbed the wrong one at the grocery store yesterday and don’t wanna make a second trip if I don’t have to!

1 day ago

I used regular last year and it turned out perfect! The crushed candy canes add all the peppermint flavor you need, no need for the fancy condensed milk.

1 day ago

Great question! Regular sweetened condensed milk works totally fine here — the peppermint extract and crushed candy canes carry all that classic minty flavor, so you’re good to go with what you already have!

yesterday

Made this for my office potluck yesterday and the whole pan was gone in 15 minutes. People kept coming back for seconds, even my grumpy boss who never eats sweets said it was top tier. 10/10 will make again for Christmas dinner.

3 days ago

Is there a way to make this dairy free? My daughter has a milk allergy and I’ve been hunting for a holiday treat she can actually eat with the rest of the family.

2 days ago

Absolutely! Swap the regular white chocolate chips for dairy-free white chocolate and use a canned coconut sweetened condensed milk (not the watery kind in the carton!) — it comes out just as creamy, we’ve tested it multiple times!

2 weeks ago

My grandkids went crazy for this fudge when they visited over Thanksgiving weekend! I added a little extra peppermint extract because we love that cool tingle, and topped it with those mini candy cane bits. Perfect easy treat to keep in the fridge for when visitors stop by.

1 week ago

The extra peppermint extract hack is genius! I did that last year too and it made the whole house smell like Christmas while it set.

1 week ago

Love the extra peppermint tweak! It’s such a flexible recipe, adding a little extra extract is such a fun way to customize it for your family’s tastes.

5 days ago

Wow, this is so much easier than the fudge my mom used to make that required a candy thermometer! I prepped a batch Sunday night to portion out for my work snacks all week and it’s held up perfectly in the fridge. Not too sweet, just right.

30 minutes ago

How far in advance can I make this? I’m hosting 20 people for Christmas Eve and don’t wanna be stuck cooking the day of if I can knock this out earlier.

25 minutes ago

Great question for holiday planning! This fudge stays fresh in an airtight container in the fridge for up to 2 weeks, so you can absolutely make it a week or so ahead of your party to check one thing off your to-do list.

2 hours ago

Tried this last night and it came out a little softer than I expected? Did I not chill it long enough? I only left it in for an hour and a half because I was impatient lol

1 hour ago

Oh yeah, you definitely cut the chill time short! I did the same thing my first try, left it the full 2 hours the next time and it sliced perfectly, no gooey mess.

1 hour ago

That’s exactly it! The full 2 hours of chill time is key to getting that firm, sliceable fudge texture. If your kitchen is extra warm, you can even pop it in the freezer for 30 minutes at the end to speed things up a bit!

2 days ago

SO good. I swapped half the white chocolate for semi-sweet because my husband isn’t a huge white chocolate fan, and the peppermint + chocolate combo was insane. Will be adding this to our annual cookie plate lineup for neighbors.

just now

Just pulled my first batch out of the fridge to slice, and it looks gorgeous! The red and white swirls are so festive, it’s gonna look perfect on my holiday dessert table. Only thing I did different was add a sprinkle of sea salt on top — sweet and salty for the win.

just now

The sea salt sprinkle is such a good call! I did that last Christmas and everyone commented on how it cut the sweetness perfectly, game changer.

5 days ago

Took this to my friend’s ugly sweater party over the weekend and I lost count of how many people asked for the recipe. It looks way fancier than it is, which is my favorite kind of holiday recipe tbh. No fancy skills required!

5 minutes ago

Can I use crushed peppermint candies instead of actual candy canes? My grocery store was totally sold out of candy canes when I went earlier this week, but I have a big bag of the round peppermint discs in the pantry.

2 minutes ago

Absolutely! Crushed peppermint discs work exactly the same as crushed candy canes here — you’ll get that same great peppermint crunch and flavor, no one will be able to tell the difference.

1 week ago

My kids loved it! We made it together after school last week as a fun holiday activity, they had a blast crushing up the candy canes with a rolling pin (and definitely snuck a few pieces of fudge before it was fully set, little gremlins). 10/10 for an easy family activity that ends in dessert.

5 days ago

The candy cane crushing part is the best! I let my 4 year old go to town with a mallet last year and she still talks about making “Christmas fudge” with mom.

5 days ago

We love hearing this! It’s such a great kid-friendly recipe because there’s no complicated steps, and crushing candy canes is the perfect job for little helpers.

3 days ago

I’m not much of a dessert guy but my wife begged me to make this with her for our neighborhood cookie swap. Gotta admit, it’s pretty dang good. The peppermint isn’t overpowering, the fudge is super creamy, and we even won “best treat” at the swap. Who knew?

yesterday

Quick tip for anyone making this: line your pan with extra parchment paper hanging over the edges so you can lift the whole block of fudge out to slice instead of digging it out of the pan. Makes clean up so much easier, no stuck fudge bits!

yesterday

Such a great pro tip! We always recommend the parchment paper sling for exactly that reason — it makes slicing clean even squares a total breeze, no messy pan scrubbing required.

2 weeks ago

I added a quarter teaspoon of espresso powder to the fudge base to deepen the chocolate flavor, and paired with the peppermint it tasted like a peppermint mocha! Absolute chef’s kiss, my roommates are already begging me to make another batch before Christmas.

1 week ago

The espresso powder addition is genius! I’ve been adding that to all my chocolate bakes lately and it makes such a huge difference without tasting like coffee, I need to try that with this fudge.

1 week ago

What a delicious custom twist! The espresso + peppermint combo sounds like such a cozy upgrade, we might have to test that version for ourselves this holiday season!



