
Candy Cane Pretzels
intro
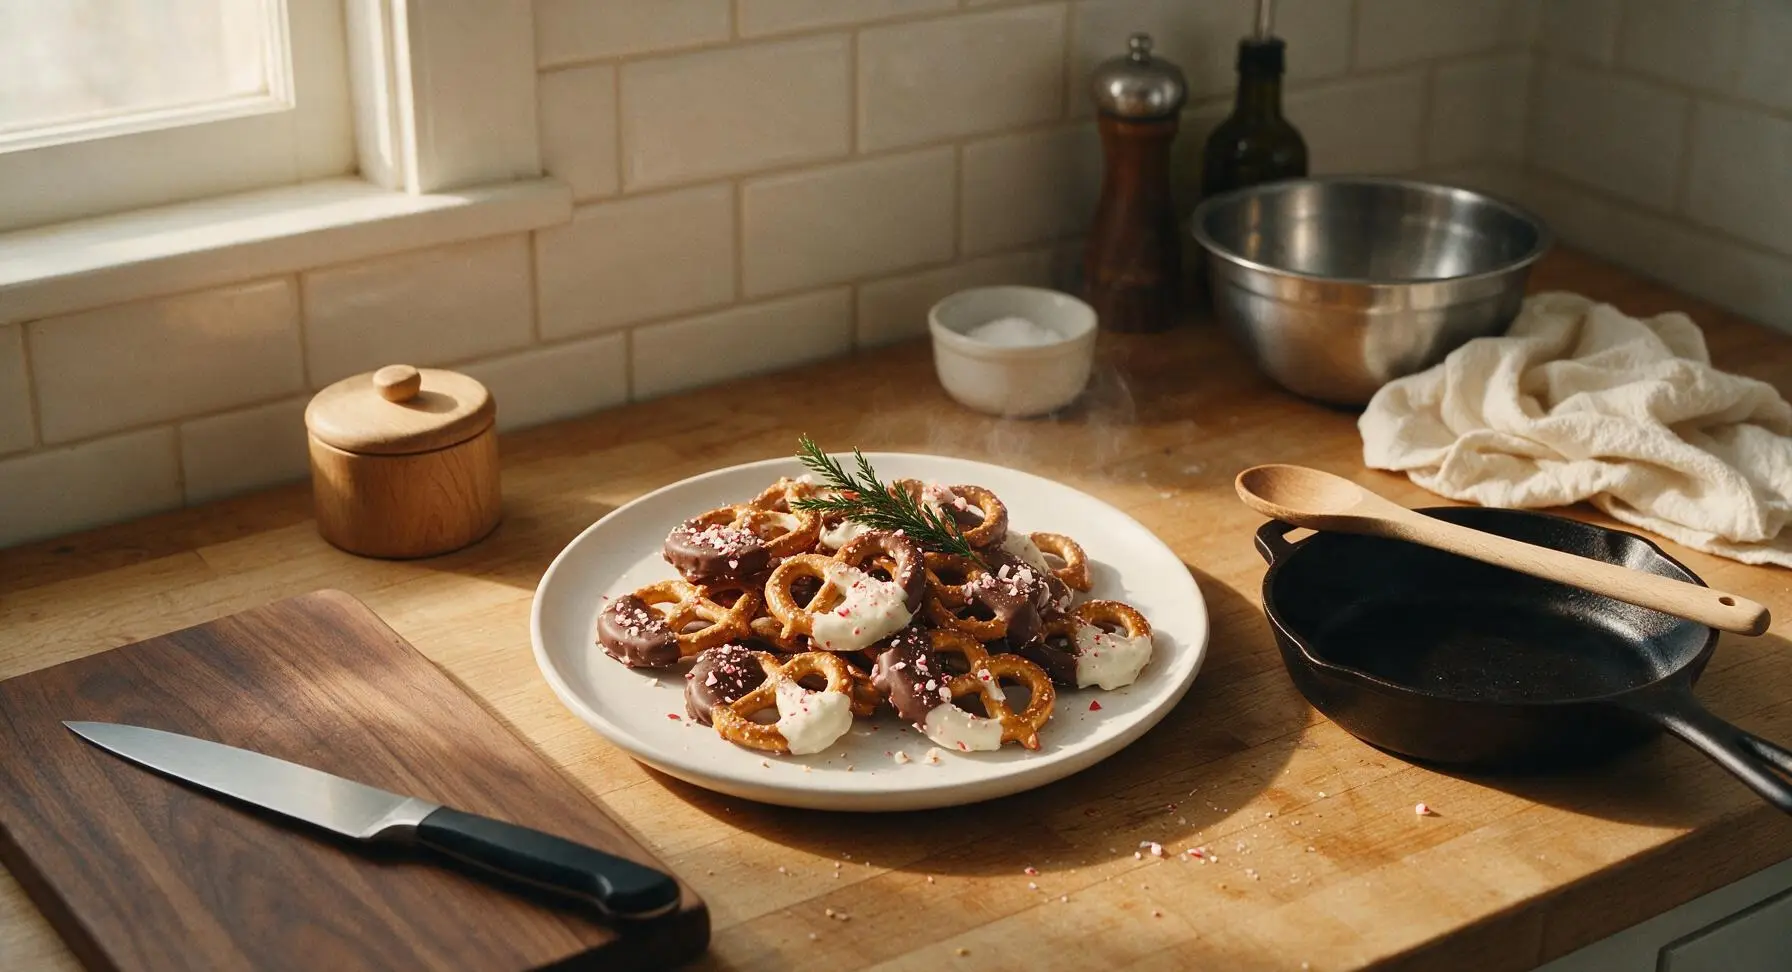
Crunchy salty pretzels half-coated in smooth dark and white chocolate, dusted with crushed peppermint candy canes: the perfect sweet-salty, no-bake Christmas treat for gifting and snacking.
Ingredients
Steps
Line Baking Sheet
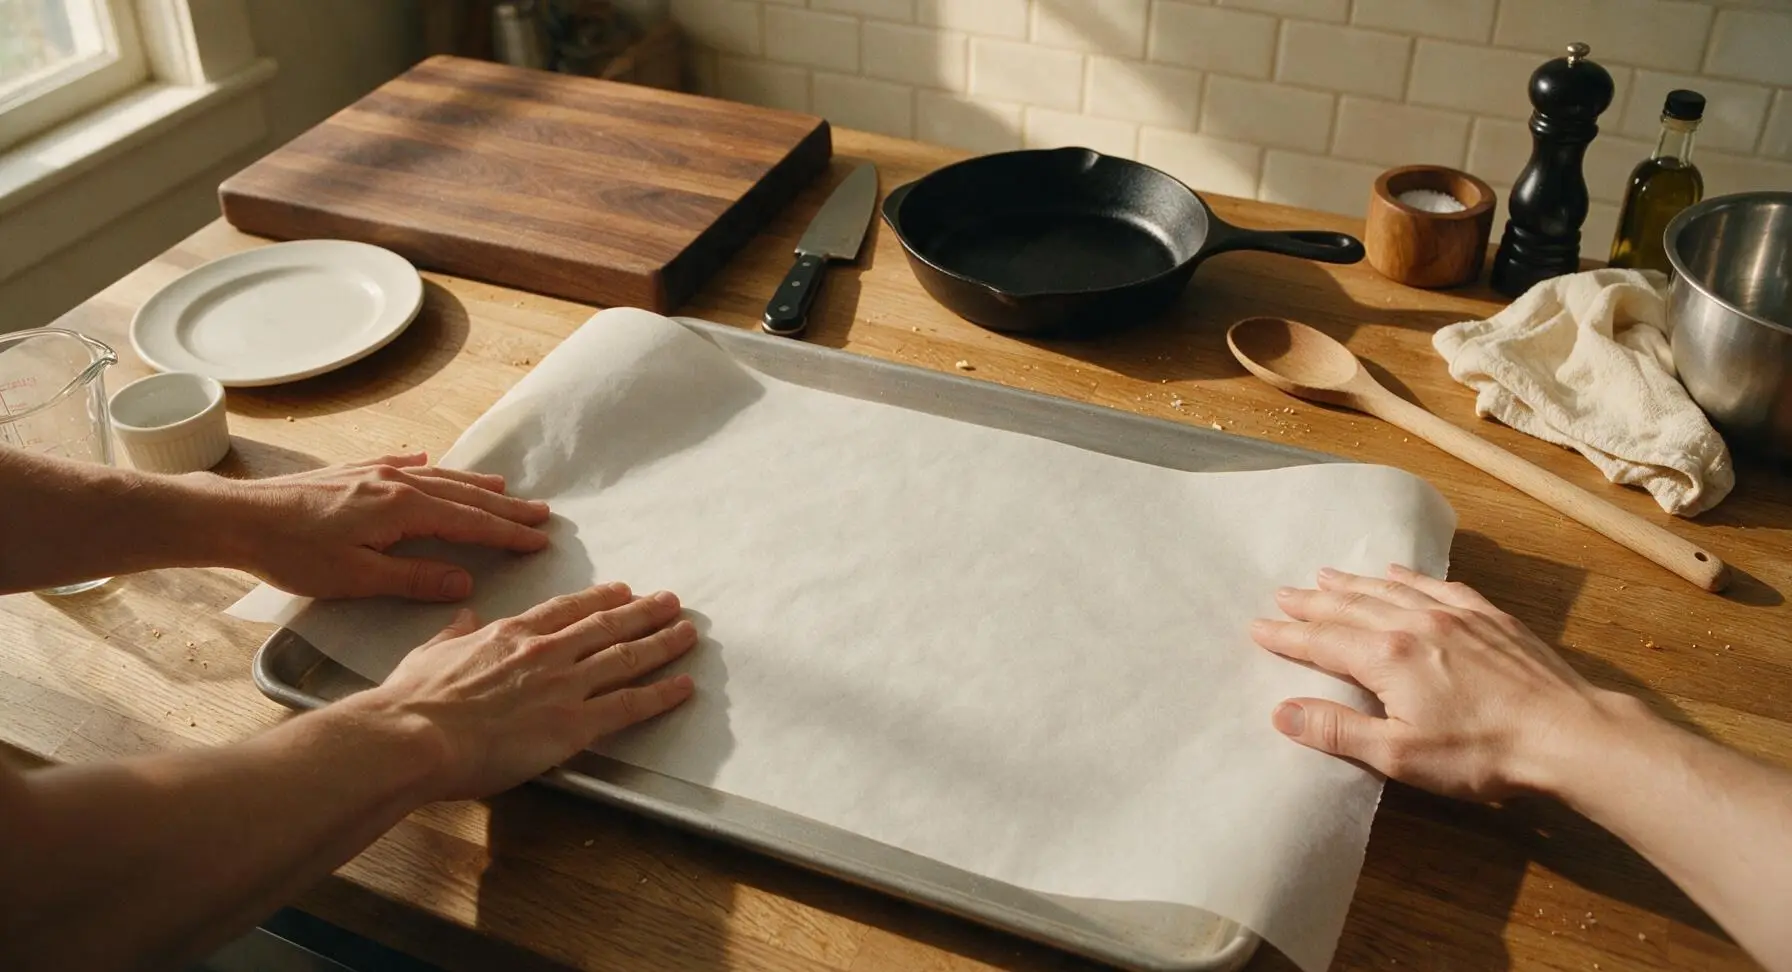
First, line the large brushed aluminum baking sheet with the cut sheet of unbleached white parchment paper, smoothing out any wrinkles or air bubbles so the paper lies completely flat. Set the lined sheet within easy reach on the central counter; this will hold the dipped pretzels as they set, preventing them from sticking.
Crush Candy Canes
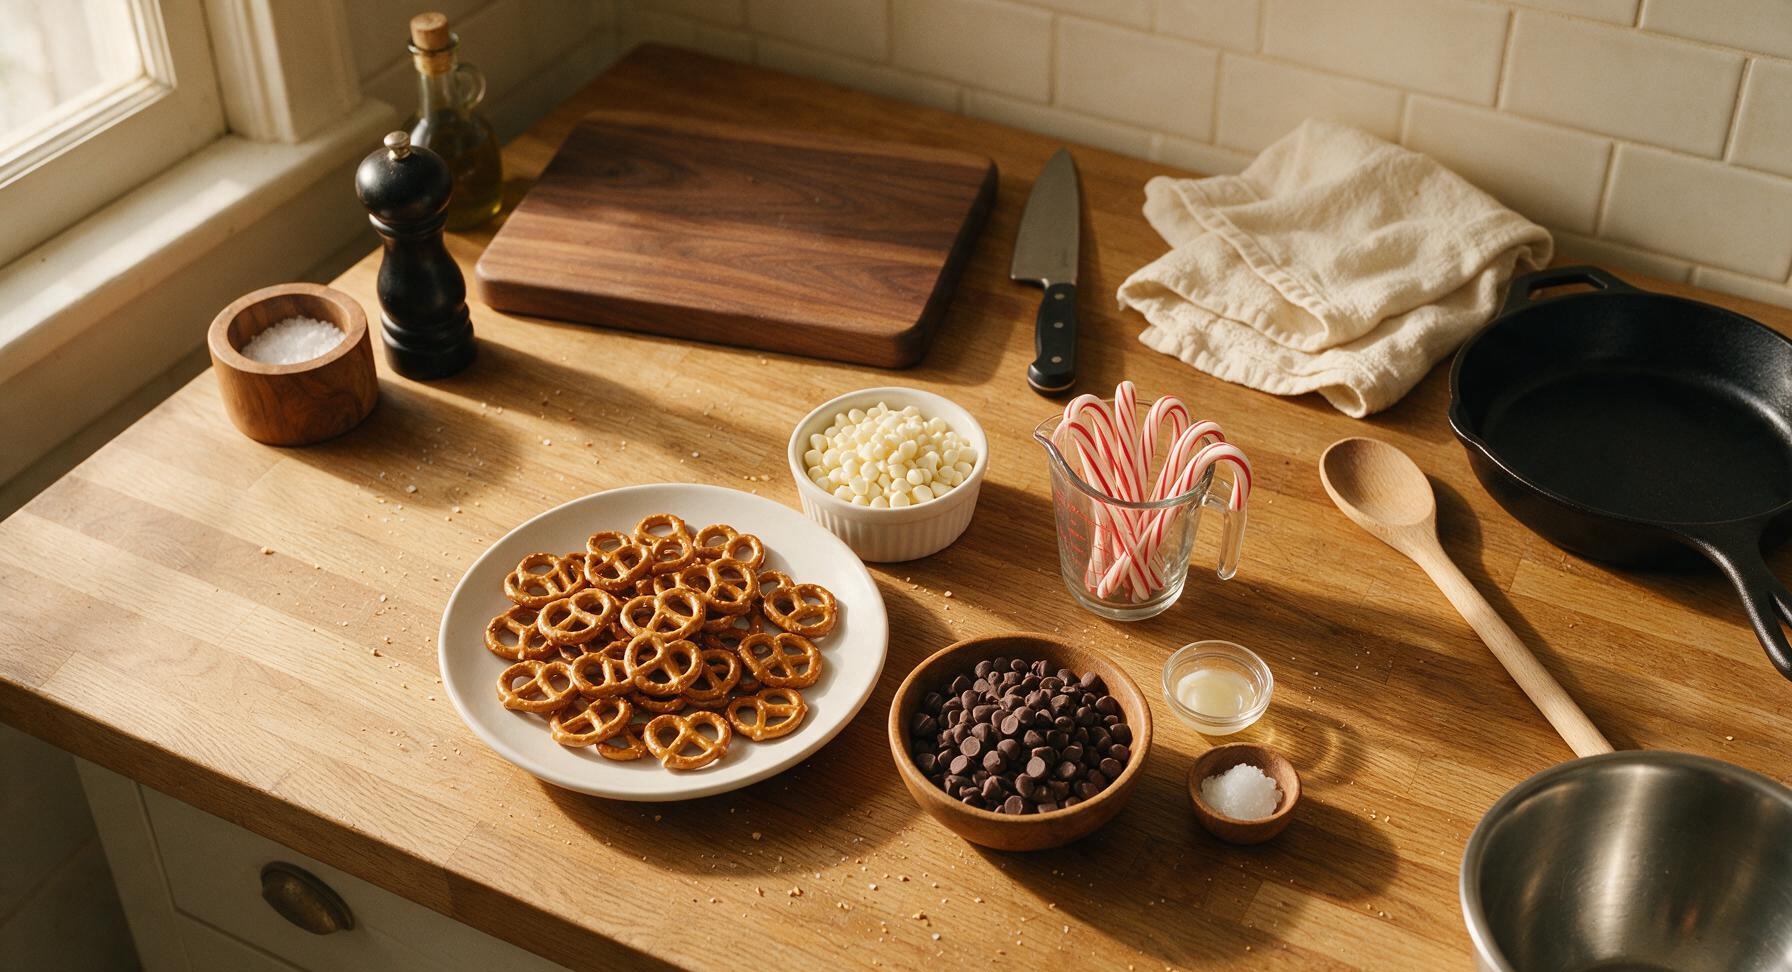
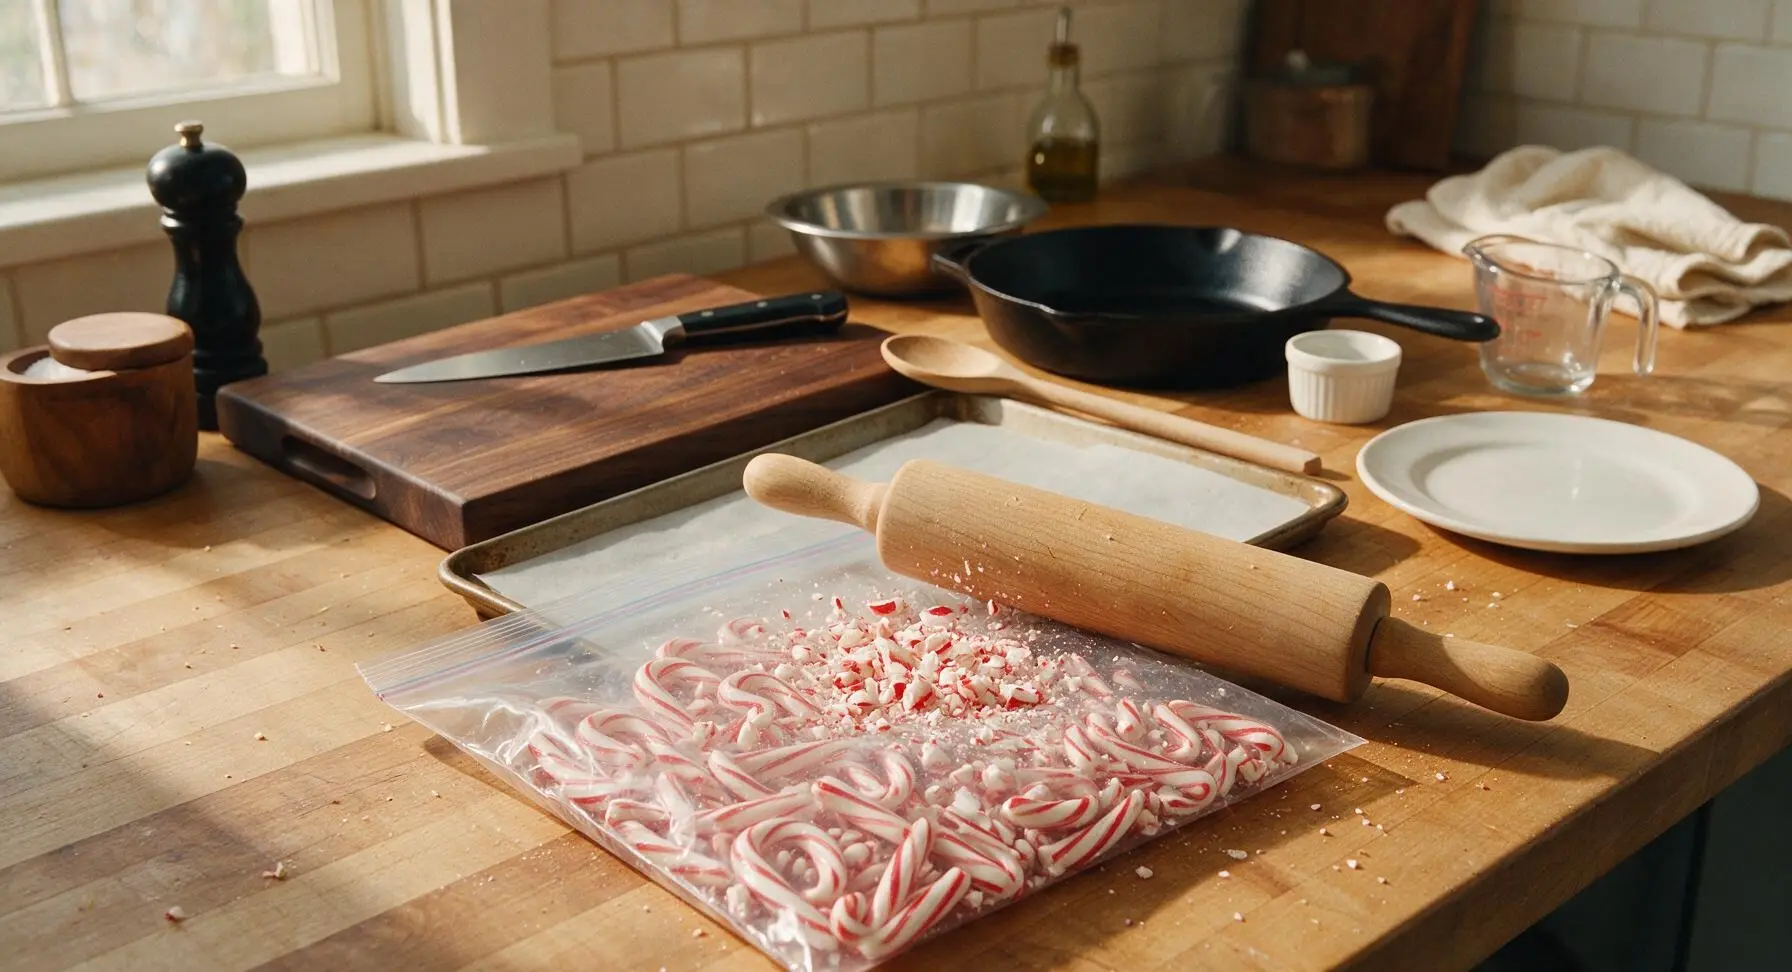
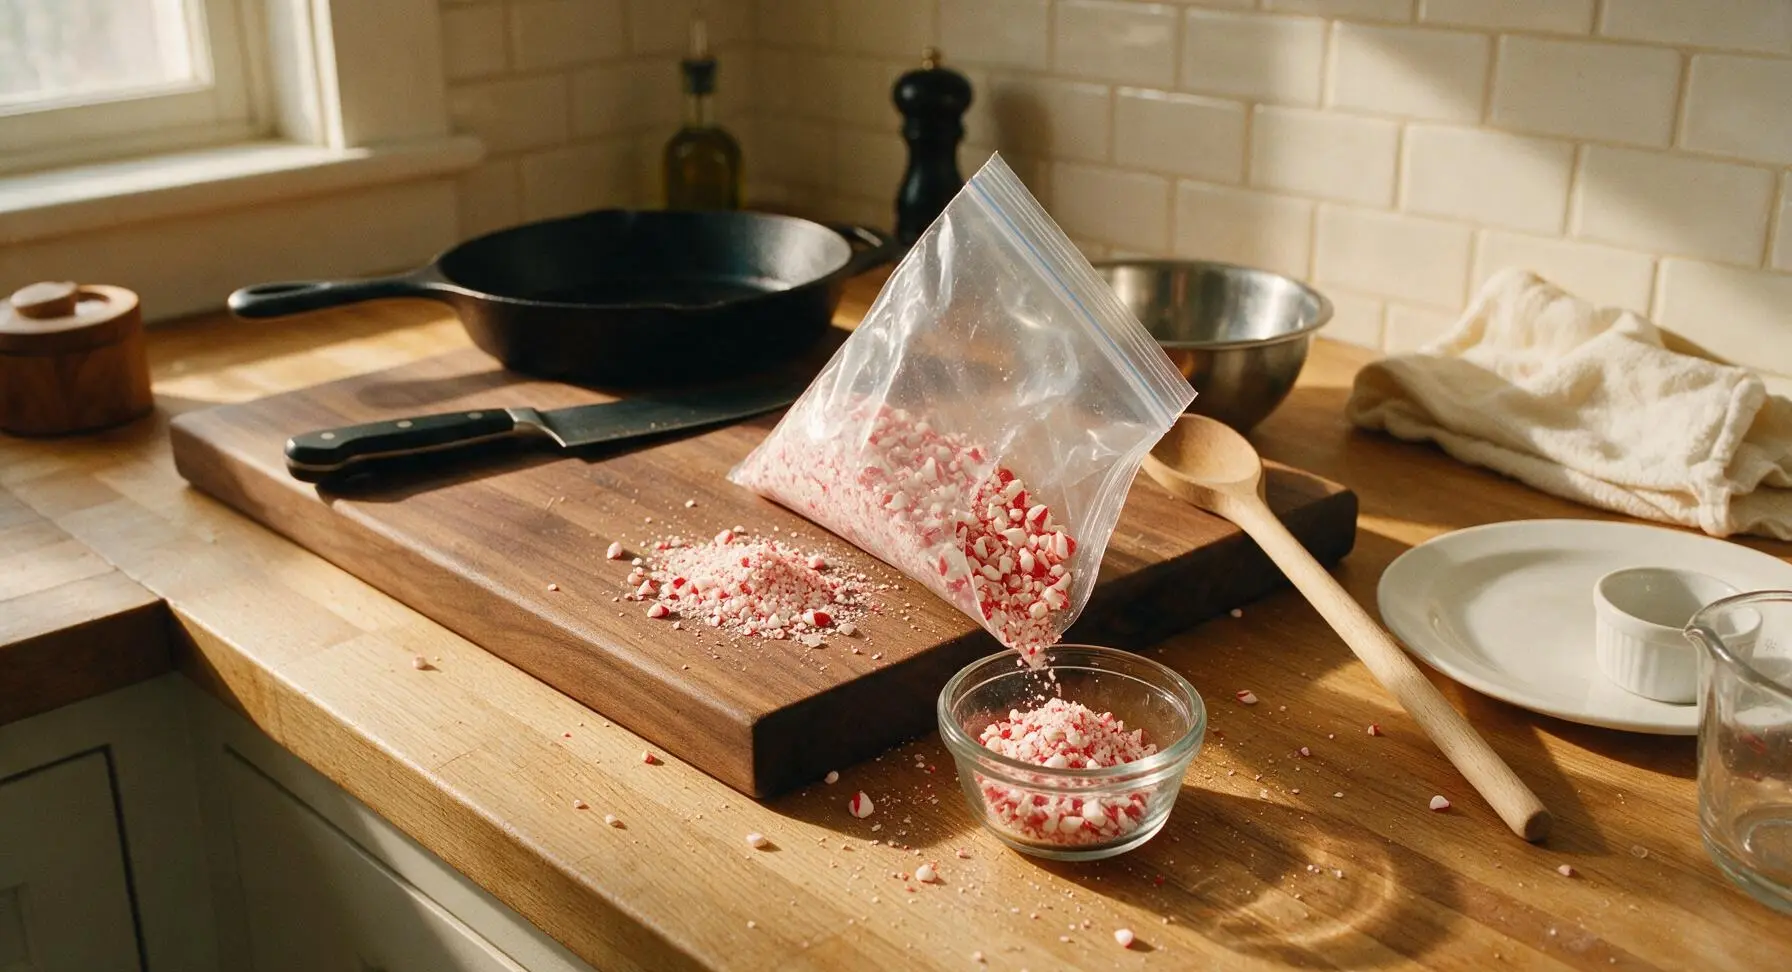
Unwrap all 12 mini candy canes and place them inside the heavy-duty clear zip-top bag, pressing out excess air before sealing the bag completely. Lay the bag flat on the counter, then use the solid maple rolling pin to gently tap and roll over the candy canes until they are crushed into a mix of fine peppermint dust and small ¼-inch sized chunks (avoid crushing into completely fine powder, as varied texture looks and tastes better). Pour the crushed candy canes into one of the small clear glass ramekins and set aside.
Melt Both Chocolates
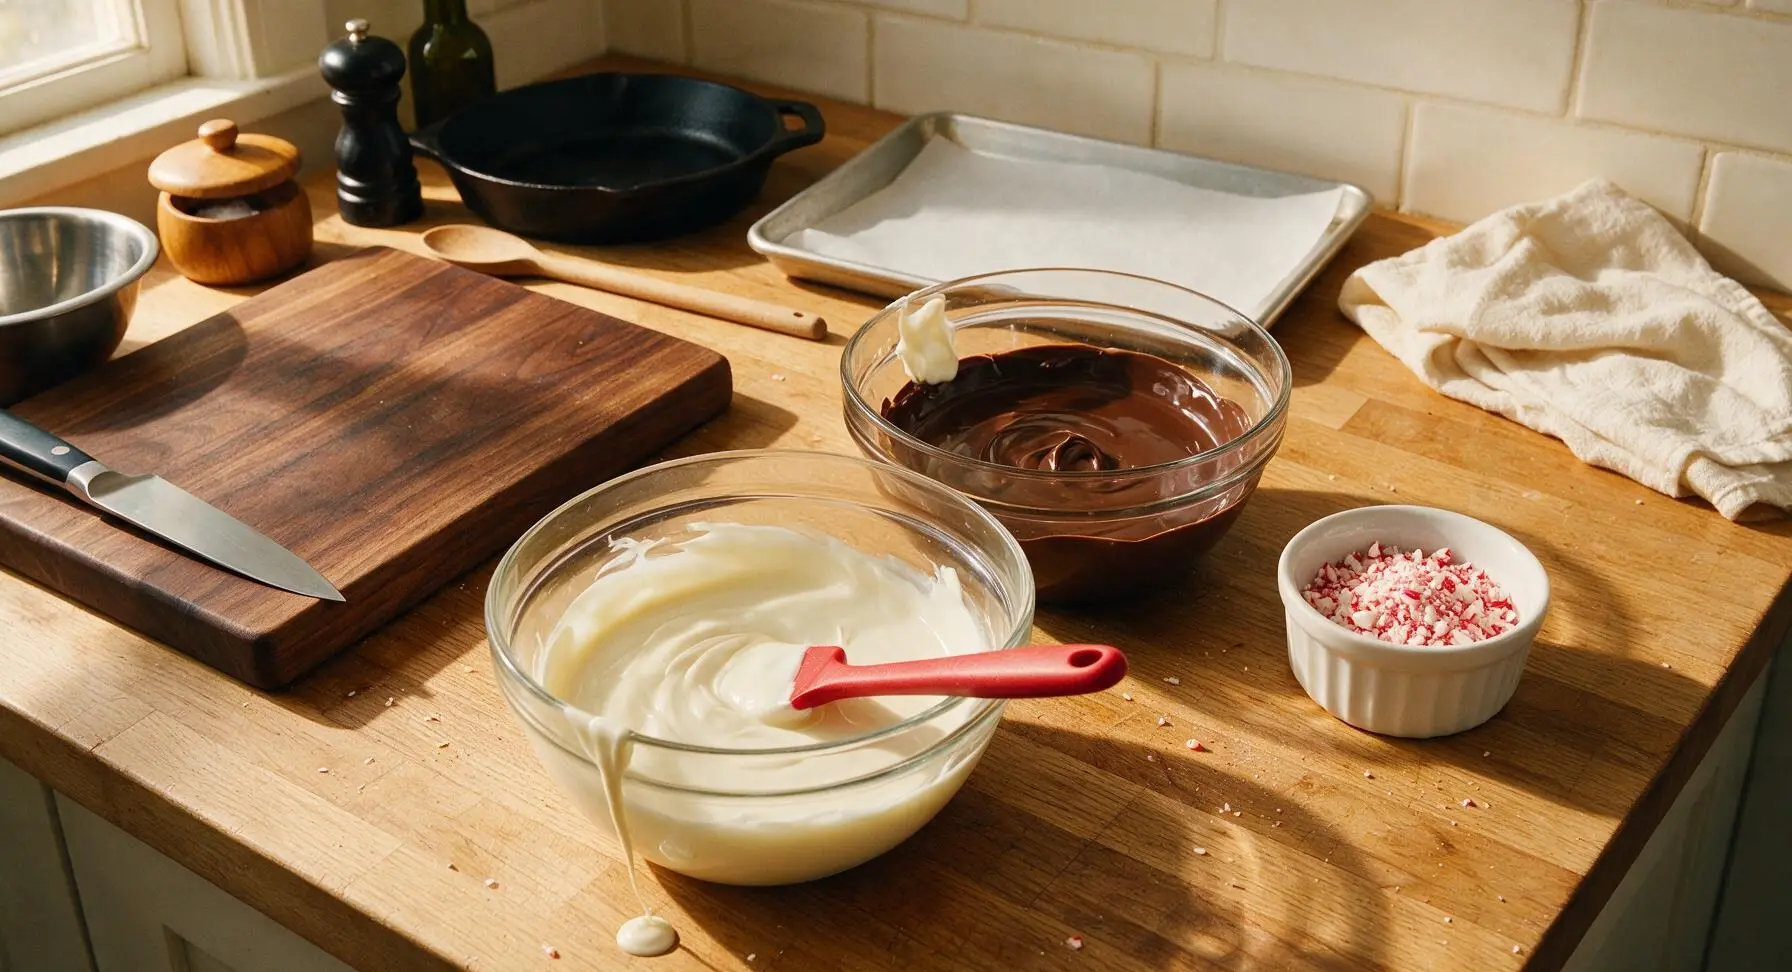
Divide the 1 teaspoon of coconut oil evenly between the two medium glass mixing bowls. Add white chocolate chips to one bowl, and semi-sweet chocolate chips to the other. Melt each in 30-second bursts in the microwave, stirring well with the red-handled silicone spatula between each burst, until chocolate is completely smooth, glossy, and free of lumps (total melt time is roughly 90 seconds per bowl; do not overheat, as chocolate will seize and turn grainy). Set both bowls of melted chocolate on the counter within reach.
Dip Pretzel Halves
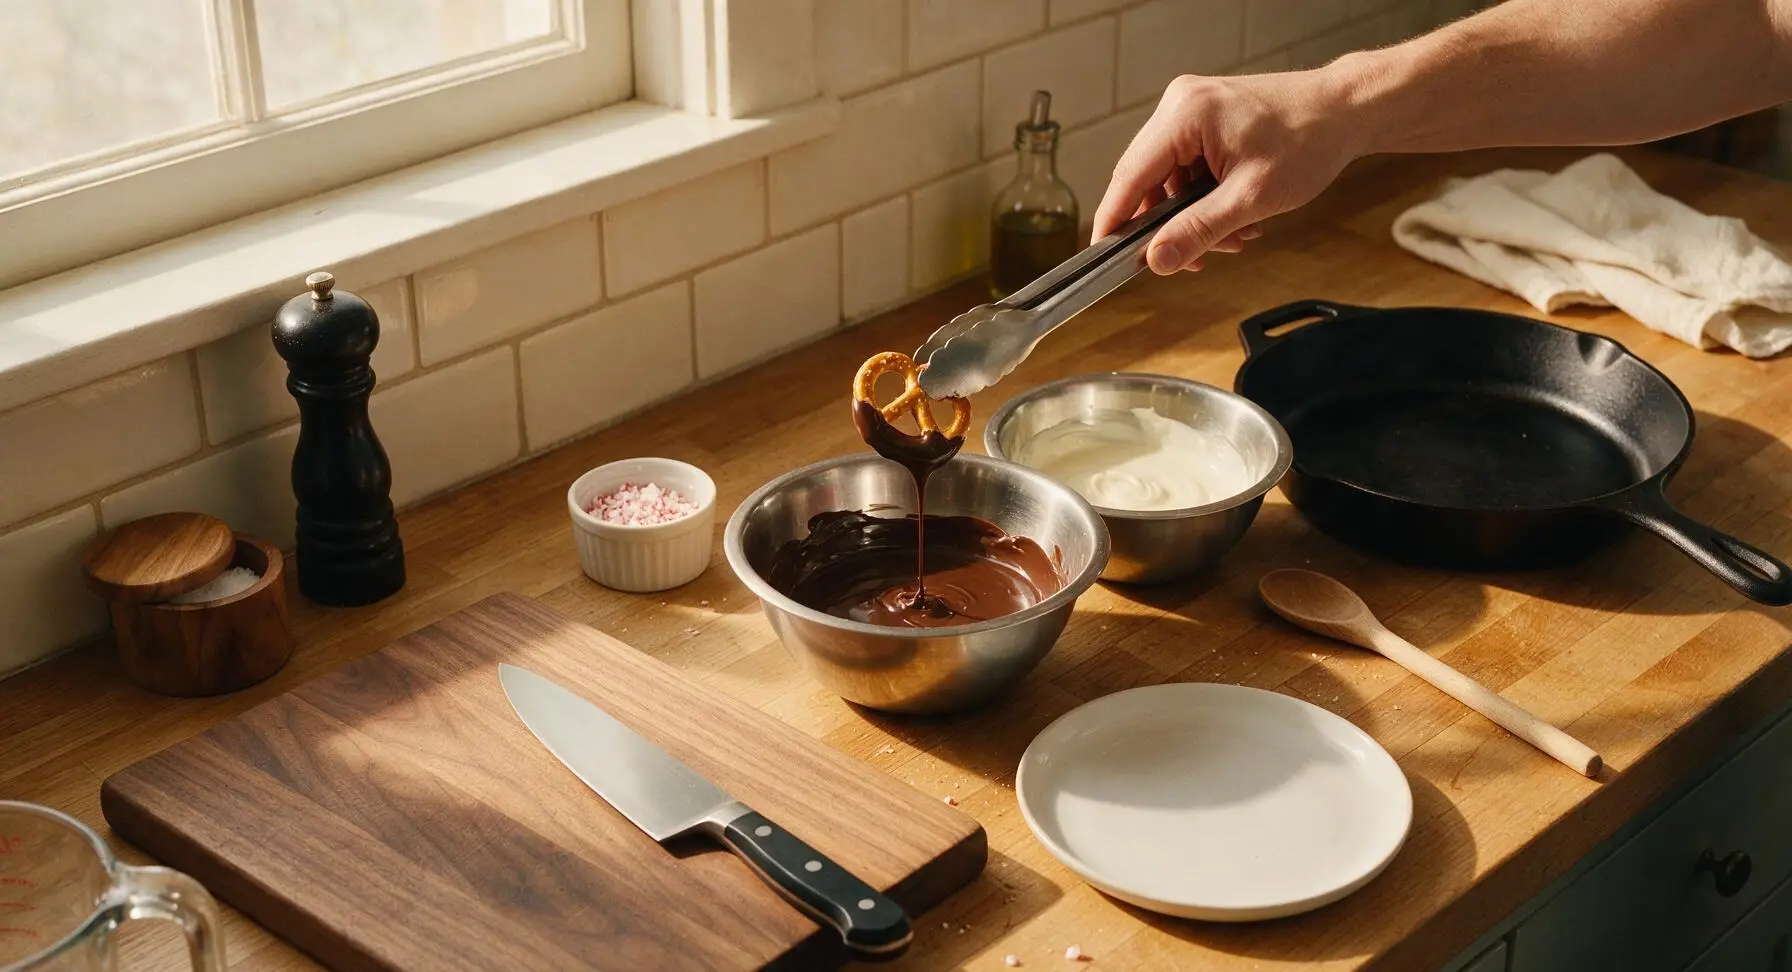
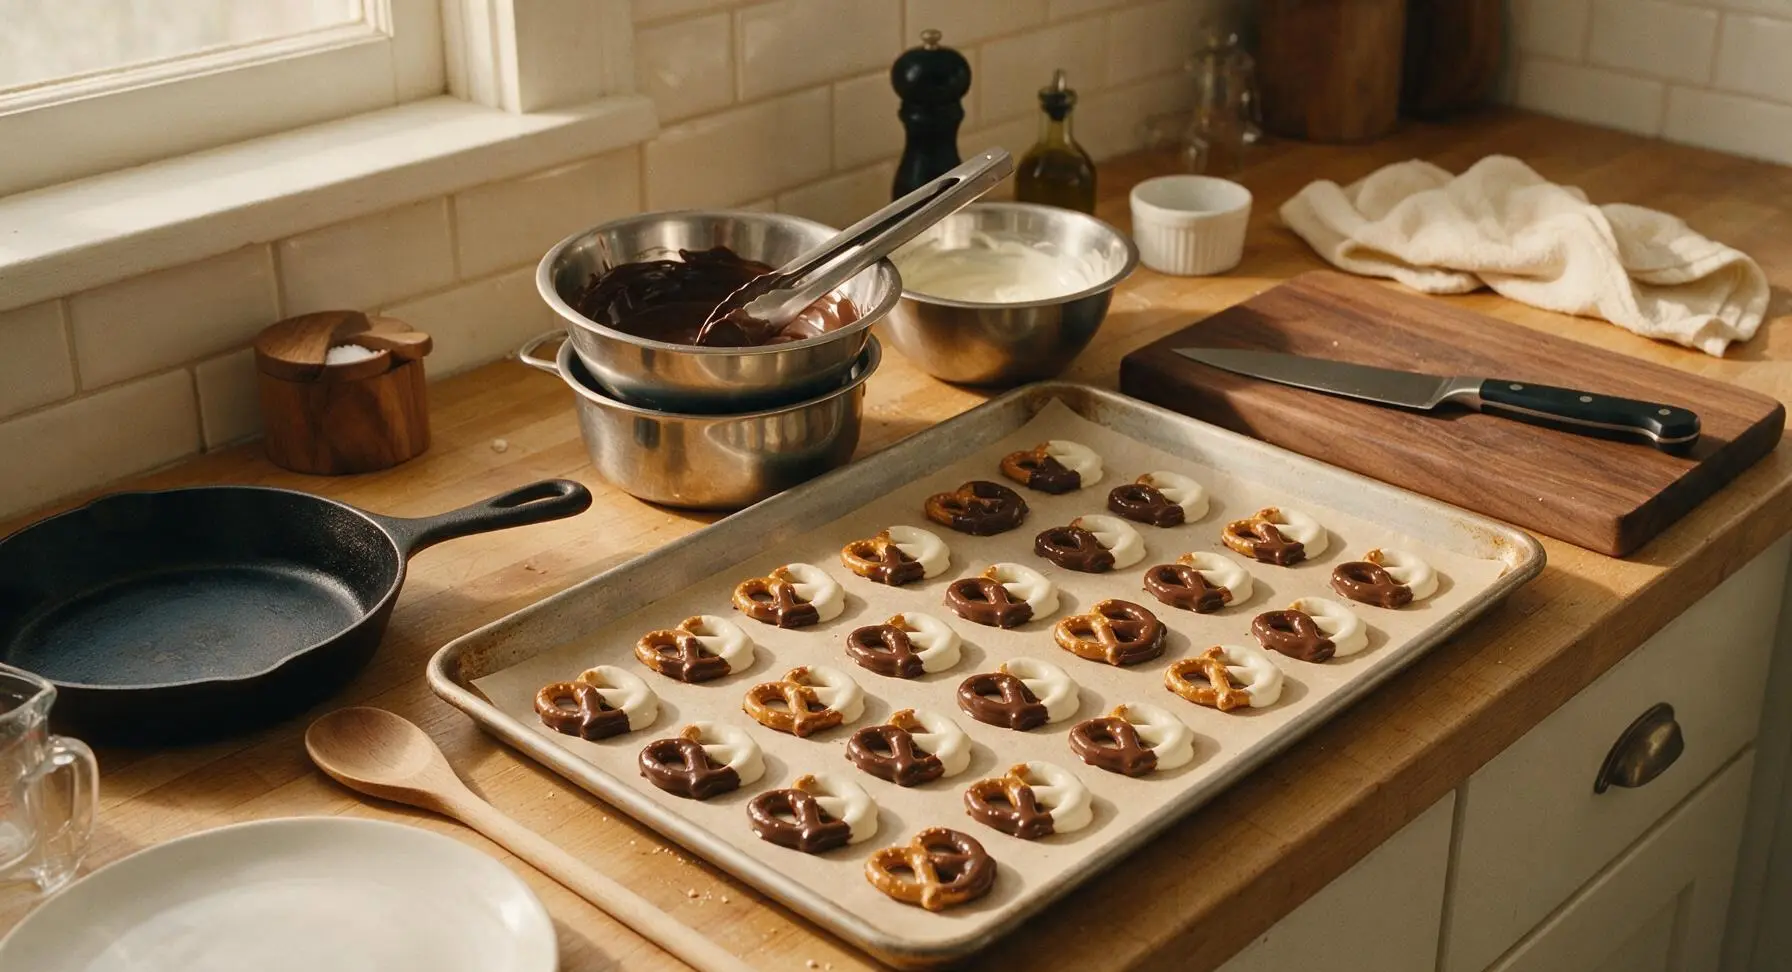
Working one pretzel at a time, use the stainless steel tongs to grip one edge of a mini pretzel twist. Dip half the pretzel into melted dark chocolate, lifting and letting excess chocolate drip back into the bowl for 2-3 seconds, then place the dipped pretzel on the parchment-lined baking sheet. Repeat with half the batch (12 pretzels) for dark chocolate, then dip the remaining 12 pretzels halfway into melted white chocolate, arranging them on the same baking sheet with 1 inch of space between each pretzel to prevent sticking.
Sprinkle with Peppermint
Immediately after placing each batch of dipped pretzels on the sheet (before chocolate sets), pinch small amounts of the crushed candy cane from the ramekin and sprinkle generously over the wet chocolate-coated portion of each pretzel. Ensure every chocolate-coated section has a mix of fine peppermint dust and small crunchy chunks for even flavor and texture. Do not wait to sprinkle, as chocolate will set in 5-10 minutes at room temperature and the candy will not stick.
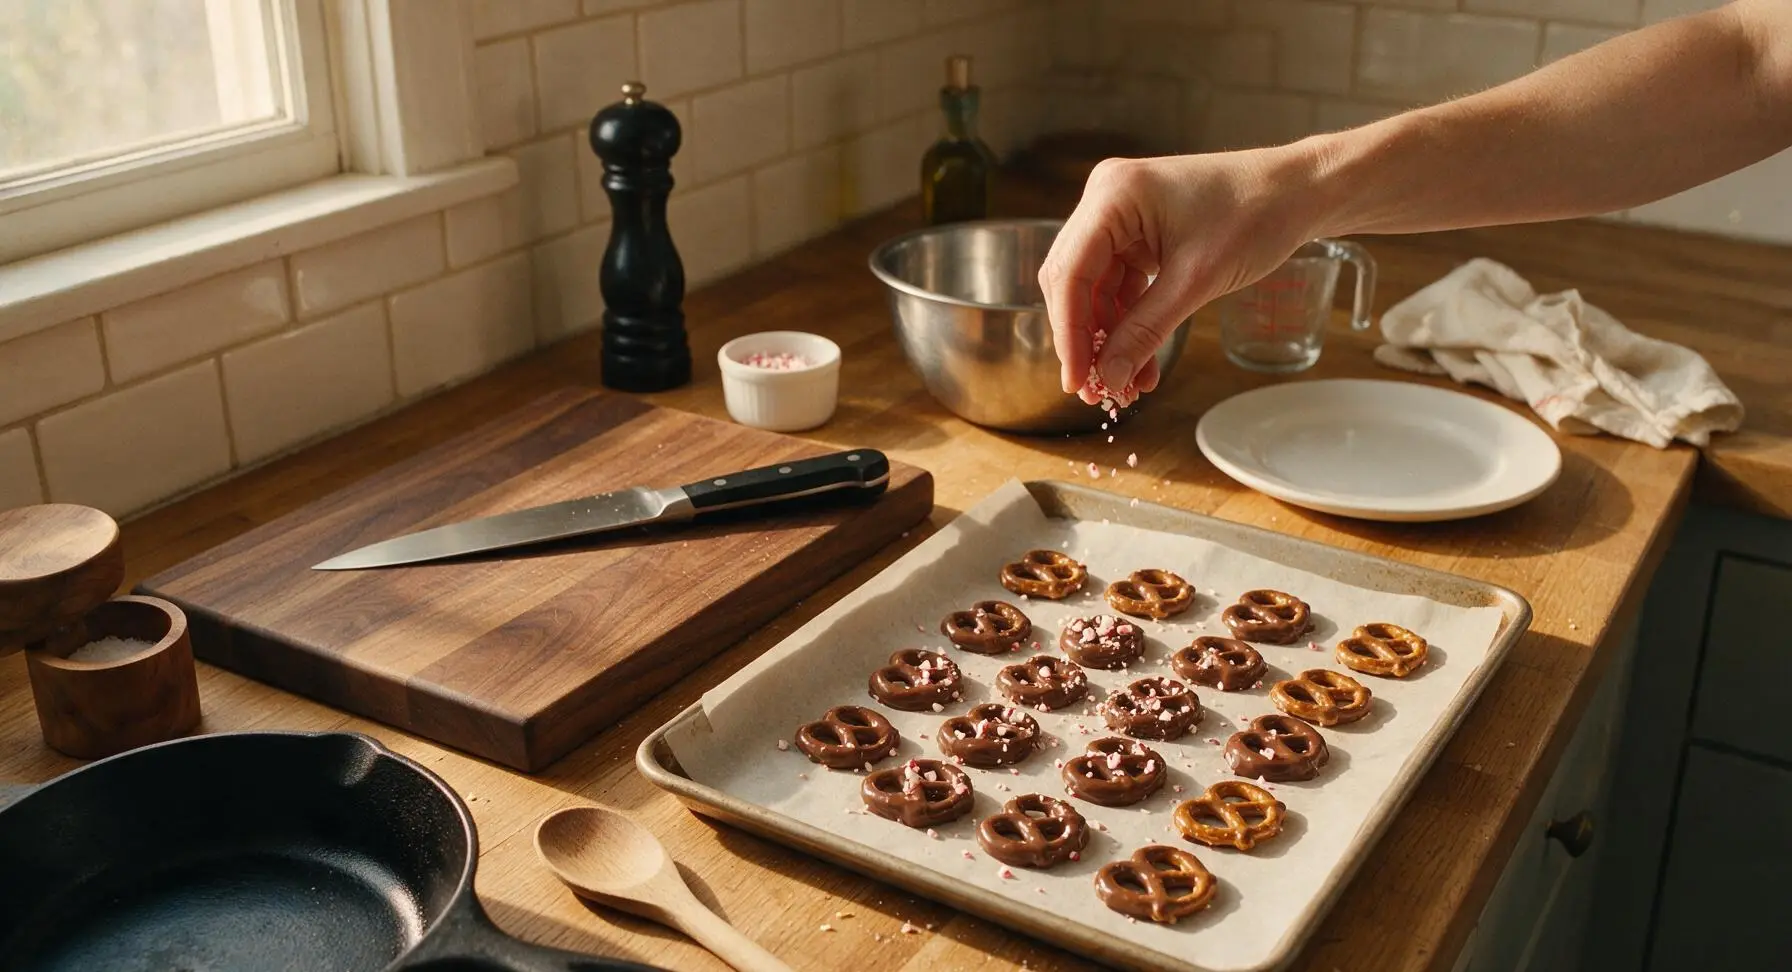
Chill Until Set
Once all pretzels are dipped and sprinkled with peppermint, carefully transfer the entire baking sheet to the refrigerator. Chill for 25-30 minutes, until the chocolate is completely firm to the touch and does not smudge when you gently press a finger to the coating. Do not chill longer than 1 hour, as condensation can form on the chocolate surface and cause the peppermint color to run.
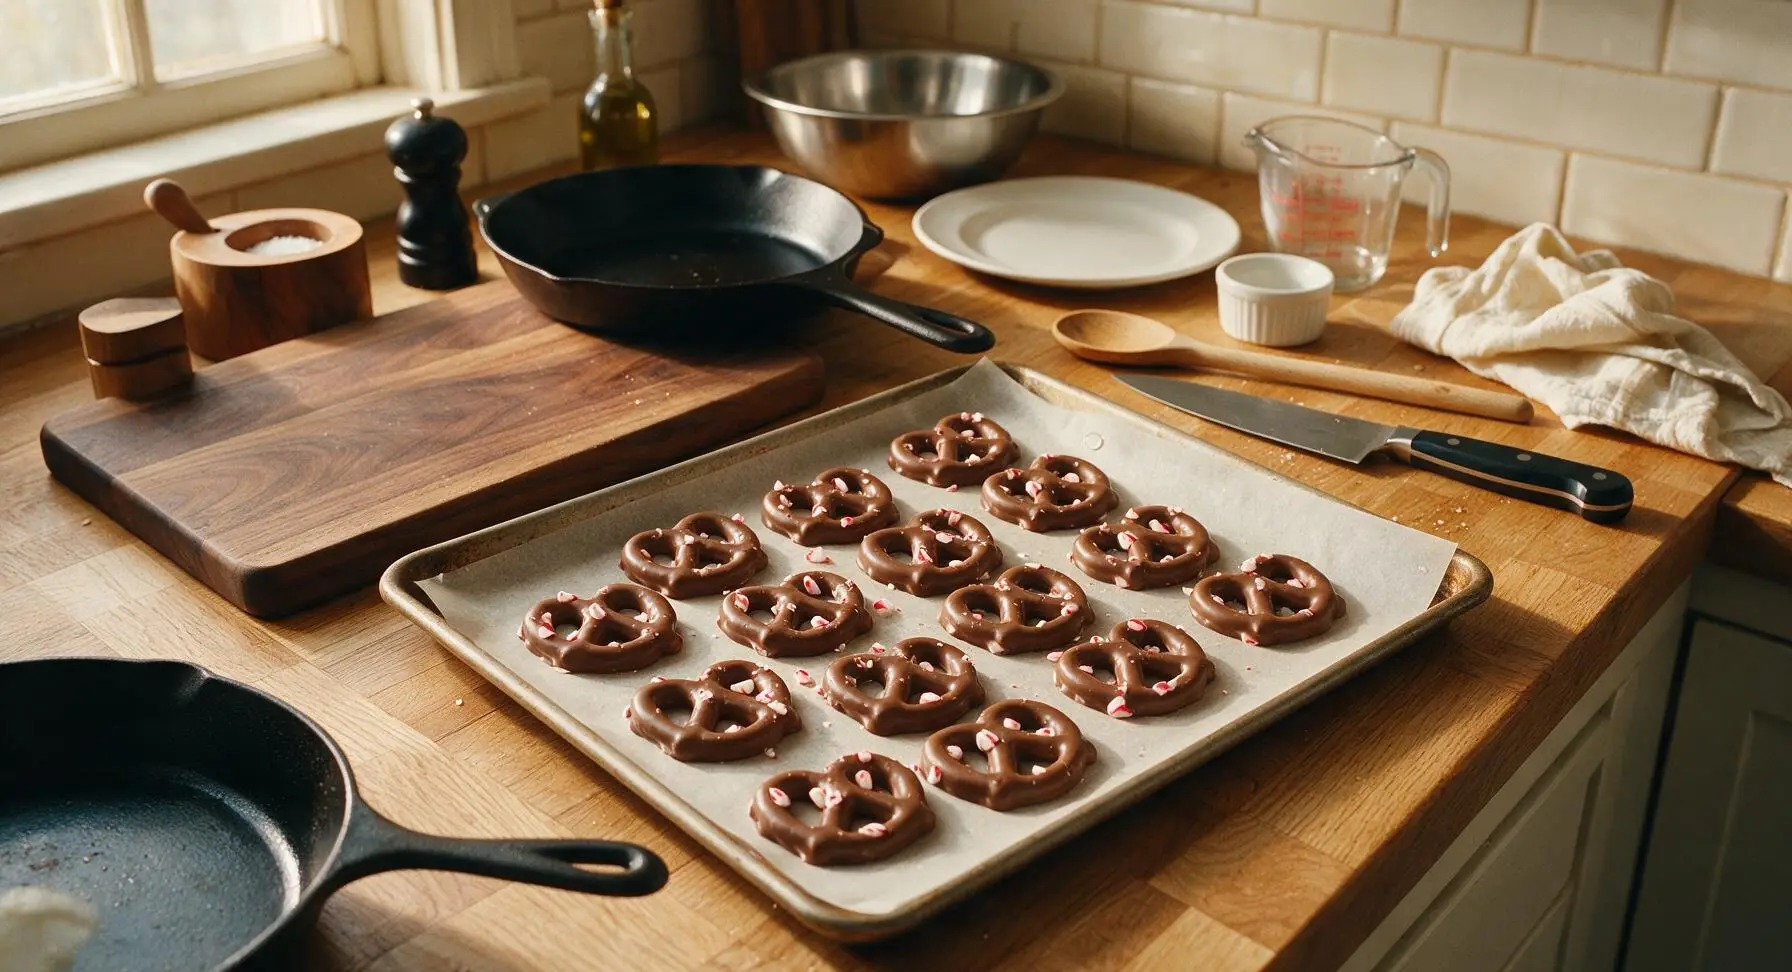
Arrange for Serving
Once chocolate is fully set, remove pretzels from the parchment paper, gently peeling any small chocolate drips free from the paper. Arrange the pretzels in a loose, inviting pile on the round matte white ceramic serving platter, mixing dark chocolate and white chocolate varieties for visual contrast. Serve immediately, or store in an airtight container at cool room temperature for up to 1 week for gifting or snacking.
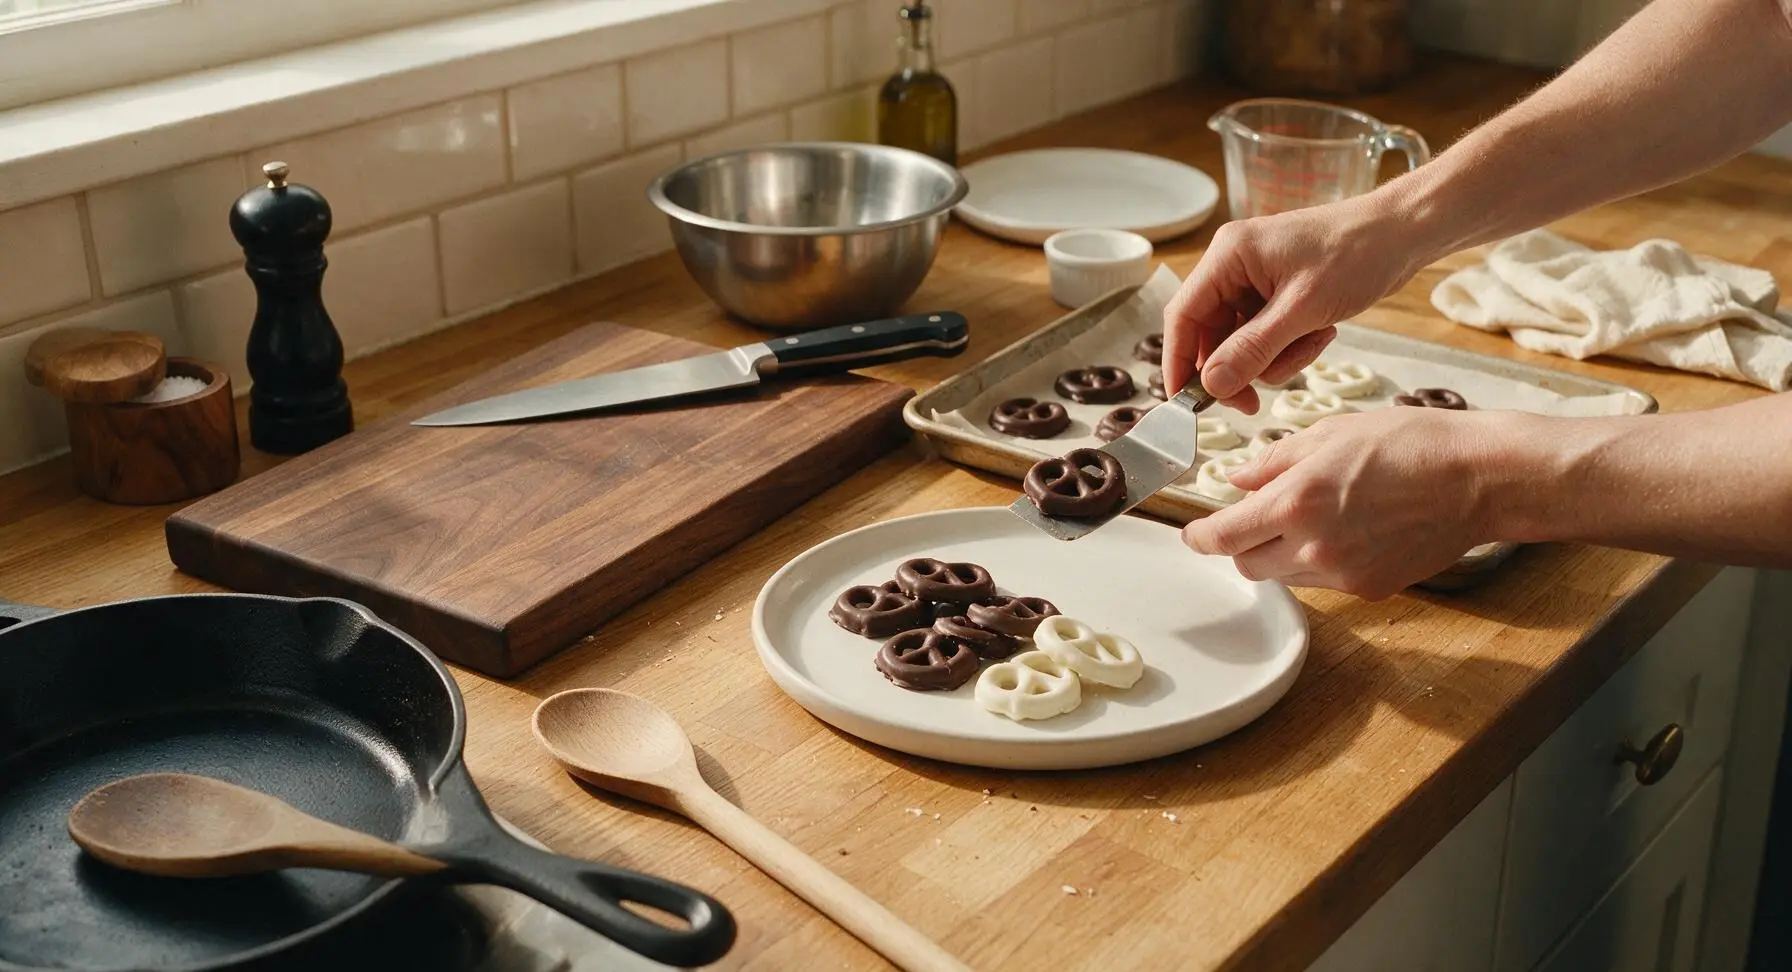
Tips
2.Crush candy canes to a varied texture of fine peppermint dust and ¼-inch chunks, rather than a uniform fine powder: the dust creates a soft pink peppermint flush on the chocolate surface, while the chunks add bold peppermint flavor and satisfying crunchy contrast to the smooth chocolate and crisp pretzel.
3.After chilling, let pretzels rest at room temperature for 5 minutes before serving to let condensation evaporate, which prevents sticky chocolate. Store leftovers in an airtight container at cool room temperature (60-65°F/15-18°C) instead of the fridge to avoid sugar bloom, the chalky white discoloration that forms when chocolate is exposed to cold, moist air.






OMG these are SO good! Threw these together last minute for my youngest’s class holiday party and every single kid begged for seconds. I didn’t even realize how quick they were to make—total game changer for last minute holiday plans. Will absolutely be adding these to my annual cookie plate lineup!
Wait, quick question—do I need to use the mini candy canes or can I crush up regular sized ones I already have in my pantry? I really don’t want to make a special trip to the grocery store for this!
Brought these to my office holiday potluck yesterday and people were hovering over the platter before I even set it down! I added a tiny sprinkle of sea salt on top of the white chocolate and it *chef’s kiss* cut the sweetness perfectly. 10/10, so easy even my terrible-cooking roommate could pull these off.
My kids loved helping me make these over the weekend! The chill time was the perfect length to let them watch a short Christmas special while we waited for the chocolate to set, no impatient hovering over the fridge. They were so proud to pass out their homemade treats to the neighbors!
5 minutes of actual work? Sign me up. I’m so tired of fancy holiday recipes that take 3 hours and a million specialty ingredients. These are exactly my speed for this busy holiday season.
Wait a second—do these work with gluten free pretzels? My daughter has celiac and I’m always hunting for easy holiday treats she can bring to her friend’s holiday gatherings that don’t feel like a “special diet” food.
Has anyone tried these with dark chocolate instead of white? I’m not the biggest white chocolate fan but I love the candy cane + pretzel combo so much.
Made these in my dorm room with just a microwave and a mini fridge! I didn’t even have a baking sheet so I used a paper plate lined with parchment paper and they turned out perfect. My whole floor came knocking when they smelled the peppermint, 10/10 dorm-friendly recipe.
I make these every year to add to my neighbor gift tins! They hold up really well for a few days in an airtight container, and they add that perfect pop of red and white to make the tins look festive without any extra work.
Full transparency: I burn basically everything I bake, so I was nervous these wouldn’t turn out. But the cook time is so short I didn’t even have time to mess it up! My only note is that if you melt the chocolate too hot it gets seized up, so go slow in the microwave.