
Candy Cane Sugar Cookies

title 1
Candy Cane Sugar Cookies

⏱️ cook time 20 minutes (10 minutes per baking sheet)
🍽️ servings 24
⚡ Difficulty medium

intro

Buttery, crisp vanilla-peppermint sugar cookies twisted into classic candy cane shapes, edged in crushed peppermint candy for a nostalgic, festive Christmas treat.

Ingredients
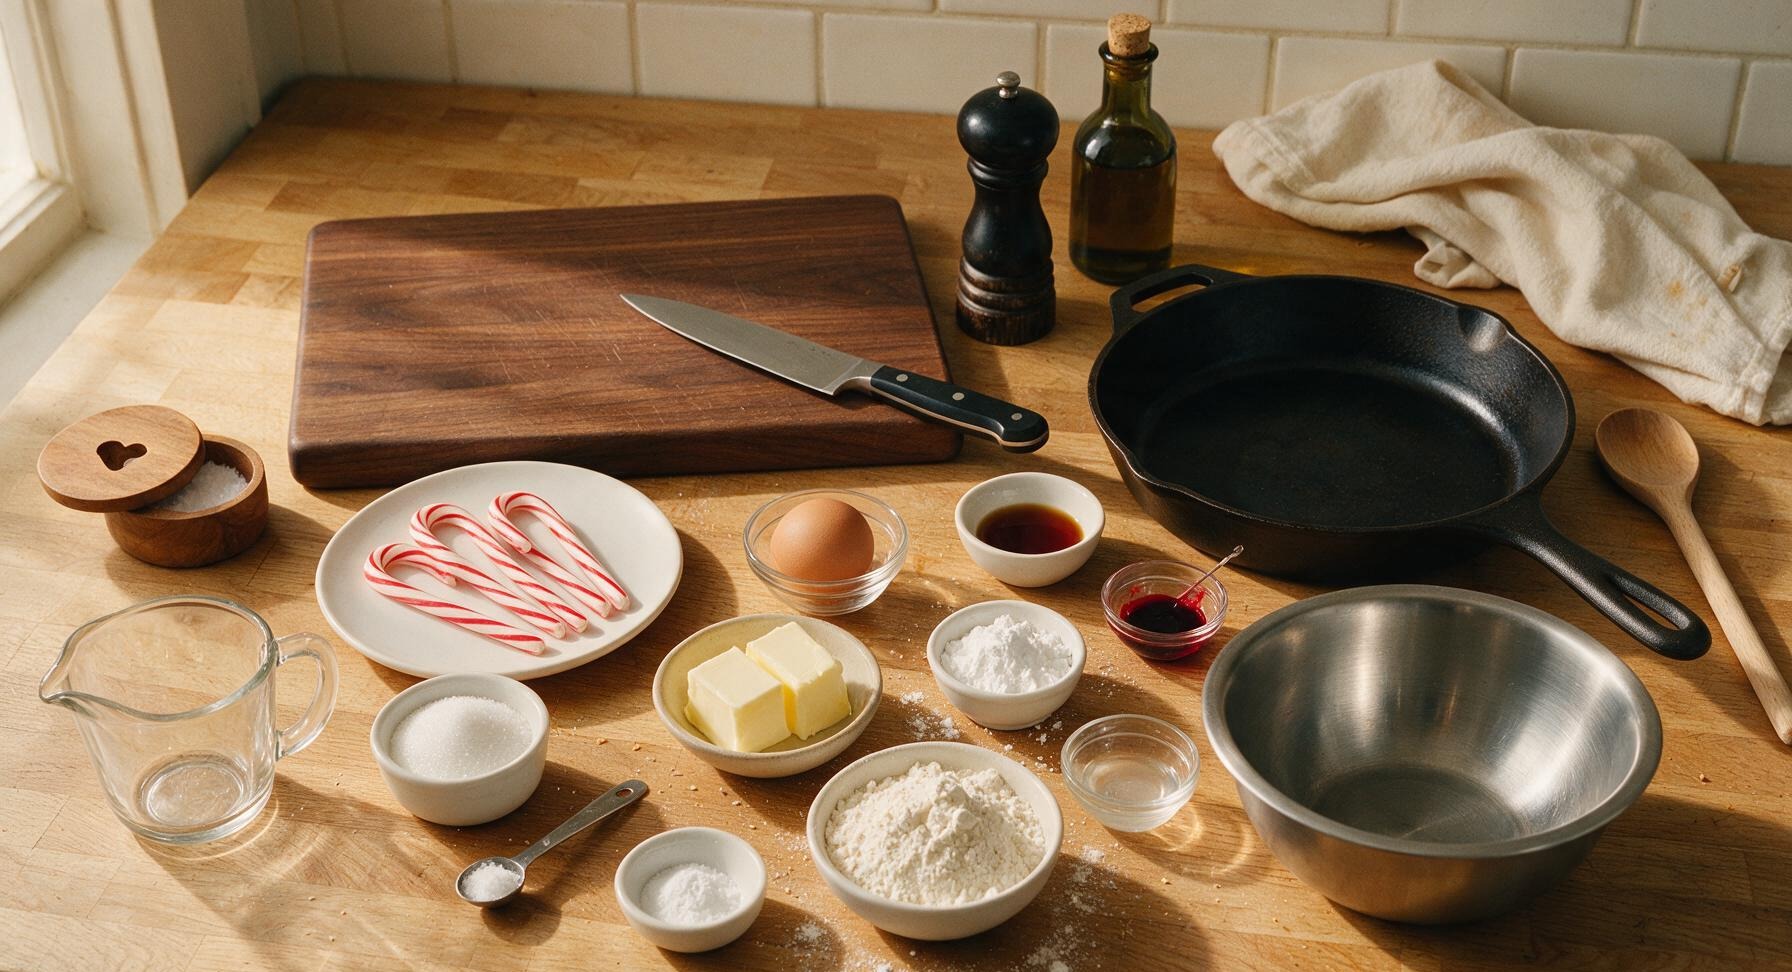
Unsalted butter, softened to room temperature 226g (1 cup / 2 sticks)
Granulated white sugar 150g (3/4 cup)
Powdered sugar 50g (1/4 cup)
Large egg, room temperature 1 (50g)
Pure vanilla extract 1 teaspoon
Pure peppermint extract 1 teaspoon
All-purpose flour, spooned and leveled 315g (2 1/2 cups)
Baking powder 1 teaspoon
Fine sea salt 1/2 teaspoon
Red gel food coloring 1/4 teaspoon
Red and white striped peppermint candy canes, unwrapped 120g (approx 6 standard canes)

Steps

1

Cream Butter and Sugars

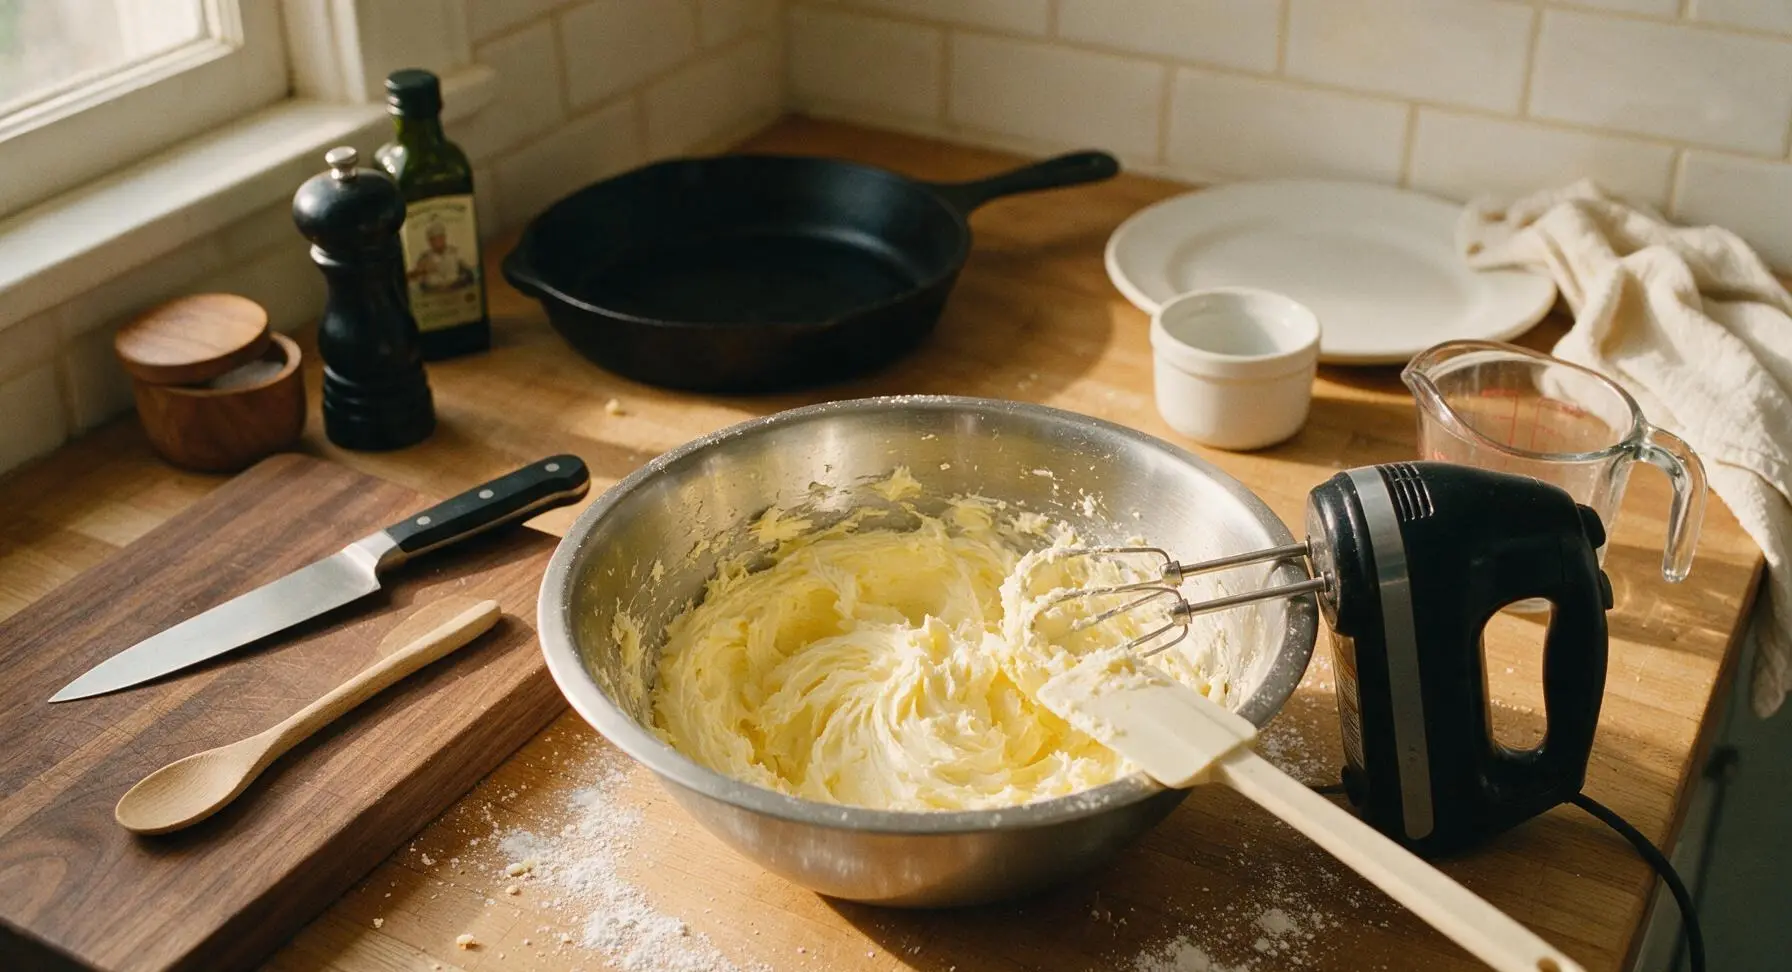
Place the softened unsalted butter, granulated sugar, and powdered sugar in the large brushed stainless steel mixing bowl. Using the handheld electric mixer on medium speed, beat the mixture for 2-3 minutes until it turns pale lemon-yellow, light, and fluffy, stopping once to scrape down the bowl sides with the cream white silicone spatula. Avoid overbeating, which will cause cookies to spread excessively during baking.
Step 1
step1:Cream Butter and Sugars
2

Mix in Wet Ingredients

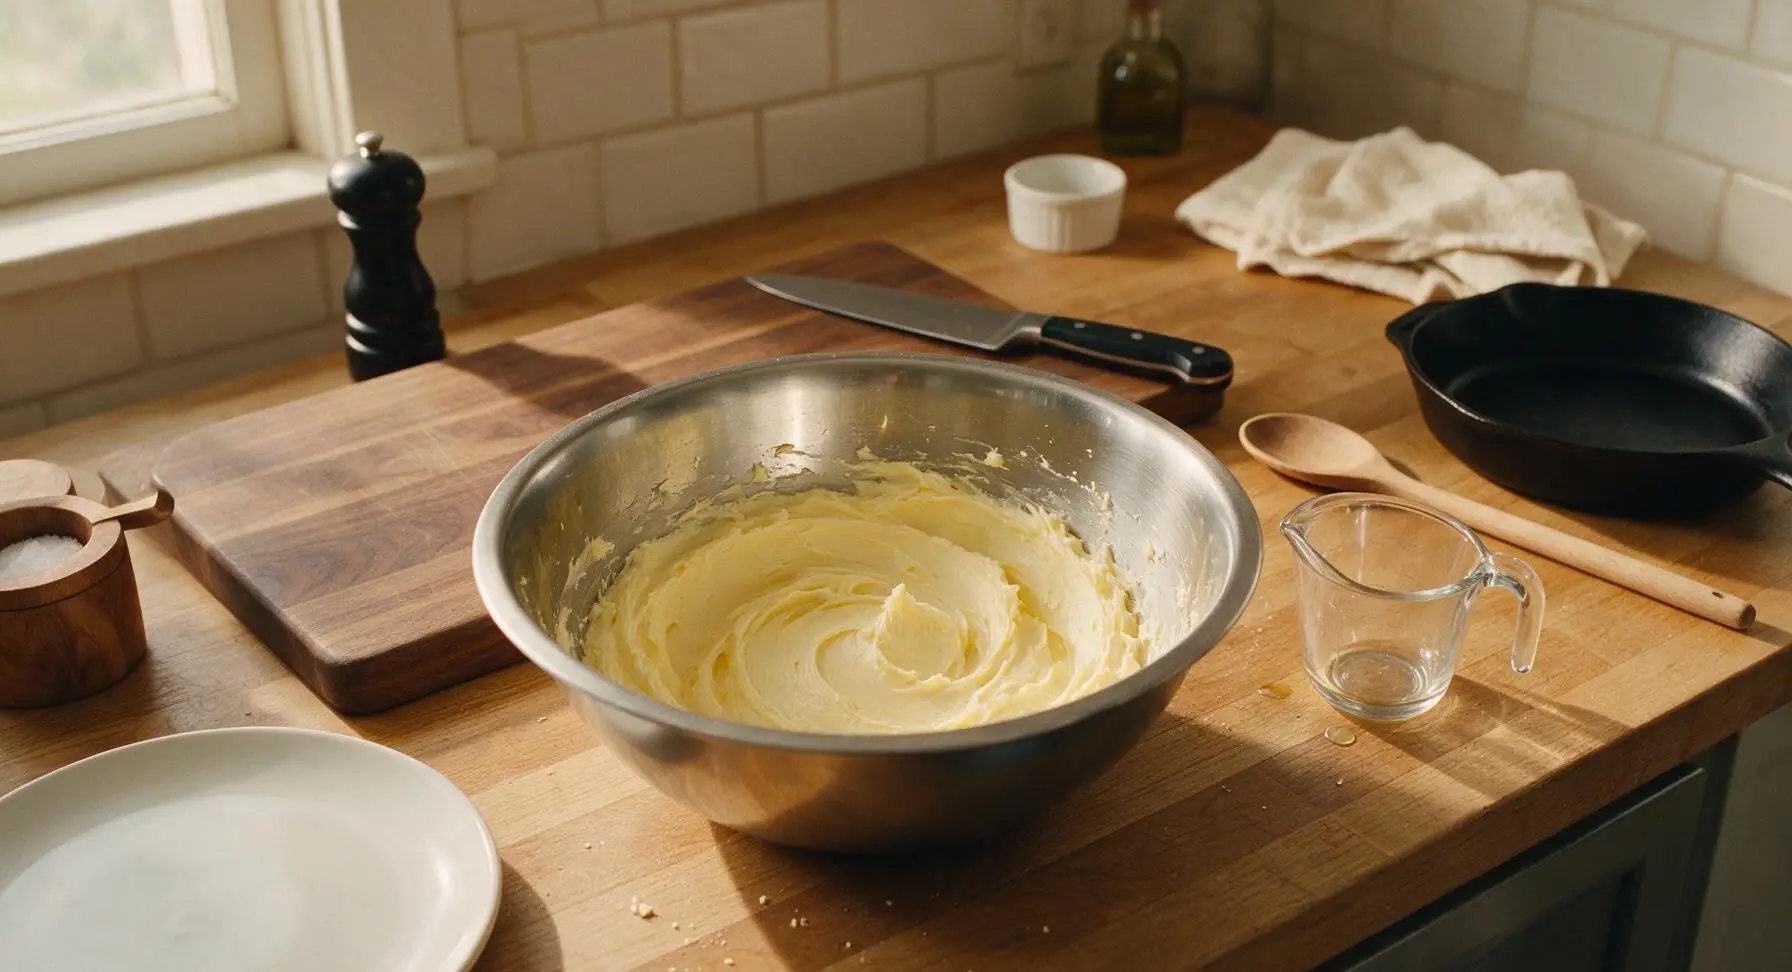
Add the room-temperature egg, vanilla extract, and peppermint extract to the creamed butter mixture. Beat on low speed for 30 seconds until fully combined, scraping down the bowl sides once with the silicone spatula to eliminate any streaks of unincorporated egg. Stop mixing as soon as no liquid is visible to prevent curdling the dough.
Step 2
step2:Mix in Wet Ingredients
3

Fold in Dry Ingredients

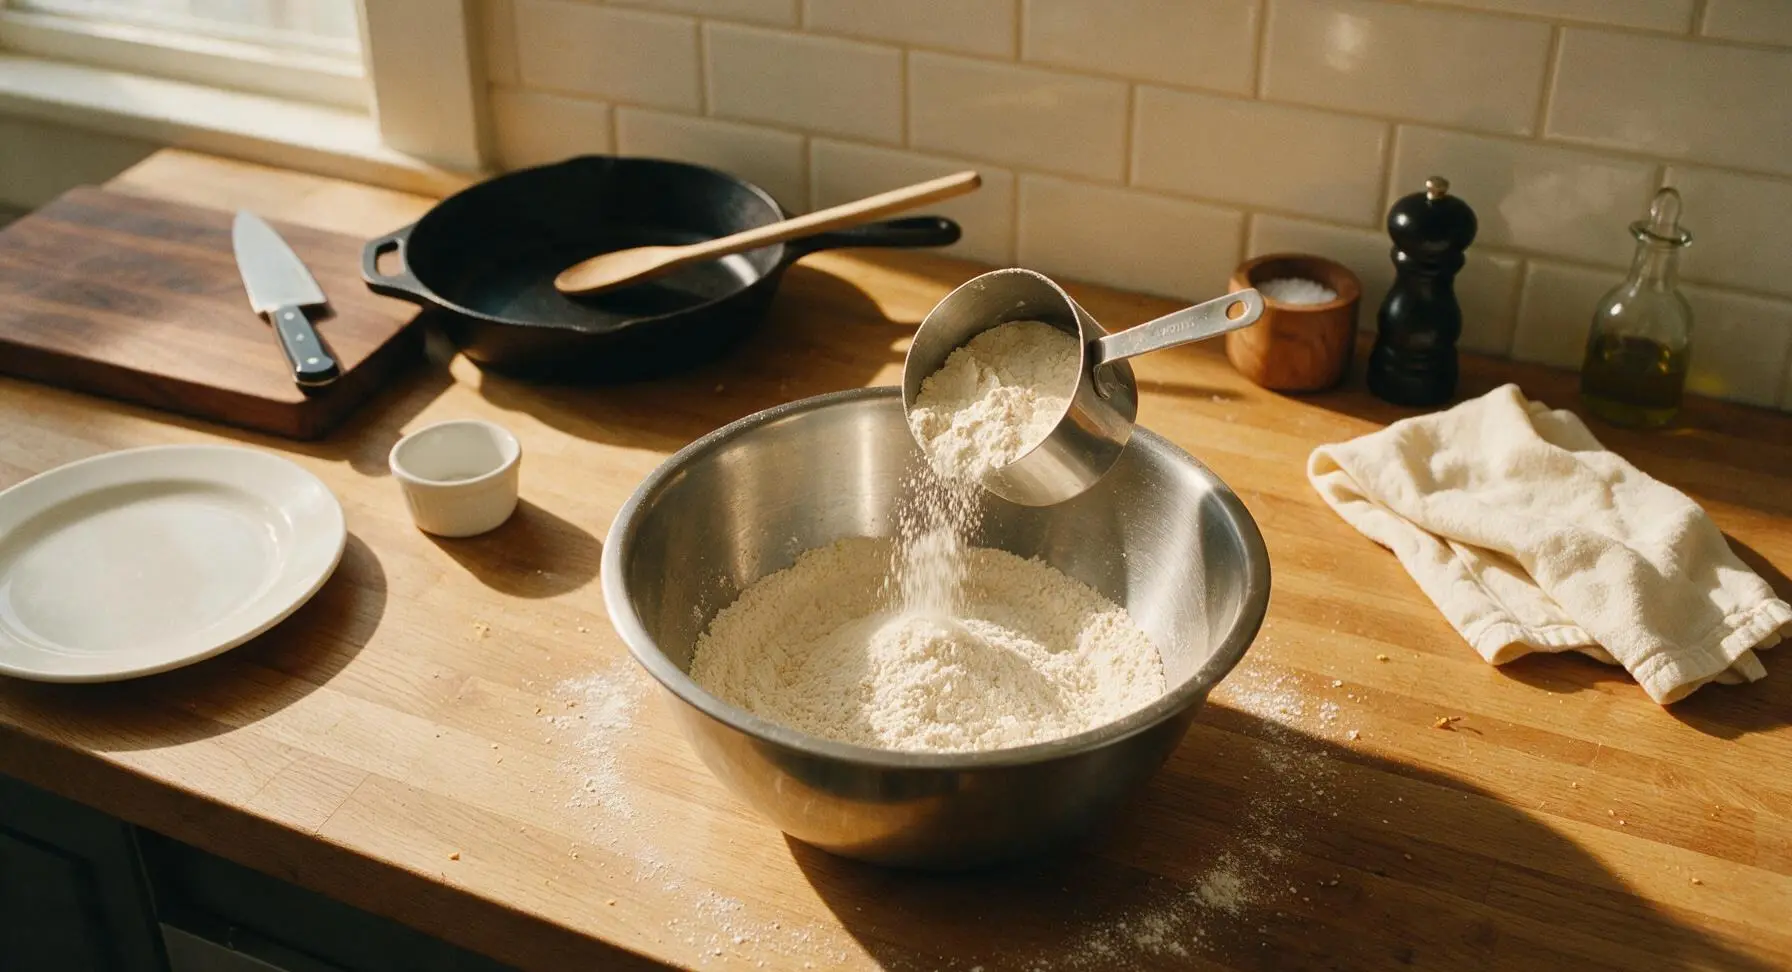
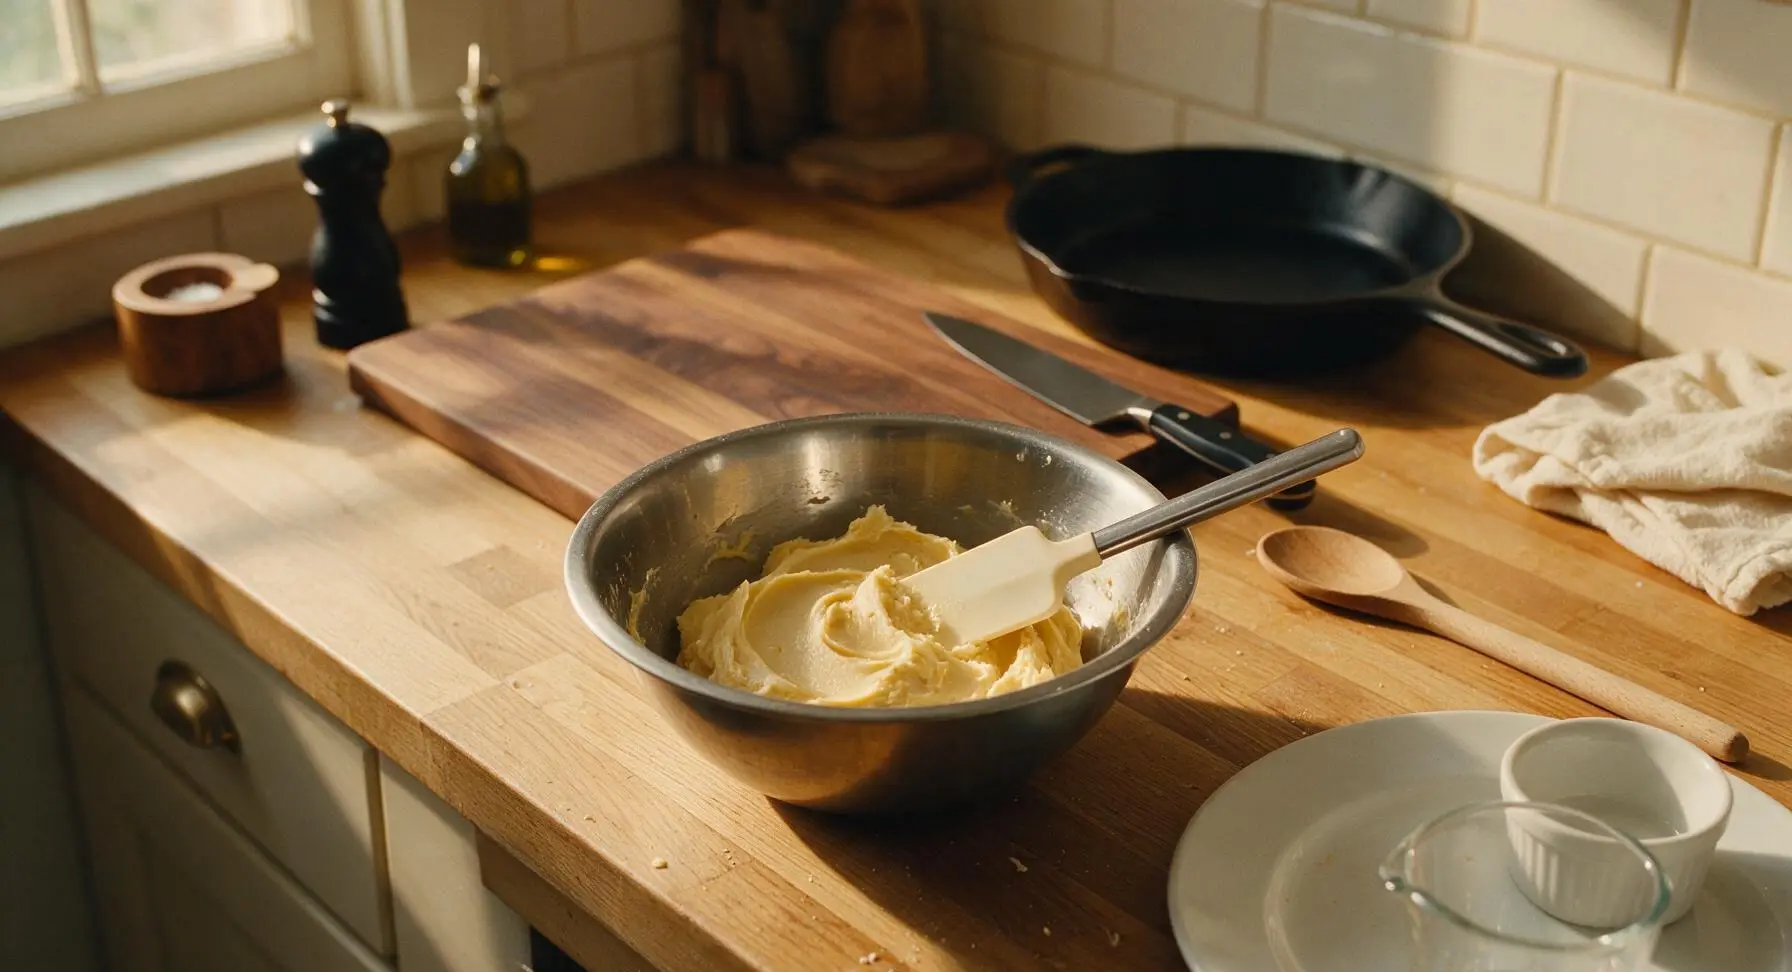
In the medium stainless steel mixing bowl, whisk together the all-purpose flour, baking powder, and fine sea salt until evenly distributed. Gradually add the dry mixture to the wet butter mixture, stirring on the lowest mixer speed (or folding with the silicone spatula) just until no dry flour streaks remain. The finished dough will be soft, smooth, and barely sticky to the touch; overmixing will develop gluten and result in tough cookies.
Step 3
step3:Fold in Dry Ingredients
Step 3
step3:Fold in Dry Ingredients
4

Color Dough Portion Red

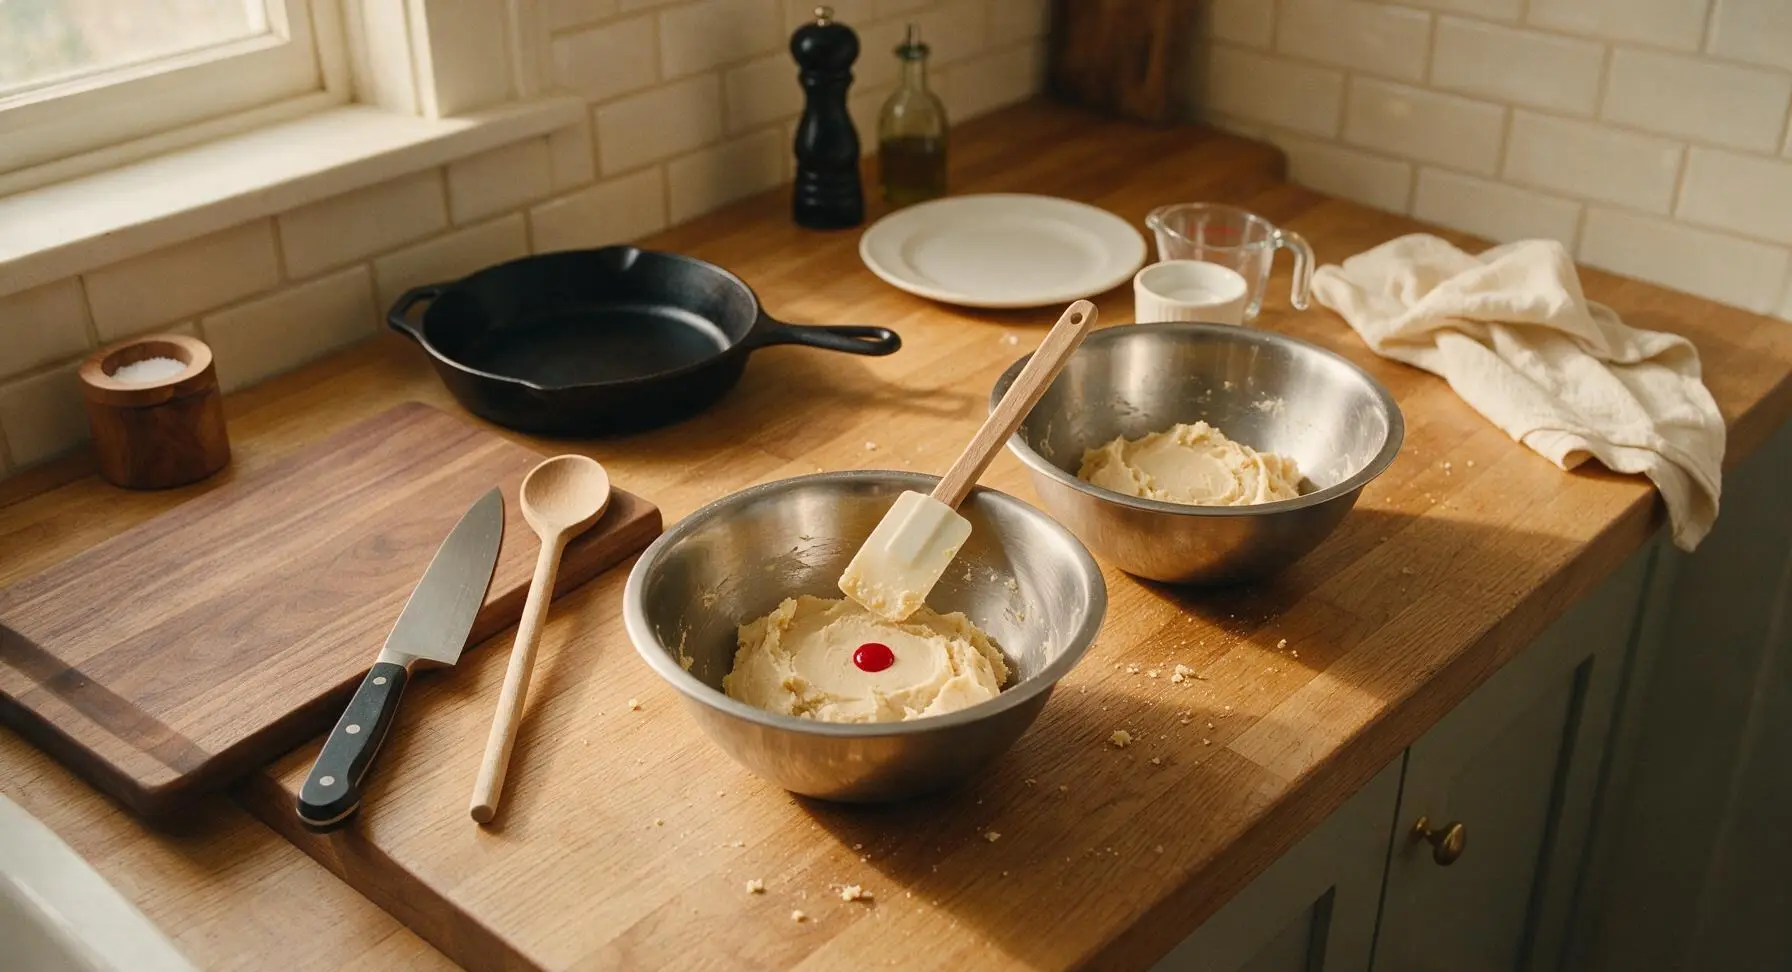
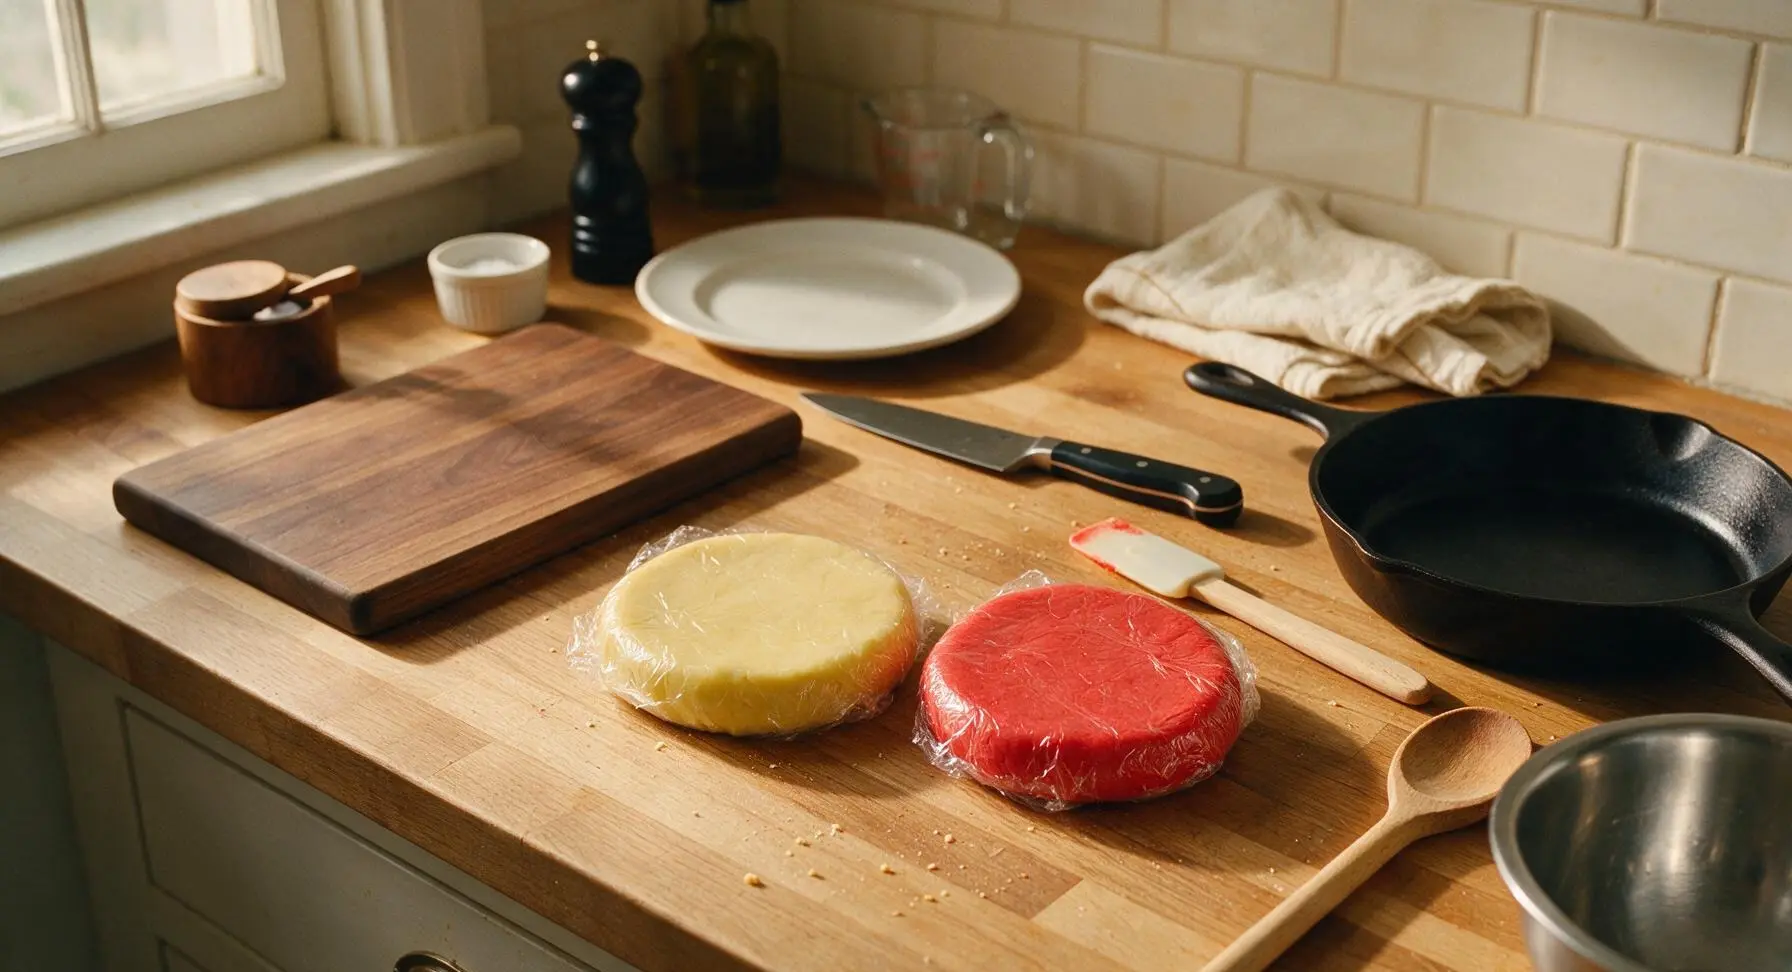
Divide the finished dough exactly in half, returning one half to the medium stainless steel mixing bowl. Add the red gel food coloring to the dough in the medium bowl, folding with the silicone spatula until the color is fully uniform, bright candy-cane red with no marbled streaks. Wrap both the plain dough and red dough separately in clear plastic wrap, pressing each into a 2cm thick disc. Chill in the refrigerator for 1 hour until firm enough to roll without sticking.
Step 4
step4:Color Dough Portion Red
Step 4
step4:Color Dough Portion Red
5

Crush Candy Canes

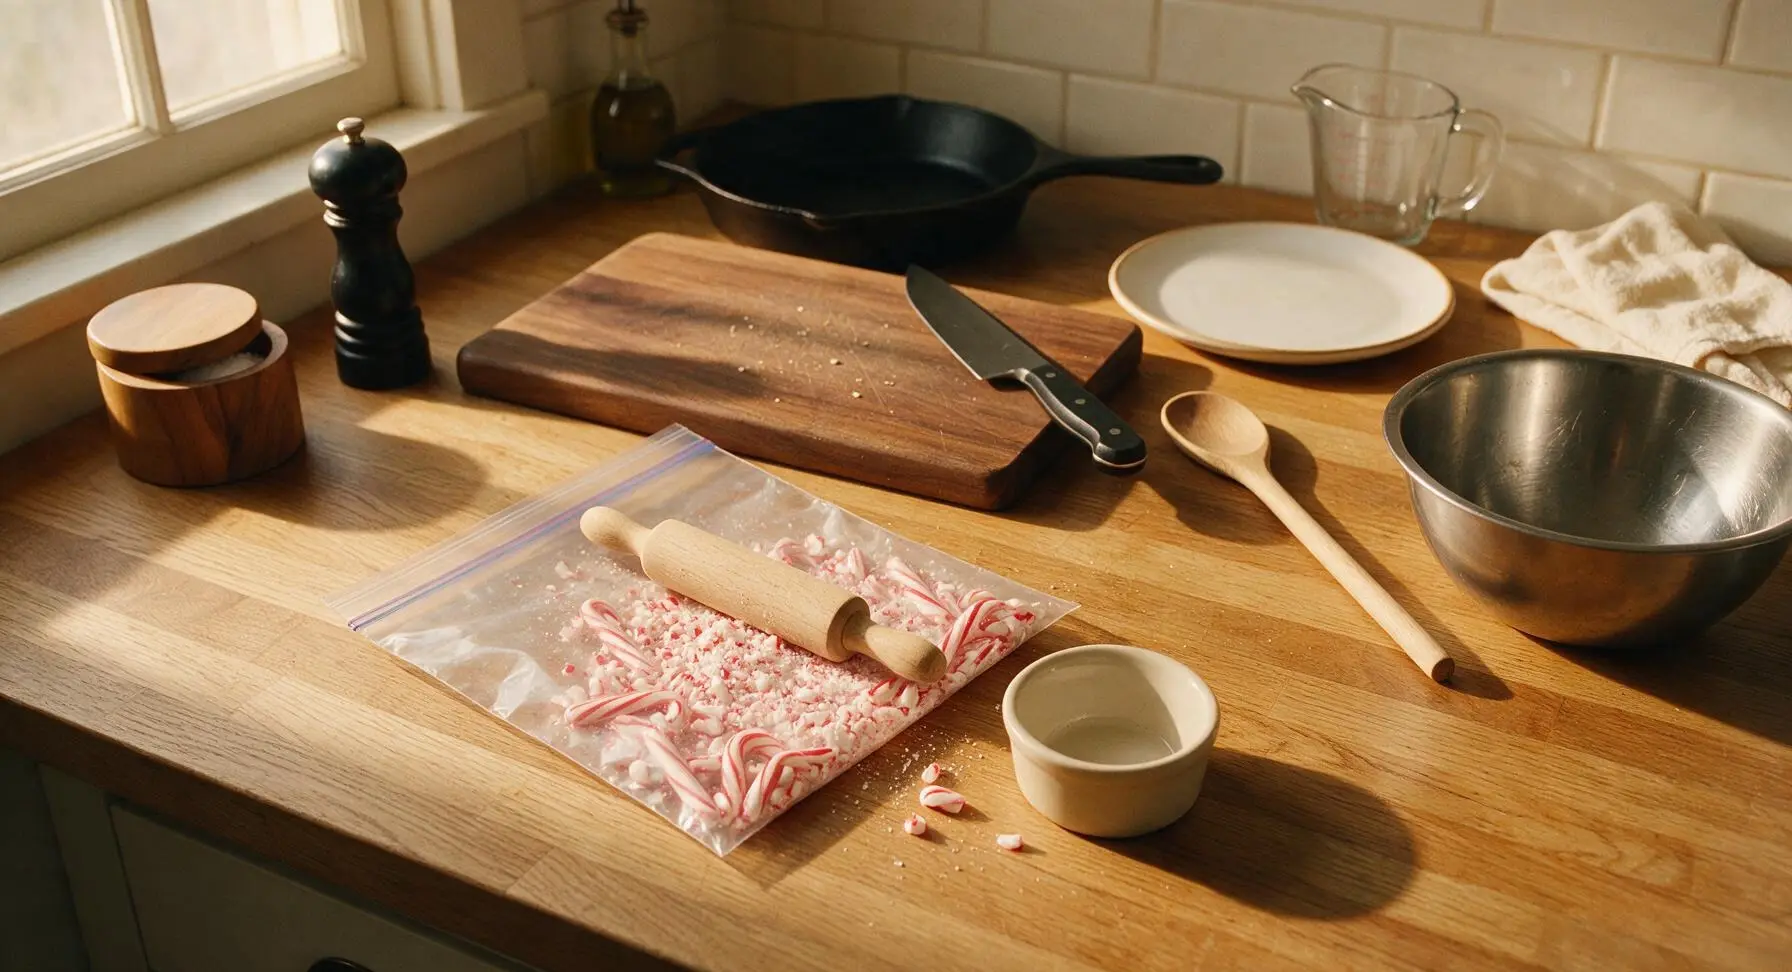
While the dough chills, unwrap all candy canes and place them inside the 1-quart heavy zip-top bag, pressing out excess air and sealing tightly. Use the small beech wood rolling pin to gently tap and roll the candy canes until they are crushed into a mix of fine peppermint powder and small 3-5mm chunky pieces. Pour the crushed candy into one of the small cream ceramic ramekins and set aside.
Step 5
step5:Crush Candy Canes
6

Shape Cane Cookies

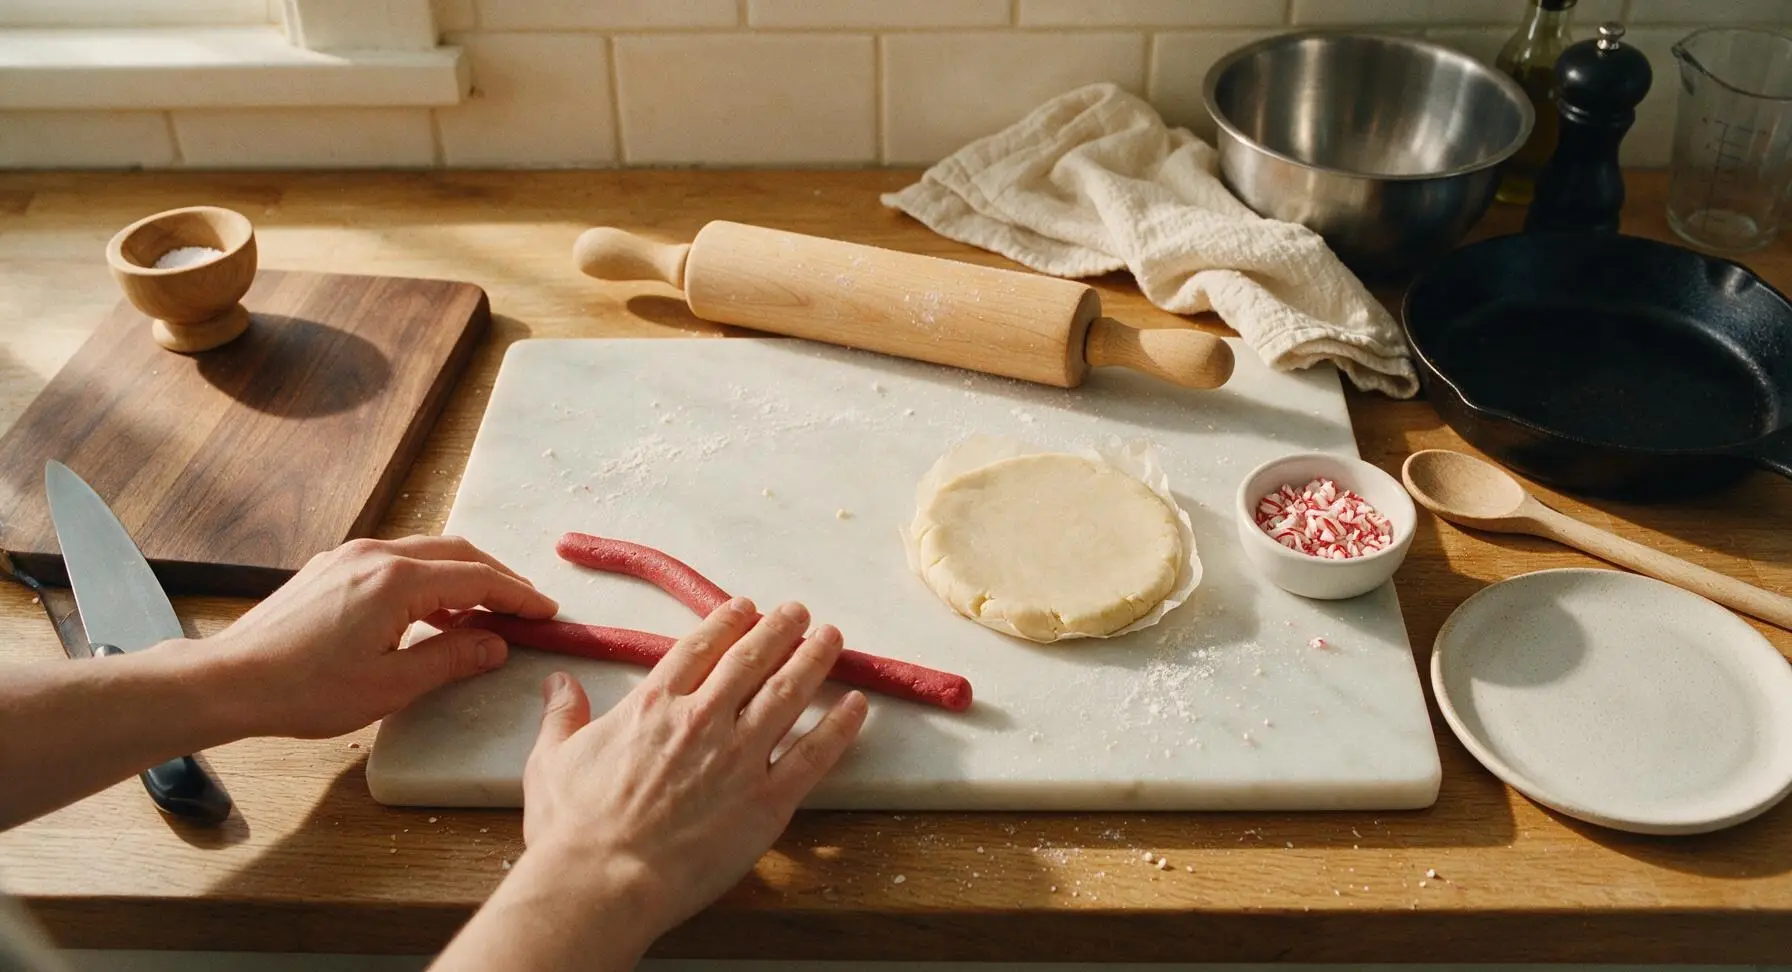
Once dough is fully chilled and firm, remove both discs from the fridge. Lightly flour the marble counter, then use the large maple rolling pin to roll each dough disc to 1cm uniform thickness. Cut 1cm wide strips from each dough color, then roll each strip into a smooth 12cm long rope using the palms of your hands. Twist one plain and one red rope together gently, pinching the ends to seal, then curve one end to form the classic candy cane hook shape. Press the outer edges of each shaped cookie lightly into the crushed candy cane pieces in the ramekin to adhere.

Step 6
step6:Shape Cane Cookies
Step 6
step6:Shape Cane Cookies
7

Bake Until Set

Arrange the shaped candy cane cookies 5cm apart on the parchment-lined aluminum baking sheet. Bake in a preheated 175C (350F) oven for 8-10 minutes, until the plain dough portions are pale golden at the very edges, and the cookie centers are just set to the touch. Do not overbake, as cookies will continue to crisp as they cool on the hot sheet.

Step 7
step7:Bake Until Set
8

Cool and Plate Cookies

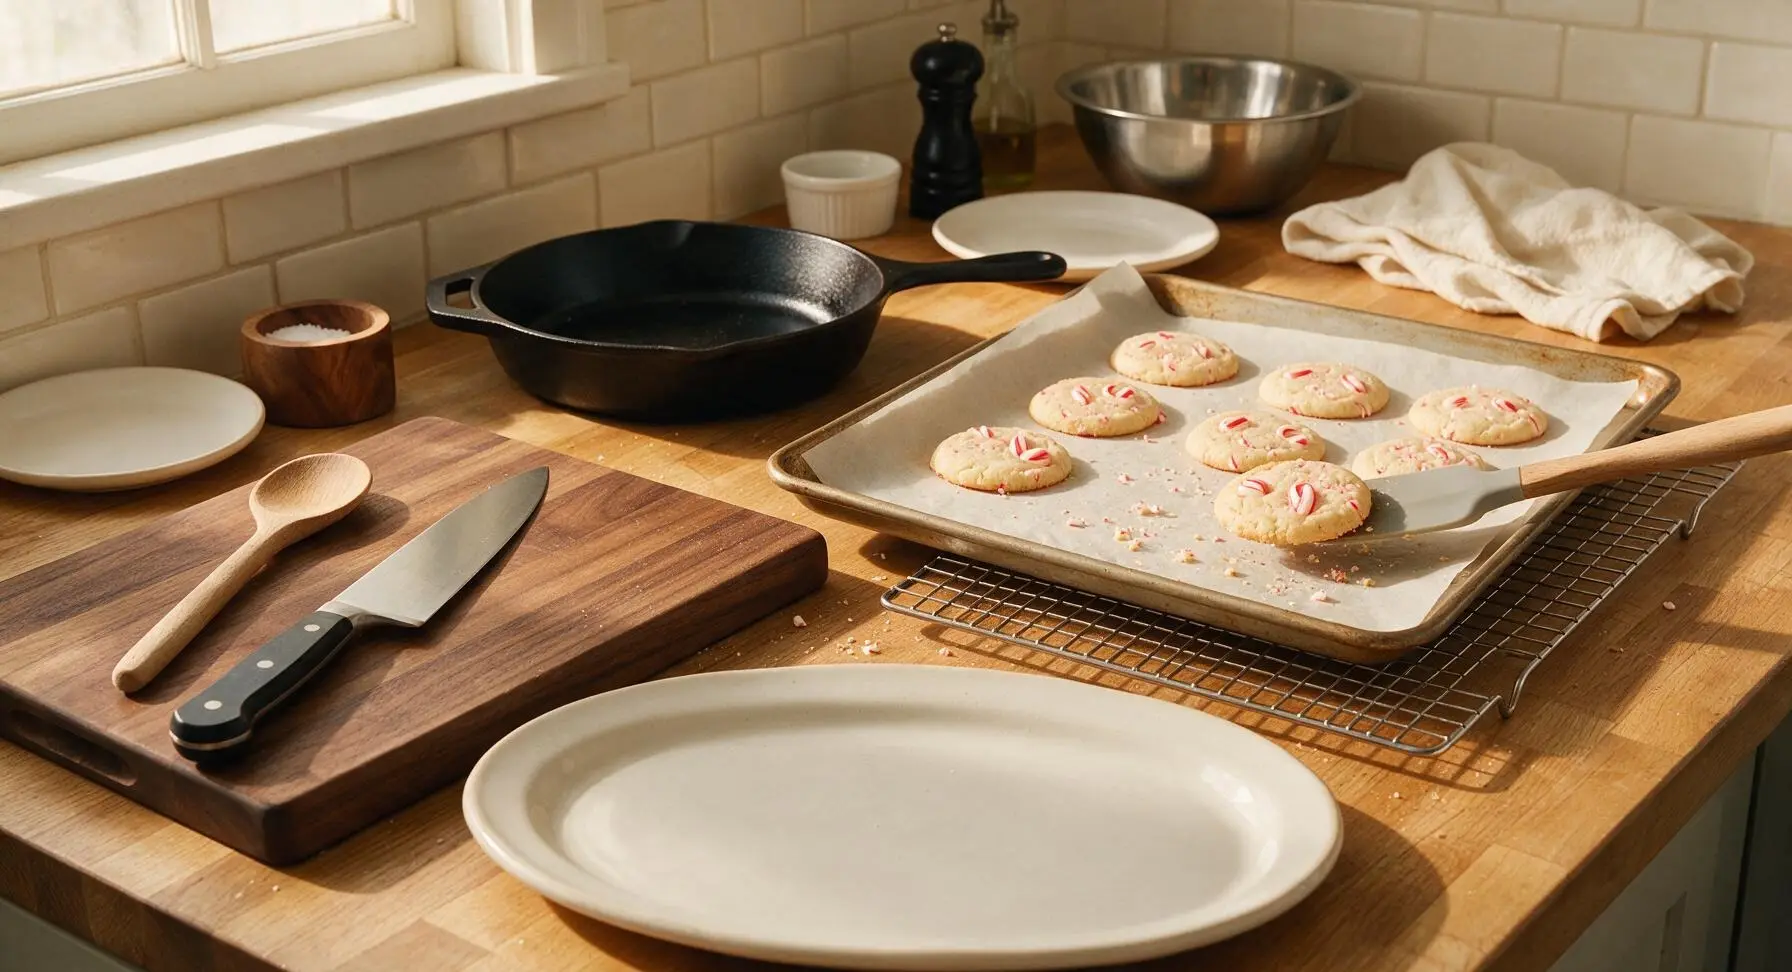
Let the cookies rest on the hot baking sheet for 5 minutes after removing from the oven (they will be very soft and fragile immediately after baking), then use the silicone spatula to transfer them to the wire cooling rack to cool completely for 20 minutes. Once fully cool, arrange the cookies neatly on the cream white ceramic serving platter.
Step 8
step8:Cool and Plate Cookies

Tips

1.Use gel food coloring instead of liquid: liquid coloring adds excess moisture to the dough, making it sticky and prone to spreading in the oven, while gel delivers a bright, even candy-cane red without altering dough texture
2.Bring butter and egg to room temperature (21°C/70°F) before mixing: cold ingredients will not cream to a light, fluffy consistency, resulting in dense, tough cookies instead of tender, crisp ones
3.Do not skip the 1-hour dough chill: warm, soft dough will lose its twisted candy cane shape and spread flat during baking, while firm, chilled dough holds its defined shape and keeps the crushed candy coating in place


✨ You May Also Like

Desserts & Baking
🍜 Italy

Creamy, coffee-kissed classic Northern Italian no-bake dessert, with layers of rum-spiked mascarpone cream, soft ladyfingers, and a rich cocoa dusting.

⏱️ 4 hours 3Desserts & Baking ★ 4.7
Desserts & Baking
🍜 France

Flaky, shatteringly crisp, buttery French croissants with golden exteriors and soft, airy layered interiors, perfect for pairing with coffee for a special morning treat.

⏱️ 12 hours Desserts & Baking ★ 4.5
Desserts & Baking
🍜 United States

Warm, spiced baked apples topped with a fluffy golden biscuit crust, this cozy dessert pairs perfectly with vanilla ice cream for cool-weather comfort.

⏱️ 55 minuteDesserts & Baking ★ 4.6
Desserts & Baking
🍜 United States

A star-spangled classic American blueberry pie with buttery flaky crust and bright sweet-tart filling, perfect for summer patriotic gatherings.

⏱️ 1 hour 25Desserts & Baking ★ 4.7
Desserts & Baking
🍜 United States

A beloved no-bake regional Maine candy with a chewy coconut-potato center coated in rich dark chocolate, a New England holiday staple since the 1870s.

⏱️ 2 hours 3Desserts & Baking ★ 4.8
Desserts & Baking
🍜 France

Luxuriously creamy, floral frozen custard made with aromatic Tahitian vanilla beans, boasting a smooth, rich texture that melts slowly on the tongue.

⏱️ 3 hours 3Desserts & Baking ★ 4.5

Candy Cane Sugar Cookies:Frequently Asked Questions

1.Why does the recipe call for room temperature unsalted butter and eggs? ▾
Room temperature butter creams smoothly with both granulated and powdered sugar to create light, evenly aerated dough that bakes into crisp, buttery cookies without lumpy, uneven spread. Room temperature eggs emulsify seamlessly into the mix to prevent curdled, tough dough. Set ingredients out 45-60 minutes before baking for best results.
2.Can I use salted butter instead of unsalted for these cookies? ▾
You absolutely can, just cut any added fine sea salt in the recipe by ¼ teaspoon per stick of salted butter you use. Keep in mind salted butter has varying salt levels across brands, so unsalted gives you full control over the sweet-salty balance that lets warm vanilla and bright peppermint notes shine through.
3.How do I twist the dough into candy cane shapes without it breaking? ▾
Start with well-chilled dough portioned into 1-tablespoon balls, then roll each ball into a 4-inch thin, even rope on a lightly floured surface. If making two-toned cookies, pinch one plain and one red dough rope together at the top, twist gently, then curve one end to form the classic hook, handling dough as little as possible to avoid softening.
4.Do I really need to chill the dough before baking these cookies? ▾
Yes, chilling dough for at least 1 hour (and up to 3 days, tightly wrapped) is non-negotiable for these cookies. It prevents excessive spread in the oven, lets the vanilla and peppermint flavors meld deeper, and helps the twisted candy cane shape hold its distinct form instead of melting into a blobby mess while baking.
5.What kind of peppermint works best for the crushed candy edge? ▾
Stick to classic hard red-and-white peppermint candy canes or round peppermint hard candies, crushed into a mix of fine crumbs and small, pea-sized pieces. Avoid soft peppermint candies or gummy mint treats, as those will melt and burn easily in the oven, leaving a sticky, bitter residue on your cookie edges.
6.How do I get crushed peppermint to stick to the edges without falling off? ▾
Right after shaping your twisted cookie dough, lightly brush the outer edges with a thin wash of egg white (1 egg white mixed with 1 teaspoon water) before pressing gently into a shallow dish of crushed peppermint. The wash acts as invisible glue that holds candy bits in place through baking and cooling, so you won’t lose half your topping to the baking sheet.
7.Can I add peppermint extract directly to the cookie dough? ▾
Absolutely! For that signature vanilla-peppermint flavor, add ¼ to ½ teaspoon of pure peppermint extract to the dough when you mix in the vanilla. Start with ¼ teaspoon if you prefer a milder mint note, as peppermint extract is very potent—too much can leave a sharp, almost medicinal aftertaste that overpowers the buttery cookie base.
8.Why do my cookies spread too much and lose their candy cane shape in the oven? ▾
The most common culprits are overly soft, unchilled dough, too-warm butter, or an incorrectly calibrated oven. Make sure your dough is properly chilled, your oven holds a steady 350°F (use an inexpensive oven thermometer to confirm!), and you’re not over-creaming butter and sugar to the point it’s warm and frothy, which causes excess spread.
9.How long should I bake these for the perfect crisp, not rock-hard, texture? ▾
Bake them at 350°F for 8 to 10 minutes, pulling them when edges are just lightly golden and centers look barely set. The cookies will continue to firm up as they cool on the baking sheet for 5 minutes before you transfer them to a wire rack—overbaking leads to dry, hard cookies that lose that buttery, melt-in-your-mouth quality.
10.Can I tint part of the dough red for a more authentic candy cane look? ▾
Definitely! After mixing your base dough, split it evenly in half, and knead ¼ teaspoon of gel food coloring (not liquid, which will make dough sticky) into one half until you get a bright, even festive red. Twist one plain and one red dough rope together for the classic two-toned candy cane look that feels extra nostalgic.
11.Can I make this dough ahead of time for holiday baking prep? ▾
Yes! Tightly wrap unshaped dough in plastic wrap and store it in the fridge for up to 3 days, or freeze it for up to 3 months. If frozen, thaw it in the fridge overnight before shaping. You can also freeze pre-shaped, unbaked candy cane cookies for up to 1 month, baking straight from frozen with 1-2 extra minutes of bake time.
12.How should I store baked cookies to keep them crisp? ▾
Once cookies are fully cooled, store them in an airtight container at room temperature, layered between sheets of parchment paper to prevent peppermint edges from sticking, for up to 1 week. Avoid storing them in the fridge, as excess moisture will make crisp cookies go soft and the crushed peppermint candy will turn sticky.
13.Can I freeze these baked cookies for later? ▾
Absolutely! Let the cookies cool completely, then place them in a freezer-safe airtight container separated by parchment layers, and freeze for up to 3 months. Thaw them at room temperature for 15-20 minutes before serving; you can crisp them up for 2 minutes in a 300°F oven if they pick up excess moisture during freezing.
14.What if I don’t have powdered sugar for the dough? ▾
Powdered sugar helps create that signature tender, crisp, melt-in-your-mouth crumb for these sugar cookies, so it’s not a perfect swap, but if you’re in a pinch, make your own by blending 1 cup of granulated sugar with 1 tablespoon of cornstarch in a high-speed blender until it’s a fine, powdery consistency before measuring.
15.Can I add a glaze or icing to these cookies? ▾
You totally can! A simple thin vanilla or peppermint glaze (1 cup powdered sugar + 2 tablespoons milk + ¼ teaspoon peppermint extract) drizzled over cooled cookies adds an extra pop of sweetness, though keep in mind it will soften the crisp cookie texture slightly if applied too thick. Stick to a light drizzle if you want to keep that classic crunch.
16.Why is my dough crumbly and hard to roll into ropes for shaping? ▾
Crumbly dough usually means your butter was too cold when you mixed it, or you added too much flour. Let the dough sit at room temperature for 10-15 minutes to soften slightly, then knead it gently with your hands for 30 seconds to bring it together. If it’s still crumbly, knead in 1 teaspoon of room temperature milk until it’s smooth enough to roll.
17.Can I make these cookies gluten-free? ▾
Yes! Swap the standard all-purpose flour base for a 1:1 gluten-free all-purpose baking blend that contains xanthan gum. Make sure all your other ingredients, including your peppermint candies, are certified gluten-free to avoid cross-contamination, and follow all the same chilling and shaping steps for nearly identical texture and shape.
18.How do I prevent the crushed peppermint edges from melting and turning runny while baking? ▾
Make sure you’re not baking cookies at too high a temperature, as high heat makes hard candy melt quickly and bubble off the edges. Stick to 350°F, and avoid using extra-fine crushed peppermint dust, which melts faster than mixed-size pieces. Pull the cookies as soon as edges turn golden, before the candy starts to bubble.
19.Are these cookies sturdy enough to hang as Christmas tree ornaments? ▾
They are! If you want to use them as edible ornaments, use a skewer to poke a ¼-inch hole in the top of each shaped candy cane cookie right before baking, then re-poke the hole gently as soon as you pull them out of the oven. Once fully cool, thread a thin festive ribbon through the hole to hang, handling them gently since they’re crisp to avoid breaks.

Comments (13)

1 week ago

OMG these candy cane sugar cookies were such a hit at my kid’s class holiday party last week! I crushed up extra peppermint candies to roll the edges in and every single kid came back for a second. The texture is perfectly soft in the middle, not too crispy, just how we like them. 10/10 will make every Christmas from now on!

yesterday

Brought these to my office holiday potluck yesterday and people were asking for the recipe before I even set the platter down! The candy cane crunch on top adds the perfect little peppermint kick without being overpowering. Only note is I’d recommend chilling the dough a little longer than I did if you don’t want them spreading too much on the sheet.

2 days ago

SO good. I made these for a lazy Sunday cookie baking night with my roommates and we ate half the batch straight off the cooling rack. The peppermint glaze is chef’s kiss, no notes. Will be making these for our family Christmas dinner next week too!

3 days ago

I was worried these would be too fussy for a medium difficulty recipe but they came together way faster than I expected! I baked a batch on Sunday to have for quick sweet treats all week and they hold up really well in an airtight container. Great recipe, will repeat.

30 minutes ago

Wait, quick question — I don’t have peppermint extract on hand, can I use extra crushed candy canes to get that same minty flavor without it? I really want to make these tonight for my neighbor’s cookie swap!

5 minutes ago

Great question! You can absolutely bump up the amount of finely crushed candy canes mixed into the dough if you don’t have peppermint extract — just aim for about 1/3 cup extra, and make sure the pieces are small so they don’t make the cookies lumpy. Enjoy the cookie swap!

5 days ago

My kids loved it! I let them help crush the candy canes and drizzle the glaze, and they were so proud to show off their cookies to grandma when she stopped by. The 10 minutes per baking sheet cook time was spot on, no burnt edges for once!

2 days ago

That’s such a fun idea to let the kids help crush the candy canes! My 7 year old goes ham with a rolling pin every year, I’m definitely gonna let him help with these this weekend.

2 weeks ago

Game changer! I swapped the all purpose flour for a 1:1 gluten free baking flour and these came out exactly like the regular version, no weird gritty texture at all. My whole family (even the non-gluten free folks) devoured them.

1 week ago

So glad the gluten free swap worked out for you! Thanks for sharing that tip with other bakers who might need a GF option — we love hearing how people customize these cookies to fit their dietary needs.

2 hours ago

Full transparency, I burned the first sheet because I got distracted watching football, but the second sheet came out perfect lmao. These taste exactly like the fancy bakery cookies I pay $5 each for around the holidays, total win.

30 minutes ago

LMAO same, I almost burned mine when my team scored a last minute touchdown last weekend! Pro tip: set a timer separate from the oven one so you don’t zone out.

1 week ago

I’ve made a lot of sugar cookie recipes over the years for my annual neighborhood cookie swap, and this one is top tier. The candy cane pieces give it that perfect festive crunch that stands out from all the same old chocolate chip and gingerbread cookies people usually bring.

5 days ago

That means so much coming from a cookie swap veteran! We designed these specifically to stand out on holiday dessert tables, so we’re thrilled they’re a hit at your annual event.

2 days ago

Wait, has anyone tried adding a little white chocolate drizzle on top of these? I feel like that would pair so well with the peppermint, but I don’t want to mess up a good thing!

yesterday

I did that last night! I melted 4oz of white baking chocolate, drizzled it over the cooled cookies, then added extra candy cane crumbs on top before it set. It was insane, 10/10 would recommend.

2 hours ago

That white chocolate addition sounds incredible! We’ve tested it before too, and it adds such a nice creamy contrast to the bright peppermint flavor. Great call!

5 minutes ago

My husband and I made these for our first married Christmas cookie plate to give to our neighbors, and oh no — our dough is super crumbly! Did I overmeasure the flour? Any tips to fix it so I don’t have to run to the store for more ingredients?

just now

Add a teaspoon of cold milk at a time and mix it in gently until the dough comes together! I had the same issue last year when I made these, that trick fixed it right up, no extra grocery run needed.

just now

Oh no, sorry the dough is giving you trouble! The cold milk trick that Grandma mentioned works perfectly — you can also let the dough sit at room temp for 10 minutes if your butter was too cold when you mixed it, that helps too. Hope your neighbor plates turn out amazing!

3 days ago

These are so cute with the red and white flecks! I used the mini candy canes instead of full size ones for the crunch on top and they looked so adorable on my holiday dessert table. Everyone kept commenting on how pretty they were before they even took a bite.

2 days ago

The mini candy canes are such a good call! I’ve been looking for a cookie that looks festive enough for my ugly sweater party this weekend, these are going on the menu for sure.

yesterday

Love the mini candy cane swap! They add such a fun, festive pop of color without having to do fancy icing work, which is perfect for busy holiday party prep. Hope your ugly sweater party is a blast!

yesterday

We made these in our dorm common room last night for our floor holiday party and they were gone in 10 minutes flat. Only problem is none of us remembered to leave a few out for our RA, oops. Definitely making another batch tonight to make up for it!

2 hours ago

LMAO your RA is definitely gonna forgive you if you bring them a warm cookie with extra glaze. I’ve gotten out of so many quiet hour write-ups with baked goods, trust me.

30 minutes ago

That is the highest compliment we could ask for — cookies gone in 10 minutes! Definitely save a couple extra for your RA, they deserve a sweet treat this holiday season too. Happy baking!



