
Candy-Coated Pear Skulls
intro
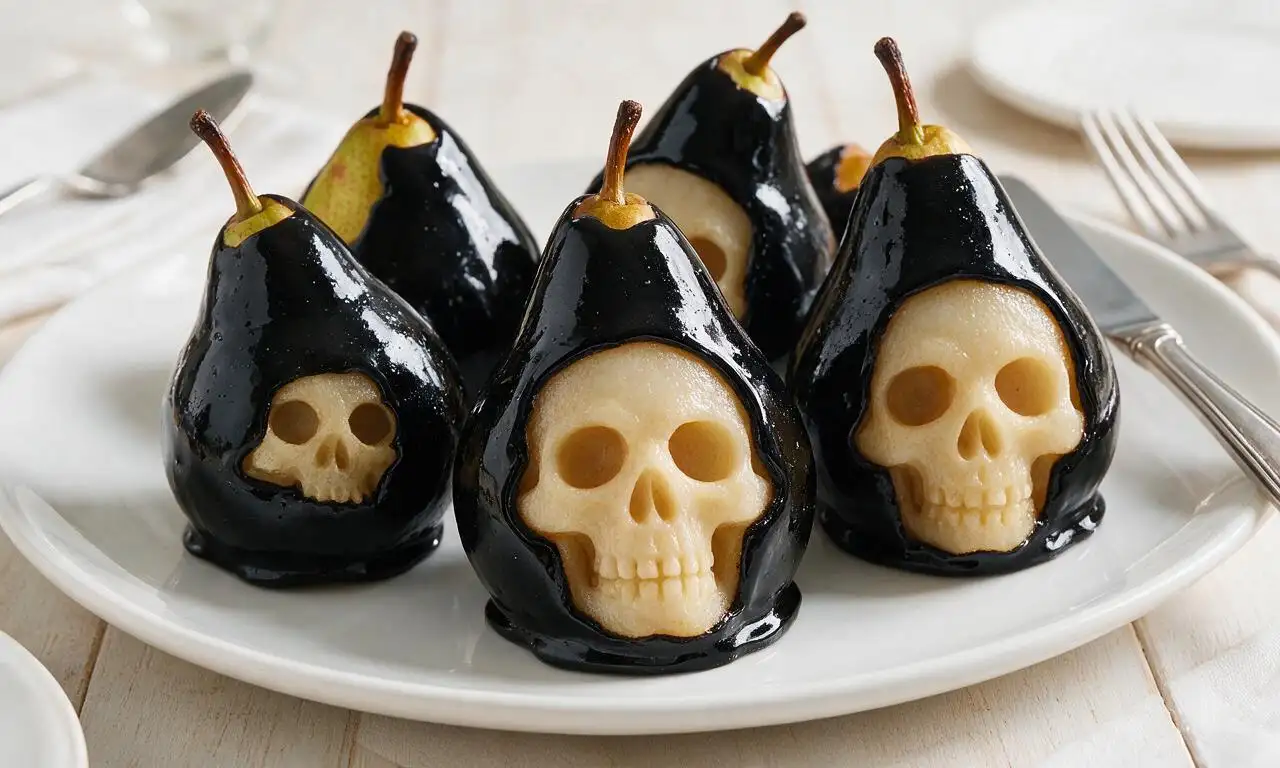
Spooky, crisp Bosc pears carved into skull shapes and coated in a glossy jet-black hard candy shell, a playful fruity Halloween treat with a crunchy-sweet, juicy bite.
Ingredients
Steps
Carve pear skulls
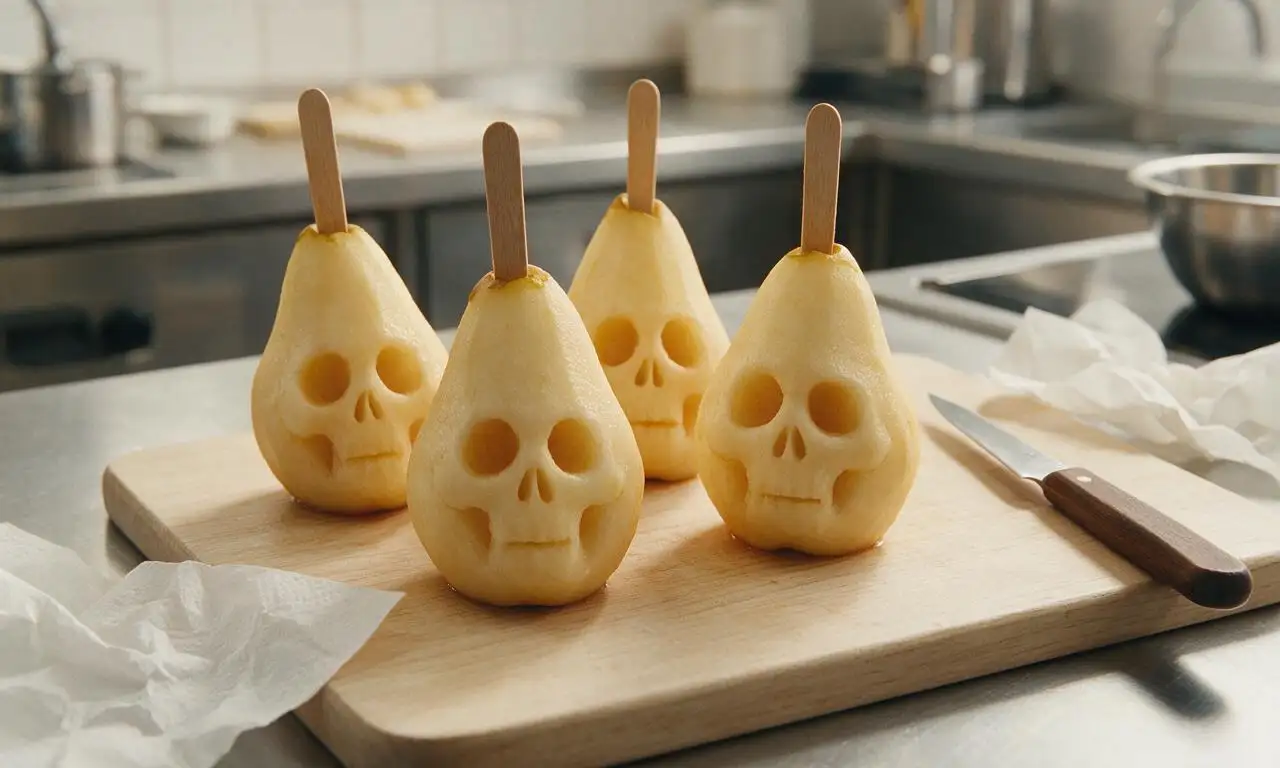
Peel 4 firm Bosc pears, then slice a 3mm thick flat section off the base of each so they stand steadily upright. Use a small sharp paring knife to carve two 2cm wide hollowed eye sockets, a 1.5cm wide triangular nasal cavity, and a thin 3cm long horizontal mouth slit across the lower third of each pear. Pat all carved surfaces completely dry with paper towels, insert one wooden lollipop stick 3cm deep into the top of each skull, then brush all exposed pear flesh with 15ml fresh lemon juice to prevent browning.
Prep candy station
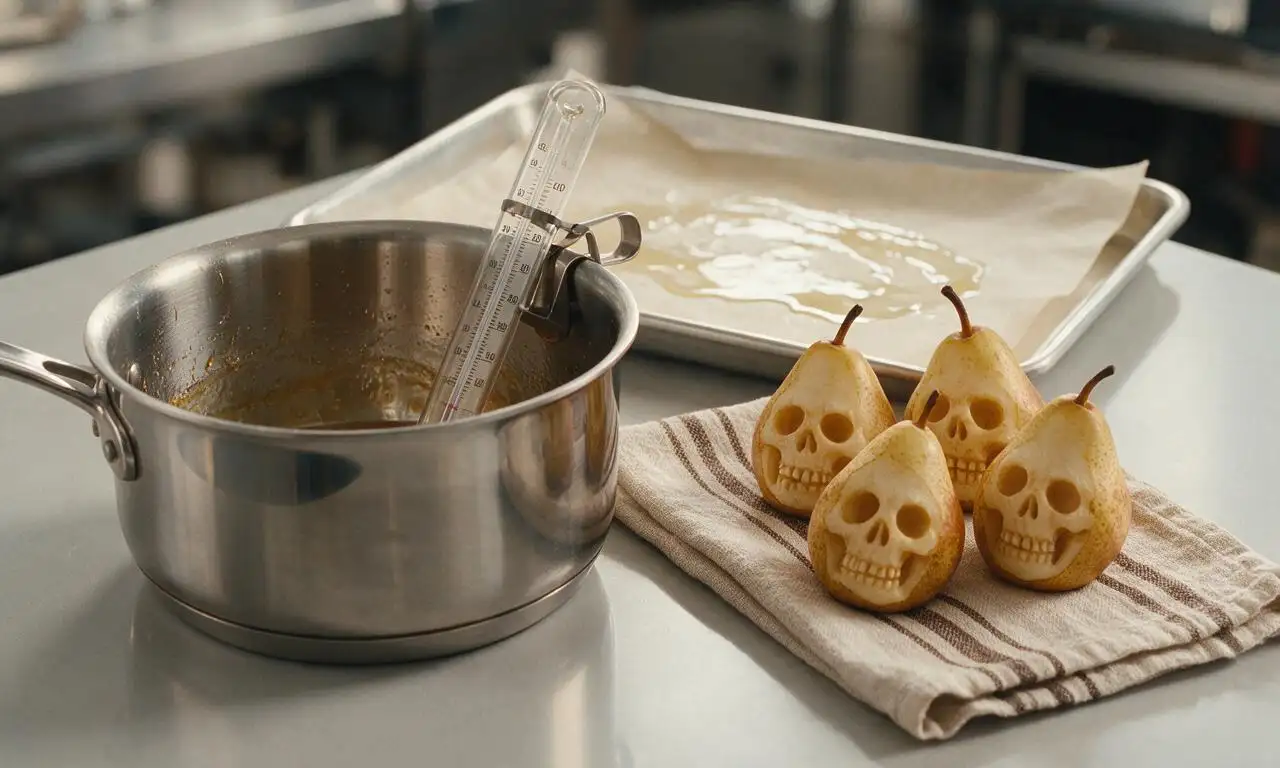
Line a 30cm x 40cm rimmed baking sheet with parchment paper, then lightly coat the parchment with 5ml neutral vegetable oil to prevent sticking. Clip a candy thermometer to the inner edge of a heavy-bottomed 2-quart saucepan, ensuring the tip does not touch the pan base. Arrange the carved pear skulls and black gel food coloring within arm’s reach of the stovetop to work quickly once the candy is ready.
Cook sugar syrup
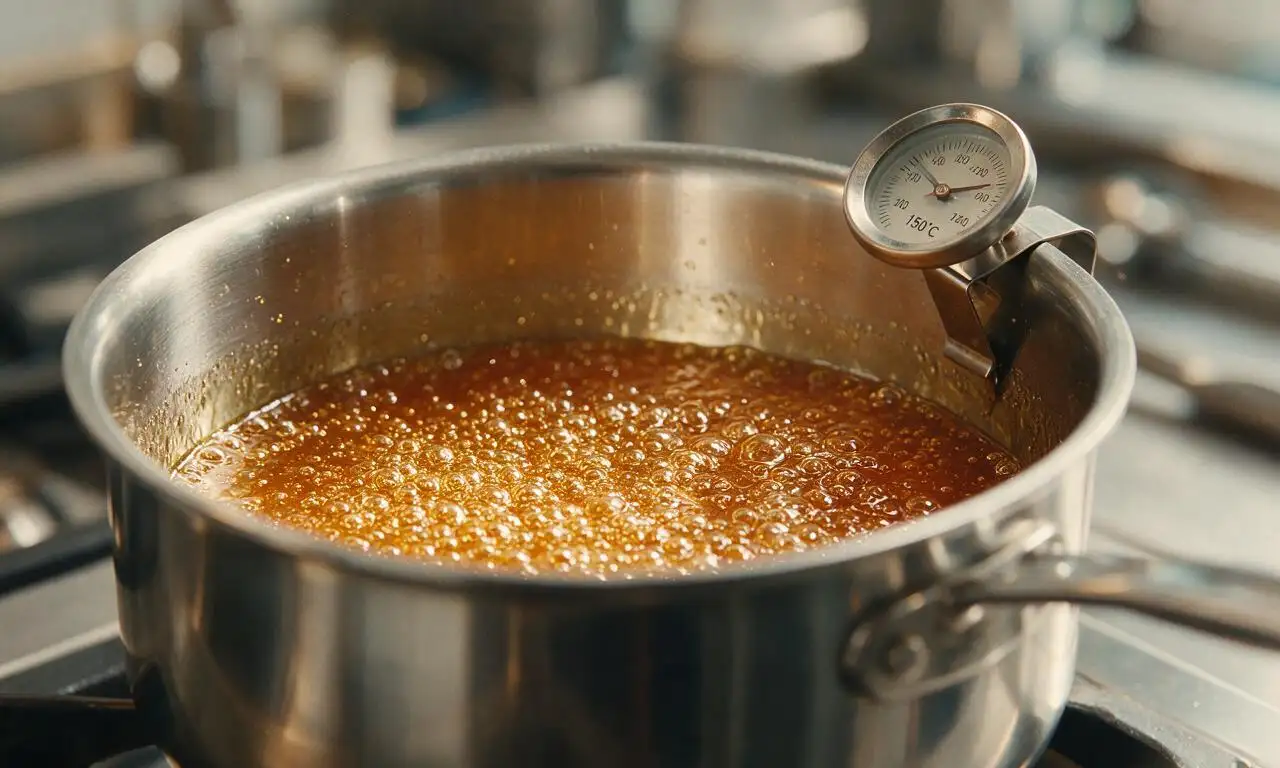
Add 400g granulated sugar, 120ml light corn syrup, and 80ml filtered water to the prepared saucepan. Stir the mixture constantly over medium heat (stovetop setting 5/10) until all sugar granules fully dissolve, about 3-4 minutes. Once the mixture reaches a rolling boil, stop stirring entirely and let it cook undisturbed until it hits 150°C (300°F, hard crack stage) on the candy thermometer, approximately 8-10 minutes.
Tint candy coating
Immediately remove the saucepan from heat the moment the syrup reaches hard crack stage, and let it rest for 60 seconds to allow large bubbles to subside. Stir in 5ml black gel food coloring with a heatproof silicone spatula, mixing slowly and thoroughly until the candy is a uniform, deep glossy jet black, taking care not to splash the extremely hot sugar.
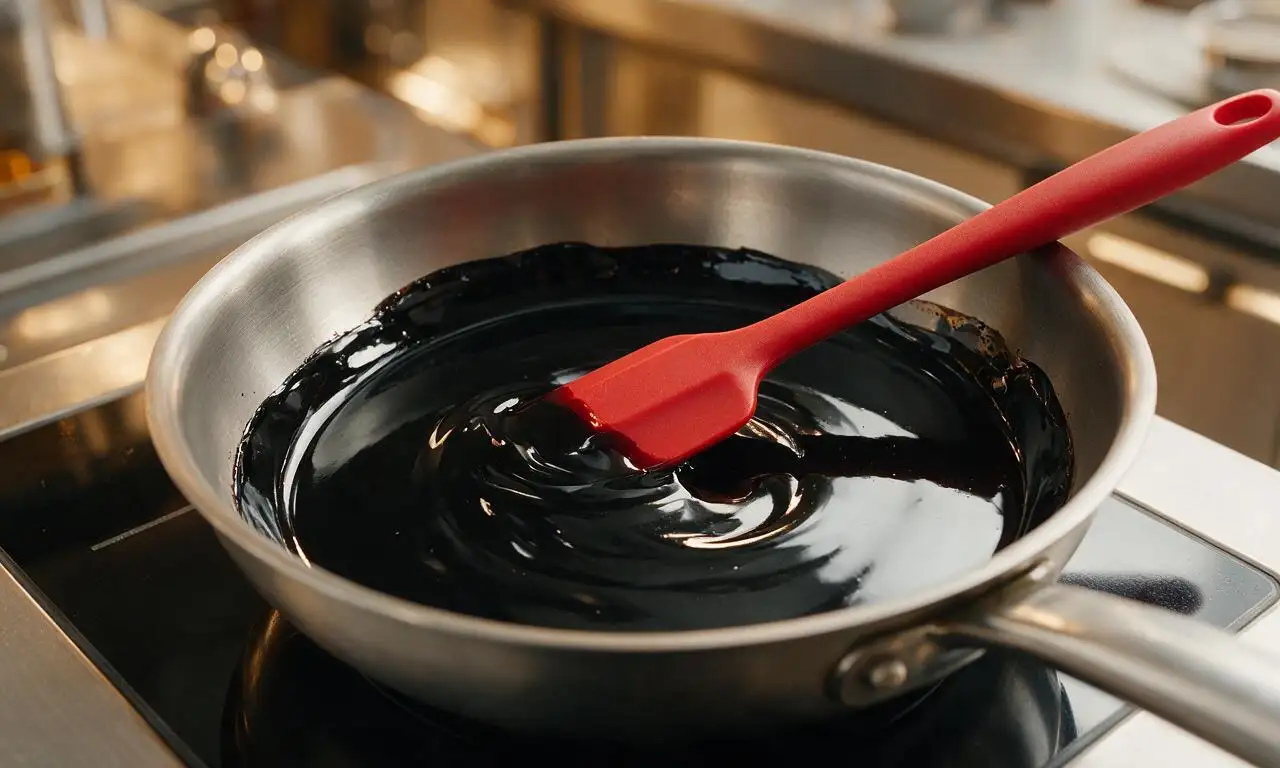
Coat skulls evenly
Working one skull at a time, hold a pear by its lollipop stick, tilt the saucepan at a 45-degree angle, and submerge the entire pear in the black candy, twisting slowly to coat every carved crevice evenly. Hold the coated skull above the pan for 10 seconds to let excess candy drip back into the pot, then place it upright on the prepared greased parchment paper. Repeat with all remaining pears, reheating the candy over low heat for 30 seconds if it thickens too much to dip smoothly.
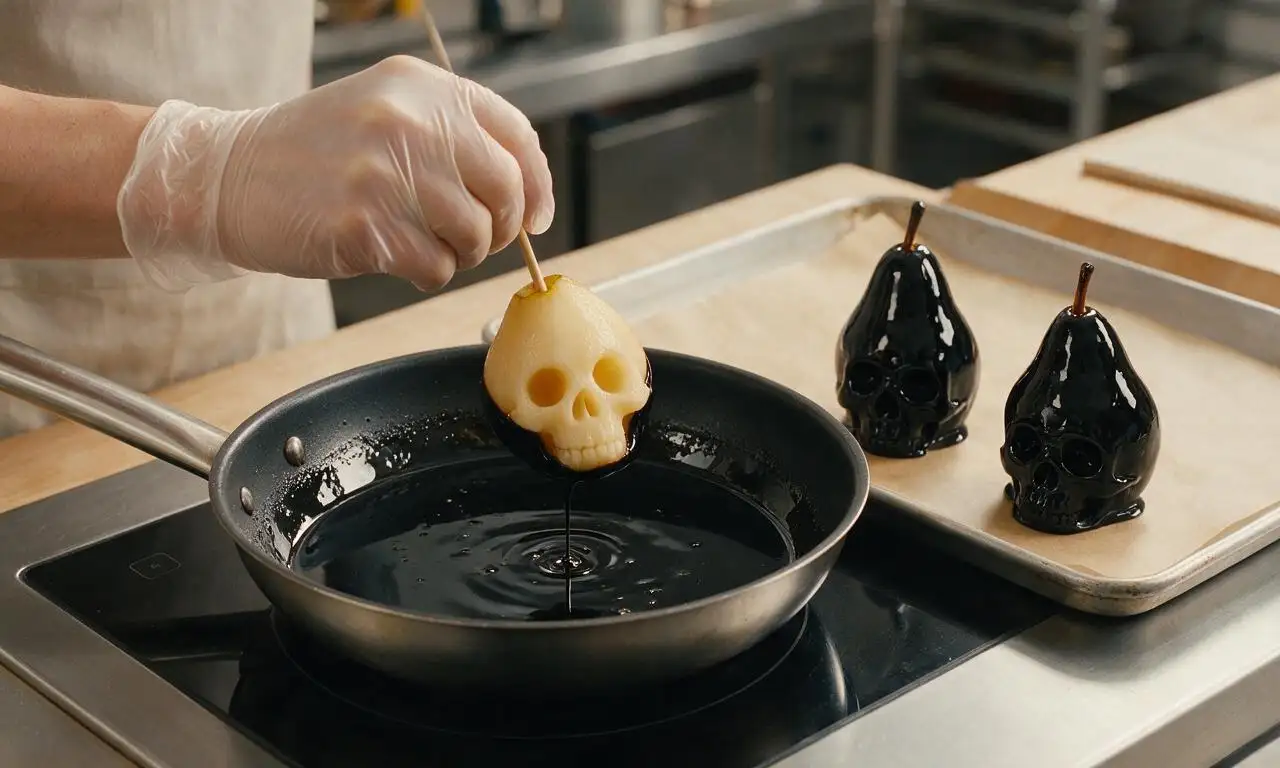
Set candy shells
Leave the coated pear skulls completely undisturbed on the parchment paper at room temperature (20-22°C/68-72°F) for 15 minutes, until the candy shell is rock-hard and completely dry to the touch with no sticky residue. For extra spooky detail, use a small fine-tip paintbrush to dab 2mm dots of white edible paint in the center of each eye socket before serving.
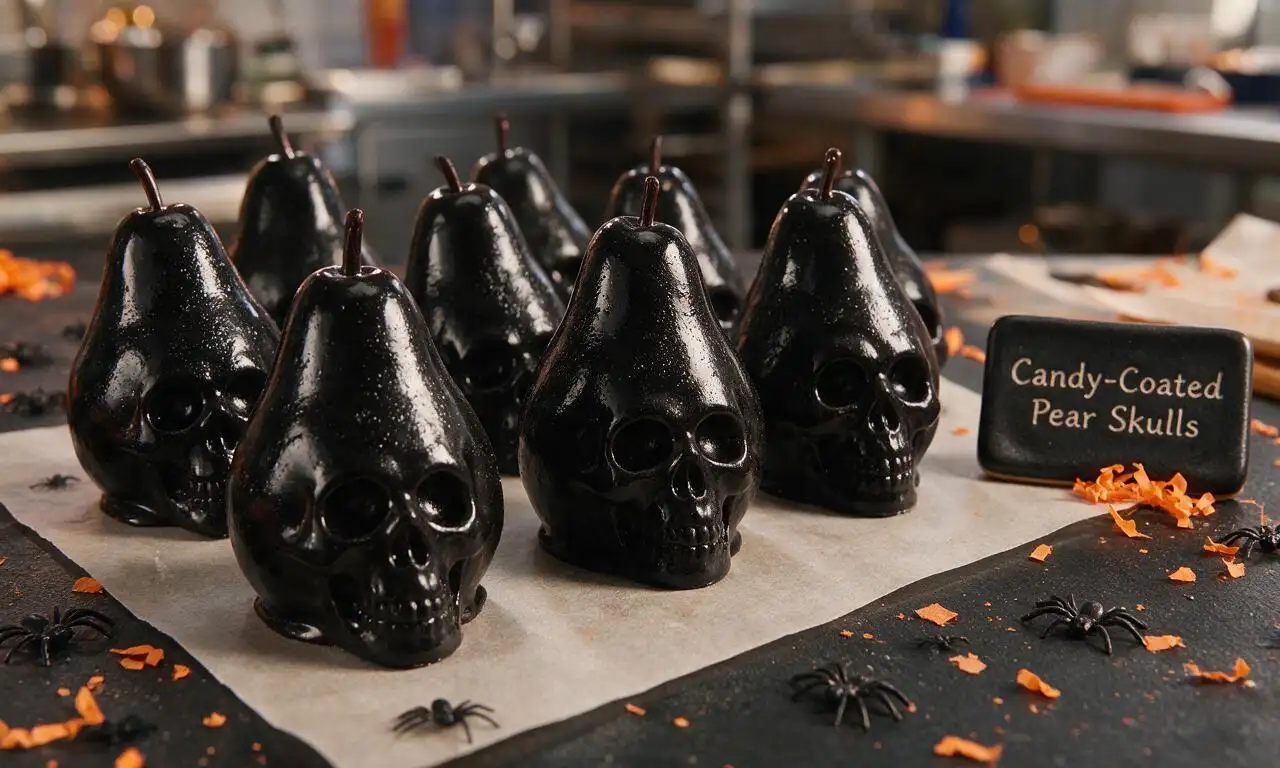
Tips
2.Do not stir the sugar syrup once it reaches a rolling boil, as stirring can cause sugar crystals to form and result in a dull, grainy candy shell instead of a smooth, glossy finish.
3.Keep a large bowl of ice water nearby when working with hot sugar; if any syrup touches your skin, submerge the area immediately in ice water to prevent burns.






OMG these were the biggest hit at my kid’s classroom Halloween party yesterday! I was worried the candy coating would crack when I carved the pear faces but it set perfectly, even the wiggly little candy eyes stayed on the whole time. 10/10 will make again next year!
Made these for our neighborhood block party potluck and people kept asking where I bought them! The only tweak I made was adding a little sour candy dust to the coating for an extra zing, chef’s kiss.
Wait how do you keep the pears from turning brown before you dip them? Mine got all splotchy when I left them out for 15 minutes while I melted the candy, total bummer. Flavor was still great though!
My teens thought these were too cool to eat at first! We used red food coloring to make the candy coating look slightly blood-streaked around the skull mouths for extra creepy vibes, perfect for our annual horror movie marathon snack table.
Game changer for easy festive snacks! I pre-carved the pear skulls the night before, soaked them in a little lemon water so they didn’t brown, and dipped them right before my book club Halloween meetup. Zero stress, everyone raved.
Tried making these last minute for my roommate’s Halloween costume party and they turned out way better than I expected! I even used mini chocolate chips pressed into the eye sockets instead of buying separate candy eyes, worked like a charm. Only knocked a star because I burned the first batch of candy coating, total user error lol.
So happy this recipe is naturally gluten free! I’ve been struggling to find fun spooky treats I can bring to my office potluck that won’t make my celiac act up, and these fit the bill perfectly.
My kids loved it! Told them these were “skull pears” from the haunted orchard down the street and they ate two each before dinner, oops. Worth it to see them get excited about fruit for once.
Medium difficulty is no joke, y’all. I’m a pretty experienced baker and I still messed up the first two pears trying to carve the little skull teeth evenly. Once I got the hang of it though, they came out SO good. Worth the extra effort.
Made these vegan by using dairy-free white candy melts and they came out exactly like the photos! No weird aftertaste, even my non-vegan friends were grabbing seconds.
Wait has anyone tried making these with bosc pears instead of bartlett? I have a whole bag leftover from my farmers market run and I don’t want to run to the store if I don’t have to.
SO good, and way cheaper to make than buying pre-made spooky treats for my dorm Halloween party. I spent like $8 total on pears, candy melts, and cheap candy eyes from the dollar store, fed 12 people no problem.
I’ve been making Halloween treats for my grandkids for 40 years and this is one of the most clever ideas I’ve seen in ages. Tastes great, looks impressive, and it’s simple enough that the little ones can help dip them once you carve the shapes.
Took me about 42 minutes start to finish, so the 45 minute cook time is totally accurate, love when recipes don’t lie about time commitments! So many “quick” Halloween recipes take 2 hours, this was a breeze once I got my carving station set up.
Ugh my candy coating kept clumping up when I was melting it! I followed the microwave instructions exactly but it got all thick and grainy halfway through dipping, had to run to the store for a second bag. End result still tasted great though.
Brought these to my church fall festival potluck and they were gone in 10 minutes! I even made a little “graveyard” platter with crushed Oreos as dirt to set the skulls on, it looked so festive.
Carving the little skull faces was way harder than I thought it would be, ngl. My first three looked more like lumpy pears with holes than spooky skulls, but my 4 year old thought they were the coolest thing ever, so that’s a win in my book.
Wait do these hold up for a few hours after dipping? I want to make them for my kid’s trunk or treat but I need to set everything up an hour before the event starts and I don’t want the coating to get sticky or runny in the Florida heat.
Love that this recipe uses whole fruit instead of just straight sugar for a Halloween treat! I even saved the pear scraps from carving to make a quick pear crisp later that night, zero food waste which is my favorite part.
SO good! I added a little cinnamon to the candy coating for a warm fall spice kick and it paired so well with the sweet juicy pear. Will be making these every Halloween from now on, no question.