
Candy Corn Fudge

title 1
Candy Corn Fudge
⏱️ cook time 2 hours 15 minutes (15 minutes active prep, 2 hours chilling)
🍽️ servings 16
⚡ Difficulty easy

intro

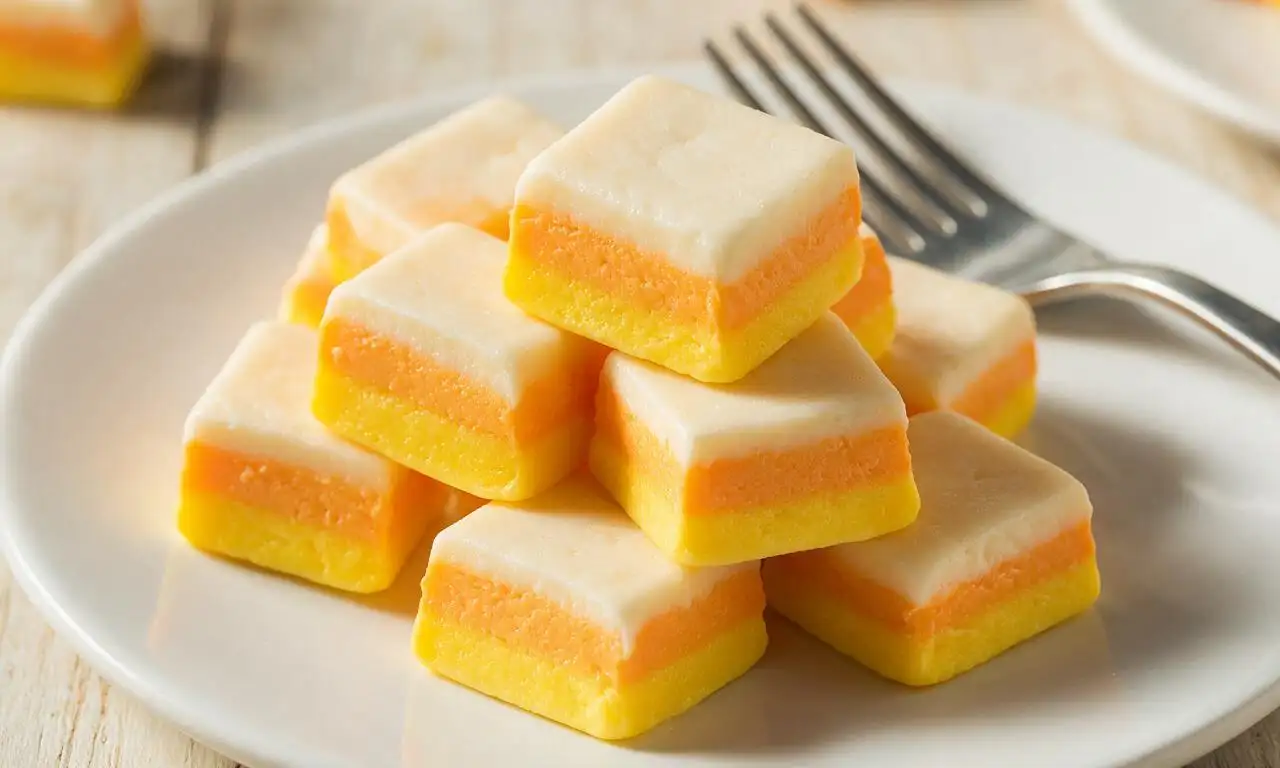
Creamy three-layer vanilla fudge styled to look like classic candy corn, a sweet, festive no-bake treat perfect for Halloween parties and fall snacking.

Ingredients

White chocolate chips 340 grams (2 cups)
Sweetened condensed milk 397 grams (1 14-oz can / 1 ⅔ cups)
Unsalted butter 57 grams (4 tablespoons / ¼ cup)
Pure vanilla extract 5 ml (1 teaspoon)
Fine sea salt 1 gram (¼ teaspoon)
Yellow gel food coloring 3 drops
Orange gel food coloring 3 drops
Candy corn 180 grams (1 cup)

Steps

1

Prep the baking pan

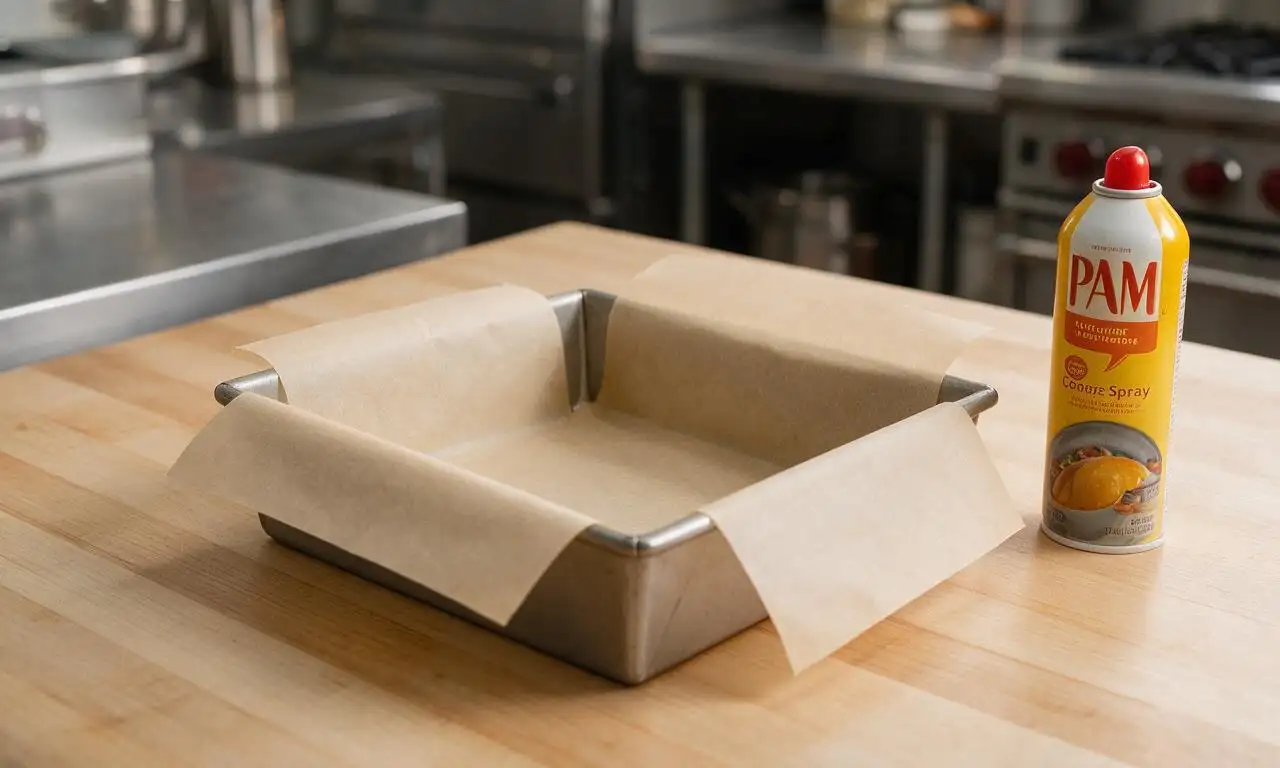
Line an 8x8 inch (20x20cm) square baking pan with parchment paper, leaving 2-inch overhangs on two opposite sides to use as handles for lifting fudge later. Lightly coat the parchment with nonstick cooking spray to prevent sticking. Set the pan aside at room temperature.
Step 1
step1:Prep the baking pan
2

Melt the fudge base

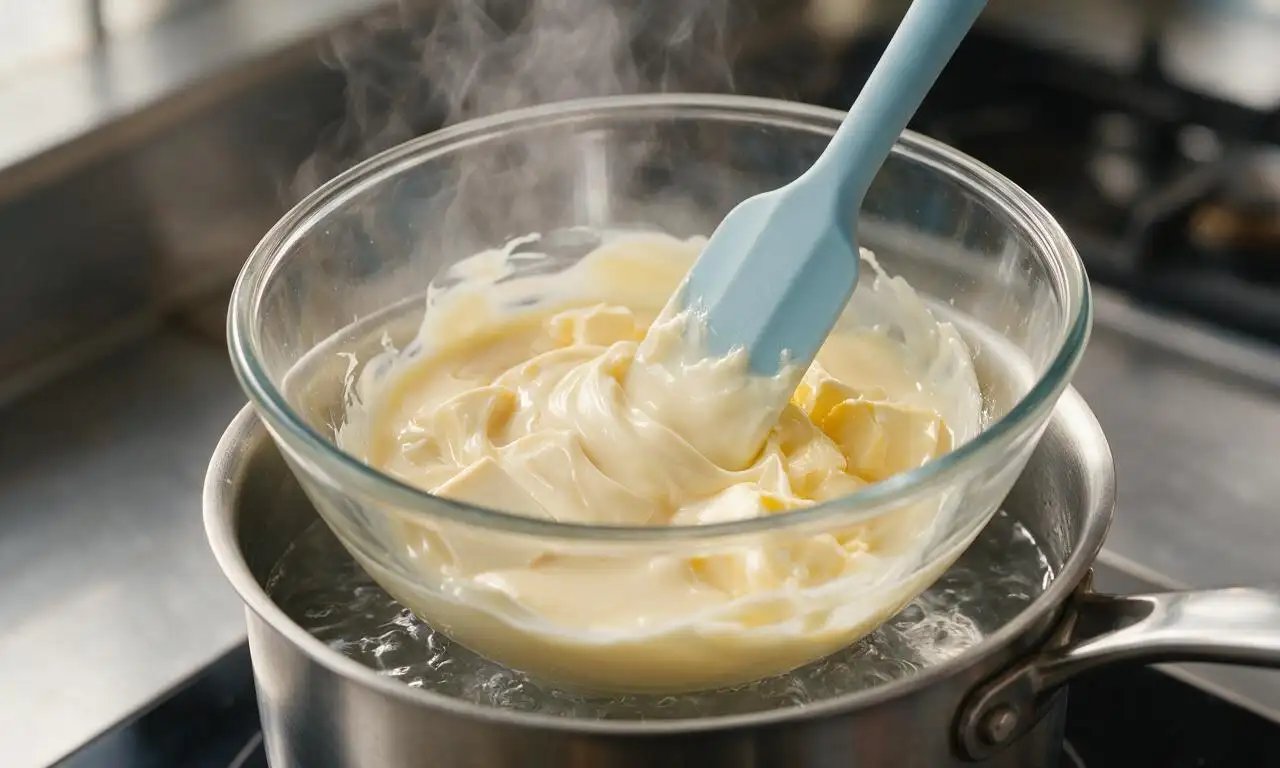
Combine 340g white chocolate chips, 397g sweetened condensed milk, and 57g unsalted butter in a medium heatproof bowl set over a saucepan of barely simmering water (double boiler setup, ensure no water touches the bowl bottom). Stir constantly with a silicone spatula over medium-low heat for 4-5 minutes, until all ingredients are fully melted and the mixture is completely smooth with no lumps. Remove the bowl from heat immediately.
Step 2
step2:Melt the fudge base
3

Season and divide base

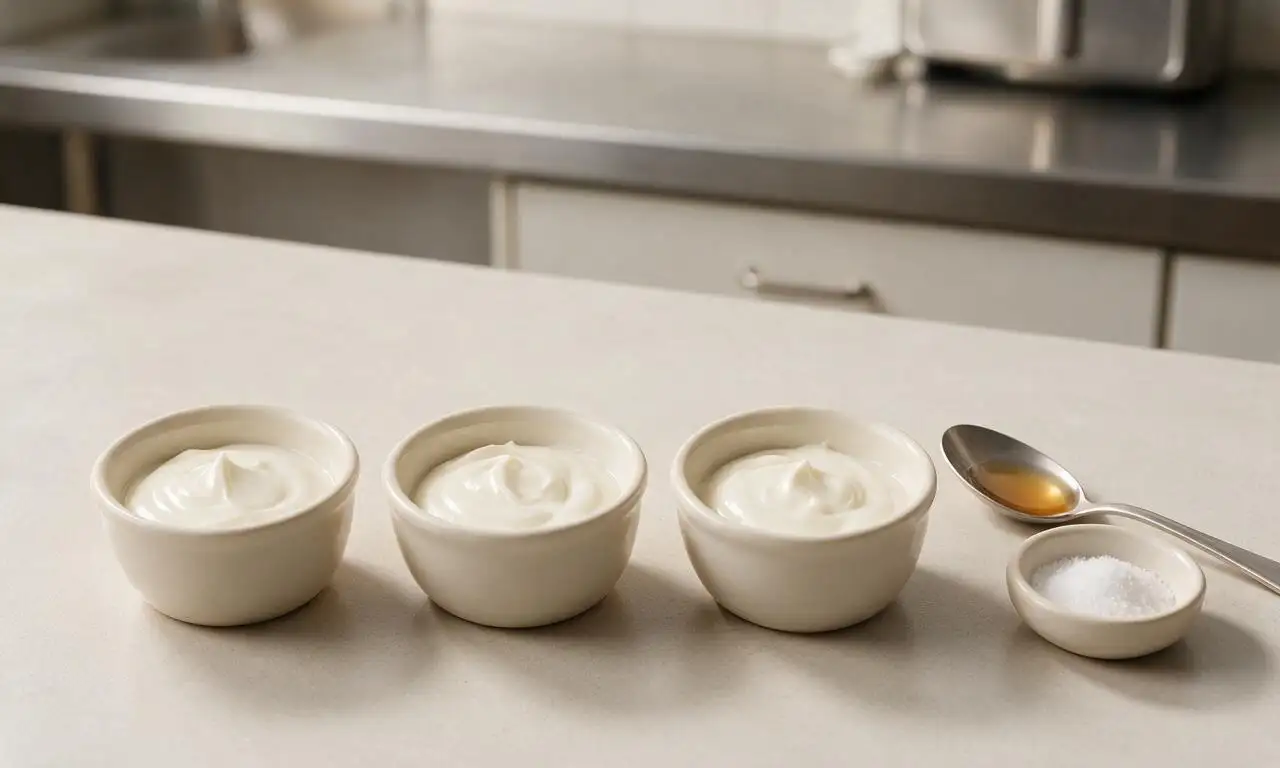
Stir 5ml (1 tsp) vanilla extract and 1g (¼ tsp) fine sea salt into the melted fudge base until fully incorporated. Evenly divide the warm fudge mixture between three separate small bowls, with roughly 1 ¼ cups (300ml) of mixture per bowl. Leave one bowl uncolored for the plain white top candy corn layer.
Step 3
step3:Season and divide base
4

Color the fudge layers

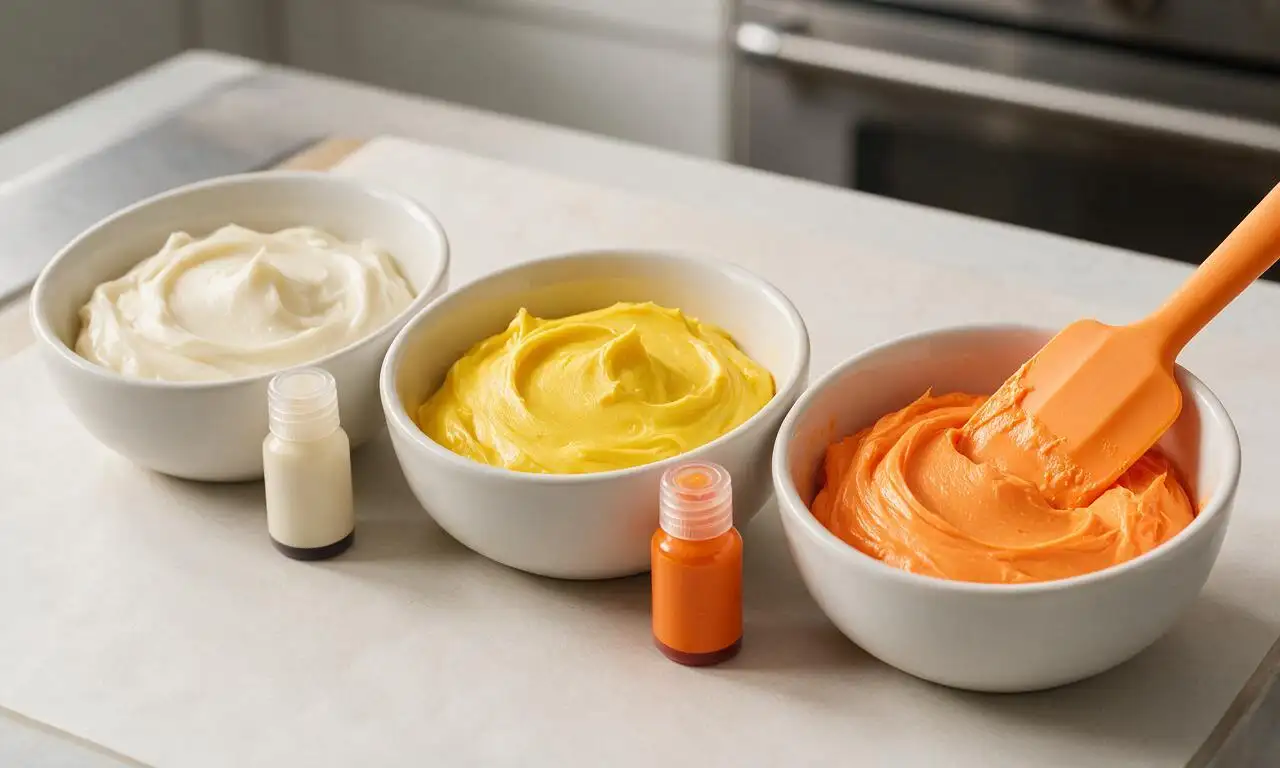
Add 3 drops of yellow gel food coloring to one bowl of fudge, stirring thoroughly until the color is uniform and bright with no streaks remaining. Add 3 drops of orange gel food coloring to the second bowl, stirring fully to create a consistent bright orange hue. Work quickly to avoid the fudge setting prematurely as you color.
Step 4
step4:Color the fudge layers
5

Assemble layered fudge

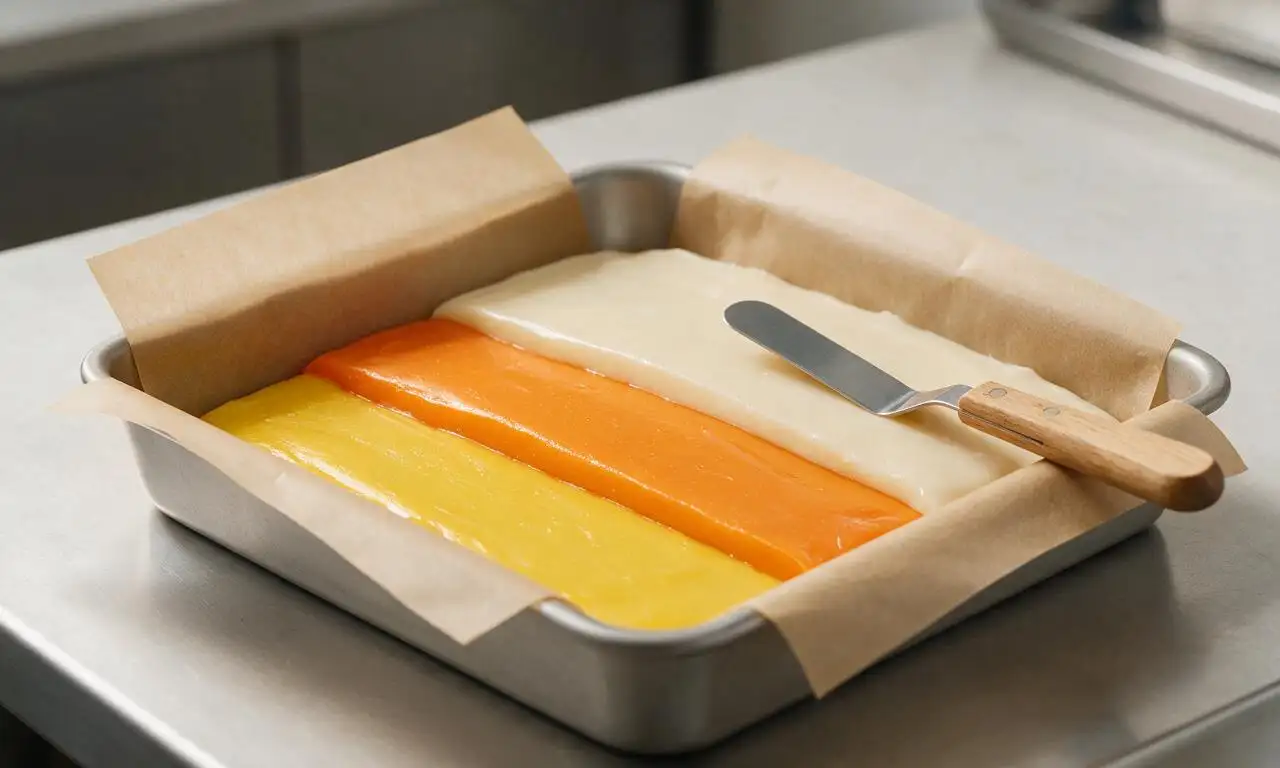
Pour the yellow fudge into the prepared lined pan, spreading it into an even, flat layer across the entire pan bottom with an offset spatula. Carefully pour the orange fudge directly over the yellow layer, spreading gently to avoid disturbing the yellow base and create a smooth even middle layer. Finally, pour the uncolored white fudge over the orange layer, spreading into a smooth top layer. Tap the pan firmly on the counter 2-3 times to release any trapped air bubbles.
Step 5
step5:Assemble layered fudge
6

Garnish and chill fudge

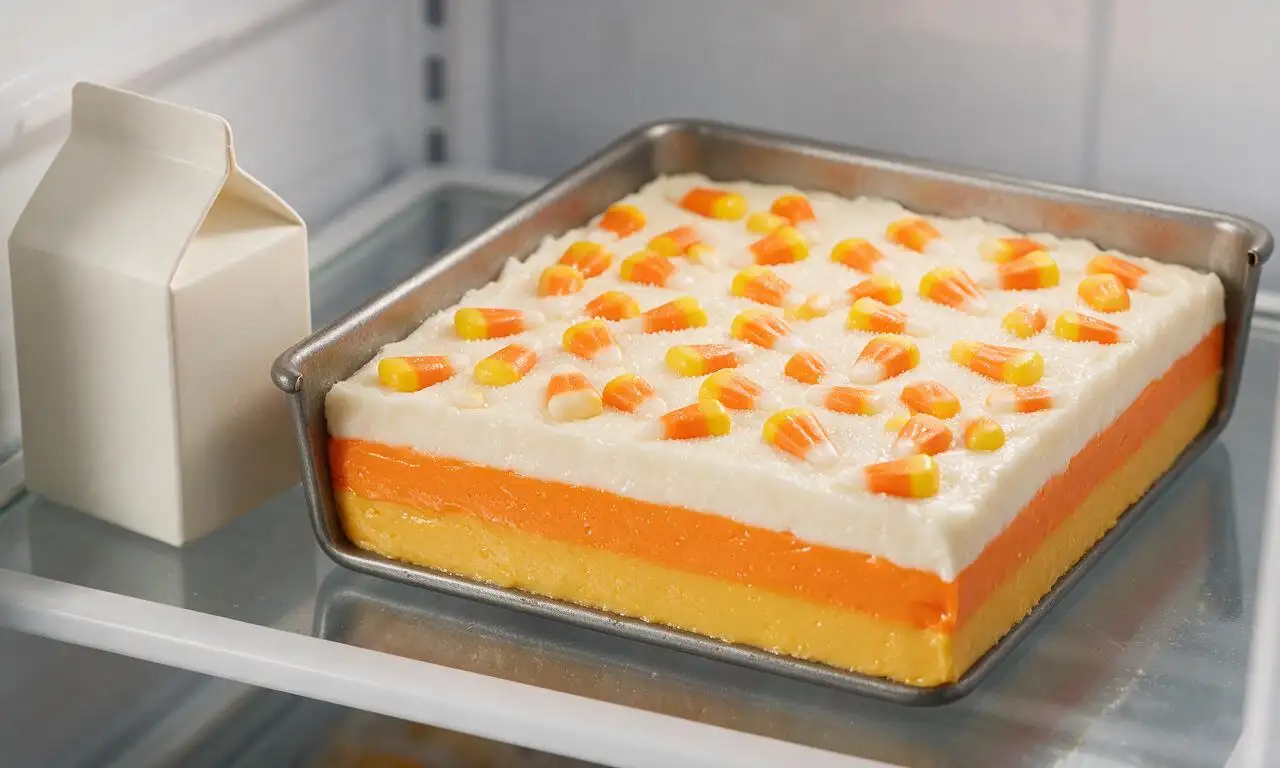
Evenly scatter 180g (1 cup) of candy corn across the top of the white fudge layer, pressing each piece gently into the surface so it adheres and does not fall off after setting. Place the uncovered pan in the refrigerator to chill for 2 full hours, until the fudge is completely firm to the touch and does not indent when pressed lightly with a finger.
Step 6
step6:Garnish and chill fudge
7

Cut and serve fudge

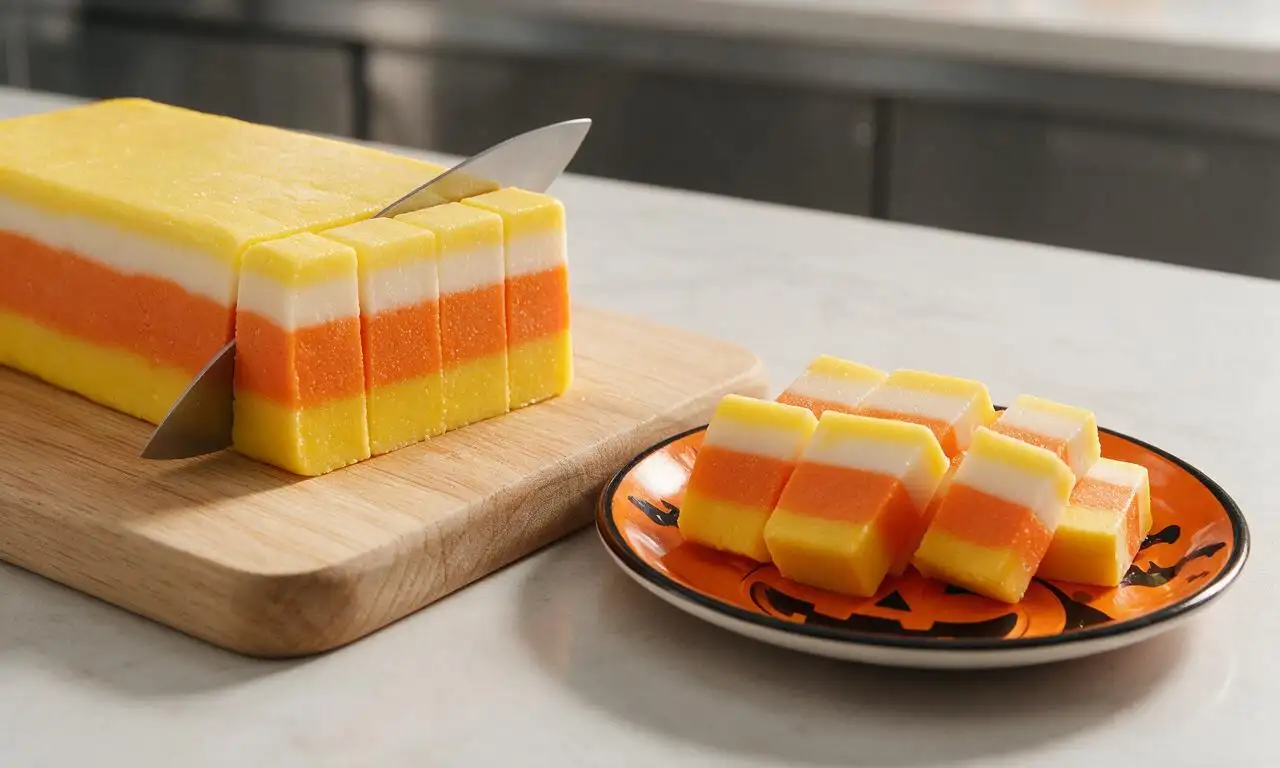
Once fully set, use the parchment paper overhangs to lift the entire block of fudge out of the pan and transfer it to a cutting board. Peel the parchment away from the sides, then use a sharp knife heated under hot water and wiped dry to cut the fudge into 16 equal 2-inch (5cm) square pieces. Serve chilled or at room temperature.
Step 7
step7:Cut and serve fudge

Tips

1.Use gel food coloring instead of liquid food coloring, as liquid varieties can thin the fudge base or cause white chocolate to seize, resulting in a grainy, uneven texture.
2.Do not overheat the fudge base: keep the double boiler water at a gentle simmer (not a rolling boil) and remove the bowl from heat as soon as the mixture is fully smooth, as high heat will turn white chocolate lumpy and grainy.
3.For clean, sharp layer lines when serving, heat your knife blade under hot running water, wipe it completely dry, and wipe the blade clean between every cut to prevent fudge from smearing across layers.


✨ You May Also Like

Desserts & Baking
🍜 Italy

Creamy, coffee-kissed classic Northern Italian no-bake dessert, with layers of rum-spiked mascarpone cream, soft ladyfingers, and a rich cocoa dusting.

⏱️ 4 hours 3Desserts & Baking ★ 4.7
Desserts & Baking
🍜 France

Flaky, shatteringly crisp, buttery French croissants with golden exteriors and soft, airy layered interiors, perfect for pairing with coffee for a special morning treat.

⏱️ 12 hours Desserts & Baking ★ 4.5
Desserts & Baking
🍜 United States

Warm, spiced baked apples topped with a fluffy golden biscuit crust, this cozy dessert pairs perfectly with vanilla ice cream for cool-weather comfort.

⏱️ 55 minuteDesserts & Baking ★ 4.6
Desserts & Baking
🍜 United States

A star-spangled classic American blueberry pie with buttery flaky crust and bright sweet-tart filling, perfect for summer patriotic gatherings.

⏱️ 1 hour 25Desserts & Baking ★ 4.7
Desserts & Baking
🍜 United States

A beloved no-bake regional Maine candy with a chewy coconut-potato center coated in rich dark chocolate, a New England holiday staple since the 1870s.

⏱️ 2 hours 3Desserts & Baking ★ 4.8
Desserts & Baking
🍜 France

Luxuriously creamy, floral frozen custard made with aromatic Tahitian vanilla beans, boasting a smooth, rich texture that melts slowly on the tongue.

⏱️ 3 hours 3Desserts & Baking ★ 4.5

Candy Corn Fudge:Frequently Asked Questions

1.Do I need an oven to make candy corn fudge? ▾
Not at all! This is a fully no-bake recipe, so you won’t tie up oven space during busy Halloween party prep. You can melt the base ingredients either on the stovetop over low heat or in short microwave bursts, then just chill the layered fudge in the fridge until set, no baking required.
2.Why does my fudge turn out grainy instead of silky smooth? ▾
Grainy fudge almost always comes from overheating white chocolate or getting even a tiny drop of water in your melting mixture. Use low, steady heat when melting chips with condensed milk and butter, stir gently, and avoid scraping crusty, dried bits from the pan edge into your smooth base to keep texture perfectly creamy.
3.How do I get three distinct, clean candy corn layers without them mixing together? ▾
Let the first (white) layer chill in the pan for 15 to 20 minutes until it’s just set to the touch before adding the orange layer, then repeat that quick chill step before adding the final yellow layer. Pour each new layer slowly over the back of a spoon to disperse liquid gently instead of pouring directly onto set fudge, which prevents digging and mixing.
4.What should I use to color the orange and yellow fudge layers? ▾
Reach for gel food coloring, not liquid water-based coloring, for the best results. Liquid coloring thins the fudge base and can cause grainy texture or separated layers. Add 2 to 3 drops of orange gel to your second fudge portion, and 2 to 3 drops of yellow gel to the third, stirring gently just until evenly colored before pouring.
5.Can I make this fudge ahead of time for a Halloween party? ▾
Absolutely! This fudge stores beautifully for up to 2 weeks in an airtight container in the fridge, or up to 3 months in the freezer. If making ahead, wait to cut it into squares right before serving, and keep it chilled until party time to prevent layers from softening and bleeding together in warm room temperatures.
6.What size pan works best for thick, classic candy corn fudge slices? ▾
An 8x8-inch square baking pan lined with overhanging parchment paper is ideal for this recipe. It yields fudge pieces that are roughly 1 inch thick, matching the hearty, bite-sized feel of classic candy corn, and the overhanging parchment makes it easy to lift the whole block out for clean, even cuts without sticking.
7.Can I use candy corn flavored extract instead of plain vanilla for extra theme flair? ▾
You can swap ¼ teaspoon of the pure vanilla for candy corn flavor extract if you want that nostalgic, honey-forward candy corn taste, but don’t replace all the vanilla. Too much candy corn extract can give the fudge a strong, artificial aftertaste, so stick to that small ratio to keep the creamy, balanced vanilla base people love.
8.Why are my fudge layers separating when I go to cut it? ▾
Layer separation usually happens if you let a previous layer chill for too long (over 30 minutes) before adding the next, so the surface gets too firm and cold to adhere properly. Aim for a just-set, slightly tacky surface when adding a new layer, and tap the pan gently on the counter after pouring each layer to eliminate air gaps and help layers bond.
9.Can I substitute regular milk or evaporated milk for sweetened condensed milk? ▾
No, those swaps won’t work for this recipe. Sweetened condensed milk is thick, high-sugar, and formulated to create that firm, creamy no-cook fudge texture without boiling sugar to the soft-ball stage. Evaporated or regular milk is too thin and lacks the right sugar ratio, leading to runny, permanently unset fudge.
10.How long do I need to chill the fudge before it’s ready to cut? ▾
After pouring the final yellow layer, chill the whole pan in the refrigerator for a minimum of 4 hours, or ideally overnight, until the entire block is completely firm to the touch all the way through. Don’t try to cut it early—soft, under-chilled fudge will squish, tear, or have messy, uneven edges that ruin the classic candy corn look.
11.Can I mix actual candy corn pieces into the fudge for extra flavor? ▾
You can stir a handful of chopped mini candy corn pieces into the orange layer if you want extra texture and theme flair, but don’t add too many. Whole candy corn pieces get tough and chewy when chilled in fudge, and their high sugar content can cause localized grainy spots if mixed throughout the entire batch.
12.My white chocolate seized up while melting—can I fix it, or do I have to start over? ▾
You can absolutely fix seized white chocolate! Remove it from heat immediately, then stir in 1 teaspoon of warm, melted unsalted butter at a time, stirring gently between additions, until the mixture smooths out again. Never add water, as that will make seizing worse, and stick to low heat next time to avoid overheating delicate white chocolate.
13.Do I have to use unsalted butter, or can I use salted butter instead? ▾
You can use salted butter if that’s what you have on hand, just leave out the added fine sea salt from the recipe to keep the flavor balanced. Unsalted butter lets you control the exact salt level to cut the cloying sweetness of white chocolate and condensed milk, but the swap works seamlessly as long as you adjust the added salt.
14.How should I store leftover candy corn fudge? ▾
Store leftover fudge in an airtight container, layered between sheets of parchment paper to prevent squares from sticking together, in the refrigerator for up to 2 weeks. You can leave it out at cool room temperature (under 70°F) for up to 4 hours during events, but don’t leave it out longer, as white chocolate will soften and layers may start to bleed.
15.Can I make this fudge in the microwave instead of on the stovetop? ▾
Definitely! For the microwave method, heat white chocolate chips, condensed milk, and butter in a microwave-safe bowl in 30-second bursts, stirring well between each burst, until the mixture is fully smooth (usually 2 to 3 minutes total). Don’t heat it on full power for long stretches, as white chocolate burns very quickly in the microwave and will turn grainy.
16.Can I adapt this recipe to be dairy-free for guests with dietary restrictions? ▾
You can easily make a dairy-free version by swapping standard white chocolate chips for dairy-free white chocolate made with cocoa butter, using canned full-fat sweetened condensed coconut milk instead of dairy condensed milk, and swapping unsalted butter for a vegan butter stick. The texture will be just as creamy, and the iconic three-layer candy corn look stays identical for all guests to enjoy.

Comments (8)

2 days ago

OMG this candy corn fudge is such a game changer! I brought it to my office Halloween potluck yesterday and every single person asked for the recipe. It was so easy to throw together too, I almost couldn’t believe how little active time it needed. 10/10 will be making this every October from now on!

yesterday

Wait did you add extra candy corn on top? I’m making this for my kid’s class party tomorrow and wondering if that makes it look extra festive!

yesterday

So glad it was a hit at your potluck, Molly! Adding extra candy corn on top (as HalloweenBakeQueen mentioned) is such a fun touch if you want to make it pop for a class party—just press them in right after you pour the fudge into the pan before chilling!

3 days ago

Made this with my 7 year old daughter over the weekend and she had a blast helping stir and sprinkle the candy corn pieces. We’re not usually big fudge people because most recipes are super fussy, but this was totally doable even for a couple of amateur bakers like us. My kid loved it so much she snuck an extra piece after dinner last night lmao.

2 days ago

Love that you got to make this with your daughter! Those kitchen memories with kids are the best part of easy, fun holiday recipes like this. So happy you two enjoyed it!

1 week ago

Y’all, I messed up the first batch because I tried to rush the chill time and stuck it in the freezer instead of the fridge 😂 it got all crumbly when I tried to cut it. Second batch I followed the directions exactly and let it chill the full 2 hours, and it turned out perfect! So creamy and the candy corn adds that perfect nostalgic Halloween flavor. Only knocking a star because I wish the note about not freezing it was a little more front and center, I totally missed it the first read through!

5 days ago

Oh thank you for the heads up about not rushing the chill time! I’m the worst about trying to cut corners on no-bake treats, I would’ve done the exact same freezer thing lol.

3 days ago

So glad your second batch turned out great! Freezer fudge can get that crumbly texture super fast, so sticking to fridge chill time is definitely key for that smooth, creamy cut.

2 weeks ago

This is way easier than the old fudge recipe my grandma used to make that required a candy thermometer and constant stirring for like 45 minutes. Don’t get me wrong, grandma’s fudge is great, but for a quick Halloween treat that tastes incredible? This can’t be beaten. Already shared the link to my friend group chat.

1 week ago

Made this for our neighborhood block party last weekend and it was gone in literally 10 minutes. I added a little orange food coloring to the white chocolate layer to make the candy corn colors pop more, and it looked so professional people thought I bought it from a local bakery! Only note is that it gets super soft if you leave it out in the sun for too long, so keep it in a cooler if you’re serving it outside.

5 days ago

That orange food coloring hack is brilliant, Sara! Thanks for the tip about keeping it cool for outdoor events too – that’s such a helpful note for anyone making this for fall festivals or block parties in warm weather.

yesterday

My dorm floor did a Halloween movie night last night and I made this fudge to bring. I don’t have a fancy kitchen at all, just a mini fridge and a microwave in the common area, and it still turned out amazing! All my floor mates were shocked I made it myself instead of ordering it. 10/10 for tiny kitchen bakers.

2 hours ago

Wait no way, I’m in a dorm too and have been looking for easy no-oven recipes! I’m definitely making this for our next floor event, thanks for the inspo!

3 days ago

I’m a professional baker and I was looking for a quick, fun treat to add to my Halloween dessert pop-up menu. I tested this recipe last week and it’s so solid – consistent, fast, and customers are going crazy for the nostalgic candy corn twist. I did add a tiny pinch of flaky sea salt on top to cut the sweetness, and that takes it to the next level if anyone wants a little extra depth!

2 days ago

Oh the flaky sea salt addition sounds insane! I put sea salt on literally every sweet thing I make, I can’t believe I didn’t think to do that with this fudge. Thanks for the tip!

yesterday

That flaky sea salt trick is genius, Liz! We love a sweet-salty balance, that’s such a perfect upgrade for people who prefer less cloying desserts. So stoked this recipe worked for your pop-up!

just now

Just pulled my batch out to cut and it looks perfect! I used the Halloween themed candy corn with the little cocoa layers at the bottom instead of regular, and it adds such a fun chocolatey kick. Can’t wait to bring these to my sister’s costume party this weekend, I know everyone is gonna devour them.



