
Candy Corn Jello Shots (or Cups)
intro
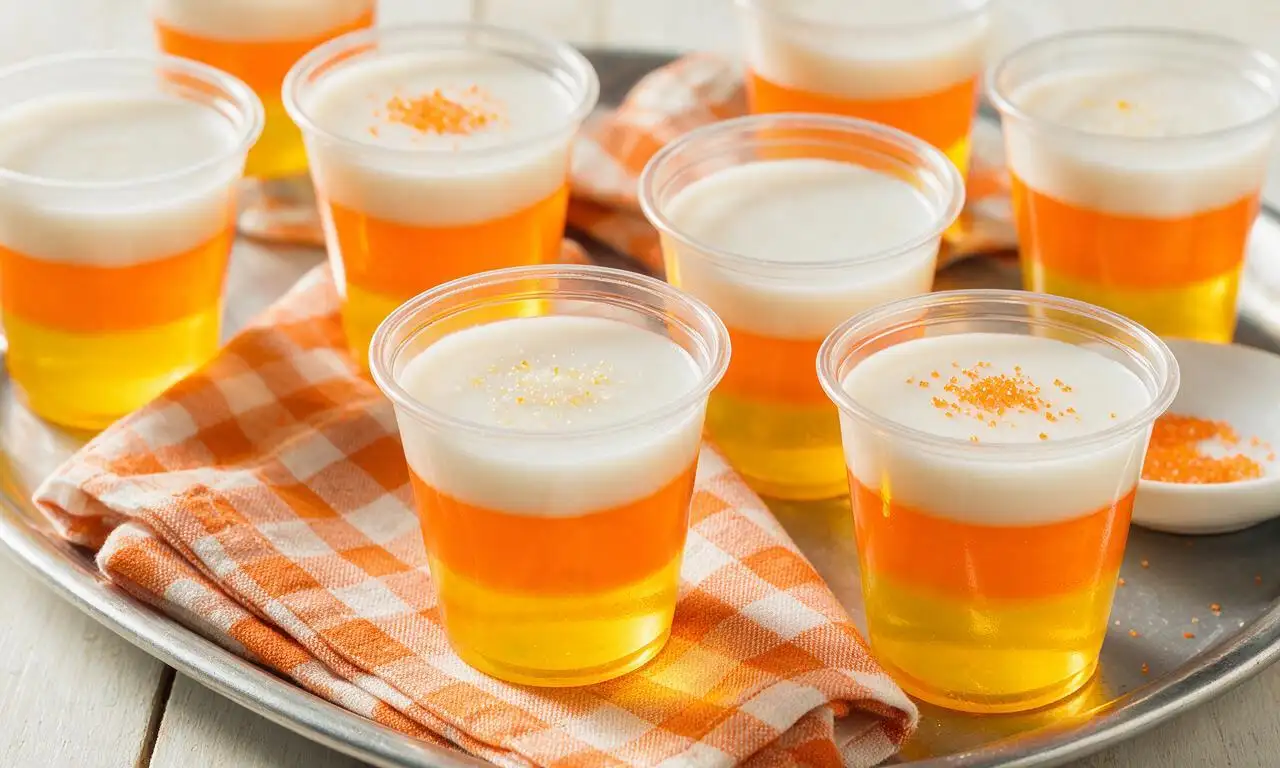
Festive tri-color layered treats modeled after classic candy corn, available as spiked shots or kid-friendly non-alcoholic cups, perfect for Halloween celebrations.
Ingredients
Steps
Prep serving cups
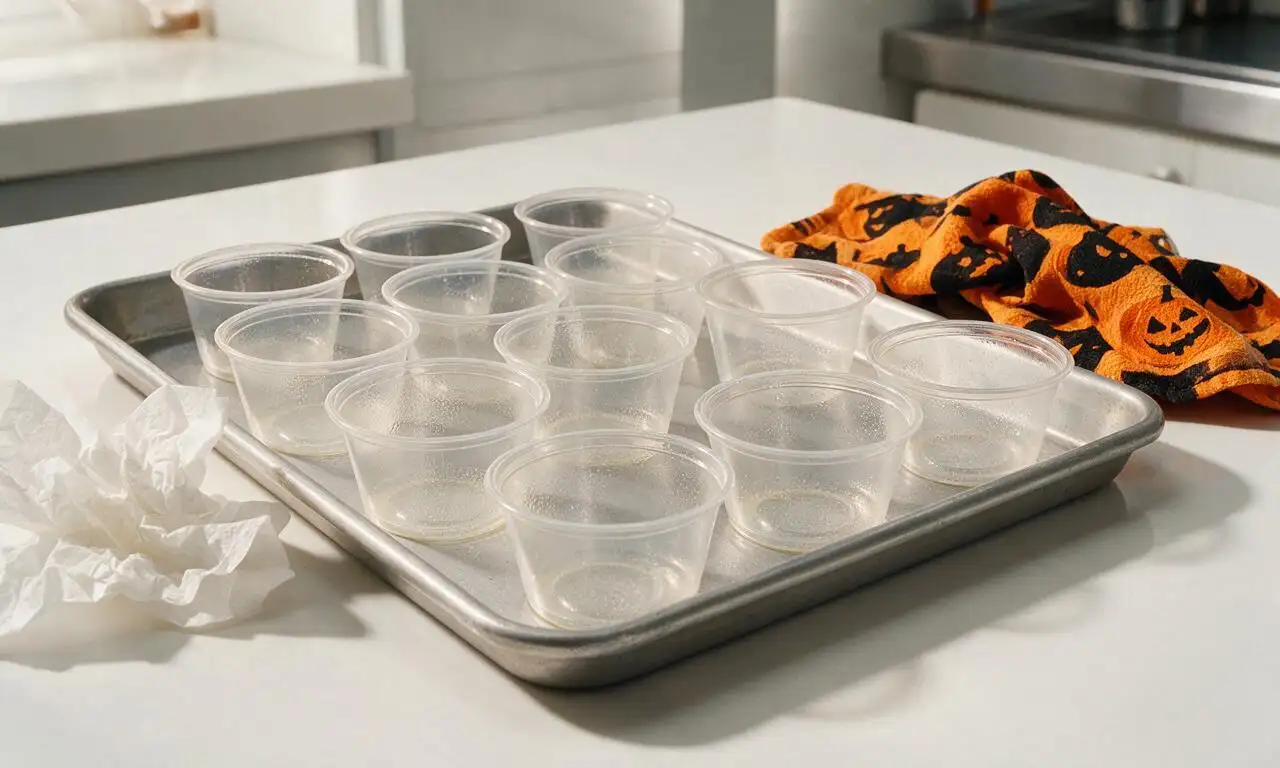
Arrange 12 clear 3oz (90ml) plastic shot cups on a small rimmed baking sheet for easy transport in and out of the fridge. Lightly coat the inside of each cup with a tiny amount of non-stick cooking spray, wiping any excess with a paper towel to avoid visible greasy residue. Place the tray in the refrigerator to chill for 5 minutes while you prep the first gelatin layer.
Mix yellow base layer
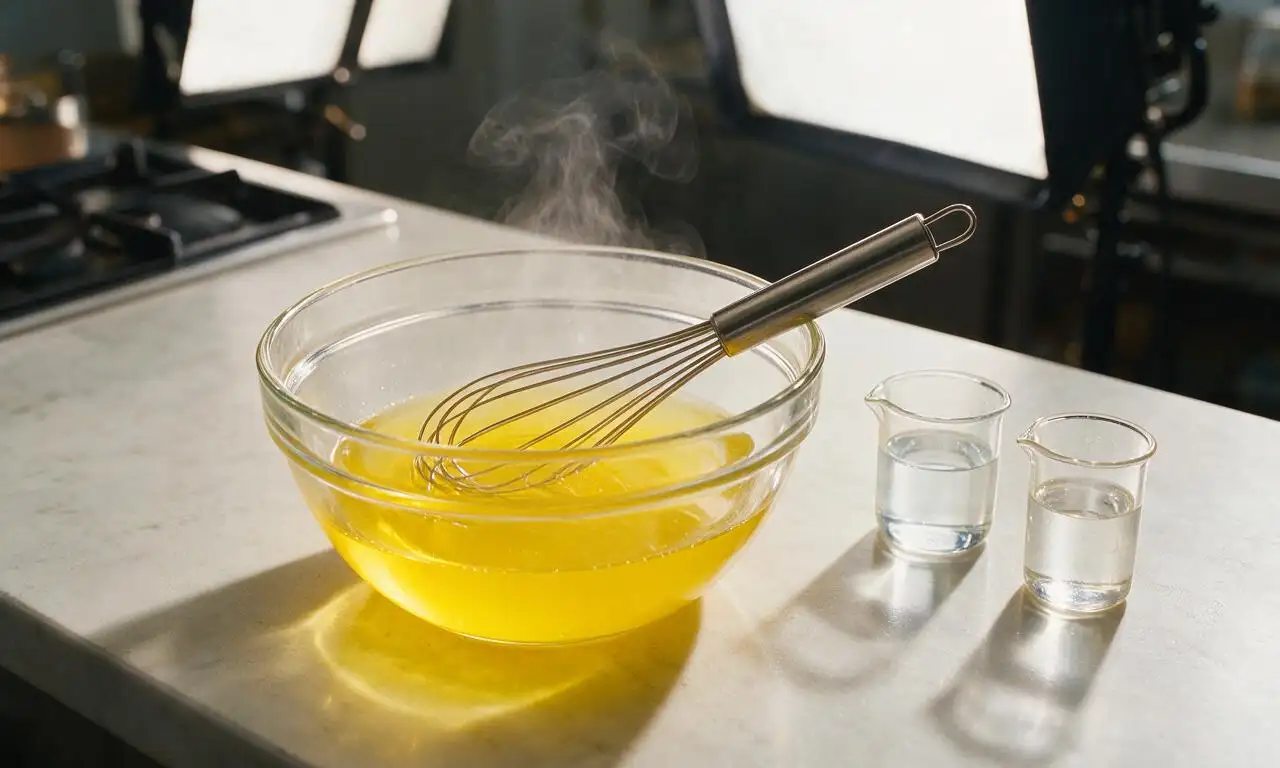
Pour 85g (3oz box) lemon-flavored yellow gelatin mix into a medium heatproof glass bowl. Add 237ml (1 cup) of boiling water, stir continuously with a wire whisk for 2 full minutes until all gelatin powder is completely dissolved with no grainy bits remaining. Stir in 177ml (3/4 cup) of cold liquid: for spiked shots, use 89ml (1/3 cup) cold water + 89ml (1/3 cup) 80-proof vodka; for non-alcoholic kid-friendly cups, use the full 177ml (3/4 cup) cold water. Let the mixture cool for 10 minutes at room temperature to avoid melting the plastic cups when poured.
Pour and set yellow layer
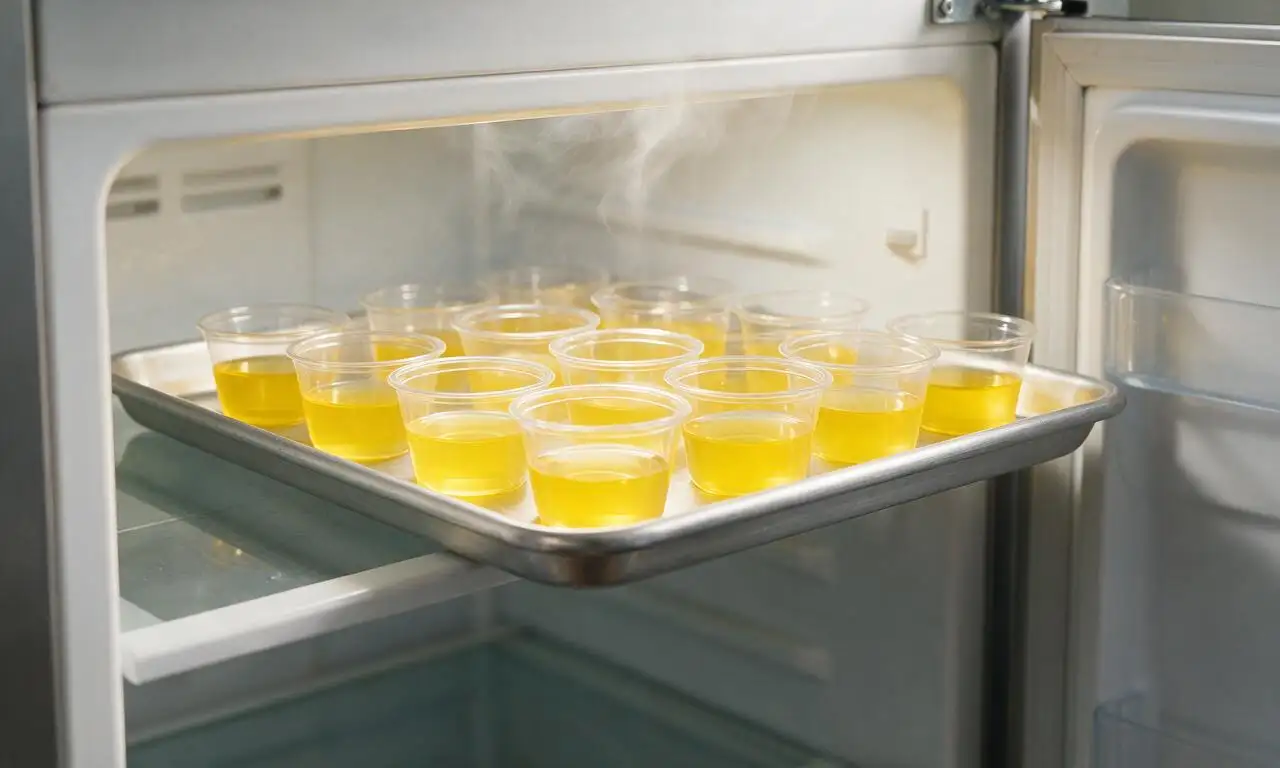
Remove the chilled cup tray from the refrigerator. Pour exactly 2 tbsp (30ml) of the cooled yellow gelatin mixture into each cup, dividing evenly across all 12 servings. Carefully return the tray to a level refrigerator shelf, and chill for 60 minutes until the layer is completely firm to the touch—do not proceed to the next layer until the surface does not indent when lightly pressed with a finger, as soft layers will mix when the next layer is added.
Add orange middle layer
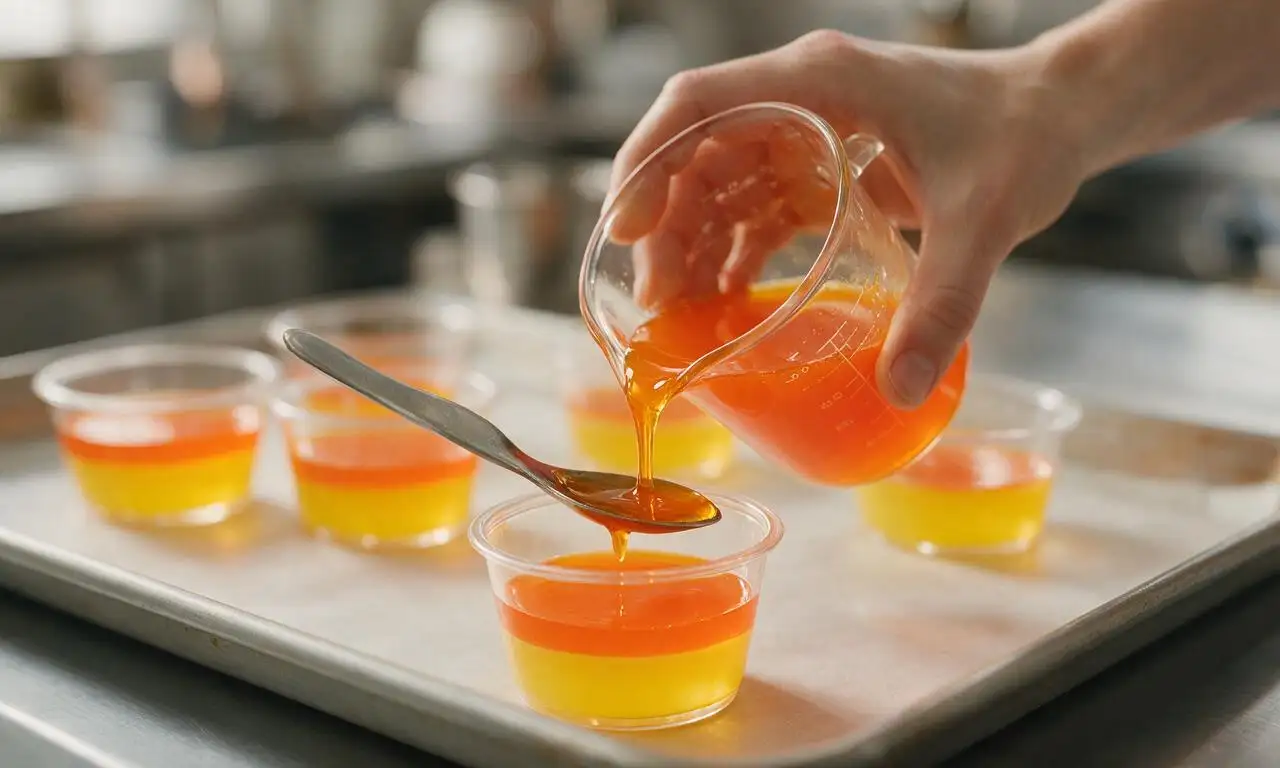
Once the yellow layer is fully set, prepare the orange middle layer: pour 85g (3oz box) orange-flavored gelatin mix into a clean heatproof bowl, add 237ml (1 cup) boiling water, whisk continuously for 2 minutes until fully dissolved. Stir in 177ml (3/4 cup) of cold liquid (using the same vodka/water split as the yellow layer for shots, or all cold water for non-alcoholic cups), then let the mixture cool for 10 minutes to room temperature. Pour 2 tbsp (30ml) of the orange mixture over the back of a metal spoon held just above the set yellow layer in each cup, to gently distribute the liquid without disturbing or digging into the yellow base. Return the tray to the fridge and chill for 60 minutes until the orange layer is fully firm to the touch.
Prep white top layer
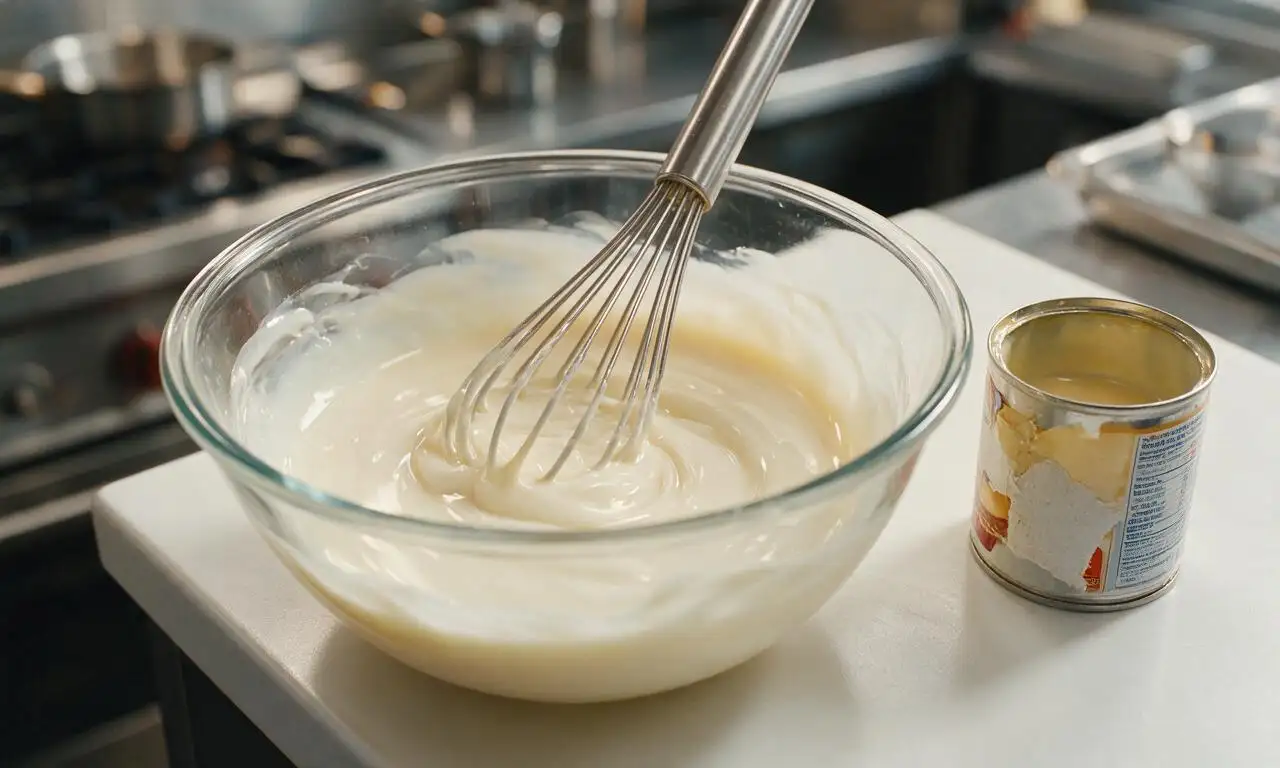
When the orange layer is fully set, make the white top layer mimicking the white tip of a candy corn: add 7g (1 standard packet, ~1 tbsp) unflavored gelatin powder to a clean heatproof bowl, pour in 237ml (1 cup) boiling water, whisk for 2 minutes until the gelatin is fully dissolved with no lumps. Stir in 177ml (3/4 cup, ~230g) sweetened condensed milk, mixing until completely smooth and evenly combined. Let the mixture cool for 15 minutes at room temperature, stirring gently every 5 minutes to prevent a thick skin from forming on the surface.
Top, chill, and garnish
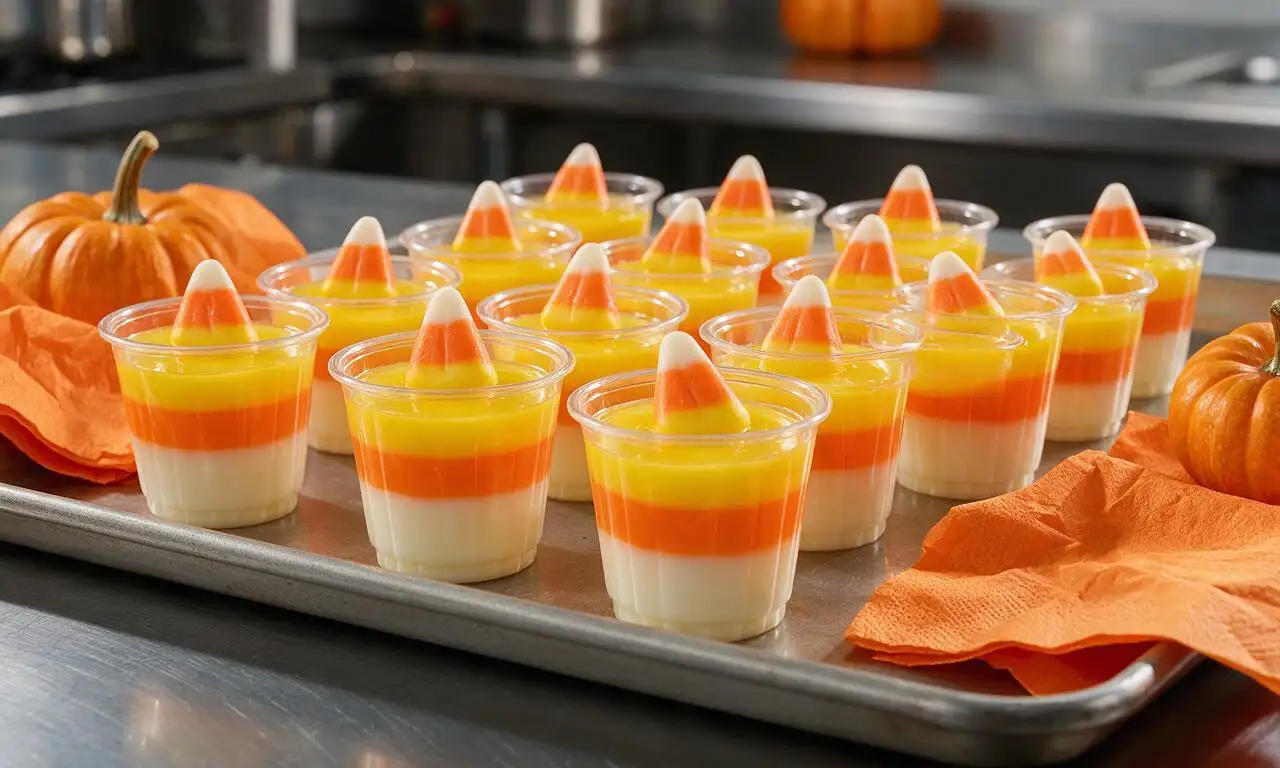
Pour 2 tbsp (30ml) of the cooled white gelatin mixture over the back of a metal spoon onto the set orange layer in each cup, dividing evenly across all servings. Return the tray to the refrigerator and chill for a final 90 minutes until all layers are completely firm, with no jiggling in the center of the cups when gently shaken. Right before serving, place one piece of candy corn on the top of each cup as a decorative garnish, if desired.
Tips
2.Do not add more than the recommended 178ml (3/4 cup) of 80-proof vodka to the recipe, as too much alcohol will prevent the gelatin from setting into a firm, spoonable texture.
3.These treats can be made up to 2 days in advance and stored covered in the refrigerator, but wait to add the candy corn garnish until right before serving, as the candy will bleed color and turn mushy if left on the cold jello for more than 2 hours.






OMG these were such a hit at my adult Halloween party last weekend! I did half alcoholic with vanilla vodka and half non-alcoholic for the teens who came, and every single cup was gone before 9pm. The layers look exactly like candy corn, people kept asking how I got them to set so perfectly. Total game changer for fall parties!
Made the non-alcoholic version for my kid’s 3rd grade fall class party and OH MY GOODNESS the kids went feral for them. I added a little candy corn piece on top as a garnish and they thought it was the coolest thing ever. So easy to throw together too, I didn’t even stress about making them the night before!
Solid recipe! I used coconut rum instead of vodka for the alcoholic version and it was chef’s kiss. Only reason I’m not giving 5 stars is I wish the recipe noted how much each layer makes so I didn’t accidentally overpour the yellow layer first and run out of room for the orange and white. Still tasted amazing though, will make again.
Brought these to my office potluck yesterday and I swear half my team asked for the recipe before lunch was over. I did the non-alcoholic ones since we have a few folks who don’t drink, and even the self-proclaimed Jell-O haters went back for seconds. So cute and so tasty!
Made 60 of these for our fraternity Halloween mixer and they were gone in 20 minutes flat. Used whipped cream vodka for the white layer and it tasted exactly like a candy corn, no weird artificial aftertaste like some jello shot recipes have. 10/10, will be doubling the batch next time.
I am literally the worst when it comes to making anything that requires multiple steps, and even I nailed these! The instructions were so straightforward, I didn’t mess up the layers at all. Did the non-alcoholic version for movie night with my roommates and we all loved them, especially with a little whipped cream on top.
Just popped these in the fridge to set for my kid’s trunk or treat event tomorrow! The layers looked perfect going in, I can already tell they’re gonna be a hit. I skipped the alcohol obviously, added a little extra vanilla extract to the white layer to make it taste more like the candy corn creme flavor. Fingers crossed they turn out!
Cute idea, but I found the non-alcoholic version a little too sweet for my taste, even when I used unsweetened gelatin. My kids loved them so that’s a win, but next time I’ll probably cut the sugar a little bit in the yellow and orange layers. Also, mine took a little longer than 4 hours to fully set, so plan for extra chill time if your fridge runs a little warm.
I’ve been making jello shots for my annual Halloween party for 10 years and these are easily the most requested recipe I’ve ever used. People lose their minds over how on-theme they are, and the flavor is way better than the basic neon jello shots everyone else makes. Pro tip: use those little 2oz condiment cups with lids, they make transport and storage so much easier.
I swapped the regular gelatin for agar agar to make these vegan, and used coconut cream for the white layer, and they turned out so cute! The texture is a little firmer than regular jello, but everyone at my vegan friend group potluck thought they were adorable and tasty. Just wanted to leave this swap for any other vegan folks looking to make these!
Made the alcoholic version for a spooky date night in with my partner and we both agreed these are way better than any jello shots we had in college. The layers look so impressive, we even posted them to our Instagram stories and had 3 people ask for the link immediately. So easy, so fun, 10/10.
Wait why did I never think to make these for fall tailgates?? They’re portable, boozy, festive, and you don’t have to worry about them going bad sitting out for a couple hours (as long as it’s not 90 degrees out, obviously). I made a batch for the Bills tailgate last weekend and even the fans from the opposing team were asking for one.
So happy this recipe is super easy to adapt for allergies! I made the non-alcoholic version for my son’s class, swapped the regular milk in the white layer for oat milk for the kids with dairy allergies, and used dye-free gelatin for the kiddo with red dye sensitivities, and they turned out perfect. No one even noticed the swaps!
These give me such 70s retro party vibes and I’m obsessed. Made them for my annual classic costume party (we’re talking 60s/70s costumes only!) and they fit the vibe perfectly, even though they’re candy corn themed. Tasted amazing, looked super fun, zero complaints from the crew. Will be a yearly staple for sure.
Great recipe! I made a big batch of the non-alcoholic ones for weekend fall activities, and they held up great all week in the fridge. Only note is that the white layer separated a tiny bit when I used regular skim milk, next time I’ll use condensed milk like the recipe says instead of trying to be healthy, oops.
Made these for my girls’ Halloween movie marathon night and we ate almost the whole batch while watching Hocus Pocus. I did half with fireball for a little cinnamon kick in the orange layer and it was *chef’s kiss*—tasted exactly like those candy corn pumpkins everyone loves. 100% making these every year from now on.
As someone who doesn’t drink, I’m so used to Halloween parties only having alcoholic jello shots and nothing fun for the non-drinkers, so when I saw this recipe had a non-alcoholic version I knew I had to make it for my friend’s party. I brought them and all the other sober folks and pregnant mamas at the party were so excited to have a fun, festive treat that wasn’t just a bag of chips. Thank you for including the non-alcoholic option!