
canned hot dog chili
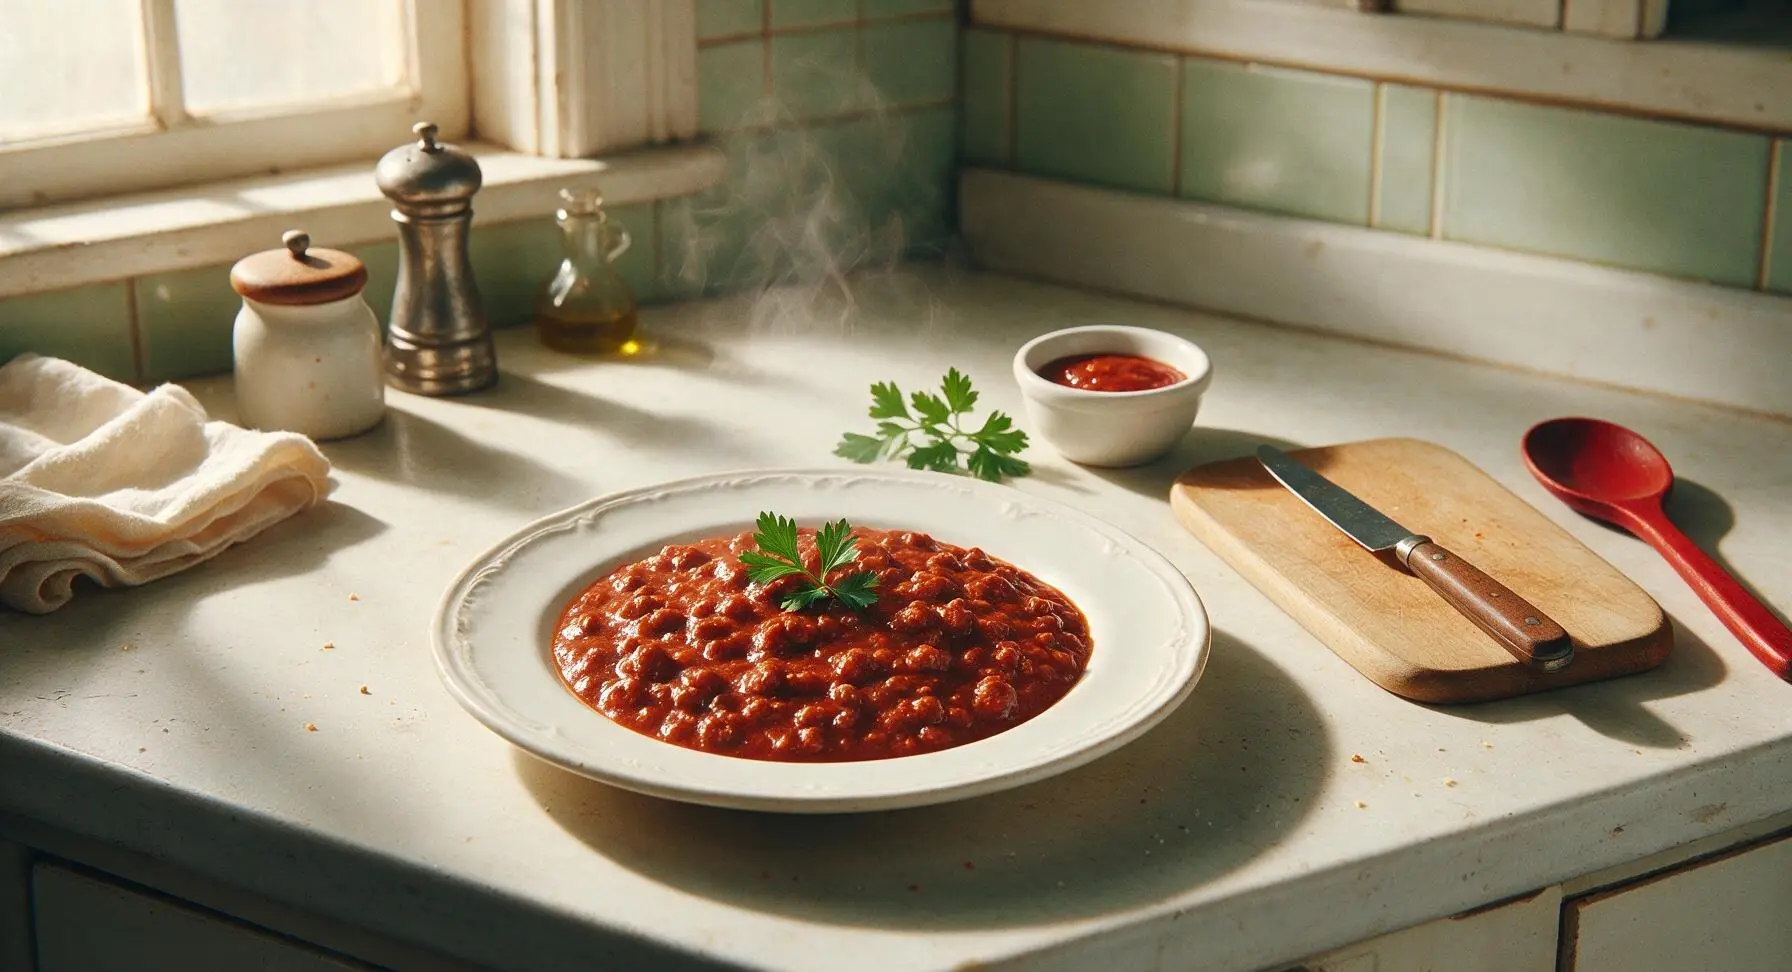
intro
Smooth, meaty, no-bean canned-style hot dog chili with iconic tangy, savory nostalgic ballpark flavor—perfect for topping grilled dogs, brats, or crispy fries at your next gathering.
Ingredients
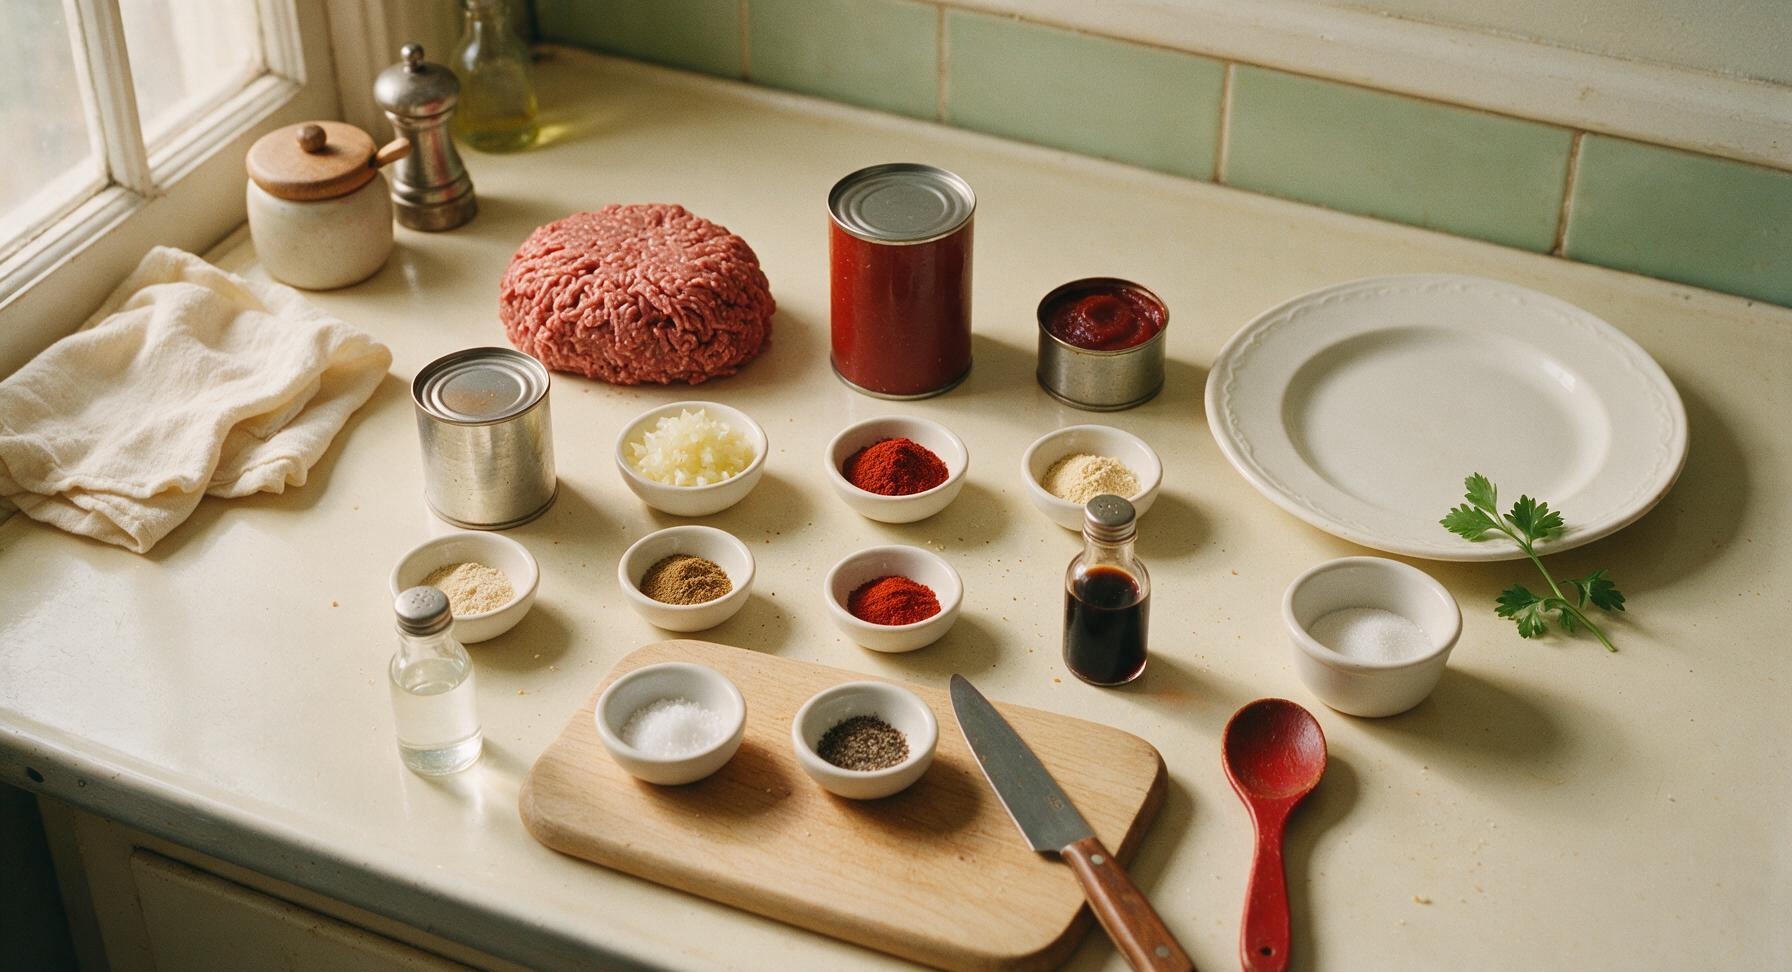
Steps
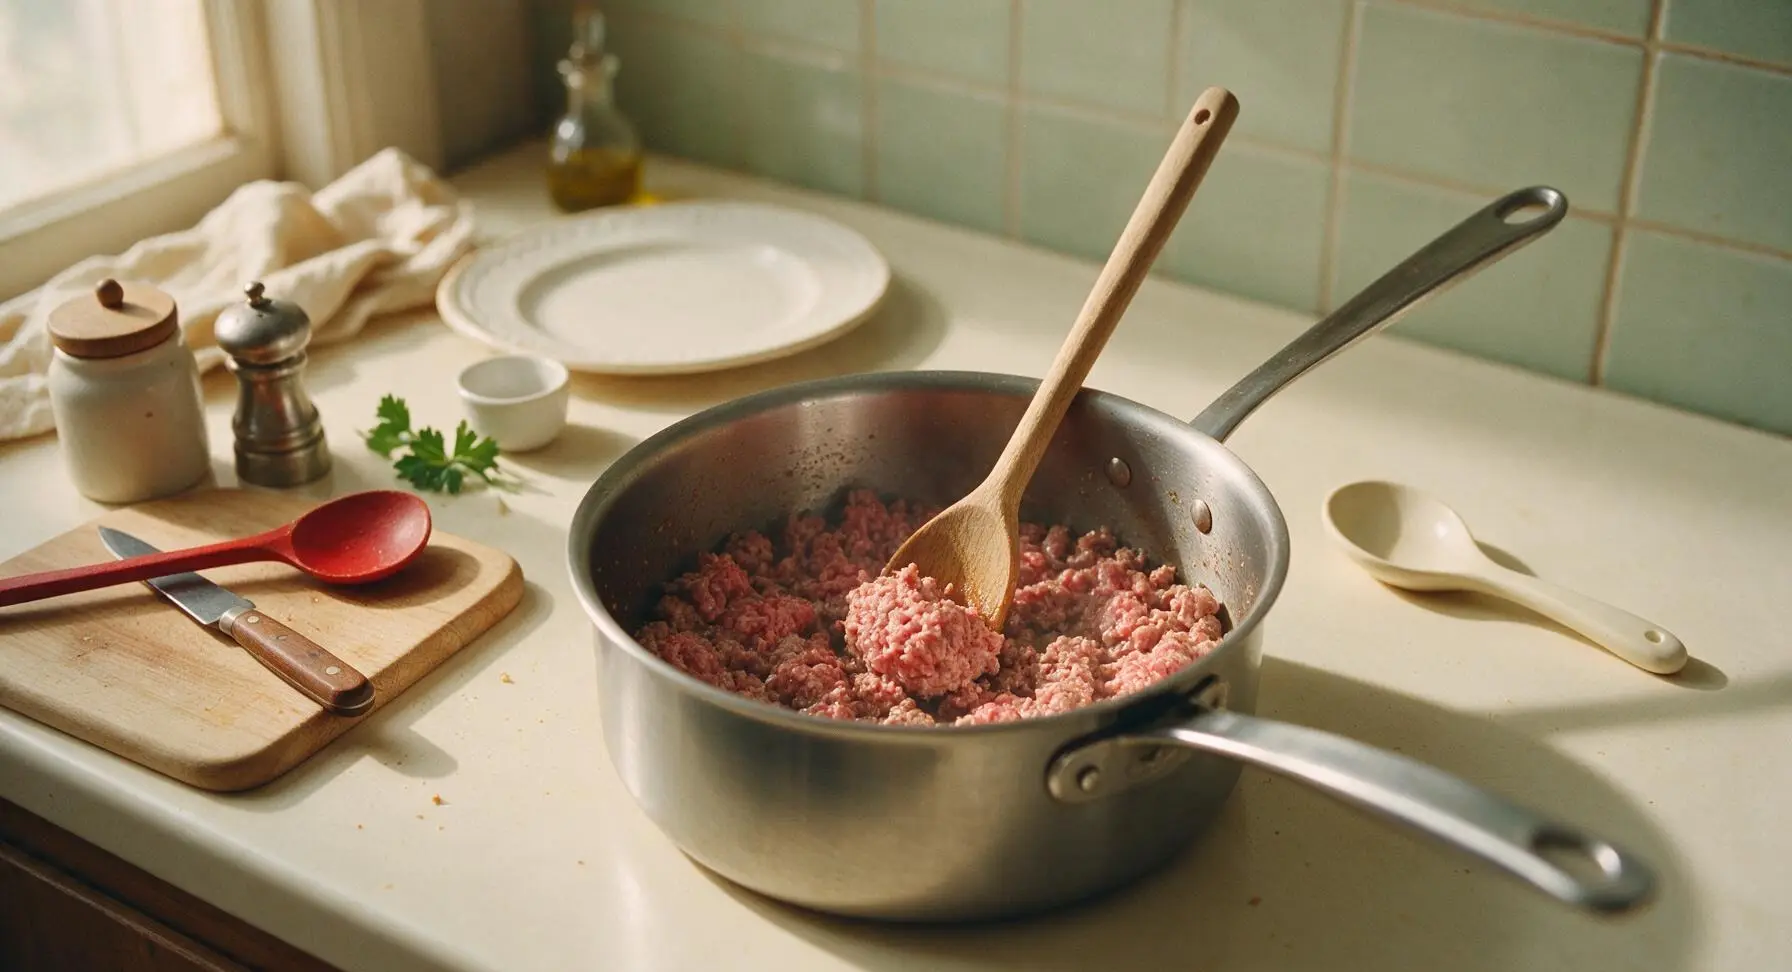
Brown the ground beef
Place the 3-quart brushed stainless steel saucepan in the center of the cook zone over medium heat (350°F). Add the 1lb 85/15 ground beef to the dry pan, breaking it into the finest possible crumbles with the honey beechwood spoon as it cooks. Cook for 5-7 minutes, until no pink remains and the beef is evenly browned. Do not drain the small amount of rendered fat, as it builds the classic rich chili flavor.
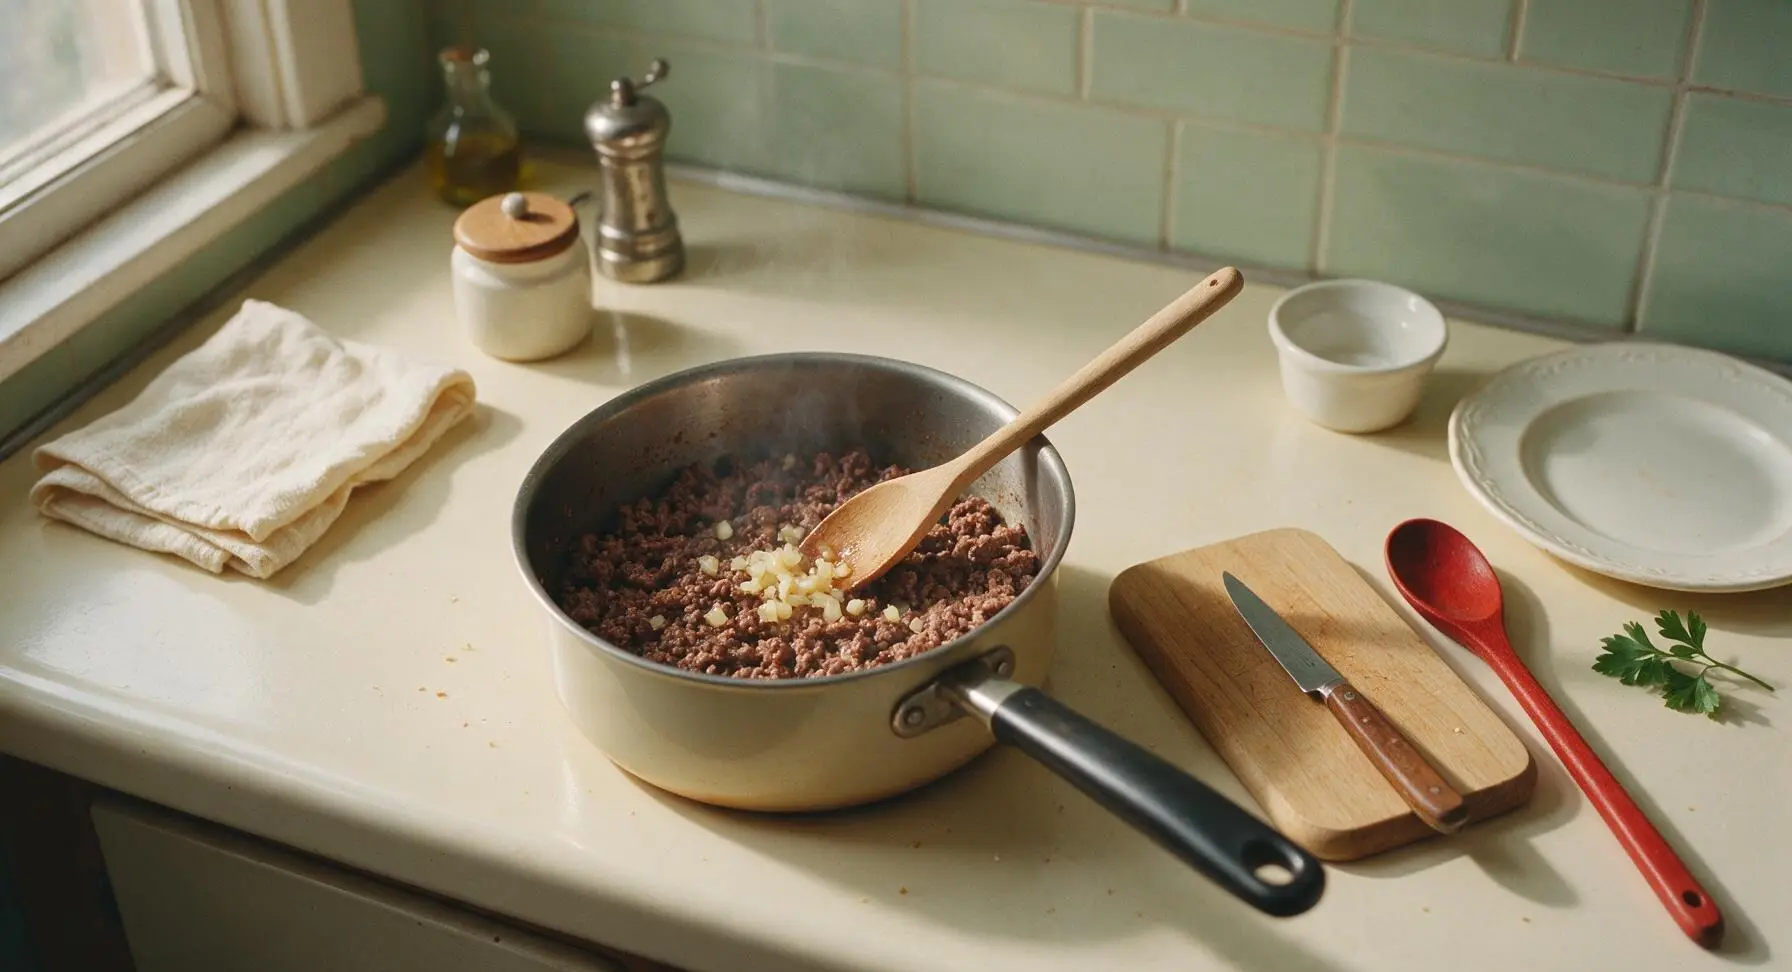
Sauté diced onion
Add the 2 tablespoons finely diced yellow onion to the browned beef in the saucepan. Stir continuously with the beechwood spoon for 2 minutes, until the onion softens and turns translucent, releasing a sweet savory aroma. Do not let the onion brown or crisp, as this will create an overly chunky texture inconsistent with smooth canned chili.
Stir in tomato bases
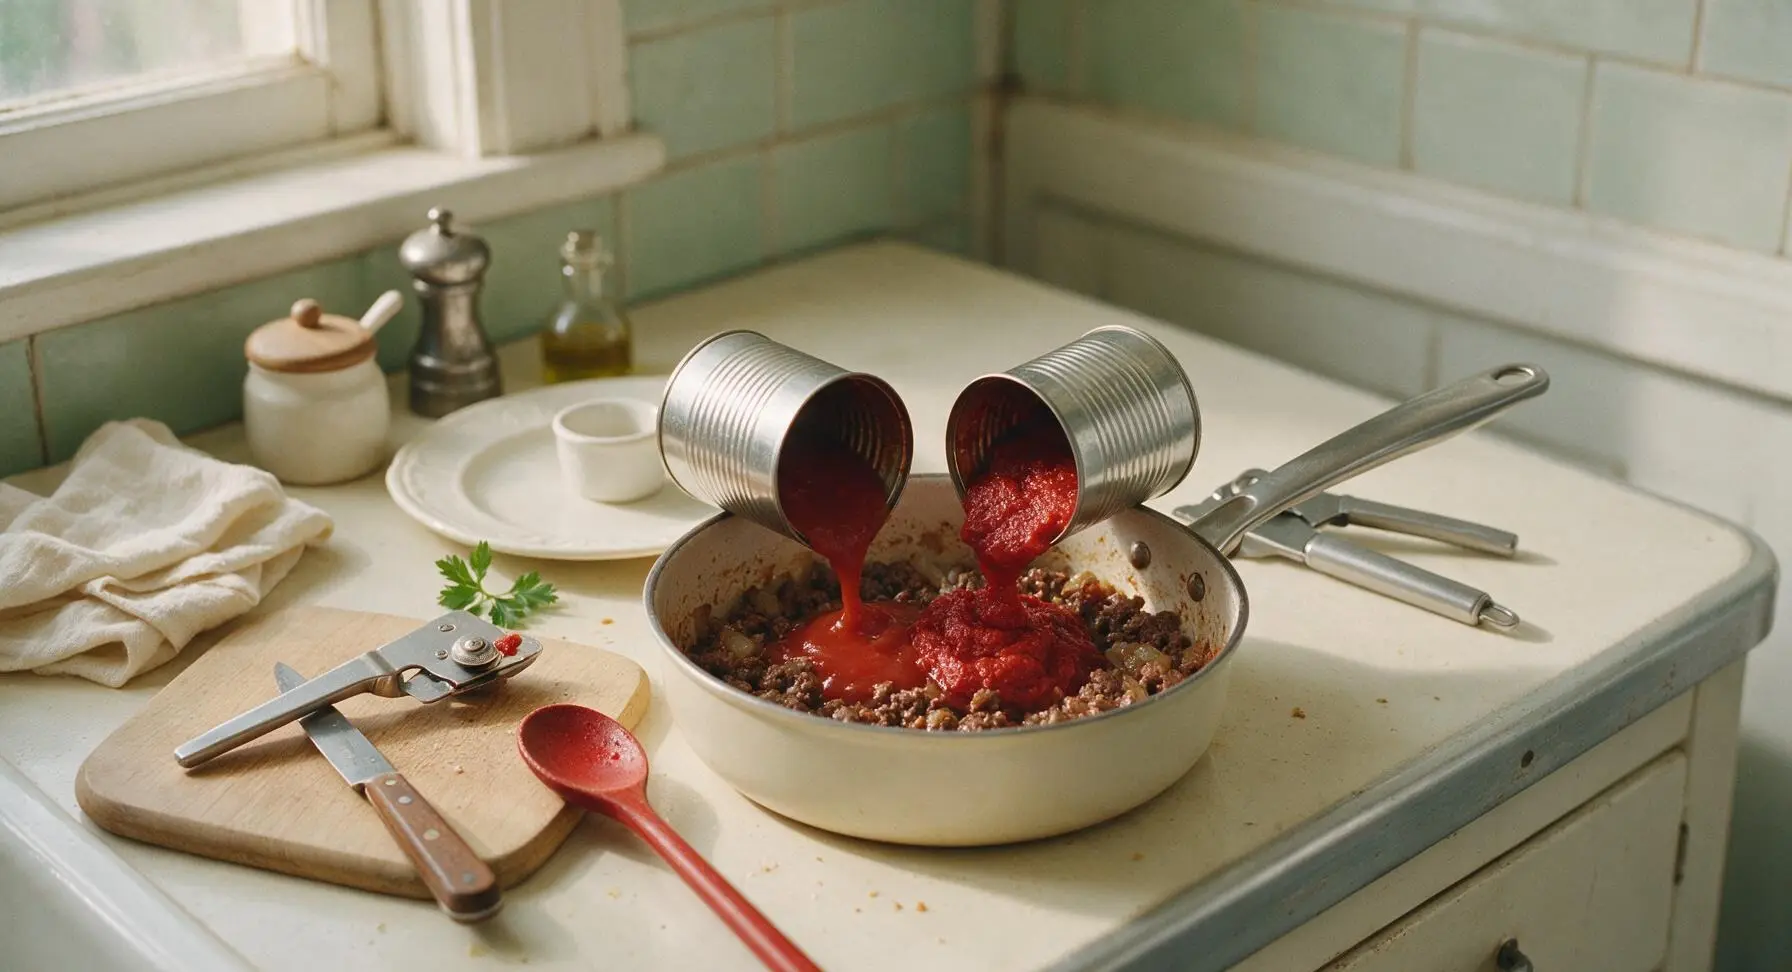
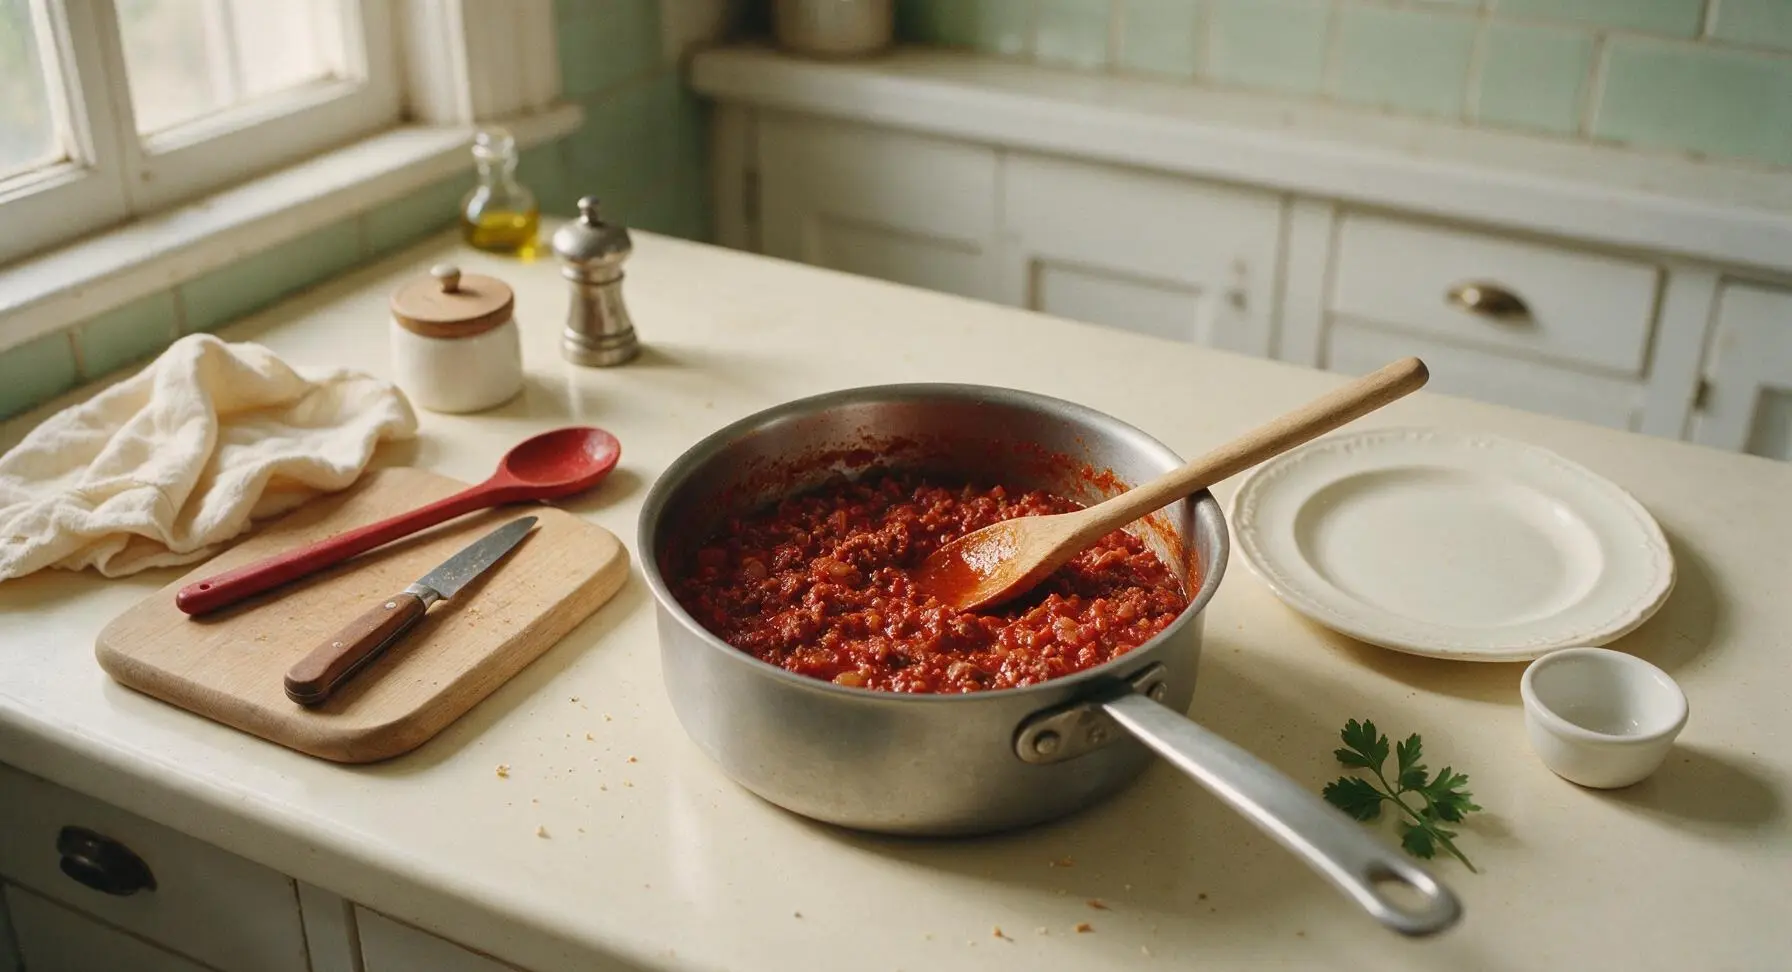
Use the matte silver manual can opener to open both the 15oz tomato sauce can and 6oz tomato paste can. Pour both into the saucepan with the beef and onion, stirring thoroughly with the beechwood spoon to fully combine, until no streaks of dark concentrated tomato paste remain visible. Scrape the pan bottom well to lift any browned beef bits stuck to the surface.
Mix in spices and broth
Pour 1 cup low-sodium beef broth into the saucepan, then add all pre-measured spices (chili powder, garlic powder, onion powder, cumin, paprika, salt, black pepper, sugar) and 1/4 tsp Worcestershire sauce. Stir constantly for 1 minute to fully distribute all spices into the liquid, making sure no dry spice clumps stick to the pan bottom.

Simmer to thicken
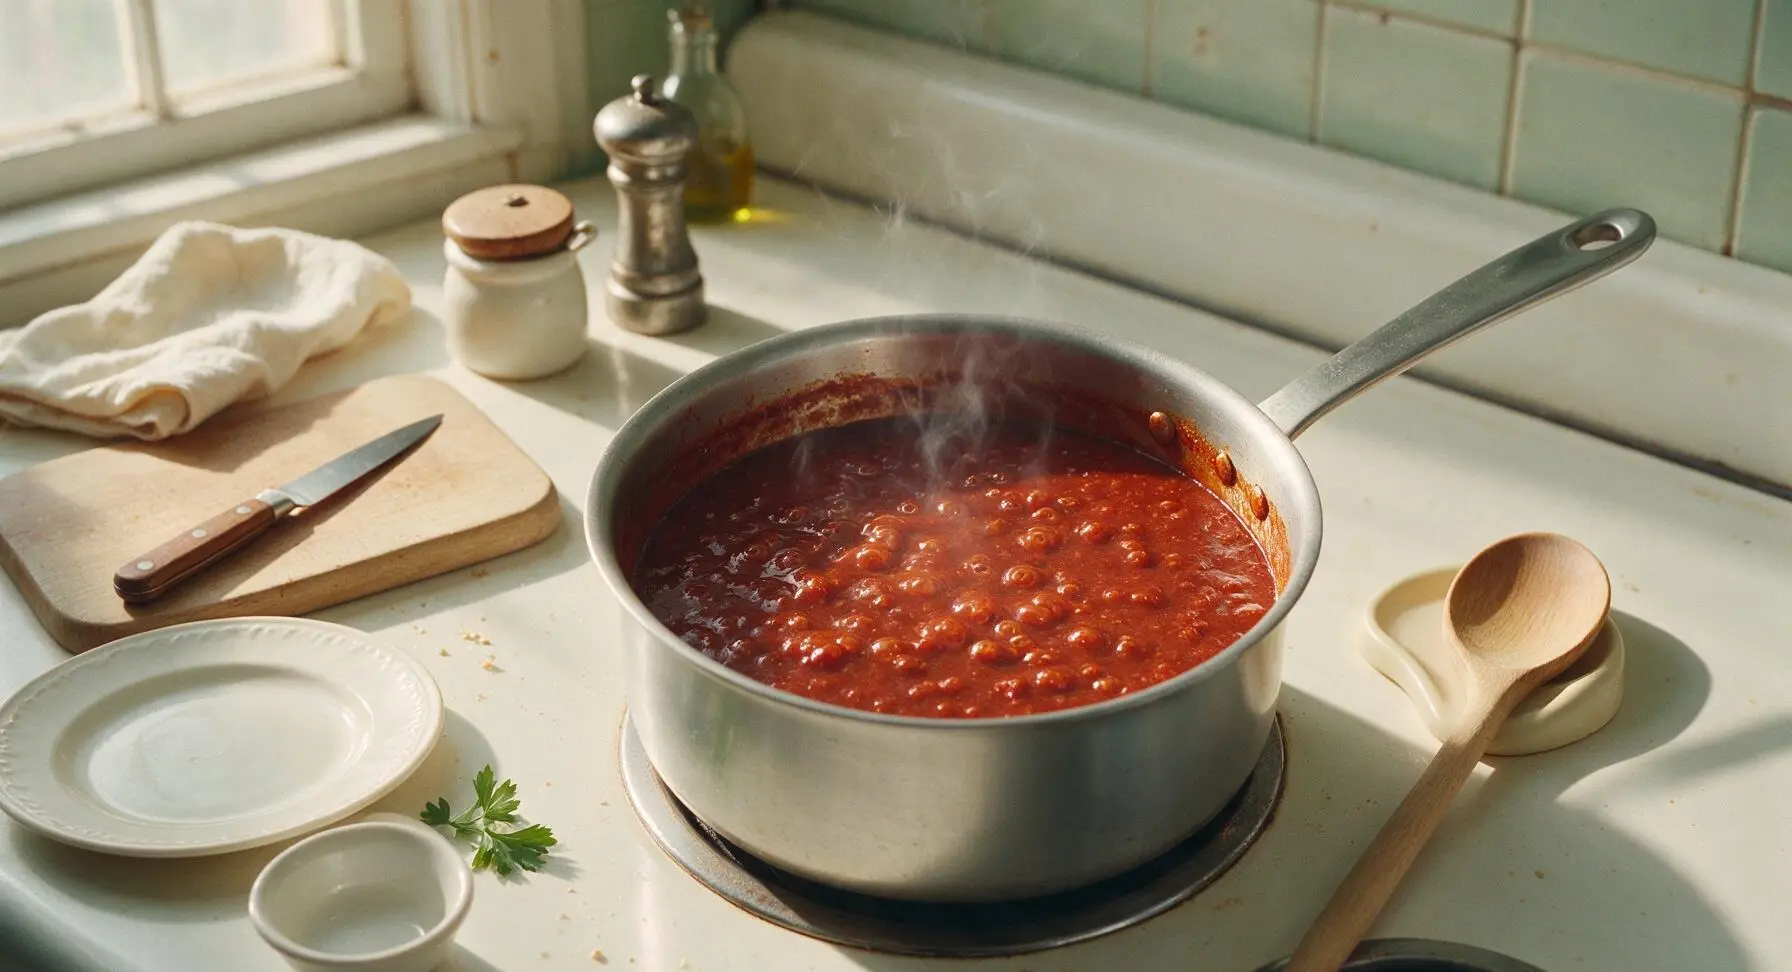
Bring the chili mixture to a gentle rolling bubble, then reduce heat to low (200°F) to maintain a soft, steady simmer. Leave the pan uncovered. Cook for 12 minutes, stirring with the beechwood spoon every 3 minutes to prevent sticking, until the chili thickens to a smooth, pourable consistency that coats the back of the spoon, with no large meat chunks remaining.
Stir in finishing vinegar
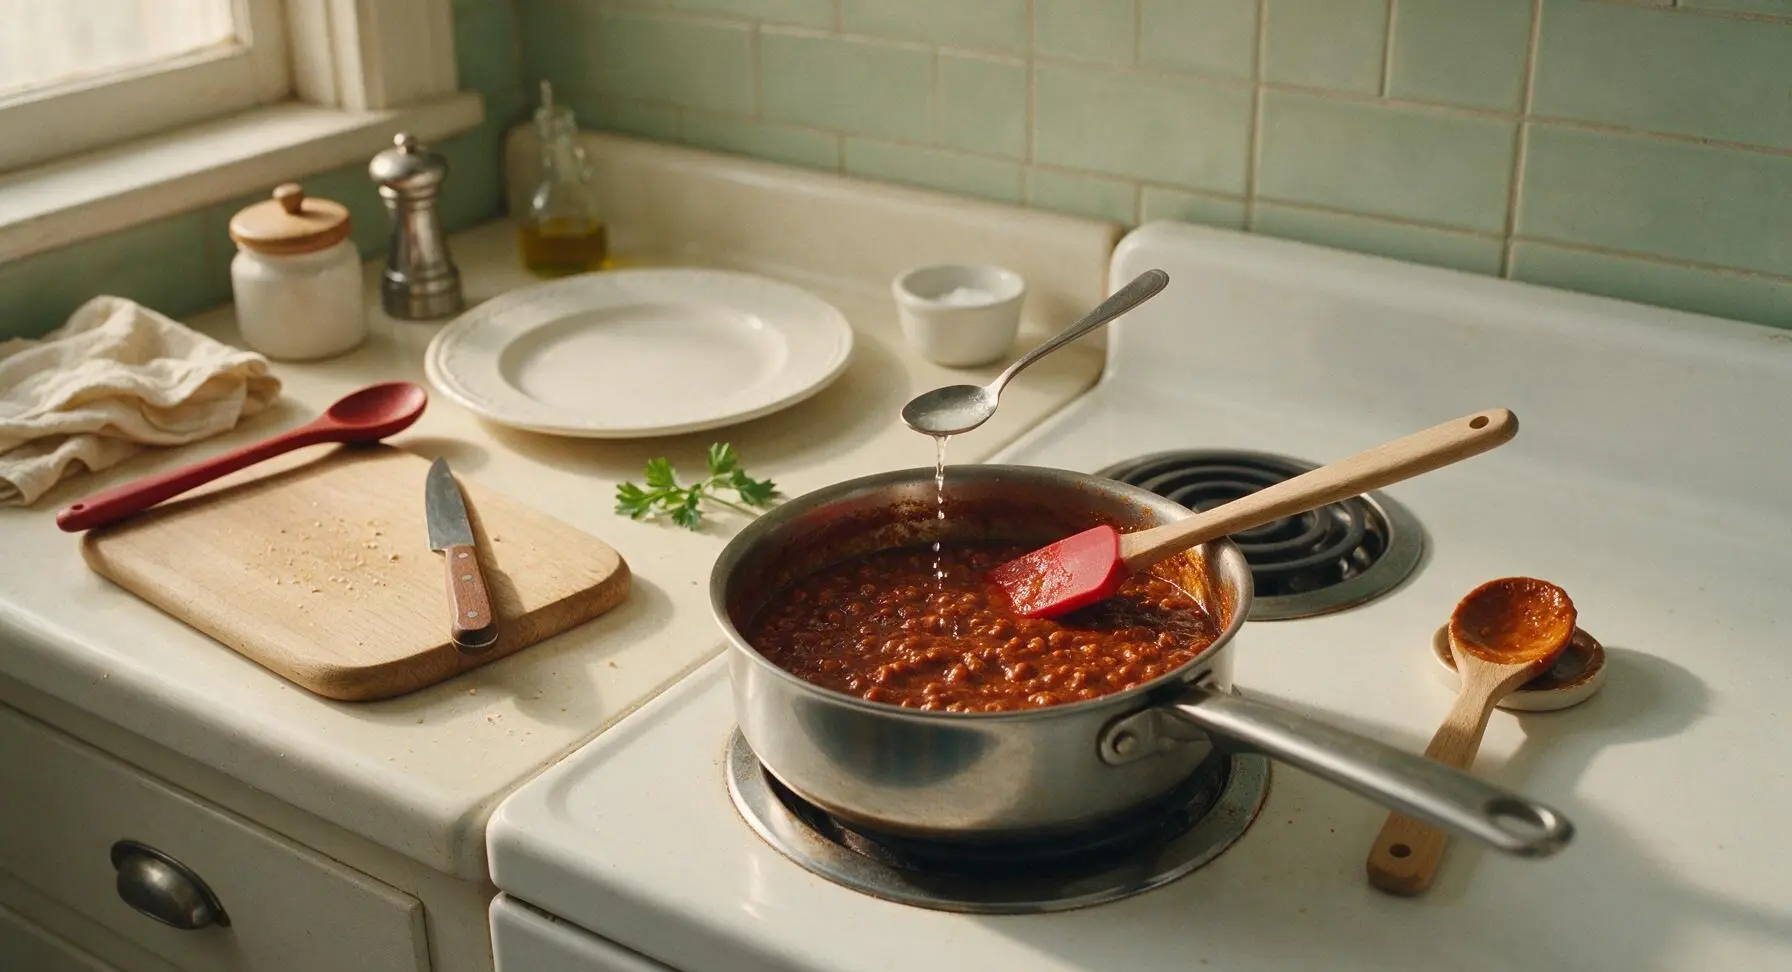
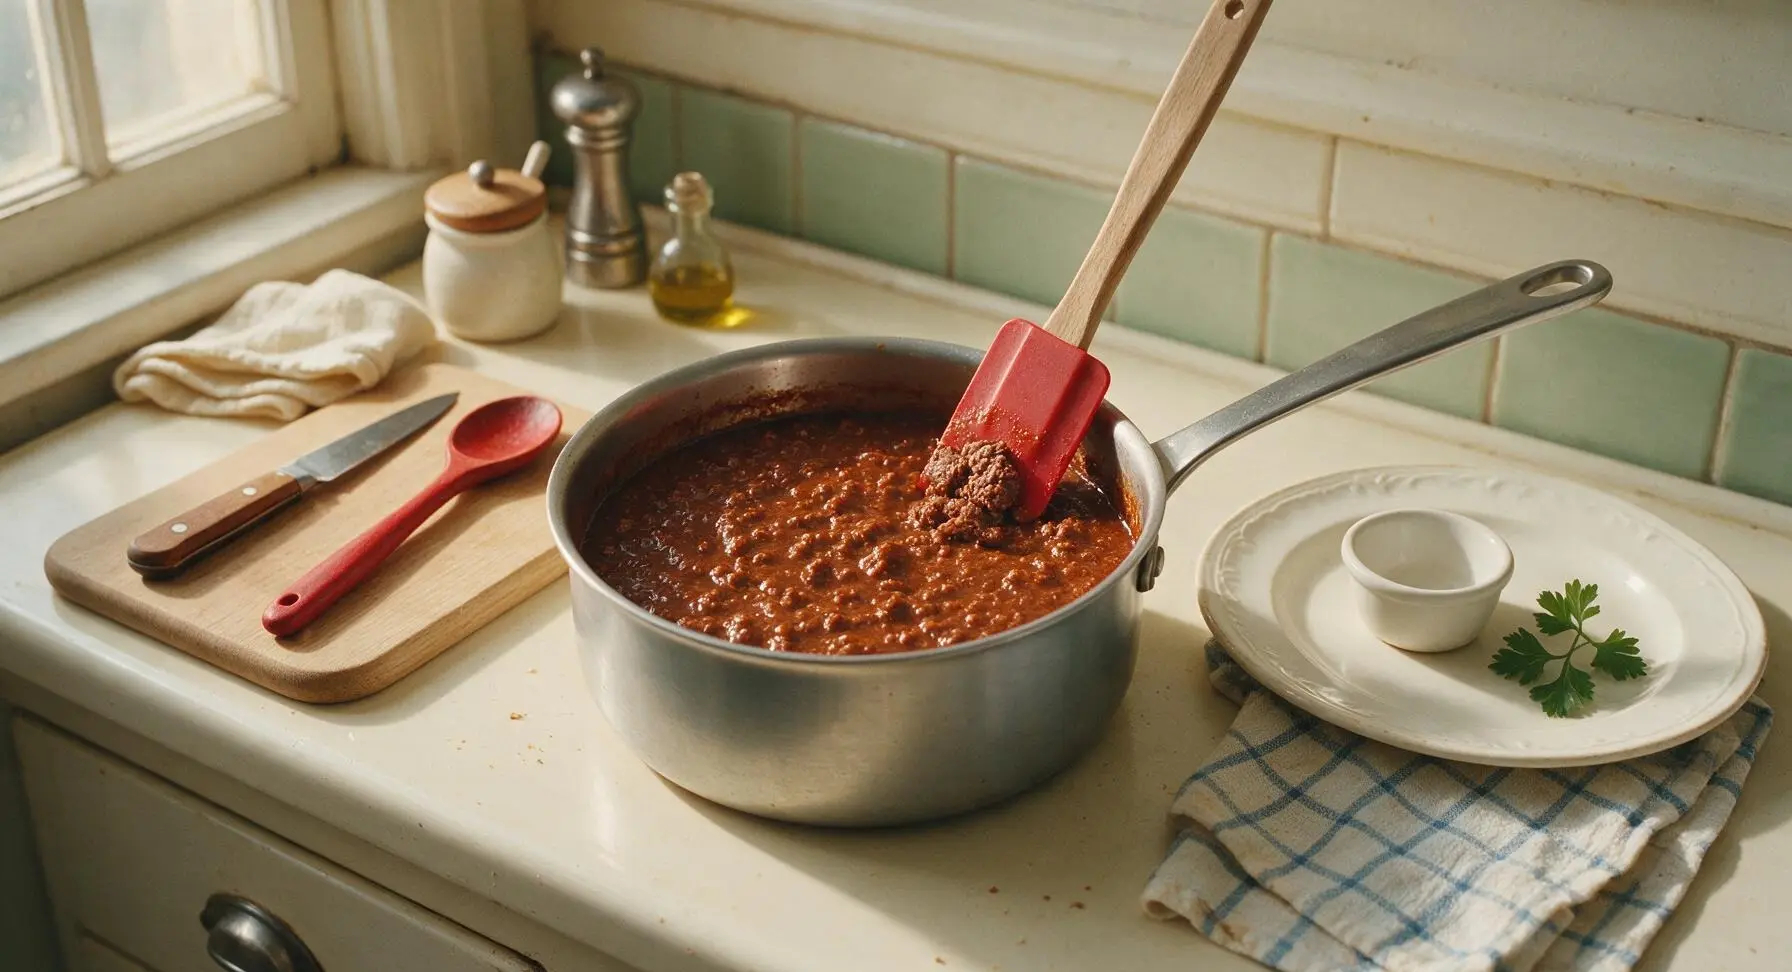
Remove the saucepan from direct heat. Stir in 1 tsp white vinegar, mixing thoroughly to distribute the tangy flavor that defines classic canned hot dog chili. Taste and adjust salt if needed, keeping in mind the chili will thicken slightly as it cools. Use the red silicone spatula to press any remaining small beef clumps against the pan side to break them up for an extra-smooth texture.
Rest and set texture
Let the chili rest for 3 minutes off heat to allow flavors to meld and the texture to set to perfect canned-style consistency. It will be thick enough to mound on top of a hot dog without running off the sides, but moist enough to spread easily. Transfer to the serving bowl when ready to use, or ladle into sterilized canning jars for long-term shelf storage if desired.
Tips
2.Skip draining the small amount of rendered fat from 85/15 ground beef: this fat carries fat-soluble spice flavors and creates the rich, glossy mouthfeel that matches store-bought canned chili, without making the final dish feel greasy.
3.The teaspoon of white vinegar added off-heat is critical for that signature tangy canned chili flavor: omit it, and the chili will taste like plain meat sauce instead of the nostalgic ballpark topping. If you don’t have white vinegar, use an equal amount of raw apple cider vinegar as a 1:1 substitute.






OMG this is exactly the canned chili flavor I grew up piling on ballpark hot dogs as a kid but way fresher! Took 20 minutes flat like the recipe said, no weird hard-to-find ingredients, perfect for our backyard cookout last weekend. My kids kept begging for extra chili on their dogs, total game changer.
Made this for our weekly family dinner chili dog night and it was SO good! I did add a tiny extra dash of smoked paprika because we like a little smokier kick, but the base is spot on for that classic canned-style texture – no weird huge chunks getting in the way, just smooth, savory chili perfect for topping dogs. Will absolutely be adding this to our regular rotation.
As someone who survives on budget meals in my dorm, this is elite. Way cheaper than buying the name brand canned chili, takes almost no time, and I don’t even need fancy equipment – just a single pot. Put it on hot dogs, dipped my crinkle cut fries in it, even ate a bowl plain when I was running late to class this week. 10/10, no notes.
Brought a big batch of this to our neighborhood potluck last weekend and people were hovering over the crockpot the whole time! So many people asked for the recipe, I lost count. It stays the perfect consistency even when it’s kept warm for a couple hours, which is ideal for potlucks and big gatherings.
Made a double batch of this on Sunday for meal prep and it held up perfectly all week in the fridge! I portioned it out to top hot dogs for work lunches, even mixed a scoop with leftover mac and cheese one night for a super quick chili mac. Only knock is I wish I’d made a triple batch because I ran out two days early, oops. Still absolutely worth making.
Tried this last night for our movie night chili dog spread and wow, it tastes exactly like the canned stuff my dad used to buy for our little league cookouts back in the 90s. No weird bean chunks (thank GOODNESS, I’m firmly in the no-beans chili for hot dogs camp) and the consistency is perfect for slathering on without running all over your bun and making a mess. 10/10 will make again.
I was so skeptical I could nail that iconic canned hot dog chili taste at home but this recipe absolutely nailed it! I added a tiny squirt of yellow mustard on top of my chili dog just like they do at our local small-town drive-in and it was chef’s kiss. So easy even my teen who burns toast every time he tries to cook could pull this off, no joke. We’ll be making this all summer long for pool days and backyard cookouts.