
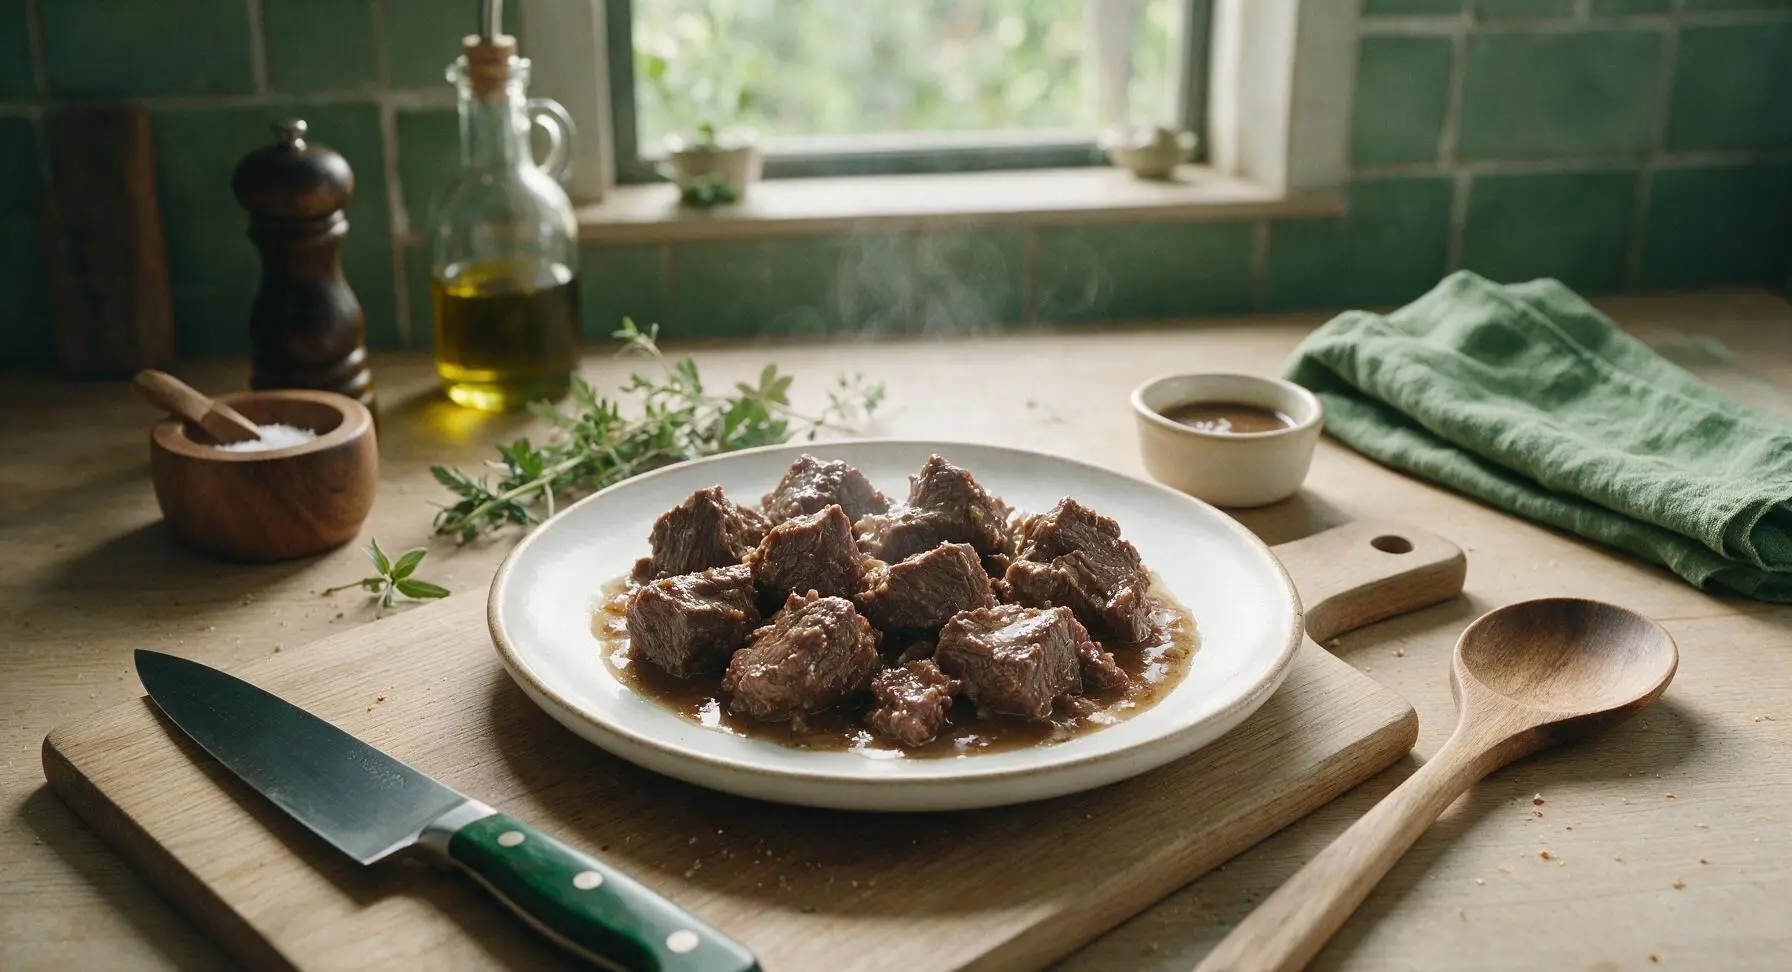
canning beef

title 1
canning beef
⏱️ cook time 1 hour 45 minutes
🍽️ servings 12
⚡ Difficulty medium

intro

Tender, shelf-stable pressure-canned beef packed fresh to lock in rich, savory flavor—perfect for quick stews, sandwiches, and cozy family meals straight from your pantry.

Ingredients
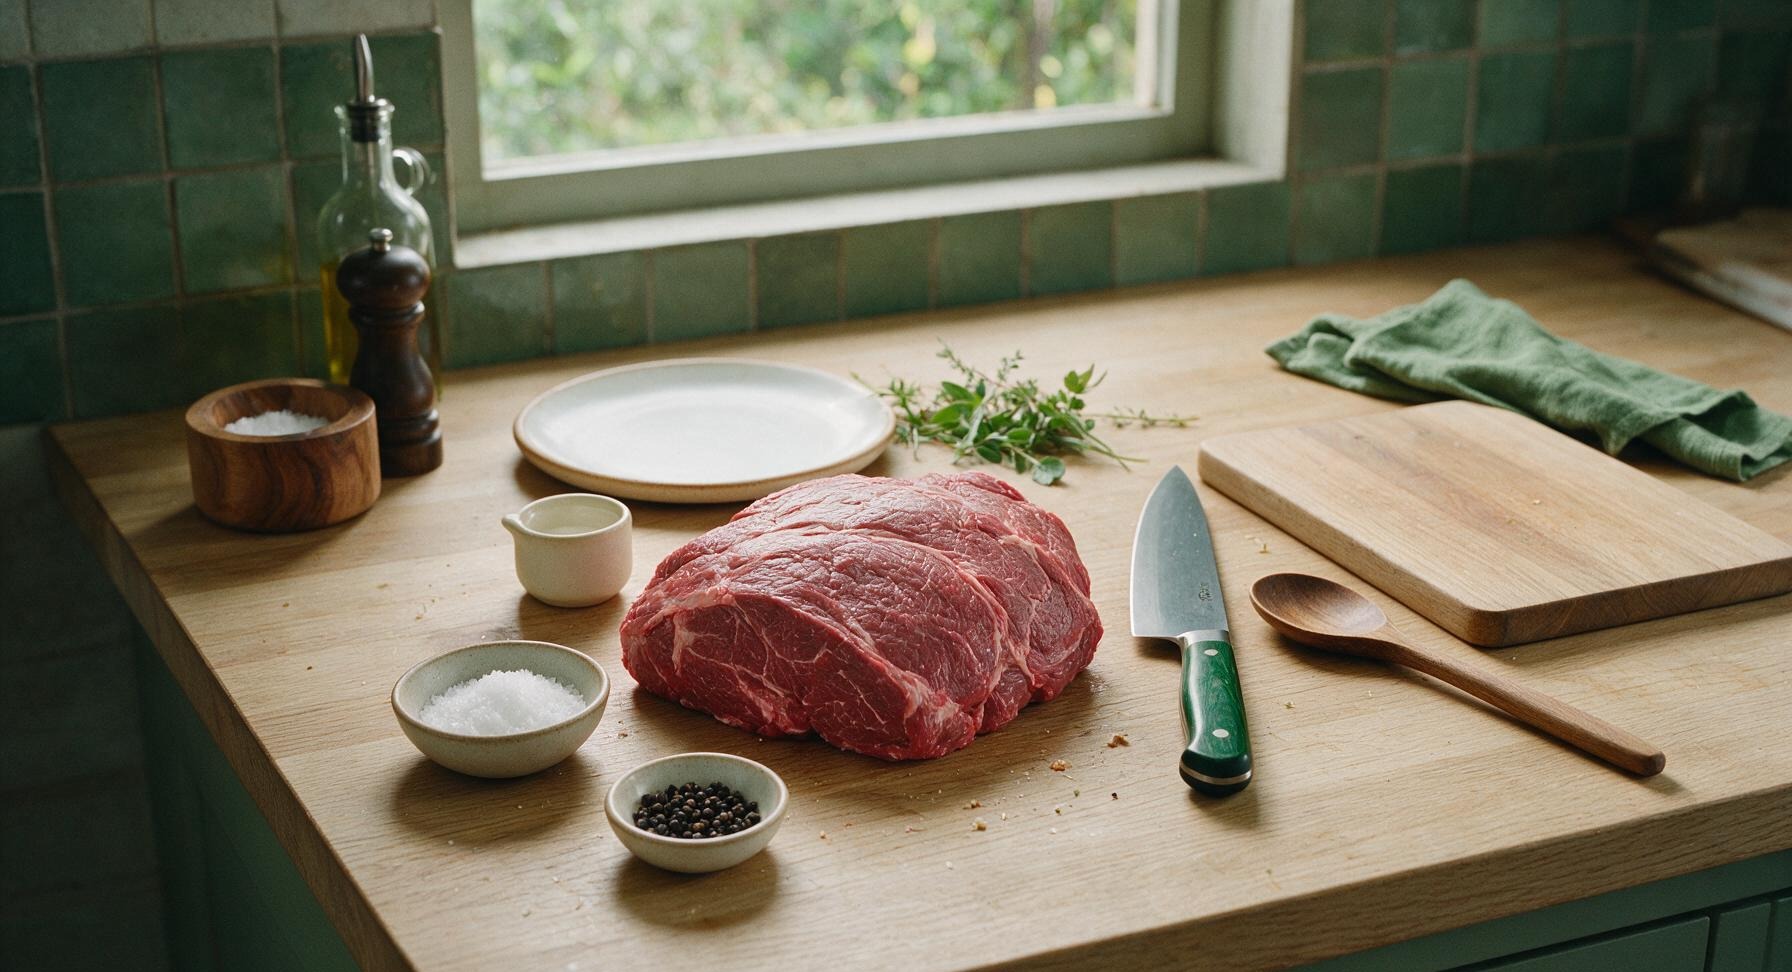
Boneless beef chuck roast 8 lbs (3.6 kg)
Non-iodized canning salt 4 tsp
Whole black peppercorns 1 tsp

Steps

1

Prep Canning Jars

Wash all 6 wide-mouth quart canning jars, metal lids, and screw bands in hot soapy water, then rinse thoroughly. Place jars on the internal rack of the pressure canner, add 2 inches of hot tap water to the canner base, and keep jars simmering at 180°F (82°C) for 10 minutes to pre-heat and prevent breakage during packing. Place lids and screw bands in the 1.5-quart stainless steel saucepan, cover with hot water, and hold at 180°F (do not boil) to soften the lid sealing compound for a tight seal.
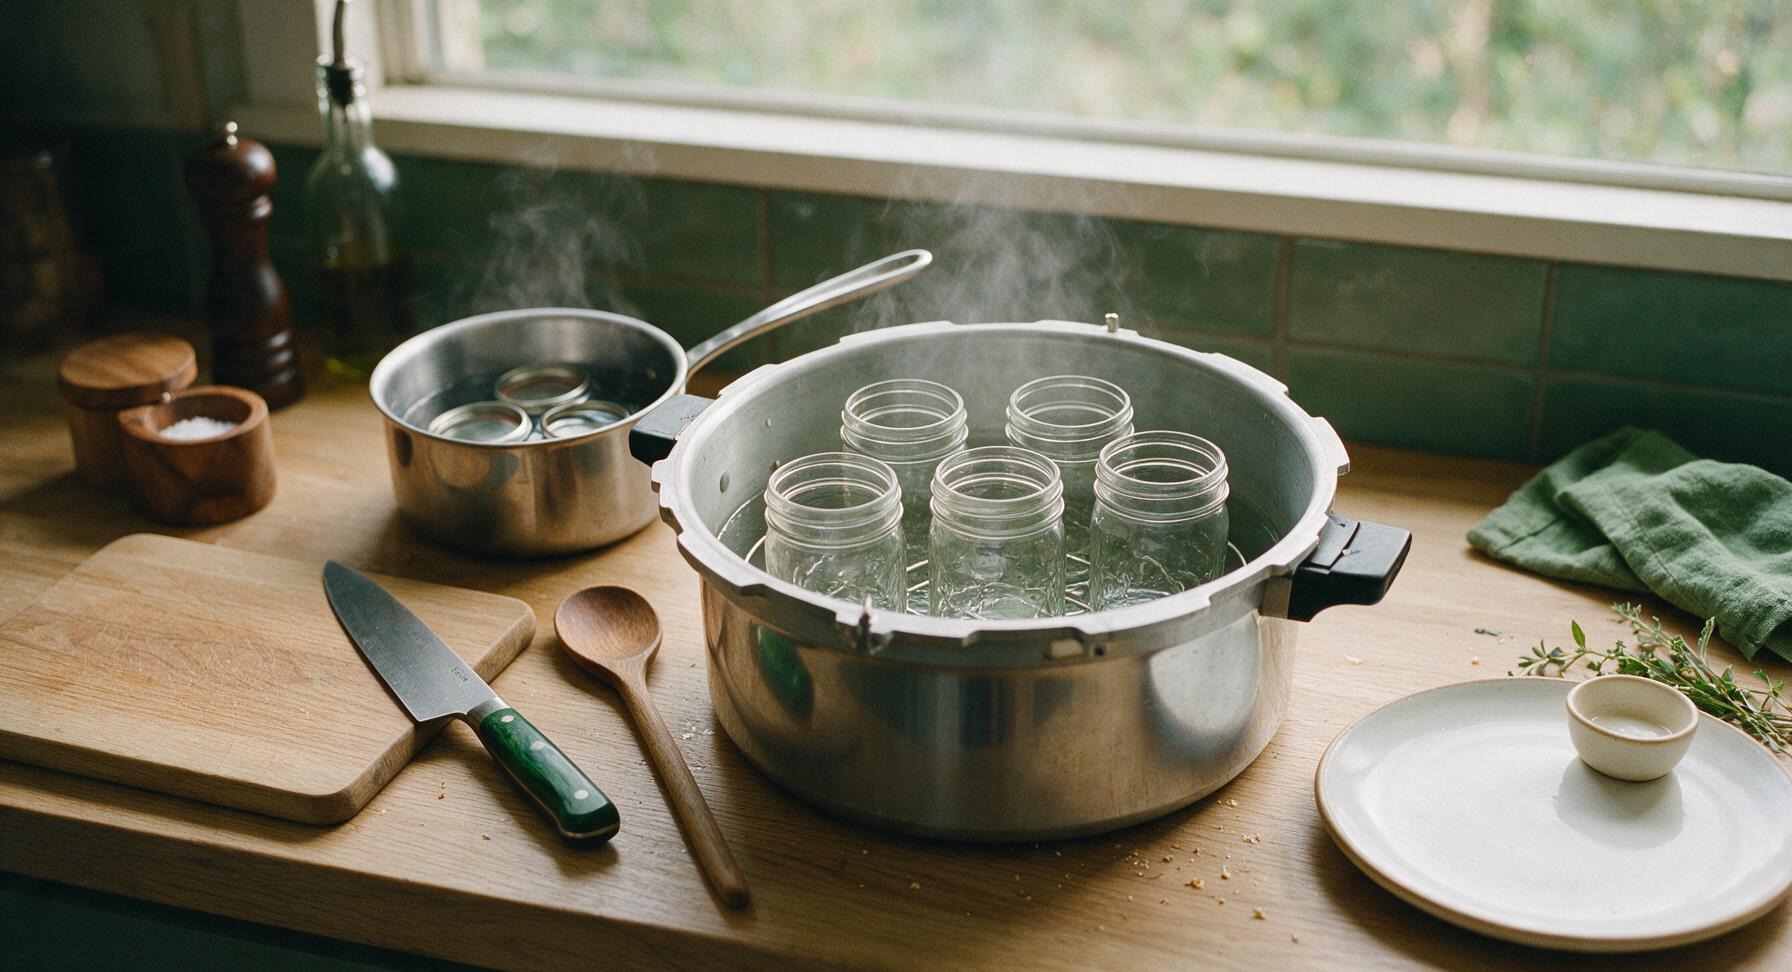
Step 1
step1:Prep Canning Jars
2

Trim and Cube Beef

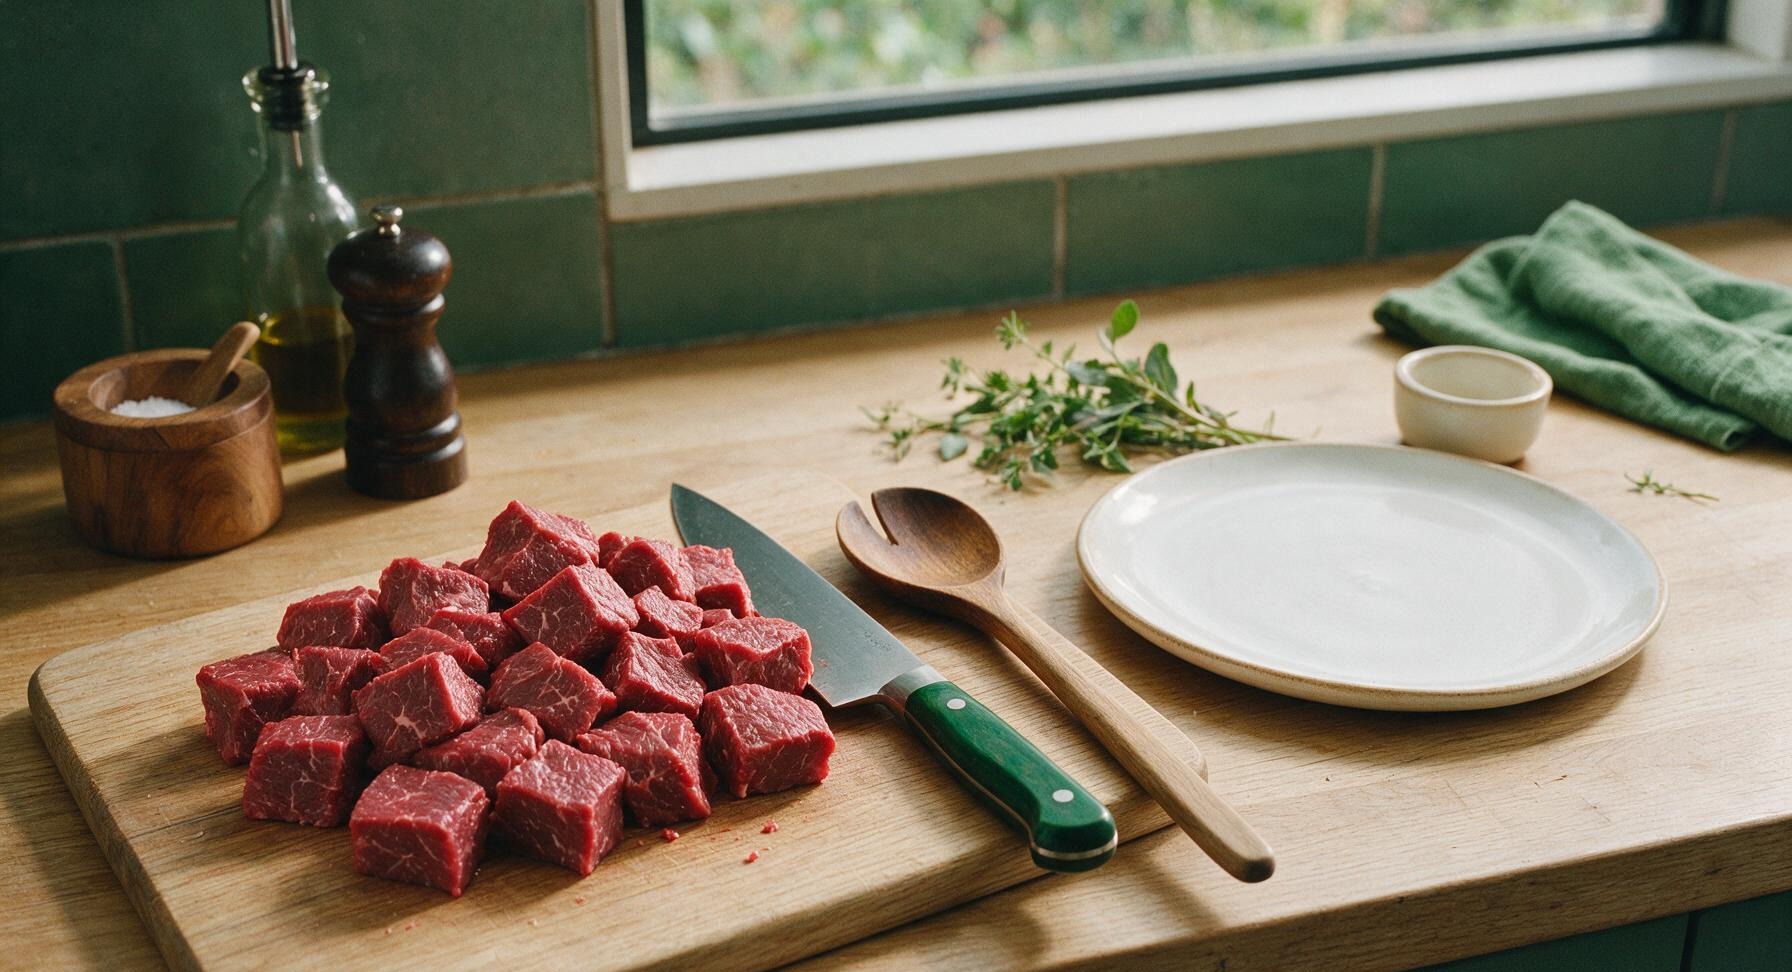
Place the whole beef chuck roast on the center of the acacia cutting board. Using the 8-inch chef’s knife, trim away all thick, hard external fat caps and silvery connective tissue from the roast, then cut the meat into uniform 1.5-inch cubes. Do not brown the beef for this raw-pack method; uniform cube size ensures even heat penetration during processing. Discard all trimmed fat and silver skin.
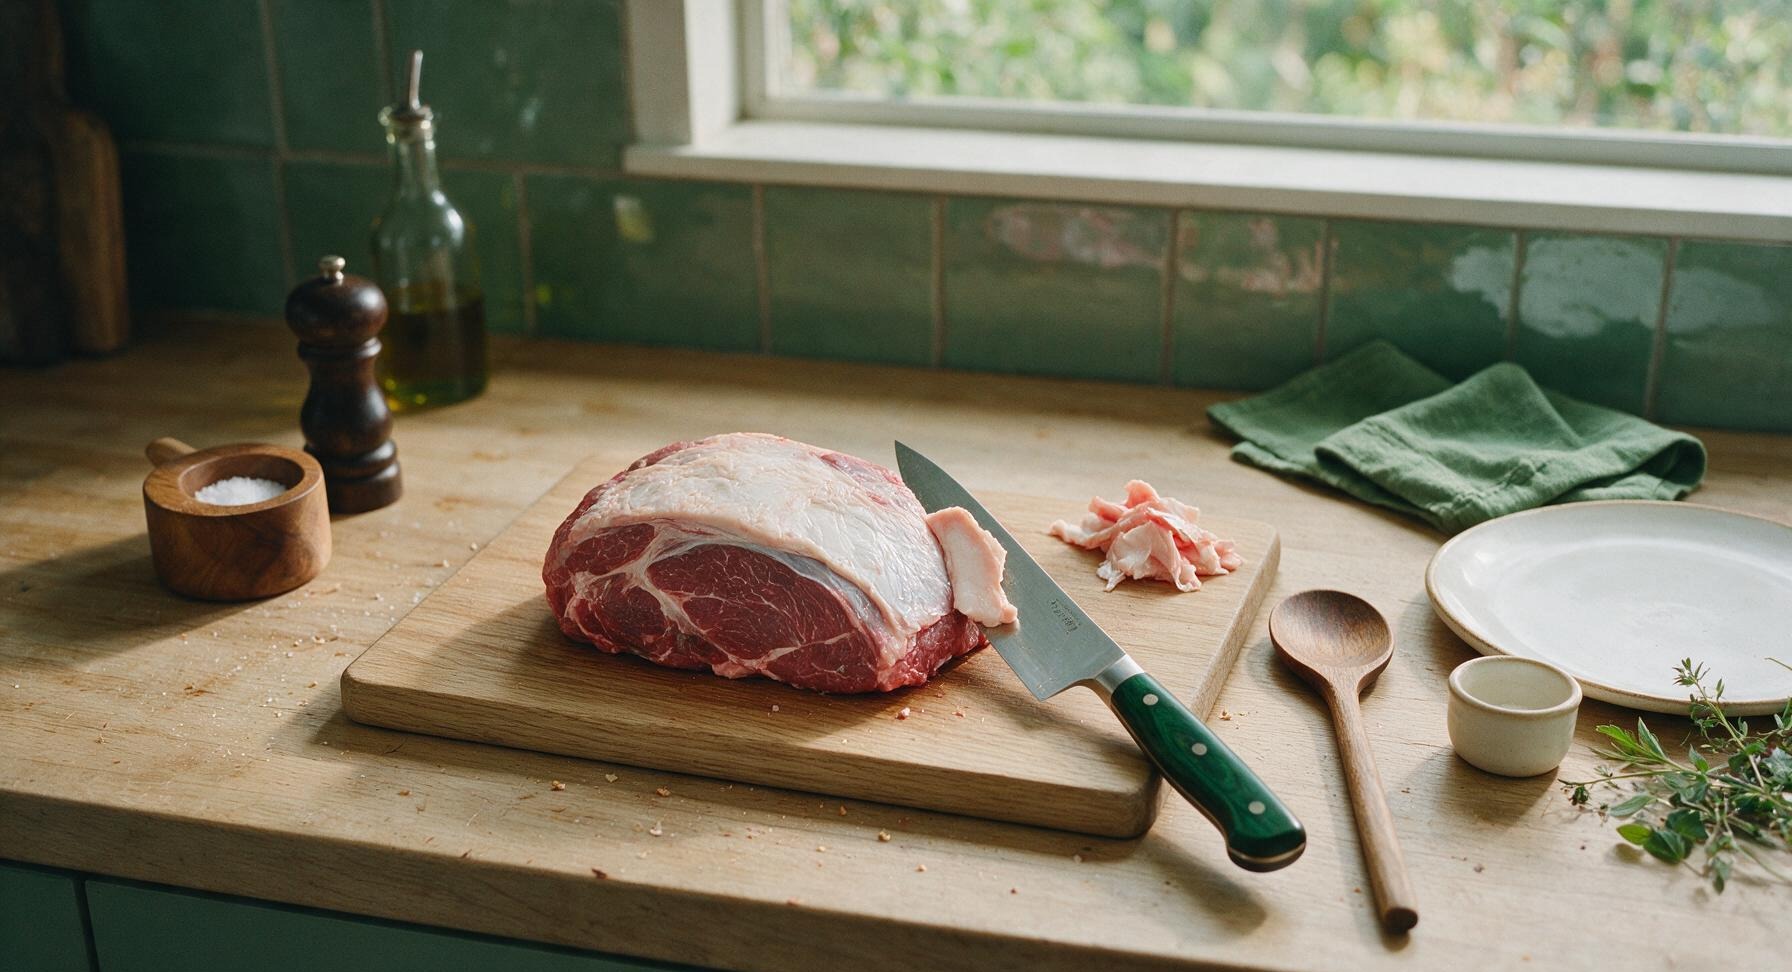
Step 2
step2:Trim and Cube Beef
Step 2
step2:Trim and Cube Beef
3

Season Empty Jars

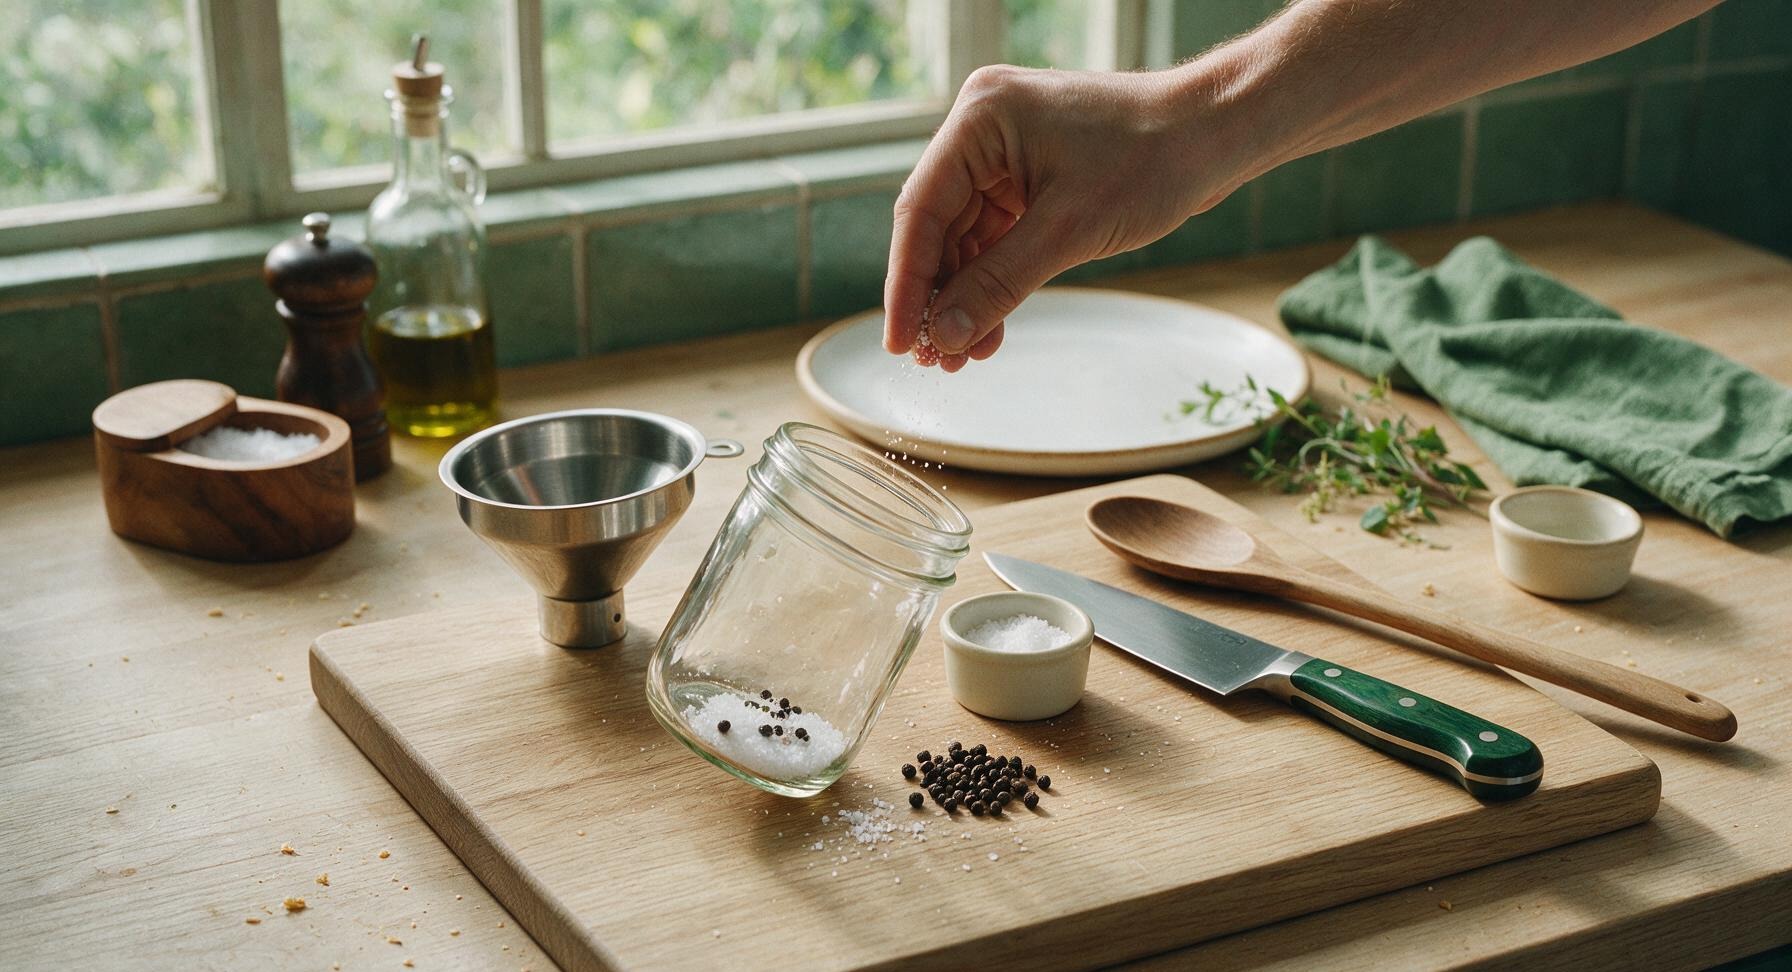
Using the stainless steel jar lifter, remove one hot pre-heated jar at a time from the simmering canner, draining excess water back into the canner base. Add 1 tsp of non-iodized canning salt and 1/4 tsp of whole black peppercorns to the bottom of each empty hot jar. Do not add thickened seasonings, flour, garlic, or onions at this stage, as these disrupt even heat penetration and create unsafe processing conditions.
Step 3
step3:Season Empty Jars
4

Pack Beef Into Jars

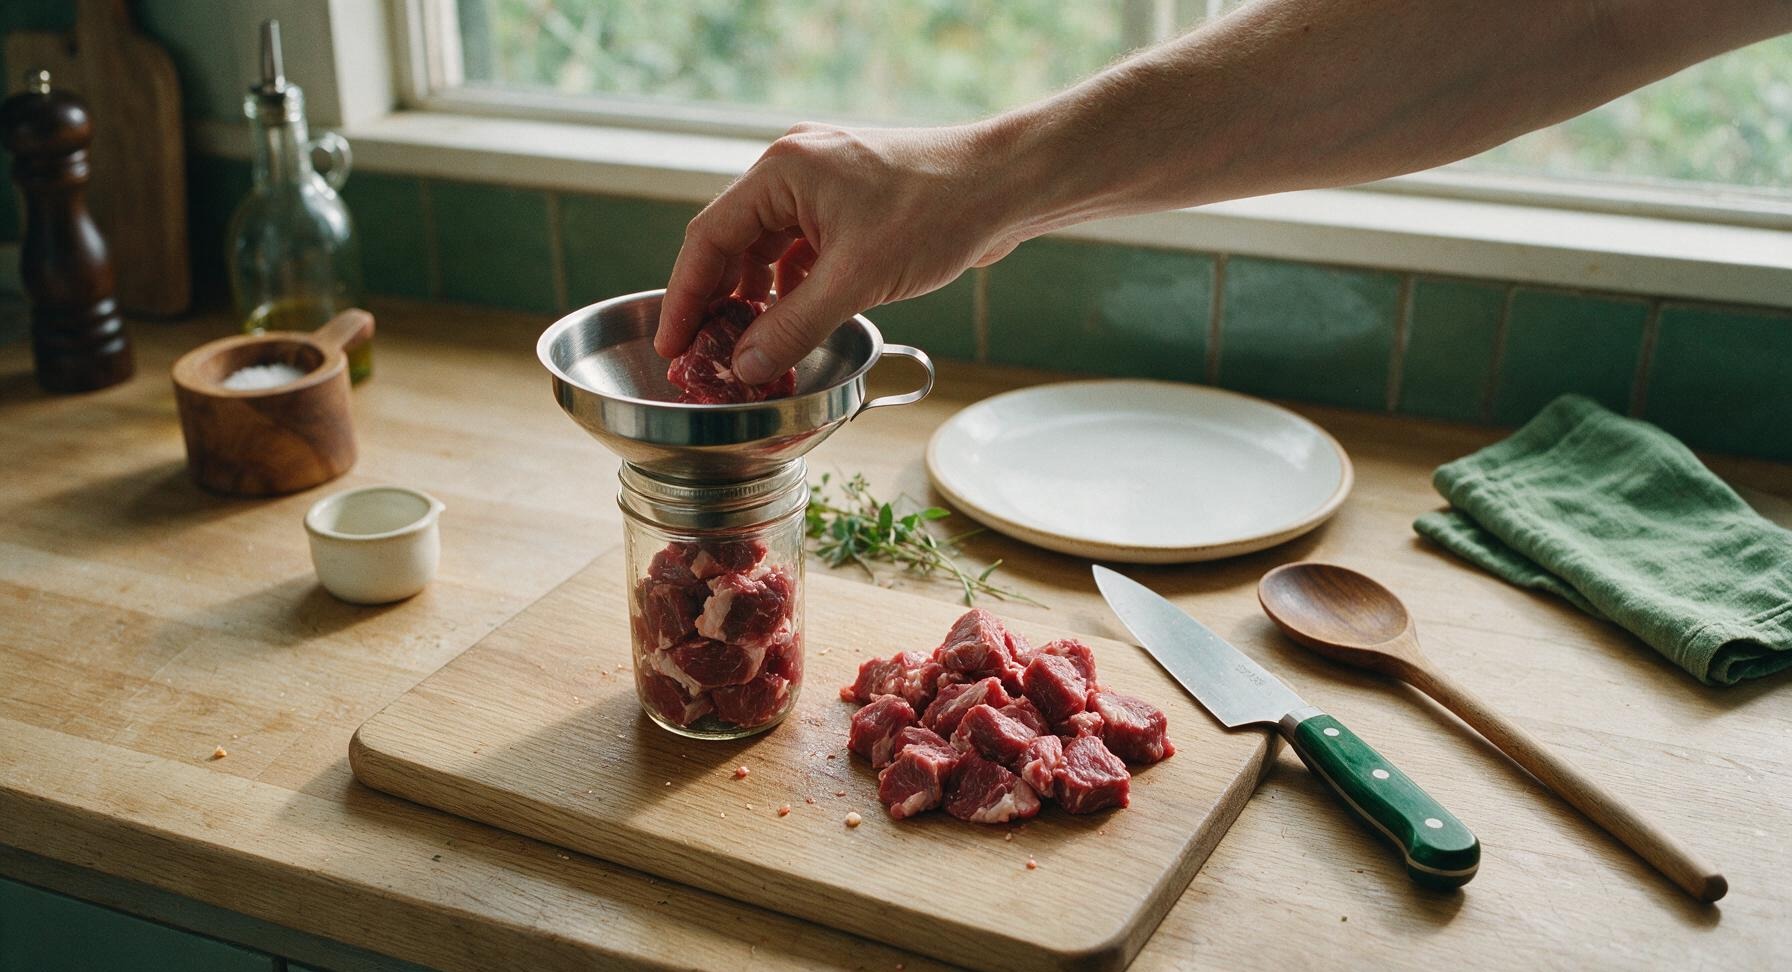
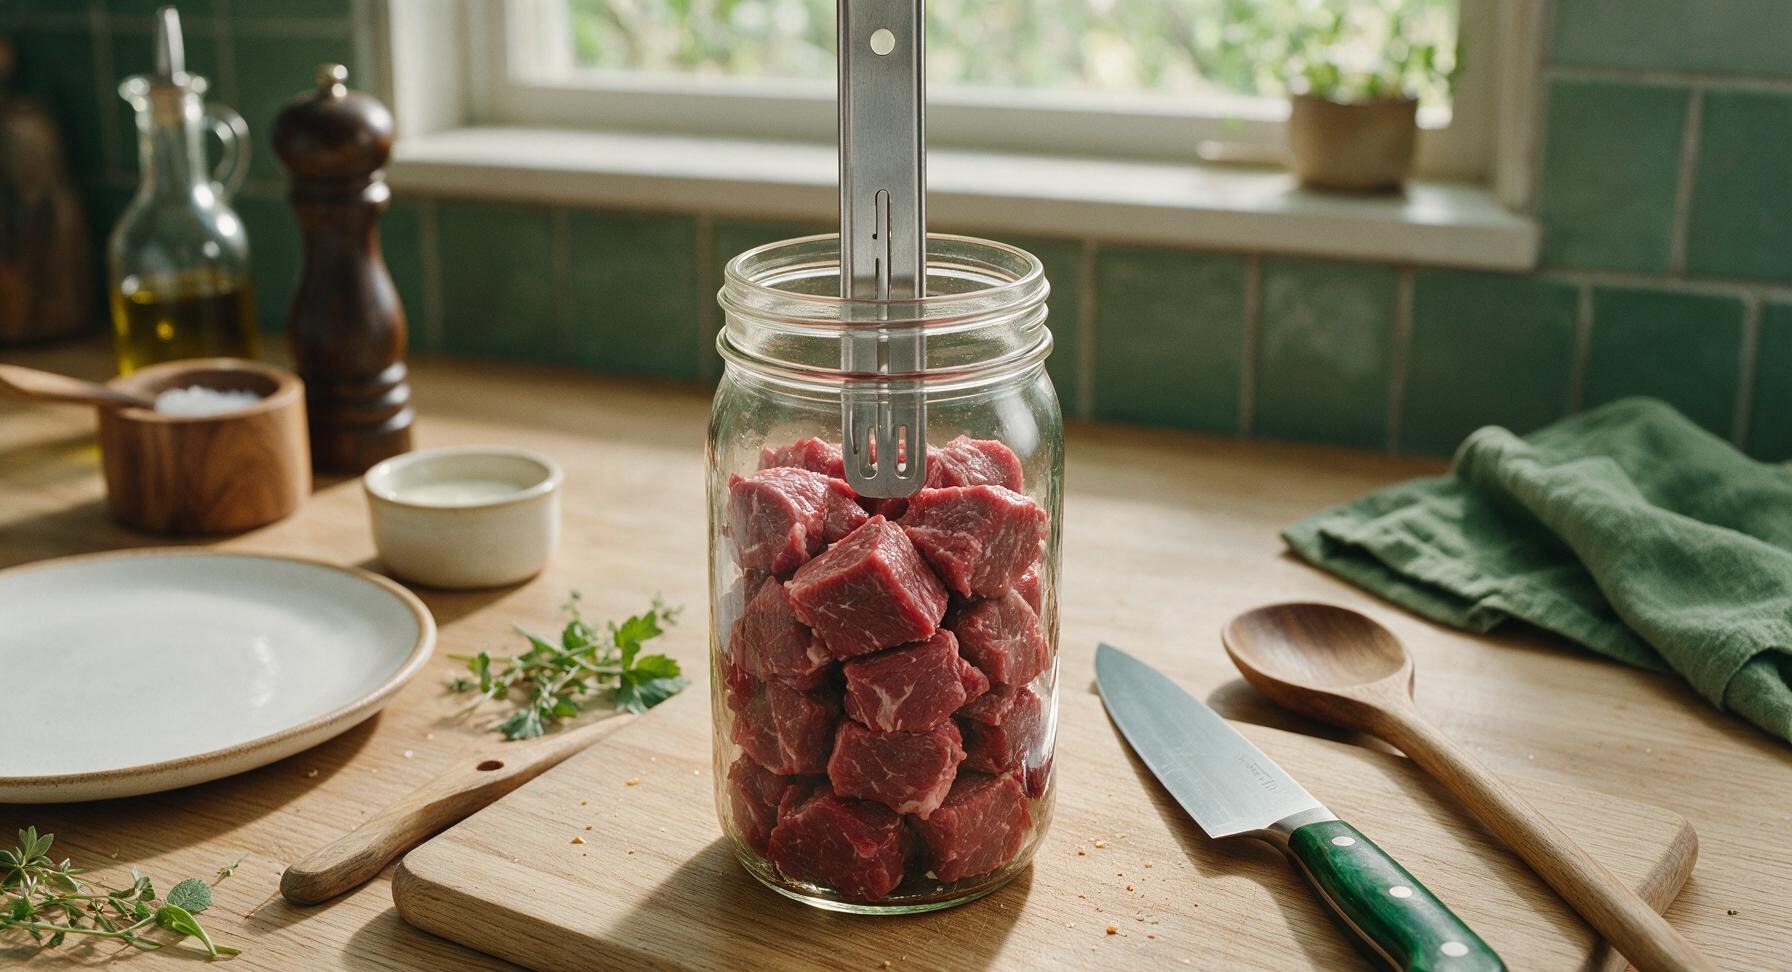
Set the stainless steel canning funnel into the mouth of a seasoned hot jar. Loosely pack raw beef cubes into the jar through the funnel, leaving exactly 1 inch of headspace between the top of the meat and the jar rim. Do not press the meat down tightly, as over-packing prevents heat from circulating evenly through the jar during processing. Repeat until all jars are filled.
Step 4
step4:Pack Beef Into Jars
Step 4
step4:Pack Beef Into Jars
5

Remove Bubbles and Seal

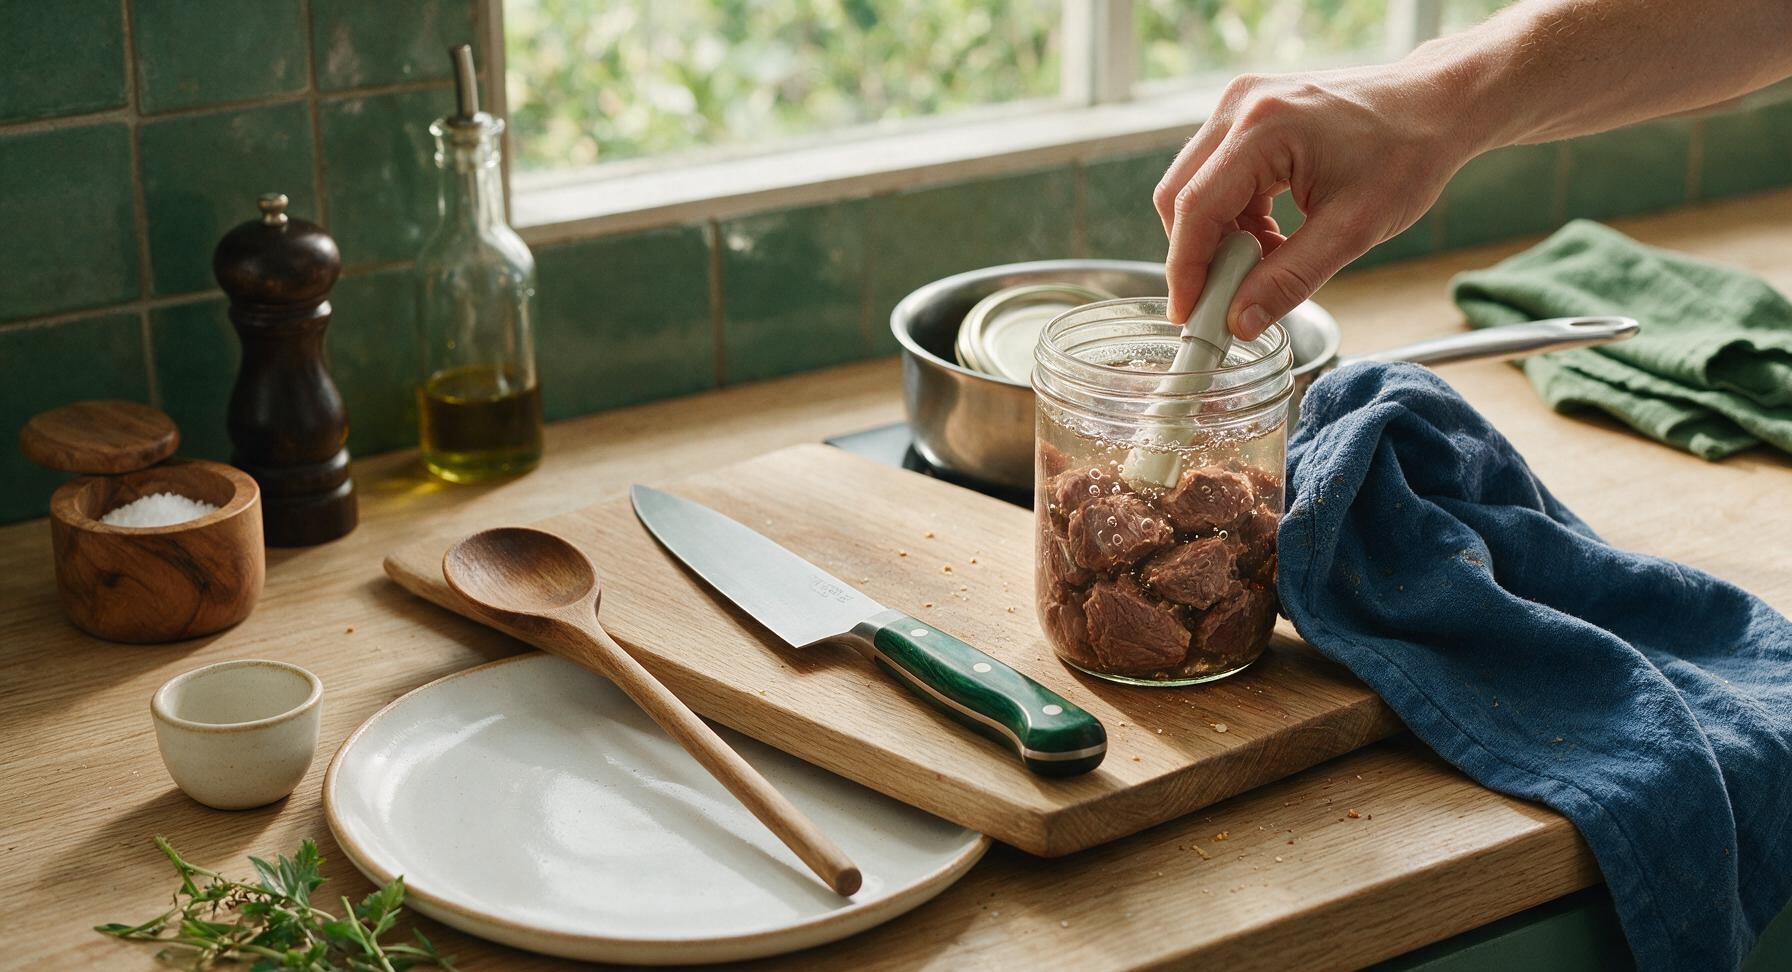
Run the flat end of the bubble remover tool around the inside edge of each filled jar to release any trapped air bubbles, adjusting headspace as needed by adding or removing small amounts of beef. Wipe each jar rim thoroughly with a clean corner of the indigo cotton kitchen towel to remove all meat juice or fat residue—residue on the rim prevents a proper airtight seal. Use the jar lifter to place a heated lid on each jar, then screw on a metal band until it is fingertip-tight; do not over-tighten, as air must escape during processing.
Step 5
step5:Remove Bubbles and Seal
6

Load Canner and Vent

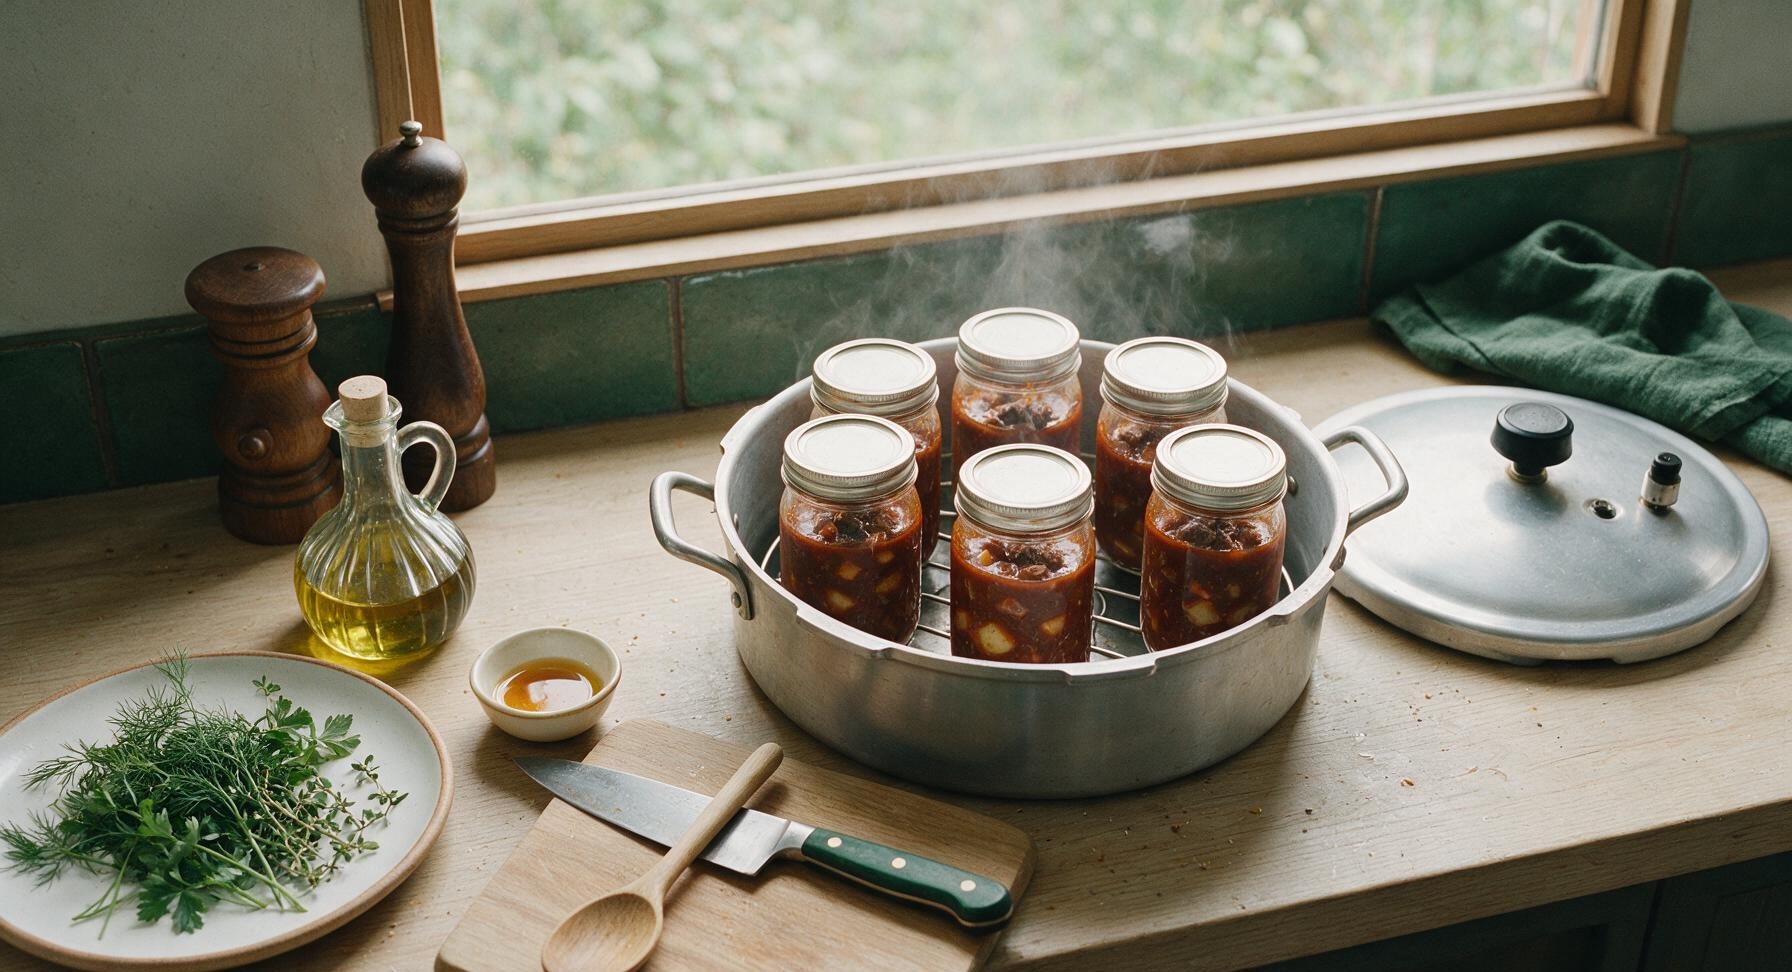
Place all filled, lidded jars back on the canner rack inside the pressure canner, ensuring jars do not touch each other or the canner walls (leave 1 inch of space between jars for steam circulation). Lock the canner lid securely in place, leaving the black pressure regulator weight off the vent pipe. Turn heat to high, bring the water in the canner to a full rolling boil, and vent a steady, thick stream of steam from the vent pipe for a full 10 minutes to purge all air from the canner chamber. Trapped air causes inaccurate pressure readings and unsafe processing.
Step 6
step6:Load Canner and Vent
7

Process Jars Under Pressure

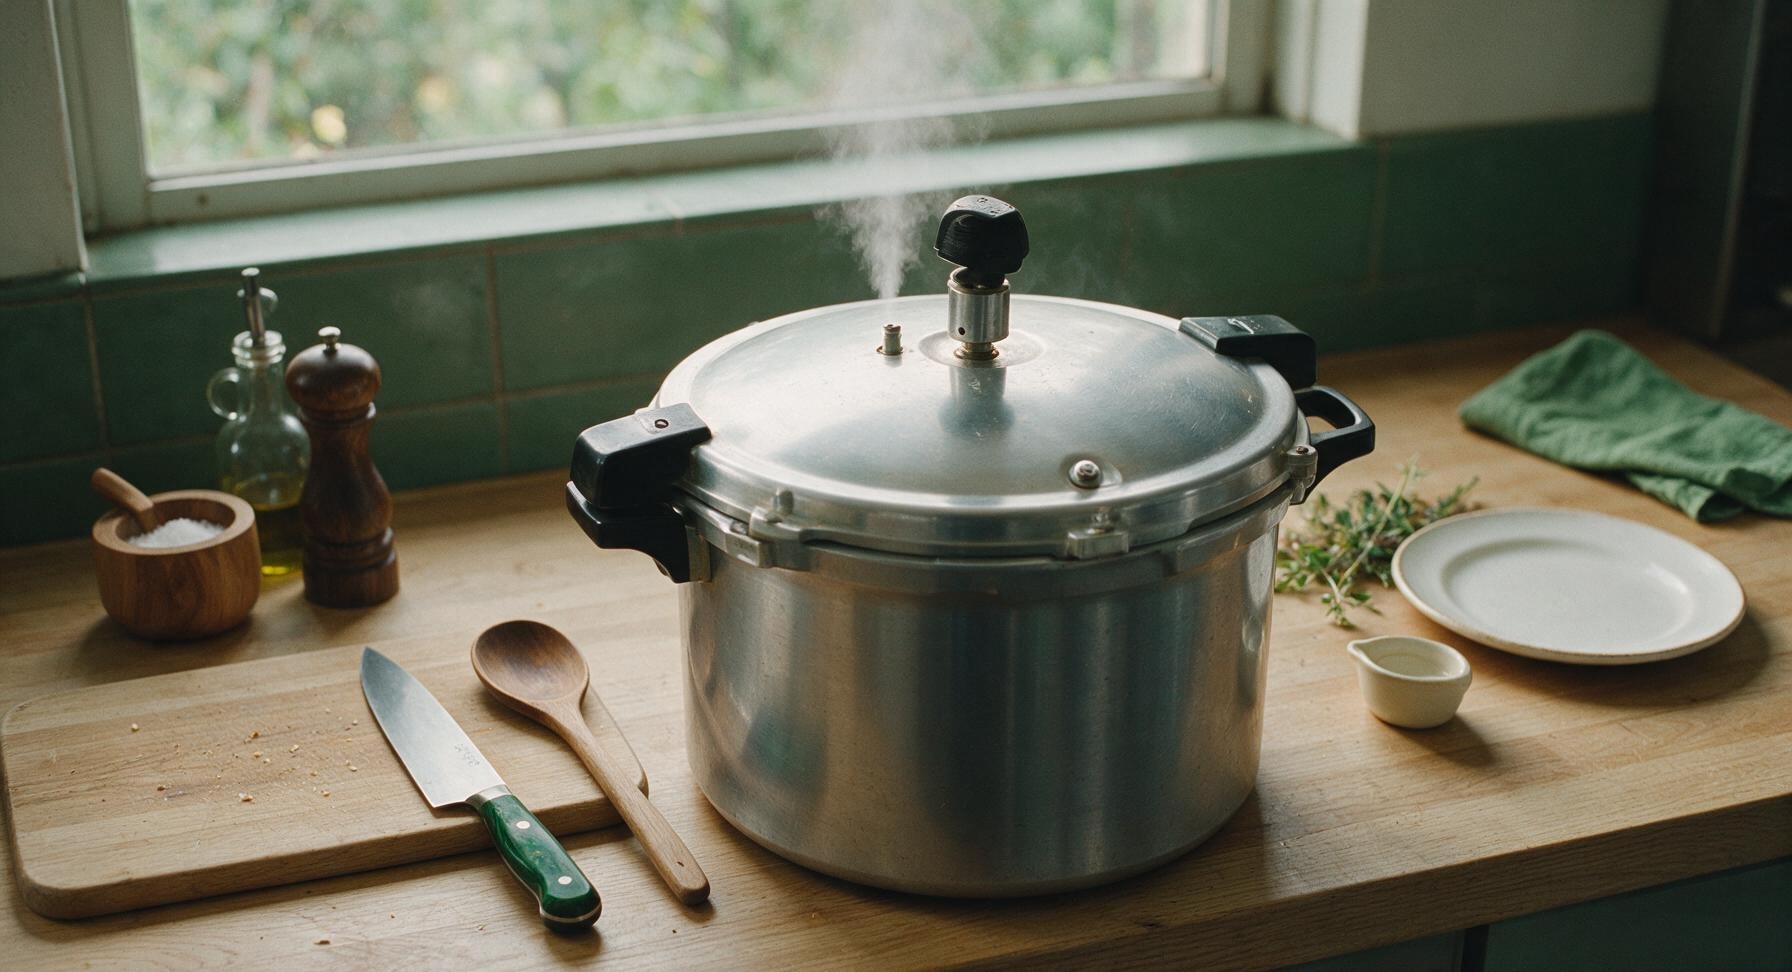
After 10 minutes of steady venting, place the weighted pressure regulator on the vent pipe. Wait until the canner reaches 10 PSI (weighted gauge, sea level; add 1 PSI for every 1000ft above sea level), then adjust heat to maintain a steady, gentle rocking of the regulator weight. Process quart jars for 90 minutes at constant pressure—do not allow pressure to drop below the required level at any point during processing, as this requires restarting the full processing time from the beginning to ensure safety.
Step 7
step7:Process Jars Under Pressure
8

Cool and Test Seals

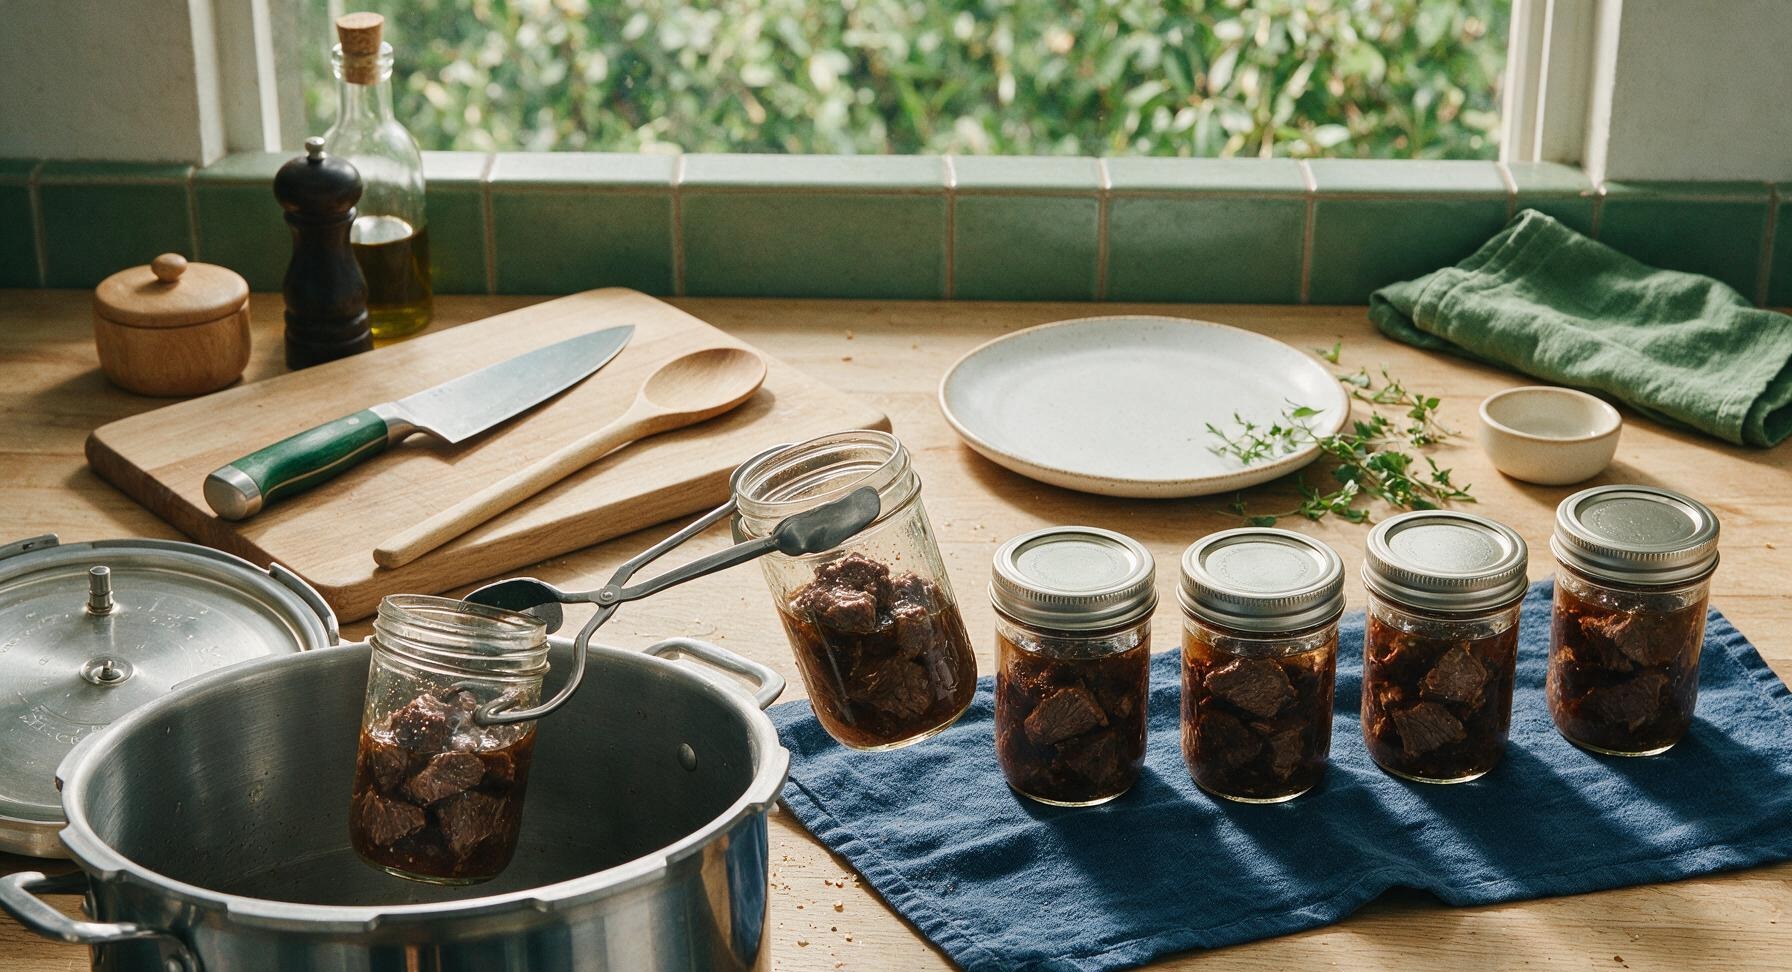
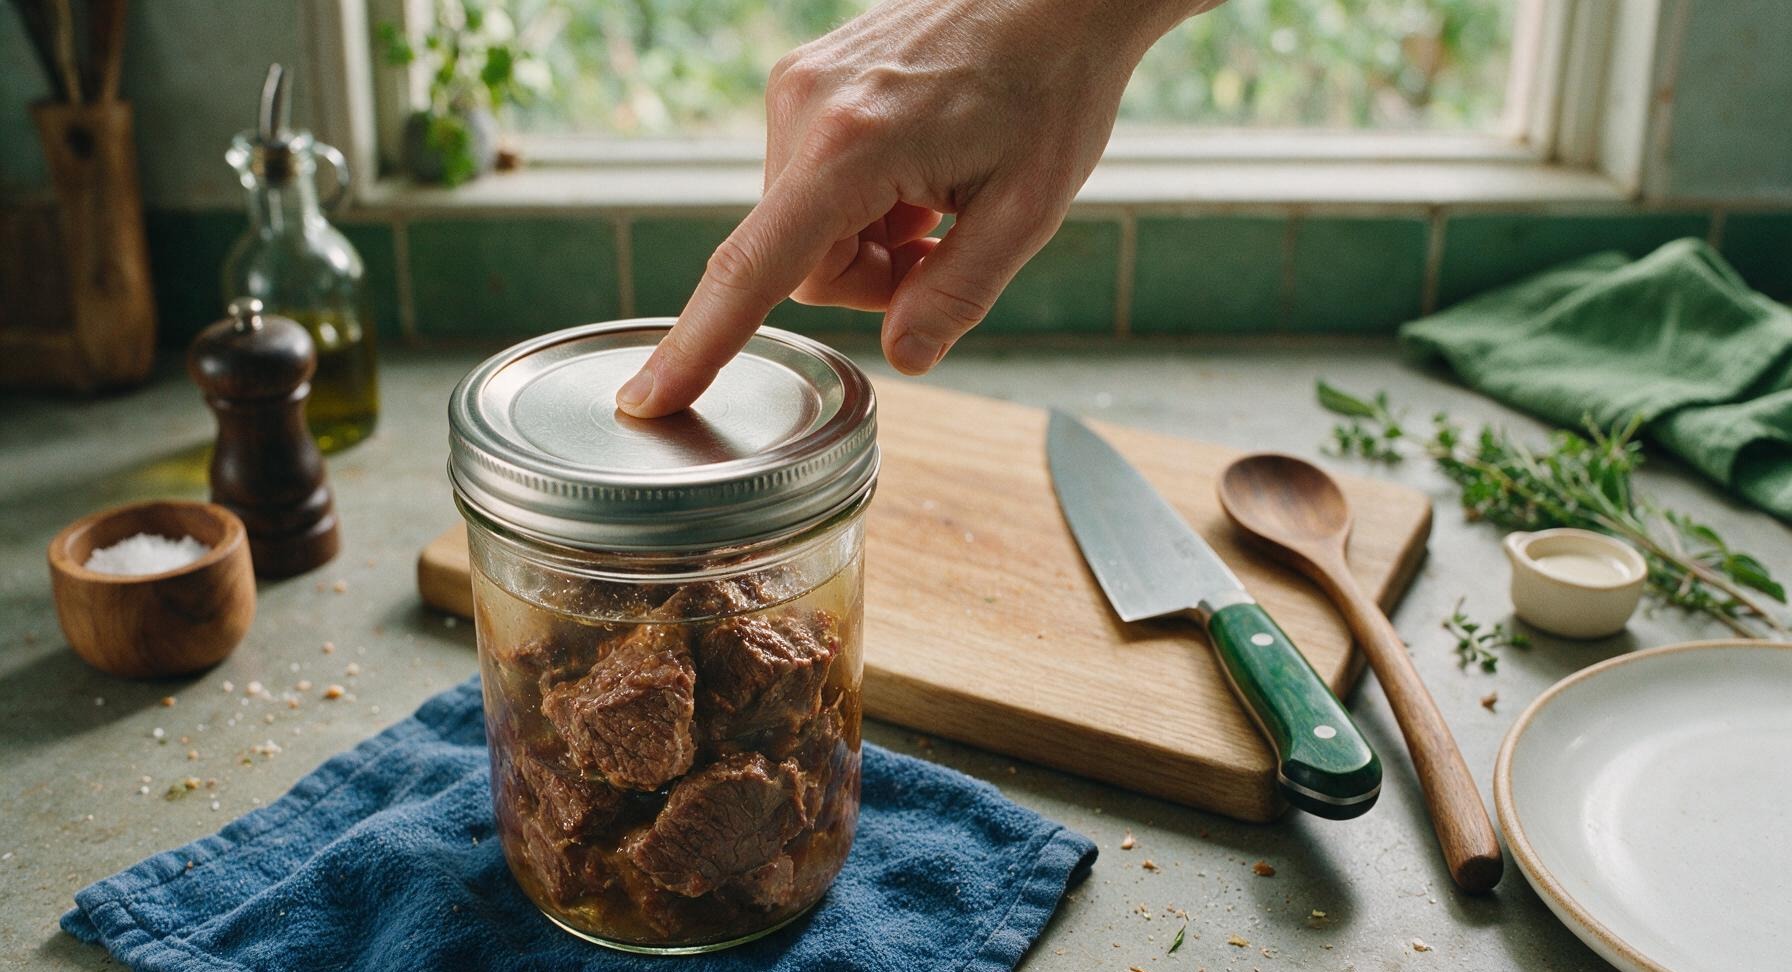
After 90 minutes of processing, turn off the heat and allow the canner to depressurize naturally and completely—do not force-cool the canner with cold water or remove the regulator early, as this causes jar breakage and juice siphoning. Once the pressure gauge reads zero, wait 10 additional minutes, then carefully remove the canner lid, tilting it away from your face to avoid steam burns. Use the jar lifter to transfer jars to the indigo cotton towel on the counter, leaving 2 inches of space between jars to cool undisturbed for 12-24 hours. After cooling, press the center of each lid: lids that do not flex up and down are properly sealed; unsealed jars must be refrigerated and used within 3 days.
Step 8
step8:Cool and Test Seals
Step 8
step8:Cool and Test Seals

Tips

1.Always use a pressure canner (not a boiling water bath canner) for beef: as a low-acid food (pH above 4.6), beef requires sustained 240°F (116°C) heat to destroy dangerous Clostridium botulinum spores, a temperature only reachable under 10 PSI of pressure.
2.Choose well-marbled beef chuck over lean cuts like sirloin for canning: lean cuts become dry and stringy during the long 90-minute processing time, while chuck’s fine fat marbling melts to keep beef tender and rich for up to 1 year of pantry storage.
3.Never tighten screw bands beyond fingertip tight before processing: over-tightening prevents air from escaping the jar during processing, which can cause lids to buckle, jars to break, or failed seals. Screw bands can be removed entirely after jars are fully cooled and sealed for long-term storage.


✨ You May Also Like

Main Course
🍜 United Kingdom

A showstopping classic of tender seared beef, savory mushroom duxelles, and crisp prosciutto wrapped in flaky golden puff pastry, baked to juicy perfection.

⏱️ 2 hours 1Main Course ★ 4.7
Main Course
🍜 India

Tender charred marinated chicken simmered in a rich, spiced creamy tomato sauce, this iconic Anglo-Indian curry pairs perfectly with basmati rice or warm naan.

⏱️ 50 minuteMain Course ★ 4.6
Main Course
🍜 Thailand

Classic tangy, sweet, and savory Thai stir-fried rice noodles with shrimp, tofu, and crunchy garnishes, balancing all five core Thai flavor profiles.

⏱️ 30 minuteMain Course ★ 4.5
Main Course
🍜 United Kingdom

Crispy golden beer-battered cod and fluffy double-fried chips, served with tangy tartar sauce and malt vinegar: the timeless, beloved British pub comfort classic.

⏱️ 45 minuteMain Course ★ 4.7
Main Course
🍜 Mexico

Smoky, chile-marinated pork tacos with caramelized pineapple, fresh cilantro, and lime: a beloved classic Mexican street food perfect for casual summer gatherings.

⏱️ 1 hour 45Main Course ★ 4.8
Main Course
🍜 United States

Crunchy Fritos corn chips layered with savory beef chili and melted cheddar, topped with cool, zesty fixings for a beloved, cozy Tex-Mex comfort food.

⏱️ 35 minuteMain Course ★ 4.8

canning beef:Frequently Asked Questions

1.Why do I have to use a pressure canner for this beef instead of a regular water bath canner? ▾
Beef is a low-acid food, and water bath canners only reach 212°F at sea level—too cool to kill dangerous botulism spores. Pressure canners reach a steady 240°F at the correct PSI, which is the only safe way to can meat, poultry, and other low-acid foods without risking serious foodborne illness. Never skip this step for safety.
2.Why is boneless beef chuck roast recommended over leaner cuts like sirloin or round? ▾
Chuck roast has even, rich marbling that melts gently during pressure canning, keeping the meat tender and flavorful instead of dry, stringy, or tough. Lean cuts lack that fat content, so they often develop a crumbly, unpleasantly dry texture even when packed correctly, and don’t deliver that deep, savory beef flavor this recipe is known for.
3.Why does the recipe specify non-iodized canning salt instead of regular table salt? ▾
Iodized table salt contains added iodine and anti-caking agents that can give your canned beef a bitter, metallic off-flavor and make the jar liquid cloudy over time. Non-iodized canning salt is pure granulated salt with no additives, so it delivers clean, consistent salty flavor without discoloring your finished product or altering taste.
4.How long will properly sealed jars of this beef stay good in the pantry? ▾
For the best flavor and texture, use your canned beef within 1 to 2 years of processing, though it remains technically safe to eat indefinitely as long as the vacuum seal stays fully intact. Store jars in a cool, dark spot away from temperature swings to preserve quality, and always inspect seals closely before opening.
5.Do I need to cook the beef before packing it into canning jars? ▾
For the richest flavor and best texture, I recommend hot packing: cube your chuck, sear it lightly on all sides to build deep, savory browning, then pack it hot into jars. Raw packing works, but it leads to more meat shrinkage during processing, higher risk of siphoning, and a less developed, blander final flavor.
6.How many whole black peppercorns should I add per jar? ▾
For standard quart jars, add ½ teaspoon (roughly 10 to 12 whole peppercorns) for a warm, subtle peppery note that infuses the beef without overpowering it. For pint jars, cut that amount to ¼ teaspoon (5 to 6 peppercorns). You can tweak this slightly to taste, but don’t overdo it—the flavor concentrates during storage.
7.How much headspace do I need to leave in each jar to avoid seal failure? ▾
Always leave exactly 1 inch of headspace between the top of the packed beef, added liquid, and the jar rim. This empty space gives contents room to expand as pressure builds during processing, prevents liquid from siphoning out under the lid, and helps form a tight, reliable vacuum seal as jars cool.
8.Can I add extra seasonings like garlic or bay leaves to the jars? ▾
You can add small amounts of dried, shelf-stable seasonings, like one bay leaf or ¼ teaspoon of dried garlic per quart jar, for extra flavor. Skip fresh garlic, fresh herbs, or onions, though—these can introduce unwanted bacteria, alter the pH, or create bitter off-flavors during long pantry storage.
9.What pressure setting do I need to use, and does that change with altitude? ▾
For weighted-gauge canners, use 10 PSI at altitudes below 1,000 feet, adding 1 PSI for every additional 2,000 feet of elevation. For dial-gauge canners, use 11 PSI below 1,000 feet, adding 1 PSI for every 2,000 feet higher you are, to ensure enough heat to kill harmful pathogens.
10.How long do I need to process pint vs quart jars of this beef? ▾
Process pint jars for 75 minutes and quart jars for 90 minutes once your canner reaches the correct, steady pressure for your altitude. Never cut this processing time short—this long, consistent heat ensures it penetrates all the way to the center of every jar for fully safe results.
11.What should I do if a jar doesn’t seal properly after processing? ▾
If a jar fails to seal (meaning the lid doesn’t pull down into a tight concave shape and make a firm pop after 12 to 24 hours of cooling), don’t store it on the shelf. You can either reprocess the contents within 24 hours with a brand new lid and full processing time, or refrigerate the beef and use it within 4 days.
12.Do I need to add extra liquid to the jars, or will the beef release enough juice on its own? ▾
Even though beef releases natural juices during processing, you should cover packed meat with boiling beef broth or hot water to meet the required 1-inch headspace. This prevents exposed meat from darkening in storage, reduces trapped air pockets, and helps heat distribute evenly through jars during processing.
13.The liquid in my cooled jars is slightly cloudy—does that mean the beef is spoiled? ▾
Slight, uniform cloudiness is usually just dissolved fat and natural mineral content from the beef, especially if you used the raw pack method, and is totally safe as long as the jar has a firm, unbroken seal. If cloudiness comes with a foul smell, bulging lid, or bubbling when opened, discard the jar immediately.
14.Do I have to trim all the fat off the chuck roast before canning? ▾
Trim off thick, hard chunks of surface fat from the roast before cubing, leaving only the thin, marbled streaks within the meat for flavor. Too much loose surface fat can seep under the lid rim during processing, preventing a tight seal, and can cause rancid off-flavors to develop during long pantry storage.
15.Can I reuse canning lids from old batches for this recipe? ▾
Never reuse single-use metal canning lids, because the soft sealing compound around the lid edge gets permanently compressed after one processing cycle, leading to very high seal failure risk. You can reuse undamaged glass jars and rust-free metal screw bands, but always use fresh, new lids for every canning batch.
16.Can I cut back on the canning salt to make a lower-sodium version? ▾
Canning salt in this recipe is only for flavor, not preservation, so you can reduce the amount or leave it out entirely to fit low-sodium diets without impacting safety. Just note that unsalted canned beef may have a slightly blander, less rounded flavor, so you can always add extra salt when you heat it up to eat.
17.What’s the best way to use this canned beef once I open a jar? ▾
Once opened, drain the beef (save the rich, flavorful jar broth for soups, gravies, or cooking grains!) and use it for quick stews, hot roast beef sandwiches, beef and noodle skillets, taco filling, or pot pies. The beef is already fully tender, so you only need to heat it through instead of slow-cooking it for hours.
18.Why can’t I add potatoes or carrots to the jars to make ready-to-eat canned stew? ▾
Adding low-acid vegetables changes the required processing time and heat penetration dynamics in each jar, so it’s not safe to wing it. Stick to tested plain beef canning for this recipe, and use a separate, USDA-tested beef stew recipe if you want ready-to-eat mixed meals, or add veggies when you cook the opened beef.
19.How should I store sealed jars to get the longest shelf life? ▾
Store fully cooled, sealed jars in a cool, dark, dry spot that stays a consistent 50 to 70°F, away from direct sunlight, furnace vents, or damp areas. Remove screw bands before storage to avoid trapping moisture that causes lid rust, and label every jar with its canning date so you can track quality over time.
20.How do I tell if a jar of canned beef is spoiled and unsafe to eat? ▾
Throw out any jar with a bulging, cracked, or loose lid, spurting liquid when you break the seal, a sour or foul off-odor, visible mold, or slimy texture on the beef. Never taste test suspicious canned goods—botulism is tasteless and odorless, so when in doubt, throw it out immediately to avoid serious illness.

Comments (13)

3 days ago

OMG this is such a game changer for my weekly meal prep! I canned 8 pints last weekend and used one last night for quick beef stroganoff on a busy school night. My kids devoured it, no one even guessed it was from a jar! SO good, will be making this every couple months to stock my pantry.

2 days ago

Wait, how long do these stay good on the shelf? I’ve been nervous to try pressure canning meat because I’m scared I’ll mess up the safety stuff!

yesterday

So glad your family loved it! As long as you follow the tested pressure and processing time for your altitude, these jars are shelf-stable for 12-18 months in a cool, dark pantry. Always make sure lids are properly sealed before storing!

1 week ago

Took a batch of this canned beef to our church potluck last Sunday, used it to make quick sliders with a little BBQ sauce, and people were hounding me for the recipe all night. Cut up the chuck into 1 inch cubes like the recipe said, seasoned simple, came out tender every single jar. Worth the time investment for sure.

5 days ago

Love the slider idea! That’s such a creative way to use this canned beef for a crowd — I’ll have to steal that for my next neighborhood cookout.

2 weeks ago

Followed the recipe exactly for my altitude here (6500ft, added the extra pressure time per the guide) and all 12 quarts sealed perfectly on the first try. The beef is way more flavorful than the store-bought canned stuff I used to stock, no weird metallic aftertaste at all. Solid, tested recipe, no frills, exactly what I look for when canning low-acid foods.

5 days ago

Okay, full transparency: I was so intimidated to use my pressure canner for the first time, but this recipe broke every step down so clearly I felt confident the whole time. Cook time was exactly what was listed, no guesswork, and the beef came out so tender it shreds with a fork right out of the jar. Knocked a star off only because I wish there was a note about customizing seasoning blends for different cuisines, but otherwise perfect! My only regret is not making a double batch!

3 days ago

That’s such great feedback! I’ll add a section soon with seasoning ideas — think taco blend for quick taco nights, Italian herb for pasta sauces, and Cajun spice for gumbo starters. So glad your first canning run went smoothly!

2 hours ago

Quick question before I dive in: has anyone tried this with round roast instead of chuck? I got a killer deal on a whole round roast at the grocery store this week and want to can it instead of freezing all of it. The recipe says chuck is best, but don’t want to waste the meat if round will turn out too tough. Fingers crossed this works as well as everyone says!

30 minutes ago

I did round roast last month with this exact recipe! Just trim all the silverskin really well, and it comes out great — a little leaner than chuck, but perfect for adding to soups and stews. No toughness issues at all for me!

5 minutes ago

Great question! Round roast works just fine as Jen mentioned — it’s leaner, so you can add a tiny bit of beef tallow to each jar if you want a richer end result, but it’s totally safe and will process the same as chuck. Just be extra diligent trimming silverskin for the best texture!

1 week ago

Made this last fall when we butchered our half cow, and I cannot tell you how many quick weeknight dinners these jars have saved. Quick chili, vegetable beef soup, beef and noodles, even hot beef sandwiches for my husband’s work lunches — it’s like having pre-cooked beef ready to go at all times. 10/10, no notes, will be a staple in our canning rotation forever.

yesterday

Ugh, first time making this I forgot to adjust for my altitude (I’m at 4000ft, used the sea level processing time) and half my jars didn’t seal. Total bummer, because the ones that did seal were SO good, I made beef tips and rice with one and it tasted like it had been slow cooked all day. Gonna try again this weekend with the right timing!

yesterday

Oh I’ve been there! Altitude adjustments are such an easy thing to miss when you’re first starting out. I tape a little altitude cheat sheet to the top of my canner so I never forget now. You’ve got this on the second round!

2 hours ago

So sorry you had sealing issues! Altitude adjustments are tricky when you’re new — definitely double check the weighted gauge PSI for your elevation, and you’ll have perfect jars this go around. So glad the sealed jars tasted great for you!

2 weeks ago

Canned 10 pints of this right before deer season last year, and they were perfect to bring up to the hunting camp. No refrigeration needed, just heat and eat over the camp stove after a long day out in the woods. Way better than the sad freeze-dried meals everyone else brought. Already stocked up on beef to can a double batch before this year’s season starts.

1 week ago

Dude, that’s genius! I never thought to bring home-canned food on hunting trips, I always default to freeze dried too. Gonna can a few jars of this to bring on our elk trip this fall for sure.

5 days ago

I did the math after making this — it’s literally half the cost per ounce of the premium canned beef at the grocery store, and it tastes 10x better. I bought a bulk pack of chuck when it was on sale for $2.99/lb, canned 12 pints, and it’s going to save me so much money on takeout on busy nights. Win win!

3 days ago

Wait that’s such a good point! I never crunched the numbers, but I always thought canning was more expensive. I’m gonna hit up the grocery store this week when chuck goes on BOGO and stock up to can too!

2 days ago

Love that! Buying meat on manager’s special or bulk sale is my favorite hack for keeping grocery costs down, and canning lets you lock in that low price without taking up freezer space. So smart!

2 days ago

I added a little garlic clove and a bay leaf to each jar like my grandma used to do, and oh my gosh the flavor is out of this world. Served it over mashed potatoes with a little pan gravy for Sunday family dinner last week, and even my picky 12 year old asked for seconds. This recipe is a keeper for sure.

30 minutes ago

Full disclosure: I’ve only ever water bath canned jams and pickles before, so pressure canning meat felt totally out of my comfort zone. This recipe made the whole process so straightforward, I didn’t panic once when the canner started hissing! The beef came out melt-in-your-mouth tender, I’m already brainstorming what else I can pressure can now.

5 minutes ago

Welcome to the pressure canning club! It’s so intimidating at first, but once you get the hang of it, it opens up a whole world of pantry staples you can make at home. So proud of you for giving it a shot!

3 days ago

Recipe was solid, but I wish it had more built-in seasoning recommendations. The plain beef is fine, but I added a teaspoon of smoked paprika and a little black pepper to half my jars and those were way more flavorful out of the jar than the plain ones. Still a great base recipe though, super reliable processing times.

2 days ago

Totally agree! I did a few jars with Montreal steak seasoning and a few with onion powder, and it’s fun to customize each batch for different meals. The plain ones are perfect for when you need a neutral base for recipes with lots of other flavors though!

just now

As someone who eats 100% gluten free, having home-canned beef on hand is a total lifesaver. No hidden fillers, no weird additives, just plain beef I canned myself so I know exactly what’s in it. Used a jar last night for quick gluten-free beef and broccoli, it was ready in 15 minutes flat and tasted better than takeout. Can’t recommend this enough for anyone with food sensitivities.



