
Caprese Panini
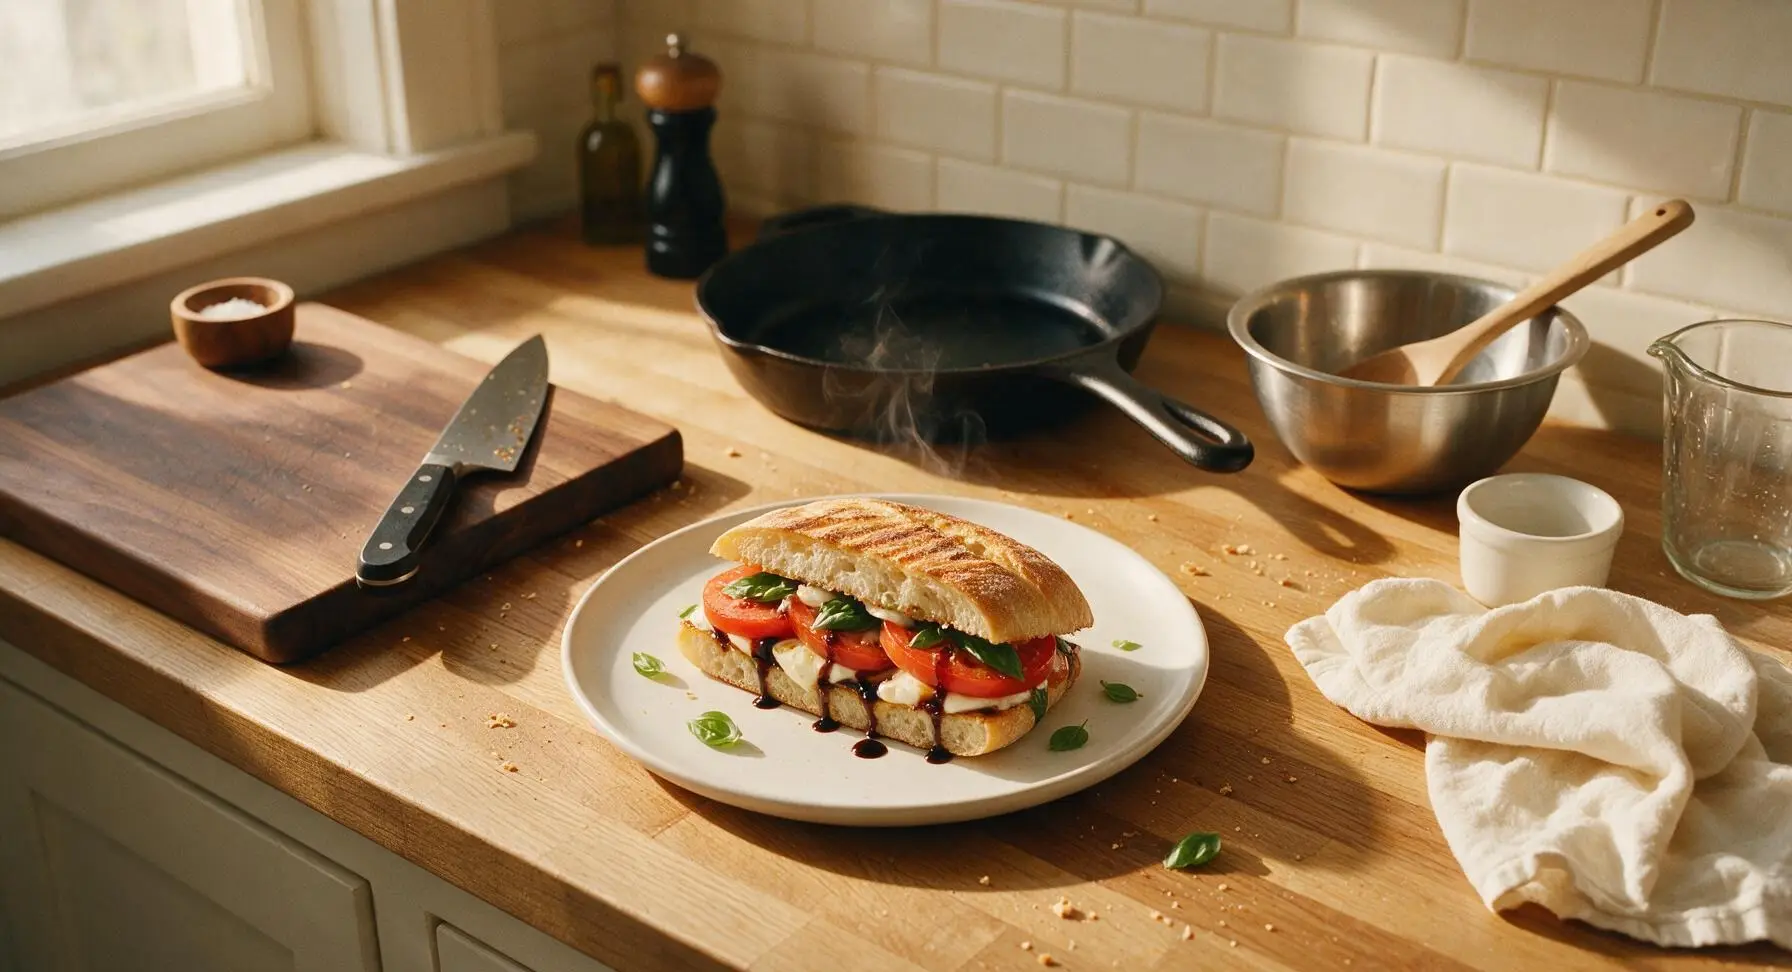
intro
Crispy pressed ciabatta oozing with melted fresh mozzarella, juicy ripe summer tomato, and fragrant basil, finished with bright balsamic glaze—classic Italian comfort in under 20 minutes.
Ingredients
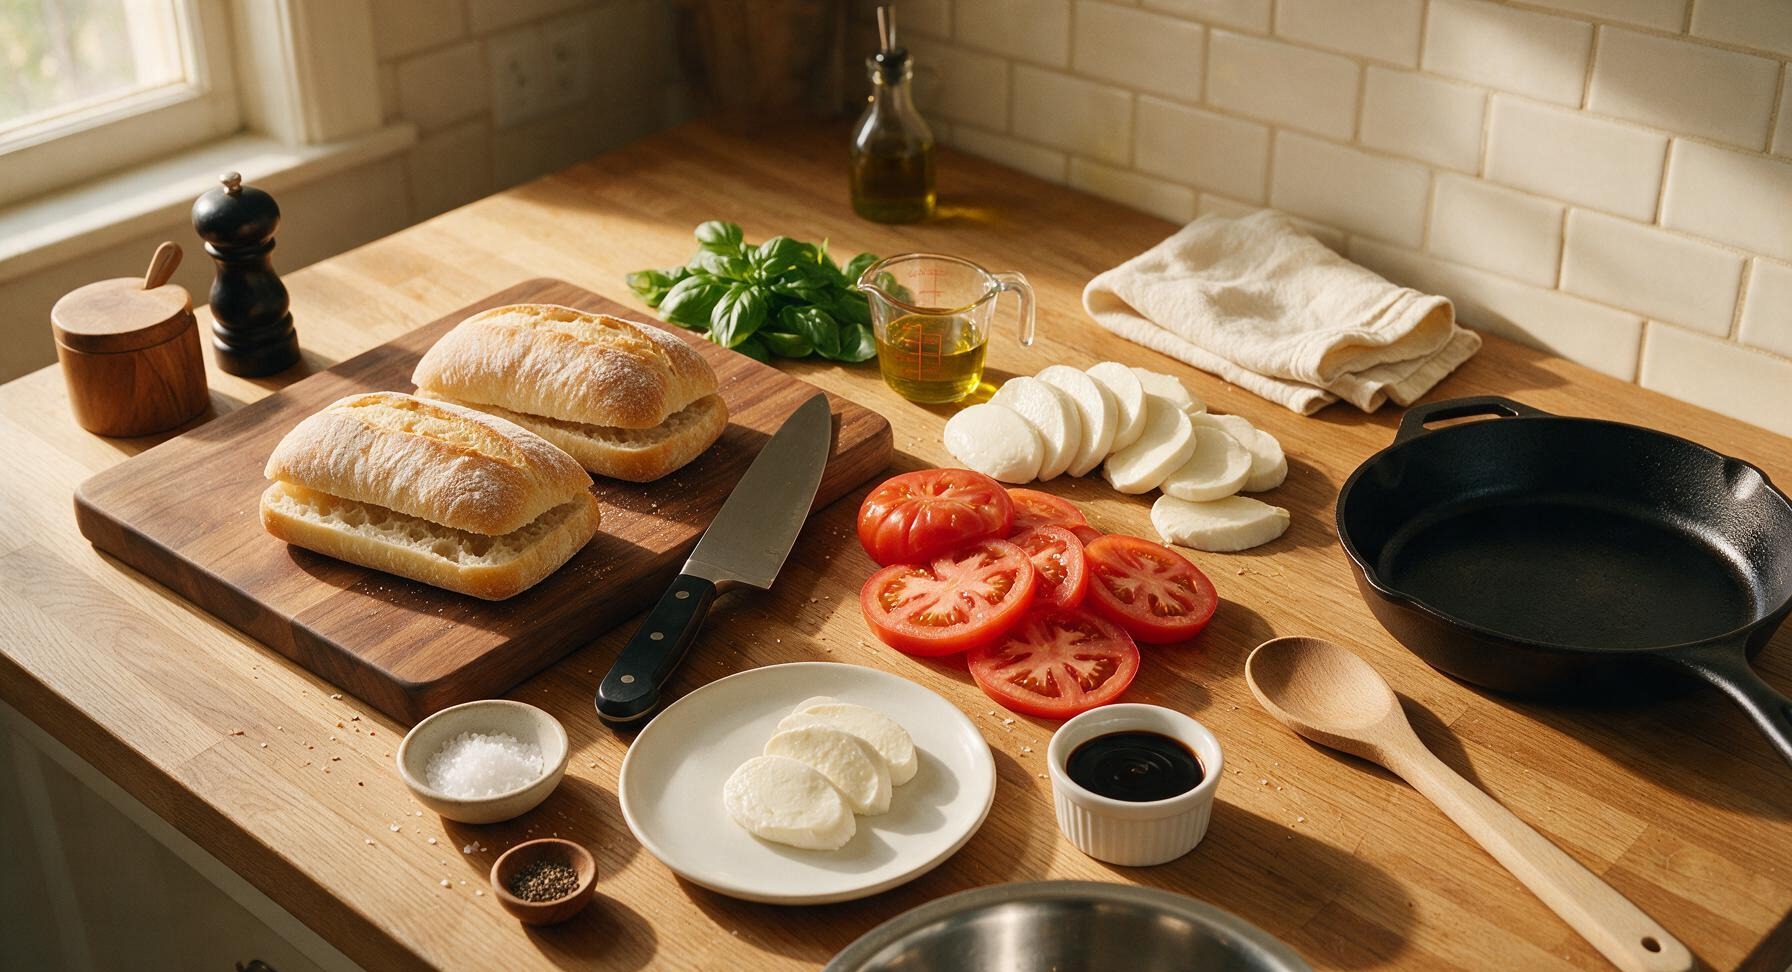
Steps
Prep and Dry Ingredients
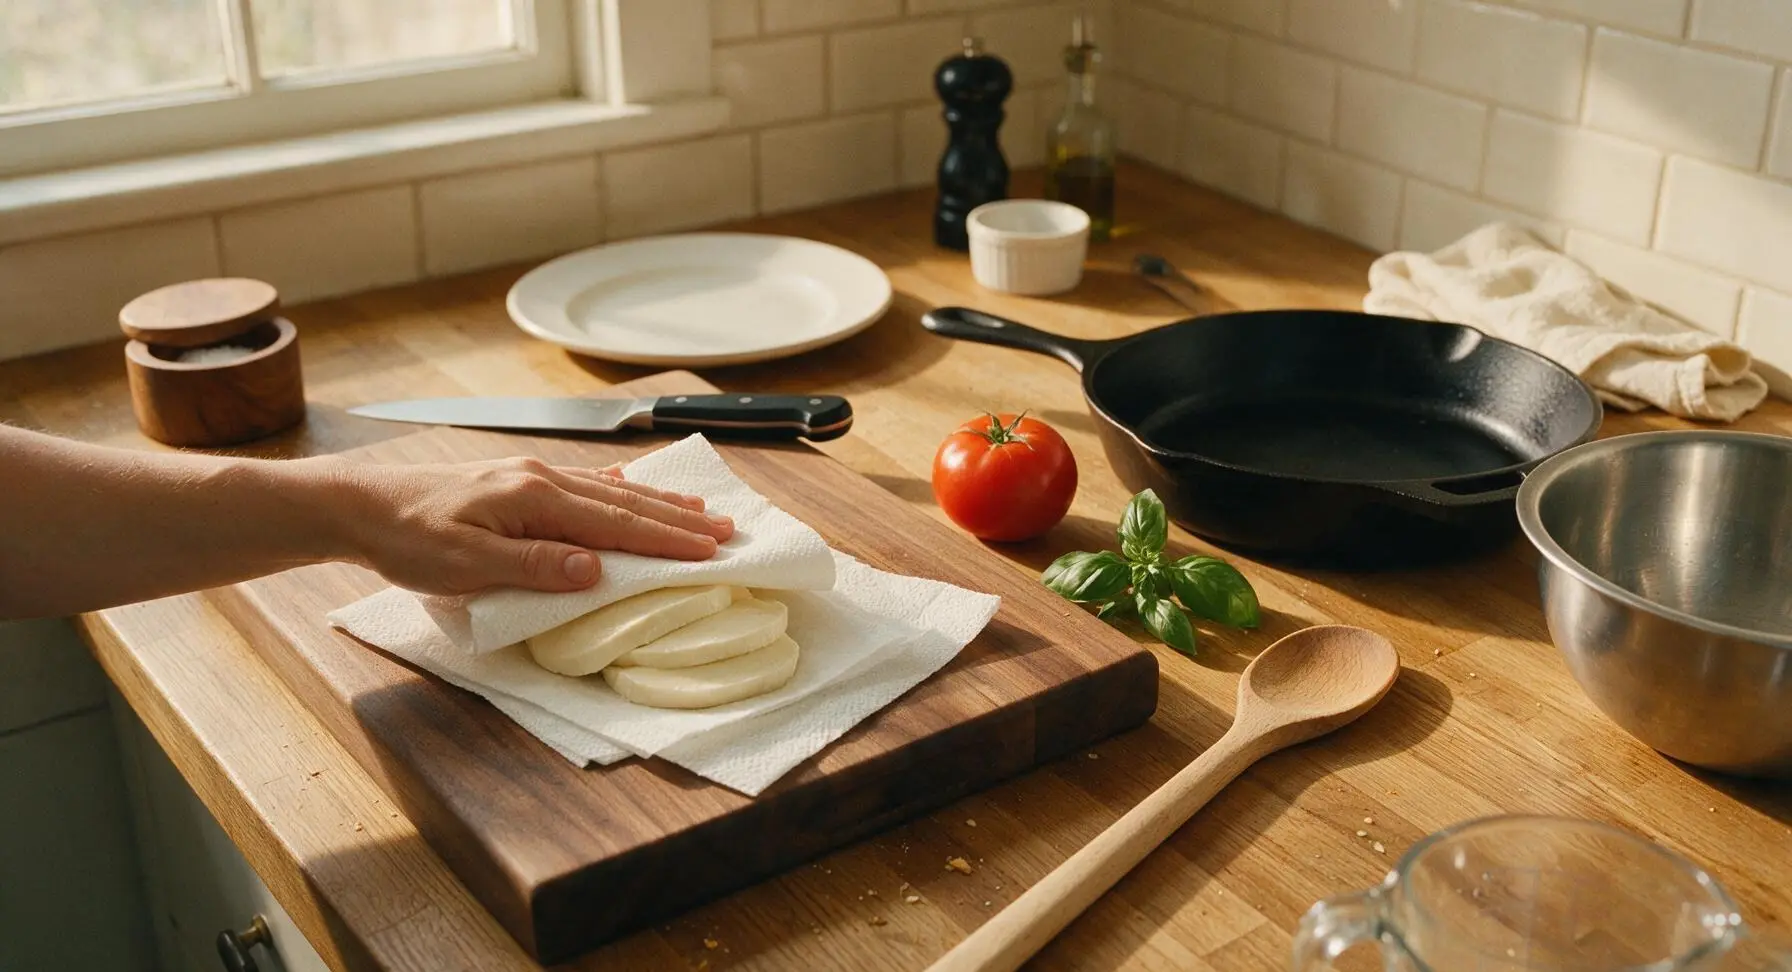
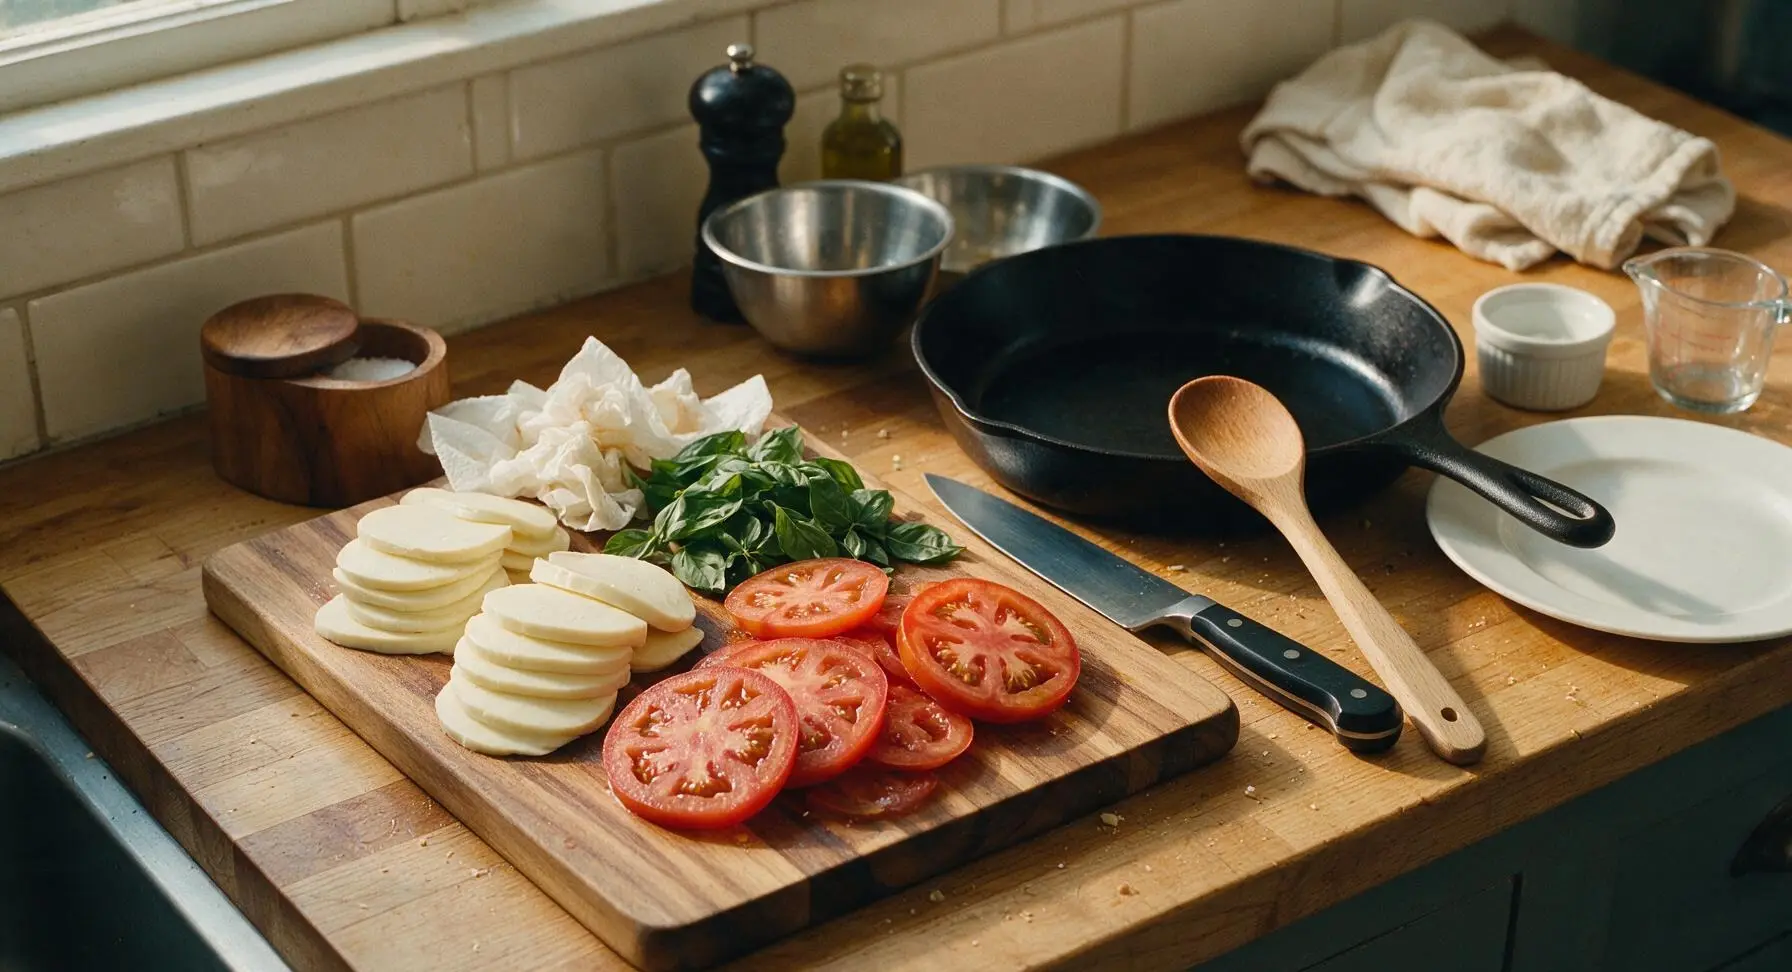
Place the acacia wood cutting board center-left on the counter. Use the chef knife to slice the fresh mozzarella into uniform 1/4-inch thick slices, then lay slices on 2 stacked paper towels, patting firmly with a third paper towel to remove excess whey. Slice the heirloom tomato into 1/4-inch thick rounds, lightly scooping out the seedy, juicy pulp with the tip of the knife, then pat tomato slices dry with paper towels as well. Pick fresh basil leaves from their stems, discarding any bruised or browned leaves. Preheat the cast iron grill pan over medium heat (350°F/175°C) while you assemble the sandwiches. Properly dried ingredients prevent soggy bread.
Brush Bread With Oil
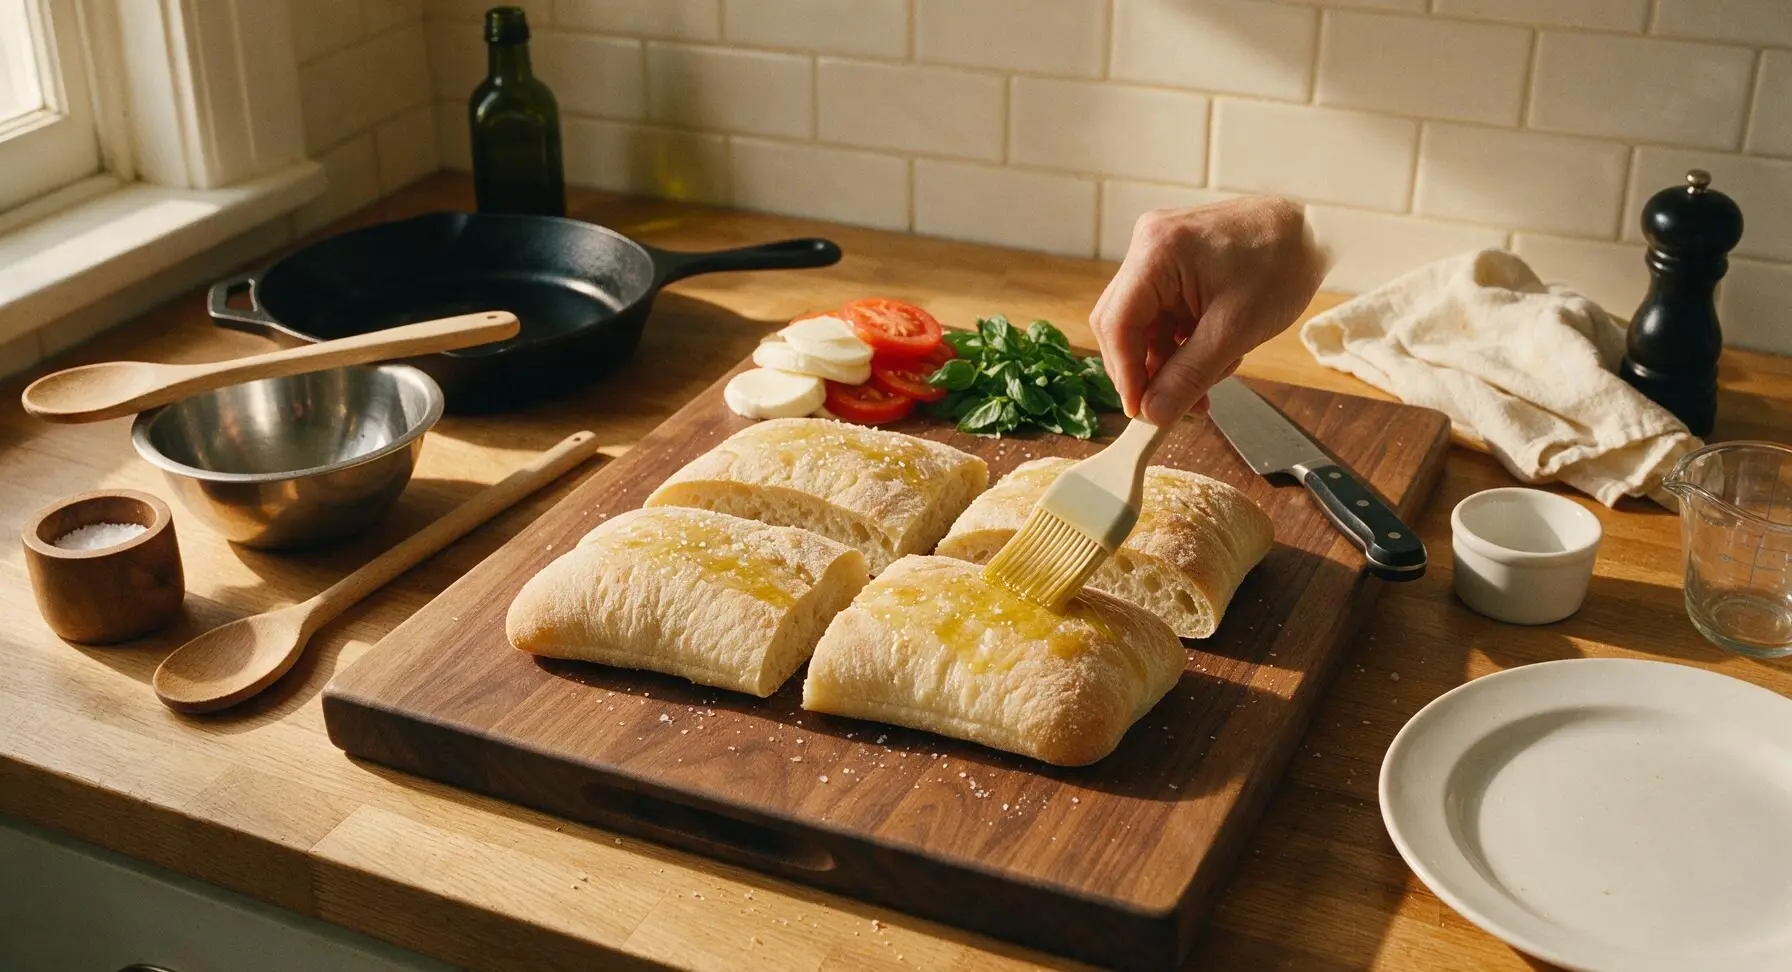
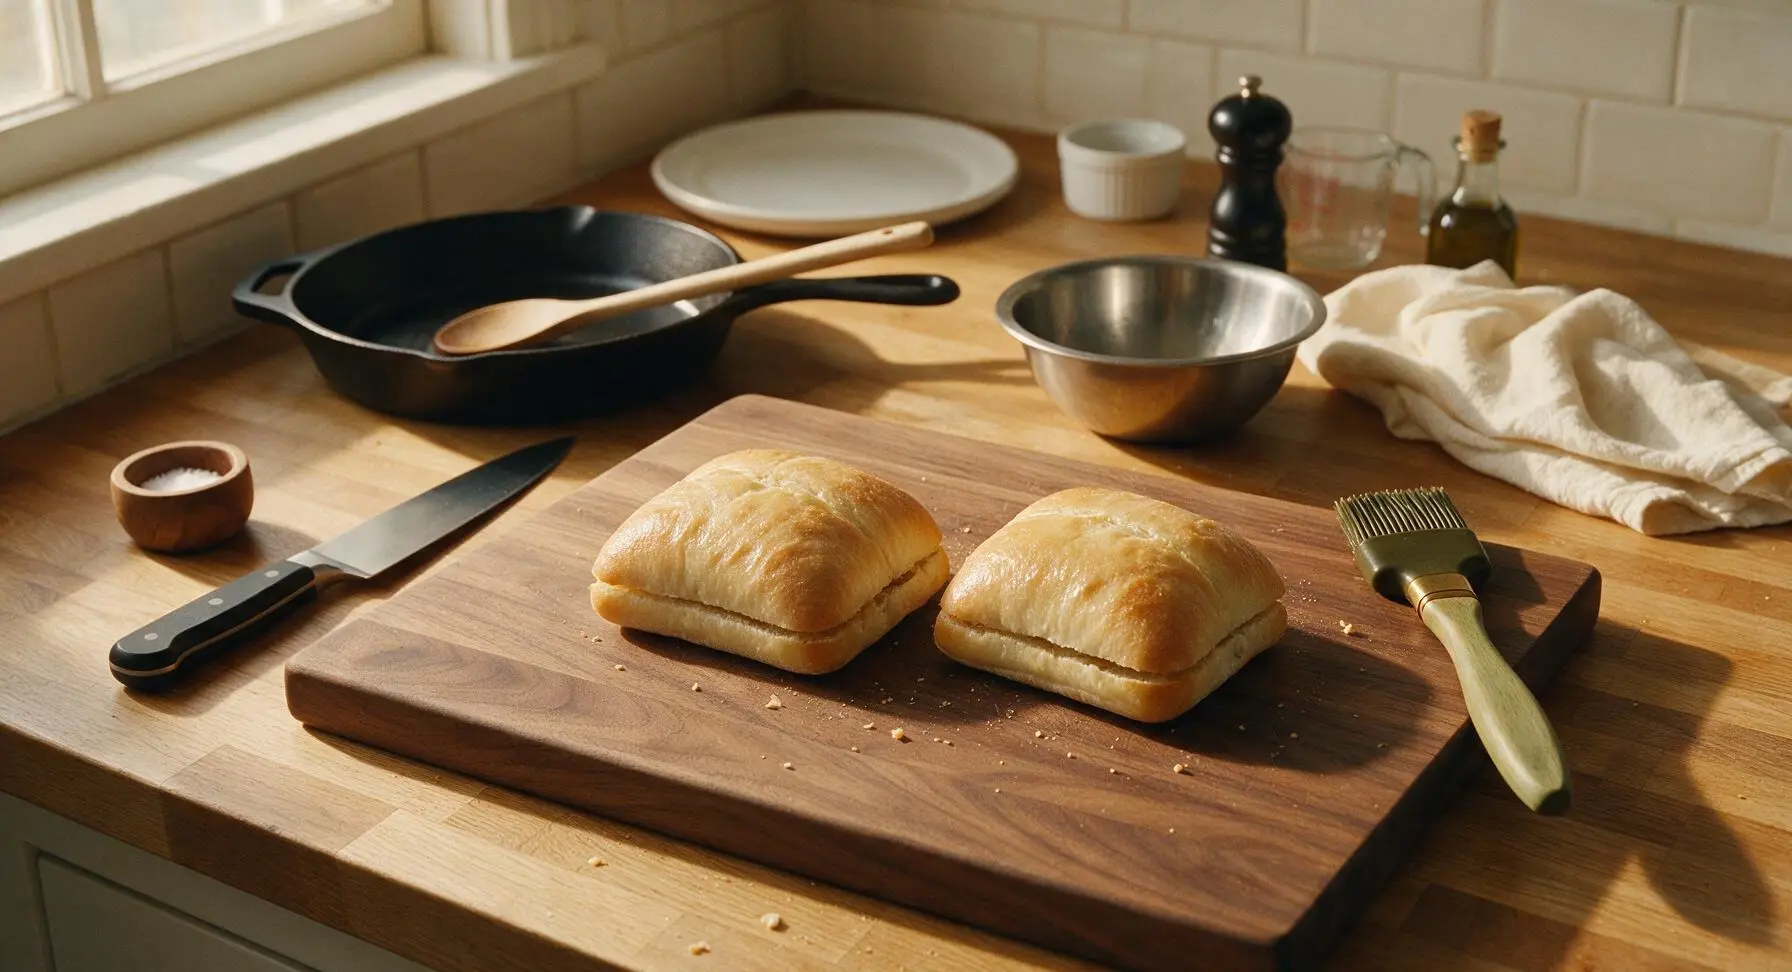
Lay the split ciabatta rolls crust-side up on the cutting board. Use the silicone basting brush to coat the outer crust sides of each bread half with the 1.5 tablespoons of extra-virgin olive oil, covering the entire crust surface evenly for a crispy, golden finish. Sprinkle the oiled crusts lightly with a pinch of flaky sea salt. Leave the inner cut sides of the bread un-oiled to help hold fillings in place and prevent sogginess.
Layer Panini Fillings
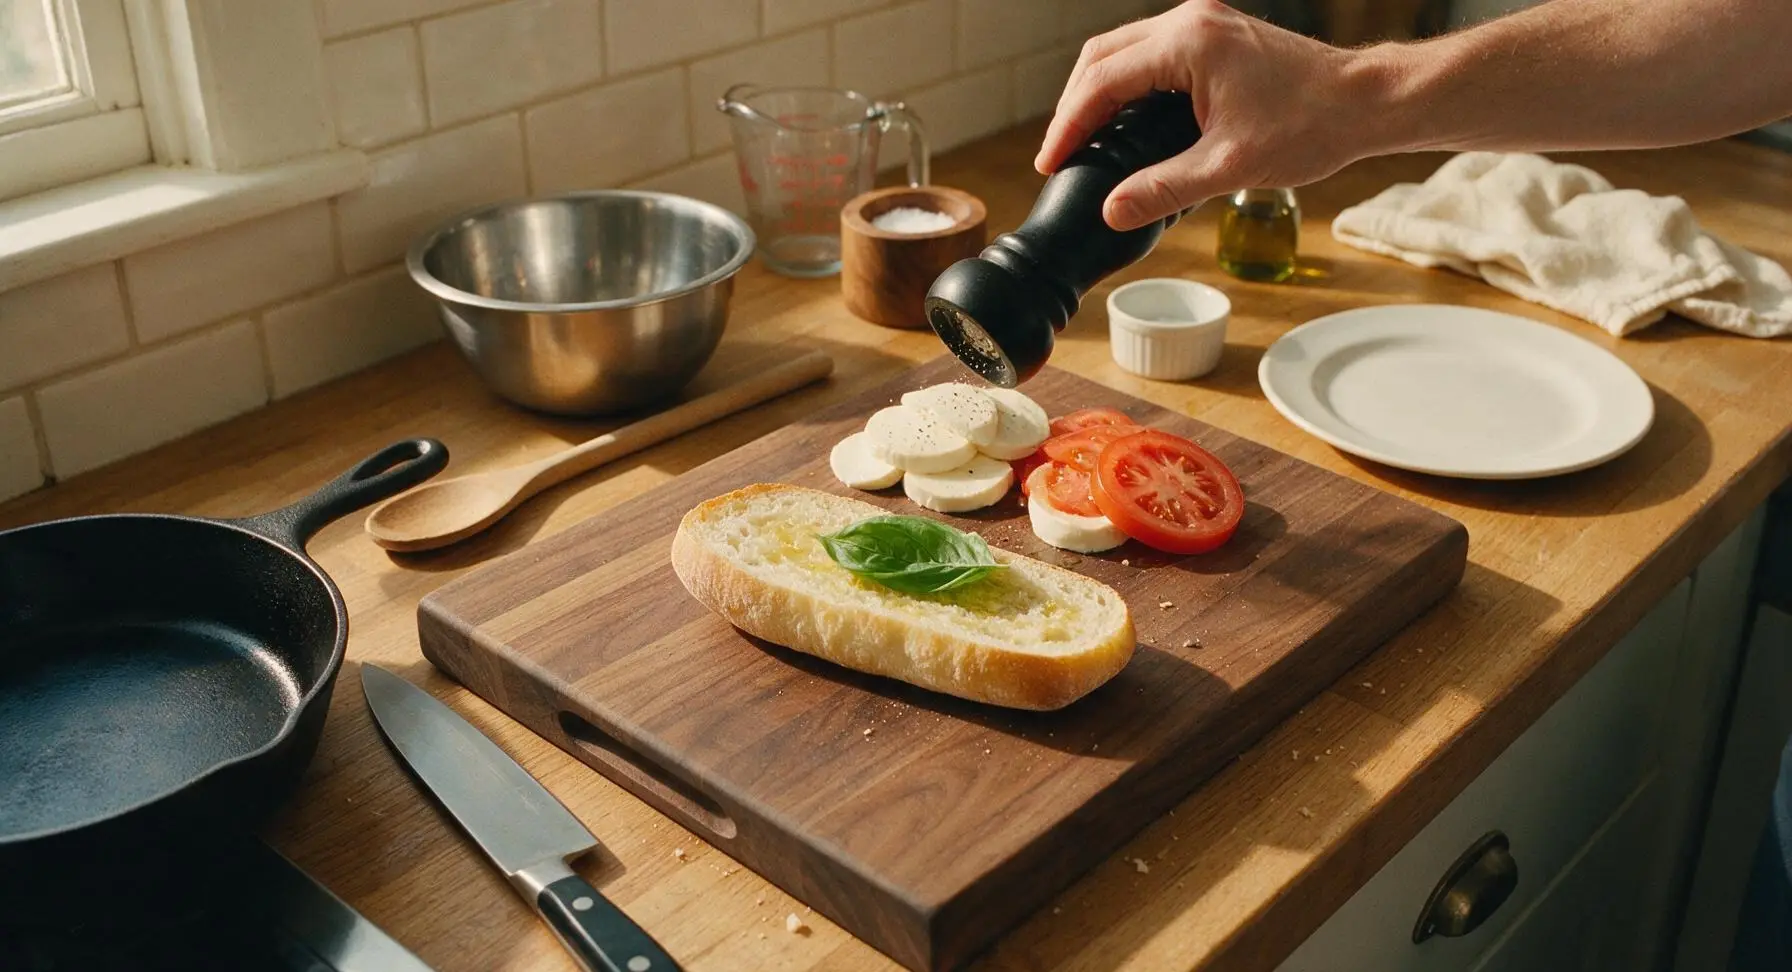
Flip the oiled bread halves so the oiled crust side faces down. On the bottom half of each roll, layer fillings in this order to lock in moisture and prevent sogginess: first 3-4 fresh basil leaves laid flat, then half the sliced mozzarella, then half the tomato slices, a light sprinkle of flaky sea salt and fresh black pepper, then another 2-3 basil leaves, then the remaining mozzarella. Top with the remaining bread half, oiled crust side facing up. Press down gently on each assembled sandwich to compact fillings slightly so they do not slide out while pressing.
Grill Pressed Panini
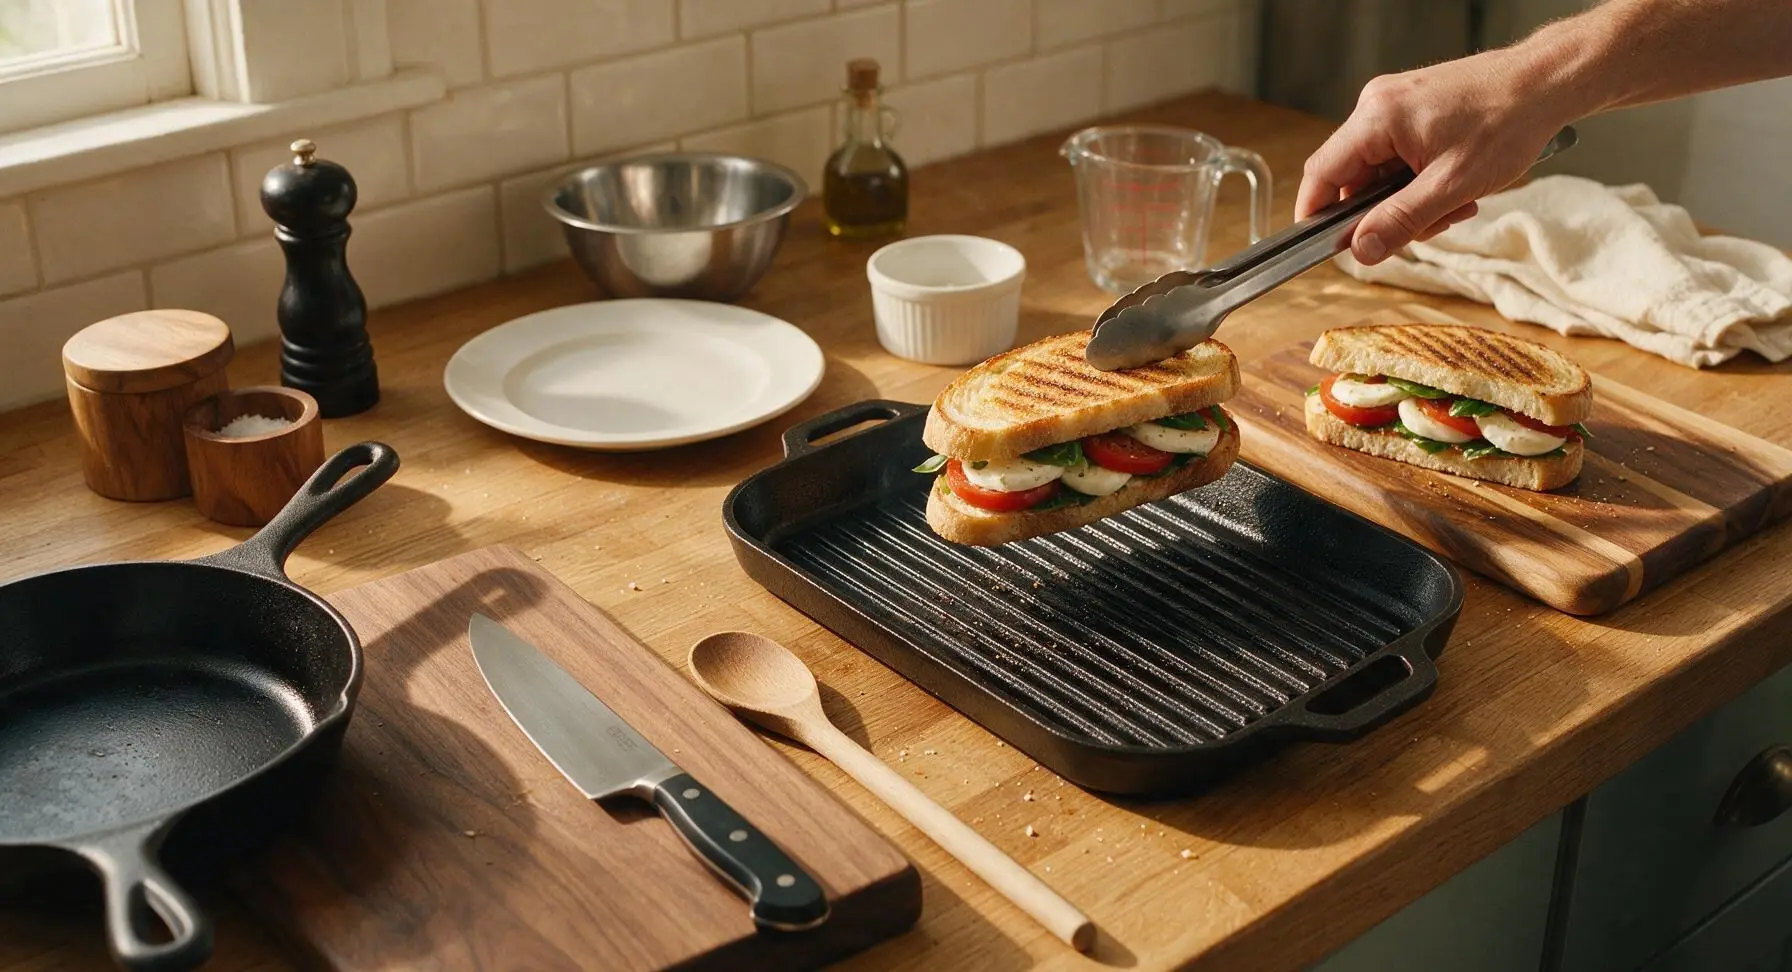
Once the grill pan is preheated (test by sprinkling a drop of water—it should sizzle and evaporate in 2 seconds), carefully place both assembled sandwiches onto the hot ridged surface. Place the matching cast iron press weight directly on top of the sandwiches, pressing down gently to create even contact with the grill ridges. Cook for 4 minutes, until the bottom crust is deep golden brown with distinct dark grill marks, and cheese starts to melt and bubble around the sandwich edges.
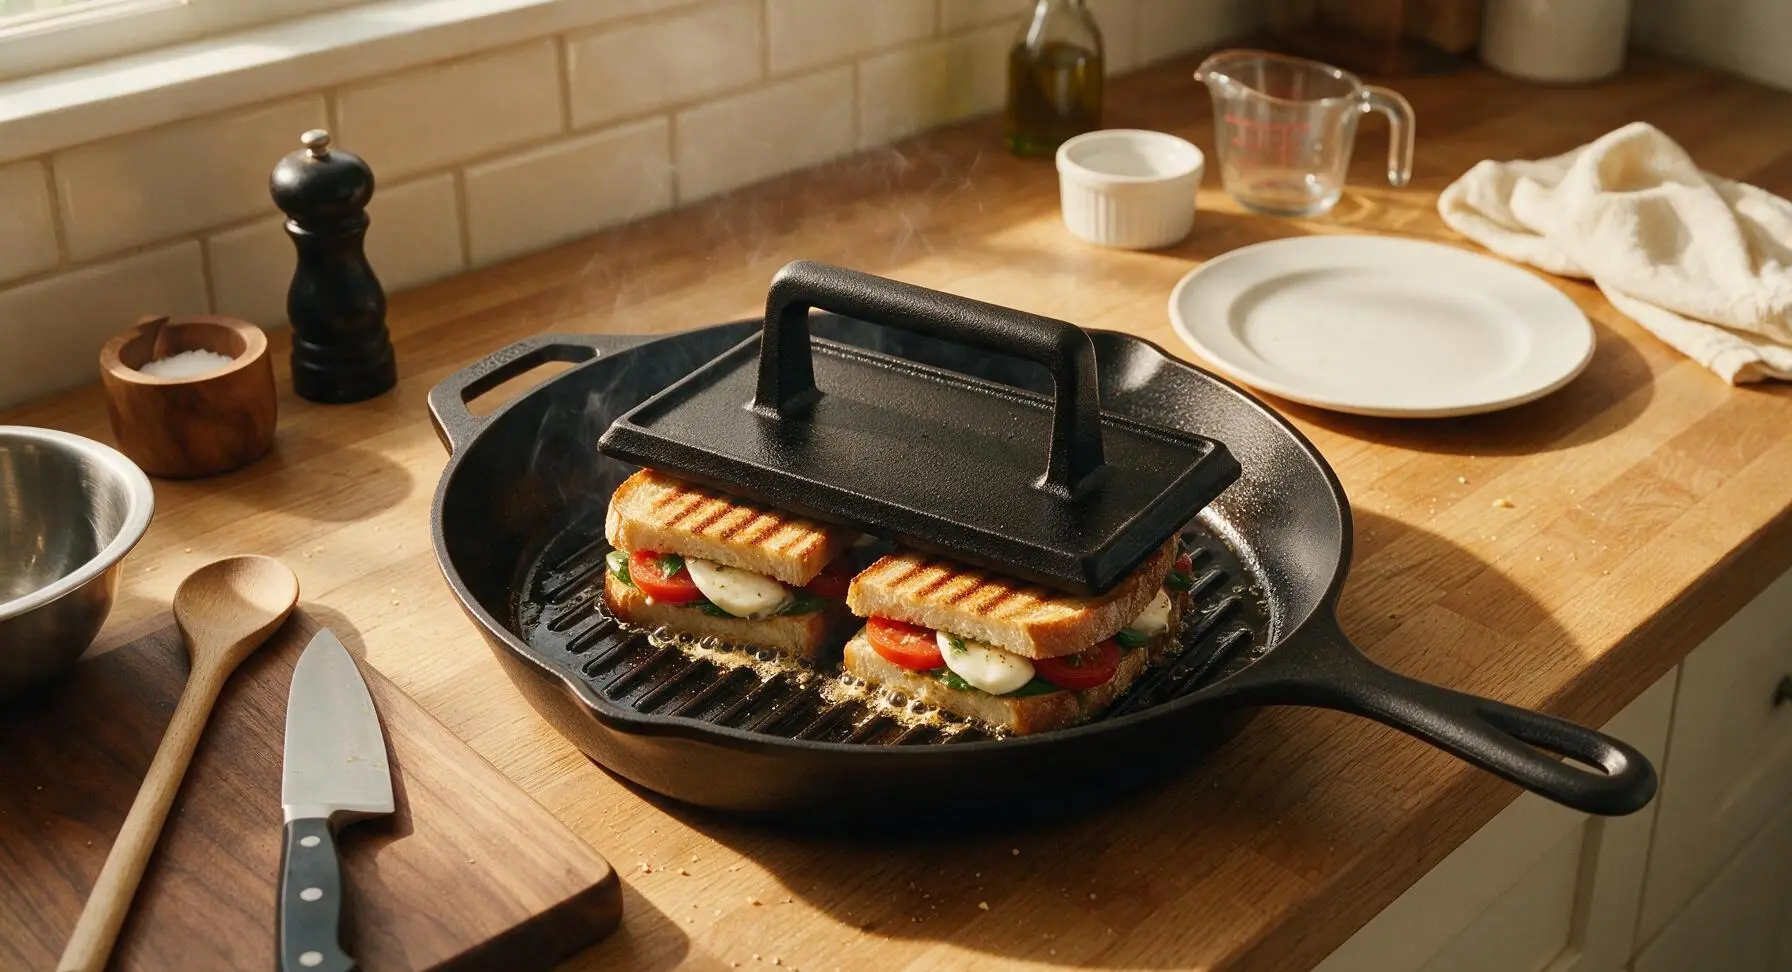
Flip and Finish Cooking
After 4 minutes, use the tongs to lift the hot press weight off the pan, setting it temporarily on the folded linen towel to protect the marble countertop. Carefully flip each panini with the tongs, replace the press weight on top, and cook for another 3-4 minutes. The panini is done when the second crust is golden brown with grill marks, and the mozzarella is fully melted and stringy when you gently lift a corner of the bread. Internal filling temperature should reach 145°F (63°C) for perfectly melted cheese without burnt bread.
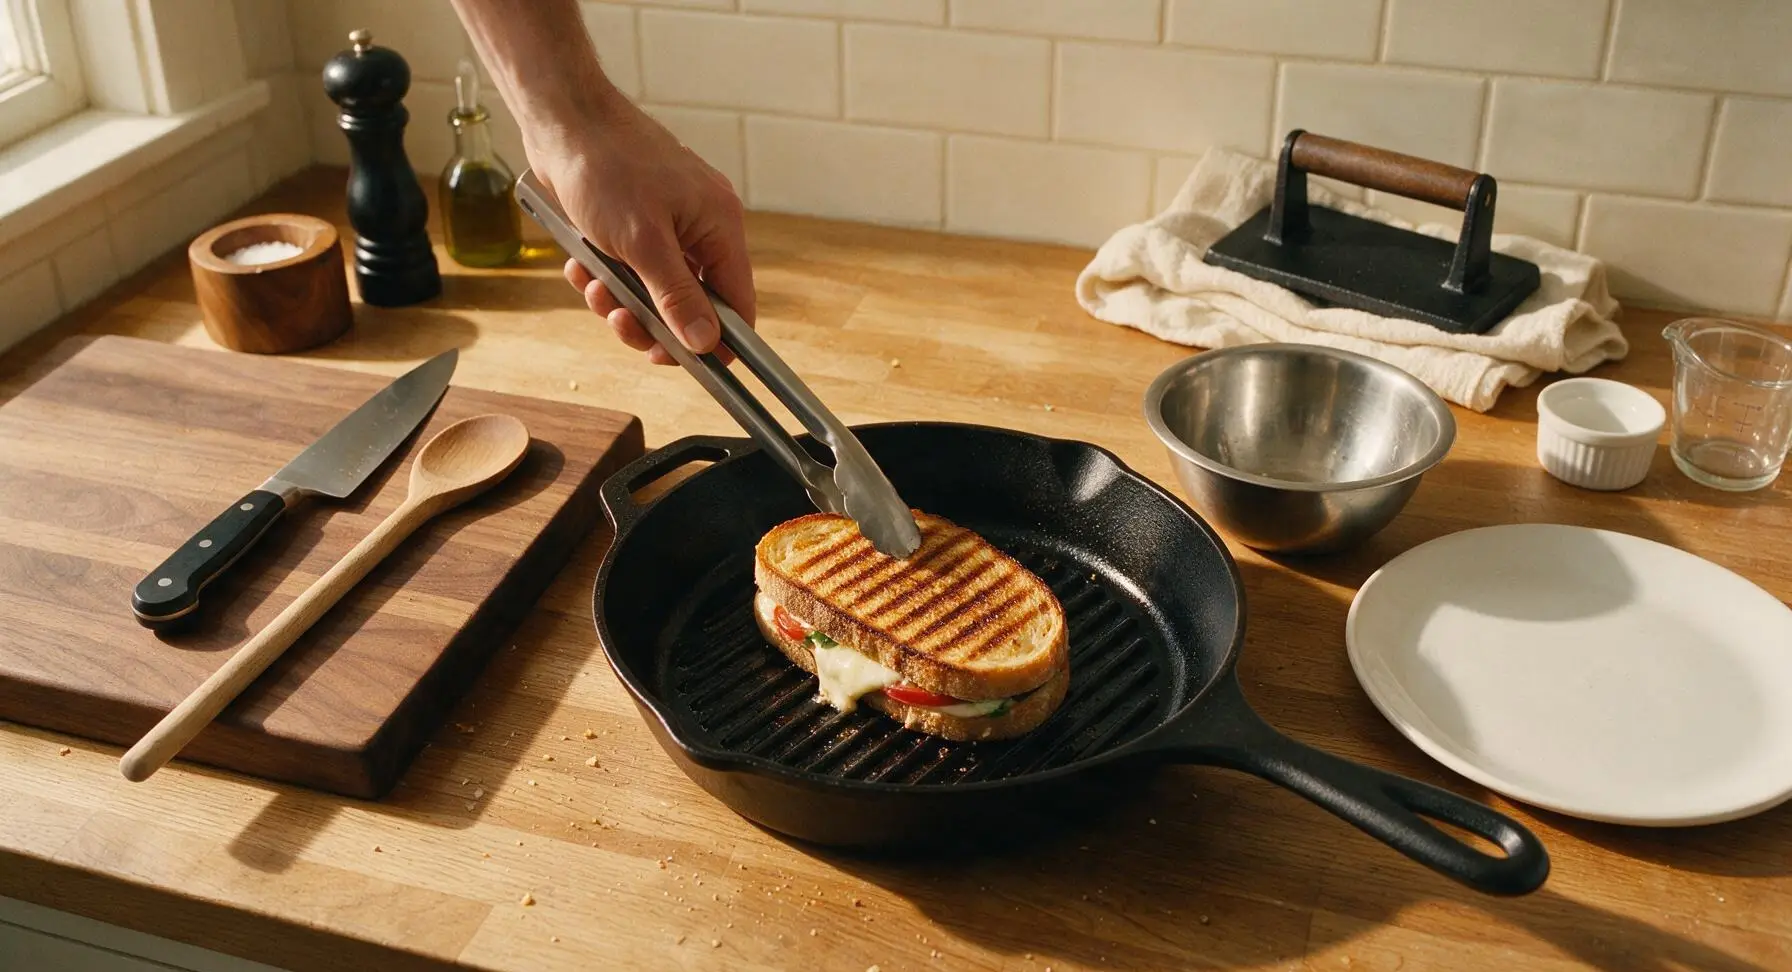
Rest and Add Glaze
When fully cooked, use the tongs to transfer the hot panini from the grill pan back to the acacia cutting board. Let rest for 2 minutes to allow the cheese to set slightly. Drizzle 1 tablespoon of balsamic glaze over the top of each panini, moving the ramekin in a slow back-and-forth motion to create a thin, even zig-zag pattern across the crust.
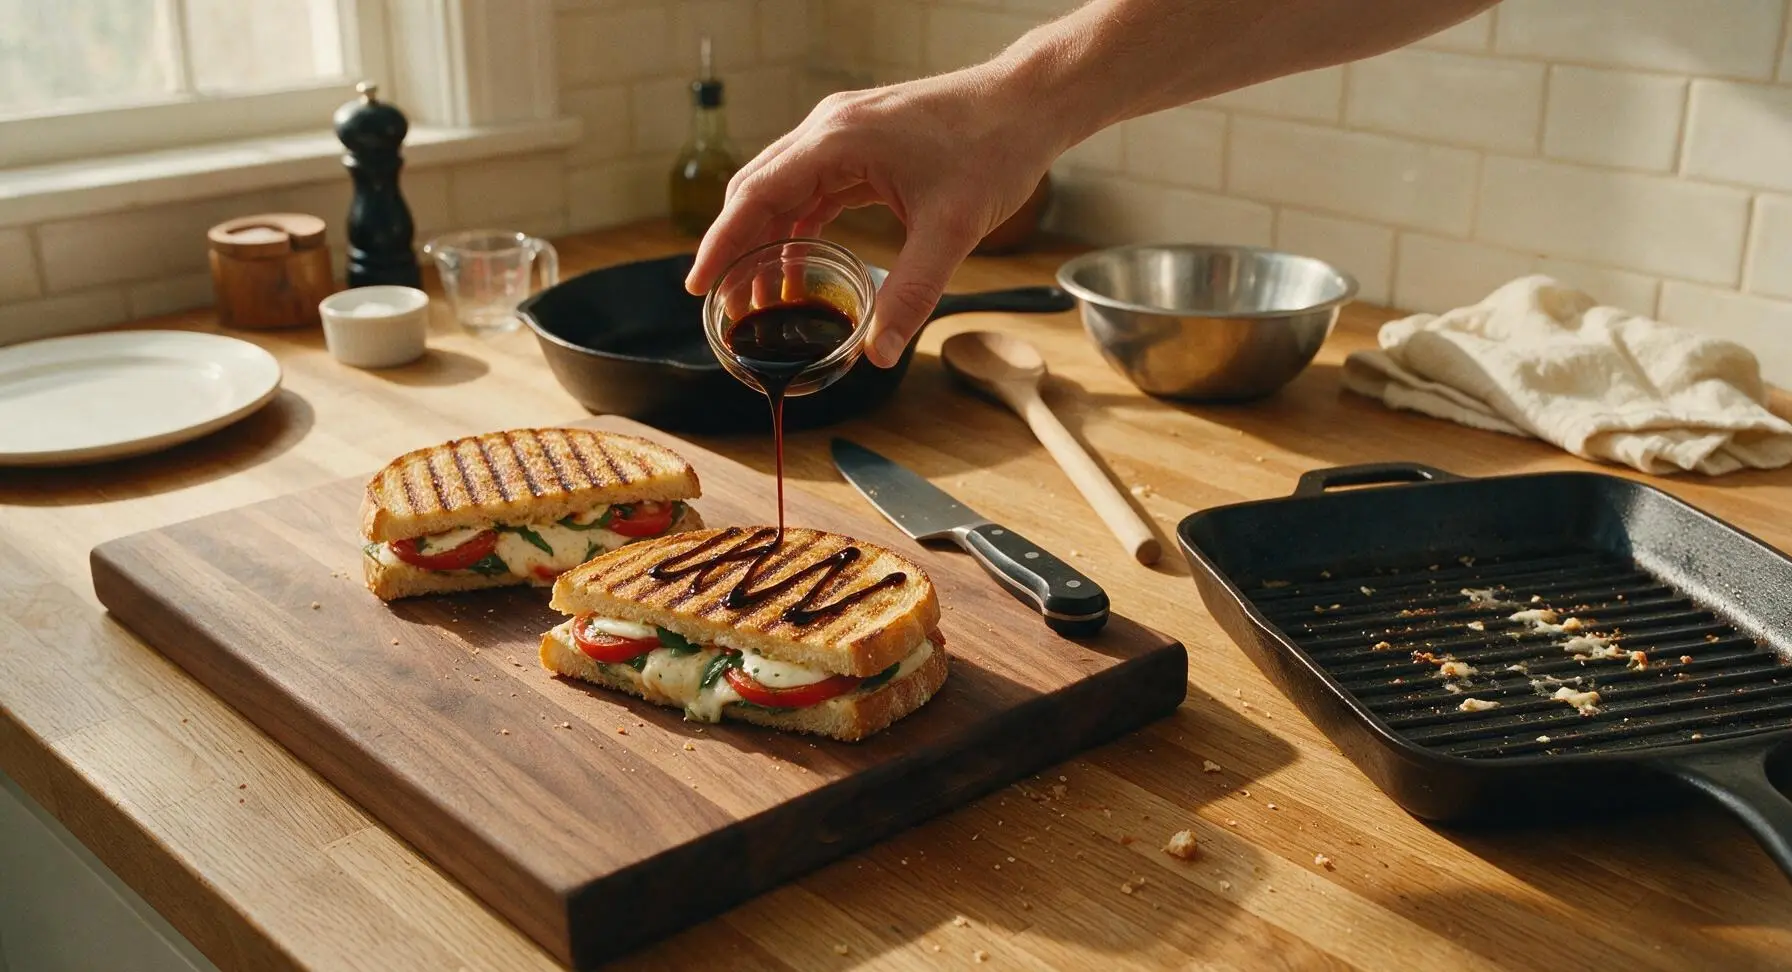
Cut and Plate Panini
Use the chef knife to cut each panini diagonally into two equal triangular halves, wiping the knife blade on a paper towel between cuts to get clean slices without dragging melted cheese. Arrange the four halves on the cream white ceramic dinner plate, propping two halves against each other to show the layered filling and melted cheese. Garnish with one small fresh basil leaf, and serve immediately while warm.
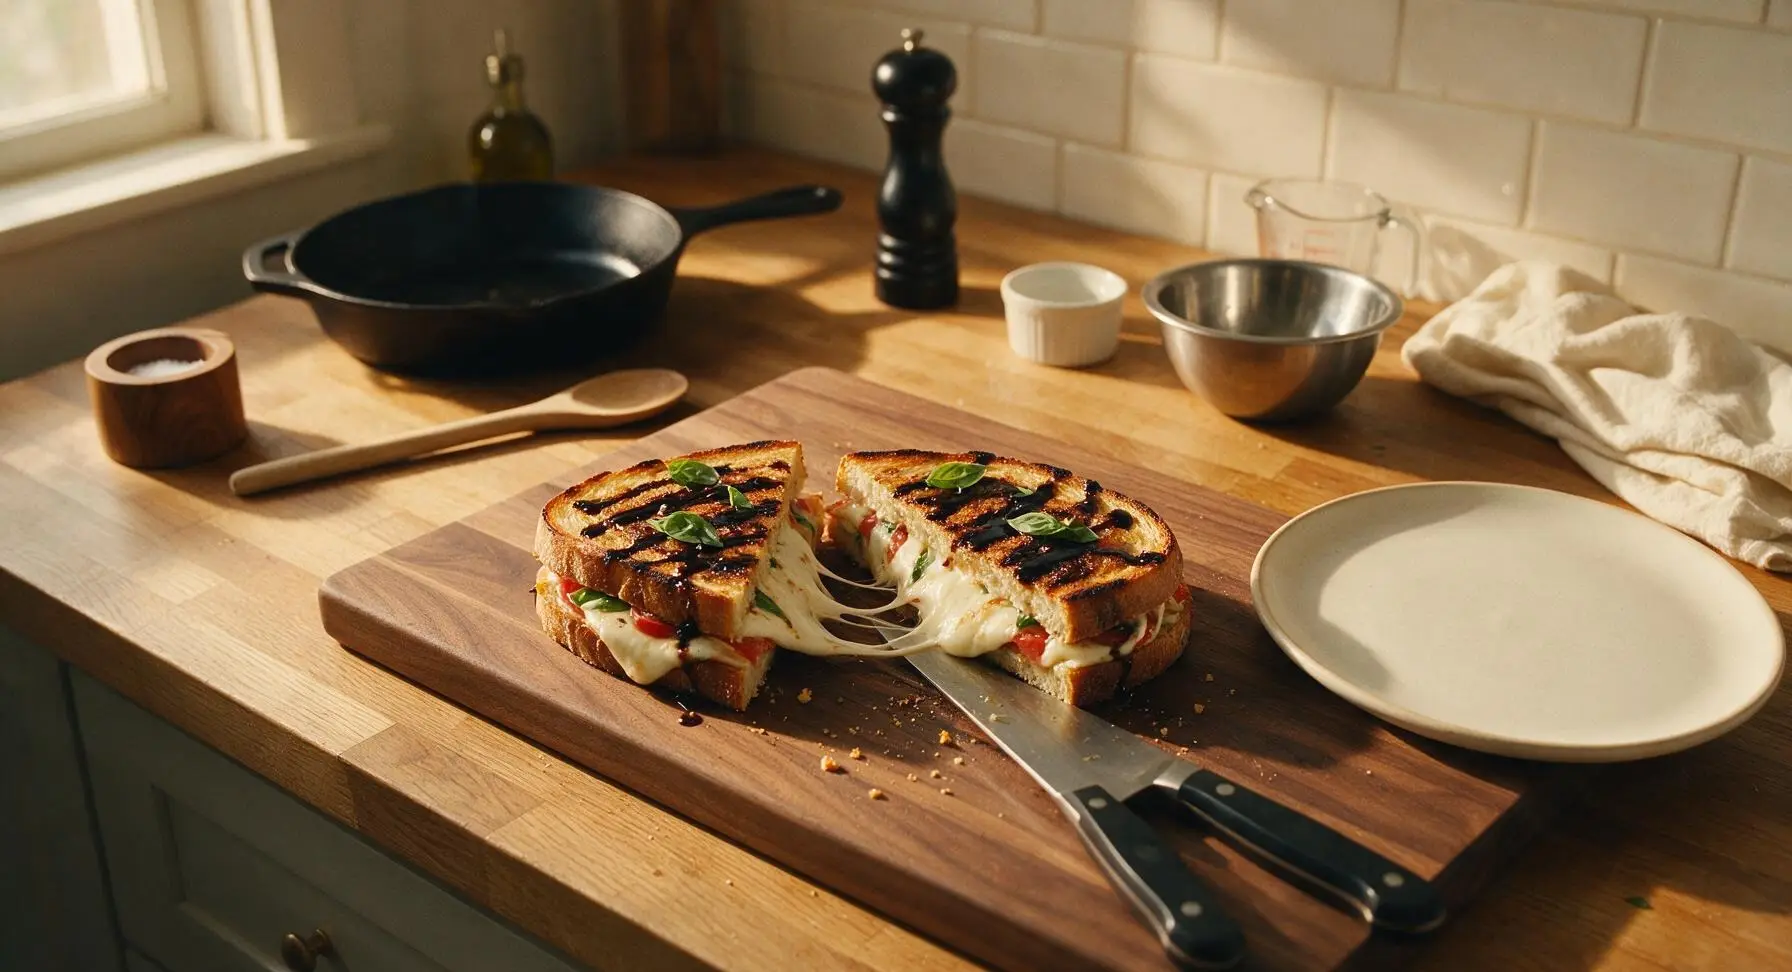
Tips
2.Don’t skip the 2-minute resting period after grilling: letting the hot panini sit allows the melted mozzarella to set slightly, so fillings won’t slide out when you cut or take a bite, and the crisp crust won’t crack or crush under knife pressure.
3.If you don’t have a dedicated cast iron panini press, use a preheated heavy cast iron skillet as a weight: heat the empty skillet on a separate burner for 3 minutes, then set it directly on top of the sandwiches in your grill pan to create even pressure, identical grill marks, and crispy crust without special equipment.






OMG this Caprese Panini is a total weeknight game changer! 8 minutes cook time? Perfect for when I’m running between soccer practice and homework help with the kids. My two picky eaters devoured theirs and asked for seconds, which never happens. I used a little extra balsamic glaze because we’re obsessed with it in our house. 10/10 will be adding this to our regular meal prep rotation!
Super easy recipe even for a dorm kitchen! I don’t have a fancy panini press so I just used a cast iron skillet and pressed the sandwich down with a heavy canned bean can, worked like a charm. Used fresh mozz from the campus farmers market and it was SO good. Way cheaper than buying paninis from the campus cafe too.
Made these for our neighborhood block party potluck last weekend and they were gone in 10 minutes flat! I cut them into little slider-sized bites so people could grab them easily, and everyone was asking for the recipe. Only note: I’d recommend patting the mozzarella dry a little so the bread doesn’t get soggy if you’re making them ahead for a crowd.
As someone who’s been eating boring salads for lunch every day, this panini has completely shaken up my work lunch routine! It’s vegetarian, quick to throw together in the morning, and tastes like something I’d pay $15 for at a downtown cafe. I swapped regular sourdough for whole grain and it was still chef’s kiss.
Tried this for a lazy Sunday brunch with my partner and we both loved it! I added a few slices of prosciutto to mine for a little extra protein, and paired it with a side of tomato soup. Total cozy weekend vibe, and it was so simple even I (the guy who burns toast half the time) didn’t mess it up.
Game changer for quick dinners when my husband is on shift and I’m wrangling a toddler by myself! I keep pre-sliced mozzarella and cherry tomatoes (sliced up ahead of time) in the fridge so I can throw this together in literally 3 minutes before cooking. My toddler even likes to help me stack the basil leaves, which is such a fun little activity.