
cheese chaffle
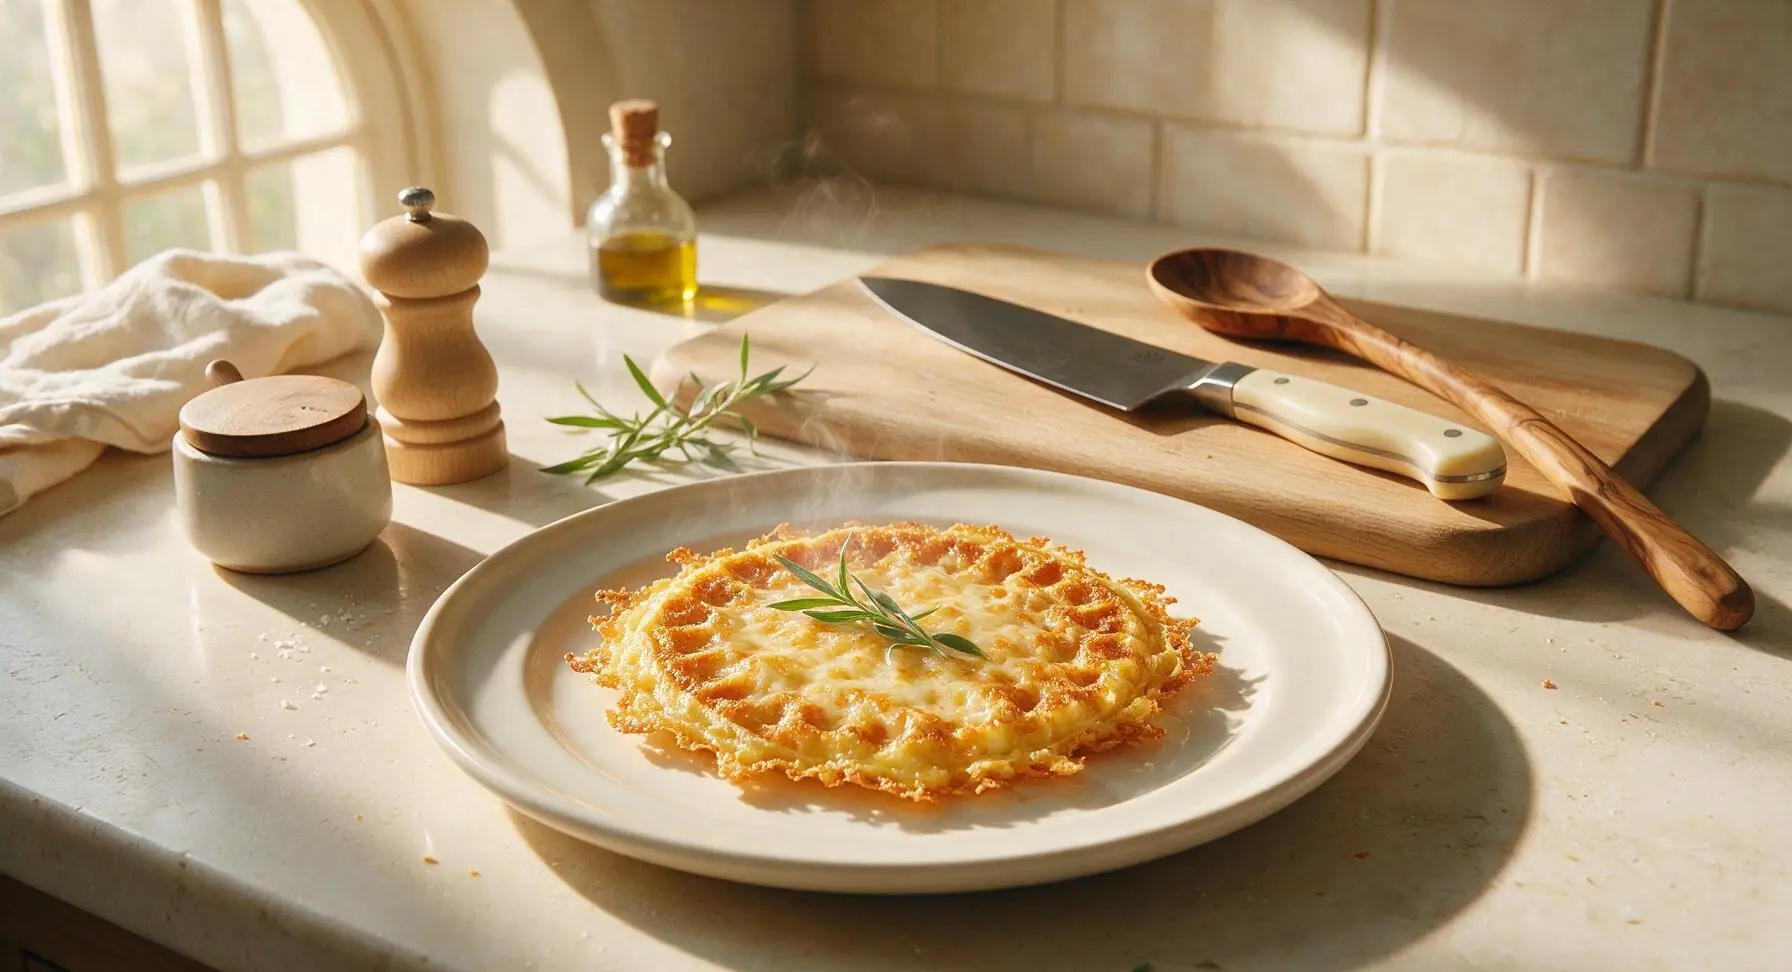
intro
Crispy, gooey, flour-free cheese waffles with lacy golden edges, made with just 6 simple ingredients. Ready in 15 minutes total, perfect for fast breakfasts or low-carb sandwich bread.
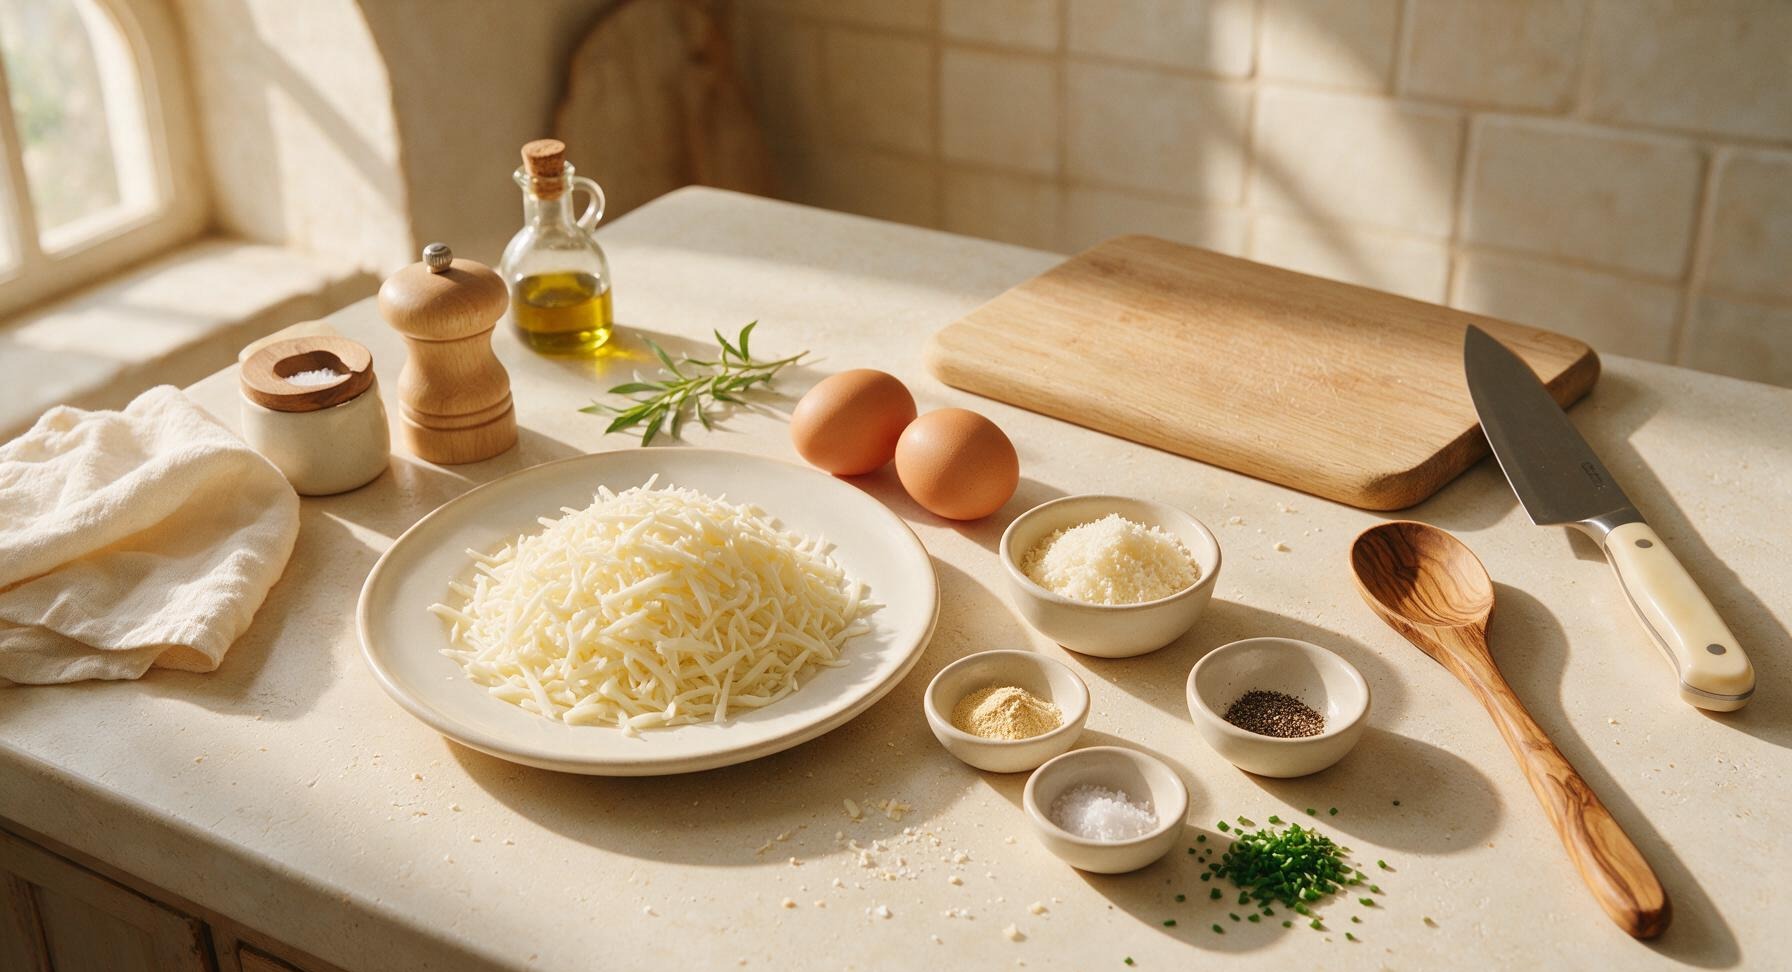
Ingredients
Steps
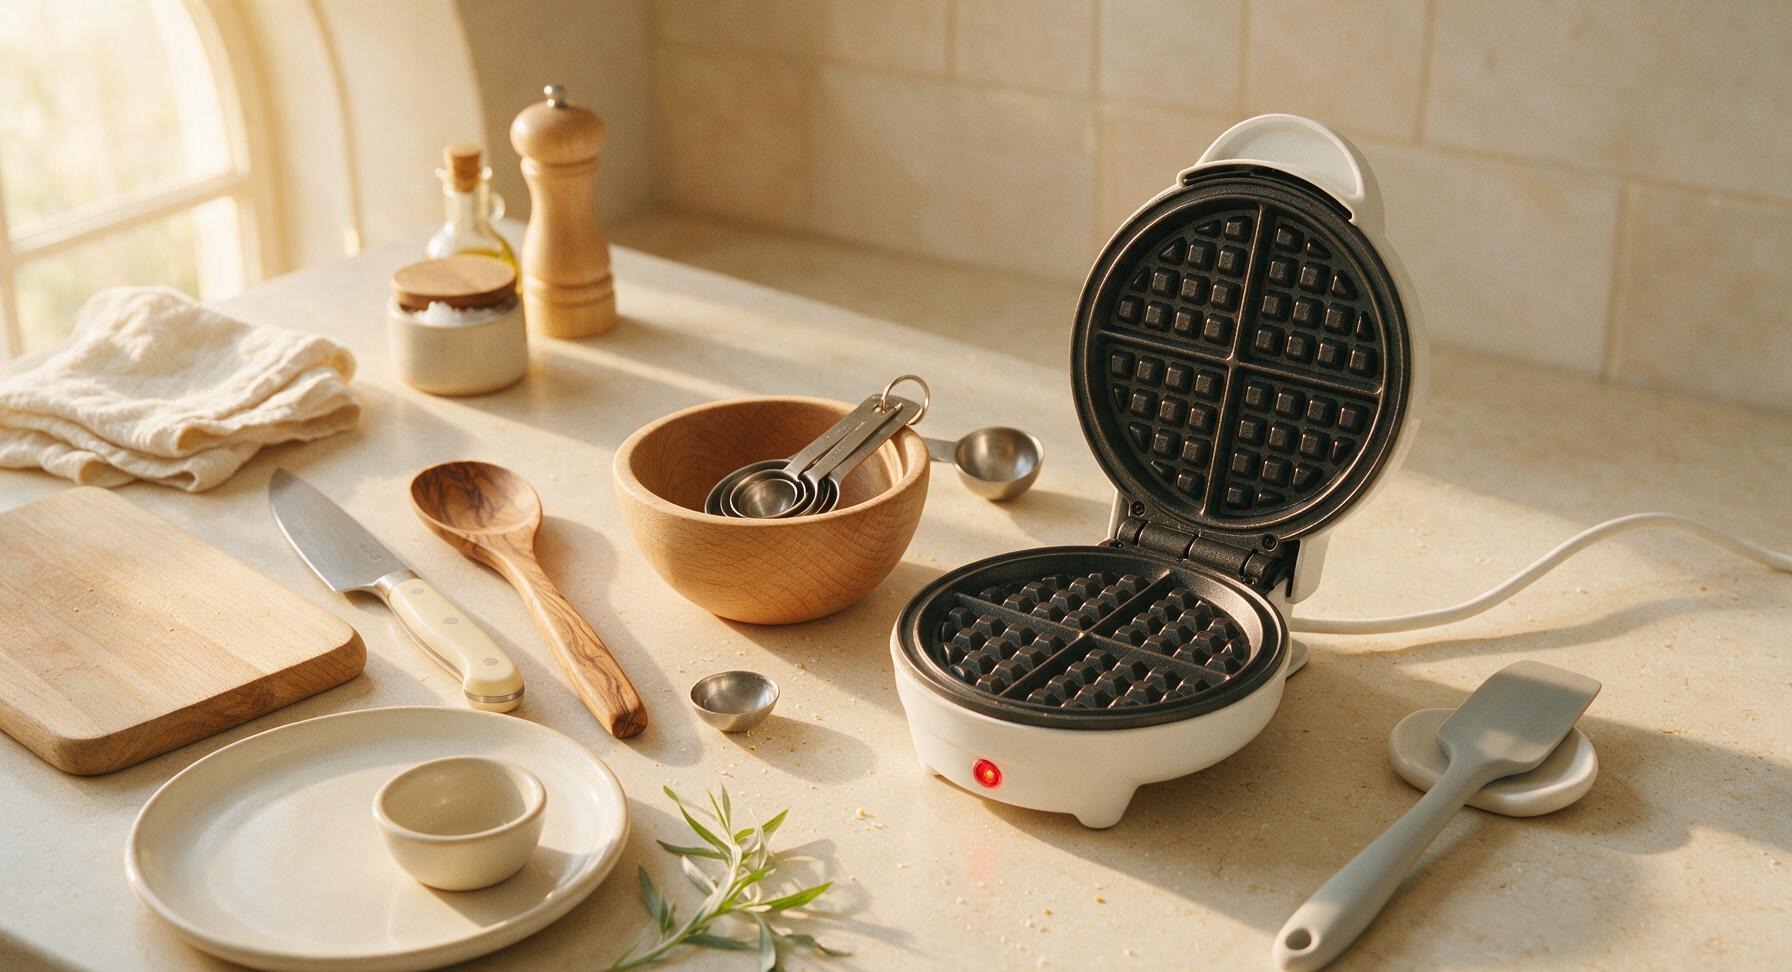
Preheat Mini Waffle Maker
Plug in the 4-inch mini non-stick waffle maker and set it to medium-high heat. Allow it to preheat fully for 3 minutes, until the indicator light turns off signaling it has reached 400°F (200°C). Do not spray with non-stick spray on well-seasoned plates, as the cheese will release its own fat to prevent sticking.
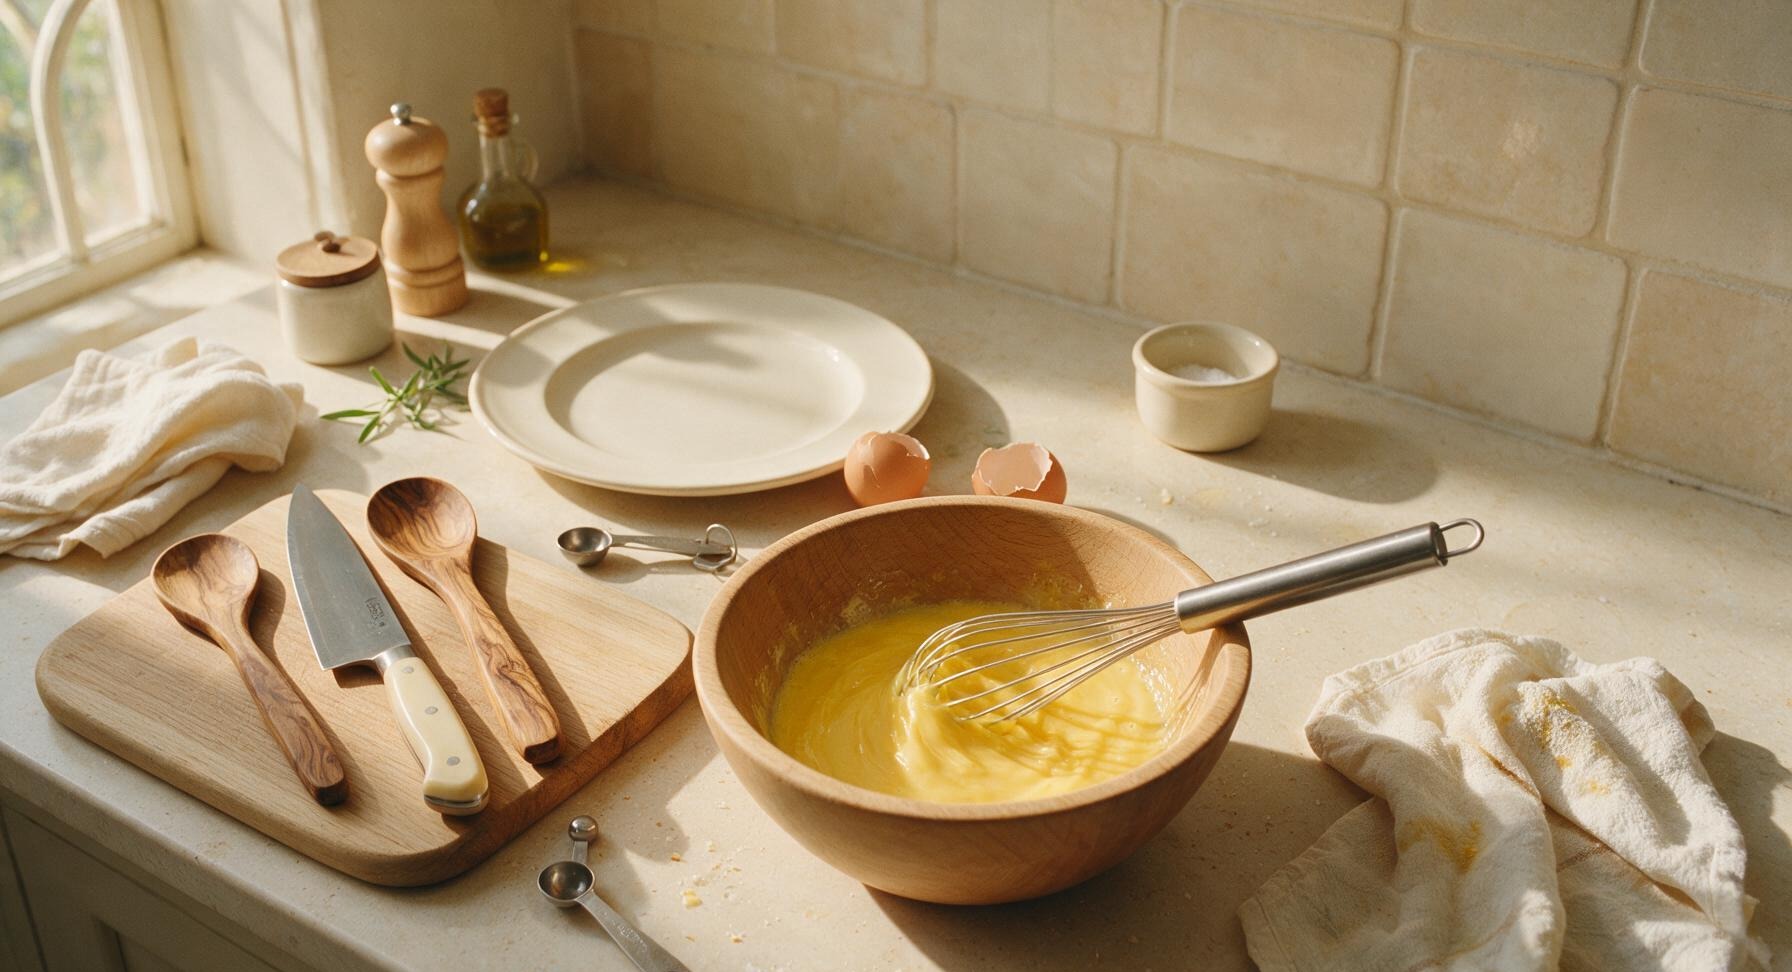
Whisk Eggs Until Smooth
Crack the 2 large eggs into the beechwood mixing bowl. Use the stainless steel whisk to beat the eggs for 30-45 seconds, until the yolks and whites are fully combined, pale yellow, and slightly frothy with no visible streaks of clear egg white.
Combine Cheese and Seasonings
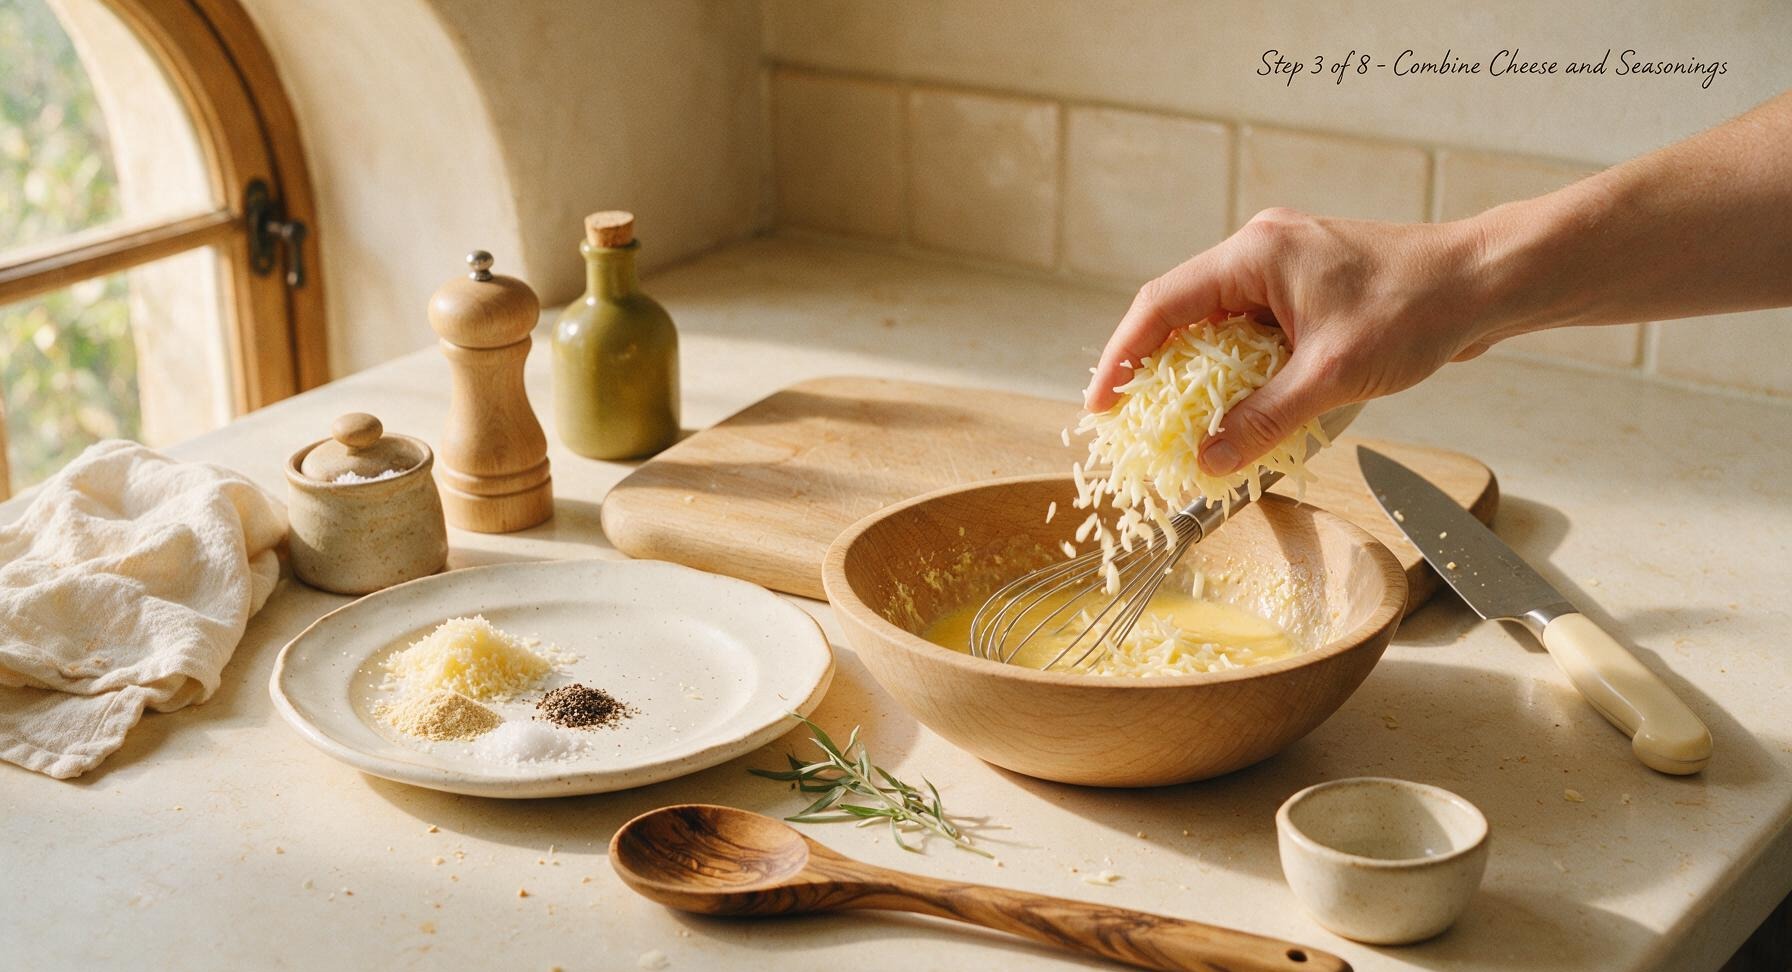
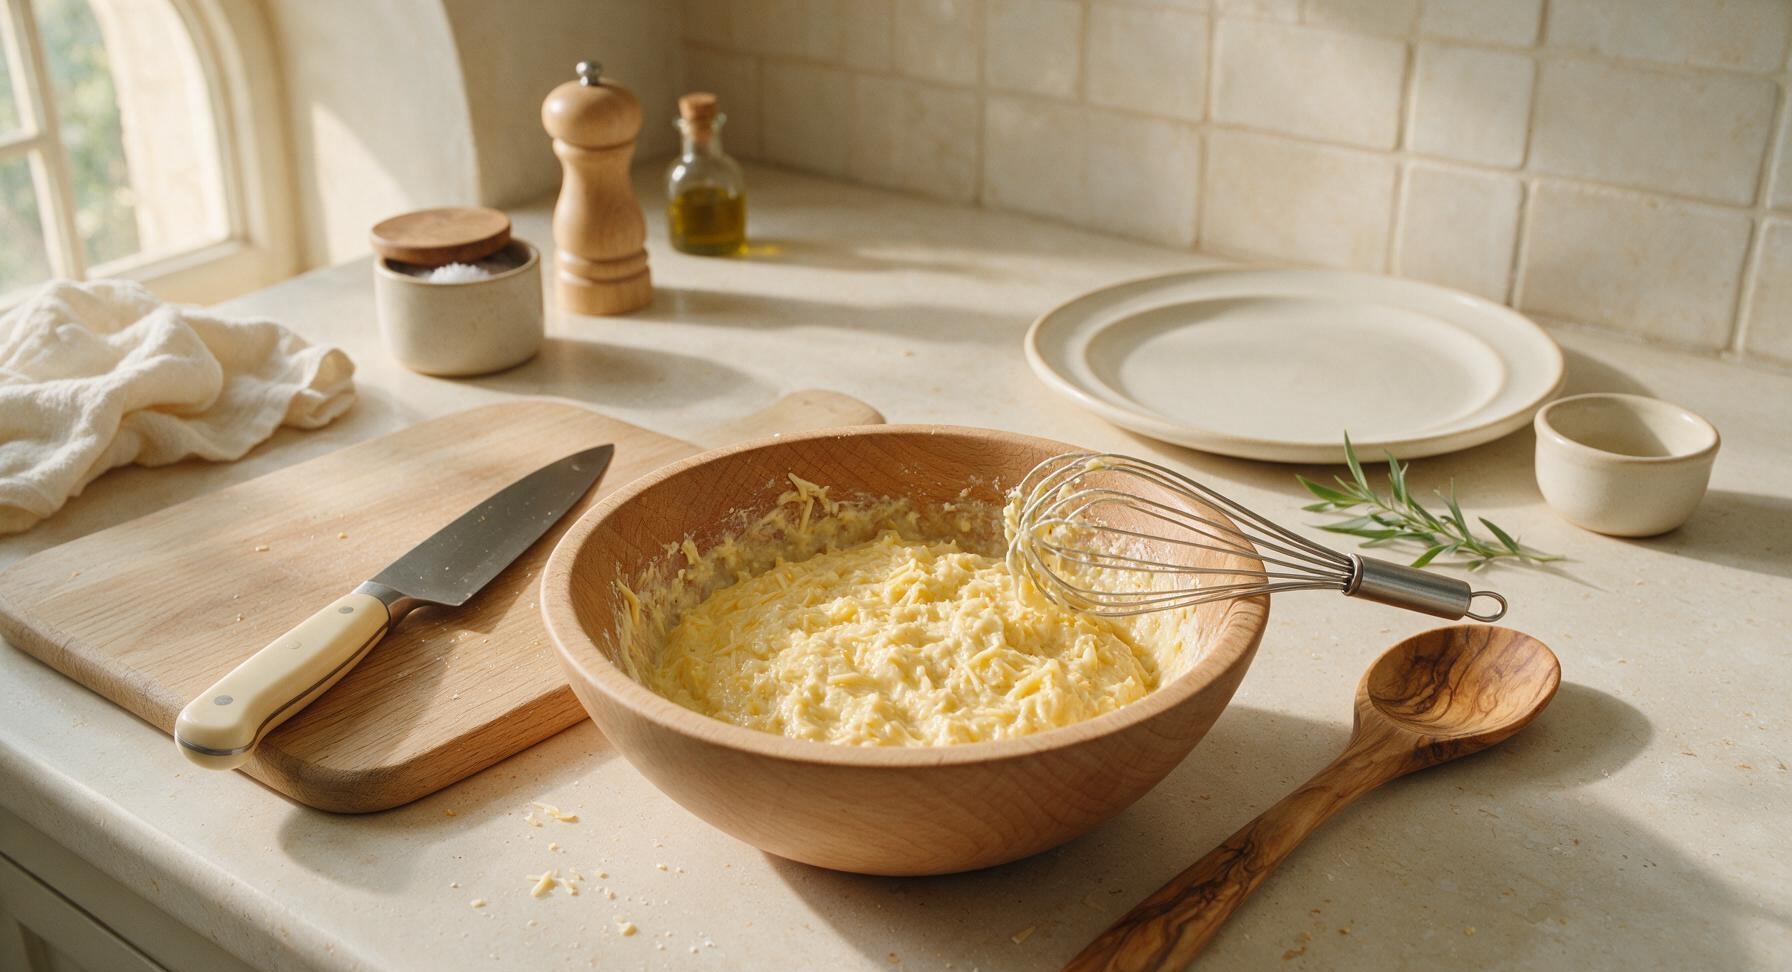
Add 1 cup shredded low-moisture mozzarella, 2 tbsp finely grated parmesan, 1/4 tsp garlic powder, 1/8 tsp freshly ground black pepper, and 1 pinch of flaky sea salt to the beaten eggs. Stir gently with the whisk until all ingredients are evenly coated in egg, forming a thick, lumpy batter with visible shreds of cheese throughout. Do not overmix, as this will make the chaffles tough.
Portion Batter For First Chaffle
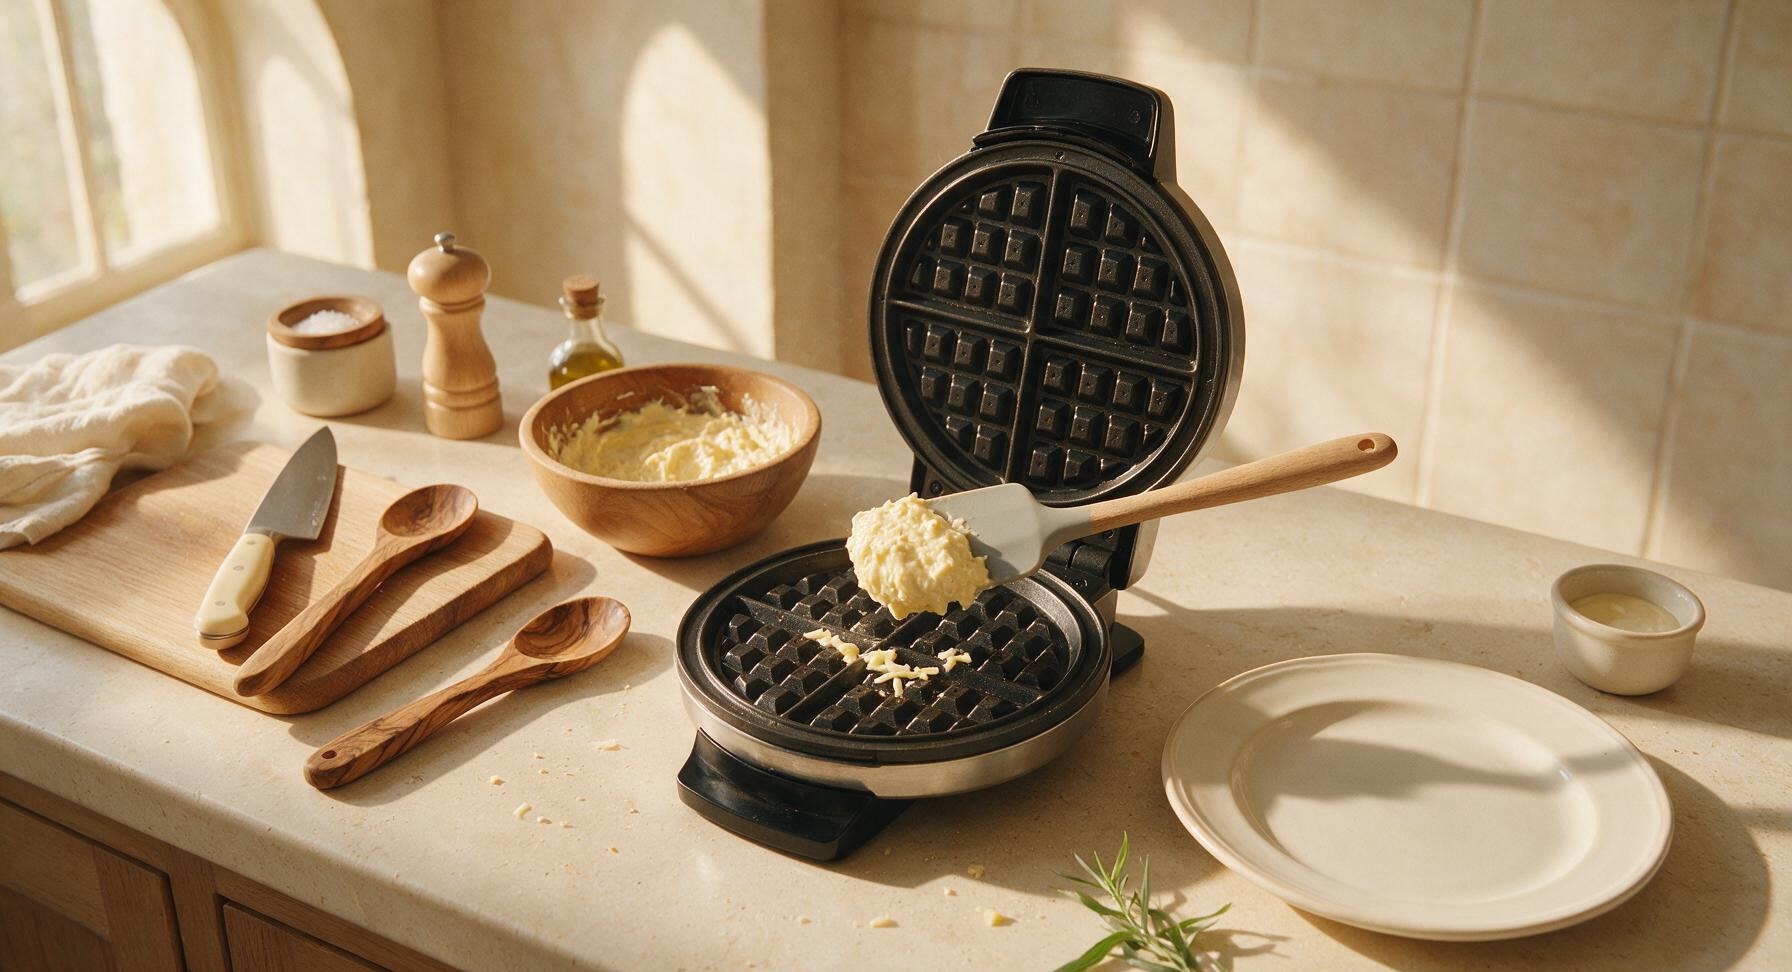
Scoop 1/4 of the batter (roughly 1/3 cup) using the silicone spatula, and pour it directly into the center of the preheated waffle maker’s lower cooking plate. Do not spread the batter—it will spread naturally as you close the lid. Close the waffle maker lid firmly, but do not latch it tightly, as pressure will squeeze cheese out the edges.
Cook To Golden Crisp
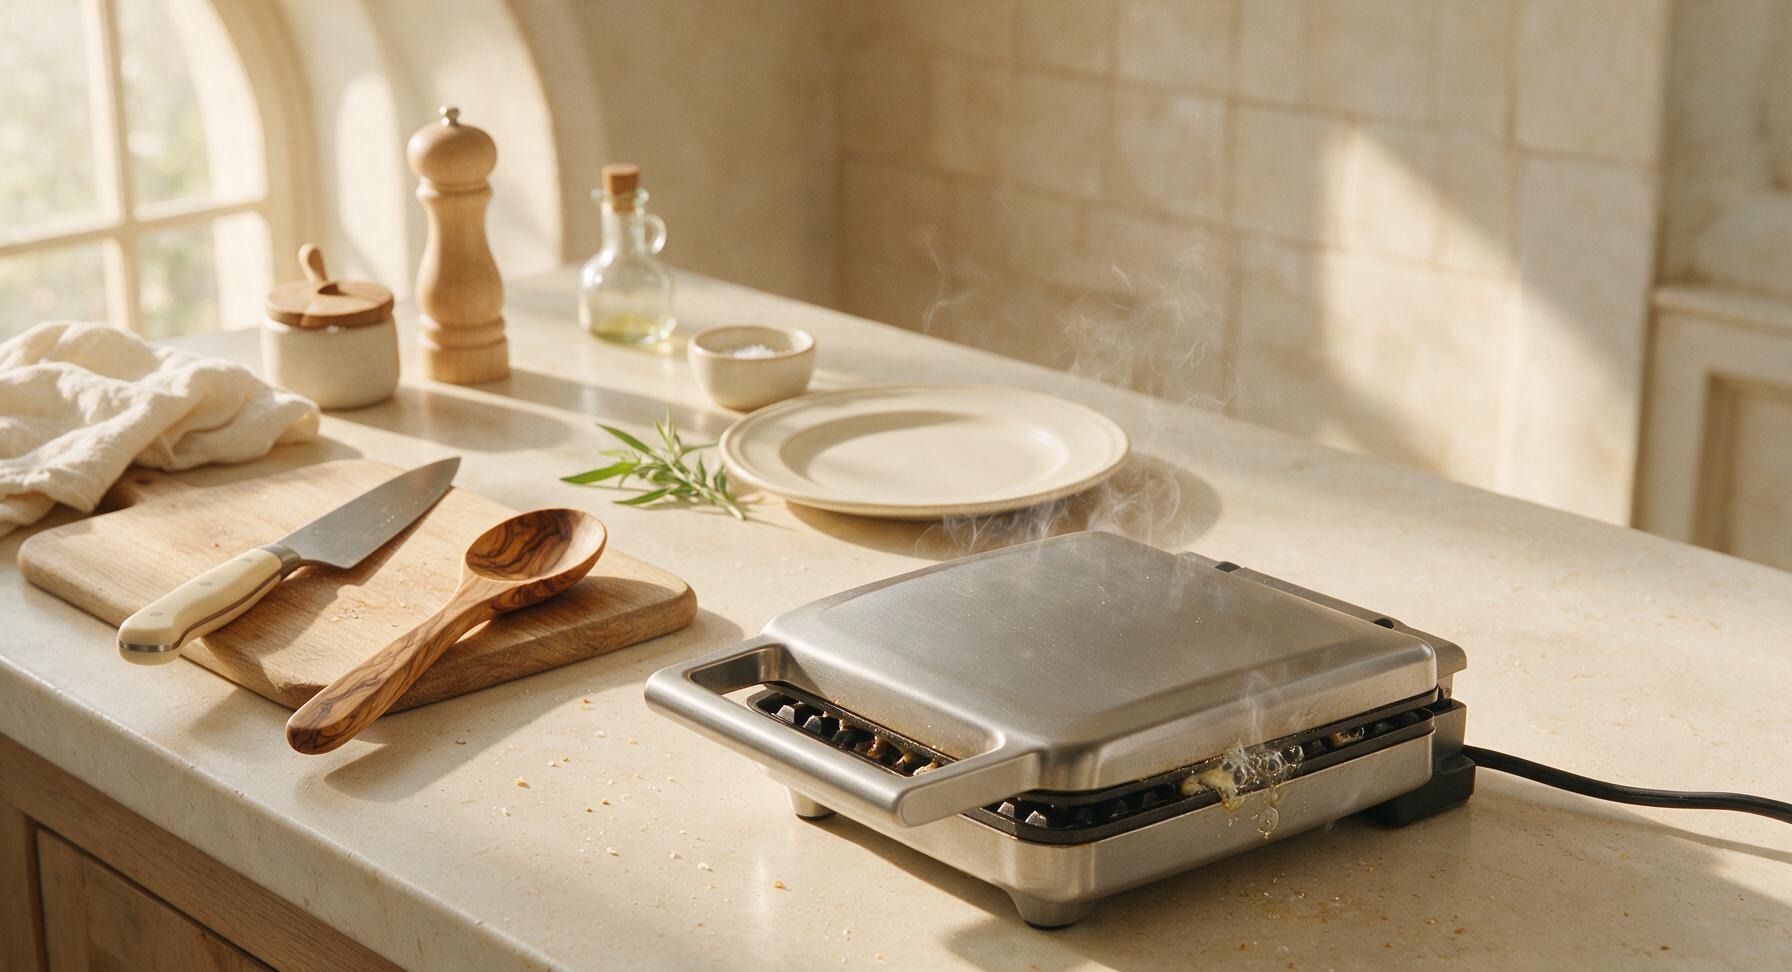
Cook the chaffle for 2 to 2.5 minutes, until the indicator light turns off and steam slows to a thin wisp from the edges of the waffle maker. The chaffle is done when it is deep golden brown, with lacy crispy cheese edges, and lifts easily from the plates without sticking. Resist the urge to open the lid early, as this will cause the chaffle to tear.
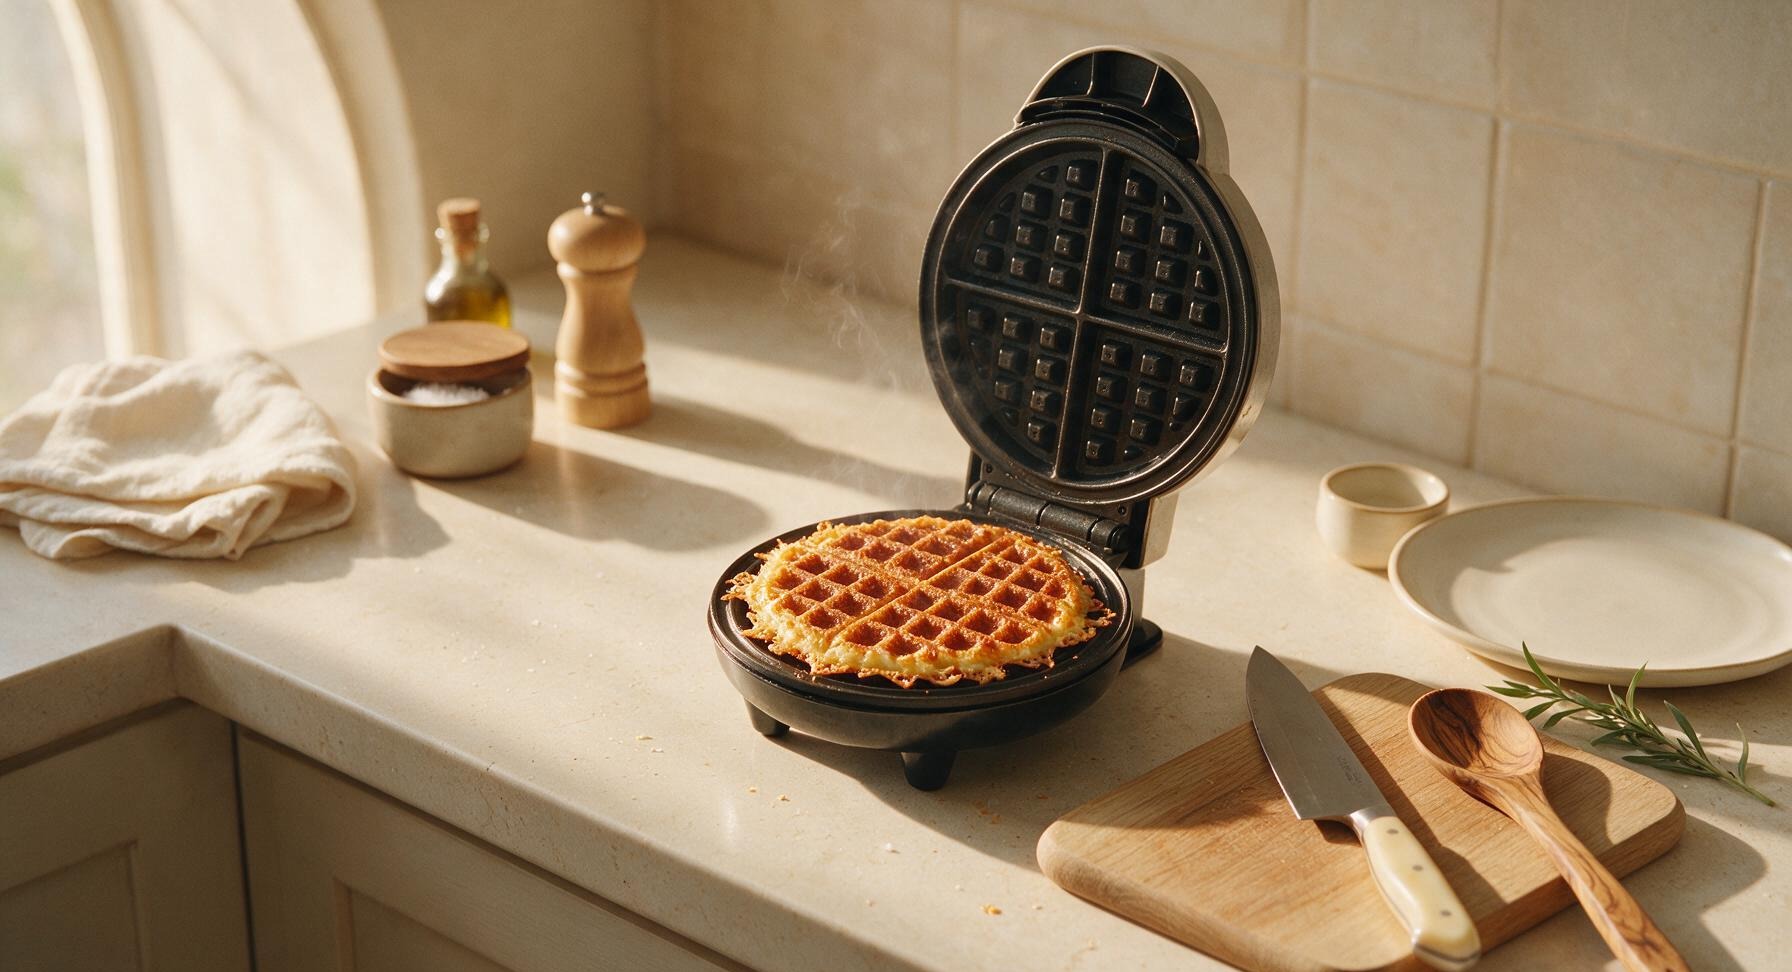
Transfer To Plate To Rest
Use the silicone spatula to gently lift the finished chaffle from the waffle maker, and transfer it to the matte cream white ceramic dinner plate at front center. Allow the chaffle to rest for 1 minute before serving, as it will crisp up further as it cools slightly.
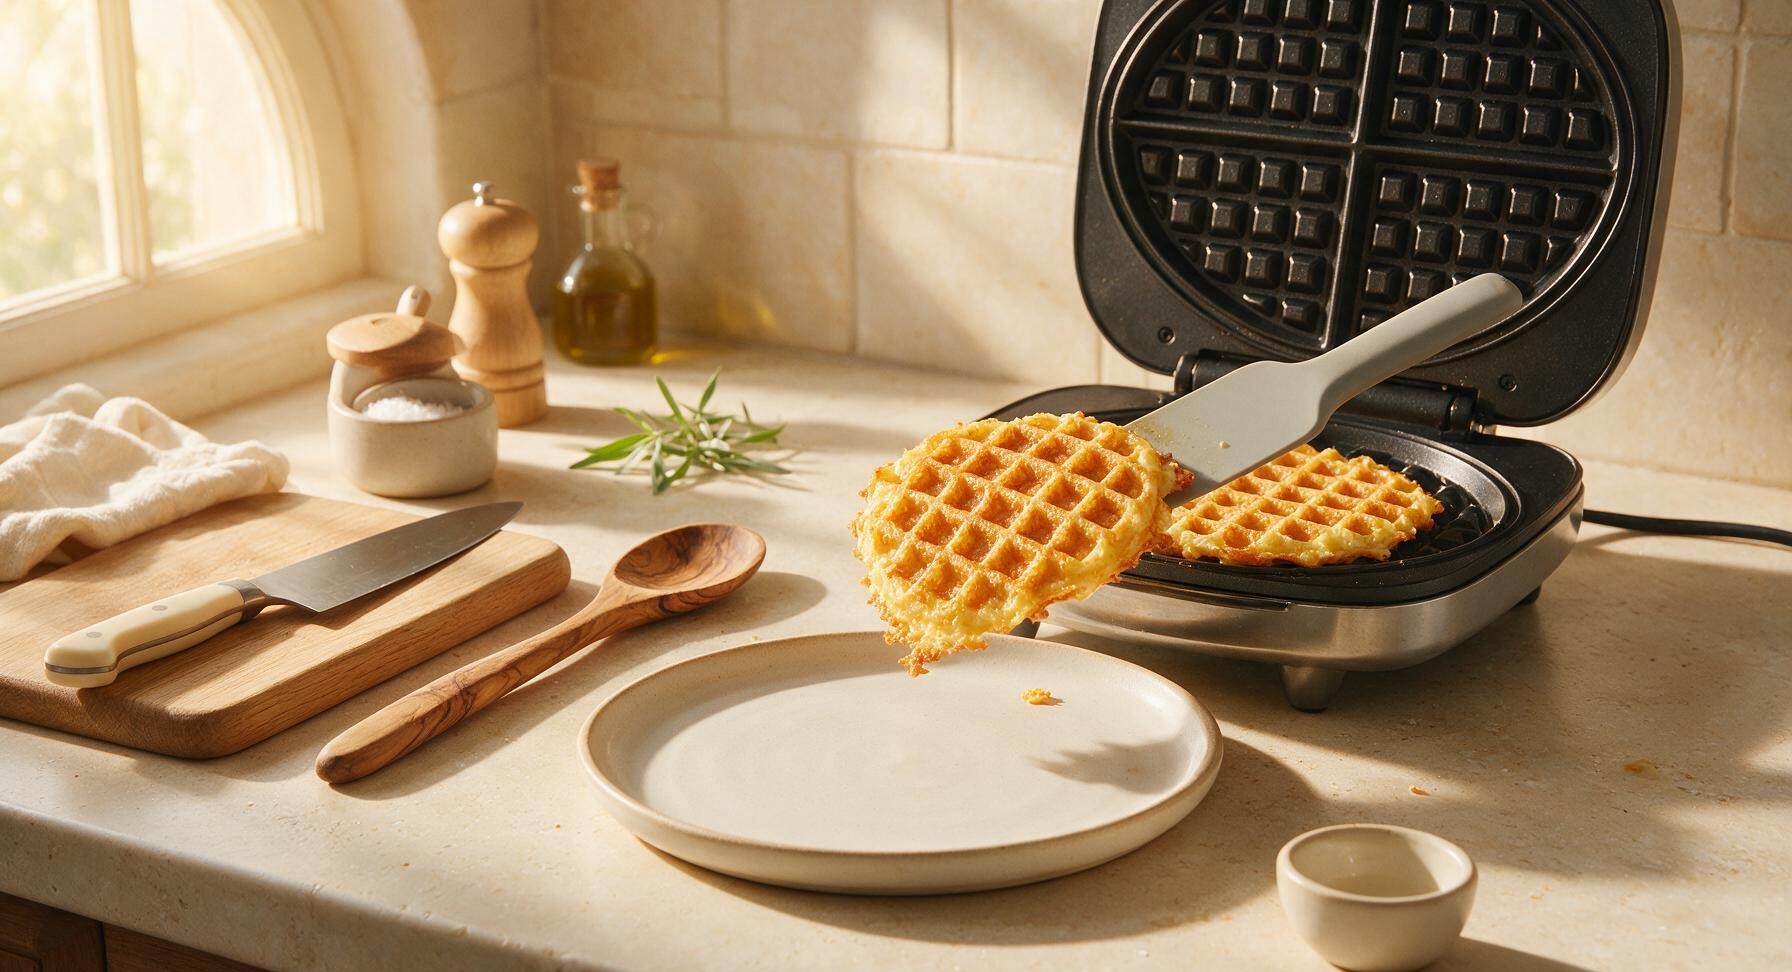
Cook Remaining Chaffles
Repeat the portioning and cooking process with the remaining batter, making 3 more chaffles total (4 chaffles across 2 servings). As each chaffle finishes, stack it slightly offset on the dinner plate to prevent sogginess, leaving small gaps between edges for air circulation. Wait 30 seconds between batches to let the waffle maker return to full temperature.
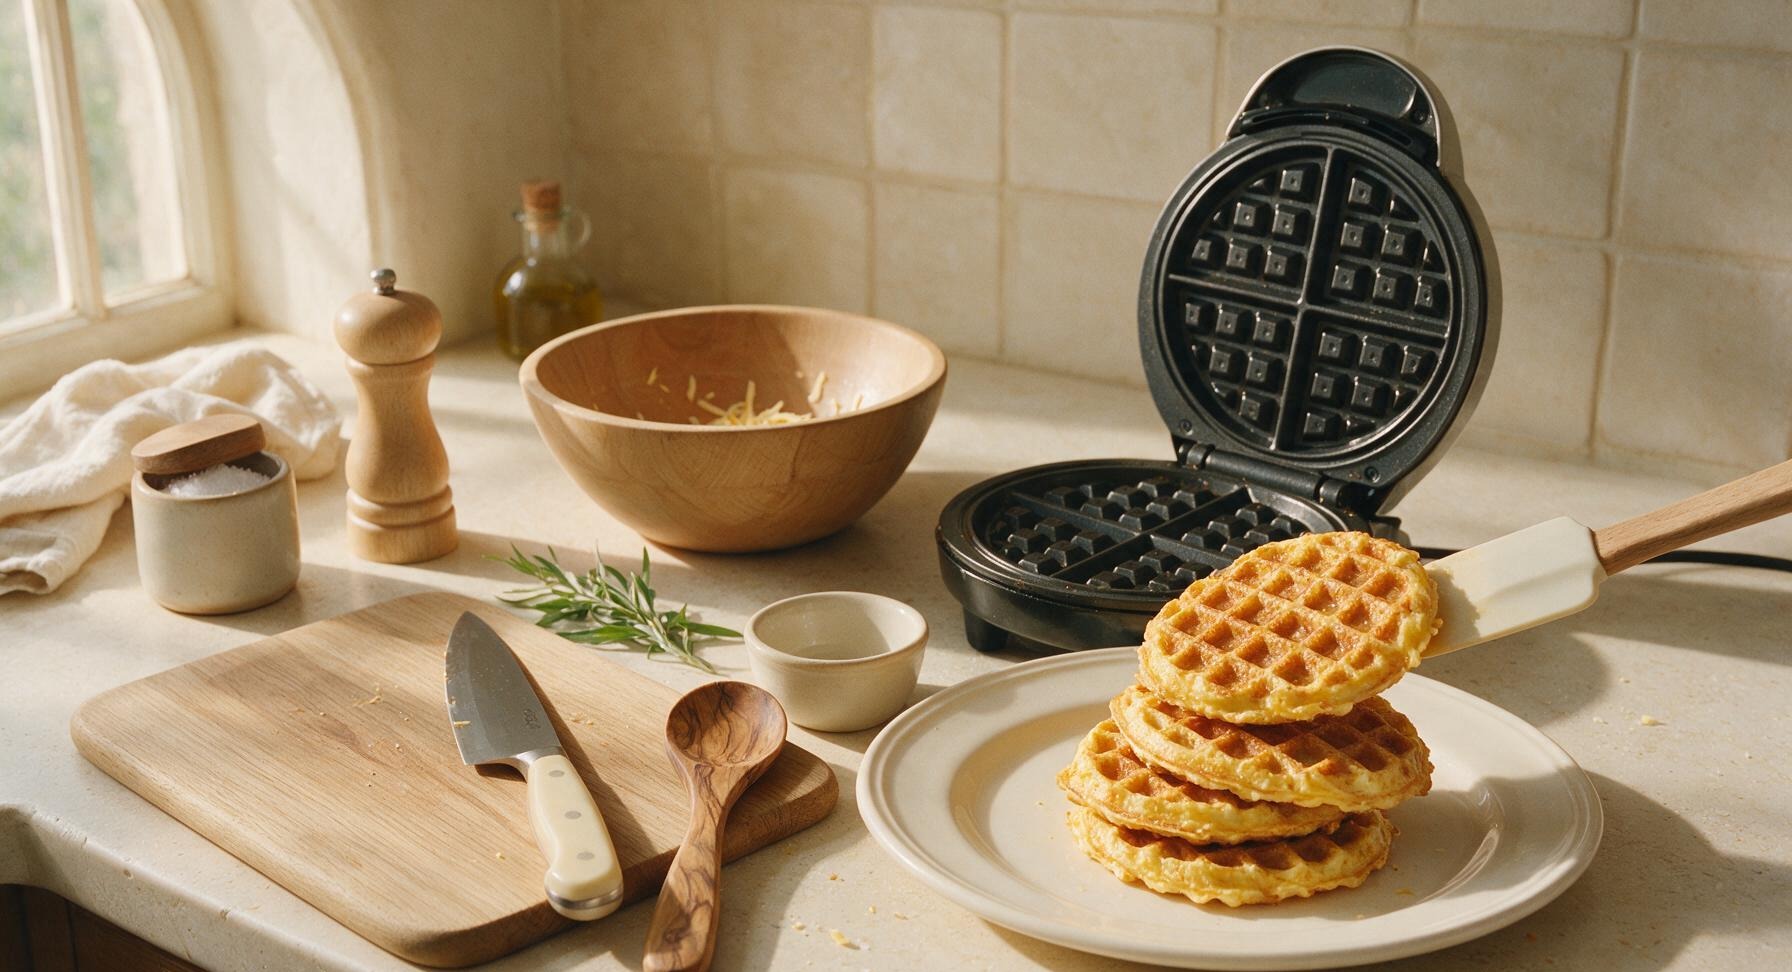
Garnish And Serve Hot
Finely chop 1 tbsp fresh chives, and sprinkle them evenly over the top of the warm chaffle stack. Add a tiny pat of salted butter to the top waffle well if desired, and serve immediately while the cheese is still gooey and the edges are crisp.
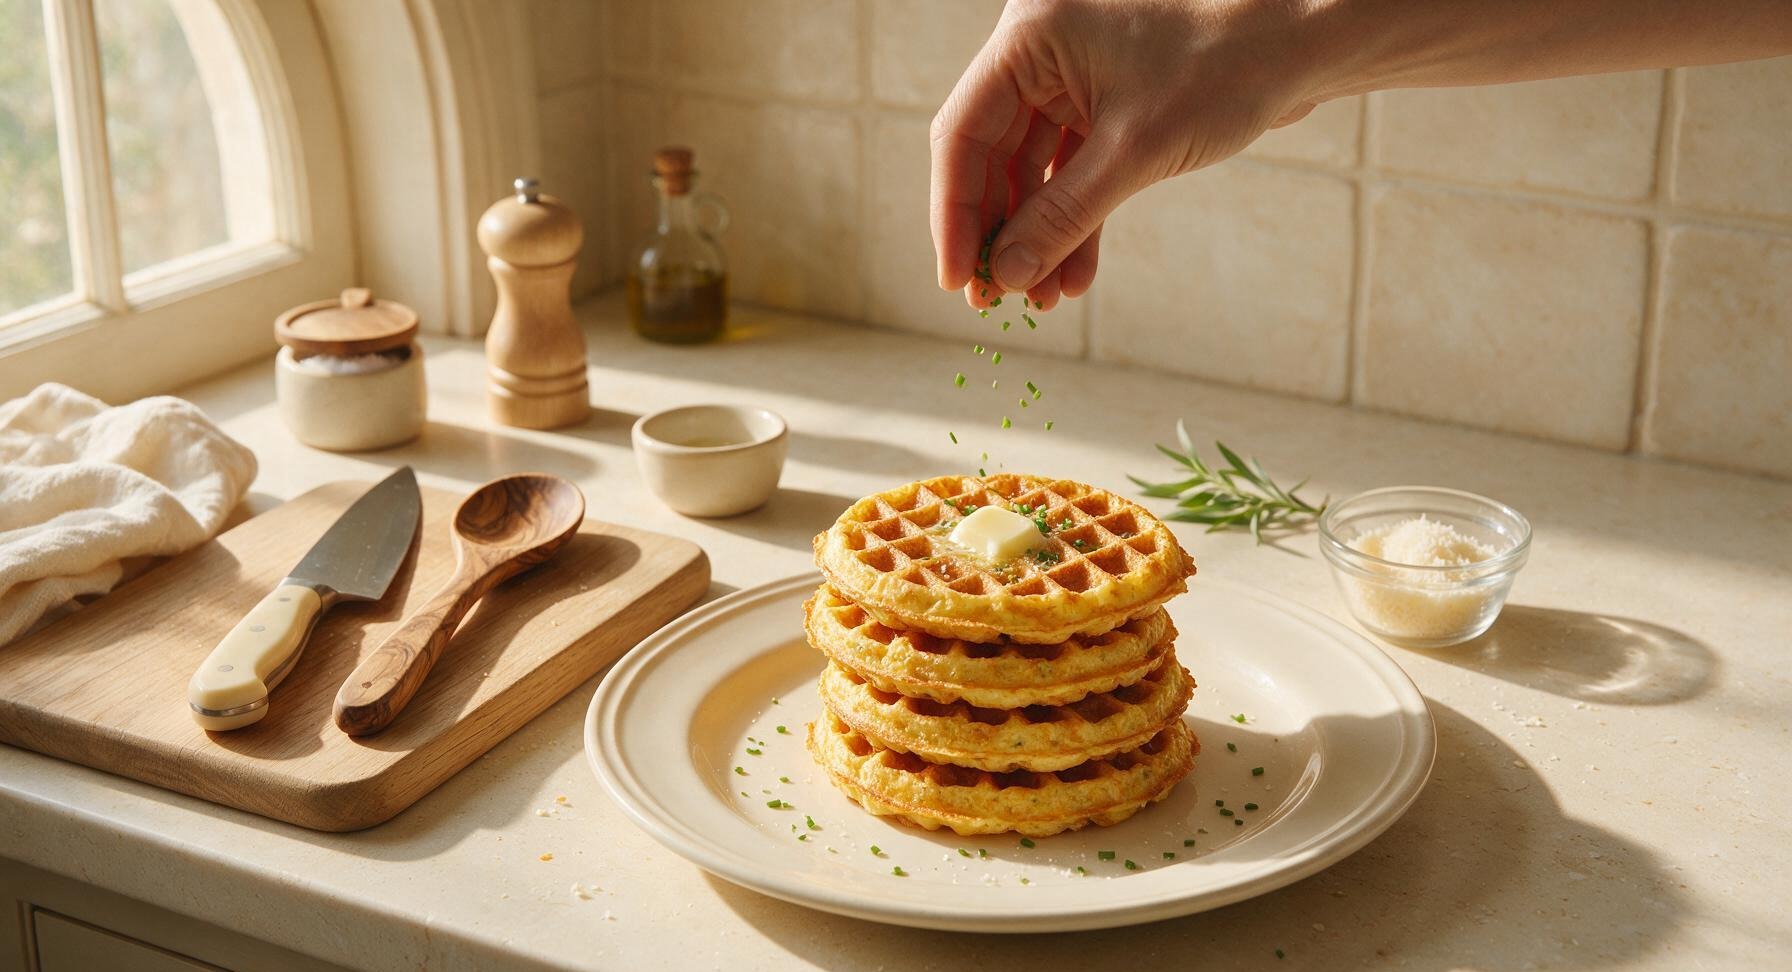
Tips
2.Avoid opening the waffle maker before 2 minutes of cook time: the cheese needs time to form a solid, crisp crust, and opening early will cause the chaffle to split and stick to the non-stick plates.
3.Let chaffles rest for 60 seconds after transferring to the plate: residual heat will continue to crisp the outer edges, and the molten cheese will set slightly so the chaffle holds its shape instead of oozing when lifted.






OMG these crispy cheese chaffles are an absolute game changer for our family’s low-carb meal prep! I’ve been missing something crunchy and bread-adjacent for months, and these come together in 10 minutes flat. I made a big batch on Sunday, used them for breakfast sausage sandwiches all week, and even my super picky 8-year-old asked for seconds instead of his usual frozen waffles. SO good, I’m never going back to store-bought low-carb bread!
I brought a platter of mini chaffle bites to my neighborhood block party potluck last weekend and people were hounding me for the recipe before I even set the plate down! I topped them with a little tomato slice, fresh basil, and a balsamic drizzle for fancy little appetizers, and they were gone in literally 8 minutes. Who knew something this easy could be such a crowd favorite?
Used these as burger buns for our family dinner last night and wow, way crispier than the other chaffle recipe I tried a few weeks ago that turned out soggy and floppy. I stirred a pinch of garlic powder and a little black pepper into the batter before cooking, and it paired perfectly with the juicy burgers. Zero complaints from the whole table!
As a college student with basically zero cooking skills and a $10 mini waffle maker I got on Amazon, this recipe was made for me. I messed up the first one a little by opening the waffle maker too early, but the second one came out perfectly crispy and cheesy. Dipped it in ranch and it was better than the pizza I was gonna order for my late study session. Will be making these at least twice a week now.
Wait, is there a trick to getting these extra crispy? Mine were a little soft the first time I made them, but the flavor was so good I know I must have done something wrong. My kids devoured them anyway, but I wanna nail that crunch next time!