
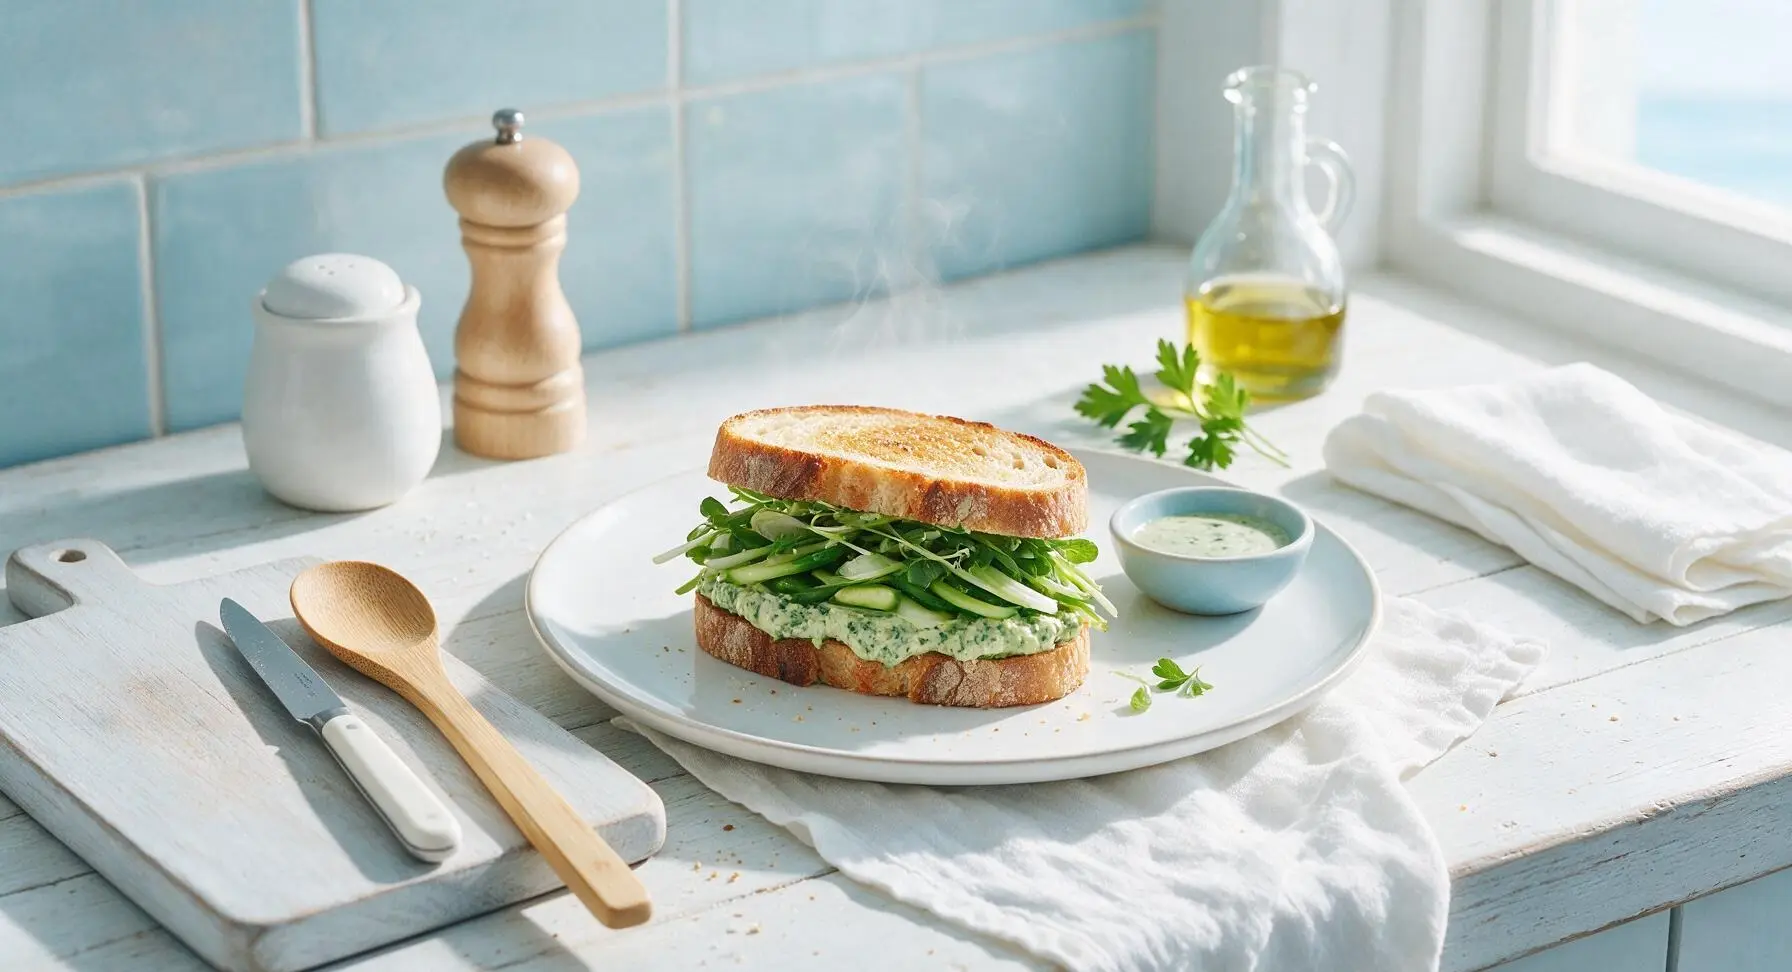
green sandwich

title 1
green sandwich
⏱️ cook time 5 minutes
🍽️ servings 2
⚡ Difficulty easy

intro

Crisp, bright, and packed with layered fresh green flavors, this sandwich features creamy herby spread, crunchy spring veggies, and toasty sourdough for a light, satisfying, portable bite.

Ingredients
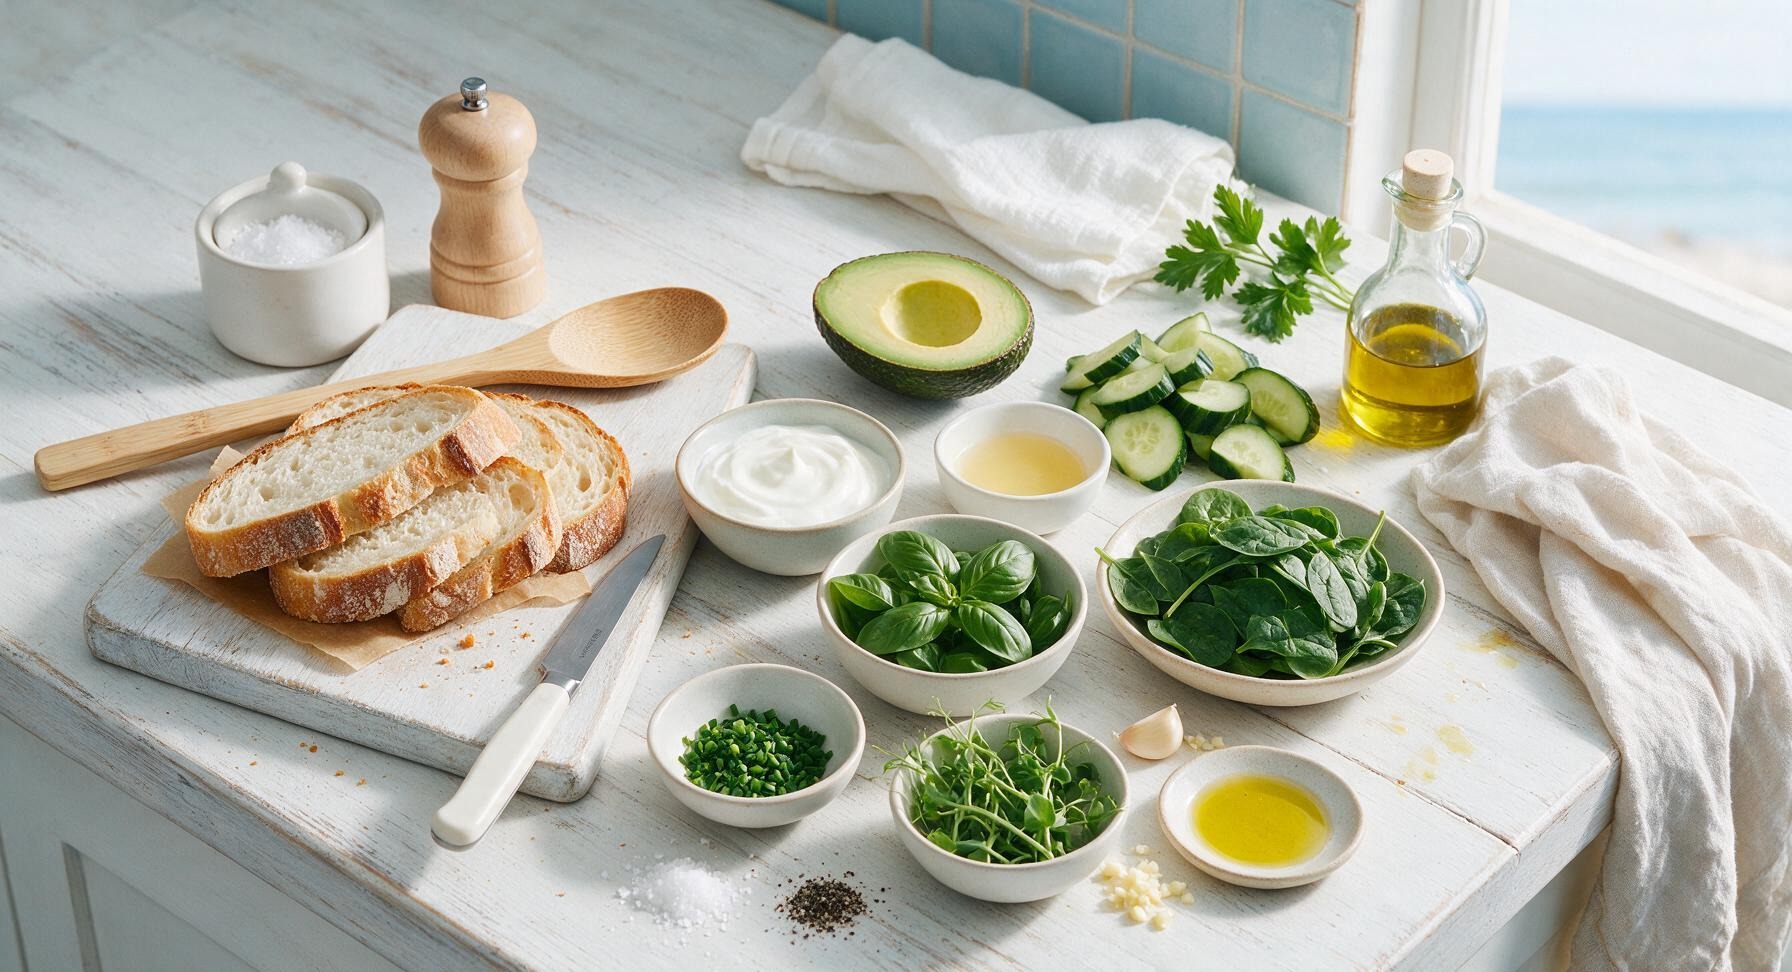
Crusty sourdough bread 4 slices (1.5cm thick, 60g each)
Ripe medium avocado 1 (150g, pitted)
Whole-milk plain Greek yogurt 1/2 cup (120g)
Packed fresh basil leaves 1 cup (25g)
Packed fresh baby spinach 1 cup (30g)
Chopped fresh chives 2 tablespoons (5g)
English cucumber 1/2 (100g)
Fresh pea shoots 1/2 cup (15g)
Small garlic clove 1 (3g, peeled)
Fresh lemon juice 1 tablespoon (15ml)
Extra-virgin olive oil 1 teaspoon (5ml)
Kosher salt 1/2 teaspoon
Freshly ground black pepper 1/4 teaspoon

Steps

1

Blend Herby Green Spread

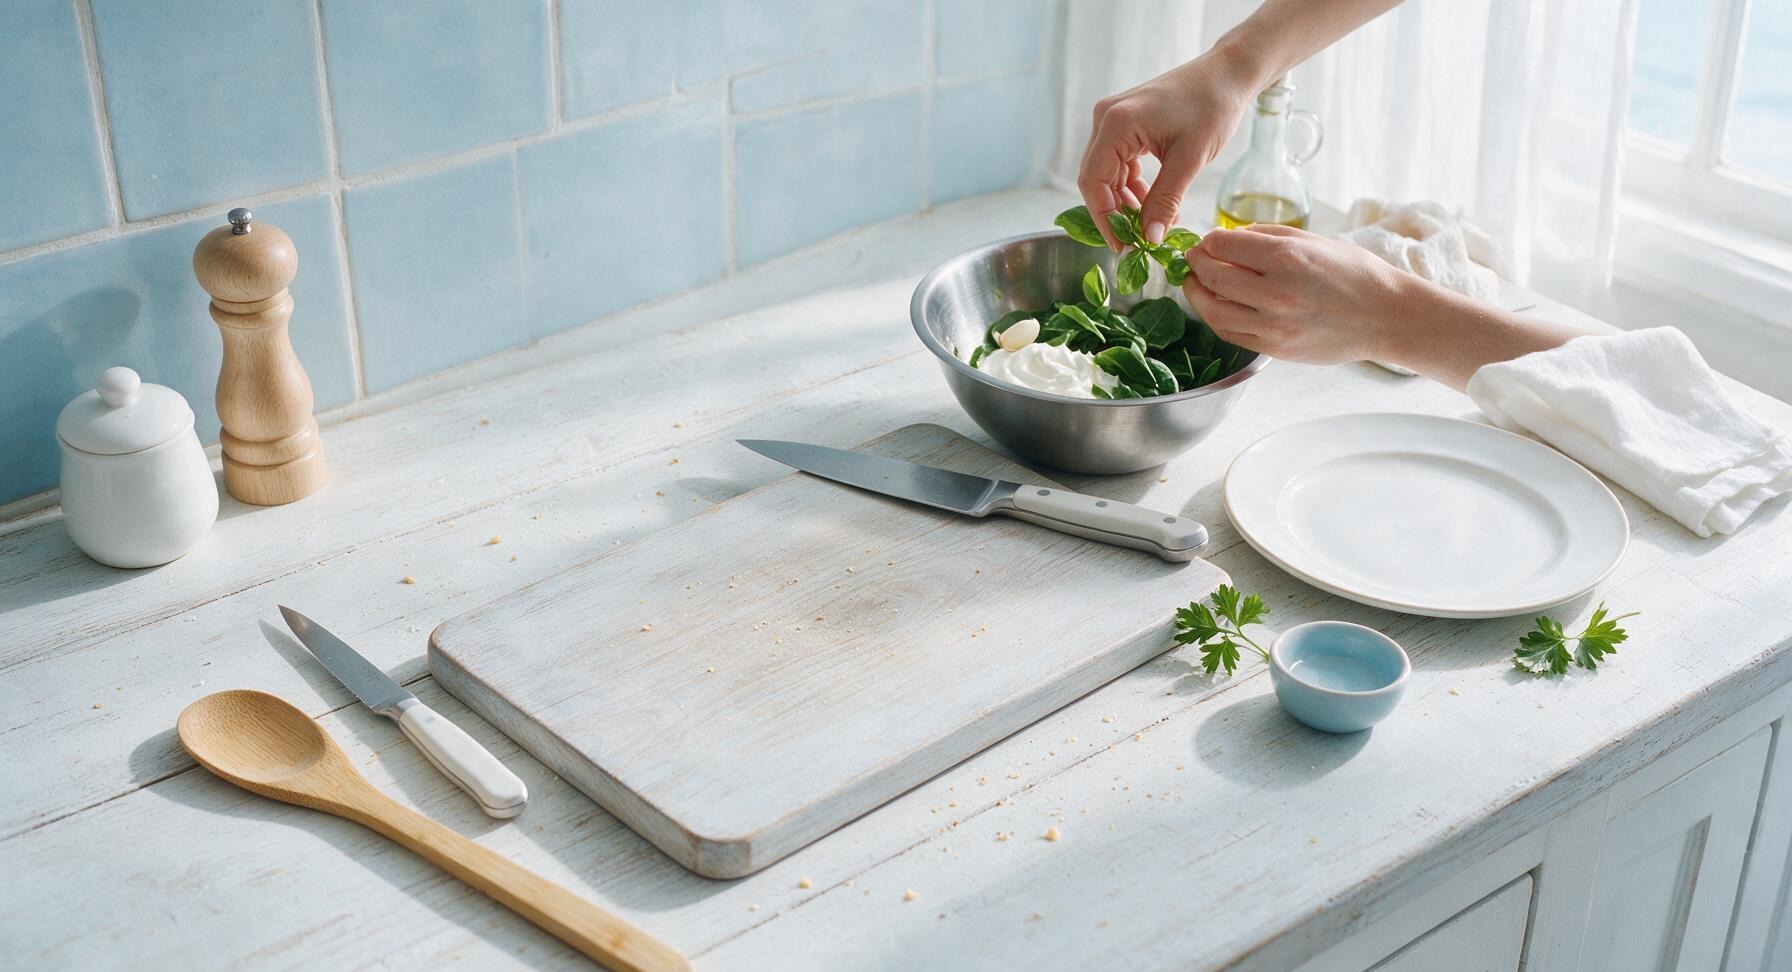
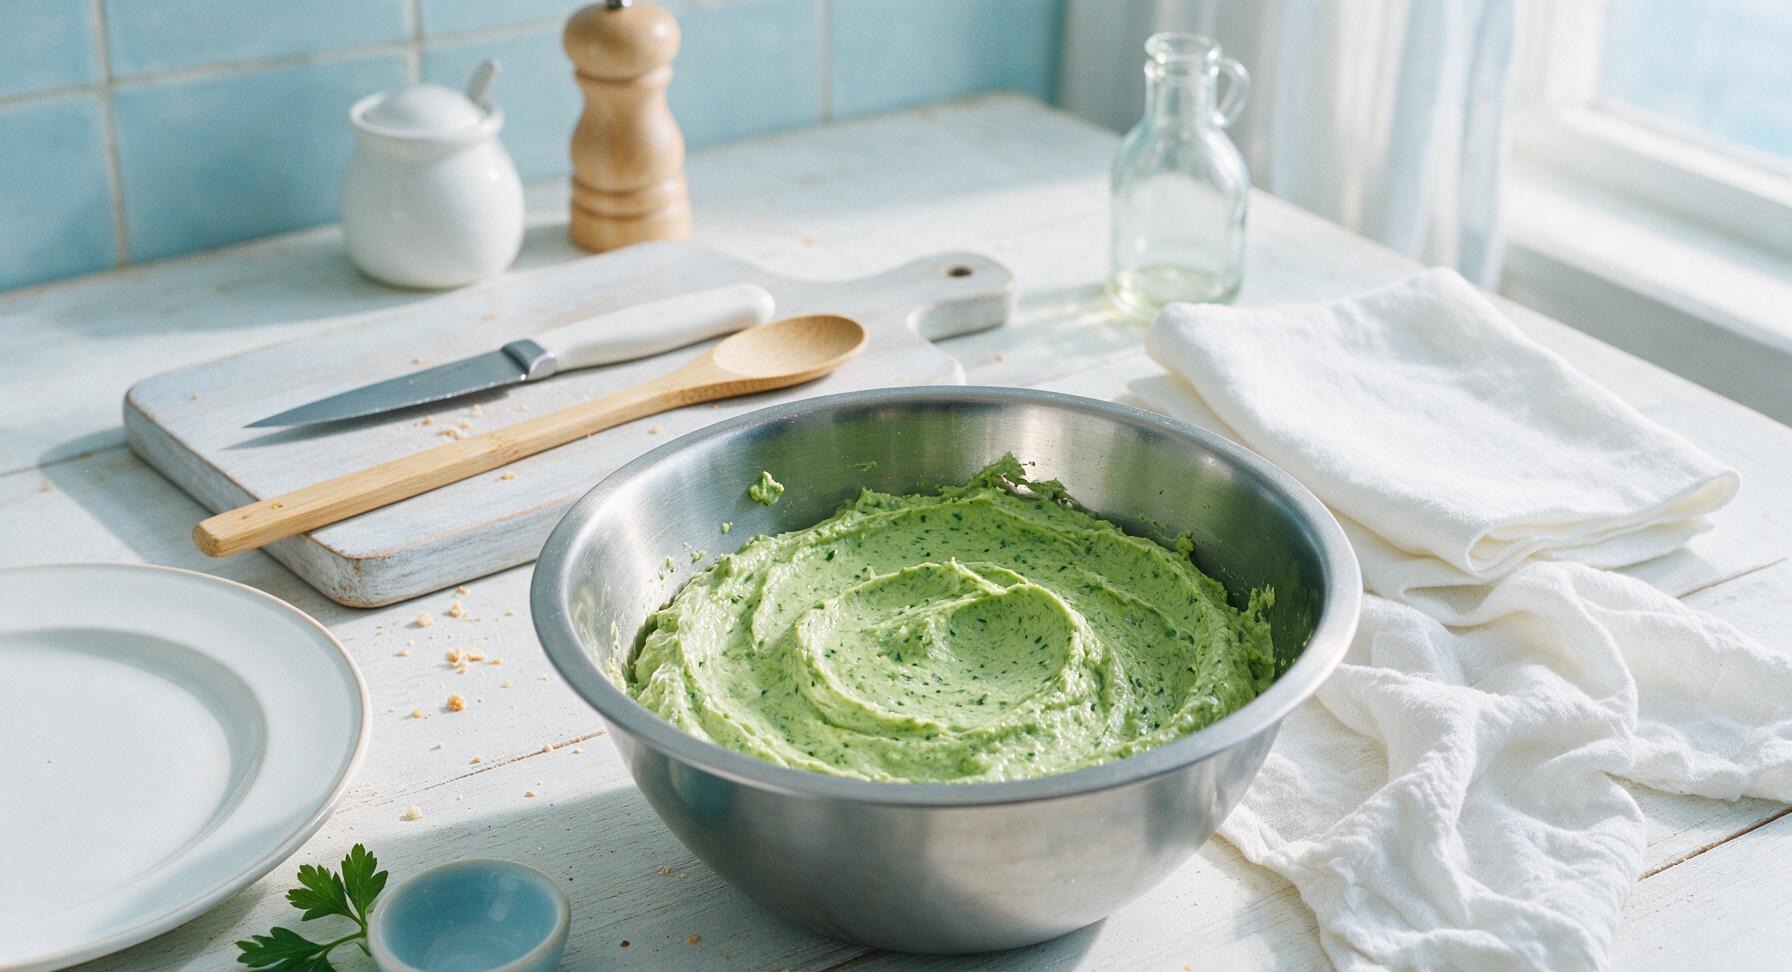
Add 1/2 cup whole-milk Greek yogurt, 1 cup packed fresh basil leaves, 1 cup packed baby spinach, 2 tablespoons chopped chives, 1 peeled small garlic clove, 1 tablespoon fresh lemon juice, 1 teaspoon extra-virgin olive oil, 1/4 teaspoon kosher salt, and 1/8 teaspoon freshly ground black pepper to the brushed stainless steel mixing bowl. Mash and stir with the back of a spoon until the mixture forms a smooth, vibrant pale green spread dotted with tiny visible herb flecks. Set aside for 5 minutes to let flavors meld before using.
Step 1
step1:Blend Herby Green Spread
Step 1
step1:Blend Herby Green Spread
2

Toast Sourdough Slices

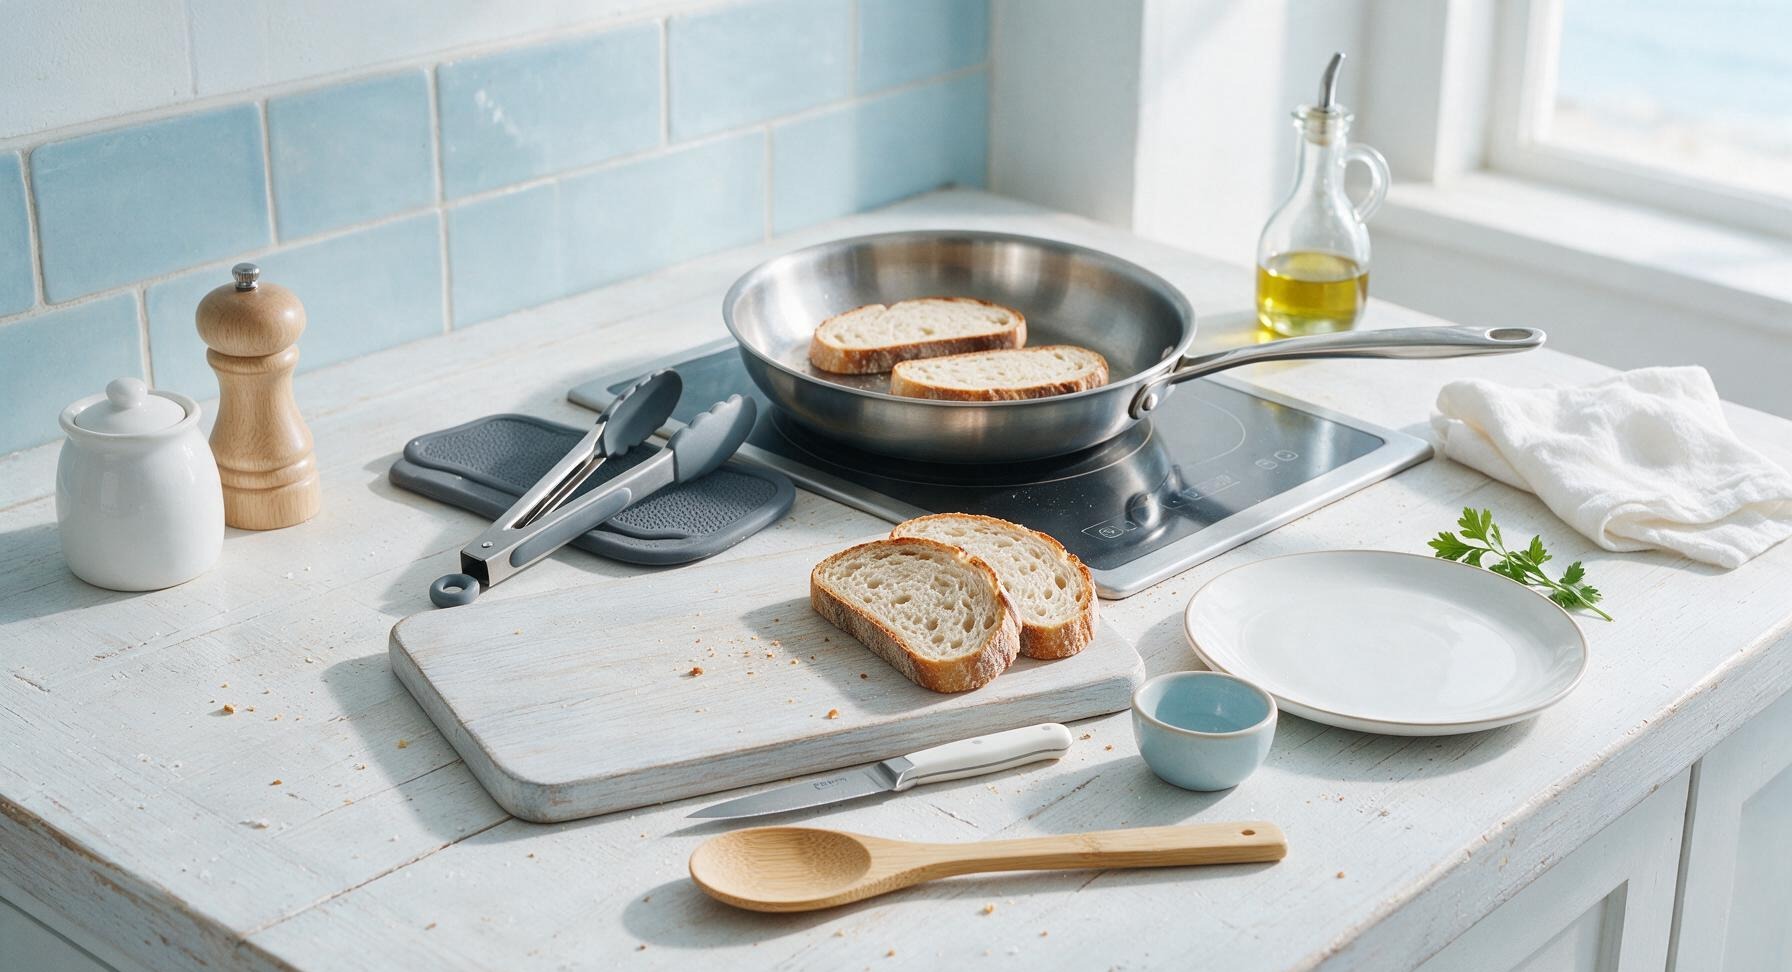
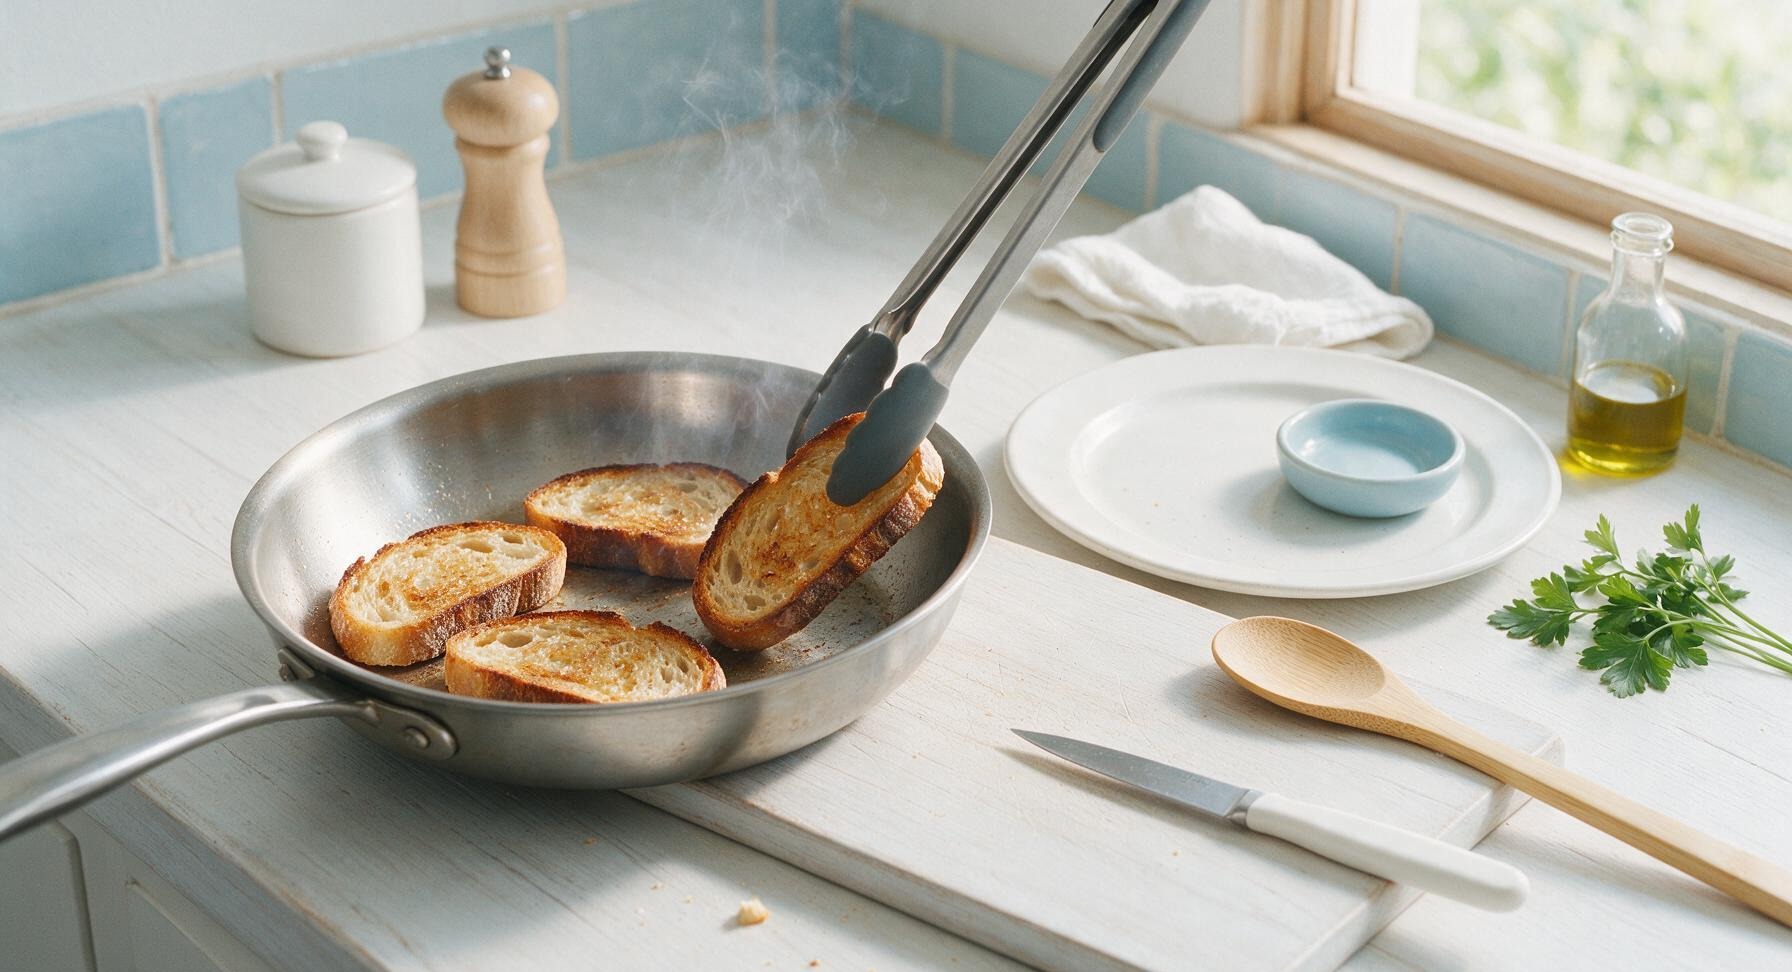
Heat the 20cm stainless steel skillet over medium heat (175°C/350°F). Once the pan is warm (no oil needed), add all 4 sourdough slices in a single layer (work in two batches if your pan is smaller), cooking for 2 minutes per side until golden brown and crisp around the edges, with faint even toasty marks on the surface. Use the silicone-tipped metal tongs to flip slices, then transfer toasted bread to the edge of the cutting board to cool slightly for 1 minute before assembling.
Step 2
step2:Toast Sourdough Slices
Step 2
step2:Toast Sourdough Slices
3

Prep Fresh Green Veggies

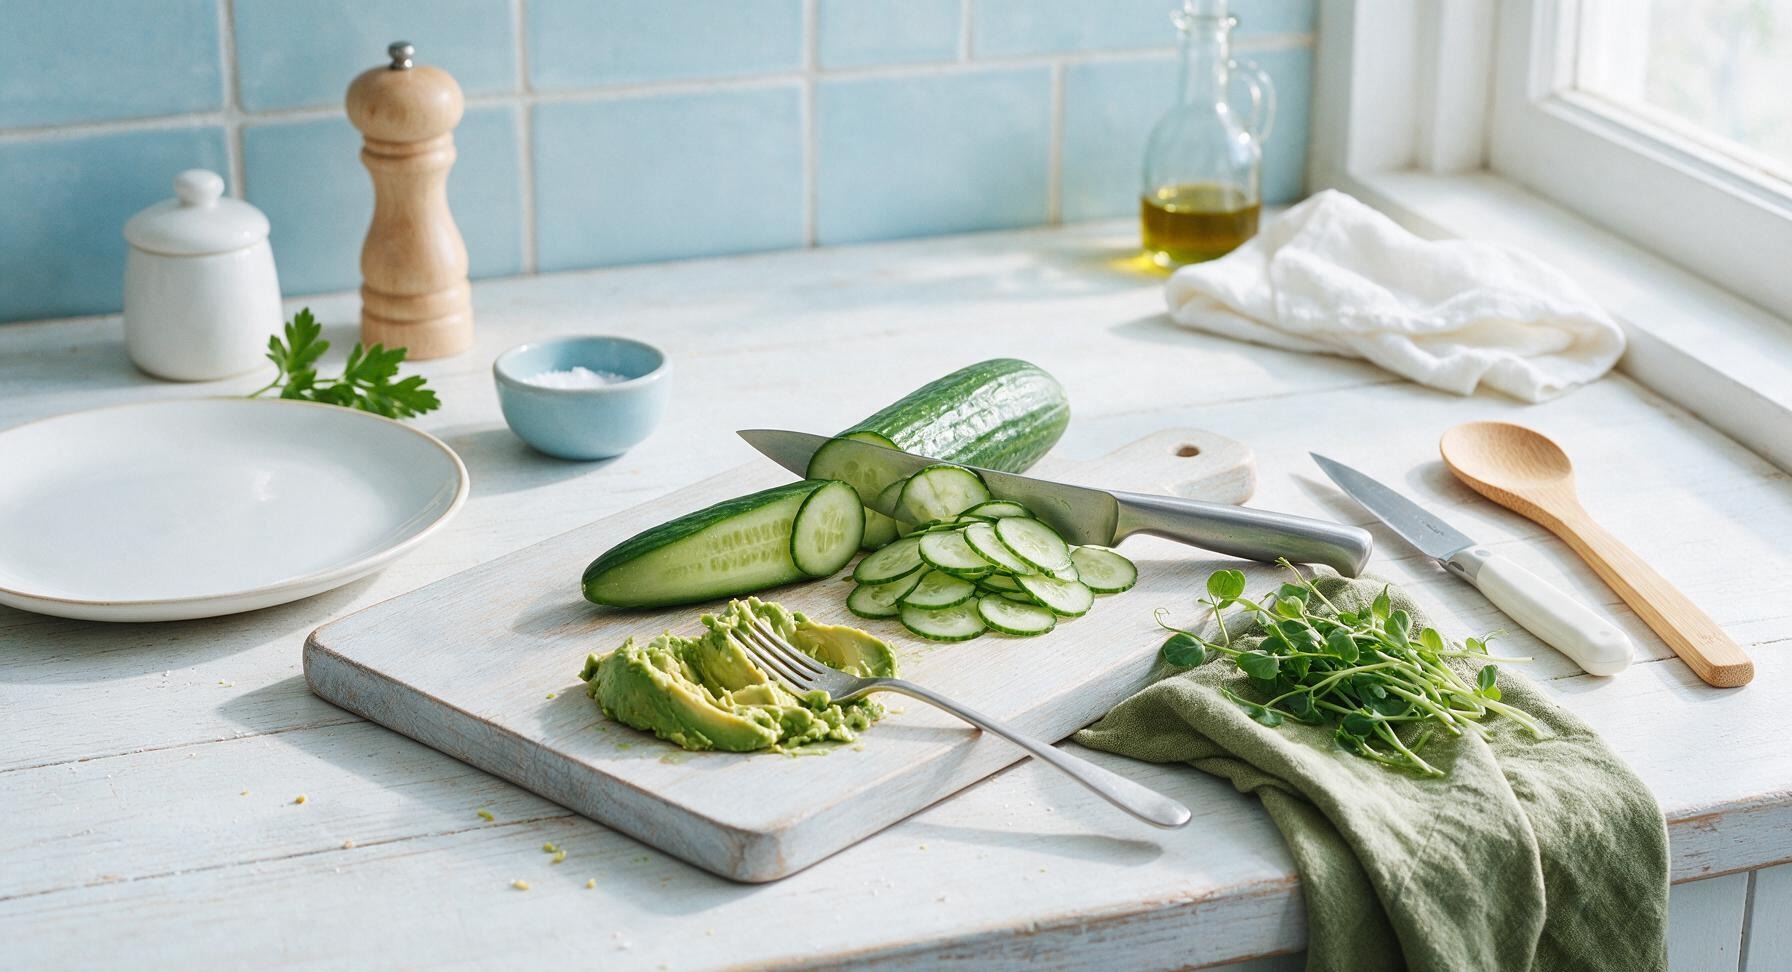
Place the half English cucumber on the light grey cutting board. Use the 8-inch chef knife to slice it into 3mm thick translucent rounds, then set aside. Pit the ripe avocado, scoop the soft flesh into a small pile on the corner of the cutting board, mash lightly with the back of a fork, and season with the remaining 1/4 teaspoon kosher salt and 1/8 teaspoon black pepper. Gently pat the 1/2 cup pea shoots dry with the corner of the olive linen towel to remove any trapped surface moisture.
Step 3
step3:Prep Fresh Green Veggies
4

Spread Layers on Bread

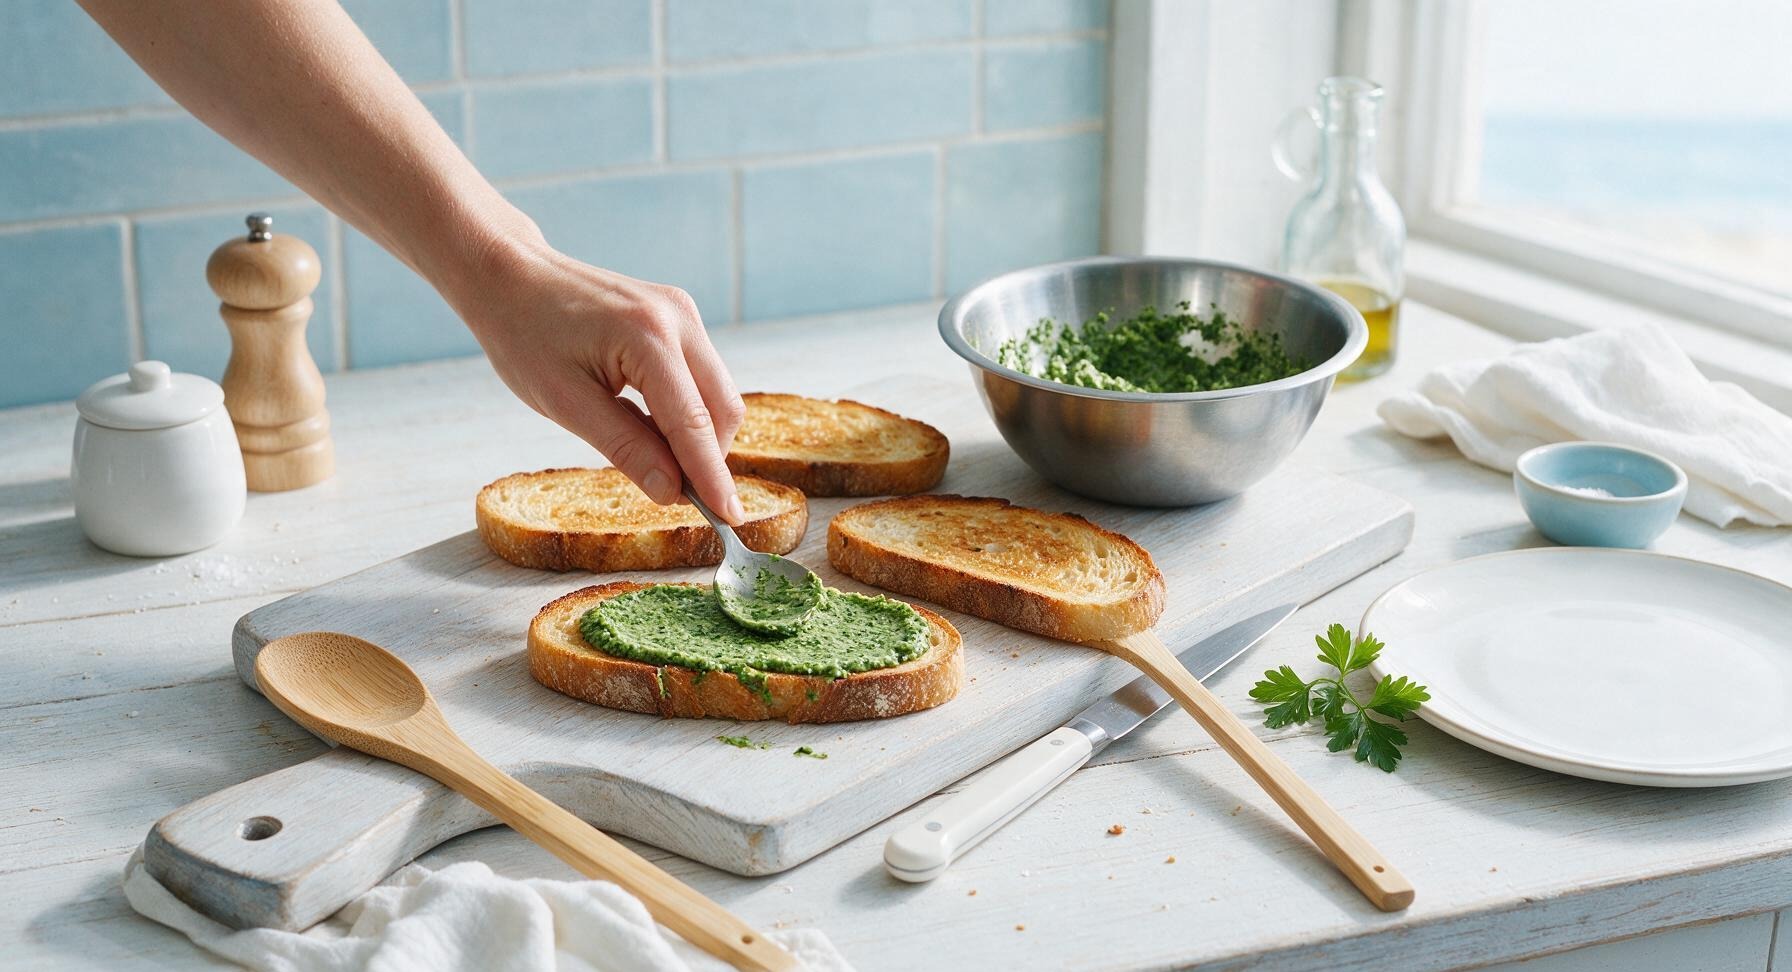
Lay the four cooled toasted sourdough slices flat on the light grey cutting board. Use the back of a spoon to spread a thick, even 1.5mm layer of the green herb spread across one entire side of all four slices, making sure to cover all the way to the crust edges. This edge-to-edge spread creates a moisture barrier to keep bread crisp.
Step 4
step4:Spread Layers on Bread
5

Layer Green Fillings Evenly

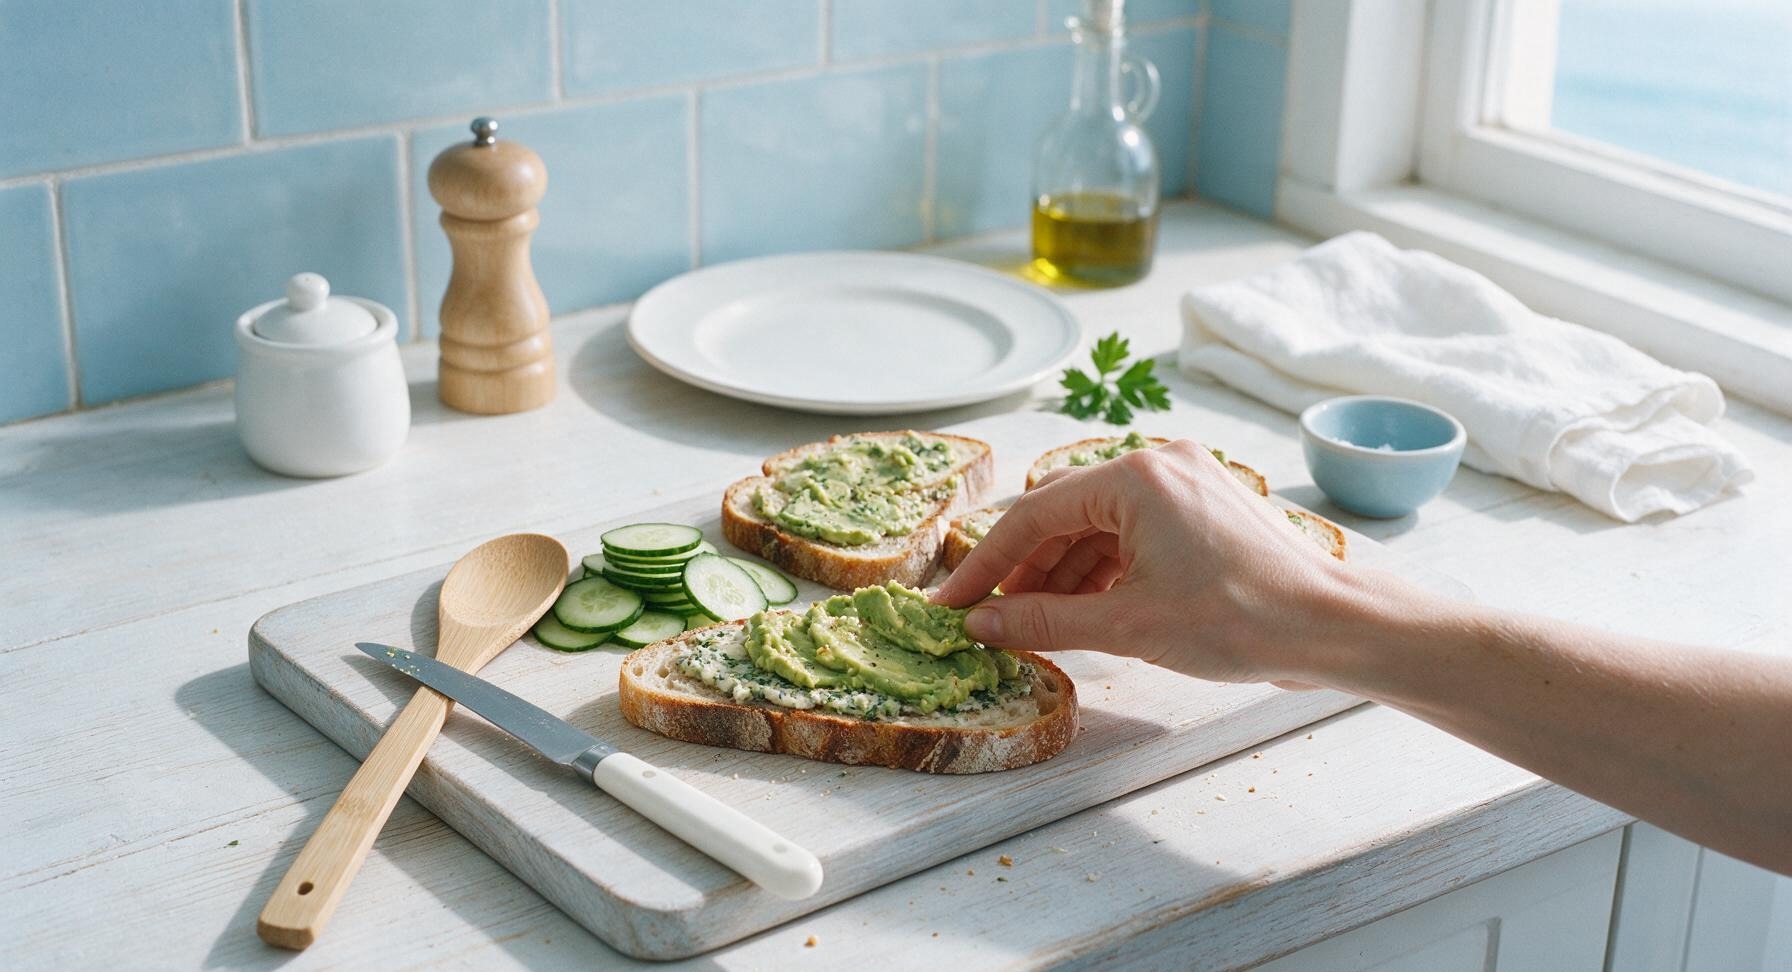
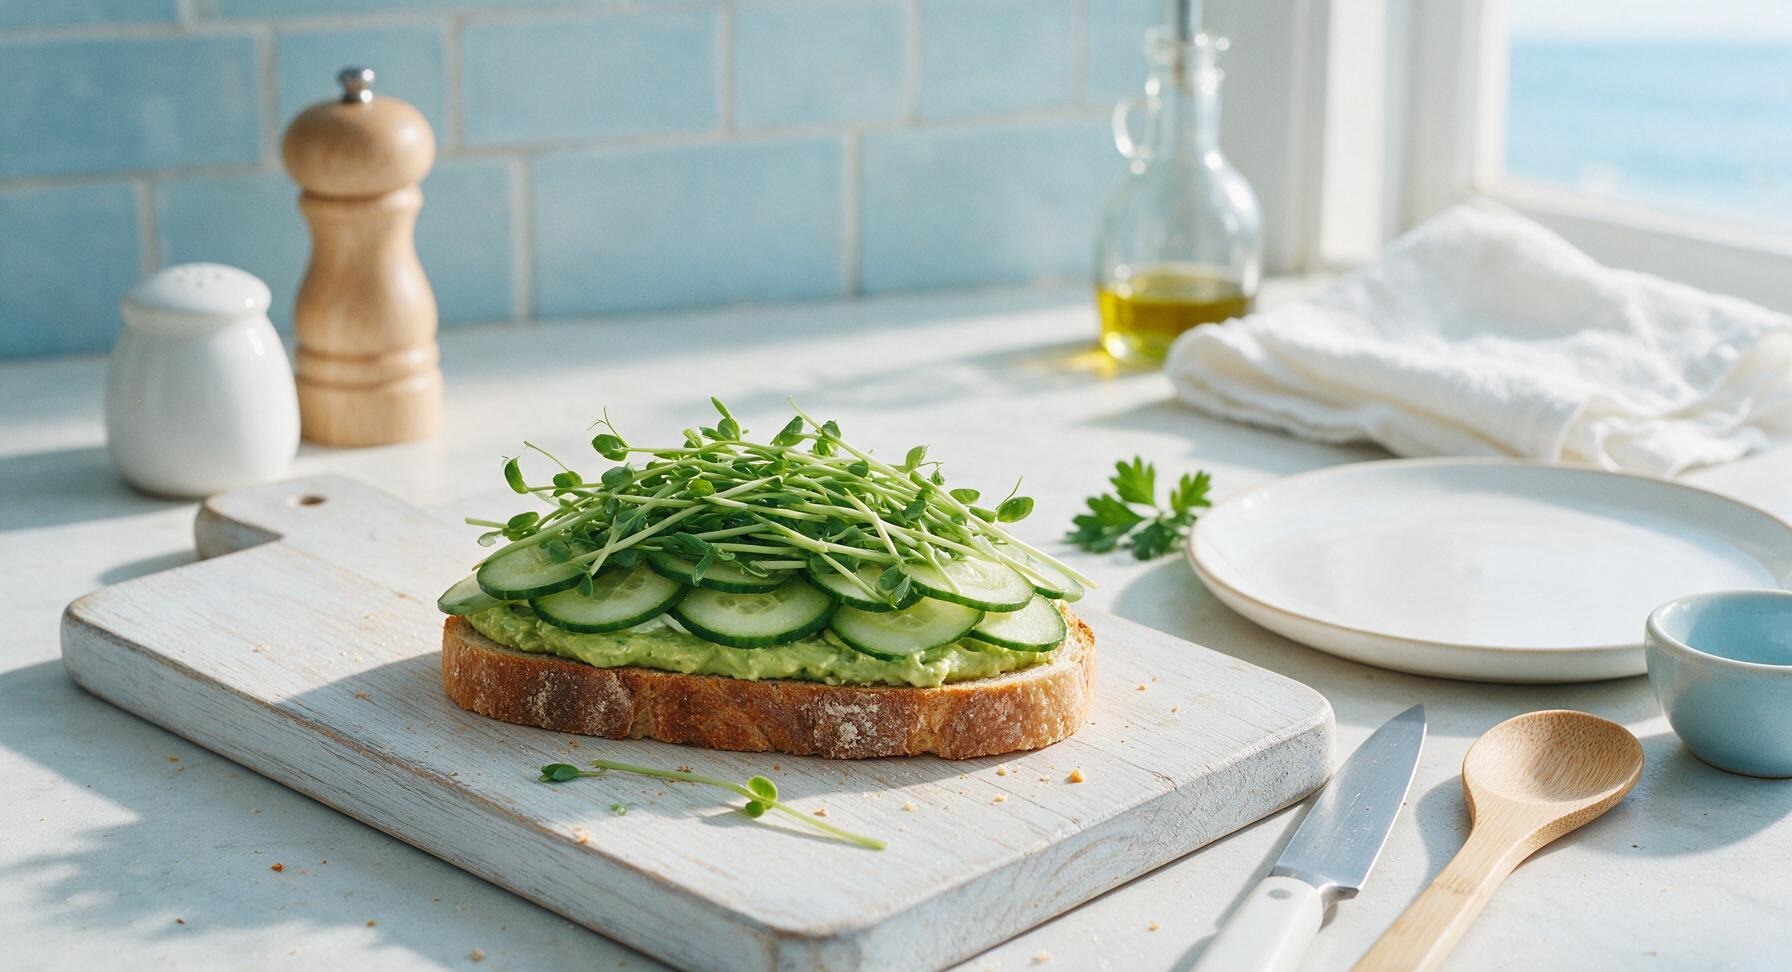
Divide the seasoned mashed avocado evenly between two of the spread-covered bread slices, smoothing it into an even layer over the herb spread. Top the avocado with overlapping thin cucumber slices, followed by a loose, even pile of dried pea shoots. Distribute fillings evenly so every bite has a mix of creamy and crunchy textures, taking care not to overstuff the sandwiches to prevent fillings from falling out.
Step 5
step5:Layer Green Fillings Evenly
Step 5
step5:Layer Green Fillings Evenly
6

Press and Slice Sandwiches

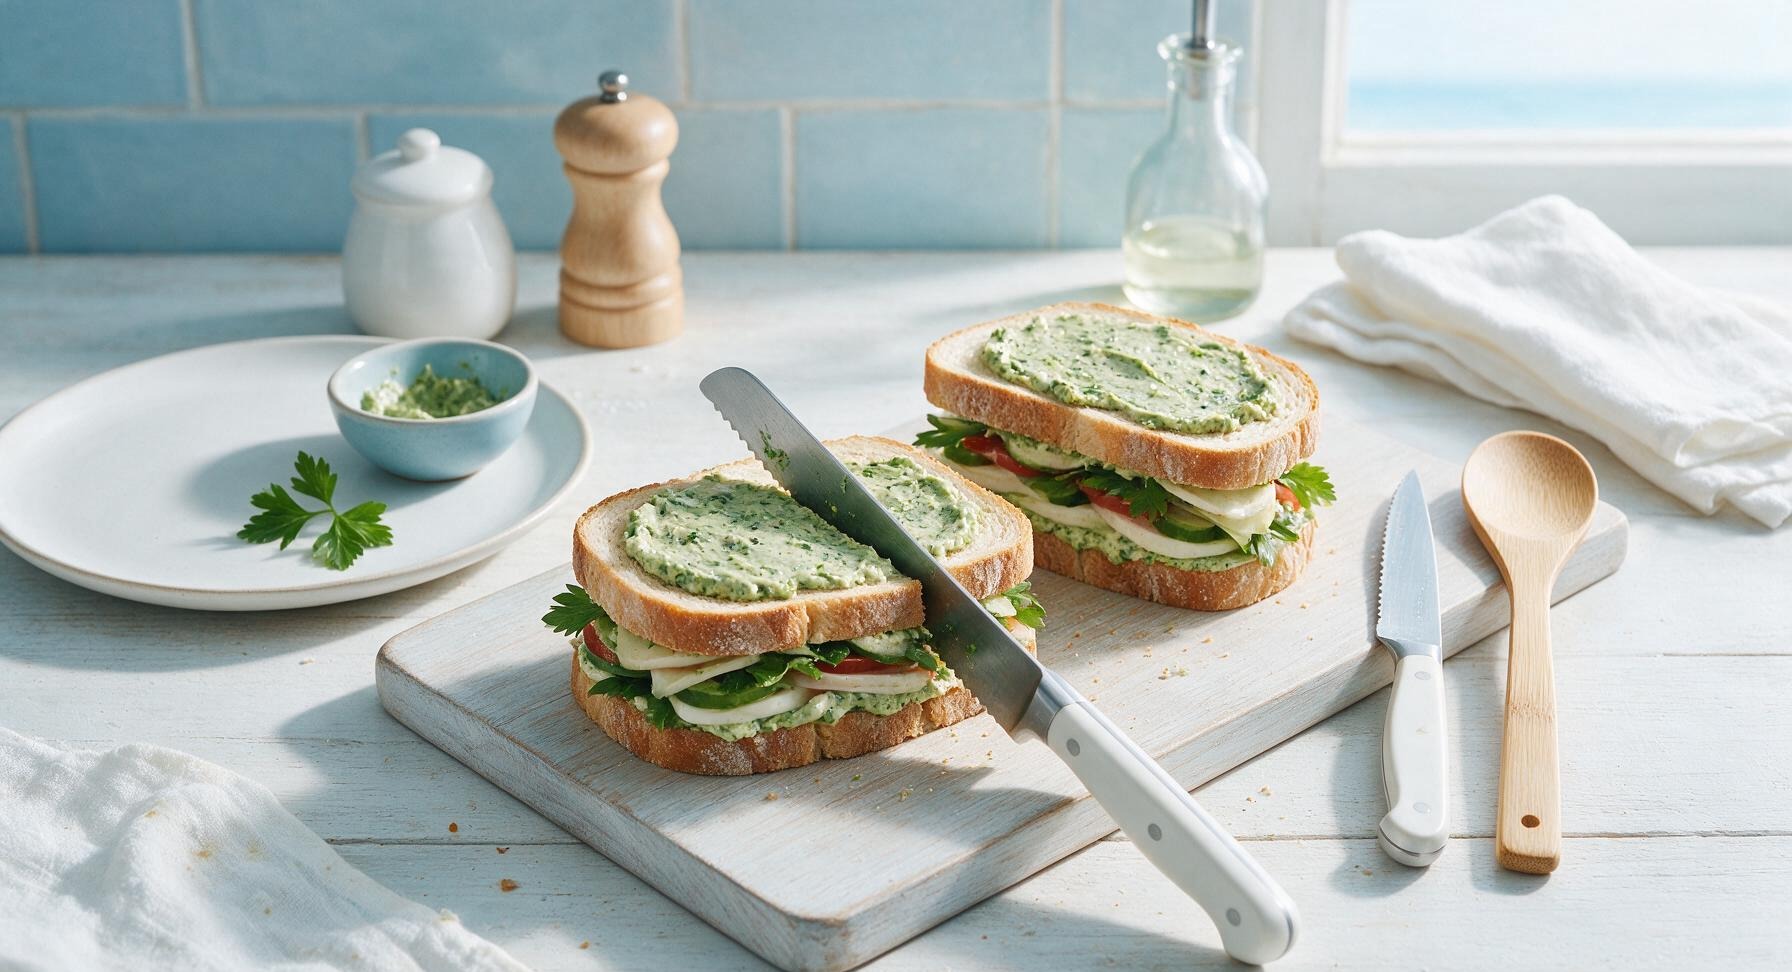
Top the two filled bread slices with the remaining two spread-covered bread slices, spread-side facing down, pressing gently with the palm of your hand to compact the layers slightly. Use the serrated utility knife to cut each sandwich diagonally into two triangular halves, wiping the blade between cuts with the corner of the linen towel to get clean, even edges without smushing the soft fillings.
Step 6
step6:Press and Slice Sandwiches
7

Plate Finished Sandwiches

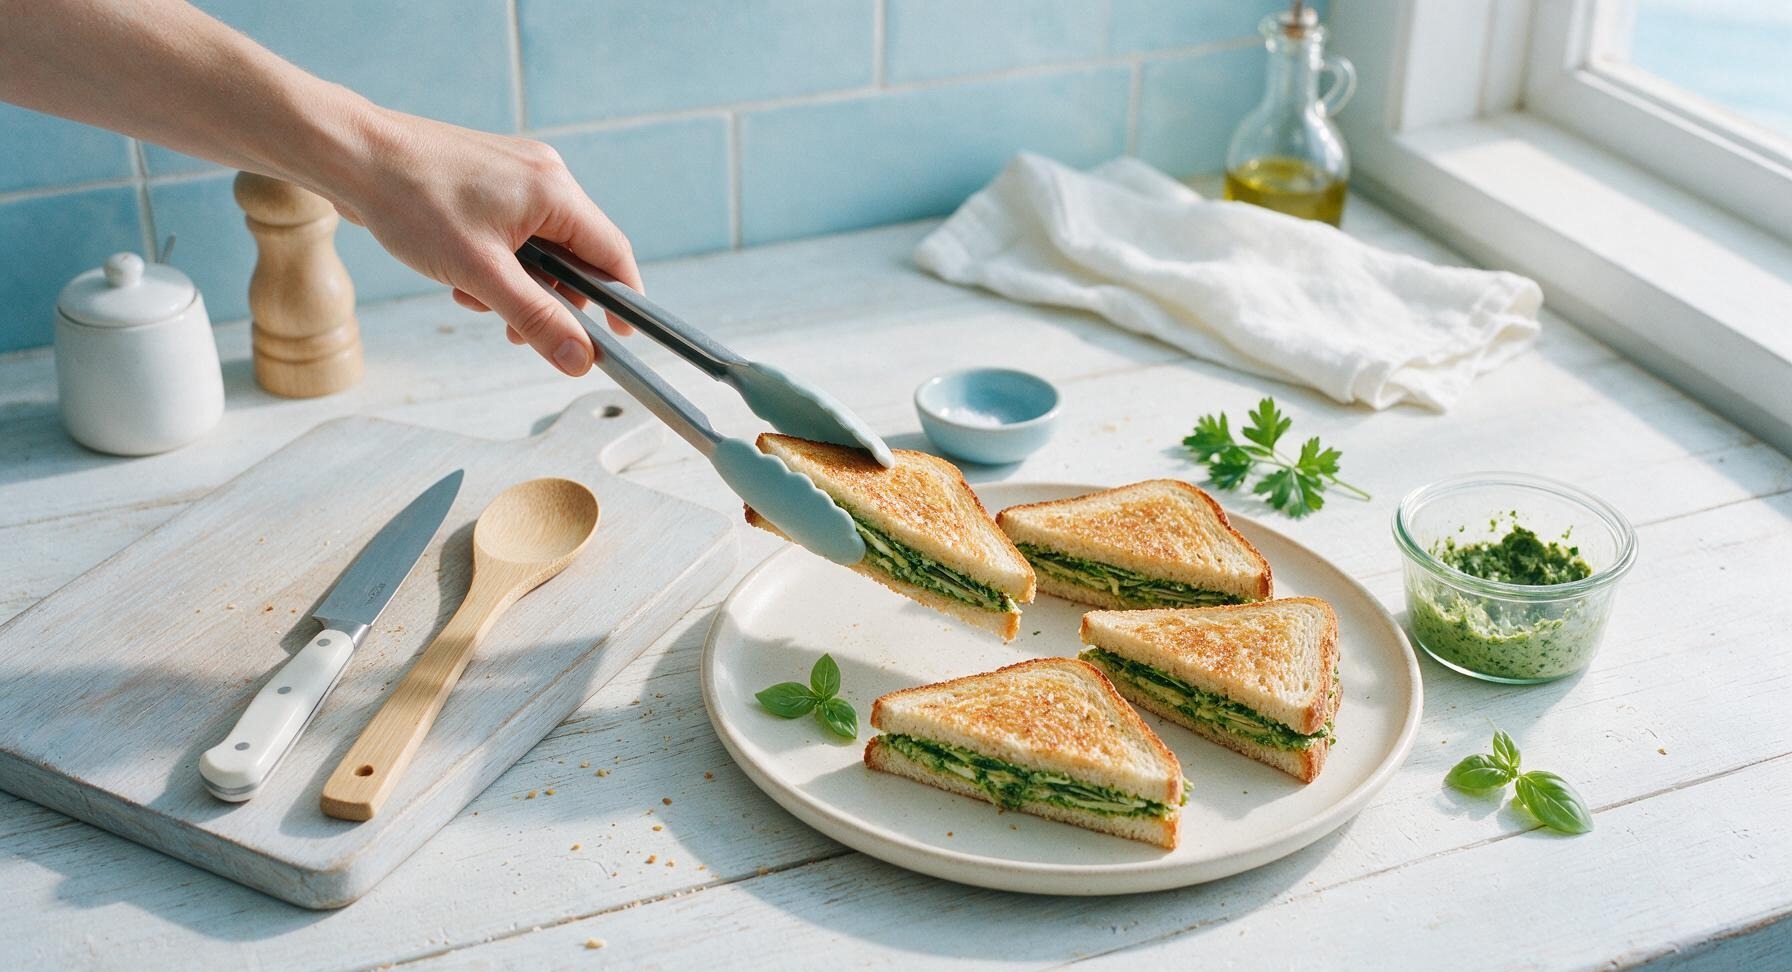
Use the silicone-tipped metal tongs to transfer the four triangular sandwich halves to the matte cream ceramic dinner plate, arranging them slightly offset so the layered green fillings are visible from the edge. Scoop any remaining green herb spread into the small clear glass ramekin to serve on the side. Garnish the plate with one small fresh basil sprig for a pop of bright color.
Step 7
step7:Plate Finished Sandwiches

Tips

1.Pat high-moisture veggies (cucumber, pea shoots) completely dry before layering: excess surface water will seep into the toasted bread and make it soggy, especially if packing the sandwich for travel or a picnic.
2.Spread the herb mixture all the way to the crust edges of every bread slice: this creates a protective moisture barrier between the bread and juicy fillings, keeping slices crisp for up to 4 hours after assembly.
3.Let the mixed herb spread rest for 5 minutes before using: this short rest allows garlic and fresh herb flavors to infuse into the yogurt, creating a brighter, more cohesive flavor instead of a flat, just-mixed taste.


✨ You May Also Like

Lunch
🍜 United States

Creamy, salty, tangy nostalgic Midwestern sandwich pairing rich peanut butter with crisp briny dill pickles for a fast, satisfying no-cook meal.

⏱️ 5 minutesLunch ★ 4.6
Lunch
🍜 United States

Crispy, melty pressed sandwich layered with savory roast pork, ham, Swiss cheese, pickles, and tangy mustard: a beloved Cuban-American comfort classic.

⏱️ 25 minuteLunch ★ 4.9
Lunch
🍜 United States

Hearty, briny New Orleans pressed sandwich stacked with cured Italian meats, provolone, and zesty olive salad, served cold for bold, portable flavor.

⏱️ 1 hour 20Lunch ★ 4.7
Lunch
🍜 United States

A tangy, creamy Southern American staple, this no-cook cheesy sandwich is packed with sharp cheddar and sweet pimentos for a satisfying, portable bite.

⏱️ 1 hour 15Lunch ★ 4.8
Lunch
🍜 United States

Crispy Cajun-spiced fried shrimp piled on crusty French bread with tangy remoulade and fresh toppings, the iconic Louisiana street food sandwich.

⏱️ 35 minuteLunch ★ 4.4
Lunch
🍜 United States

Stacked, savory deli-style corned beef sandwich with melted Swiss, tangy mustard, and crisp griddled rye— a fast, hearty, satisfying classic.

⏱️ 15 minuteLunch ★ 4.9

green sandwich:Frequently Asked Questions

1.How do I keep my Crispy Green Goddess Sandwich from getting soggy, especially if I’m packing it for lunch? ▾
Start by toasting your crusty sourdough until deep golden and crisp on both sides, then spread a thin layer of mashed avocado on each inner bread face to create a moisture barrier. Pat all washed veggies completely dry before layering, and pack the herby yogurt spread separately if prepping more than 4 hours ahead, spreading it right before eating.
2.Can I use a different type of bread if I don’t have crusty sourdough on hand? ▾
Absolutely, though sourdough’s tangy flavor and sturdy, holey crumb is ideal for holding creamy fillings without falling apart. Great swaps include crusty country white, whole-grain artisan loaf, or split toasted ciabatta rolls. Skip ultra-soft, thin sandwich bread—it will turn soggy fast and won’t deliver that signature crispy, toasty bite.
3.Is there a good substitute for whole-milk plain Greek yogurt in the Green Goddess spread? ▾
Yes, for the closest creamy, tangy result, swap in full-fat sour cream or strained, blended whole-milk ricotta. For a dairy-free option, use unsweetened plain coconut yogurt strained for 30 minutes to remove excess water, so the spread stays thick. Skip non-fat yogurt—it tastes watery and lacks the rich, smooth texture the spread needs.
4.How ripe should the avocado be for this sandwich? ▾
Pick an avocado that gives slightly when you press the skin gently, with no mushy dark spots under the surface. It should mash smoothly without being stringy, but firm enough that thin slices hold their shape when layered. Overly soft avocados make the sandwich soggy, while rock-hard, unripe avocados taste bitter and lack that signature creamy texture.
5.Do I have to use fresh basil and baby spinach, or can I use dried herbs? ▾
For that bright, fresh green flavor that defines this sandwich, fresh basil and baby spinach are non-negotiable. Dried basil has a concentrated, woody taste that clashes with the light, herby profile. If you’re short on basil, swap in equal parts fresh tarragon or flat-leaf parsley, but skip dried herbs entirely—they’ll make the spread taste flat and muted.
6.What extra crunchy veggies pair best with this sandwich to amp up texture? ▾
Great complementary add-ins that match the fresh green theme include thinly sliced, patted-dry cucumber, shredded crisp romaine, thin-sliced sugar snap peas, or pickled jalapeños for a bright kick. Skip watery veggies like unseeded fresh tomato slices, as their excess juice will quickly turn your perfectly toasted sourdough soft and mushy.
7.How long can I store a pre-assembled Crispy Green Goddess Sandwich in the fridge? ▾
A fully assembled sandwich will stay crisp and fresh for up to 24 hours in the fridge if you’ve added the avocado moisture barrier and used fully dried veggies, stored in an airtight container. For longer prep ahead, keep toasted bread, spread, and prepped veggies in separate sealed containers for up to 3 days, assembling right before eating.
8.Can I make the herby Green Goddess spread ahead of time? ▾
Definitely! The yogurt, basil, and spinach spread actually tastes better after 2 to 4 hours in the fridge, as the bright herb flavors meld together. Store it in a tightly sealed glass jar, and press a piece of plastic wrap directly to the spread’s surface to prevent browning from oxidation. It will stay fresh for up to 5 days for quick weekday meals.
9.Is there a way to add extra protein to this sandwich to make it a more filling meal? ▾
Absolutely! Great protein add-ins that complement the bright herby flavors include crispy pan-fried chickpeas, sliced hard-boiled egg, simply seasoned grilled chicken breast, crumbled feta, or crispy baked tofu. Just make sure any cooked add-ins are fully cooled before layering, so trapped steam doesn’t make your toasted sourdough go soft.
10.Why is my Green Goddess spread turning brown after a day in the fridge? ▾
That browning comes from oxidation of the fresh basil and spinach, the same reaction that turns cut avocado brown when exposed to air—it’s totally safe to eat. To prevent it, use a completely airtight storage container, press a thin layer of olive oil or plastic wrap directly on the spread’s surface, and add a tiny squeeze of lemon juice to slow oxidation.
11.Should I remove the crusts from the sourdough for this sandwich? ▾
There’s no need! The thick, toasty crust edges of sourdough are what give this sandwich its signature crispy, sturdy bite that holds up to creamy avocado and yogurt spread. If you prefer softer edges for kids or personal taste, you can trim crusts after toasting, but save them to toss in salads or turn into homemade croutons to cut down on food waste.

Comments (8)

2 days ago

OMG this is such a game changer! I needed a super quick lunch for work from home days and this came together in literally 5 minutes flat like the recipe says. The crispy crunch on the bread paired with that herby green goddess spread? *Chef's kiss* My husband even stole half my sandwich and asked me to make it for his weekend golf trip potluck!

yesterday

Wait did you toast the bread in a pan or use a toaster? I’m trying to get that perfect crispy edge without burning the spread!

2 hours ago

So happy you both loved it! For that perfect crisp, we recommend toasting the bread first before spreading the green goddess mix — that way the bread stays crunchy and the spread doesn’t get soggy! It works perfect for potlucks if you keep the spread on the side until right before serving too.

3 days ago

My kids are SO picky about veggies but they devoured these for dinner last night! I swapped the regular arugula for baby spinach since that’s what I had in the fridge, and added a little extra crispy chickpeas for crunch. Total weeknight win, especially since it was zero stress to throw together.

2 days ago

That swap sounds absolutely delicious! We love adding crispy chickpeas too for an extra protein boost — so glad your picky eaters enjoyed it, that’s the best compliment we can get!

1 week ago

Made a batch of the green goddess spread on Sunday for meal prep and these sandwiches held up all week for my work lunches! I used sourdough bread and pressed it in my panini press for 2 minutes to get that crispy exterior, 10/10 will be making this on repeat. Already told my whole gym group chat about it.

5 days ago

Wait, has anyone tried making this with vegan mayo for the green goddess dressing? I’m dairy free and tried a test bite at a friend’s house last week and it was 10/10, but I need to make it for my sister’s birthday lunch and want to get the swap right! Also curious if the crispy element works with gluten free bread?

3 days ago

I used vegan mayo and my favorite gluten free sourdough last week! It turned out amazing, just make sure your GF bread is nice and toasted so it doesn’t get mushy. The herb flavor still shines through so much, you won’t miss the regular mayo at all!

2 days ago

Great question! We’ve tested this with vegan mayo (we love the avocado oil based kind!) and gluten free bread and it works perfectly. Just toast the GF bread a little longer than regular bread for that ideal crispy crunch, and you’re good to go!

yesterday

Made this for my neighborhood book club potluck yesterday and everyone was asking for the recipe! I added a couple slices of crispy bacon to mine for a little salty kick, wow that was chef’s kiss. Only downside is I ate two sandwiches before anyone even arrived oops.

30 minutes ago

The bacon addition is genius! I’m making these for our next block party, I’m definitely stealing that idea. How crispy did you cook the bacon? I like mine extra shattery!

2 weeks ago

As a broke college student with barely any cooking skills, this was so easy to make in my dorm’s tiny kitchen! I used pre-made green goddess dressing from the grocery store when I didn’t have time to make the spread from scratch, toasted my bread in the toaster oven, and it still slapped. 10 minute total cook time for me, way better than the dining hall sandwiches.

2 hours ago

Took these on a day hike last weekend and they were the perfect trail lunch! I wrapped them in parchment paper so they stayed together, and the crispy bread didn’t get soggy even after 3 hours in my backpack. Only note is I wish I’d added a little extra lemon to the spread for more zing, but that’s just personal preference.

30 minutes ago

So stoked these worked out for your hike! That parchment paper trick is such a good call for on-the-go meals. We love extra lemon too — a little fresh squeeze right before eating takes that herby spread to the next level, great tip!

30 minutes ago

Wait I saw this recipe trending on TikTok and had to try it, and it did NOT disappoint! I made the crispy bread by brushing it with a little garlic butter before toasting and oh my god, the flavor combo is unreal. My roommate said it’s better than the $14 green goddess sandwich from the fancy sandwich shop downtown.

5 minutes ago

The garlic butter brush hack is INCREDIBLE, I did that too last time I made these! I added a sprinkle of parmesan on the bread while it toasted too, so cheesy and crispy. Total game changer.

just now

Wow that garlic butter twist sounds absolutely amazing — we’re going to have to test that ourselves! Nothing beats a homemade sandwich that’s better than the fancy restaurant version, that makes our day. So glad you loved it!



