
cheese cherry pineapple
intro
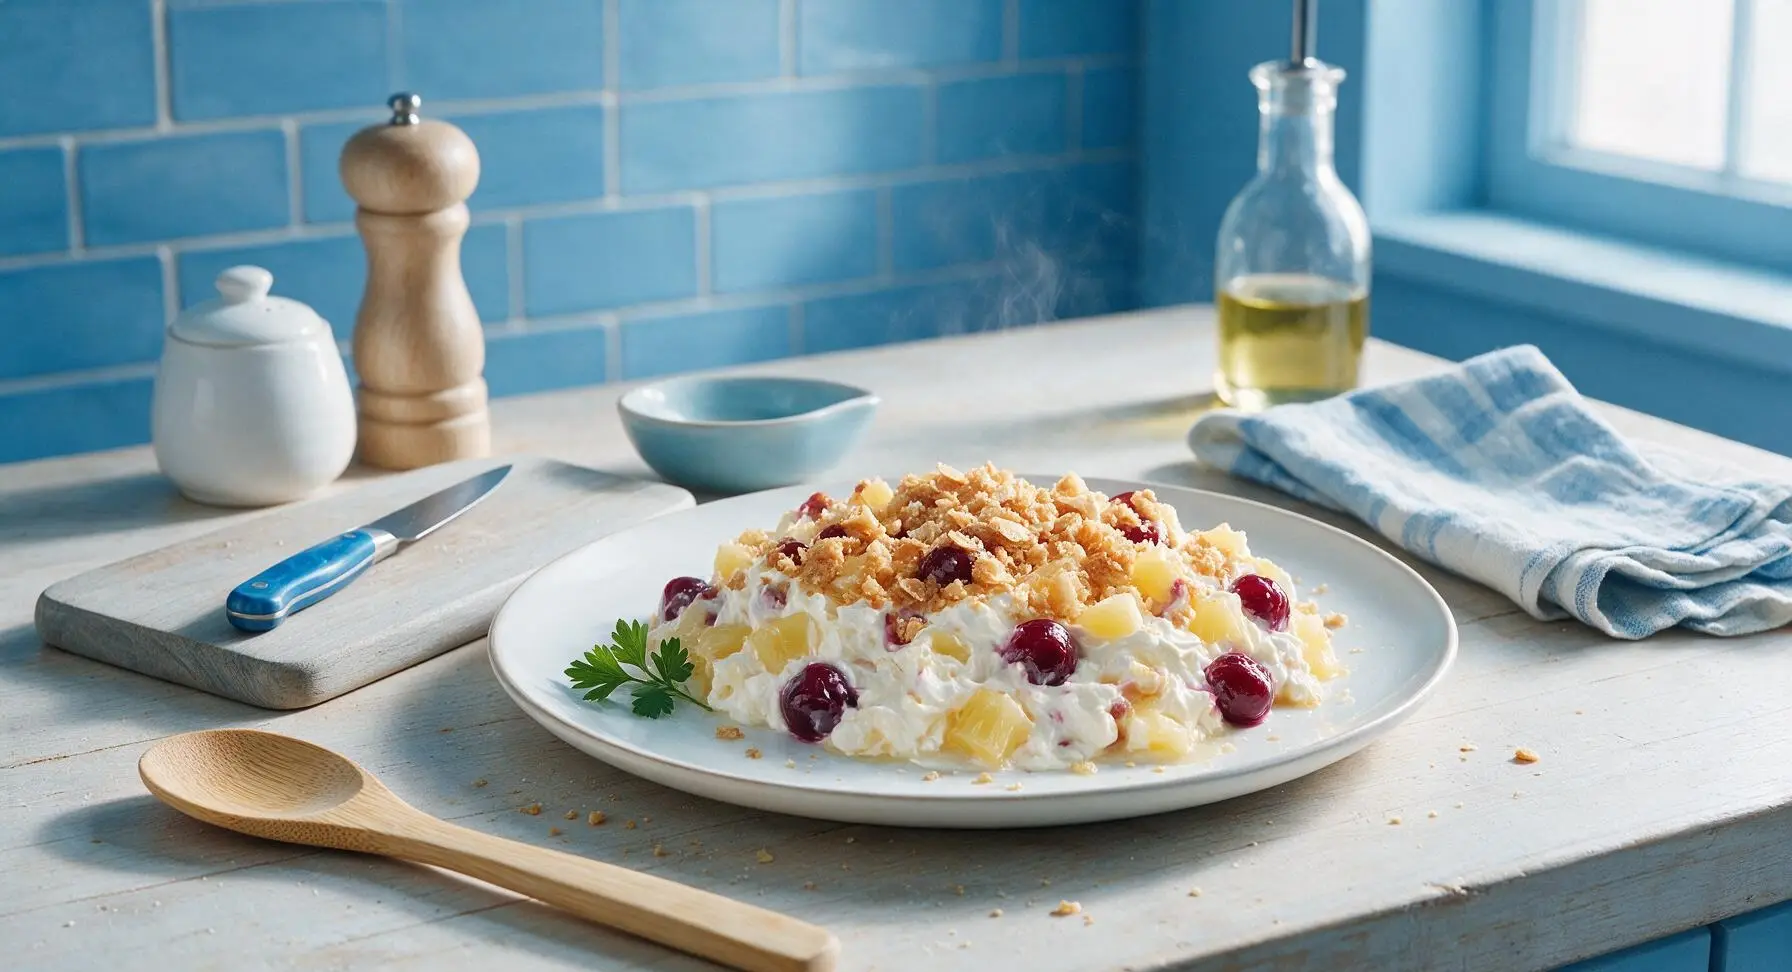
Creamy tangy cream cheese swirled with sweet pineapple and tart cherries, topped with buttery crisp cracker crumbs—this nostalgic bake is a beloved potluck crowd-pleaser.
Ingredients
Steps
Drain Fruit, Preheat Oven
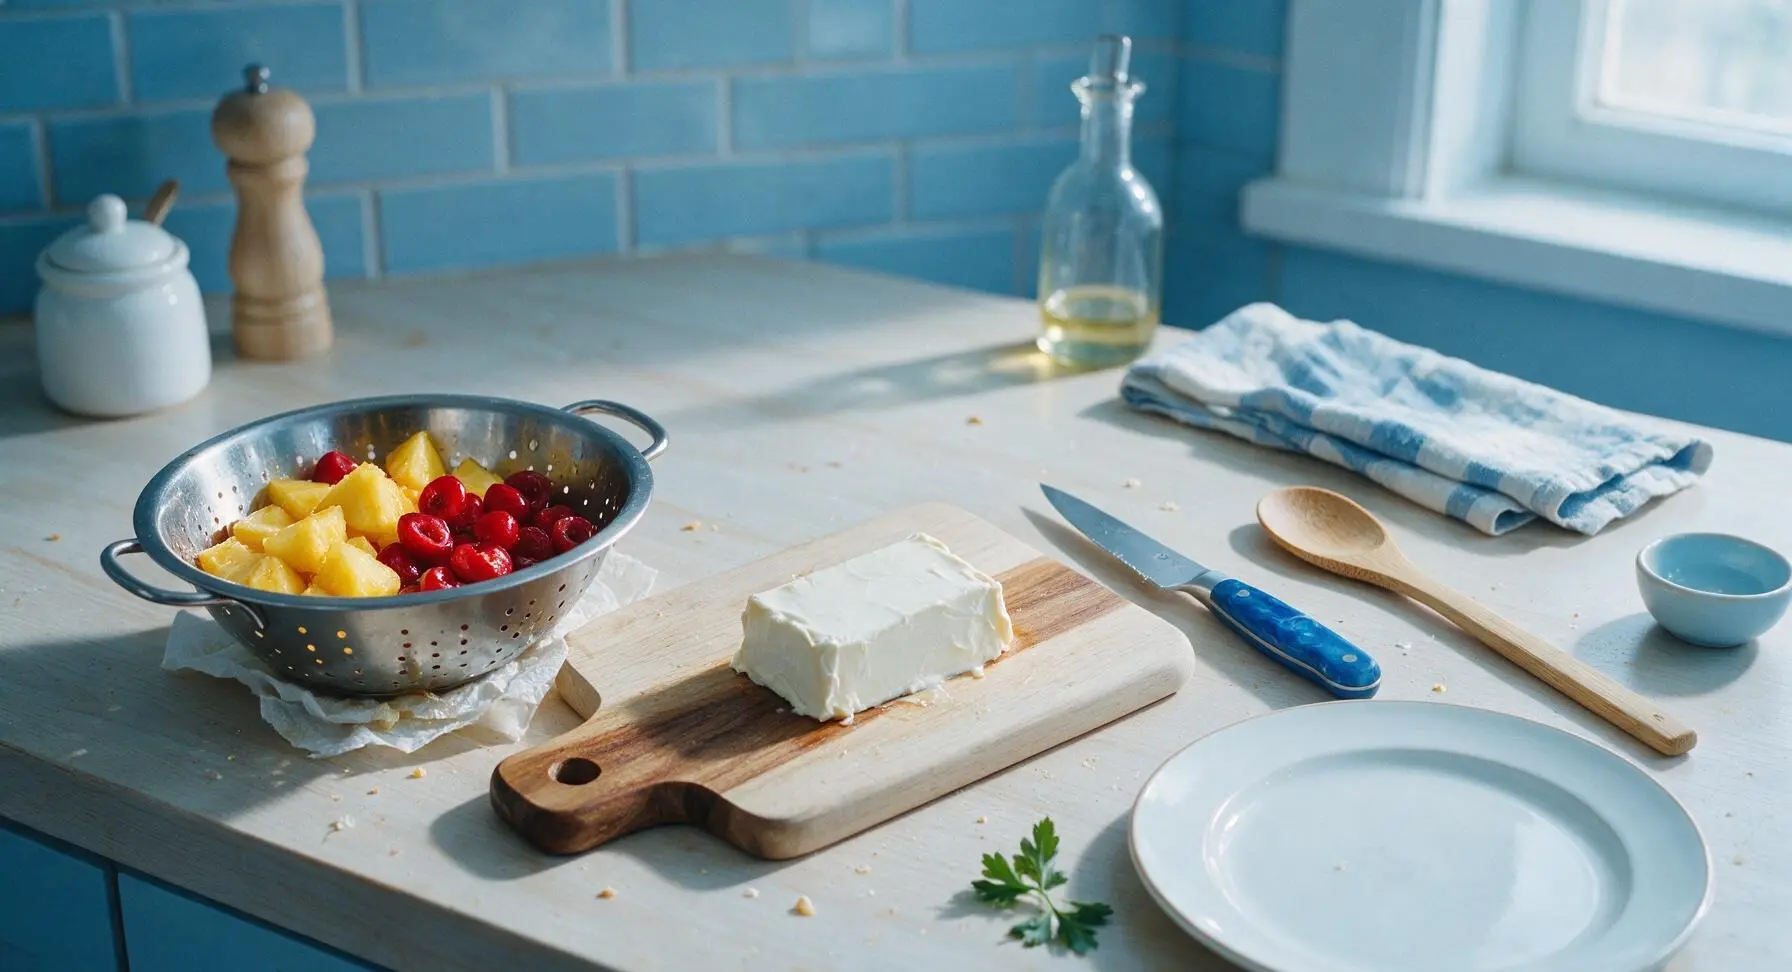
Preheat your oven to 350°F (175°C). Place 450g drained canned pineapple chunks and 100g halved, drained maraschino cherries in the stainless steel colander. Let fruit drain for 5 minutes, shaking gently to remove all excess syrup; pat lightly with a paper towel from the far-right holder if fruit feels overly wet, as residual syrup will make the filling runny. Set the 225g block of full-fat cream cheese on the acacia cutting board to soften to room temperature.
Mix Smooth Cheese Base
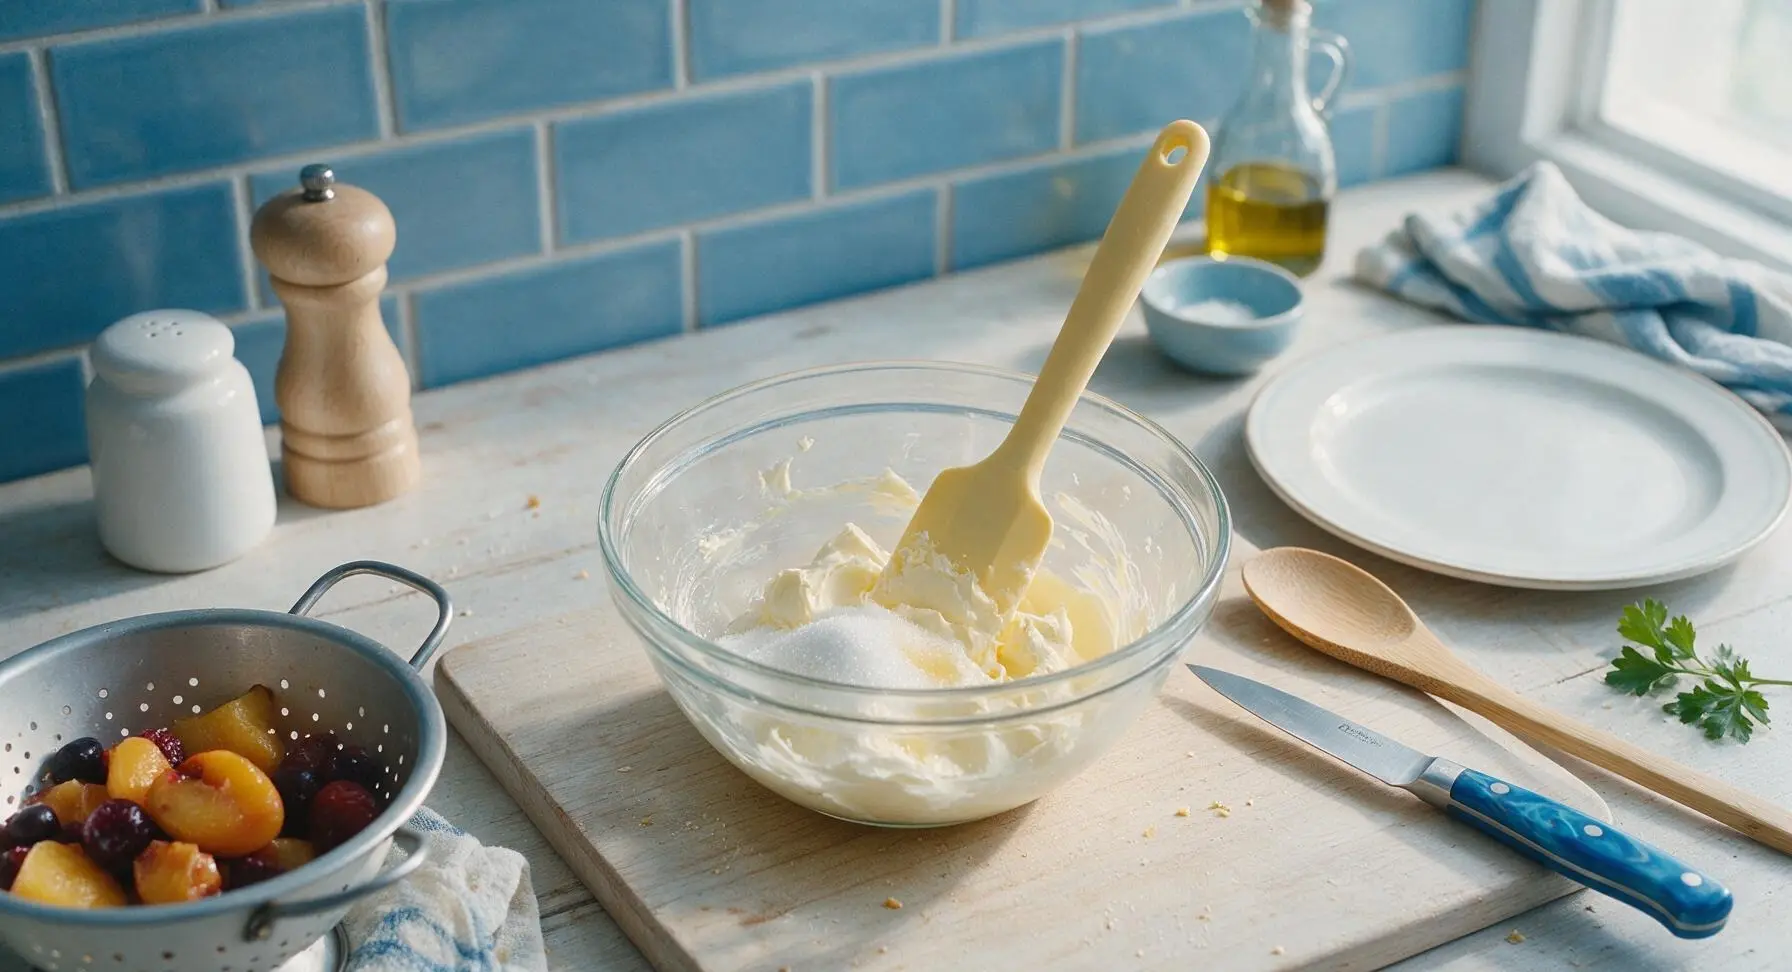
Transfer the softened cream cheese to the middle small clear glass mixing bowl. Add 50g granulated sugar, 1 tsp pure vanilla extract, and 1/8 tsp fine sea salt. Use the pale yellow silicone spatula to beat the mixture for 2 minutes until completely smooth, with no remaining lumps of cream cheese. The finished base will be pale yellow and spreadable, falling in a thick ribbon when the spatula is lifted.
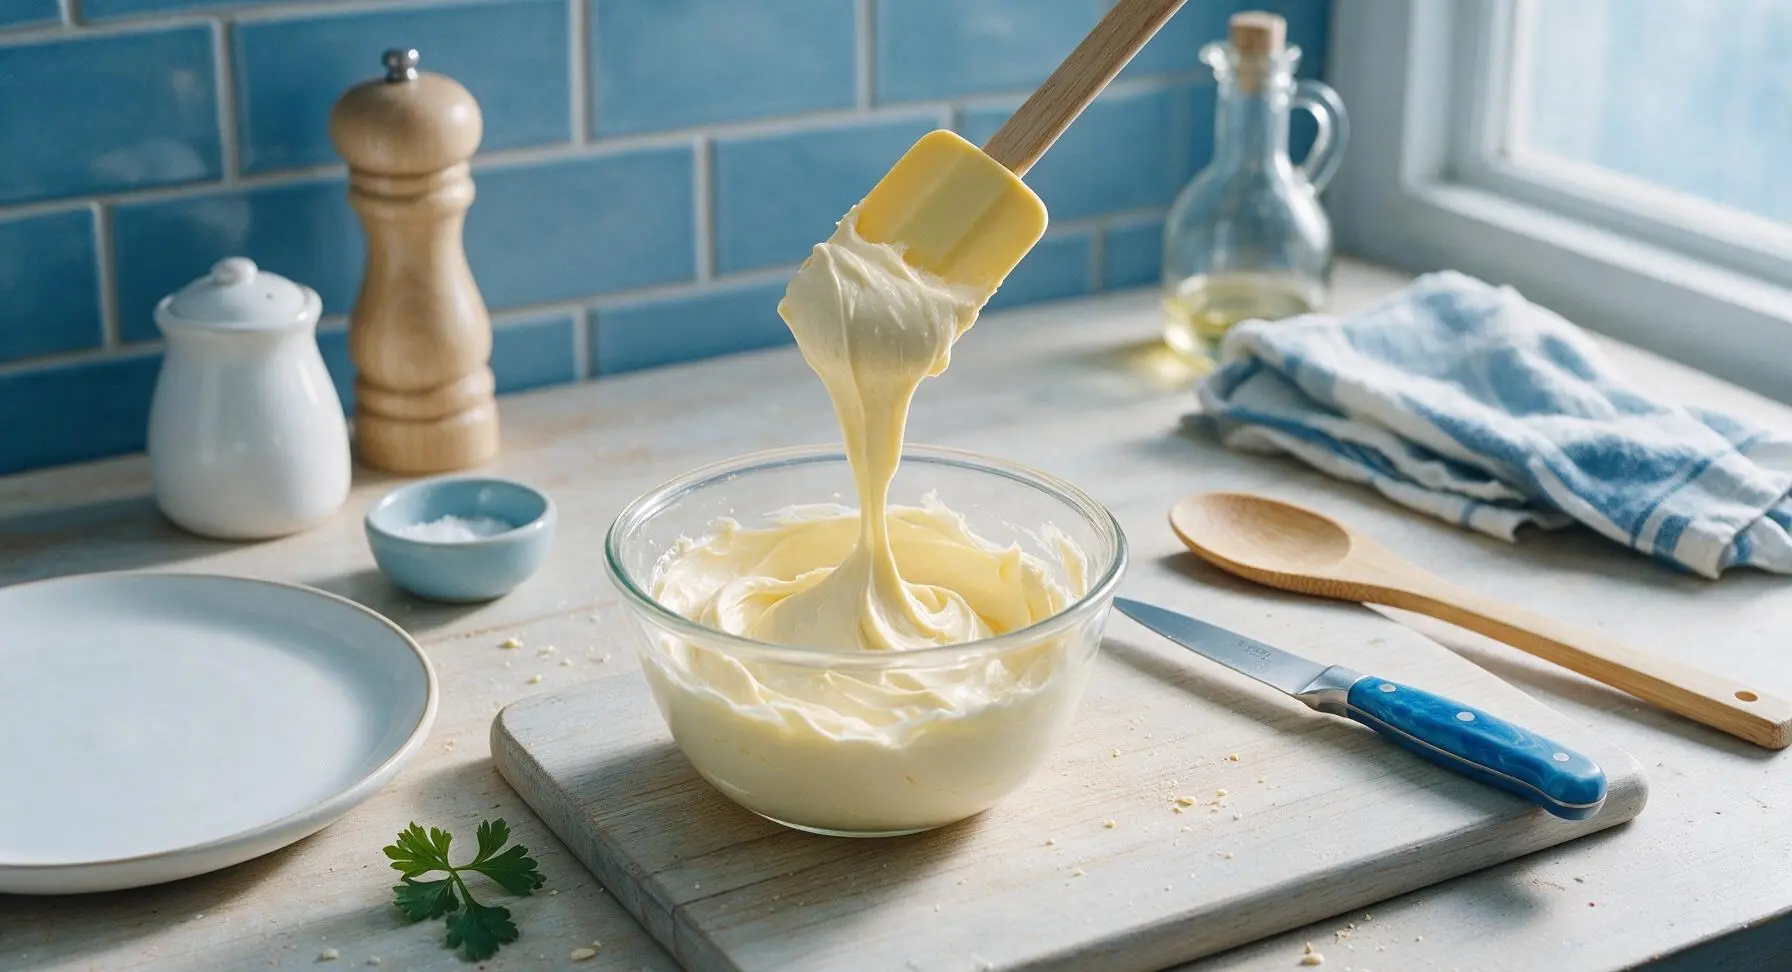
Fold Fruit Into Cheese
Add the fully drained pineapple and cherries to the smooth cream cheese base. Use the silicone spatula to gently fold the fruit through the cheese, taking care not to mash pineapple chunks or over-stir cherries (overmixing will turn the filling pink from bleeding cherry juice). Stop folding once every piece of fruit is evenly coated in cream cheese.
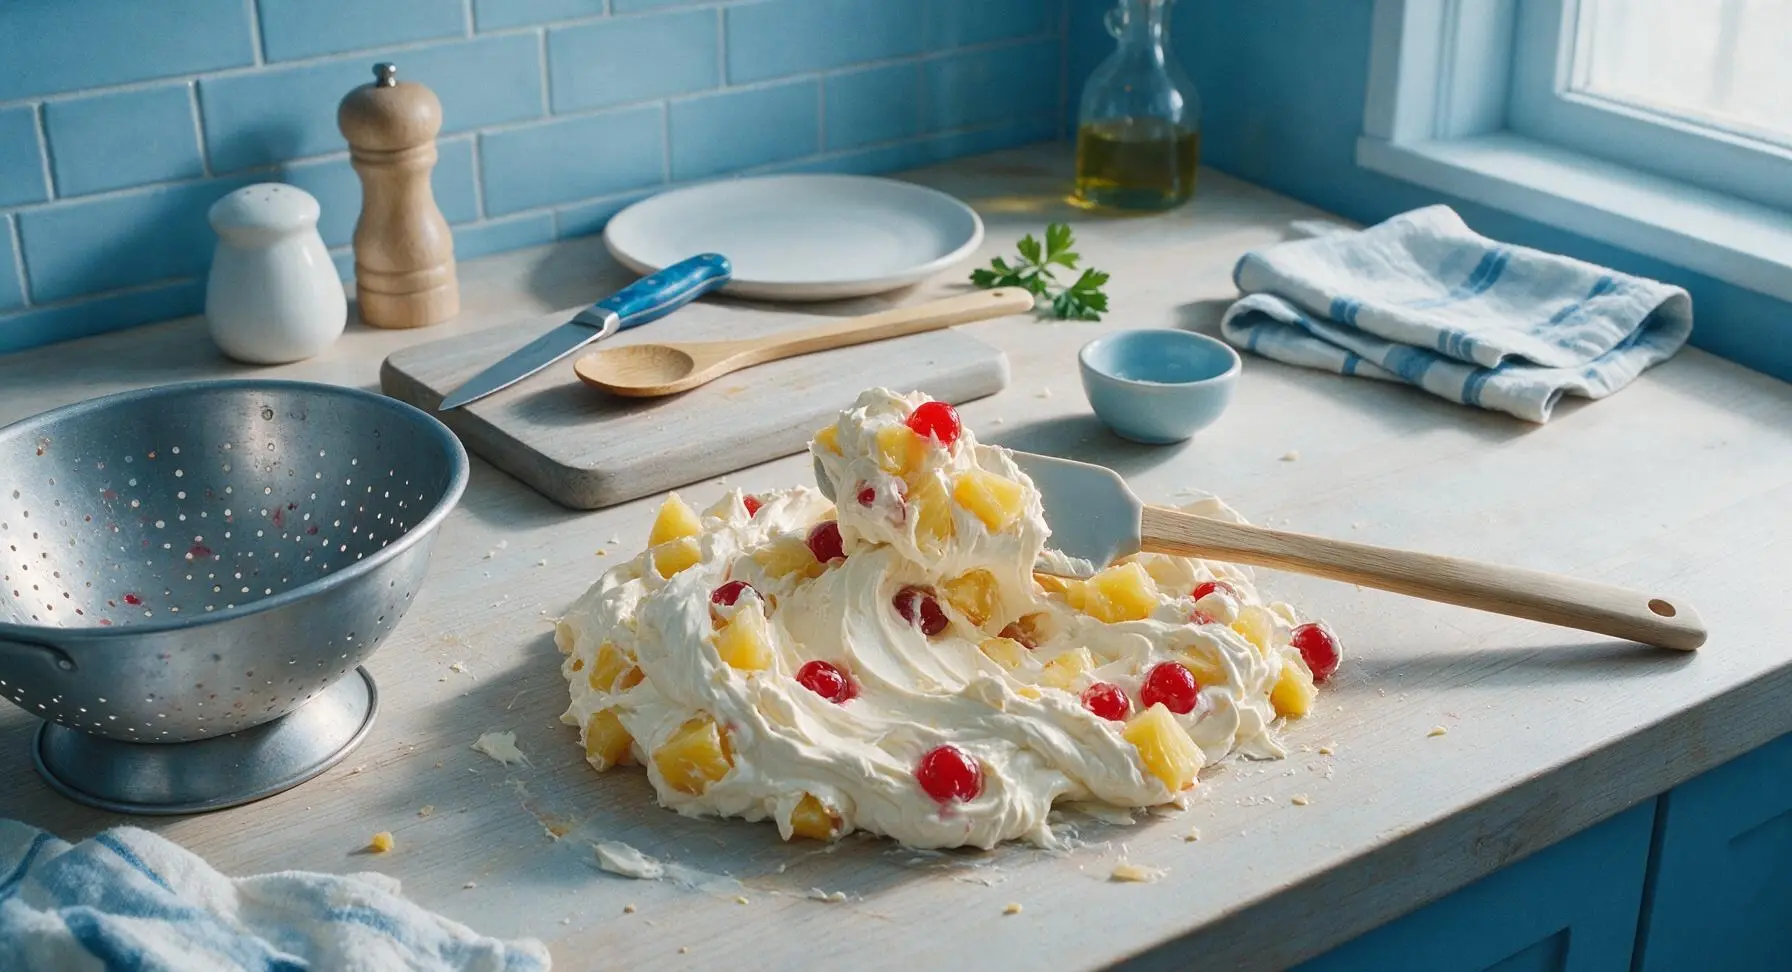
Spread Filling in Dish
Scrape the entire fruit and cheese mixture into the center of the cream white ceramic oval baking dish. Use the silicone spatula to spread the mixture into an even 3cm thick layer across the dish bottom, ensuring fruit is evenly distributed with no large gaps along the fluted edges.
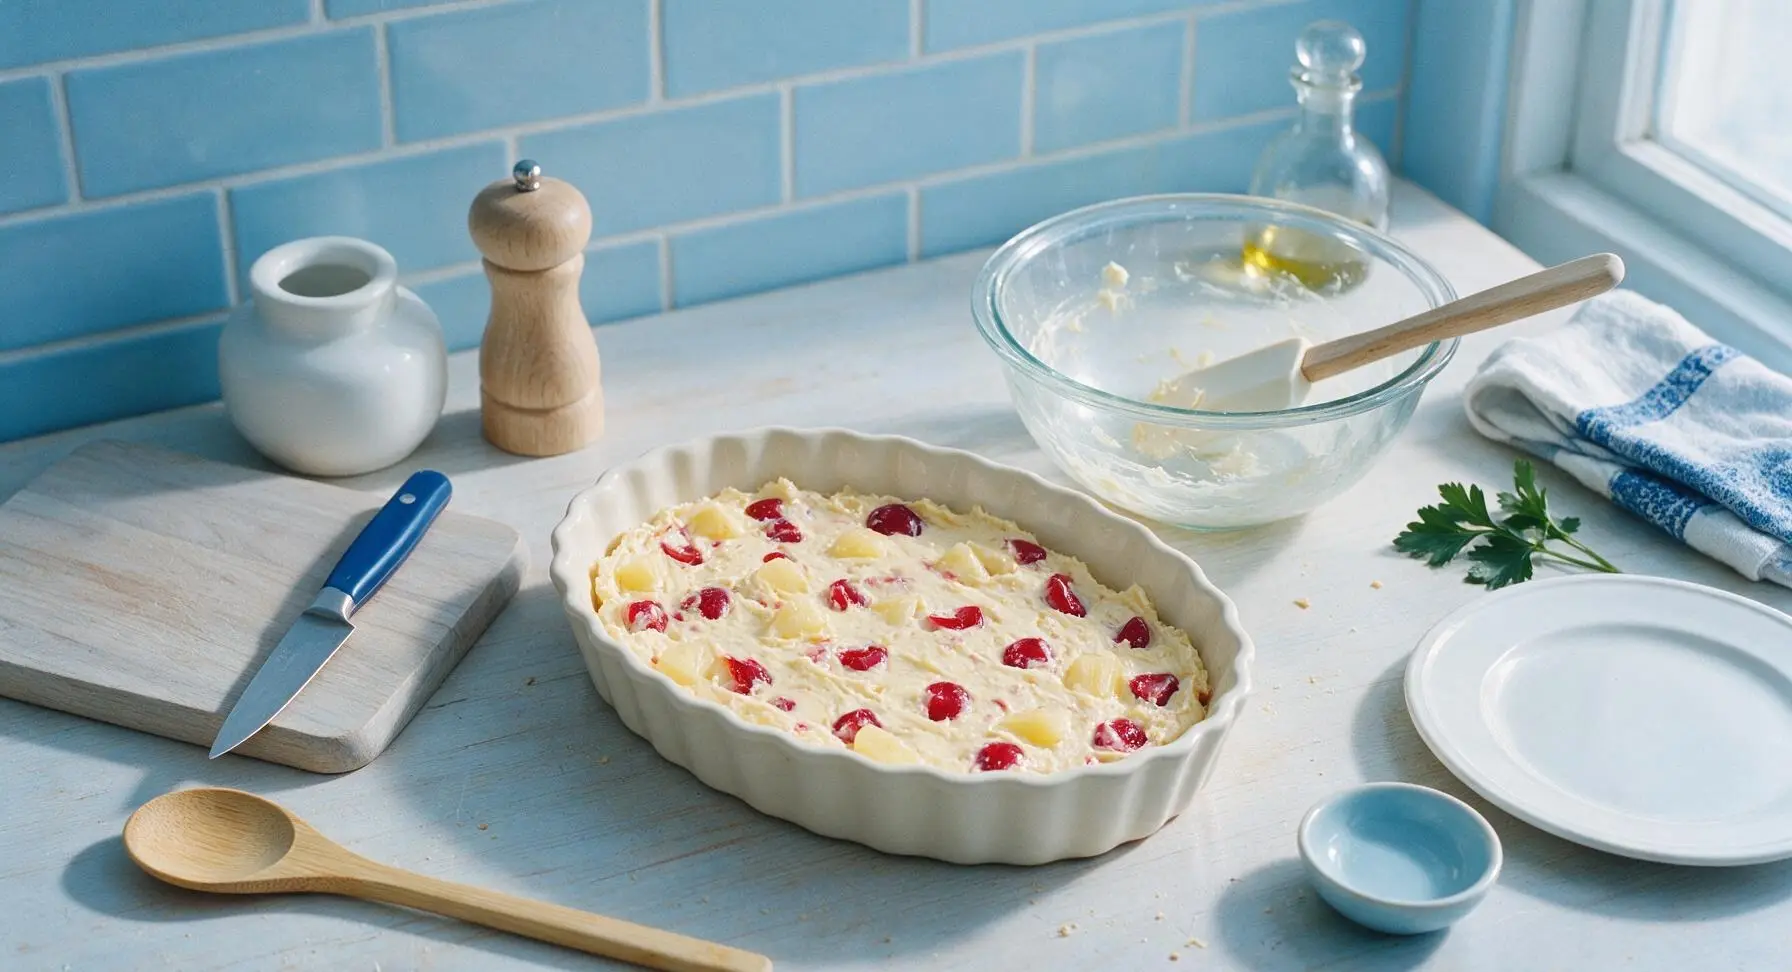
Mix Buttery Crumb Topping
Place 120g crushed buttery round cracker crumbs in the rightmost small glass bowl. Pour 55g melted unsalted butter over the crumbs, then use the wire pastry cutter to stir until all crumbs are evenly coated in butter. The finished crumb mixture will clump slightly when squeezed, with no dry, powdery crumbs left at the bowl bottom.
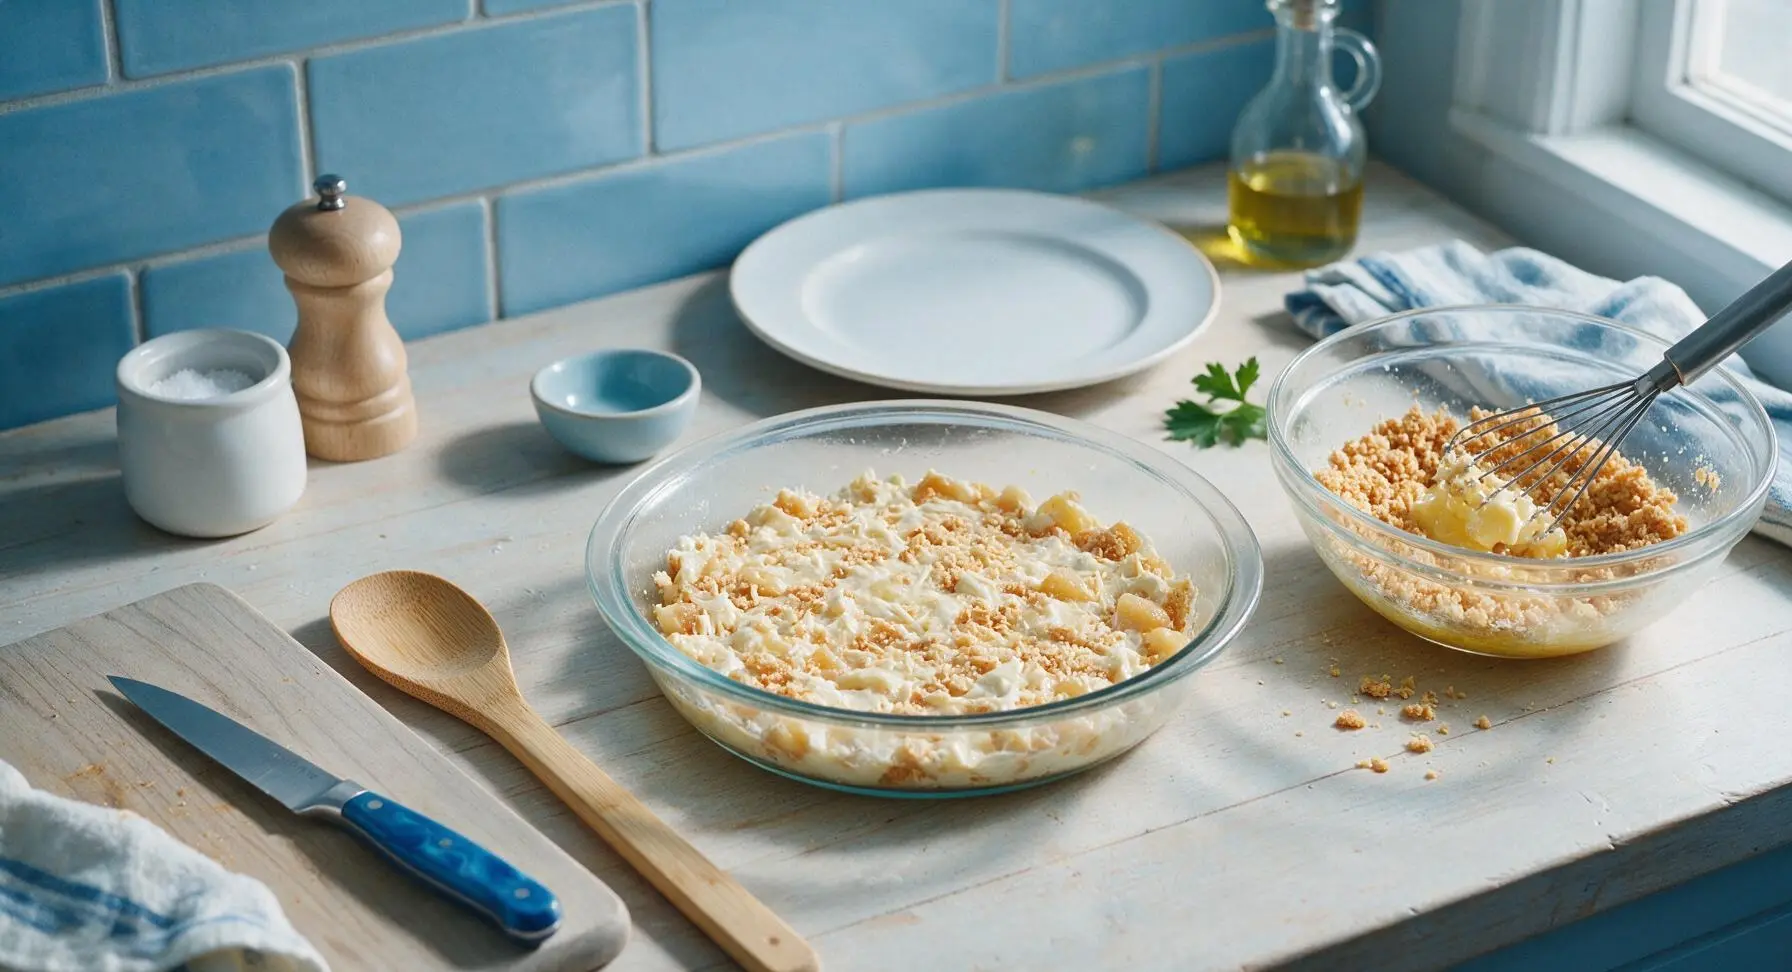
Top Filling With Crumbs
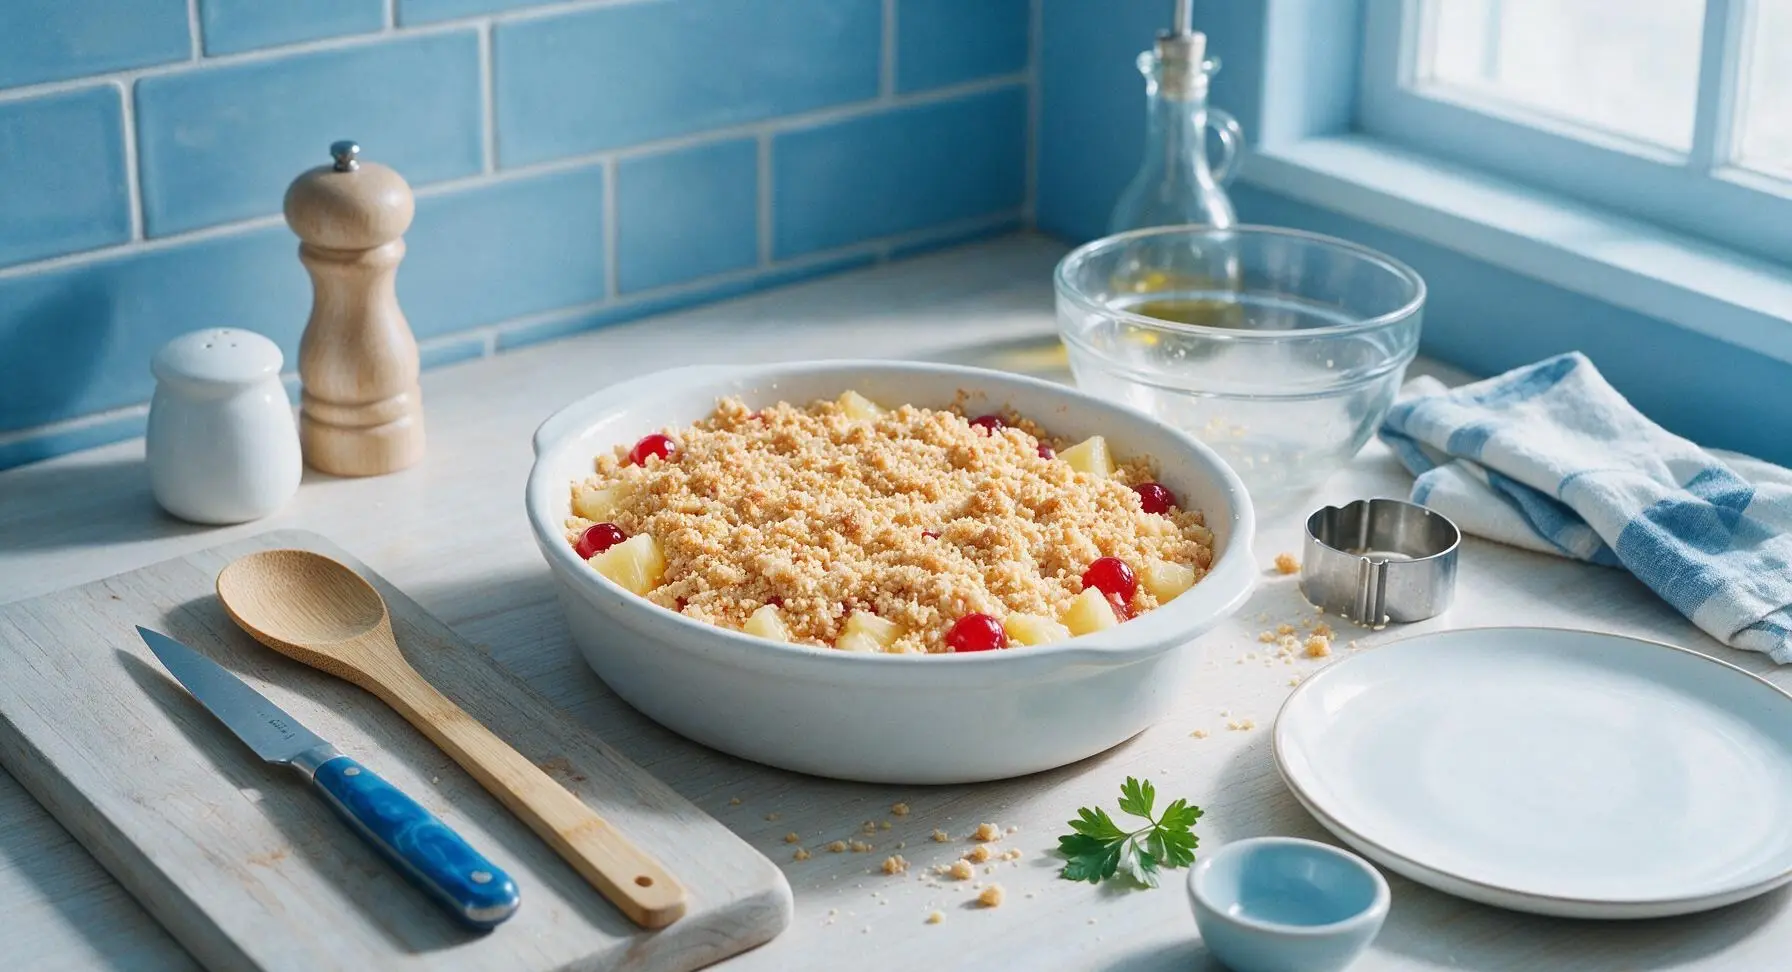
Sprinkle the buttered crumb mixture evenly over the entire surface of the cheese-fruit filling. Spread the crumbs into a uniform layer with light fingertips or the spatula, pressing very gently so crumbs adhere to the filling—do not press hard enough to push filling up around the edges. Leave small, scattered gaps in the crumb layer so fruit can peek through as it bakes.
Bake Until Golden Bubbly
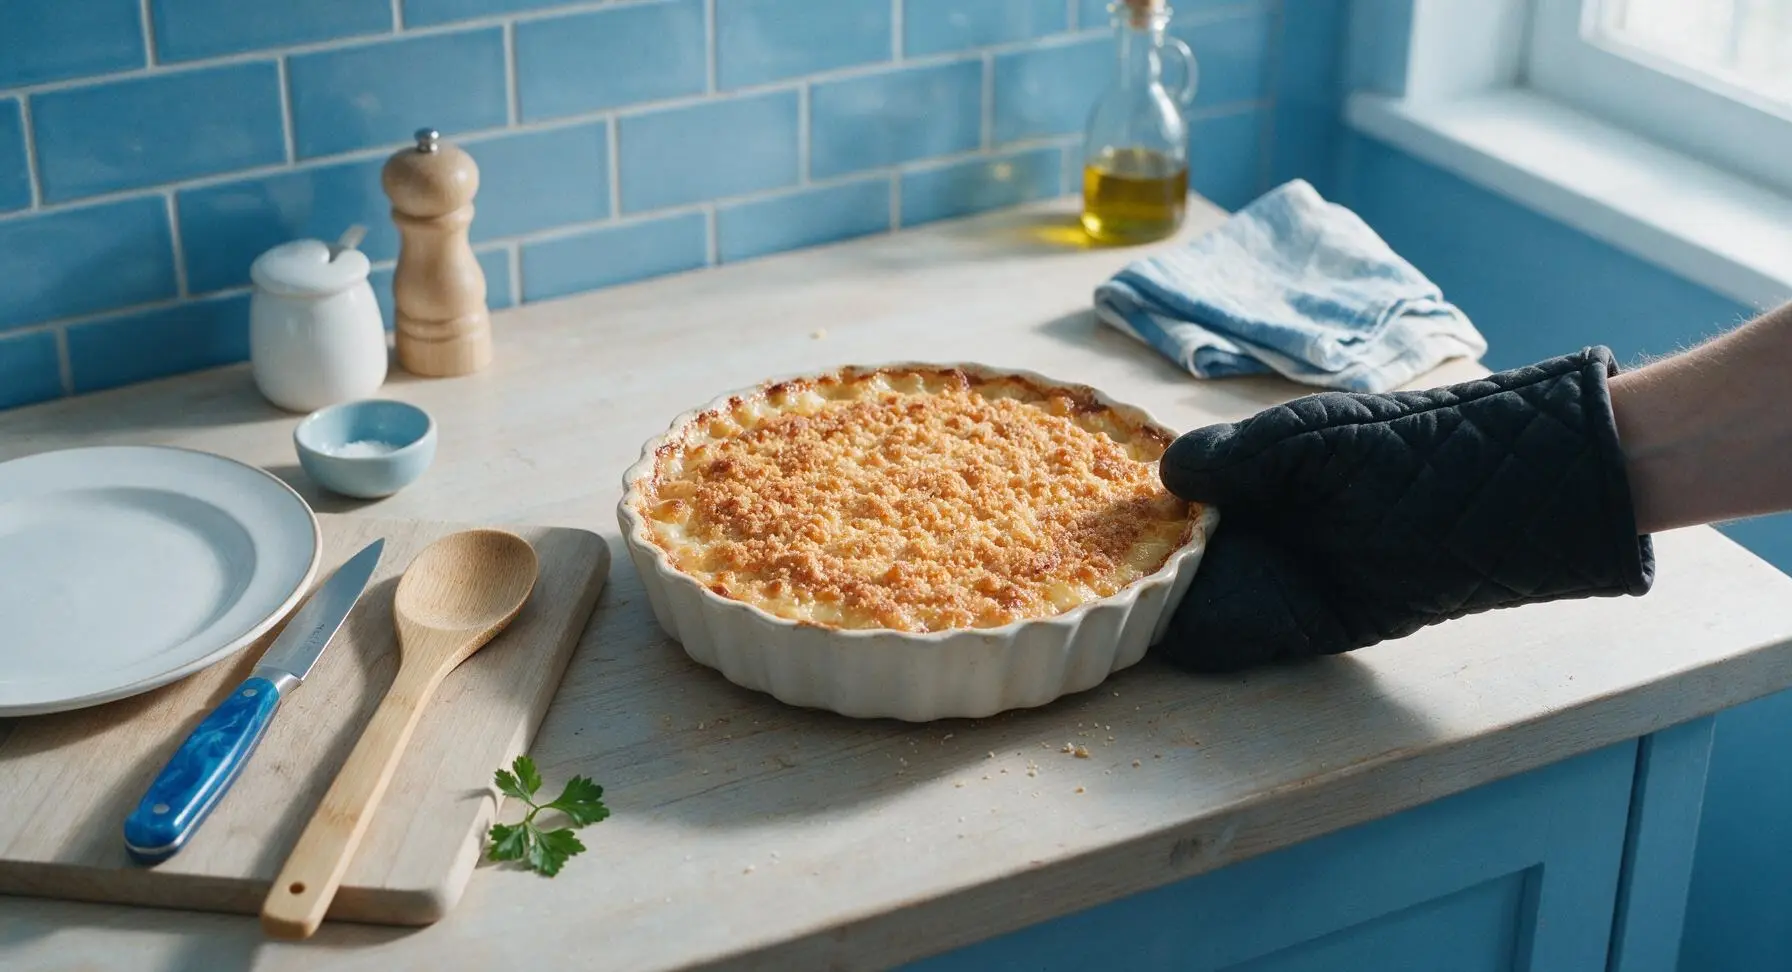
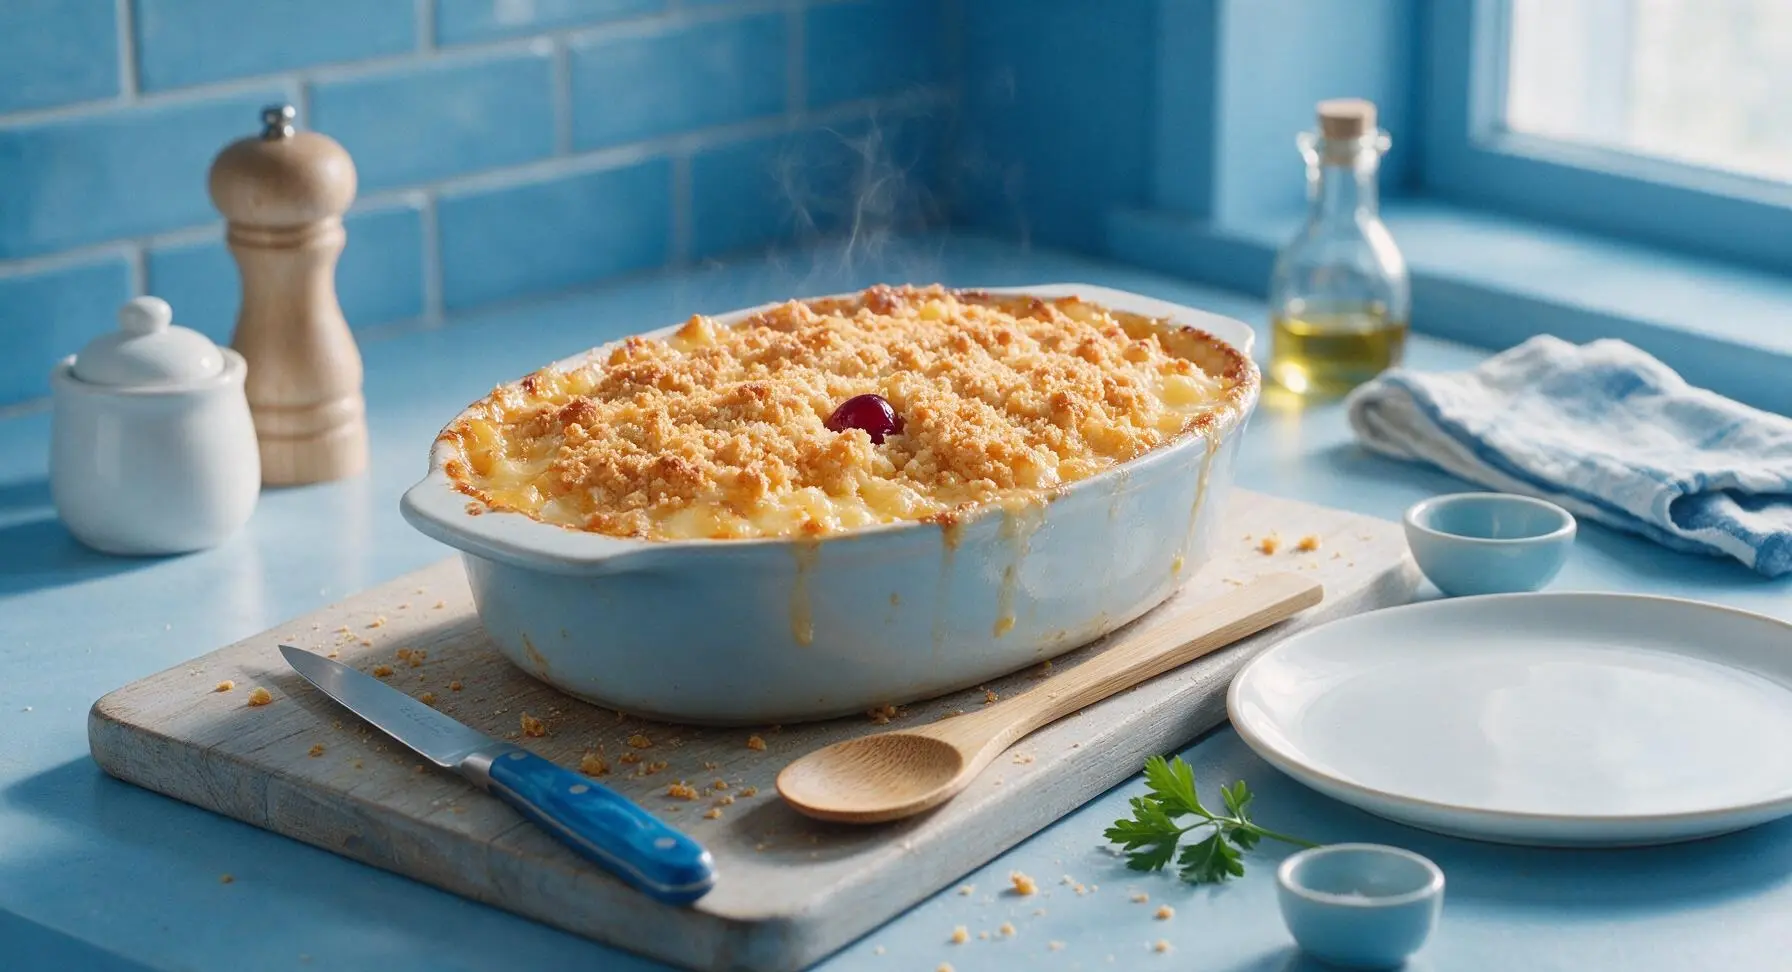
Carefully transfer the assembled dish to the preheated 350°F (175°C) oven. Bake for 30 minutes, until the crumb topping is deep golden brown, and the creamy cheese filling bubbles gently around the dish edges. The center of the bake should be set, with no loose liquid jiggle when the dish is nudged.
Cool Slightly and Serve
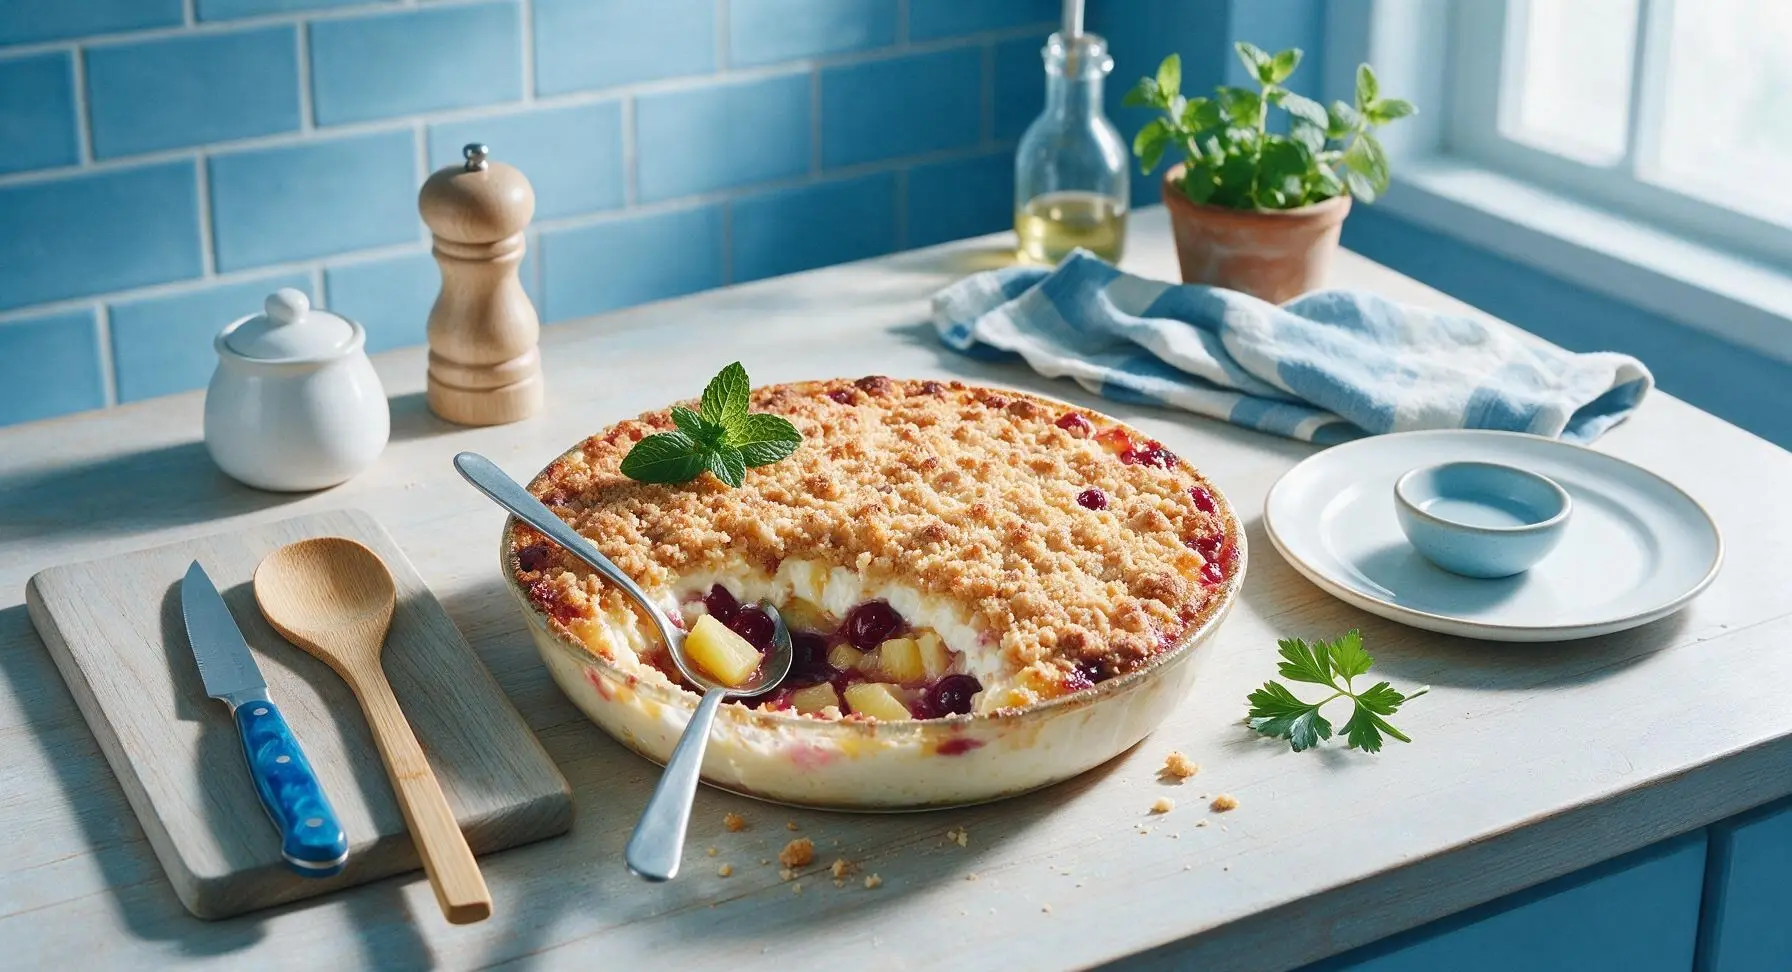
Let the baked dish cool for 10 minutes on the counter to allow the cheese filling to set, making it easier to scoop and balancing the sweet-tart fruit flavors. Pluck a small sprig of fresh mint from the back-right terracotta pot to garnish the dish edge if desired.
Tips
2.Use full-fat block cream cheese only: Whipped cream cheese has added air that breaks down during baking, and low-fat varieties contain extra stabilizers that result in a grainy, rubbery filling instead of a smooth, creamy texture.
3.Resist slicing immediately after baking: The filling is very thin and runny straight out of the oven; resting for 10 minutes allows the cheese to set slightly for clean, neat scoops that hold their shape on serving plates.






OMG this cheese cherry pineapple bake was a total hit at our Sunday family dinner! My picky 7 year old asked for seconds before he even finished his first plate, my husband said it tastes just like the fancy fruit casserole his grandma used to make. SO easy to throw together too, I didn’t even have to run to the store for extra ingredients since I had everything in my pantry and fridge already. 10/10 will be making this for our next neighborhood potluck for sure!
I’ve been super nervous to try baked fruit dishes because I always mess up the texture, but this was so easy even I couldn’t mess it up! Cook time was exactly 30 minutes like the recipe said, no guesswork required. Only reason I’m not giving 5 stars is I accidentally used extra-sweet canned cherries instead of tart and it was a little too sugary for my taste, next time I’ll grab the tart ones like the recipe notes. Really good otherwise!
Just pulled this out of the oven and my whole apartment smells insane. Tasted a little bite off the top and wow, the salty melted cheese with the sweet cherry and bright pineapple is such an underrated combo. Total game changer for quick weeknight treats, I’m already thinking about swapping in fresh peaches when they’re in season this summer. Can’t wait to dig in after dinner!
I make a version of this for every church potluck and holiday gathering, but your recipe has the perfect ratio of cheese to fruit! I always used way too much cheese before and it got greasy, but following your measurements it came out perfectly creamy with no greasy puddle at the bottom of the pan. My friends fought over the last piece at our Easter potluck, zero leftovers to bring home which is always the sign of a winner!
Made this for meal prep this week to have as a little sweet treat after my lunches, and it’s so good I’ve already had two servings before lunch on Monday lol. Super easy to portion out, stays great in the fridge for 3-4 days. Only note is I used canned pineapple in 100% juice instead of heavy syrup and it still tasted perfect, didn’t miss the extra sugar at all.
I was skeptical about cheese with sweet fruit at first, y’all, but let me tell you—this slaps. The sharp cheddar cuts through the sweet cherry and pineapple so well, it’s not cloying at all like a lot of fruit bakes can be. Made it for my roommate’s birthday and she asked for the recipe before she even finished her first slice. 10/10, no notes.
I’ve been making this recipe for over 40 years, it’s one of my family’s most requested holiday sides (yes, we eat it as a side with ham, don’t knock it till you try it)! This version is exactly how I make it, right down to the extra pinch of salt in the cheese layer. My granddaughter asked me to teach her how to make it last weekend, and this was the first recipe I pulled up to show her the measurements.
Quick question—can I make this ahead of time and freeze it? I’m prepping dishes for my baby shower next weekend and this looks like the perfect easy sweet bite to add to the spread, I just don’t want to be baking the day of if I can help it!