
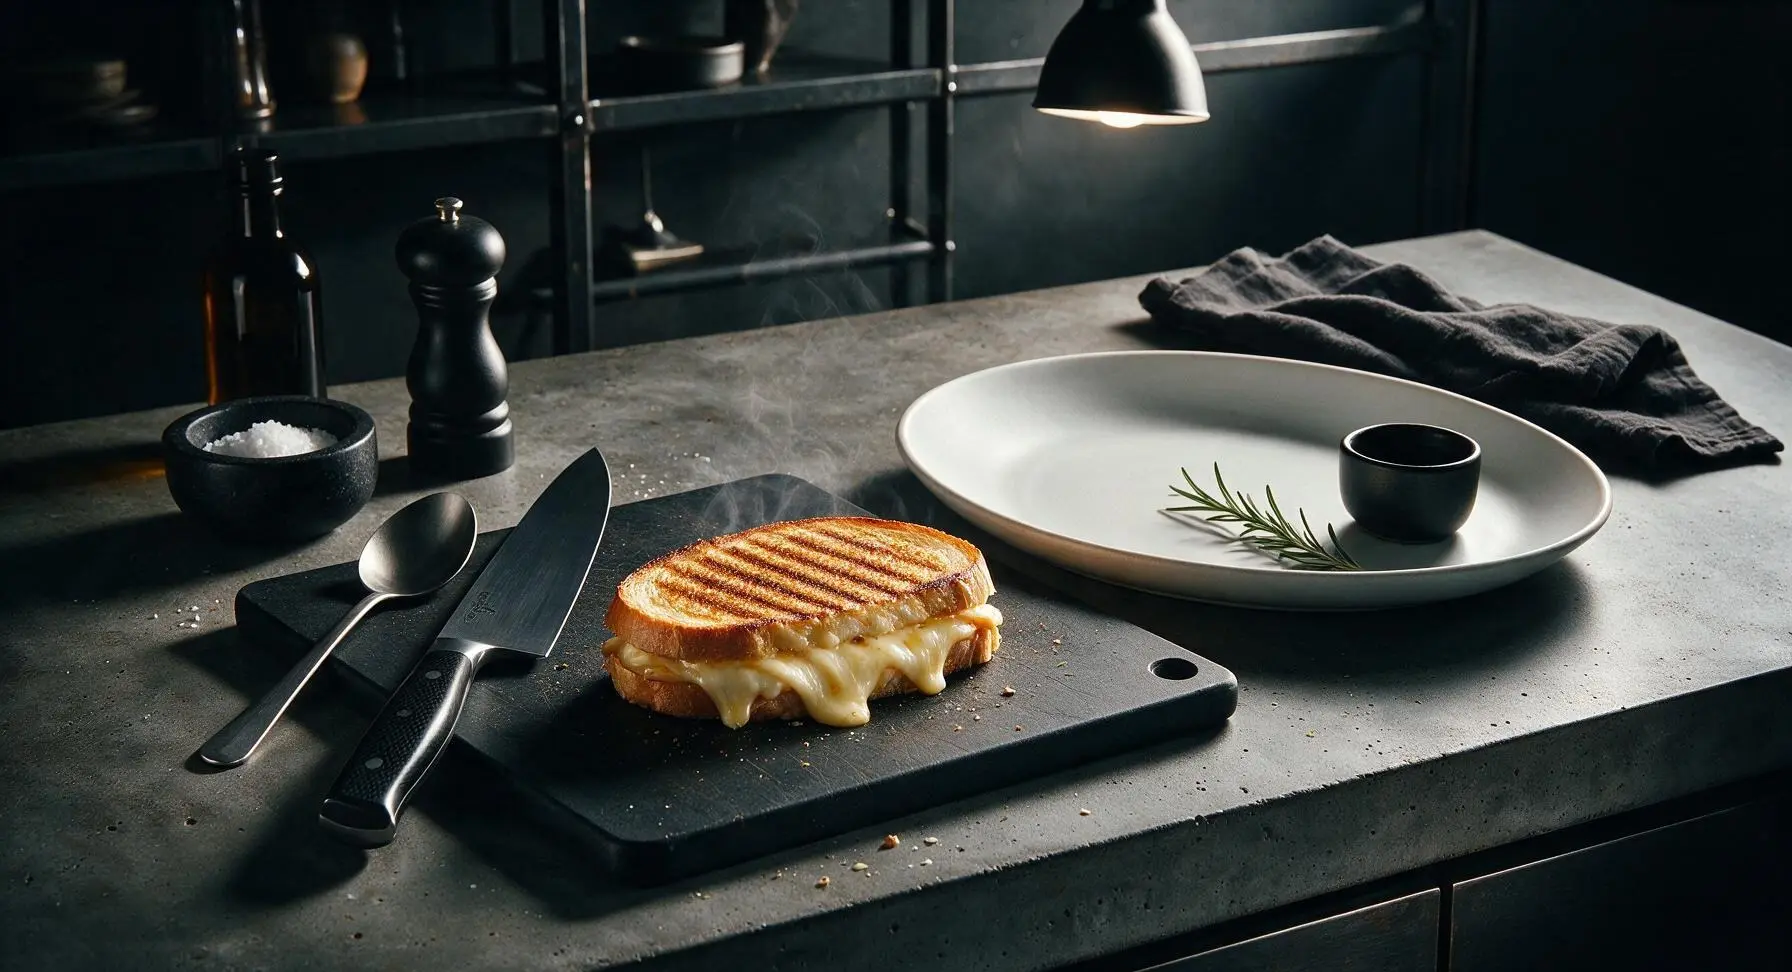
cheese panini

title 1
cheese panini
⏱️ cook time 6 minutes
🍽️ servings 2
⚡ Difficulty easy

intro

Crisp, golden pressed bread oozing with stretchy, savory melted cheese, this classic cheese panini is a fast, deeply satisfying meal for busy days.

Ingredients
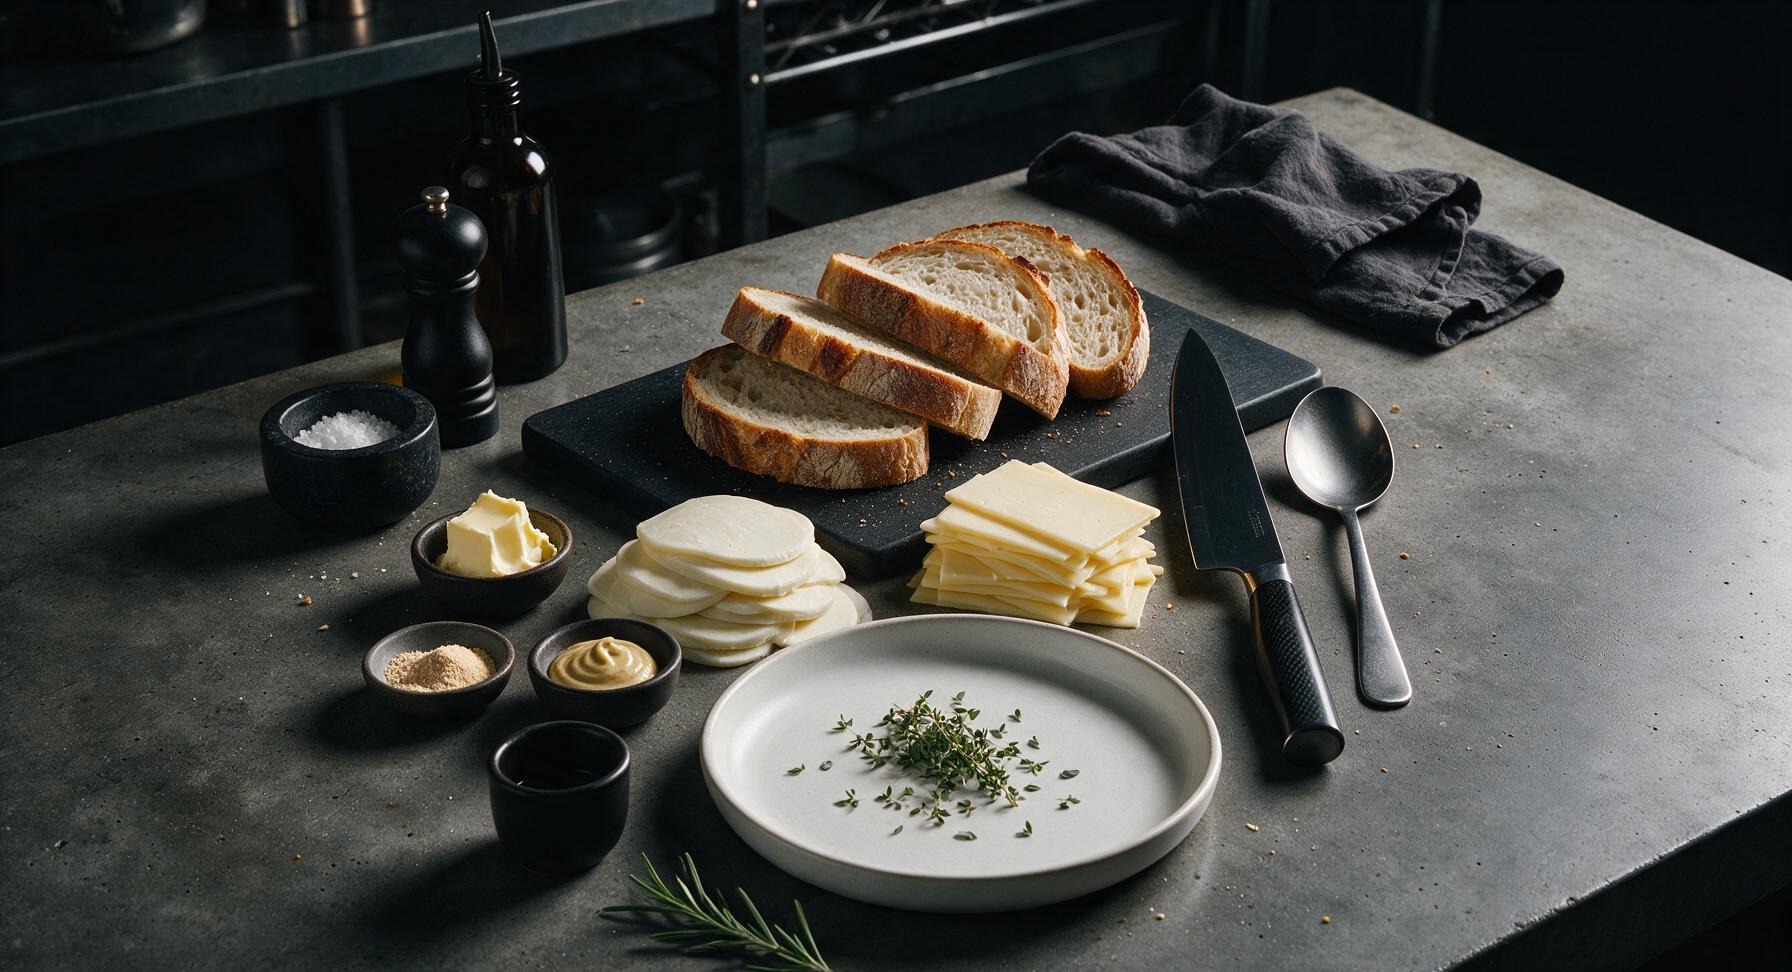
Sourdough bread 4 slices (1.5cm thick, ~240g total)
Low-moisture mozzarella cheese 80g, thinly sliced
Sharp white cheddar cheese 60g, thinly sliced
Unsalted butter 1 tbsp (14g), softened
Dijon mustard 1 tsp
Garlic powder 1/4 tsp
Fresh thyme 1 tsp, leaves picked

Steps

1

Mix Herbed Garlic Butter

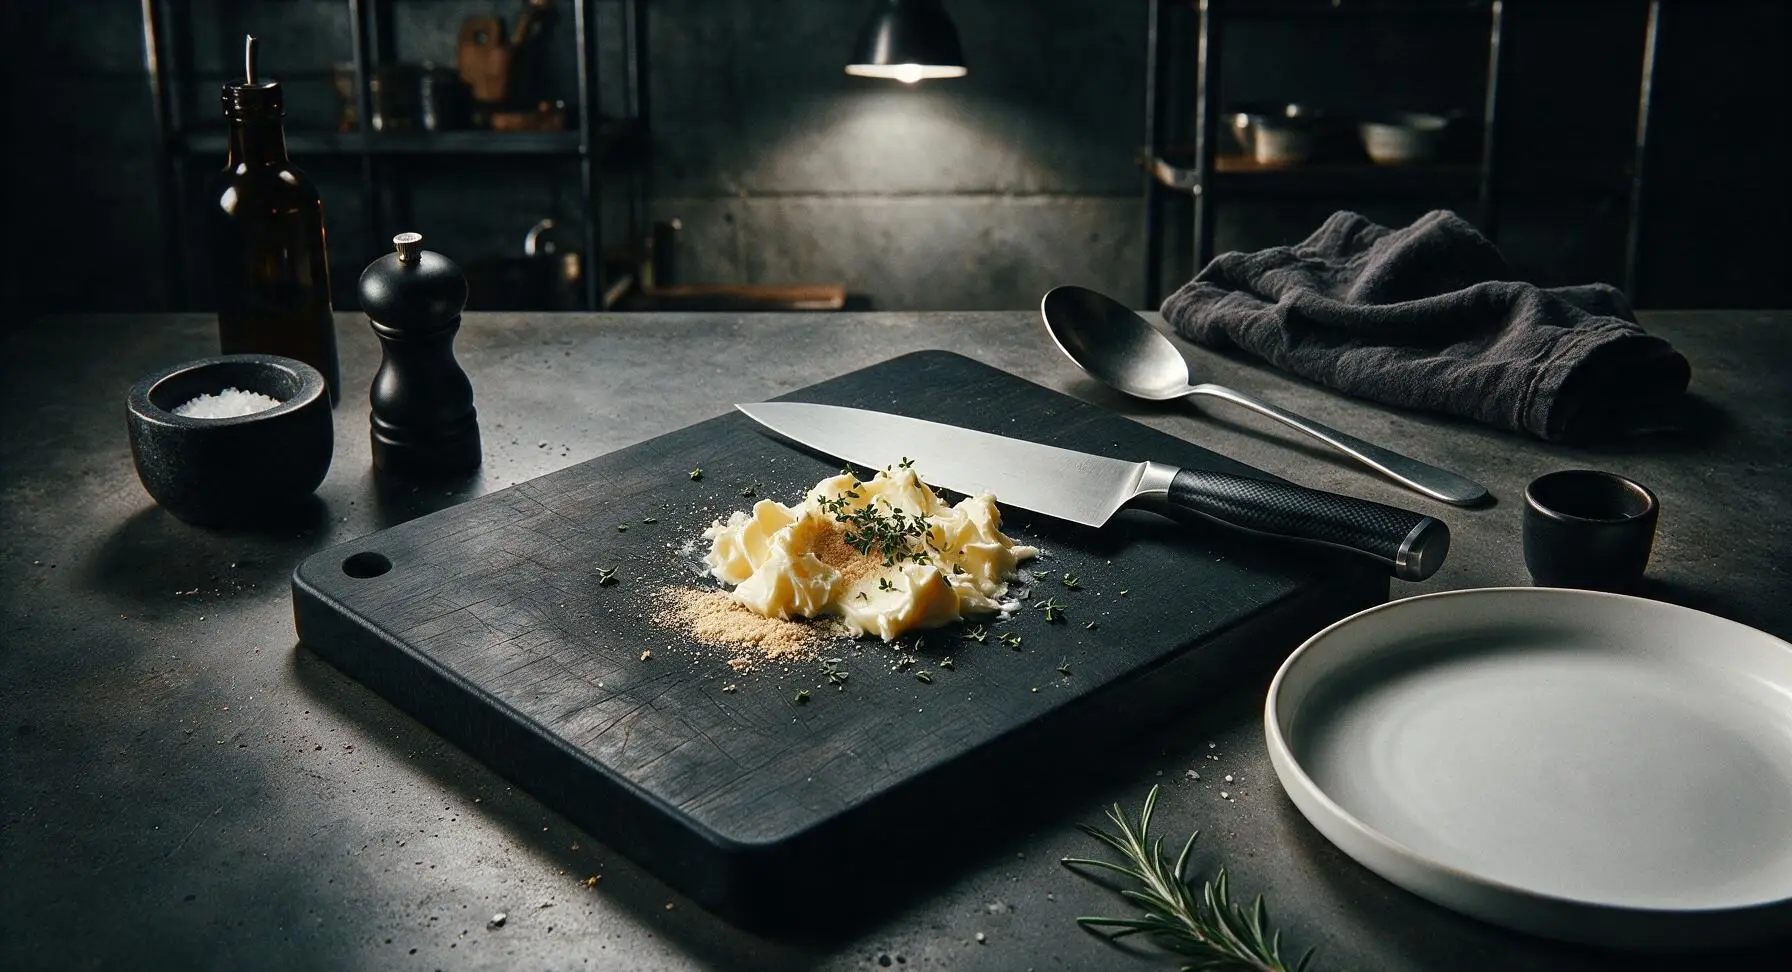
Place the 1 tbsp softened unsalted butter in a small pile on the center of the maple cutting board. Add the 1/4 tsp garlic powder and 1 tsp picked fresh thyme leaves. Use the flat side of the chef's knife to mash and fold the ingredients together until fully combined, creating a smooth, evenly green-flecked herbed butter. The mixture should be soft enough to spread easily without tearing delicate bread crumb.
Step 1
step1:Mix Herbed Garlic Butter
2

Butter Bread Exteriors

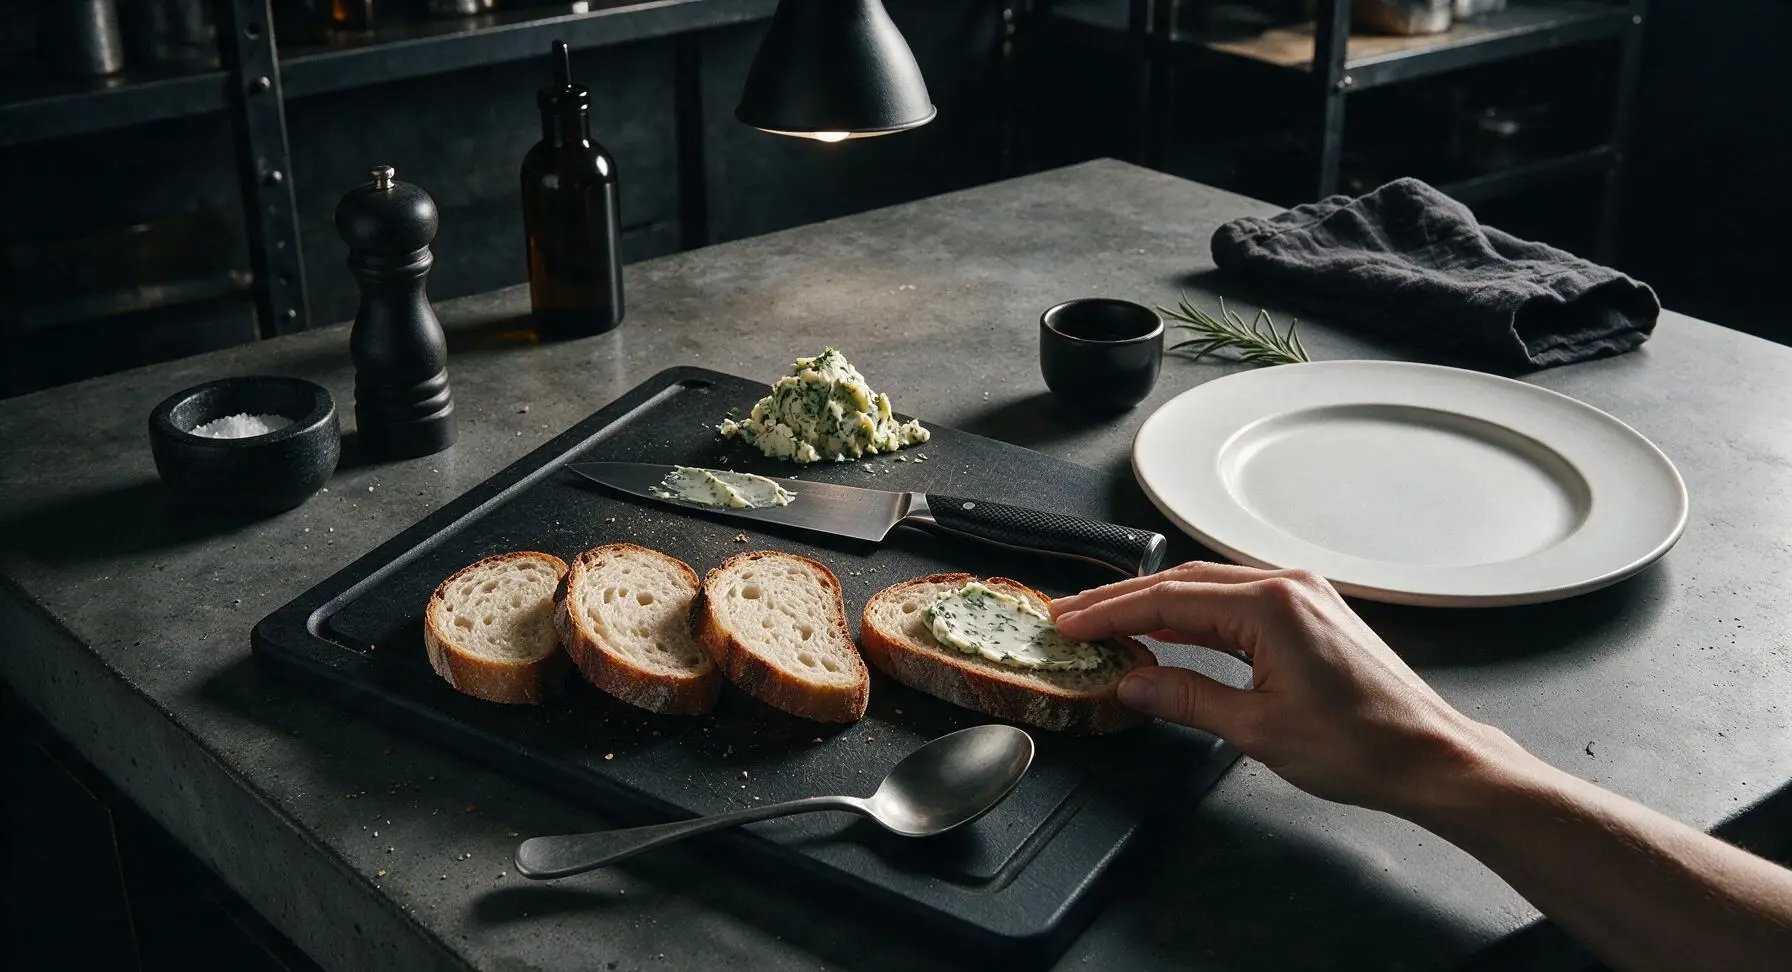
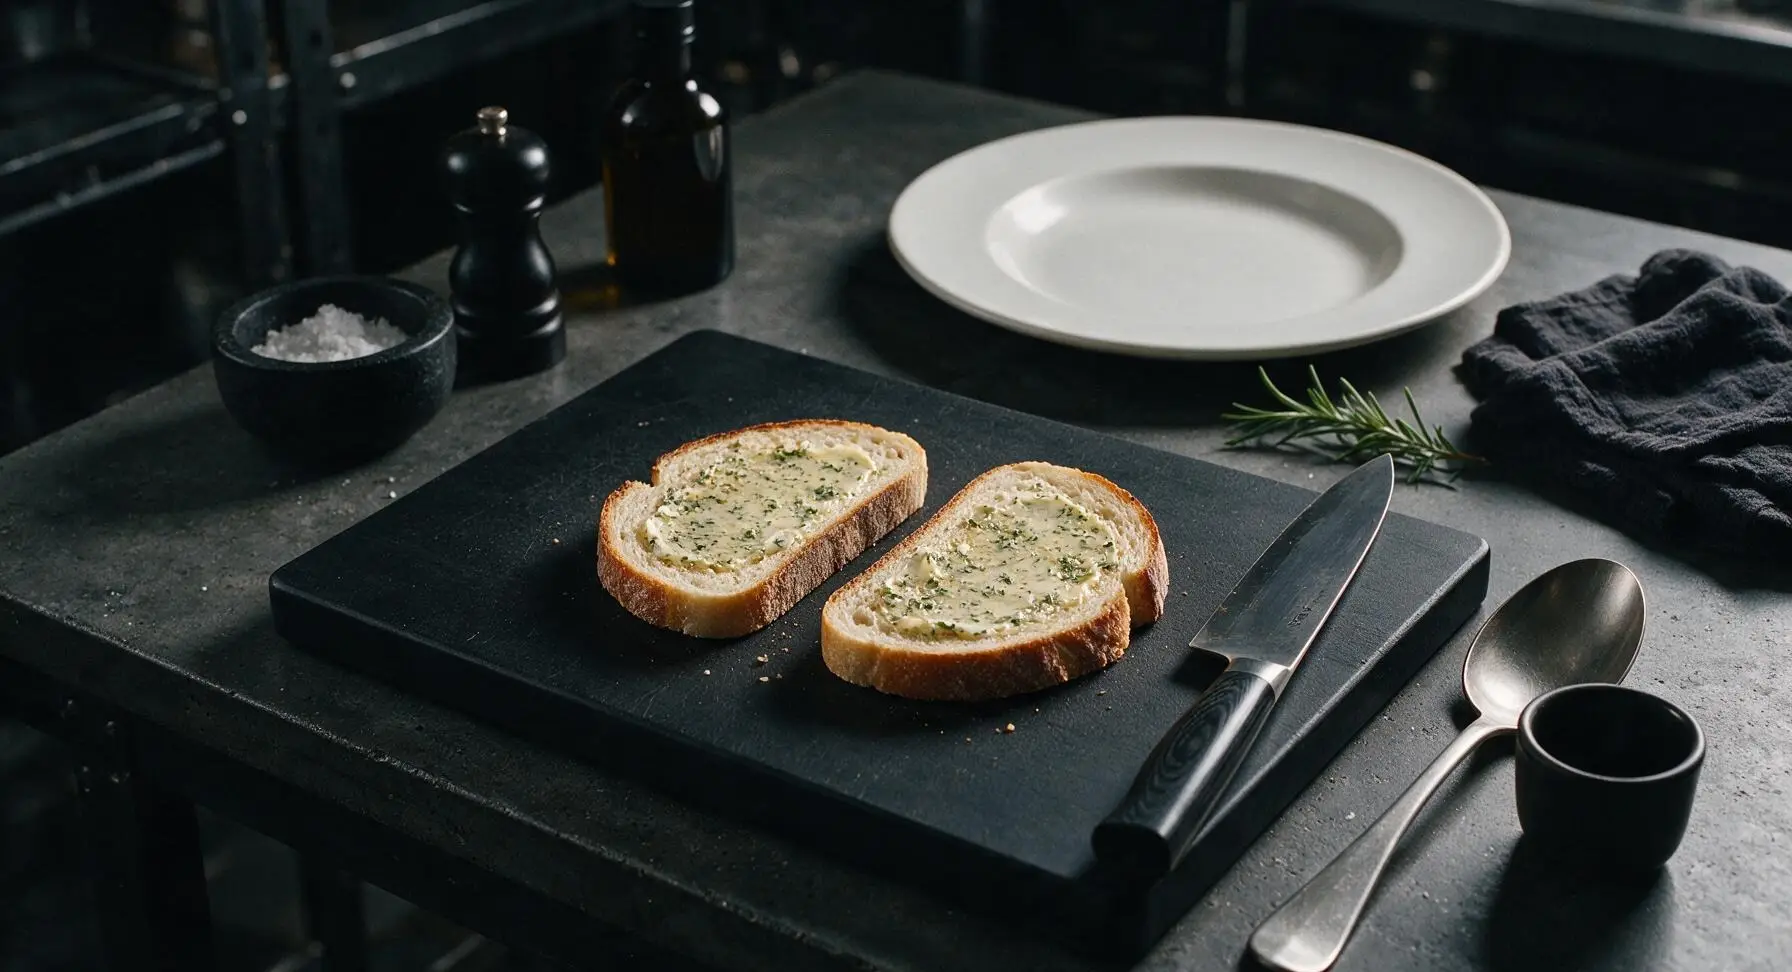
Lay all 4 slices of sourdough bread flat on the maple cutting board, pushing the mixed herbed butter to the top edge of the board to make space. Use the flat edge of the chef's knife to spread a thin, even layer of the herbed butter across one full side of every bread slice, coating all the way to the crust edges to avoid dry, unevenly toasted spots. Flip all slices buttered-side down once coated, so the unbuttered side faces up for filling.
Step 2
step2:Butter Bread Exteriors
Step 2
step2:Butter Bread Exteriors
3

Add Mustard and Cheese

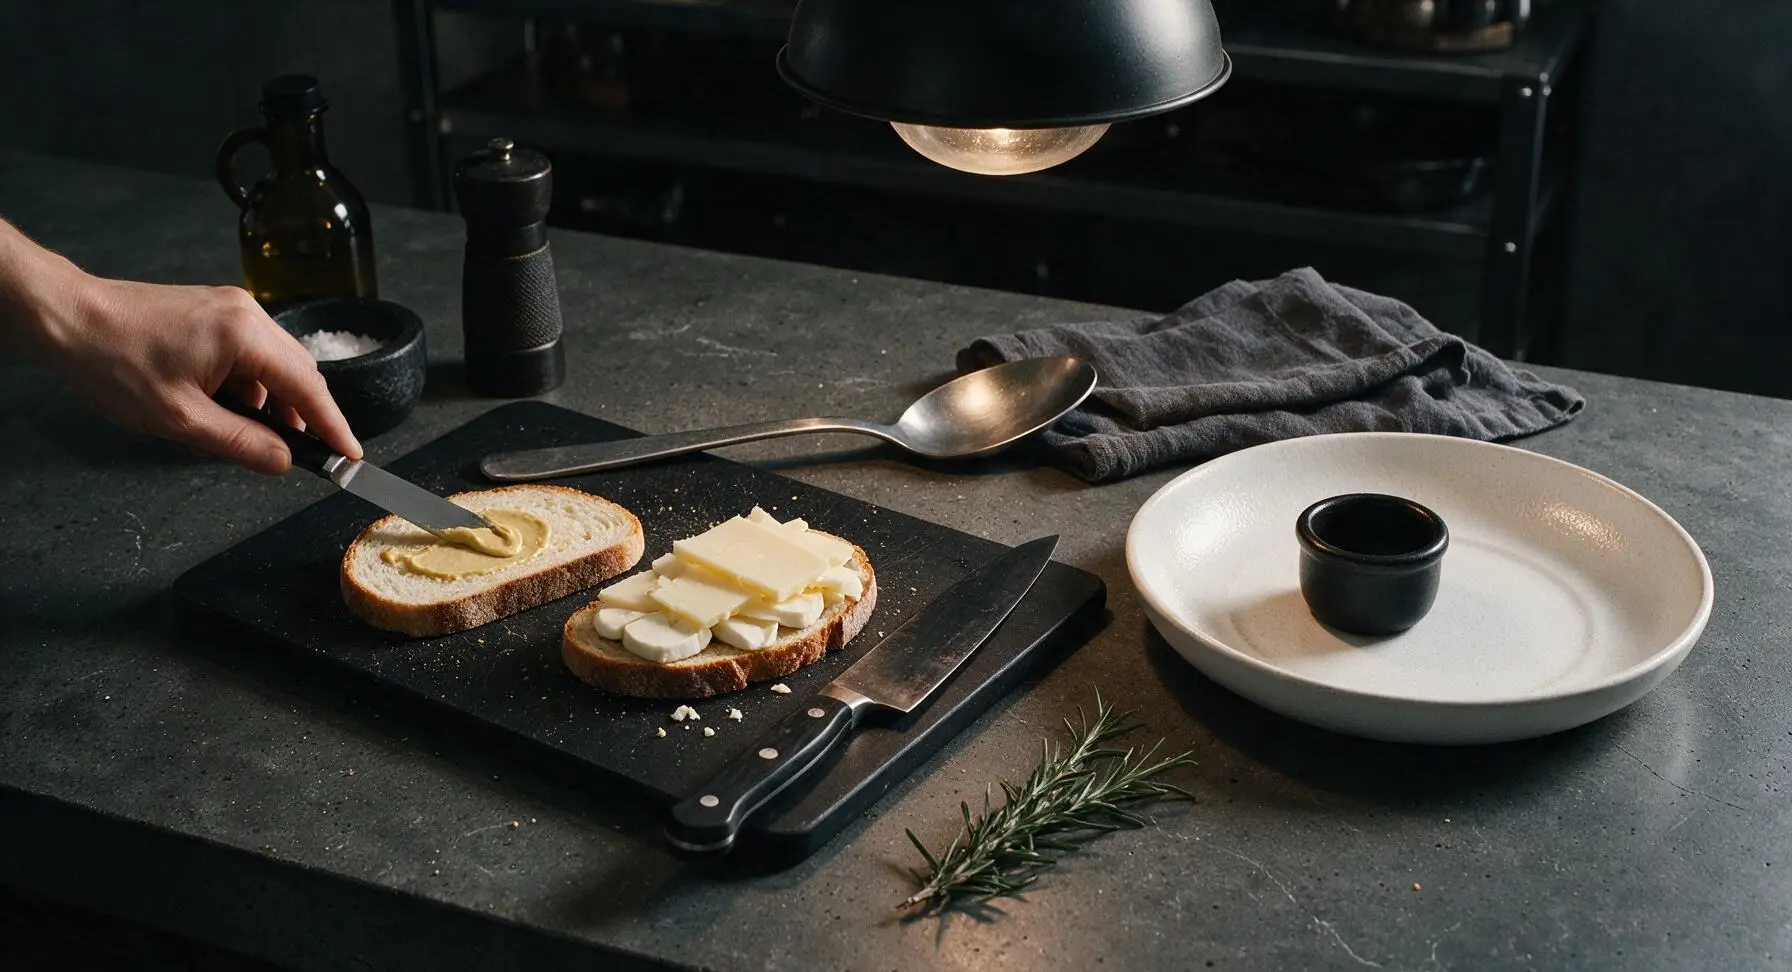
Spread the 1 tsp of Dijon mustard evenly across the unbuttered, upward-facing side of two bread slices. Layer the thinly sliced low-moisture mozzarella and sharp white cheddar evenly over the mustard, dividing the cheese equally between the two sandwiches. Pile cheese slightly higher in the center of each slice, leaving a 5mm bare border around the edge to reduce cheese oozing during pressing. Top each cheese stack with the remaining two bread slices, buttered-side facing out, to form two complete, evenly thick sandwiches.
Step 3
step3:Add Mustard and Cheese
4

Preheat Panini Press

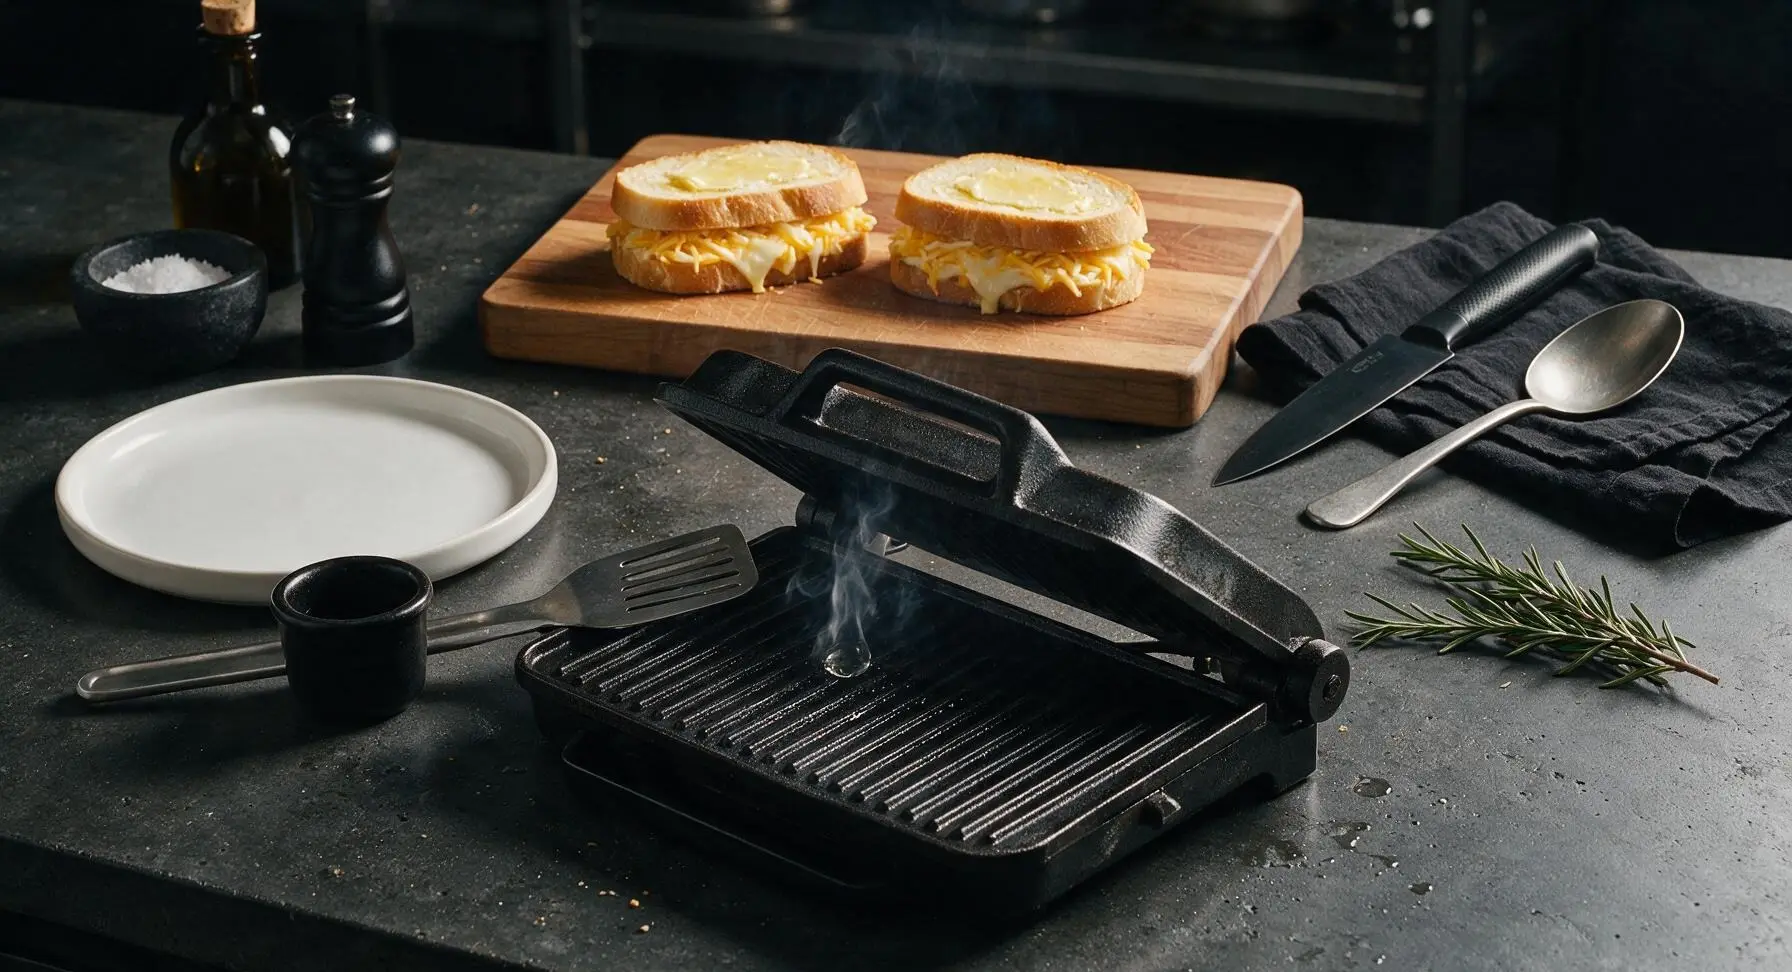
Retrieve the cast iron panini press from storage and place it in the center of the counter. Preheat over medium heat for 3 minutes, until the ribbed plates are hot enough that a drop of water sizzles and evaporates in exactly 2 seconds. Do not add extra oil or butter to the press plates, as the butter on the bread exterior will prevent sticking and create crisp grill marks. Place the metal spatula on the left side of the press, ready for use.
Step 4
step4:Preheat Panini Press
5

Press and Cook Panini

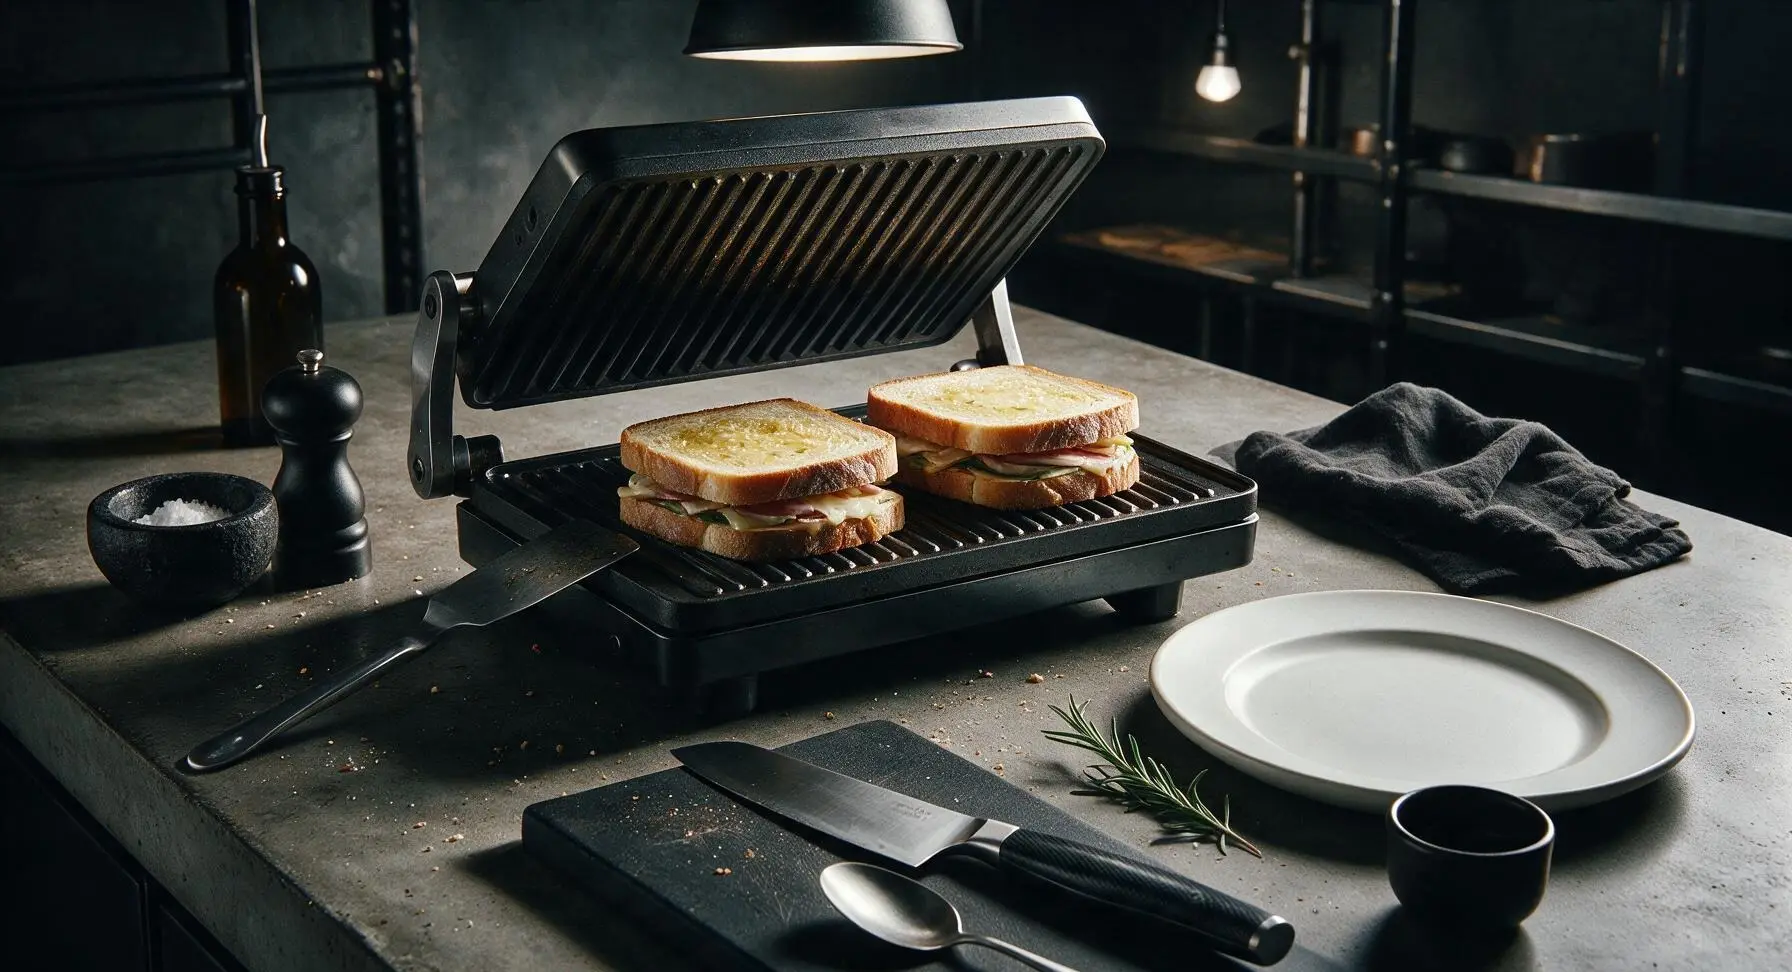
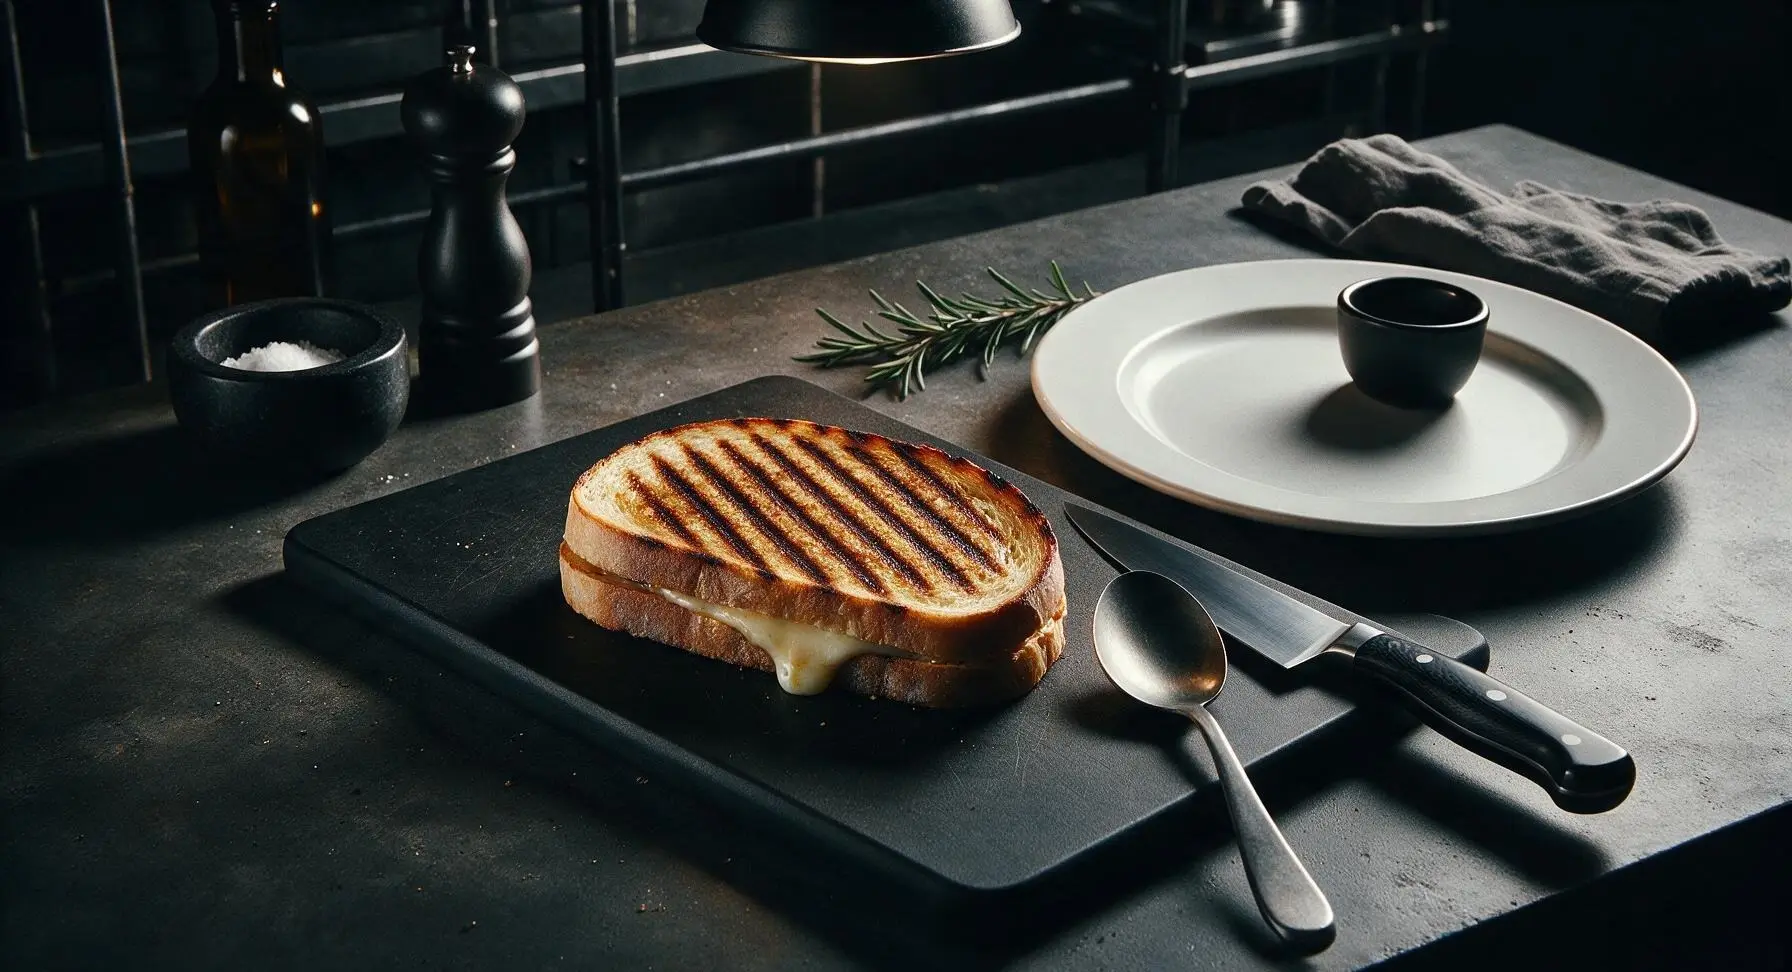
Carefully place both assembled sandwiches onto the preheated panini press bottom plate, close the top ribbed plate, and apply gentle, even pressure (do not press hard enough to squeeze filling out). Cook for 3 minutes total, flipping each sandwich with the metal spatula at the 1.5 minute mark, until both sides are deep golden brown with distinct dark grill marks, and cheese is fully melted with small bubbles oozing slightly from the sandwich edges.
Step 5
step5:Press and Cook Panini
Step 5
step5:Press and Cook Panini
6

Rest Cooked Panini

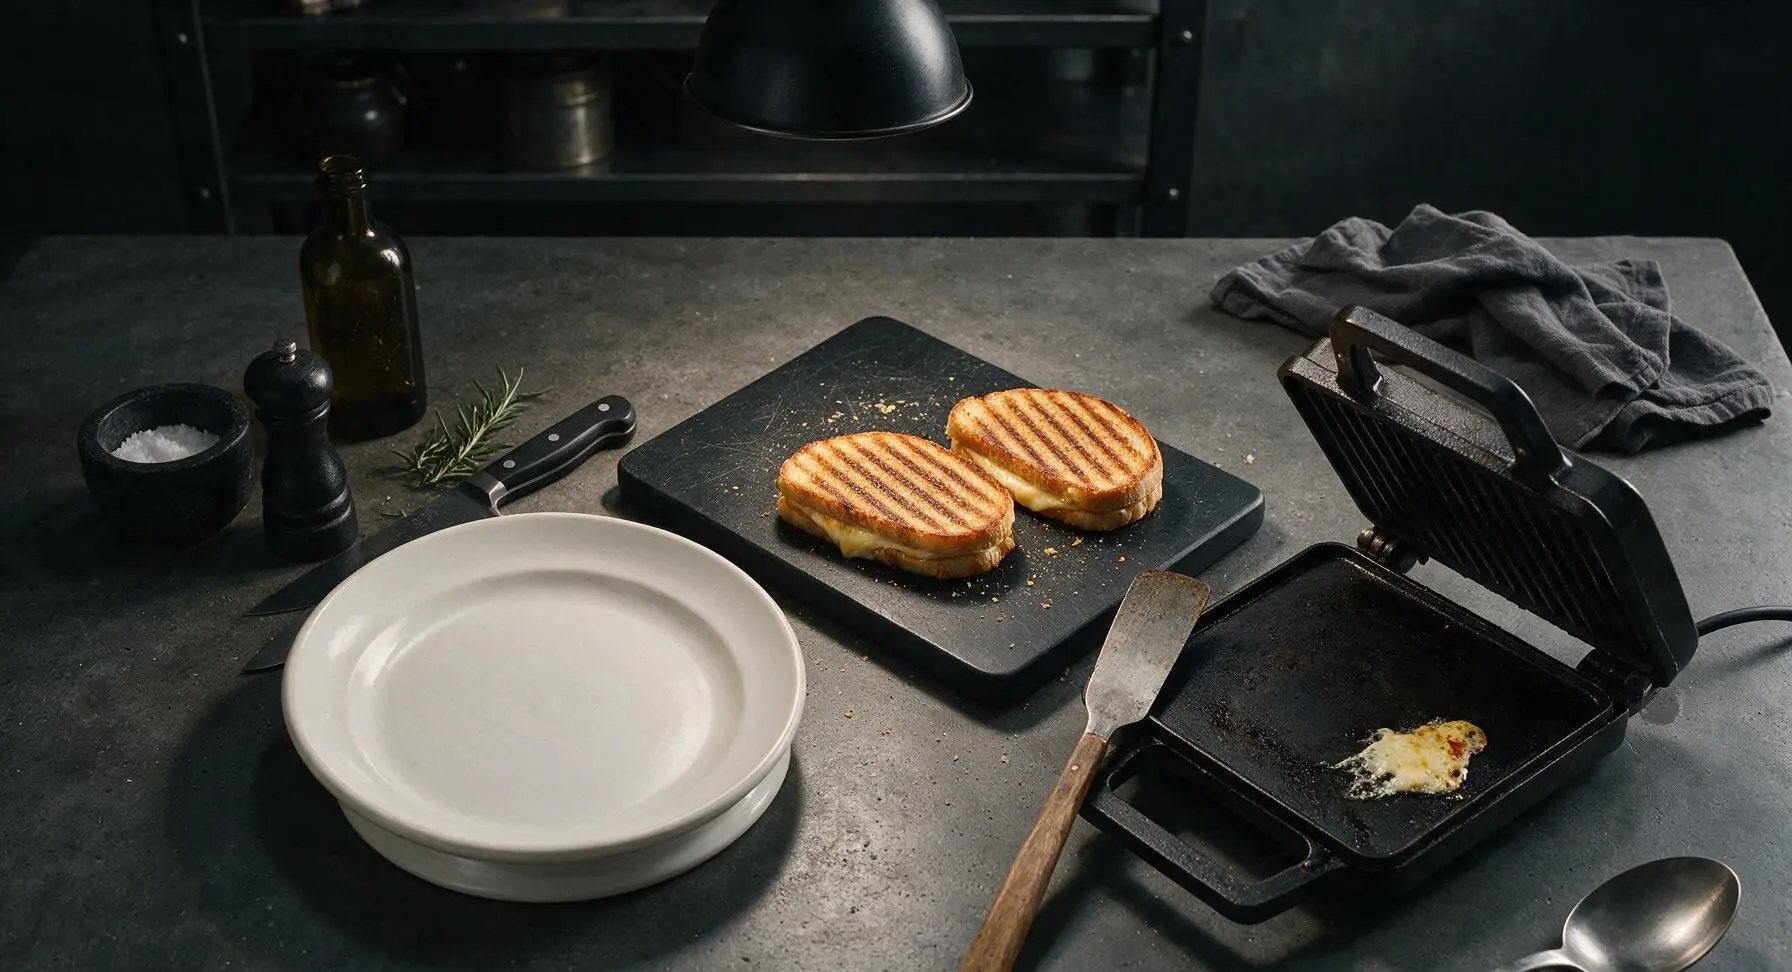
Use the metal spatula to transfer both fully cooked panini from the press back to the maple cutting board. Let the sandwiches rest for 1 full minute at room temperature; this allows the melted cheese to set slightly so it does not run out when sliced, and reduces the risk of burns from ultra-hot molten cheese.
Step 6
step6:Rest Cooked Panini
7

Slice and Plate Panini

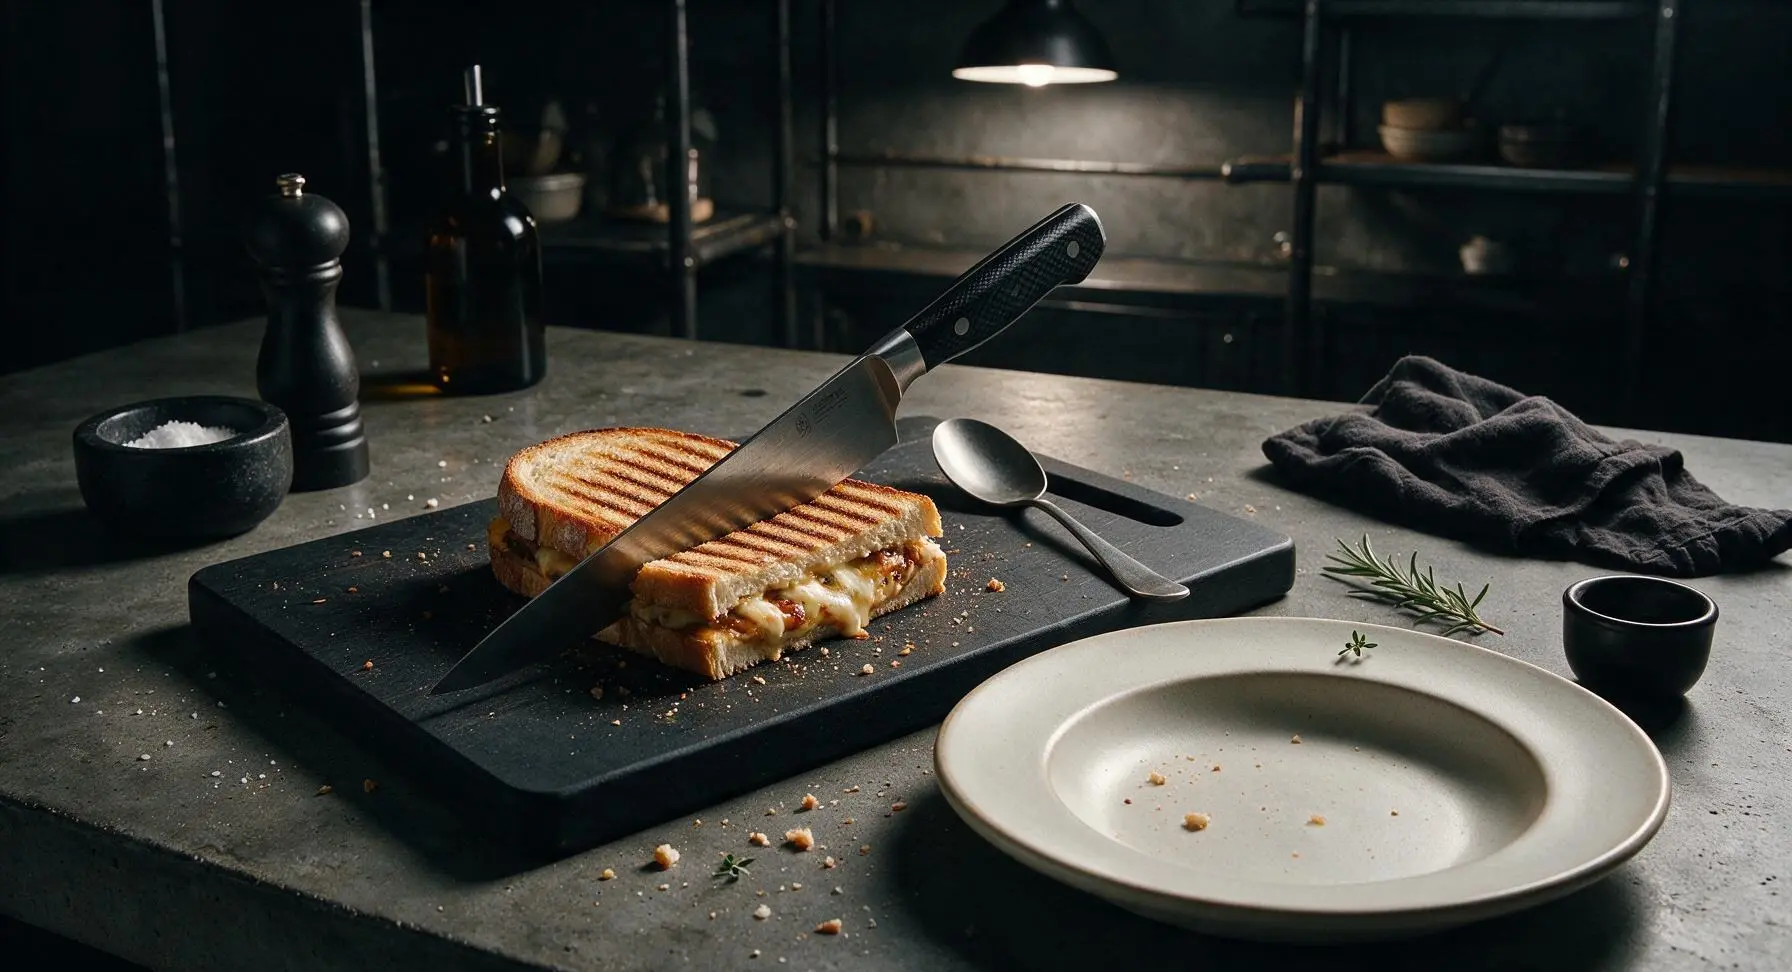
Use the chef's knife to cut each rested panini diagonally into two equal triangular halves. Transfer the cut pieces to the matte off-white ceramic dinner plate, arranging the halves so one cut edge faces outward to showcase the melted cheese interior. Place a single small fresh thyme sprig on the plate as a light garnish, leaving a few natural bread crumbs on the plate for an authentic, unpolished look.
Step 7
step7:Slice and Plate Panini

Tips

1.Choose low-moisture mozzarella instead of fresh mozzarella: fresh mozzarella has very high water content that will seep into the bread and create a soggy crust, while low-moisture mozzarella melts into the perfect stretchy, non-watery texture that holds its shape when bitten.
2.Avoid pressing down hard on the panini lid while cooking: excessive pressure squeezes melted cheese out the sides and compresses the bread into a dense, tough texture, rather than maintaining a light, crisp crust and oozing, fully contained cheese center.
3.Don't skip the 1-minute rest after cooking: slicing panini immediately causes molten cheese to pour out onto the plate, while a short rest lets the cheese thicken slightly for that ideal stretch when you take a bite, and prevents painful mouth burns from overheated cheese.


✨ You May Also Like

Lunch
🍜 United States

Creamy, salty, tangy nostalgic Midwestern sandwich pairing rich peanut butter with crisp briny dill pickles for a fast, satisfying no-cook meal.

⏱️ 5 minutesLunch ★ 4.6
Lunch
🍜 United States

Crispy, melty pressed sandwich layered with savory roast pork, ham, Swiss cheese, pickles, and tangy mustard: a beloved Cuban-American comfort classic.

⏱️ 25 minuteLunch ★ 4.9
Lunch
🍜 United States

Hearty, briny New Orleans pressed sandwich stacked with cured Italian meats, provolone, and zesty olive salad, served cold for bold, portable flavor.

⏱️ 1 hour 20Lunch ★ 4.7
Lunch
🍜 United States

A tangy, creamy Southern American staple, this no-cook cheesy sandwich is packed with sharp cheddar and sweet pimentos for a satisfying, portable bite.

⏱️ 1 hour 15Lunch ★ 4.8
Lunch
🍜 United States

Crispy Cajun-spiced fried shrimp piled on crusty French bread with tangy remoulade and fresh toppings, the iconic Louisiana street food sandwich.

⏱️ 35 minuteLunch ★ 4.4
Lunch
🍜 United States

Stacked, savory deli-style corned beef sandwich with melted Swiss, tangy mustard, and crisp griddled rye— a fast, hearty, satisfying classic.

⏱️ 15 minuteLunch ★ 4.9

cheese panini:Frequently Asked Questions

1.Why do you call for low-moisture mozzarella instead of fresh mozzarella in this recipe? ▾
Great question! Fresh mozzarella has very high water content that will turn your panini soggy instead of crisp, even if you pat it dry. Low-moisture mozzarella melts into that iconic stretchy texture without leaking excess liquid, and pairs perfectly with sharp white cheddar for balanced, rich, non-watery flavor.
2.Can I make this panini if I don’t own a dedicated panini press? ▾
Absolutely! You don’t need fancy equipment for a great panini. Heat a heavy cast iron or nonstick skillet over medium-low, add your assembled, buttered sandwich, then set a second heavy pan (or foil-wrapped brick) on top to weigh it down. Flip halfway through cooking to get even golden crispness on both sides.
3.Why is sourdough bread recommended instead of regular soft sandwich bread? ▾
Sourdough is my top pick here because its sturdy, chewy crumb and subtle tangy flavor holds up perfectly to pressing and melted cheese without getting soggy or falling apart. Soft white sandwich bread compresses too much under weight and can turn mushy, while sourdough toasts to a shatteringly crisp crust that balances the rich cheese filling.
4.Is the Dijon mustard required, or can I leave it out if I don’t like mustard? ▾
You can absolutely skip it if you strongly dislike mustard, but I highly recommend giving it a try! A thin, even spread of Dijon adds a bright, tangy kick that cuts through the richness of butter and cheese, so every bite feels balanced instead of heavy. You won’t get a strong mustard flavor, just subtle depth that makes the cheese taste better.
5.How do I stop cheese from oozing out all over my pan or press while cooking? ▾
Great practical question! First, shred your cheese fresh instead of using pre-shredded, which has an anti-caking coating that disrupts smooth melting. Keep the cheese filling ½-inch away from the bread edges, and cook over medium-low heat so cheese melts slowly right as the bread crisps, rather than bubbling over early.
6.Can I make these panini ahead of time for weekly meal prep? ▾
These panini taste best eaten right after pressing, when the bread is crisp and cheese is hot and stretchy, but you can prep components ahead to save time. Shred your cheeses, slice your sourdough, and keep butter and Dijon handy, so you can assemble and press a fresh panini in 5 minutes on busy weekdays. Pre-pressed panini turn soggy in storage, so avoid making them fully ahead.
7.How do I get an evenly golden, crisp bread crust without burnt or soggy spots? ▾
For the most consistent, perfect crust, spread softened (not melted) unsalted butter in a thin, uniform layer all the way to the edges of the outer sides of each bread slice. Melted butter soaks into bread unevenly, leading to soggy patches and burnt spots, while softened butter toasts slowly into that shatteringly crisp, evenly browned exterior everyone loves.

Comments (7)

3 days ago

OMG this classic cheese panini is SO good! I threw this together for a quick weeknight dinner last night when I forgot to meal prep, and my 8 year old asked for seconds before I even finished my first. Crispy outside, perfectly melty cheese inside, total game changer. Only took like 6 minutes just like the recipe says, no fancy equipment needed either!

2 days ago

Wait did you use regular sourdough or something softer? I’ve been messing up paninis lately because my bread gets too crunchy!

yesterday

Great question! Sourdough works perfectly for that crispy crust, but if you prefer a softer bite, try using thick-cut white or Italian bread — just make sure to butter the outsides evenly for that golden, not-too-crunchy finish!

1 week ago

Made these for my kid’s after-school soccer practice snack run and the whole team devoured them! I added a little slice of ham to half of them for the kids who wanted extra protein, but the plain classic cheese version was the first to disappear. So easy to make in bulk for potlucks too, 10/10.

2 hours ago

Bro this saved my lazy Sunday. I don’t have a fancy panini press so I just used a regular skillet and pressed it down with a spatula like the tips said, turned out perfect. Way better than the sad grilled cheese I was making before. Only thing is I added a dash of garlic powder to the butter and *chef’s kiss*.

30 minutes ago

Love that garlic butter hack! So glad the skillet method worked out for you — you don’t need any fancy gear to make a great panini at home.

5 days ago

Wait, has anyone tried making these with dairy-free cheese? My daughter is lactose intolerant and I’m hunting for a quick lunch option she’ll actually eat, this looks so easy!

3 days ago

I used vegan cheddar slices last week for my son and it worked amazing! Just let it cook an extra 30 seconds so the cheese gets fully melted, no weird texture at all.

2 days ago

Great tip from Kris! Dairy-free cheese works beautifully here — just make sure your pan is on medium heat so the bread crisps up before the cheese slides out, and you’re good to go!

2 weeks ago

Added these to my weekly meal prep rotation! I make them on Sunday, wrap them individually, and they reheat so well in the toaster oven for work lunches. Way cheaper than buying paninis from the café down the street, and tastes way fresher.

1 week ago

Wait how do you keep them from getting soggy when you reheat? I tried pre-making grilled cheese once and it was a mushy mess by Wednesday!

yesterday

Made this for my guys’ game night last weekend and everyone thought I ordered takeout from the fancy sandwich shop downtown. I used a mix of cheddar, mozzarella, and a little provolone because that’s what I had in the fridge, and the cheese pull was insane. 10/10, will be making this every game day from now on.

5 minutes ago

I’m literally just learning to cook for myself after moving out of my parents’ house, and this was the first recipe I didn’t burn! It was so easy to follow, only took 6 minutes like the recipe said, and my roommate said it was better than the paninis we get at our campus spot. So excited to make more variations now!

just now

This makes us so happy to hear! So proud of you for nailing your first cook — once you master the classic, you can add all your favorite fillings like tomato, pesto, or even cooked bacon to mix it up. Can’t wait to hear what you try next!



