
cheese toast sandwich

title 1
cheese toast sandwich
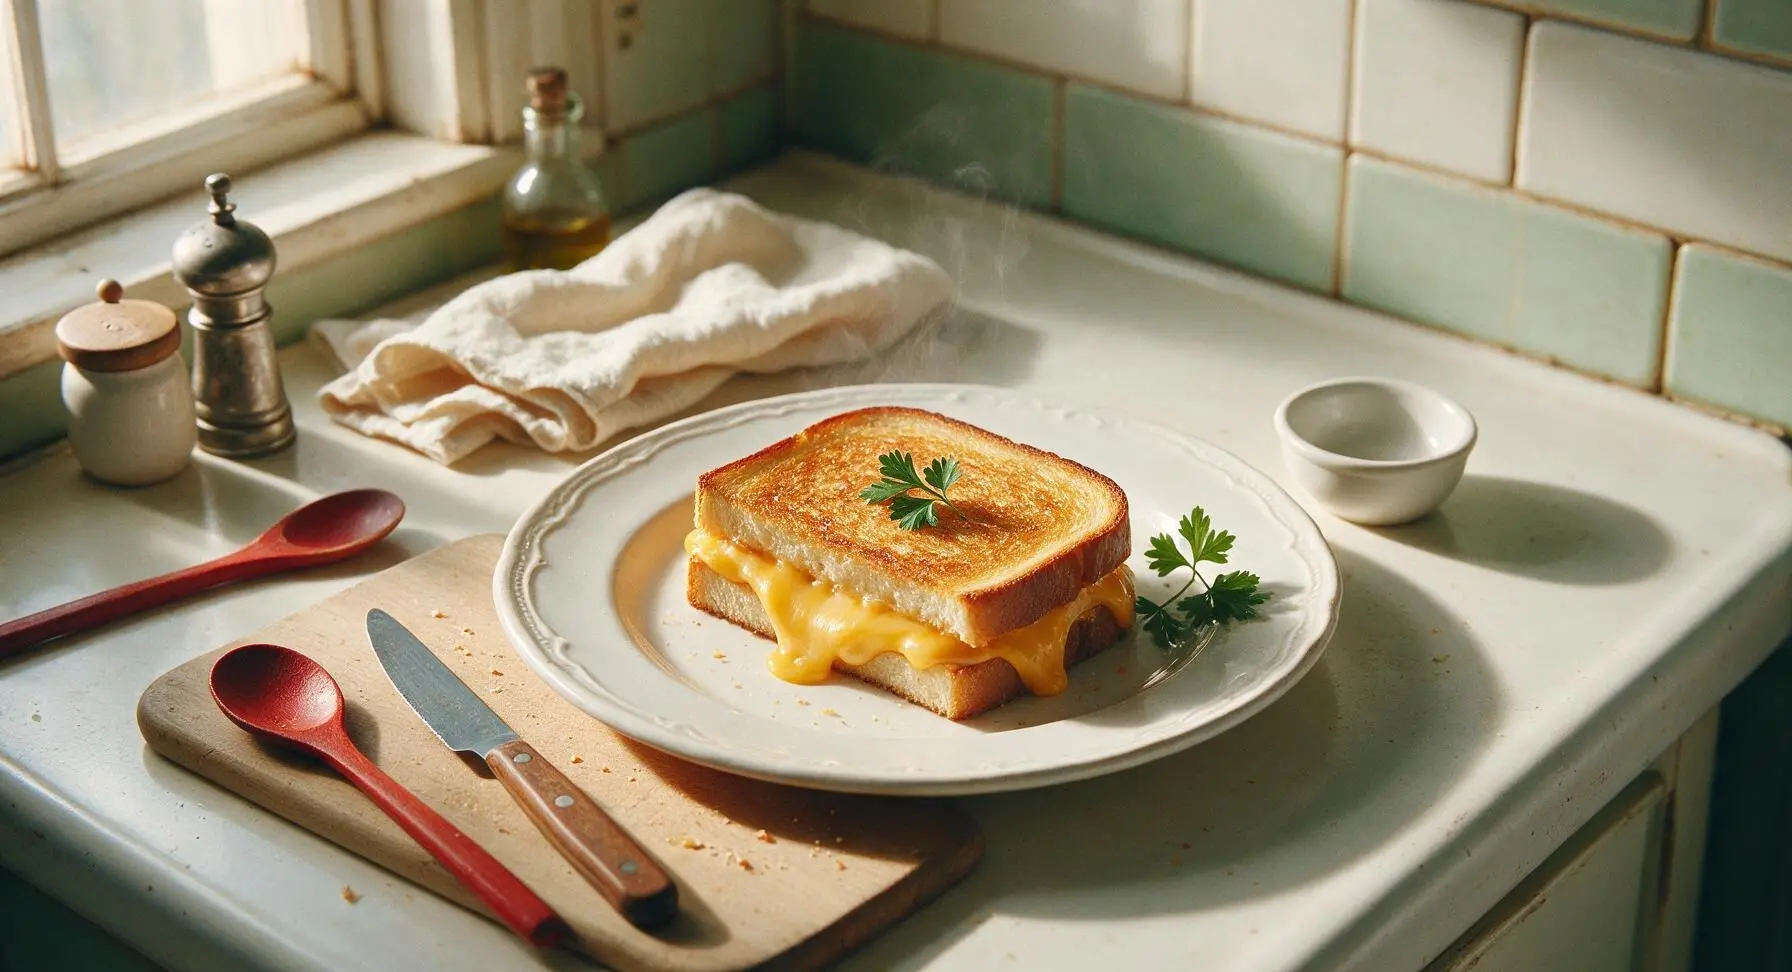
⏱️ cook time 6 minutes
🍽️ servings 2
⚡ Difficulty easy

intro

Crispy buttery golden toast oozing with smooth melted cheddar, this classic cheese toast sandwich is a 10-minute cozy comfort food perfect for fast, satisfying meals.

Ingredients
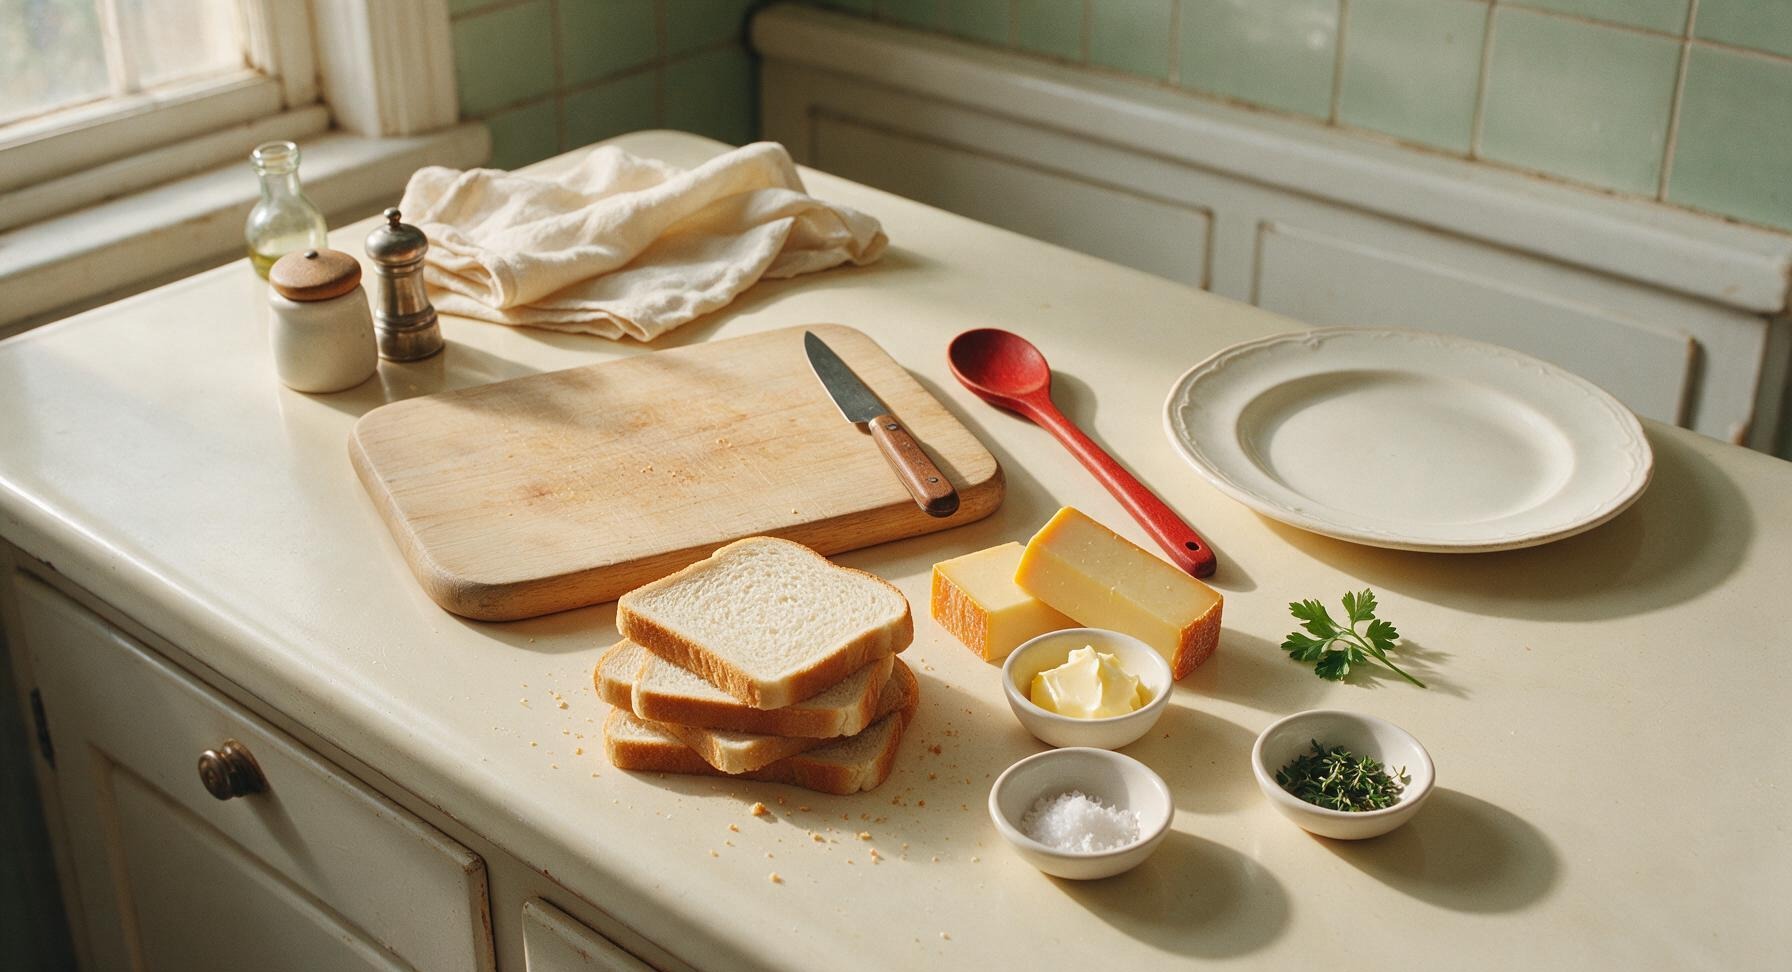
White sandwich bread 4 slices (120g total)
Sharp cheddar cheese 80g
Unsalted butter (softened) 20g
Flaky sea salt 1/4 tsp
Fresh thyme leaves (optional garnish) 1 tsp

Steps

1

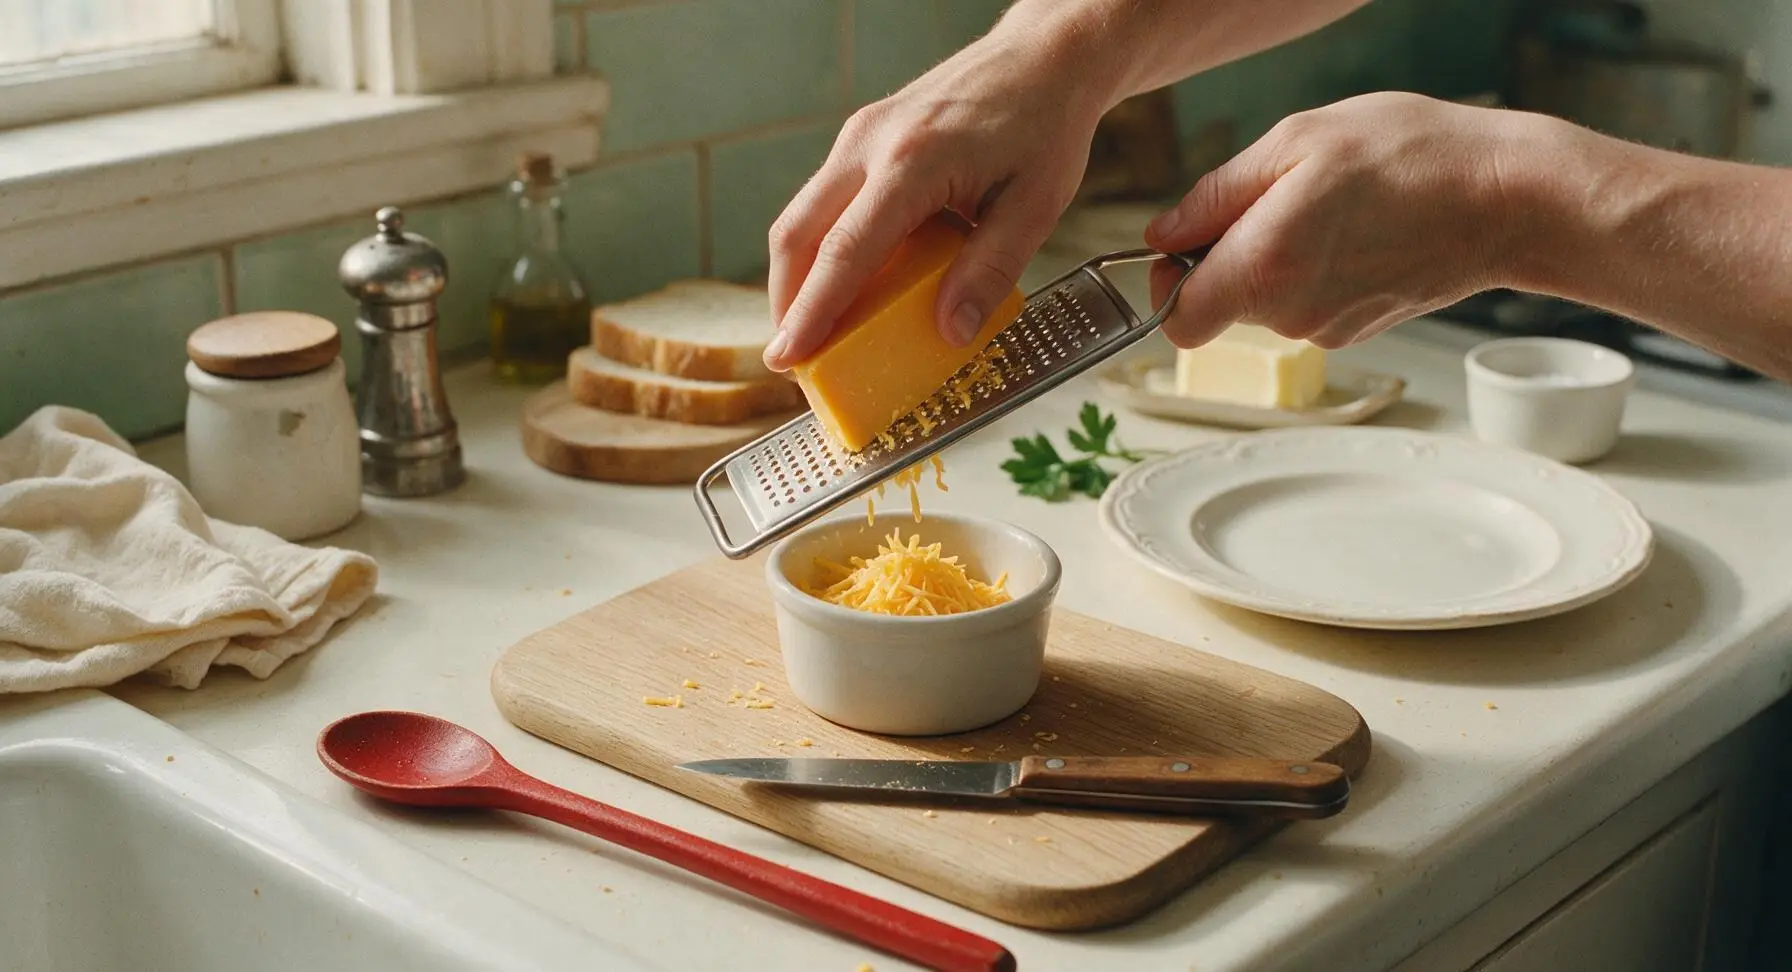
Grate the Cheddar Cheese

Place the 80g block of sharp cheddar on the light oak cutting board. Hold the small stainless steel box grater at a 45-degree angle over the matte white ceramic ramekin, and grate all cheese using the coarse grating side. Stop grating when 1cm of the cheese block remains to avoid scraping your knuckles. The finished grated cheese should be light, fluffy shreds with no large clumps.
Step 1
step1:Grate the Cheddar Cheese
2

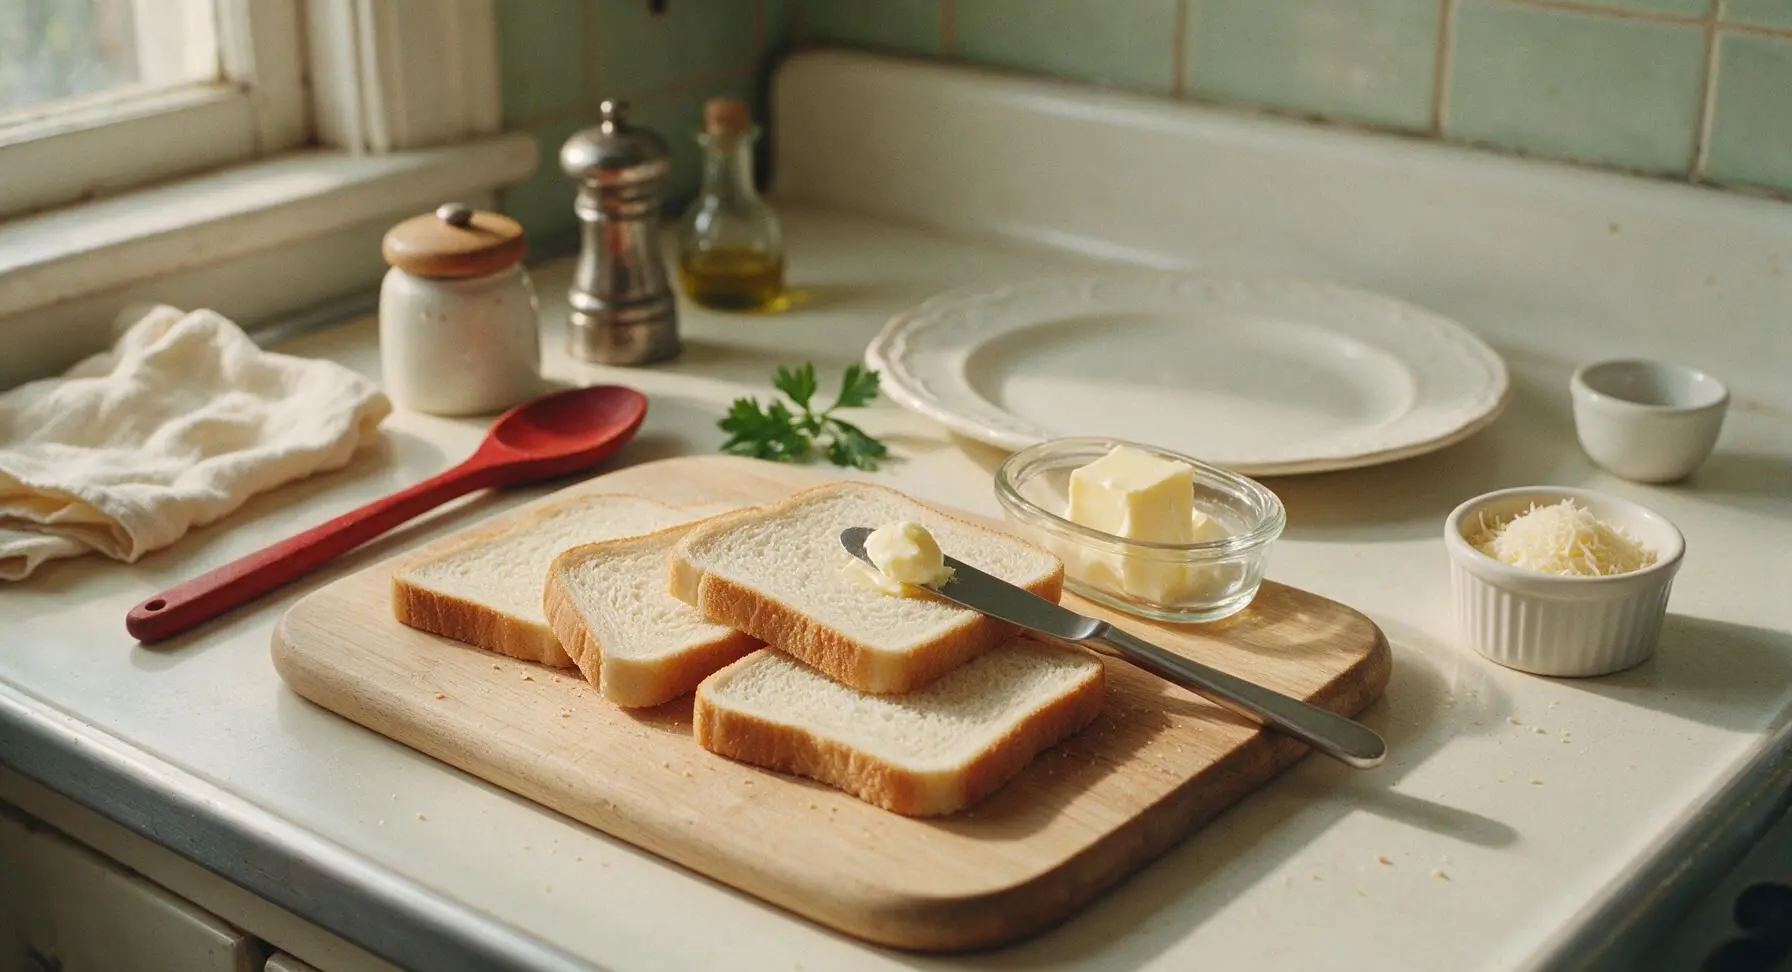
Butter Bread Slices

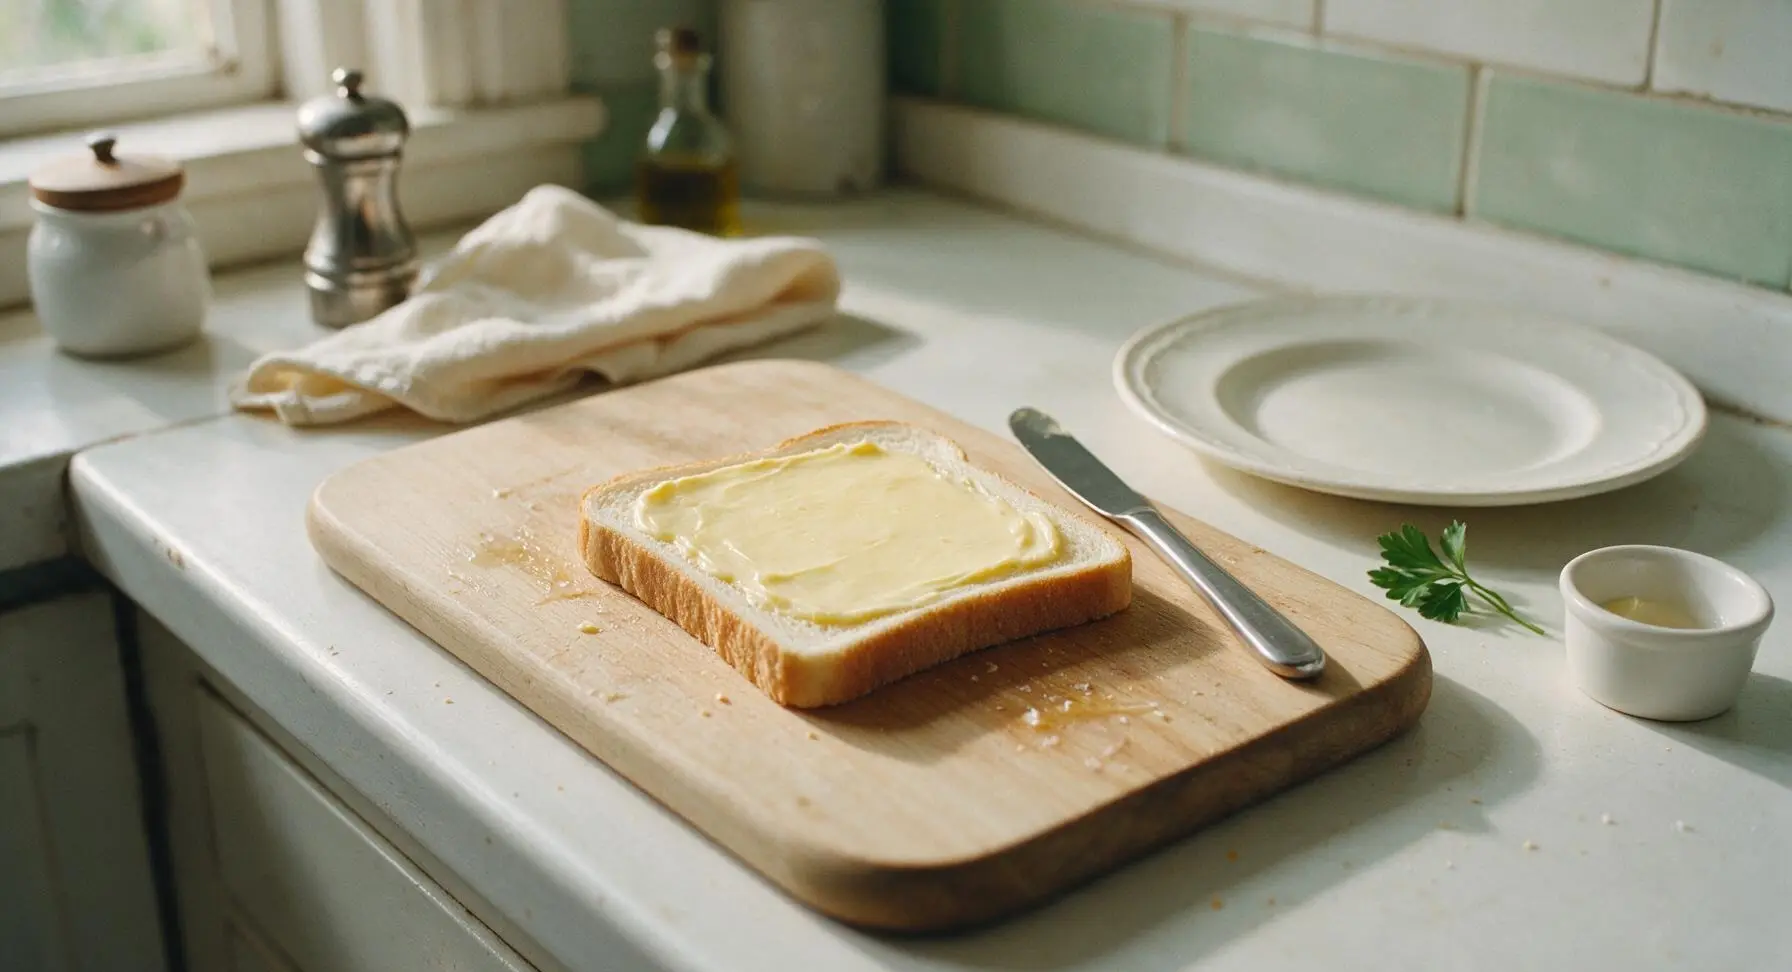
Take the softened unsalted butter and stainless steel butter knife. Lay all 4 slices of white sandwich bread flat on the oak cutting board. Spread a thin, even layer of butter (about 5g per slice) across one entire side of each bread slice, covering all the way to the crust edges. The buttered surface should be smooth, with no thick globs that will burn during cooking.
Step 2
step2:Butter Bread Slices
Step 2
step2:Butter Bread Slices
3

Layer Cheese Filling

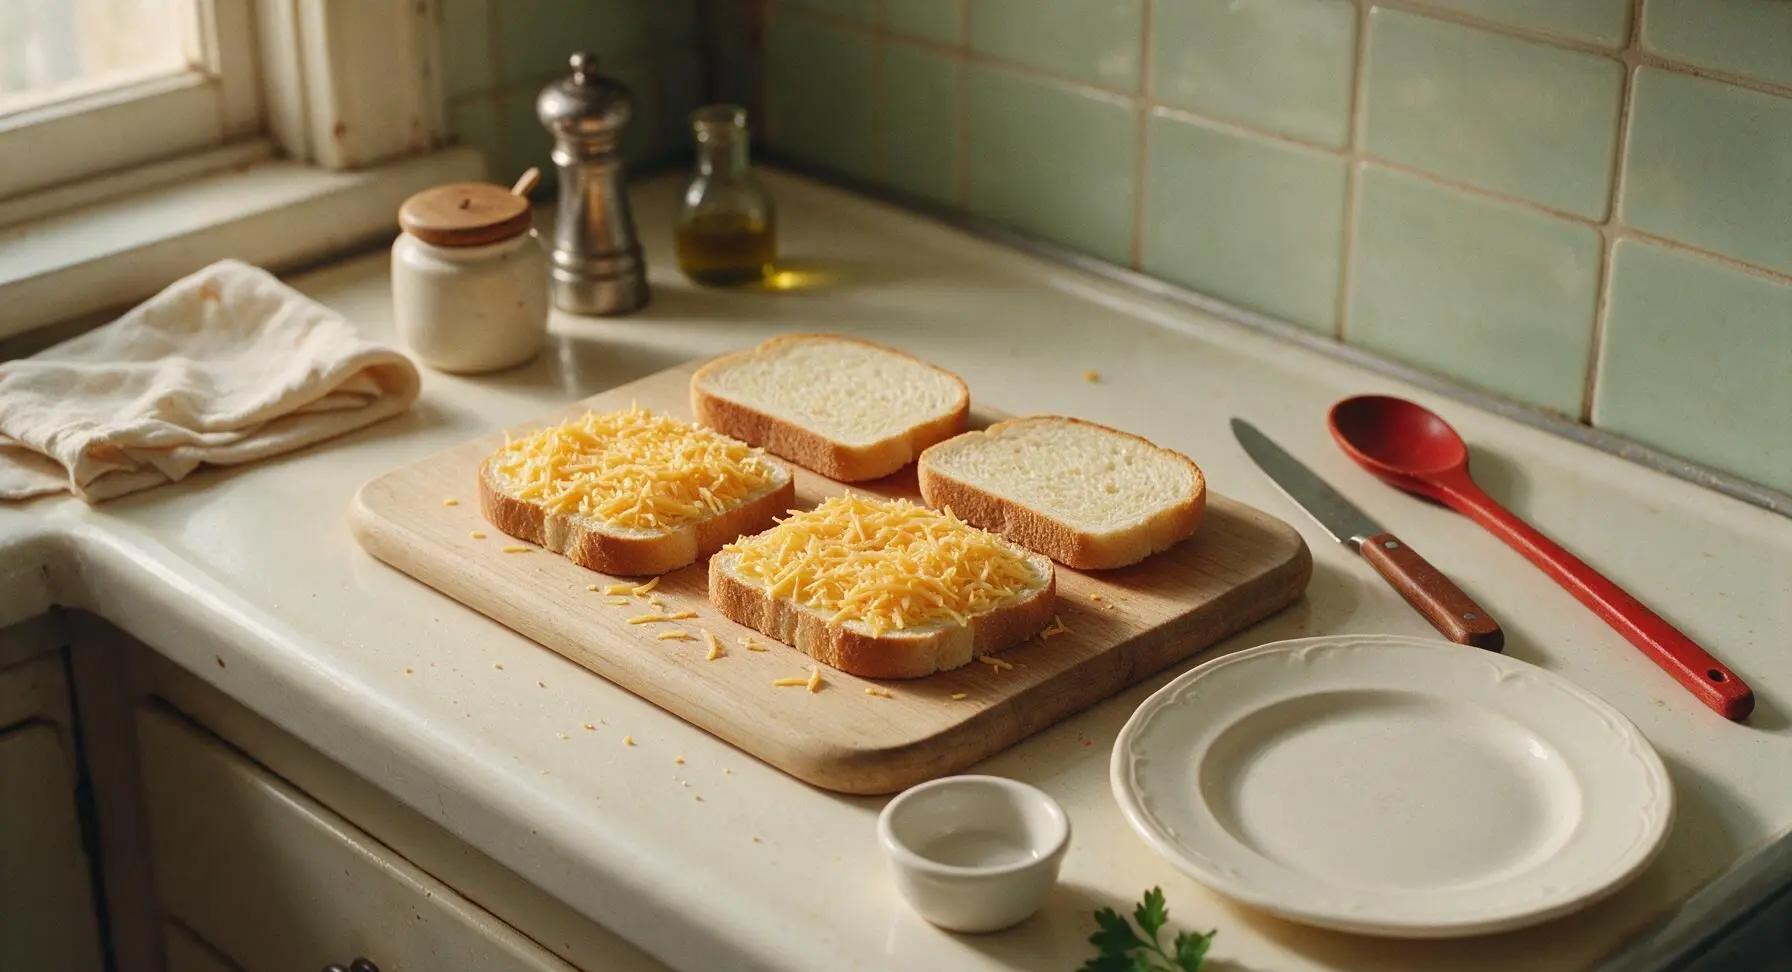
Flip two of the buttered bread slices over so the buttered side faces down on the cutting board. Sprinkle 40g of grated cheddar evenly over each unbuttered side of these two slices, spreading shreds out to cover the bread right to the edges. Sprinkle a tiny pinch (1/8 tsp per sandwich) of flaky sea salt over the cheese, then top each with the remaining two bread slices, buttered side facing up. Press down gently on each sandwich with your palm to compact the layers slightly.
Step 3
step3:Layer Cheese Filling
4

Preheat Cooking Pan

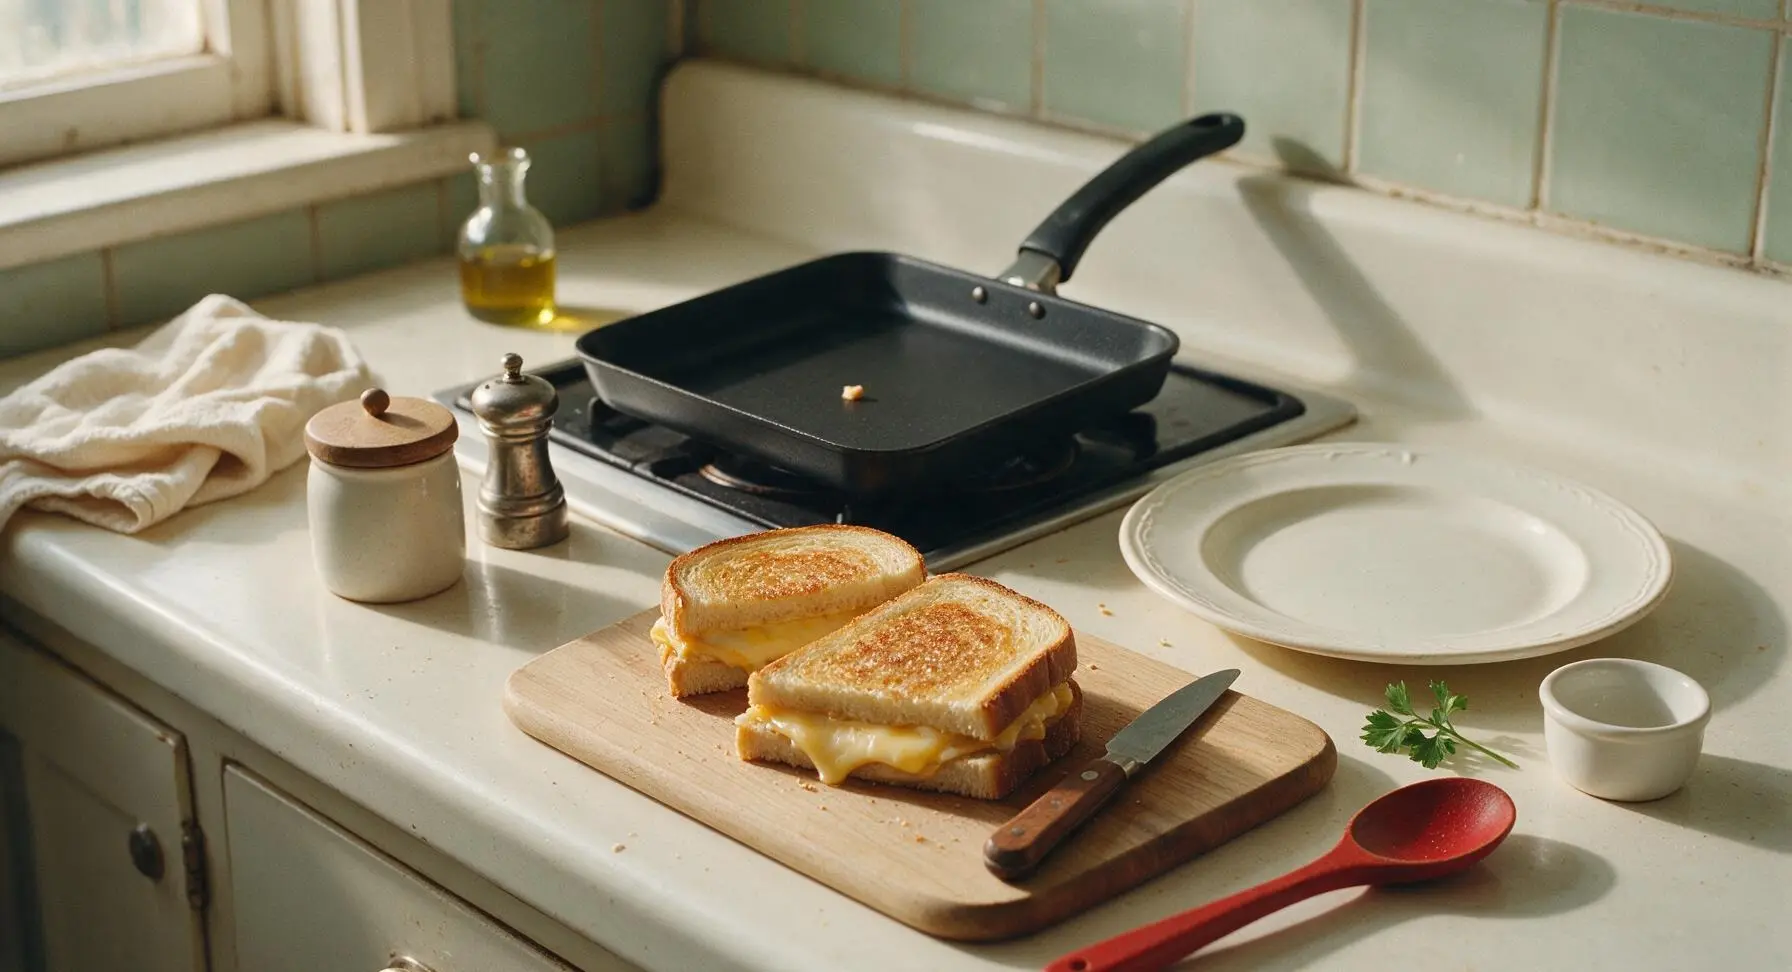
Place the matte black non-stick square sandwich pan on the stovetop zone at center back of the counter. Turn heat to medium-low, and let the pan preheat for 2 minutes. Test the temperature by dropping a single bread crumb onto the pan surface: it should sizzle gently and turn golden in 10 seconds, not burn instantly. If the crumb smokes, turn the heat down slightly.
Step 4
step4:Preheat Cooking Pan
5

Toast First Side

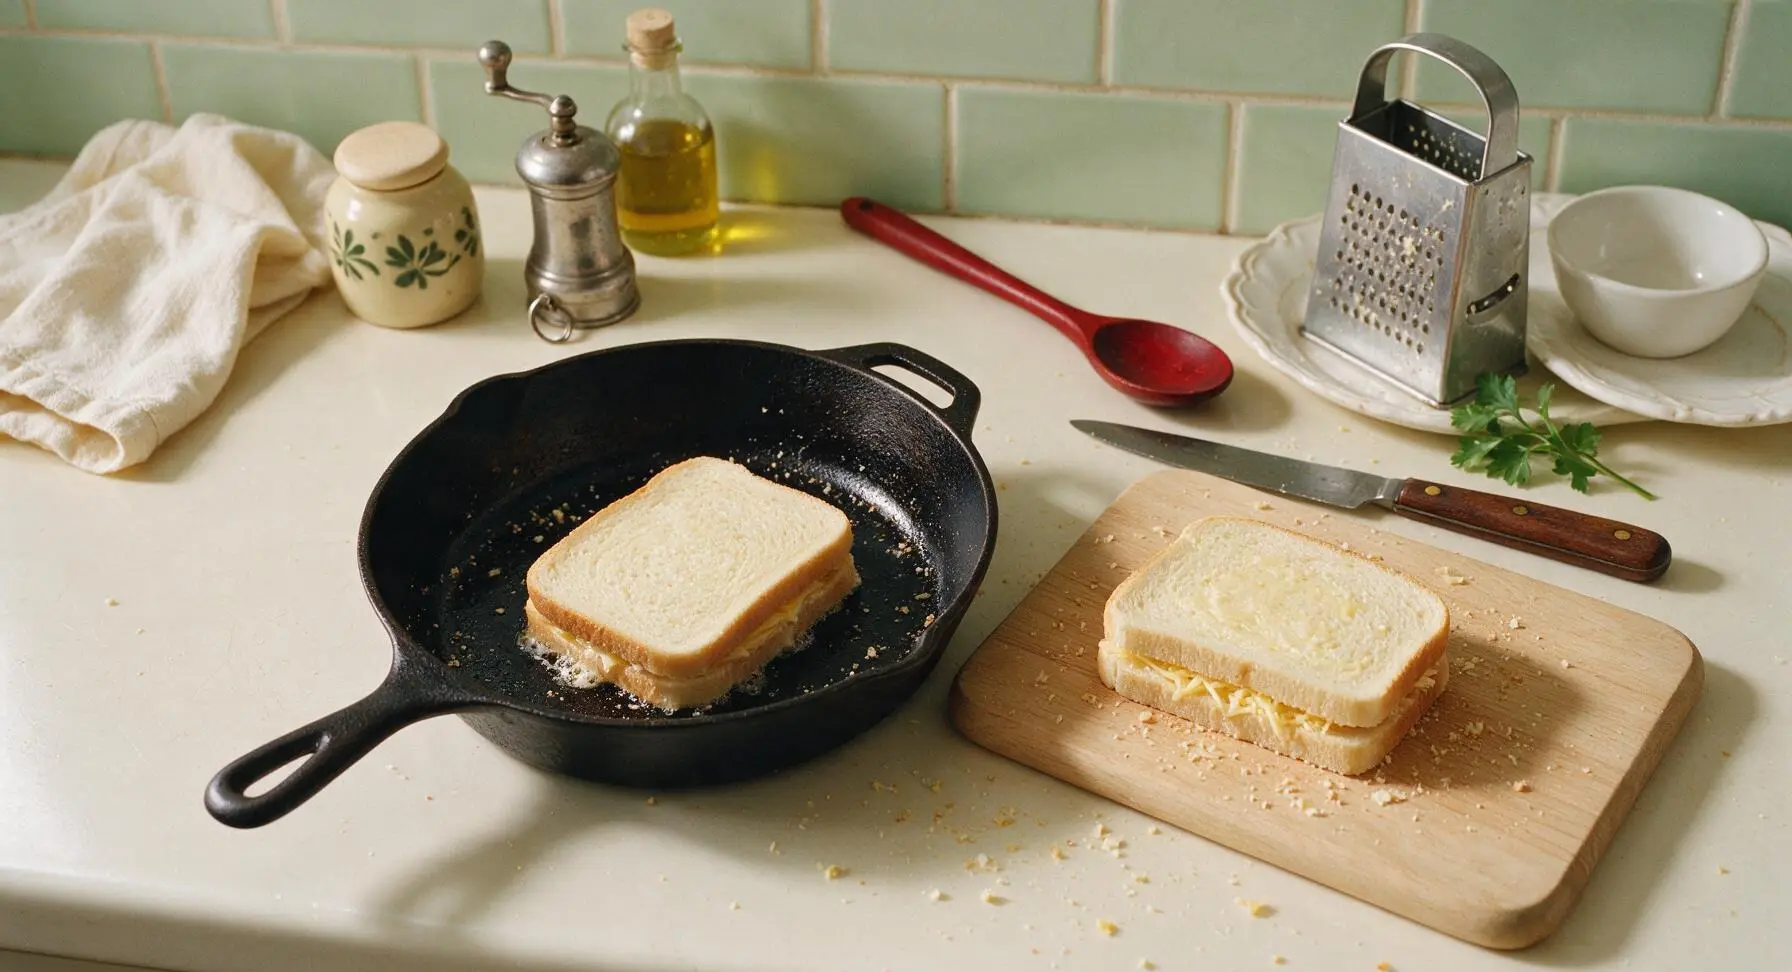
Carefully lift one assembled sandwich and place it gently in the preheated pan, buttered side down. Let it cook for 3 minutes on medium-low heat, until the bottom bread is deep golden brown and crispy, and the cheese closest to the pan has started to melt. Do not press down hard on the sandwich while it cooks, as this will squeeze cheese out onto the pan and create a dry filling.
Step 5
step5:Toast First Side
6

Flip and Finish Cooking

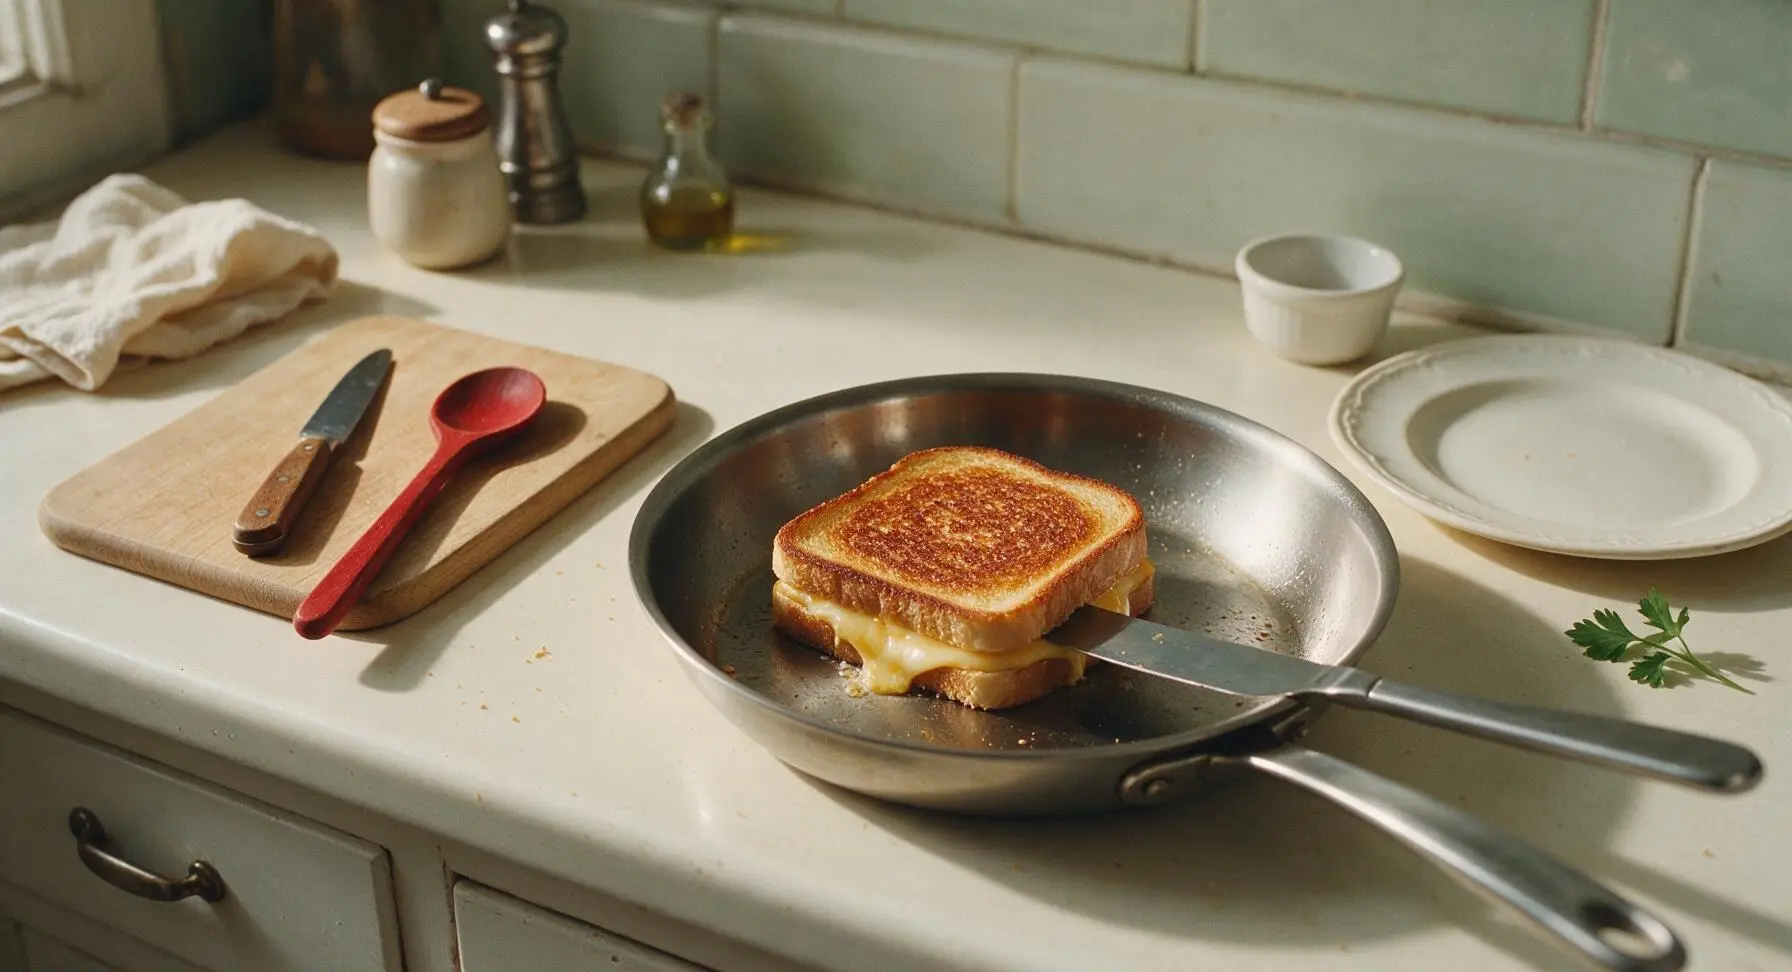
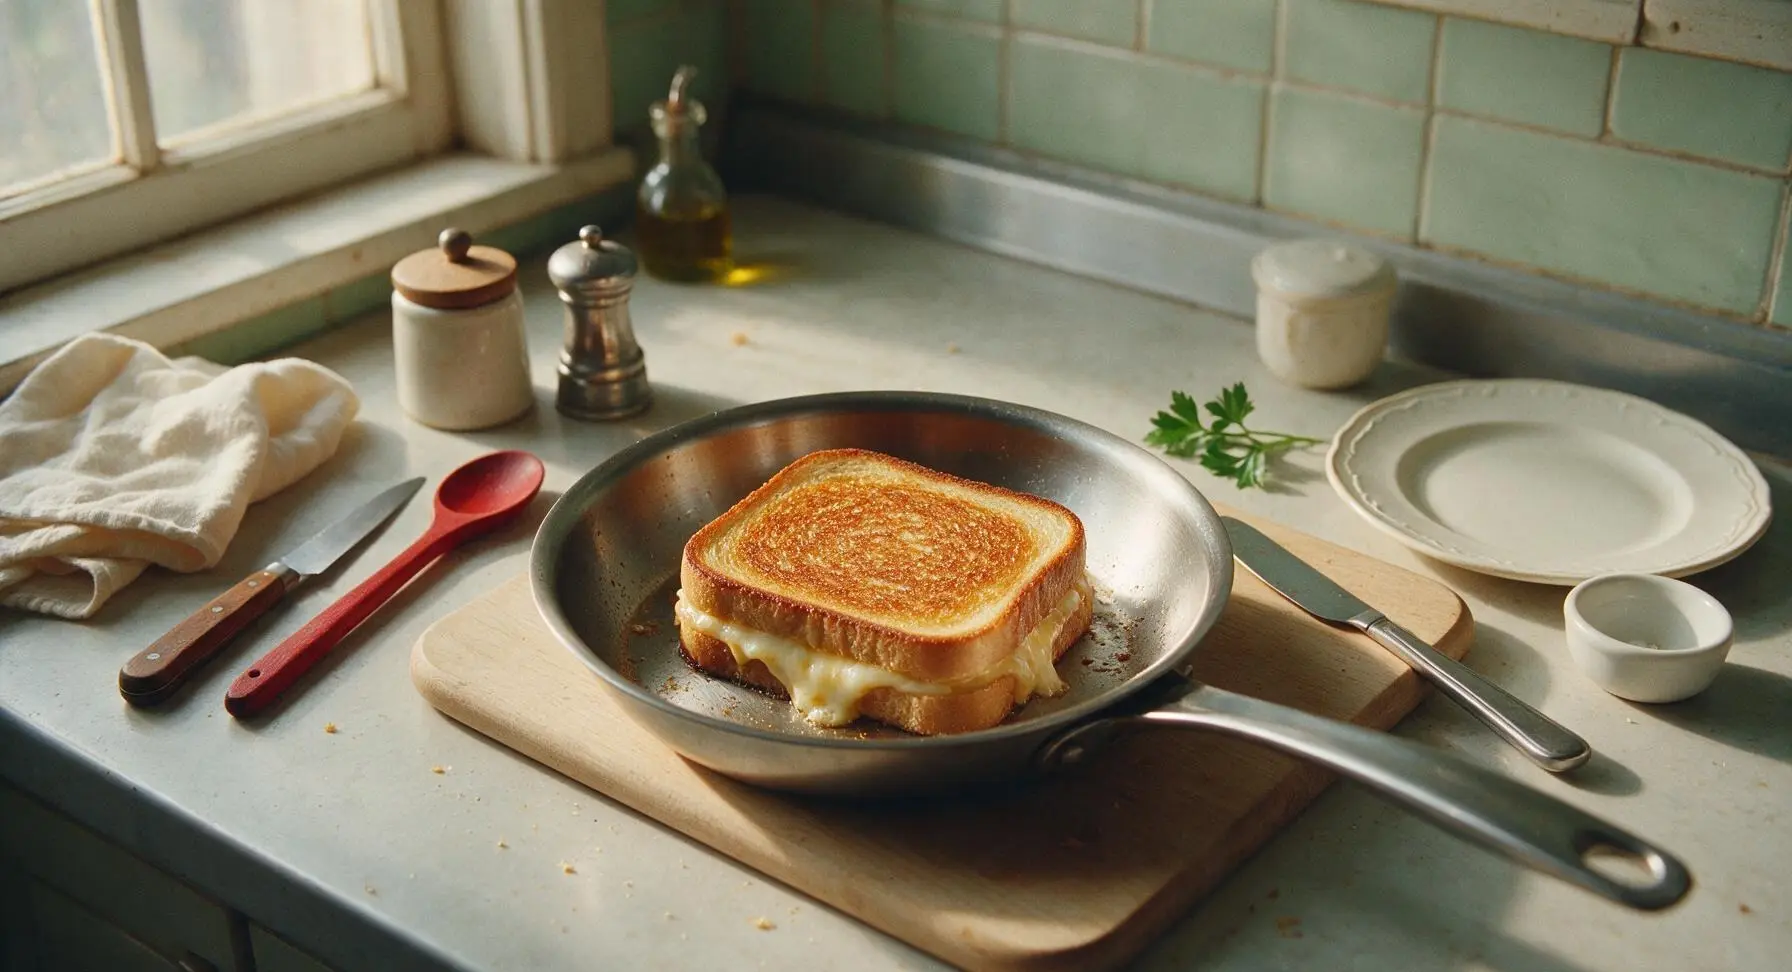
Use the stainless steel butter knife to gently flip the sandwich over, so the uncooked buttered side faces the pan surface. Cook for another 2-3 minutes, until the second side is equally golden and crispy, and all cheese in the center is fully melted, with no firm un-melted shreds left when you peek at the bread seam. Total cook time per sandwich is 5-6 minutes.
Step 6
step6:Flip and Finish Cooking
Step 6
step6:Flip and Finish Cooking
7

Rest and Plate Sandwiches

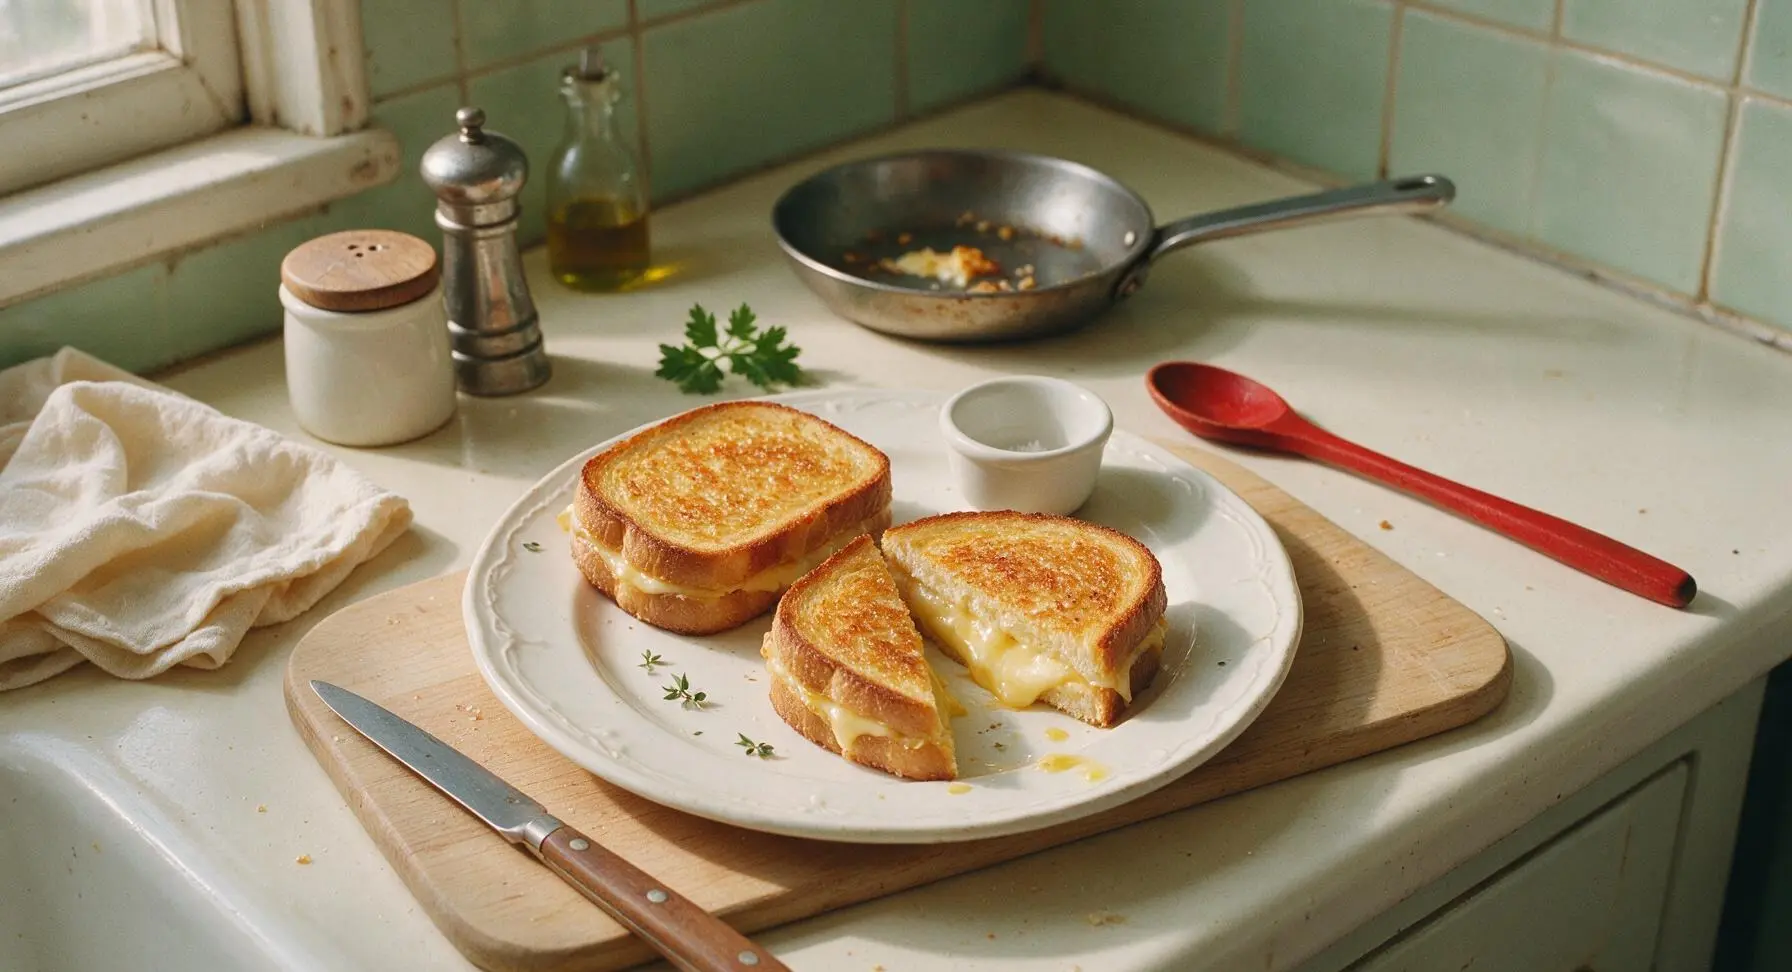
Lift the finished sandwich out of the pan and place it on the matte cream ceramic plate. Repeat the cooking process for the second sandwich. Once both are cooked, let them rest for 1 minute before cutting—this lets the cheese set slightly so it doesn’t all run out when sliced. Cut each sandwich diagonally into two triangles, and sprinkle a pinch of fresh thyme leaves over the top for garnish if desired.
Step 7
step7:Rest and Plate Sandwiches

Tips

1.Grate cheese fresh instead of using pre-shredded store-bought cheese: pre-shredded cheese is coated in potato starch and anti-caking agents that prevent smooth melting, leading to a grainy filling instead of the ideal stretchy, oozing texture.
2.Cook on medium-low heat rather than high: high heat will char the bread surface before the cheese in the center has time to fully melt, leaving you with burnt bread and firm, un-melted cheese filling.
3.Let cooked sandwiches rest for 1 full minute before cutting: slicing immediately causes all the hot, runny melted cheese to pour out onto the plate, while a short rest lets the cheese thicken slightly so it stays between the bread slices for every bite.


✨ You May Also Like

Snacks & Appetizers
🍜 Mexico

Crispy thick-cut tortilla chips piled high with seasoned beef, melted cheese, and bright fresh toppings for a shareable, crowd-favorite bite.

⏱️ 25 minuteSnacks & Appetizers ★ 4.8
Snacks & Appetizers
🍜 United States

Crisp, sweet-tangy spiced pickled watermelon rind is a zero-waste summer staple, perfect with grilled meats, charcuterie, or eaten straight from the jar as a bright snack.

⏱️ 30 minuteSnacks & Appetizers ★ 4.6
Snacks & Appetizers
🍜 Germany

A tangy, jellied pork cold cut slow-simmered with aromatic spices, set into a firm sliceable loaf, served cold with mustard and crusty bread.

⏱️ 3 hours 4Snacks & Appetizers ★ 4.8
Snacks & Appetizers
🍜 United States

Creamy, tangy, perfectly seasoned hard-boiled egg halves filled with a rich, smooth yolk mixture, a timeless, crowd-pleasing bite for holiday and casual gatherings alike.

⏱️ 40 minuteSnacks & Appetizers ★ 4.8
Snacks & Appetizers
🍜 Russia

Silky, dill-forward no-smoke cured salmon, a Scandinavian classic with bright salty-sweet flavor, ideal for holiday starter platters and open-faced rye sandwiches.

⏱️ 48 hours Snacks & Appetizers ★ 4.7
Snacks & Appetizers
🍜 Japan

Crisp golden bottoms, juicy savory pork and vegetable filling, and tangy dipping sauce make these pan-fried gyoza a beloved shareable bite.

⏱️ 45 minuteSnacks & Appetizers ★ 4.8

cheese toast sandwich:Frequently Asked Questions

1.What kind of bread works best for this classic cheese toast sandwich? ▾
Soft, regular-sliced white sandwich bread is the perfect pick here. Its mild, tender crumb crisps up to that ideal golden crunch without overpowering the cheddar flavor. Skip crusty artisanal loaves (they’re too thick and let cheese leak out) or ultra-thin sandwich bread that turns soggy before the cheese fully melts.
2.Can I use pre-shredded cheddar instead of grating cheese fresh? ▾
You can use pre-shredded cheddar in a pinch, but freshly grated sharp cheddar melts far smoother. Pre-shredded cheese is coated in anti-caking agents like potato starch that prevent clumping in the bag, but that coating also creates a slightly grainy, less oozy melt compared to cheese you grate right before cooking.
3.Why does my butter burn before the bread crisps and the cheese melts? ▾
This almost always happens if your stovetop heat is too high! Cook these sandwiches over medium-low heat instead of medium or high. The lower heat lets the butter crisp the bread slowly without smoking or burning, while giving the cheddar enough time to fully melt into that perfect oozing texture.
4.Do I have to use unsalted butter, or can I substitute salted butter? ▾
You can absolutely use salted butter if that’s what you have on hand—just skip the extra flaky sea salt garnish at the end, or cut it way back. Unsalted butter lets you control the exact salt level to match your taste and your cheddar’s saltiness, so you don’t end up with an overly salty sandwich.
5.How do I keep cheese from oozing out all over the pan while cooking? ▾
First, don’t overstuff the sandwich—2 to 2.5 ounces of grated cheddar per serving is the sweet spot. Distribute the cheese evenly all the way to the bread edges without piling it too high, and press the top bread slice down gently before cooking to seal the edges and cut down on messy leaks.
6.Can I add extra fillings to this sandwich, or will that ruin the classic version? ▾
You absolutely can add small amounts of complementary fillings without losing that classic cozy vibe—think thin tomato slices, a sprinkle of cooked crumbled bacon, or a thin spread of Dijon mustard. Just avoid loading up on too many wet or bulky fillings, which will make the bread soggy and keep the cheese from melting evenly.
7.What if I don’t have sharp cheddar? Can I use a different cheese? ▾
Sharp cheddar gives that signature tangy, rich classic flavor, but you can swap it for other good melting cheeses if needed. Mild cheddar, Monterey Jack, or fontina all work beautifully—just skip crumbly cheeses like feta or hard aged cheeses like parmesan as your main cheese, since they won’t melt into that smooth, oozing texture.
8.Is the fresh thyme garnish required, or can I skip it? ▾
The fresh thyme is totally optional! It adds a bright, earthy little note that cuts through the richness of the butter and melted cheese, but your sandwich will still be absolutely delicious if you skip it. If you don’t have thyme, a tiny pinch of smoked paprika or a light grind of black pepper works just as well for a quick flavor boost.
9.How do I get both sides evenly crispy without squishing the sandwich flat? ▾
Resist the urge to press down hard on the sandwich with your spatula while it cooks—that squeezes out butter and melted cheese, leading to a flat, dry final result. Flip gently once the first side is deep golden (3 to 4 minutes), then cook the second side 2 to 3 minutes more until the cheese melts fully and the crust is evenly crisp.
10.Can I make these sandwiches ahead of time for meal prep or a crowd? ▾
These sandwiches taste best fresh off the pan, but you can keep them warm for a crowd by placing cooked sandwiches on a wire rack set over a baking sheet in a 200°F oven for up to 30 minutes. Don’t wrap them in foil or stack them, though—that traps steam and turns that crispy buttery crust soft and soggy fast.
11.Why is my bread crispy on the outside but the cheese still cold in the middle? ▾
That’s a sure sign your heat is too high! When the pan is too hot, the bread browns and crisps up long before the cheese in the center has time to warm up and melt. Turn your burner down to medium-low, and if your bread is already browned, pop a lid on the pan for 1 minute to trap steam and melt the cheese fast without burning the crust.
12.Do I need to butter both sides of the bread, or just the side touching the pan? ▾
You’ll want to spread a thin, even layer of softened butter on the outer side of both slices of bread—those are the sides that hit the pan, creating that uniform, rich, golden crispy crust. Skip buttering the inner sides that touch the cheese; that would make the sandwich overly greasy and prevent the bread from adhering to the melted cheese nicely.
13.What’s the best way to serve these cheese toast sandwiches? ▾
Let the sandwich rest for 1 minute after you take it out of the pan so the melted cheese sets just a little, so it won’t ooze out all over your plate when you cut it. Slice it diagonally, sprinkle with flaky sea salt and thyme if using, and serve alongside tomato soup, a dill pickle, or a simple side salad for a cozy, satisfying meal.

Comments (14)

2 days ago

OMG this is so easy to throw together on busy school mornings! My kids loved it and devoured these in 2 minutes flat, I added a little sprinkle of garlic powder per my oldest’s request and it was chef’s kiss. Cook time was exactly 6 minutes like the recipe said, no guesswork.

yesterday

Wait garlic powder is such a good call! I’ve been adding paprika but I’m swapping that for garlic powder tomorrow for my kids’ lunch

yesterday

So glad your family loved it! Garlic powder is such a tasty add-in – we also love a little pinch of red pepper flakes for the grown-ups if you want a tiny kick!

3 days ago

Game changer for my tiny dorm kitchen! I don’t have a fancy panini press, just a regular old skillet, and this came out perfectly crispy with melty cheese every single time. Way better than the sad cafeteria grilled cheese.

2 days ago

Bro same! My dorm only lets us have a tiny hot plate and this worked so well, I’ve made it 3 nights in a row lmao

2 days ago

Love that this works for dorm cooking! No fancy equipment needed, just a hot surface and good bread + cheese – perfect for quick, budget-friendly meals.

1 week ago

Made these cut into little triangles for our neighborhood potluck last weekend and they were the first empty plate! People kept asking for the recipe, I used a mix of sharp cheddar and mozzarella for extra stringy cheese pull. SO good.

5 days ago

The triangle cut is classic! I’ve been making these for my grandkids’ visits for decades, cutting them diagonally just hits different for some reason.

5 days ago

That cheese combo sounds incredible! We’re big fans of mixing cheeses for deeper flavor, so happy these were a potluck hit – nothing brings people together like melty cheese toast!

5 days ago

Wait, I always overcook my grilled cheese so the bread burns before the cheese melts – this 6 minute cook time at medium heat was exactly what I needed! No more burnt edges, the cheese was perfectly melted all the way through.

3 days ago

Same! I used to crank the heat too high trying to make it fast, medium heat for 3 minutes a side is the sweet spot right? Game changer for sure.

3 days ago

So glad the timing worked out for you! Medium heat is key – it gives the bread time to crisp up without burning while the cheese gets all melty inside. Great call sticking to the timing!

yesterday

Added a couple slices of crispy bacon to mine and it was out of this world! I know it’s a classic but a little bacon never hurt nobody, right?

2 hours ago

Bacon is such a delicious upgrade! A few slices of crispy bacon (or even a slice of fresh tomato!) pair perfectly with the melty cheese – we fully support customizing this to your taste.

2 weeks ago

Made this for a lazy Sunday brunch with a side of tomato soup and it was the coziest meal ever. Super low effort, maximum comfort – 10/10 will be making this every weekend now.

1 week ago

I made this too with gluten free sourdough and it worked perfectly! Dipping in tomato soup is non-negotiable tbh.

30 minutes ago

Wait does this hold up if I make it ahead for meal prep? I tried it fresh last night and it was delicious, but I need quick lunch options for work that don’t get soggy, would love tips!

5 minutes ago

Great question! We recommend making it fresh if you can, but if you need to prep ahead, let it cool completely before storing in an airtight container, and re-crisp it in a toaster oven for 2 minutes to avoid sogginess!

2 hours ago

Tried making this on my cast iron skillet out on the patio last night, used smoked cheddar instead of regular, and my whole family said it was the best cheese toast I’ve ever made. Who knew the simple recipe was the winner?

30 minutes ago

Cast iron is the secret for that perfect crispy crust! Smoked cheddar sounds amazing, I’m grabbing a block on my next grocery run.

1 week ago

This tastes exactly like the crispy cheese toast I used to get at my corner bodega growing up! I used sourdough bread and extra sharp cheddar, just like they did, and the nostalgia hit so hard. Absolute perfection.

5 days ago

There’s nothing quite like that nostalgic bodega-style cheese toast! Sourdough and sharp cheddar is our go-to combo too, so glad it brought back good memories for you.

3 days ago

I used whole grain bread and low-fat mozzarella for a lighter version, and it still hit that cheesy, crispy craving without making me feel sluggish after lunch. Perfect for when I want comfort food without the guilt!

2 days ago

Oh that’s such a good idea! I’ve been trying to eat lighter too, I’ll have to try that swap next week for my work lunches.

just now

Pro tip: spread a tiny bit of mayo on the outside of the bread instead of butter for extra crispiness, I learned that on TikTok and it works so good with this recipe! Cheese pull for days.

2 weeks ago

Been making these since I was a kid back in the 60s, and this recipe is exactly the no-fuss classic I remember. No weird add-ins, just simple bread, butter, and cheese cooked just right. 10/10.

2 days ago

I tried this with pepper jack for a little spicy kick and it was SO good. Pair it with a dill pickle on the side and you’ve got the perfect quick lunch. Don’t sleep on this recipe, folks.

yesterday

My 7 year old helped me make these for dinner last night, he was so proud to “cook” all by himself (I just handled the hot pan part). It’s such an easy recipe to get kids involved in the kitchen, we had a blast.



