
Cherry Pie
intro
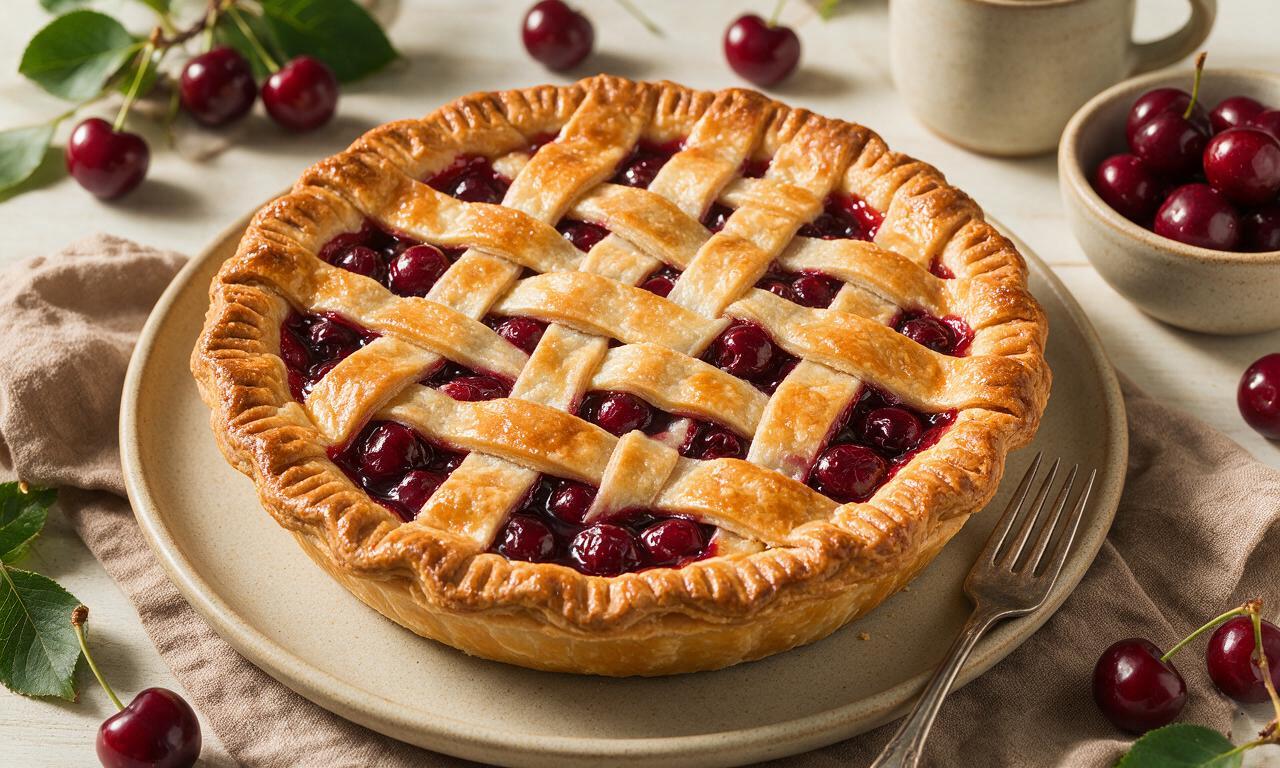
Sweet-tart juicy fresh cherries baked in a flaky, buttery double crust, this classic cherry pie is a nostalgic, crowd-pleasing summer baked treat.
Ingredients
Steps
Make Pie Crust Dough
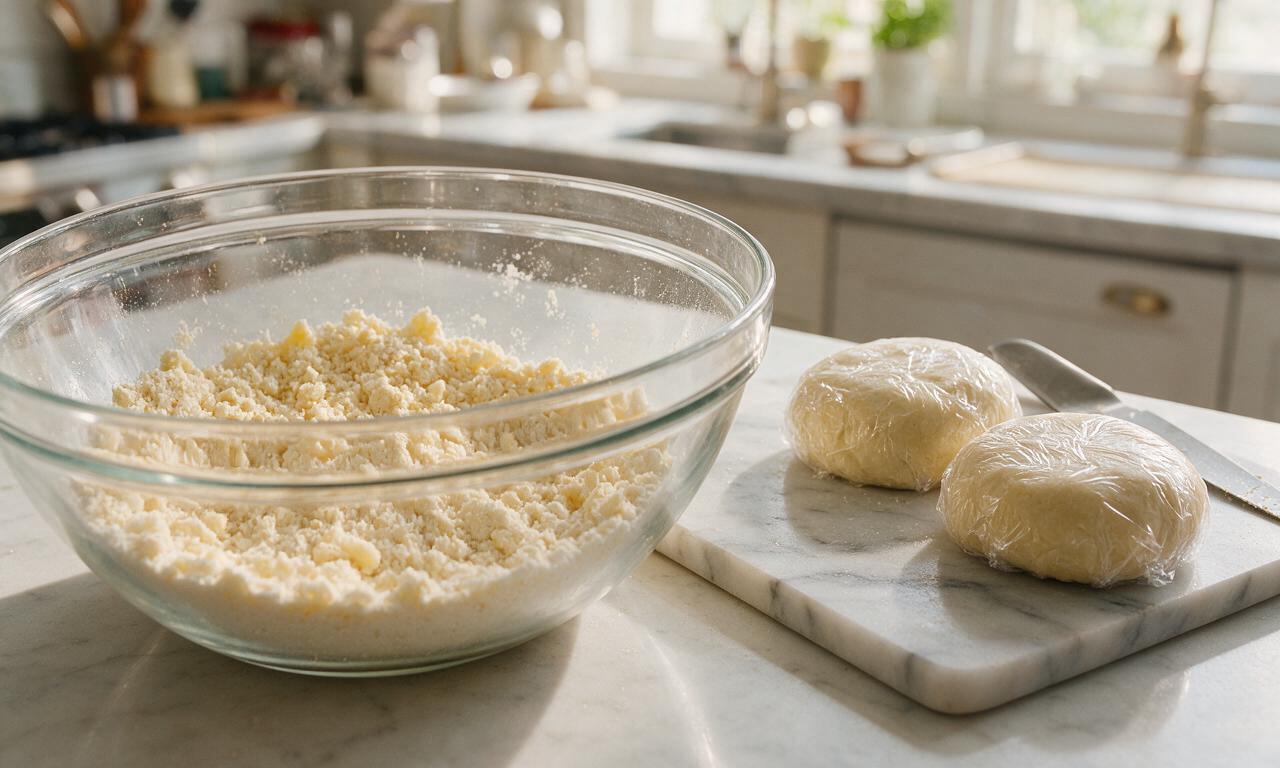
In a large mixing bowl, combine 390g all-purpose flour and 3g (1/2 tsp) fine table salt. Add 226g cold 1cm-cubed unsalted butter, and use a pastry cutter or your fingertips to rub butter into the flour until the mixture forms coarse crumbs with some pea-sized butter pieces remaining. Drizzle in 75ml ice-cold water 1 tablespoon at a time, tossing gently, until the dough just holds together when squeezed (do not overmix, as this creates tough crust). Split the dough into two equal 280g discs, wrap tightly in plastic wrap, and chill in the refrigerator for a minimum of 1 hour before rolling.
Cook Cherry Filling
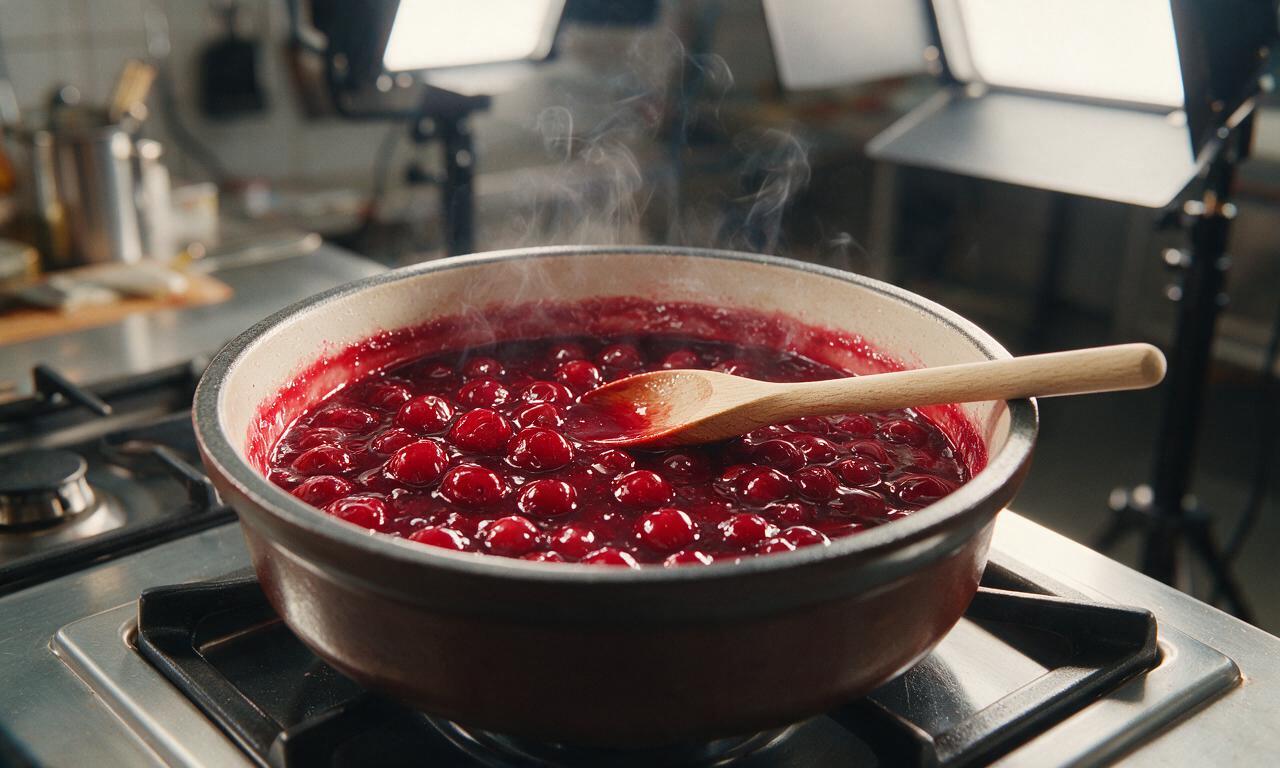
While the dough chills, make the cherry filling: in a medium heavy-bottomed saucepan, combine 900g pitted, halved sweet cherries, 150g granulated sugar, 30g cornstarch, remaining 2g (1/2 tsp) salt, and 15ml fresh lemon juice. Stir over medium-low heat (stovetop setting 4/10) for 8–10 minutes, stirring occasionally, until cherries release juice and the liquid thickens to a glossy, syrupy consistency that coats the back of a spoon. Remove from heat, stir in 1.25ml (1/4 tsp) almond extract, and let filling cool completely to room temperature (about 30 minutes) before use.
Preheat Oven and Roll Crust
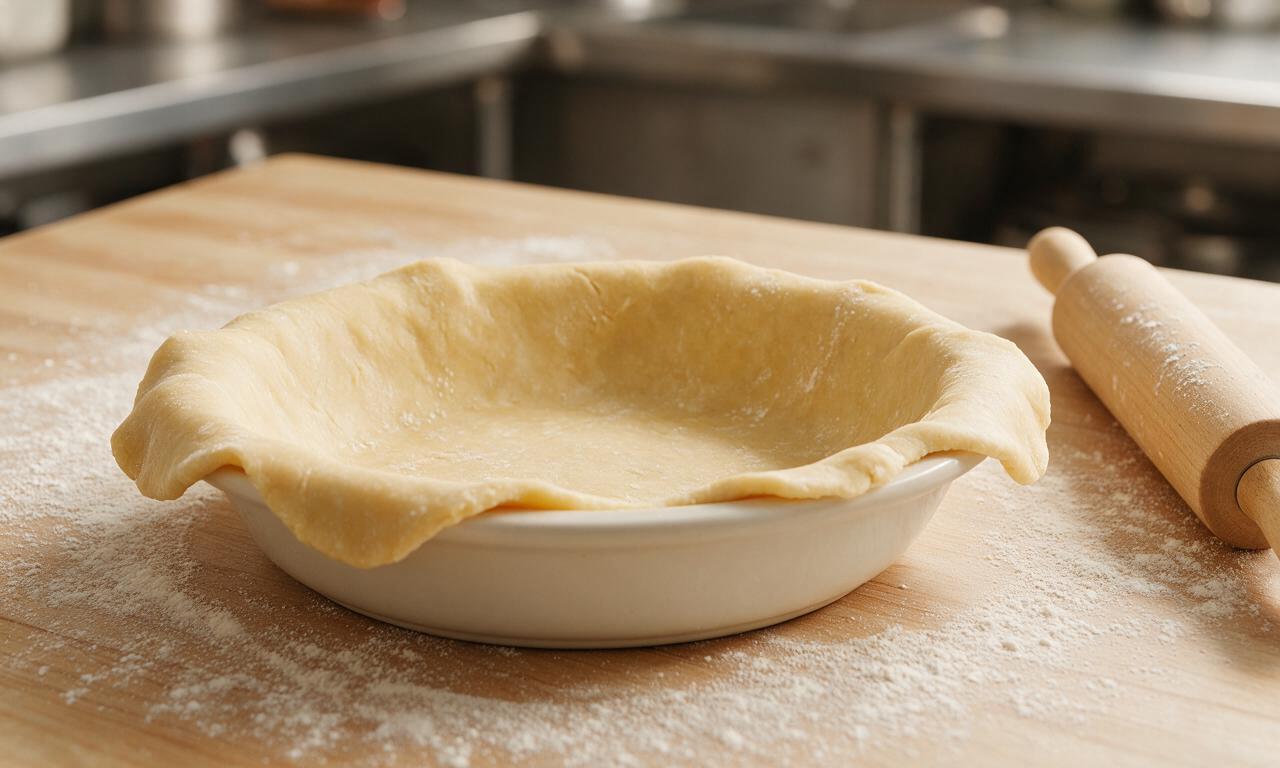
Preheat your oven to 200°C (400°F). Remove one chilled dough disc from the fridge, let it rest for 5 minutes at room temperature to soften slightly, then roll it on a lightly floured surface to a 30cm (12-inch) circle that is 3mm (1/8-inch) thick. Gently lift and lay the rolled dough into a 23cm (9-inch) ceramic pie dish, pressing it firmly against the bottom and sides, leaving a 2.5cm (1-inch) overhang around the dish rim. Trim any excess dough longer than 1 inch with kitchen shears.
Add Filling and Top Crust
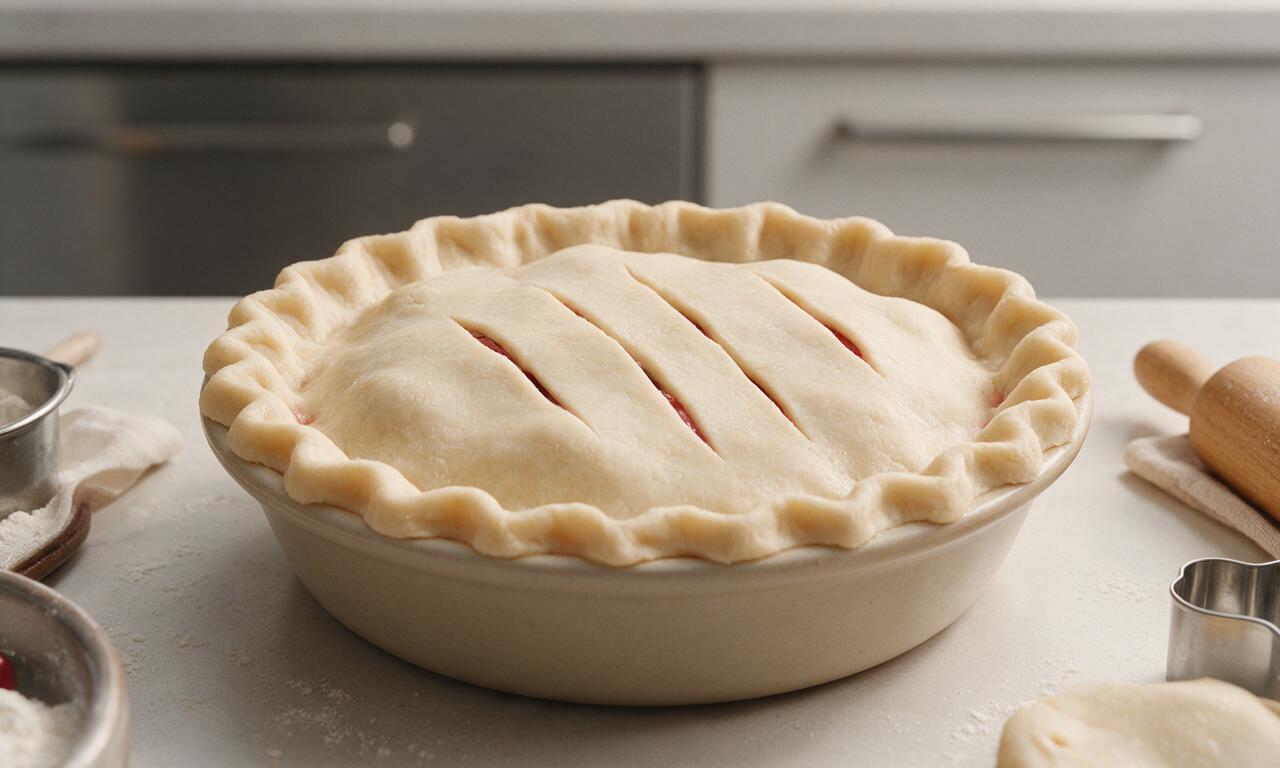
Pour the fully cooled cherry filling into the dough-lined pie dish, spreading it into an even layer. Roll the second chilled dough disc into an identical 30cm (12-inch), 3mm thick circle, then drape it evenly over the top of the cherry filling. Press the top and bottom crust edges together firmly to create a tight seal, then crimp the edge decoratively with your fingers or a fork. Cut 5 evenly spaced 5cm (2-inch) slits in the top crust to allow steam to escape during baking.
Apply Egg Wash and Sugar
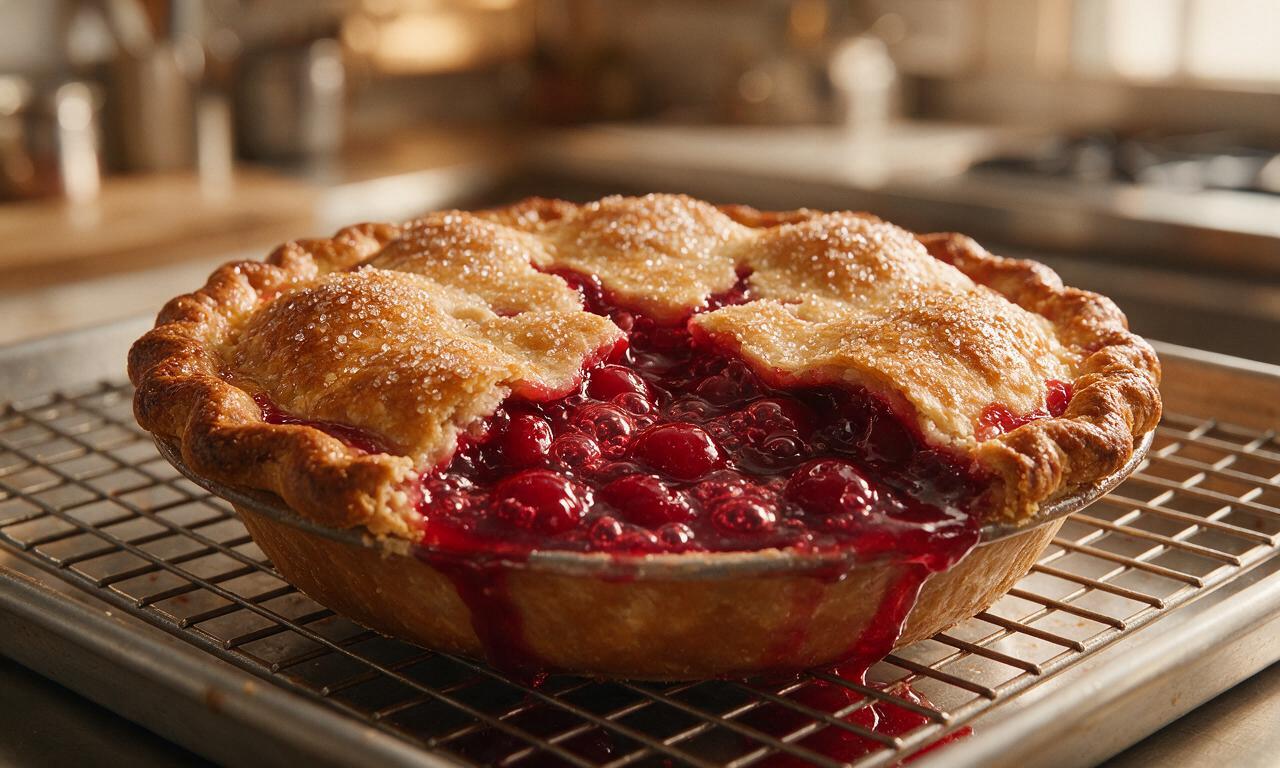
Brush the entire top crust and crimped edges evenly with prepared egg wash, then sprinkle the surface with 12g coarse sanding sugar. Place the pie on a rimmed baking sheet to catch any bubbling drips, then bake at 200°C (400°F) for 25 minutes. Reduce the oven temperature to 180°C (350°F) without keeping the door open for too long, and bake for an additional 30–35 minutes, until the crust is a deep golden brown and filling is actively bubbling through the top slits.
Cool Pie Before Serving
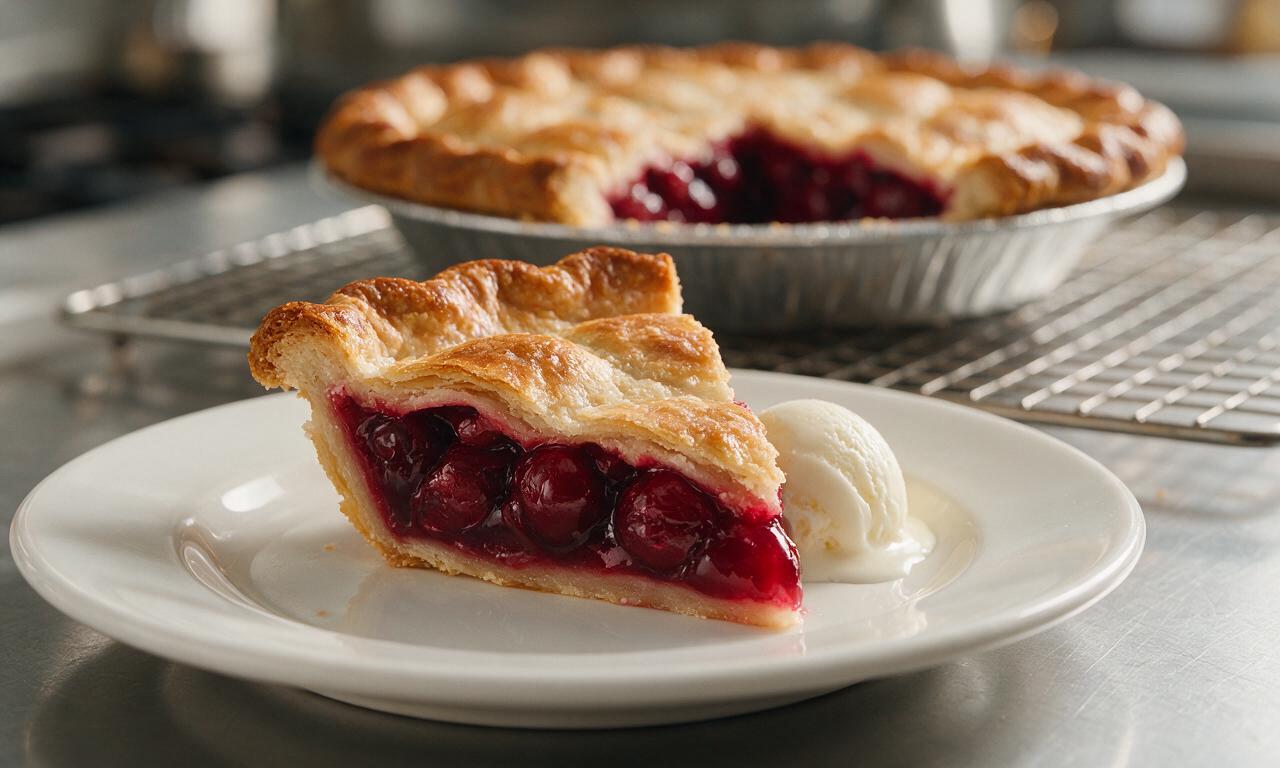
Remove the baked pie from the oven and transfer it to a wire cooling rack. Let it cool completely at room temperature for a minimum of 2 hours before slicing, to allow the filling to set fully. Serve slices at room temperature or slightly warmed, paired with vanilla ice cream or freshly whipped cream if desired.
Tips
2.Never skip the full 2-hour cooling time after baking; slicing the pie while it is hot will cause the cherry filling to run out, resulting in soggy, messy slices.
3.If the crimped crust edges start to darken too quickly during baking, wrap a thin strip of aluminum foil around the pie rim after the first 25 minutes of baking to prevent the edges from burning.






OMG this cherry pie is SO good! I was nervous to make a homemade crust for the first time because I usually just buy the pre-made stuff from the grocery store, but the chilling step made such a huge difference. Brought it to my family's Sunday dinner and everyone asked for the recipe—my 7 year old even said it was better than the cherry pie we get at our local diner. Total game changer, will be making this every summer when fresh cherries are in season!
This pie turned out absolutely delicious, I’m knocking off one star only because I didn’t plan well enough for all the chilling and cooling time! I started making it 2 hours before our neighborhood potluck and totally panicked when I realized I needed way more time for the crust to chill and the filling to set. Once it was finally done though? Everyone raved. The flaky crust is unreal, and the little hint of almond extract in the filling is such a nice touch that I never would have thought to add on my own.
Made this for my daughter’s high school graduation party last weekend and it was the first dessert gone from the table! I’ve struggled for years with runny cherry pie filling, so I was super skeptical, but the tapioca starch thickener worked like an absolute charm. Even my picky father-in-law, who swears no one makes cherry pie as good as his late mom’s, went back for a second slice. 10/10, no notes. Already saved this to my go-to recipe folder for future block parties and potlucks.