1.Can I use fresh cherries instead of canned pie filling for these bars?
▾
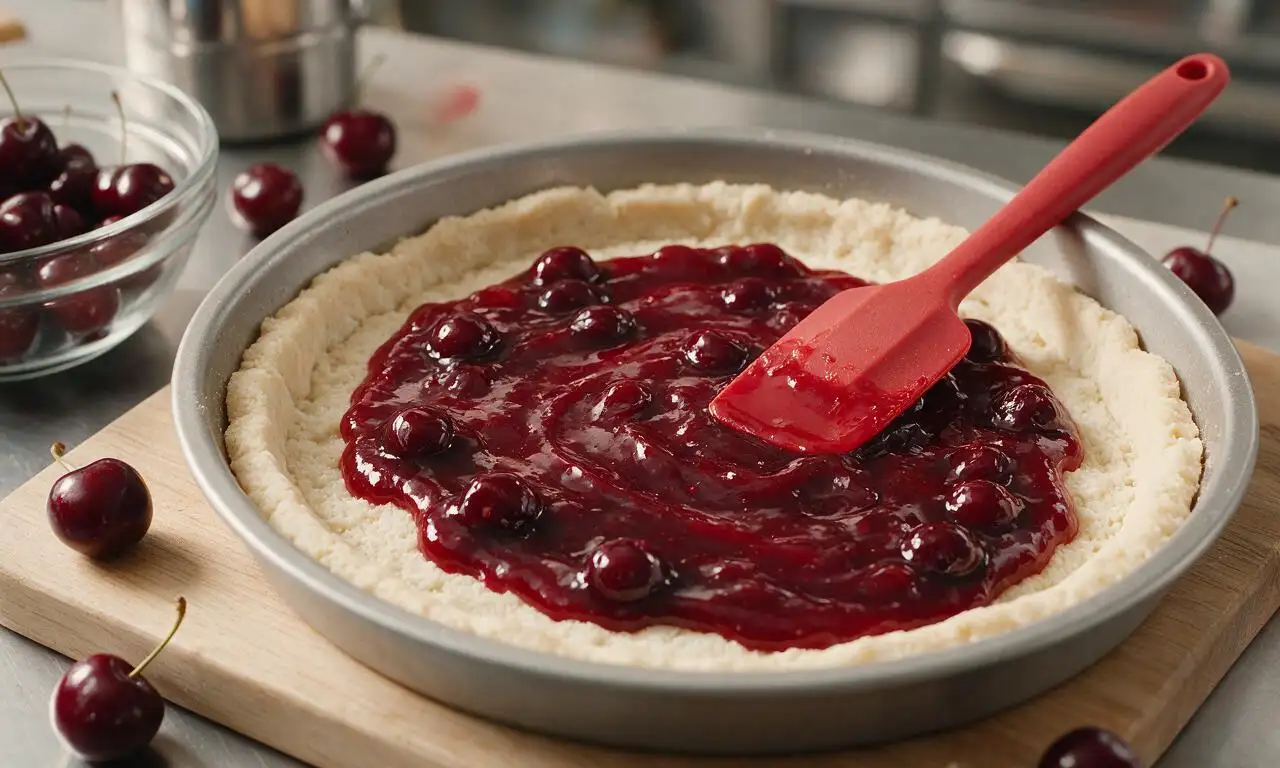
Absolutely! If using fresh sweet cherries, pit and chop 3 cups, toss with 2 tablespoons cornstarch, ¼ cup granulated sugar, a squeeze of lemon juice, and simmer 5 minutes until thickened before spreading. If using tart fresh cherries, bump the sugar up by 2 tablespoons to balance the zing, and let the filling cool fully so it doesn’t melt the shortbread base.
2.Why did my shortbread base turn out too crumbly to press evenly into the pan?
▾
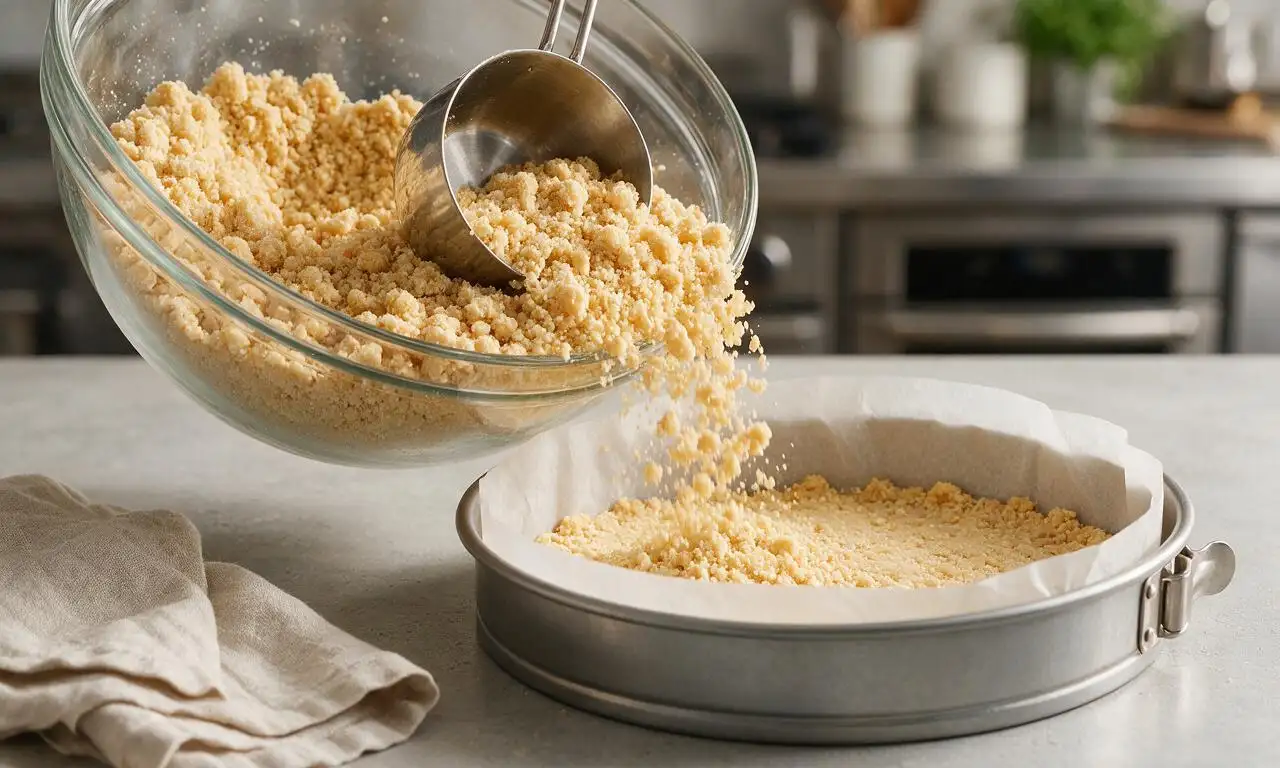
That almost always traces back to butter that was too cold, or over-measured flour. For a sturdy, pressable base, use butter softened to cool room temperature (65°F, not melted), spoon flour into measuring cups instead of scooping directly from the bag, and mix just until dough clumps when squeezed—overmixing develops tough gluten that leads to crumbly, hard-to-press results.
3.Can I make these cherry pie bars gluten-free?
▾
Definitely! Swap the all-purpose flour for a 1:1 gluten-free baking blend that contains xanthan gum for the closest texture match to the original. Skip blends made only with white rice flour if you can, as they can leave a gritty aftertaste, and double-check that your baking powder is labeled gluten-free to avoid cross-contamination for sensitive eaters.
4.How do I keep my streusel topping from getting soggy as it bakes?
▾
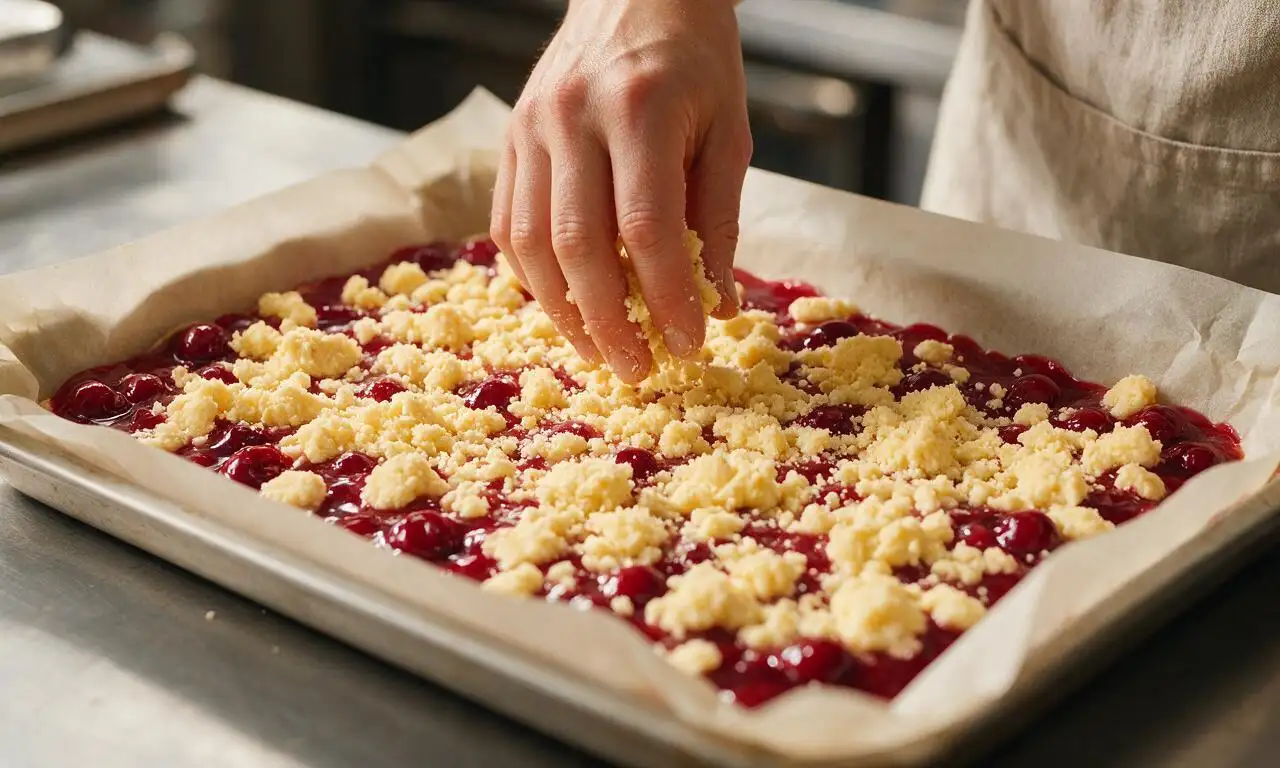
Two easy tricks prevent soggy streusel! First, make sure your cherry filling is fully thickened—runny filling will bubble up and soak the topping as it bakes. Second, keep your streusel butter ice-cold when you crumble it over the top, and don’t press it down. Cold butter melts slowly, creating crisp, separate crumbs instead of a soggy merged layer.
5.Can I freeze these cherry pie bars to enjoy later?
▾
These bars freeze beautifully for up to 3 months! Let them cool completely after baking, then cut into individual squares and wrap tightly in two layers of plastic wrap followed by a layer of aluminum foil to prevent freezer burn. Thaw in the fridge overnight, or pop a single bar in the microwave for 15 seconds for a quick, warm treat.
6.Do I need to line my baking pan, or is greasing it enough?
▾
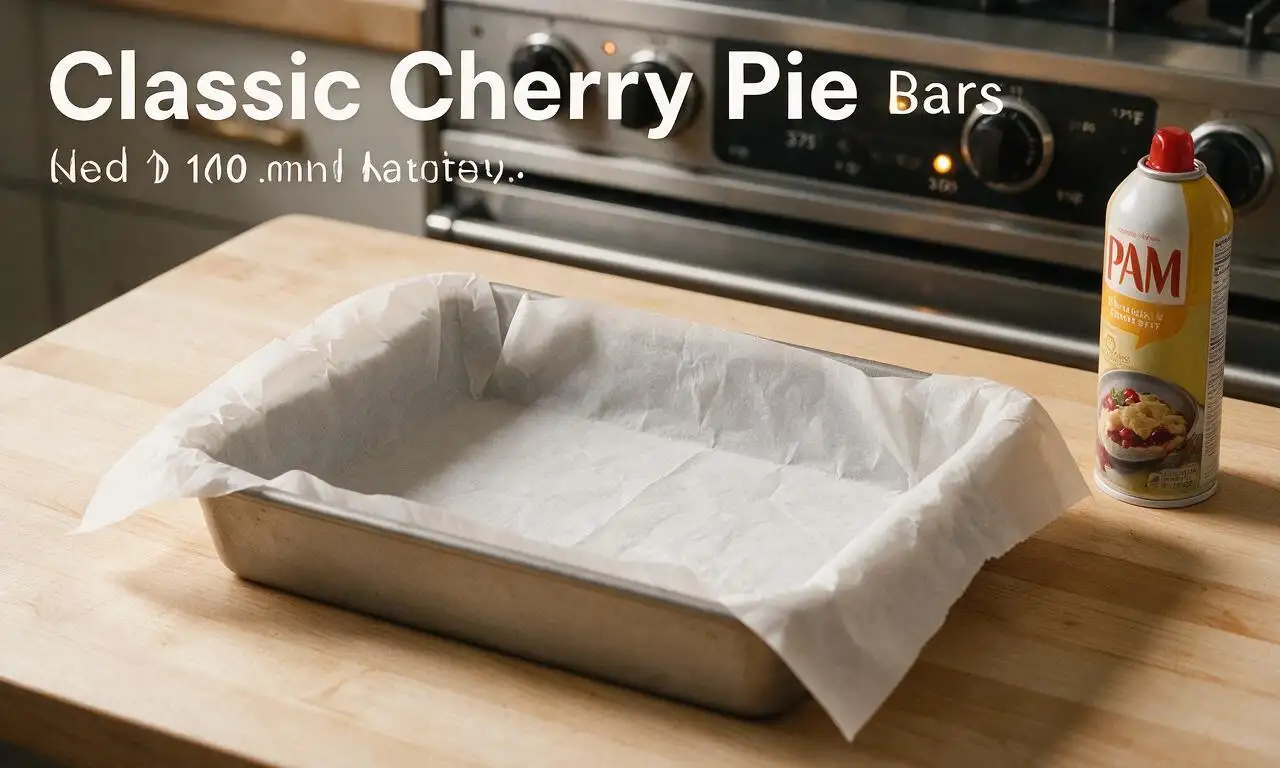
I always recommend lining your 9x13-inch pan with overhanging parchment paper for these bars, even if you grease the pan first. The overhang acts as handles that let you lift the entire slab of bars out in one piece once cool, so you get clean, even cuts without digging crumbs out of the pan corners.
7.Can I use salted butter instead of unsalted butter in this recipe?
▾
You can! Just cut the added fine table salt in the recipe by ¼ teaspoon to account for the salt in the butter. I prefer unsalted butter because it lets me control the exact salt level to balance the sweet cherry filling and buttery crust, but fresh salted butter works perfectly in a pinch for great flavor.
8.Why does my cherry filling run all over the place when I cut the bars?
▾
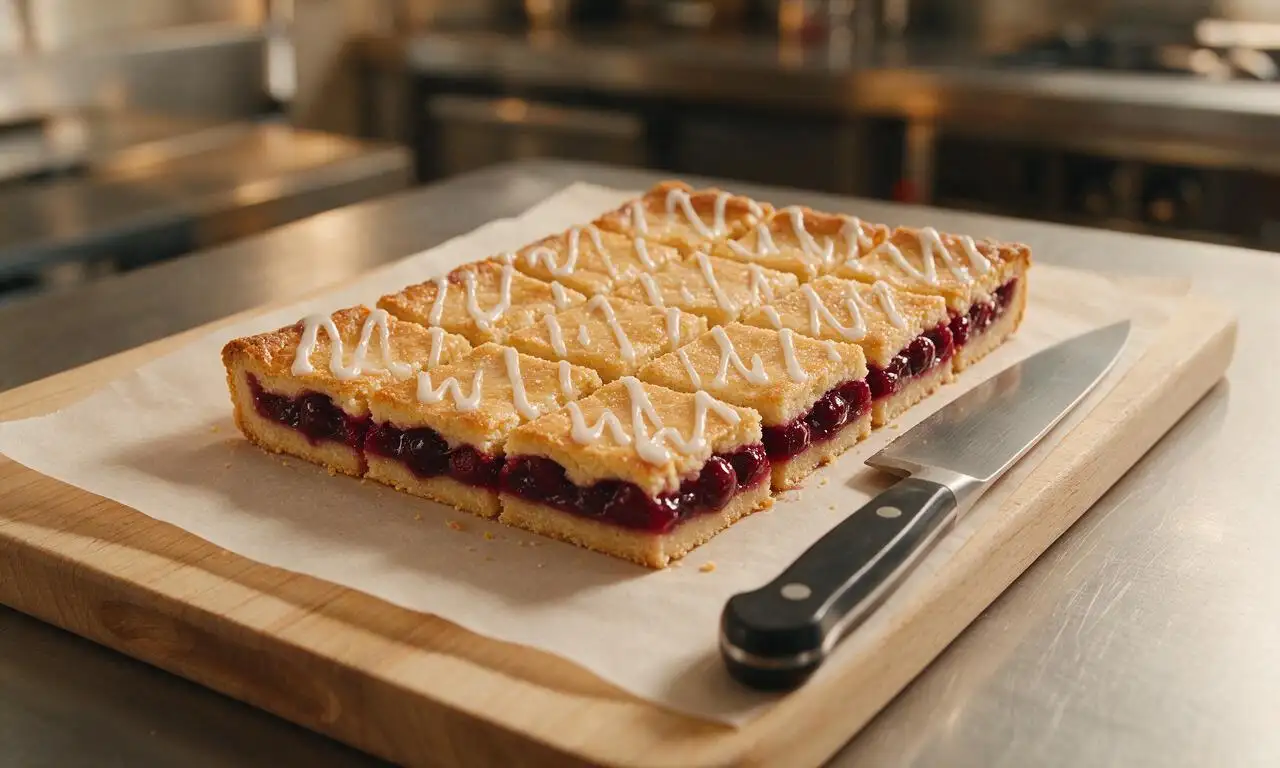
Runny filling when slicing almost always means you didn’t let the bars cool long enough! The filling needs time to set as it cools, so plan to let bars rest for at least 2 full hours at room temperature (or 1 hour in the fridge) before slicing. If using extra-thin canned pie filling, stir in 1 tablespoon cornstarch before spreading to prevent oozing.
9.Can I add mix-ins like nuts or chocolate to the streusel topping?
▾
Go for it! Up to ½ cup of chopped toasted pecans or slivered almonds adds wonderful nutty crunch to the streusel, and ¼ cup of mini white chocolate chips mixed into the crumble pairs beautifully with tart cherry. Add mix-ins after cutting cold butter into the dry mix, so they stay evenly distributed instead of sinking into the filling.
10.What size pan works best, and can I halve the recipe for a smaller batch?
▾
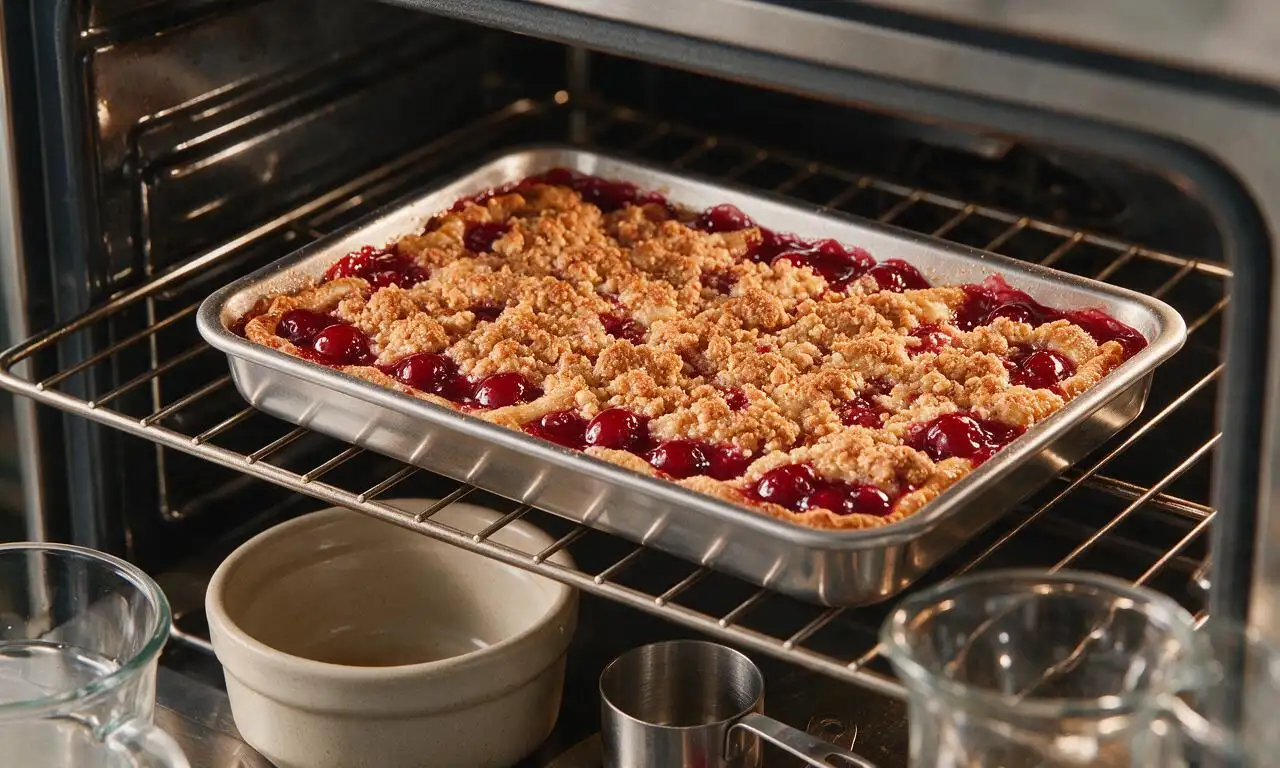
A standard 9x13-inch metal baking pan is ideal for the full recipe, as it creates the perfect ratio of crust, filling, and streusel in every bar. If you want a smaller batch, halve all ingredients and bake in an 8x8-inch square pan; keep the oven temperature the same, but shave 5 to 8 minutes off total bake time to avoid over-browning the crust.
11.How should I store leftover bars, and how long do they stay fresh?
▾
Store leftover bars in an airtight container in the refrigerator for up to 5 days. The cold temperature keeps the butter in the crust and streusel firm, so bars don’t turn mushy. If you prefer them at room temp, pull a serving out 20 minutes before eating, and don’t leave bars out in hot summer sun for more than 2 hours to avoid spoilage.
12.Can I use a different fruit filling instead of cherry for these bars?
▾
Absolutely! This shortbread and streusel base is incredibly versatile. Swap the cherry filling for canned blueberry, peach, or apple pie filling, or even use thick homemade lemon curd for a bright, tangy twist. Just make sure whatever filling you use has a jam-like thickness, so it doesn’t soak through the shortbread base as it bakes.
13.Why does my streusel turn into a solid dough layer instead of light crumbs?
▾
That happens when your butter is too warm when you mix it into the dry ingredients, or you over-mix the streusel. For perfect crumbs, cut ice-cold butter into the flour and sugar mix with a pastry cutter or your fingertips just until you have pea- and almond-sized clumps. If the mix gets soft, chill it 10 minutes before sprinkling over filling.
14.Do I need to blind bake the shortbread base before adding the cherry filling?
▾
You don’t need a full blind bake for these bars, but I do recommend par-baking the shortbread base for 10 minutes before adding the filling and streusel. This quick pre-bake sets the top of the crust, so it doesn’t get soggy from the moist cherry filling, and creates a sturdier base that holds up for portable, fork-free eating.

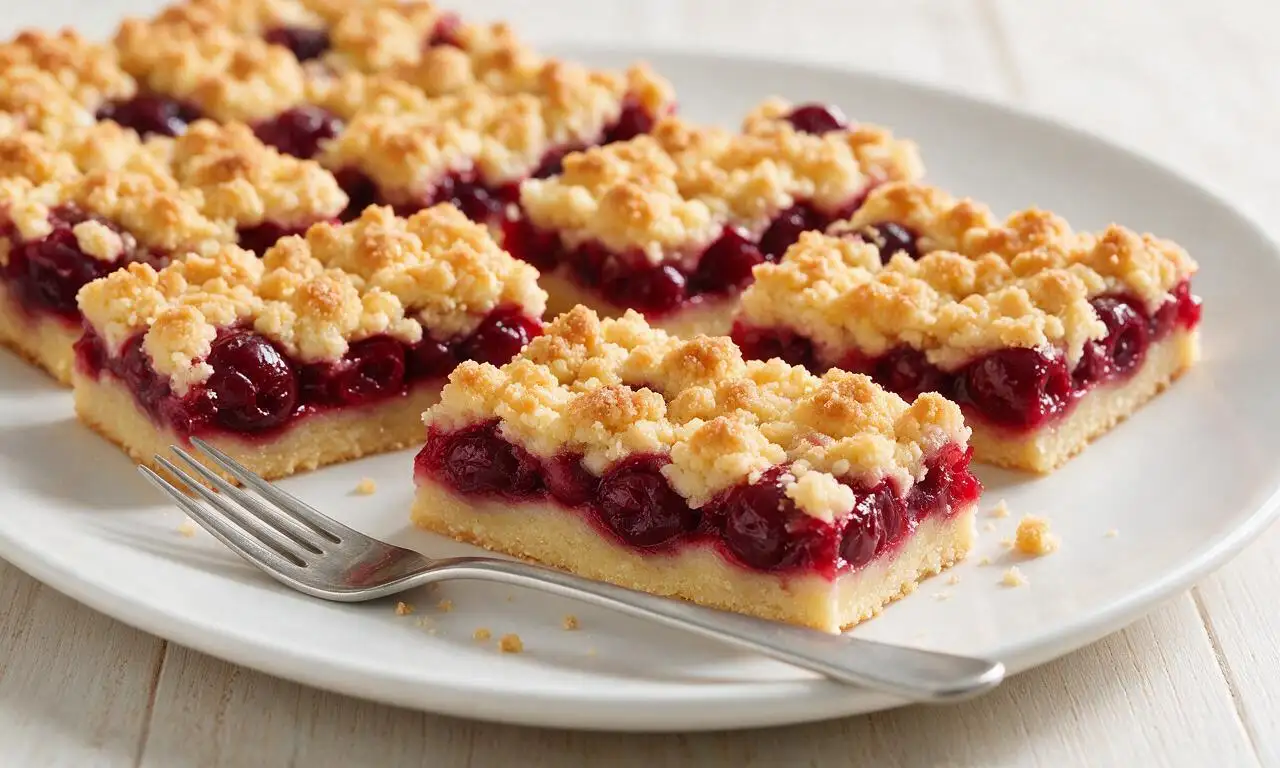






OMG these cherry pie bars are SO good! I threw them together last minute for my kid’s soccer team snack and every single parent asked for the recipe. So easy even I didn’t mess it up, and the cook time was totally doable on a busy weeknight. 10/10 will make again for our next family cookout!
Game changer for potlucks! I brought these to my office potluck yesterday and the pan was empty in 10 minutes. The crumb topping is chef’s kiss, not too sweet, perfect balance with the tart cherry filling. Way easier than making a whole cherry pie, no soggy bottom to stress over!
Super easy to make in my tiny dorm kitchen! I used canned cherry pie filling (don’t judge, I’m on a budget) and it still turned out amazing. My roommates devoured half the pan before I even got a second piece. I can already tell these will be perfect for meal prep snacks too, I bet they hold up great all week in the fridge.
Wait, quick question! I made these last night and they were delicious, but my crust stuck a little to the pan even though I sprayed it. Any tips for next time? Also, can I use fresh cherries instead of canned for the filling?
Made these for my kids’ after school snacks this week and they are obsessed! I added a little almond extract to the crust like I do with regular cherry pie and it took it to the next level. So much less fussy than a traditional pie, especially when I’m juggling homework and dinner prep.
These are the perfect portable treat for day hikes! I cut them into small squares, wrapped them individually, and they held up perfectly in my pack on a 6 mile trail last weekend. Not too messy, just the right amount of sweetness to keep my energy up. Only note is I wish they were a little more tart, but that’s just personal preference!
I’ve been making cherry pie for 40 years and I have to say, these bars might be my new go-to for when the grandkids come over. No fussy crimping, no rolling out pie crust for a top layer, they can just grab a bar and run out to play. Tastes just like my classic pie but half the work!
Wait a second, I made these for our neighborhood block party and I swear three people asked if I bought them from a bakery! The crumble topping is so buttery and perfect, and the cherry filling sets up just right so you don’t have filling oozing all over the place when you pick them up. 10/10, will be making these for every summer event from now on.
I made these gluten free by swapping the all purpose flour for a 1:1 GF baking flour and they turned out INCREDIBLE. My whole family (even the non-GF folks) couldn’t tell the difference. I was worried the crust would be crumbly but it held together perfectly. So happy I found this recipe!
Ugh I messed up the first batch because I forgot to soften the butter for the crust, oops! The second batch came out perfect though, and my boyfriend ate almost half the pan in one sitting. Definitely adding a vanilla glaze on top next time for a little extra sweetness, I think that’ll slap.
These are a total meal prep game changer! I make a pan every Sunday, cut them into squares, and toss them in my kids’ lunch boxes all week. They don’t get soggy, they hold up great even when the ice pack melts a little, and it’s a nice sweet treat that’s not loaded with a ton of weird additives. Win win!