
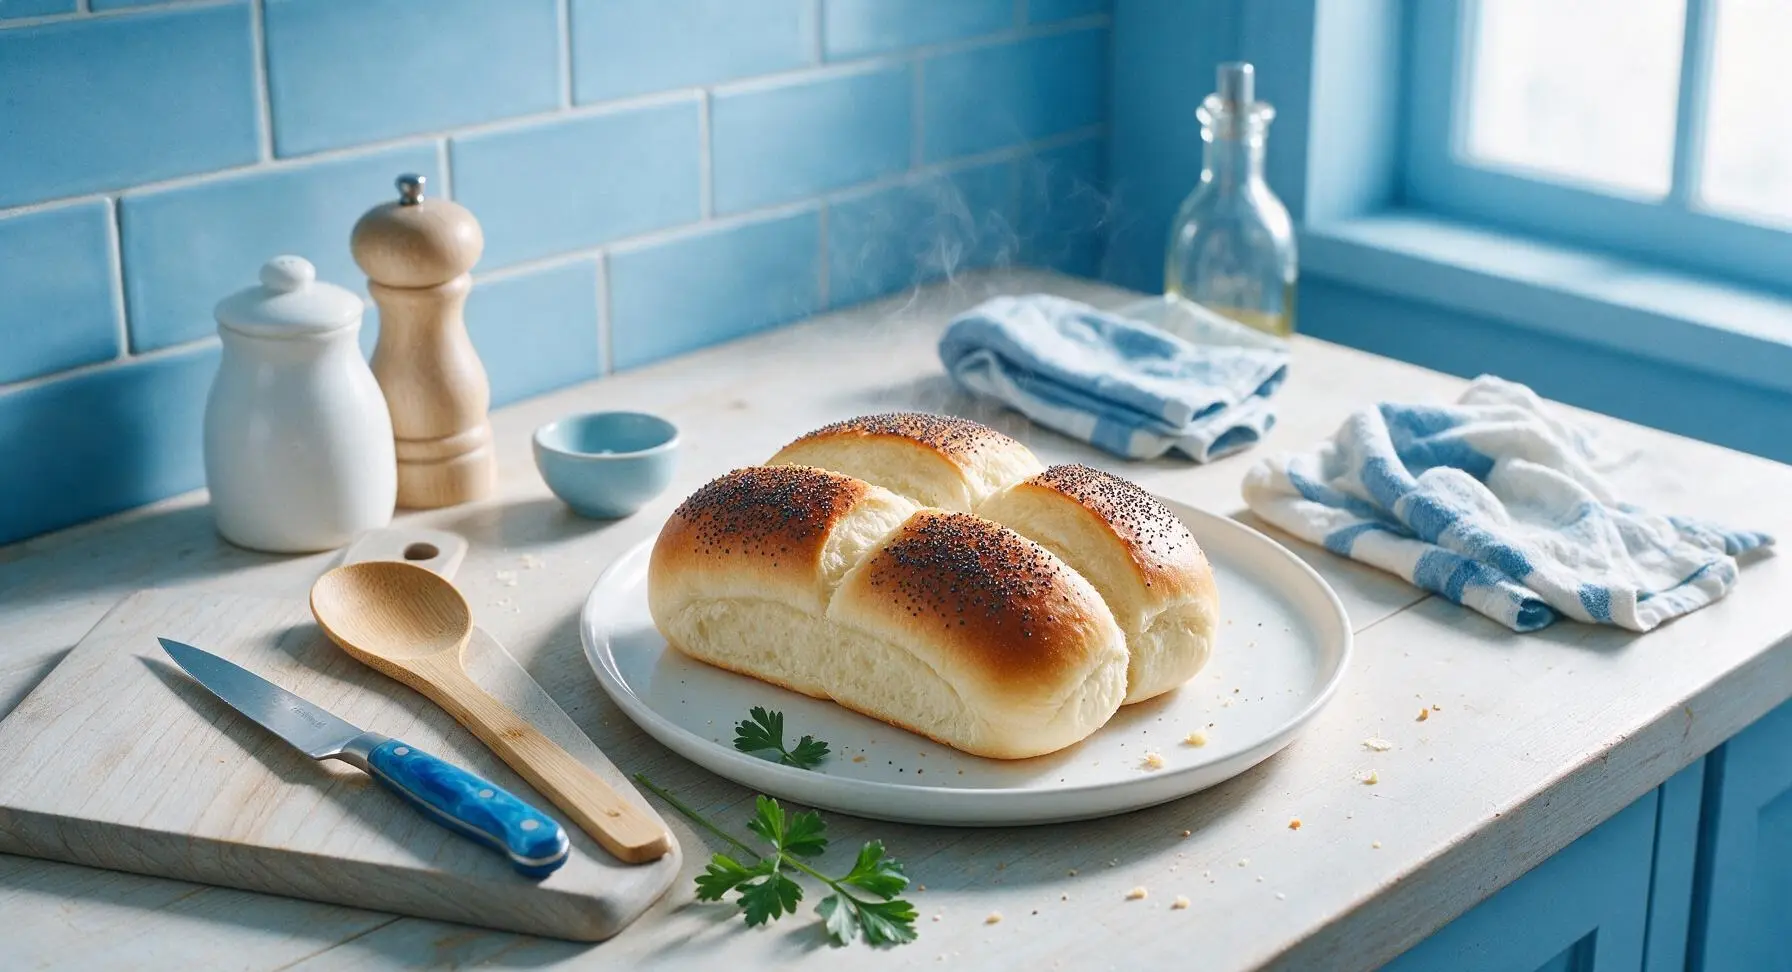
chicago hot dog bun

title 1
chicago hot dog bun
⏱️ cook time 15 minutes
🍽️ servings 8
⚡ Difficulty medium

intro

Soft, pillowy poppy seed-crusted top-split buns, the iconic base for loaded Chicago-style hot dogs, with a tender crumb that holds hearty toppings without falling apart.

Ingredients
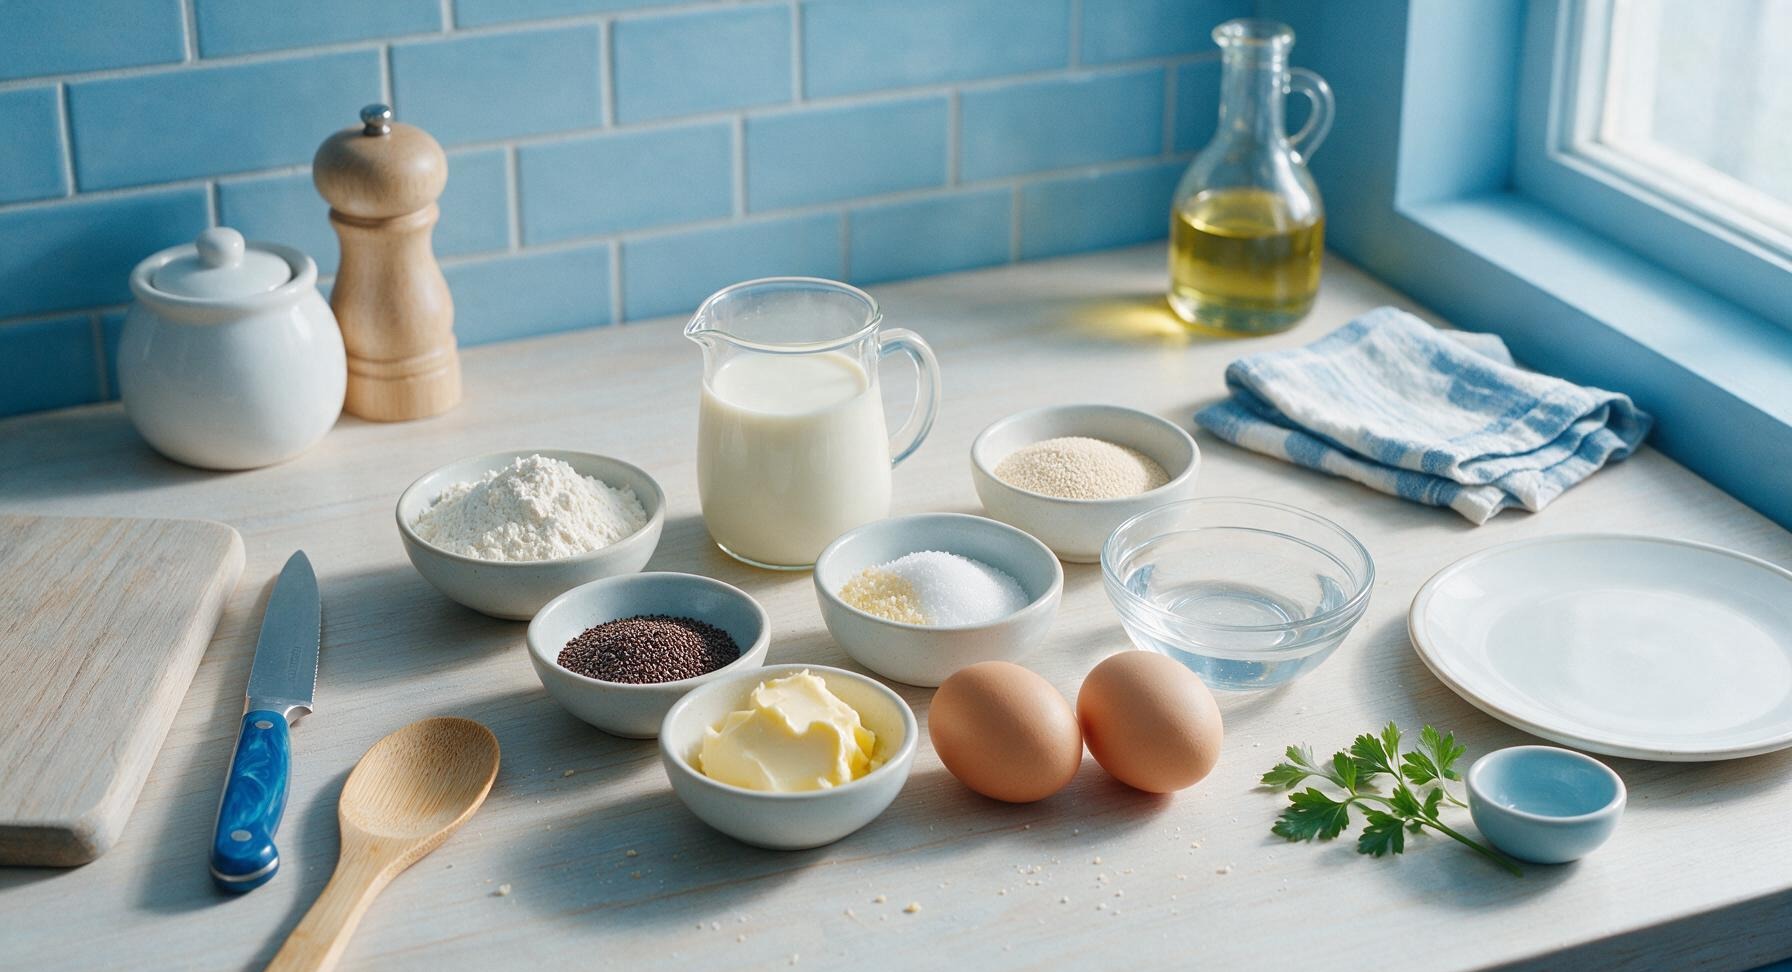
Bread flour 420g (3 1/2 cups)
Whole milk 240ml (1 cup), warmed to 110°F (43°C)
Active dry yeast 7g (2 1/4 tsp, 1 standard packet)
Granulated sugar 25g (2 tbsp)
Unsalted butter 42g (3 tbsp), softened to room temperature
Large eggs 2 (100g total, room temperature; 1 for dough, 1 for egg wash)
Water 15ml (1 tbsp), for egg wash
Fine sea salt 9g (1 1/2 tsp)
Poppy seeds 27g (3 tbsp)

Steps

1

Activate the Yeast

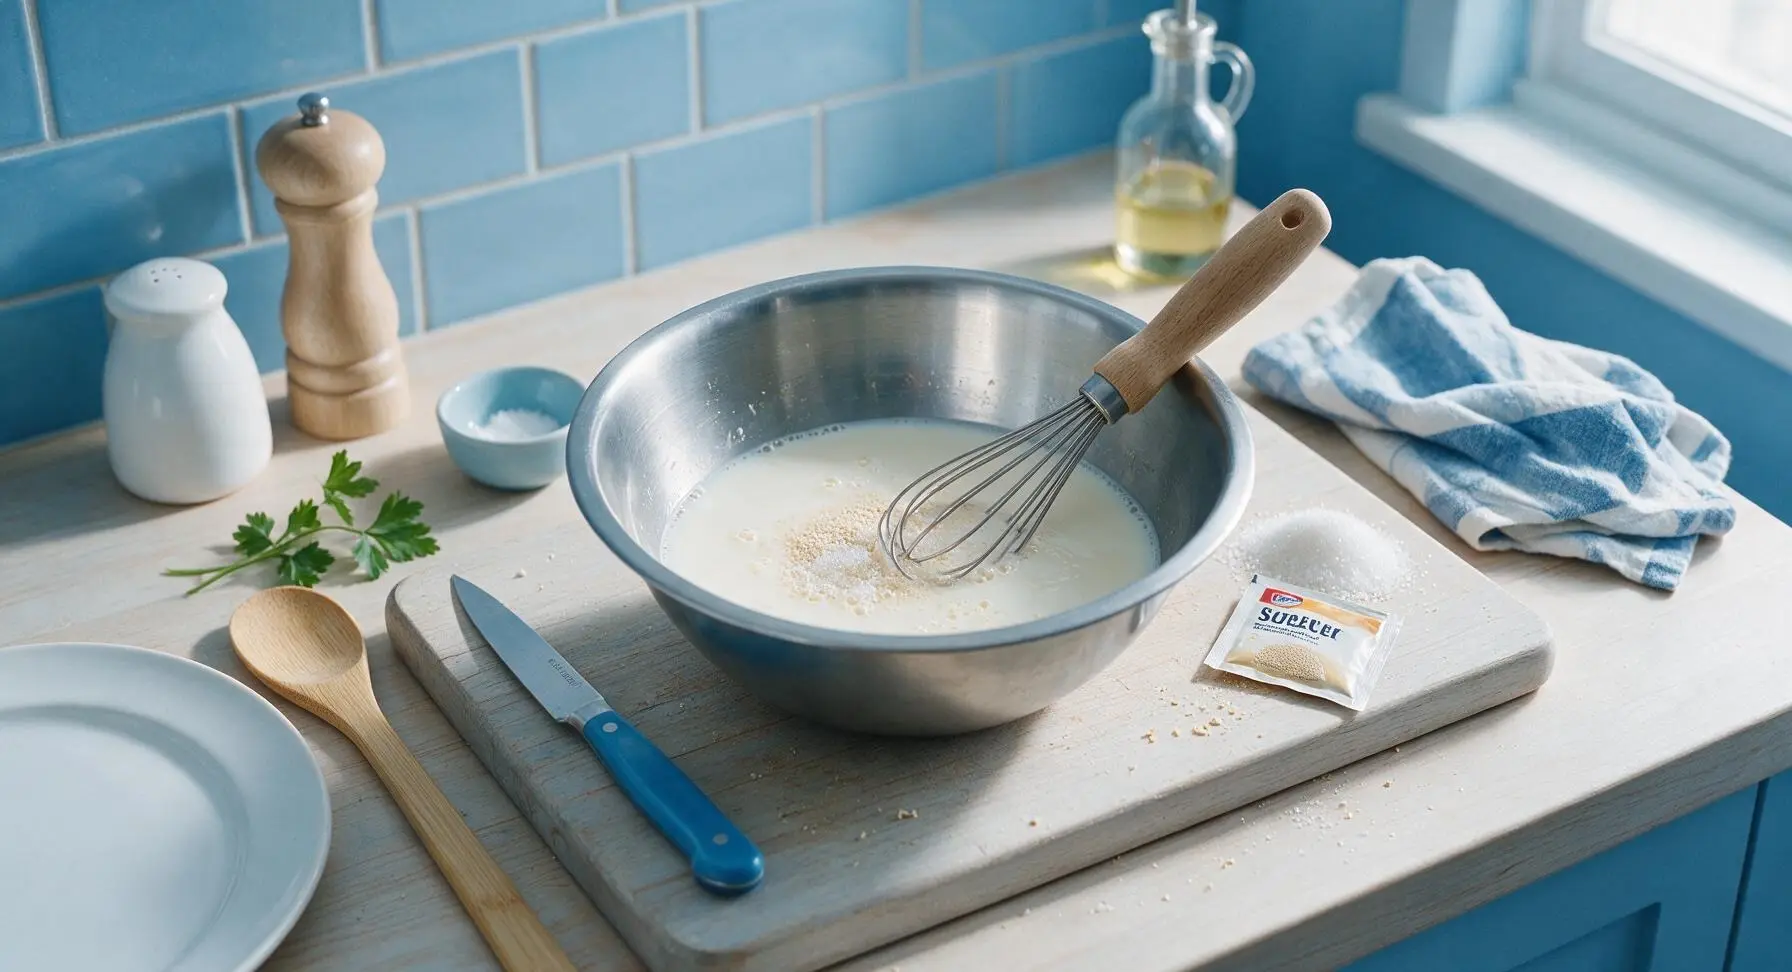
Pour the warm 110°F whole milk into the brushed stainless steel mixing bowl. Stir in 1 teaspoon of the granulated sugar and the full packet of active dry yeast. Let rest for 5-7 minutes, until the surface forms a foamy, frothy layer and smells distinctly of warm yeast; if no foam forms after 7 minutes, your yeast is inactive and should be replaced to avoid dense buns.
Step 1
step1:Activate the Yeast
2

Mix Dough Base

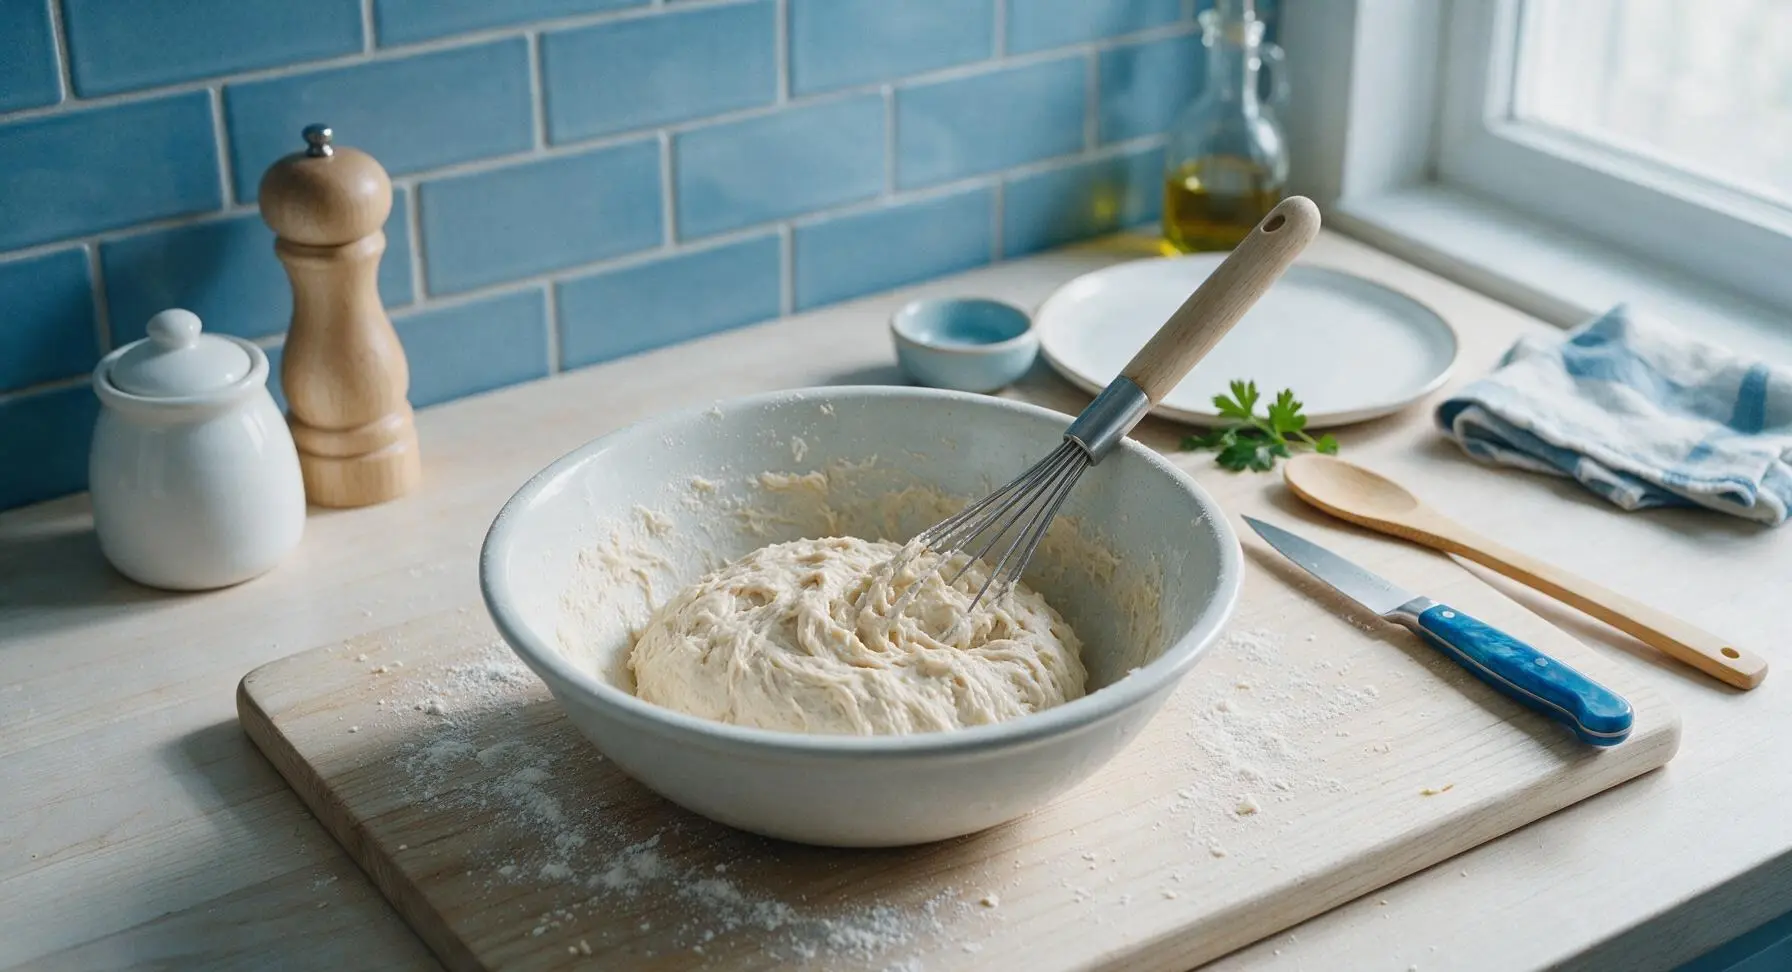
Add the remaining granulated sugar, 1 room-temperature egg, softened unsalted butter, and fine sea salt to the foamy yeast mixture, whisking with the dough whisk until fully combined into a smooth pale liquid. Gradually add the bread flour 1 cup at a time, stirring continuously until a shaggy, sticky dough forms that pulls slightly away from the sides of the bowl.
Step 2
step2:Mix Dough Base
3

Knead Dough Smooth

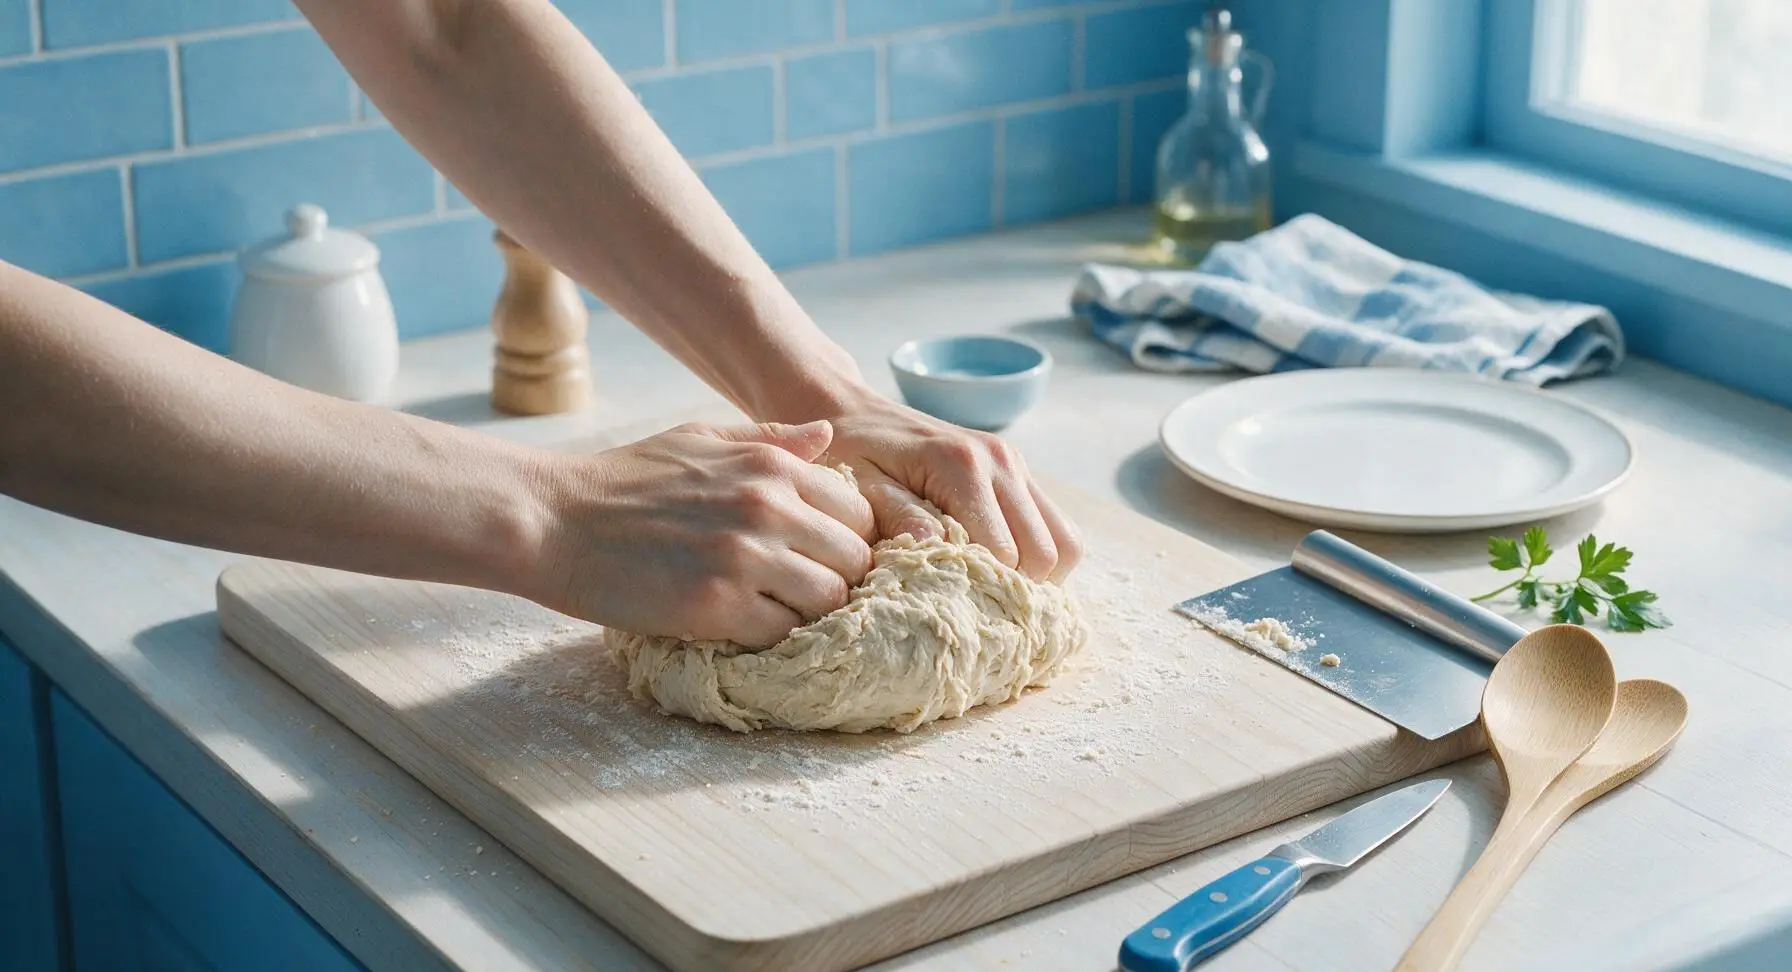
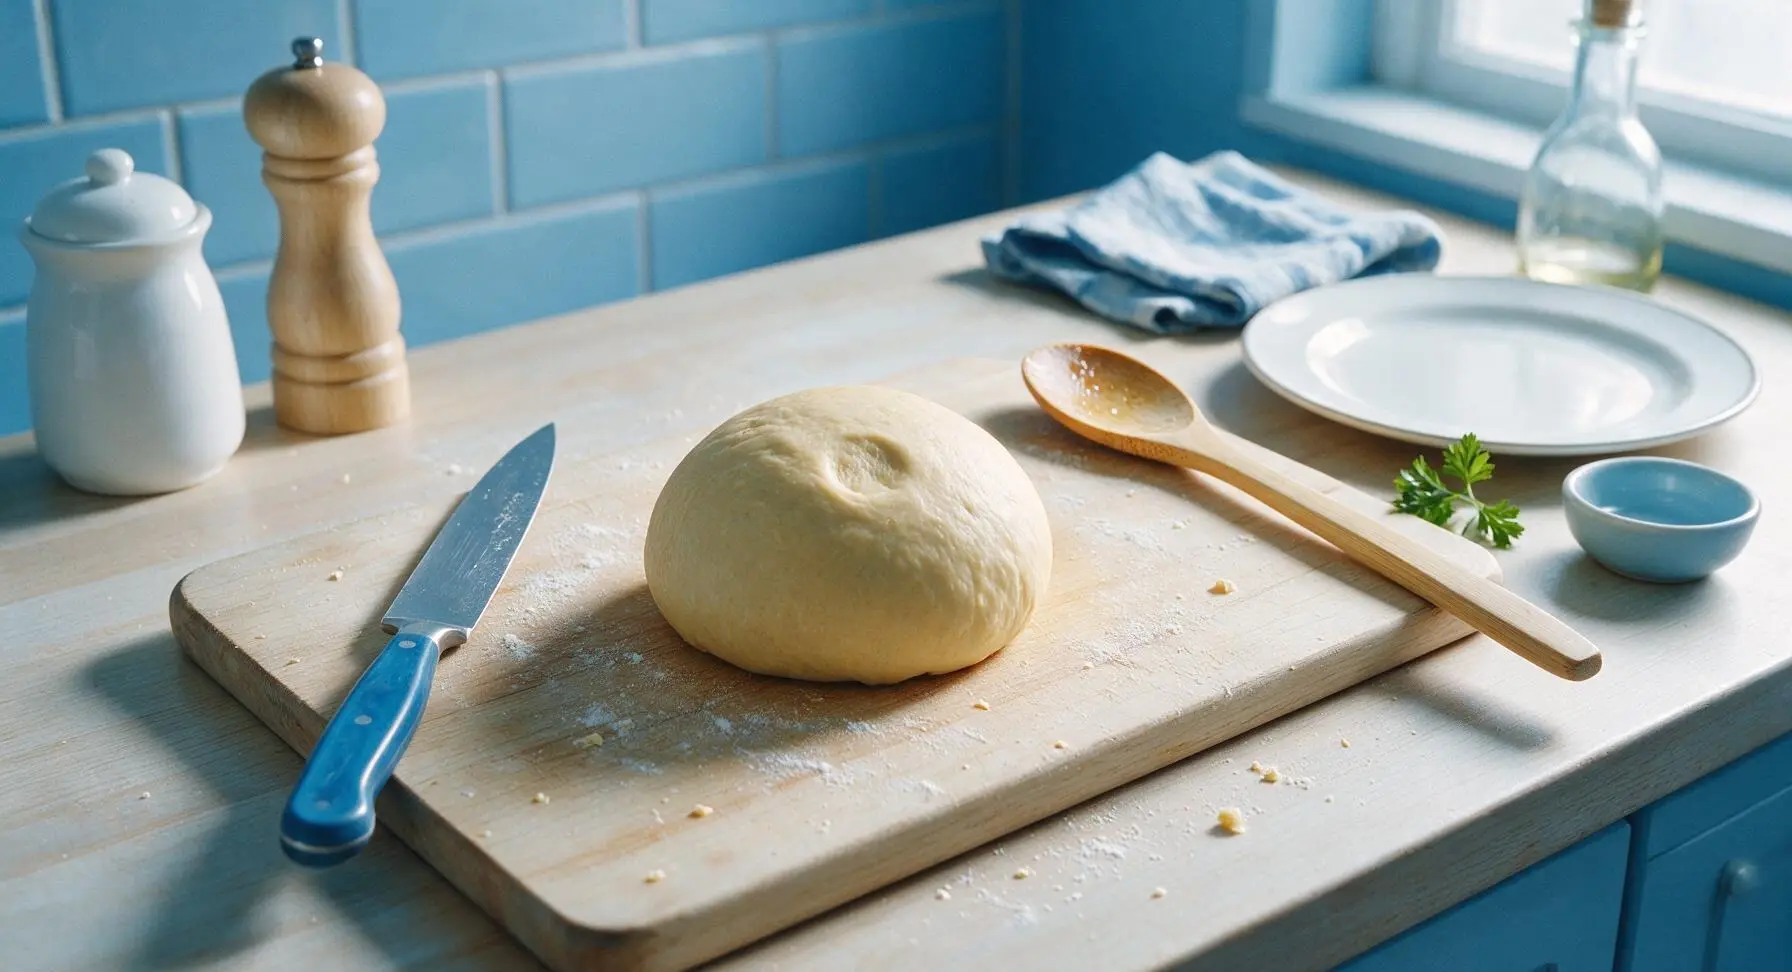
Turn the shaggy dough out onto the lightly floured maple cutting board. Knead by hand for 8-10 minutes, folding the dough over itself and pushing forward with the heel of your hand, until the dough is smooth, elastic, and springs back slowly when poked with a finger. Add only a tiny pinch of extra flour if the dough sticks aggressively to your hands or the board, as too much flour will create tough buns.
Step 3
step3:Knead Dough Smooth
Step 3
step3:Knead Dough Smooth
4

First Dough Rise

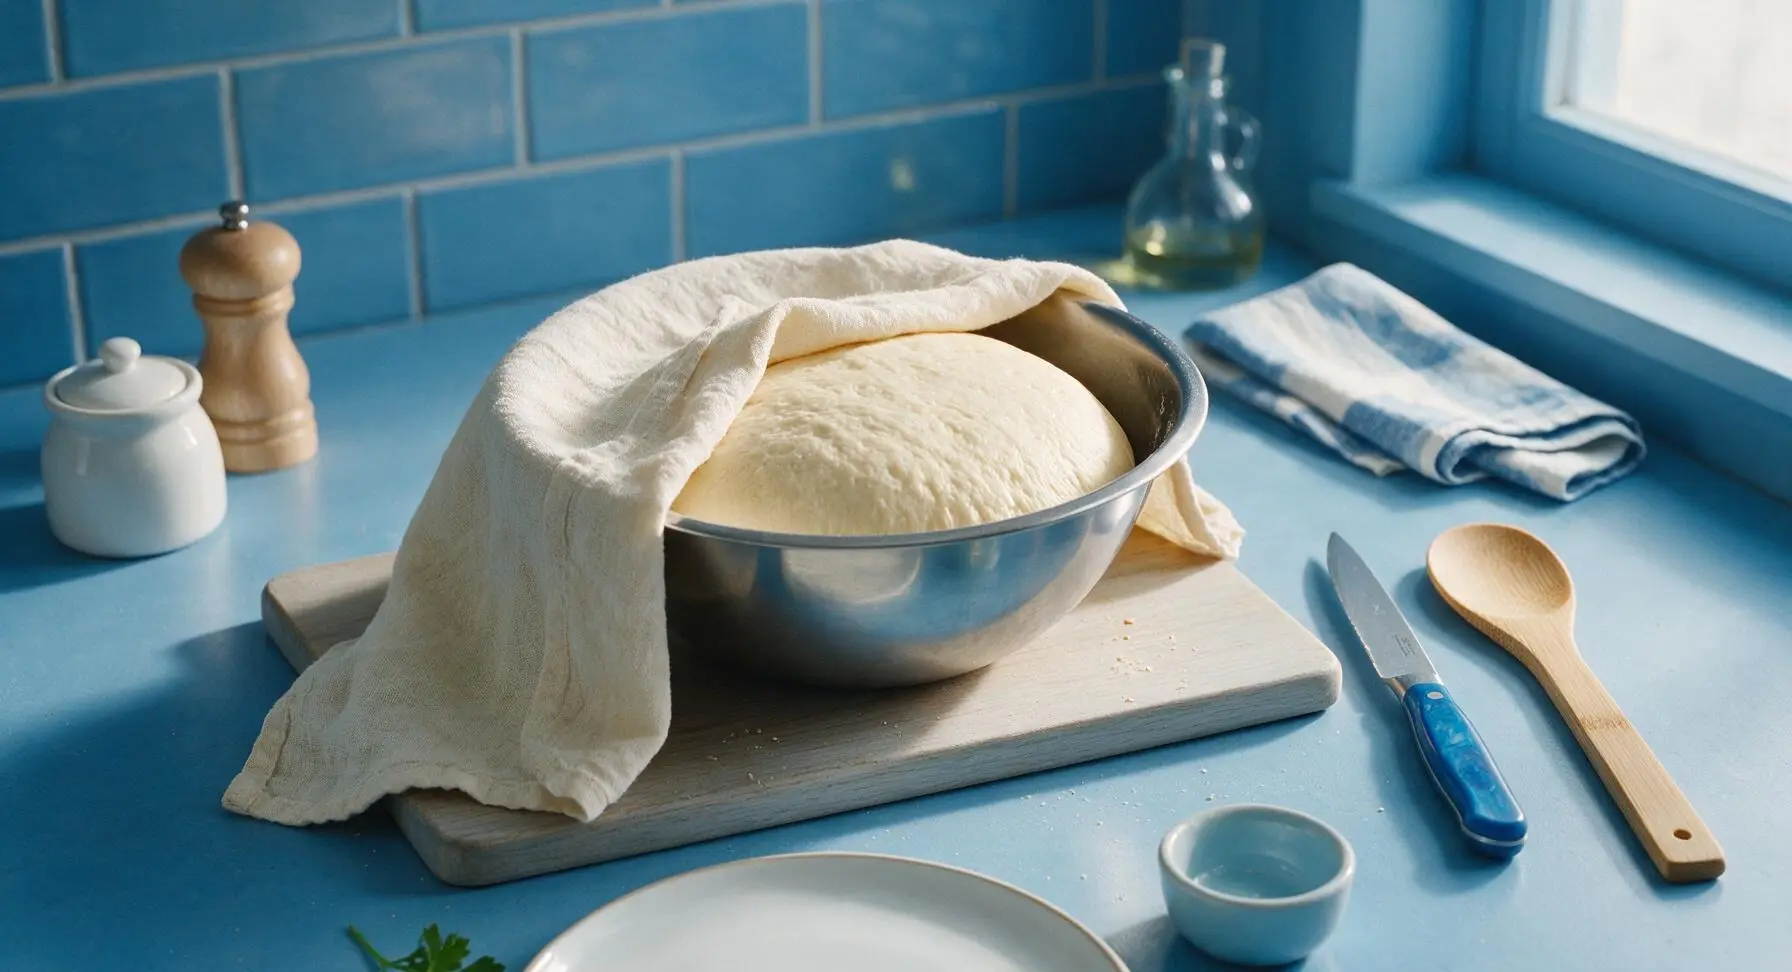
Wipe out the stainless steel mixing bowl and lightly coat the inside with a thin smear of softened butter. Place the kneaded dough ball back into the bowl, turning once to coat the dough surface in butter to prevent sticking. Cover the bowl loosely with the folded cream linen towel, and let rest in a warm, draft-free spot for 1 hour, until the dough doubles in size and leaves a permanent indent when poked 1 inch deep with a floured finger.
Step 4
step4:First Dough Rise
5

Shape Bun Logs

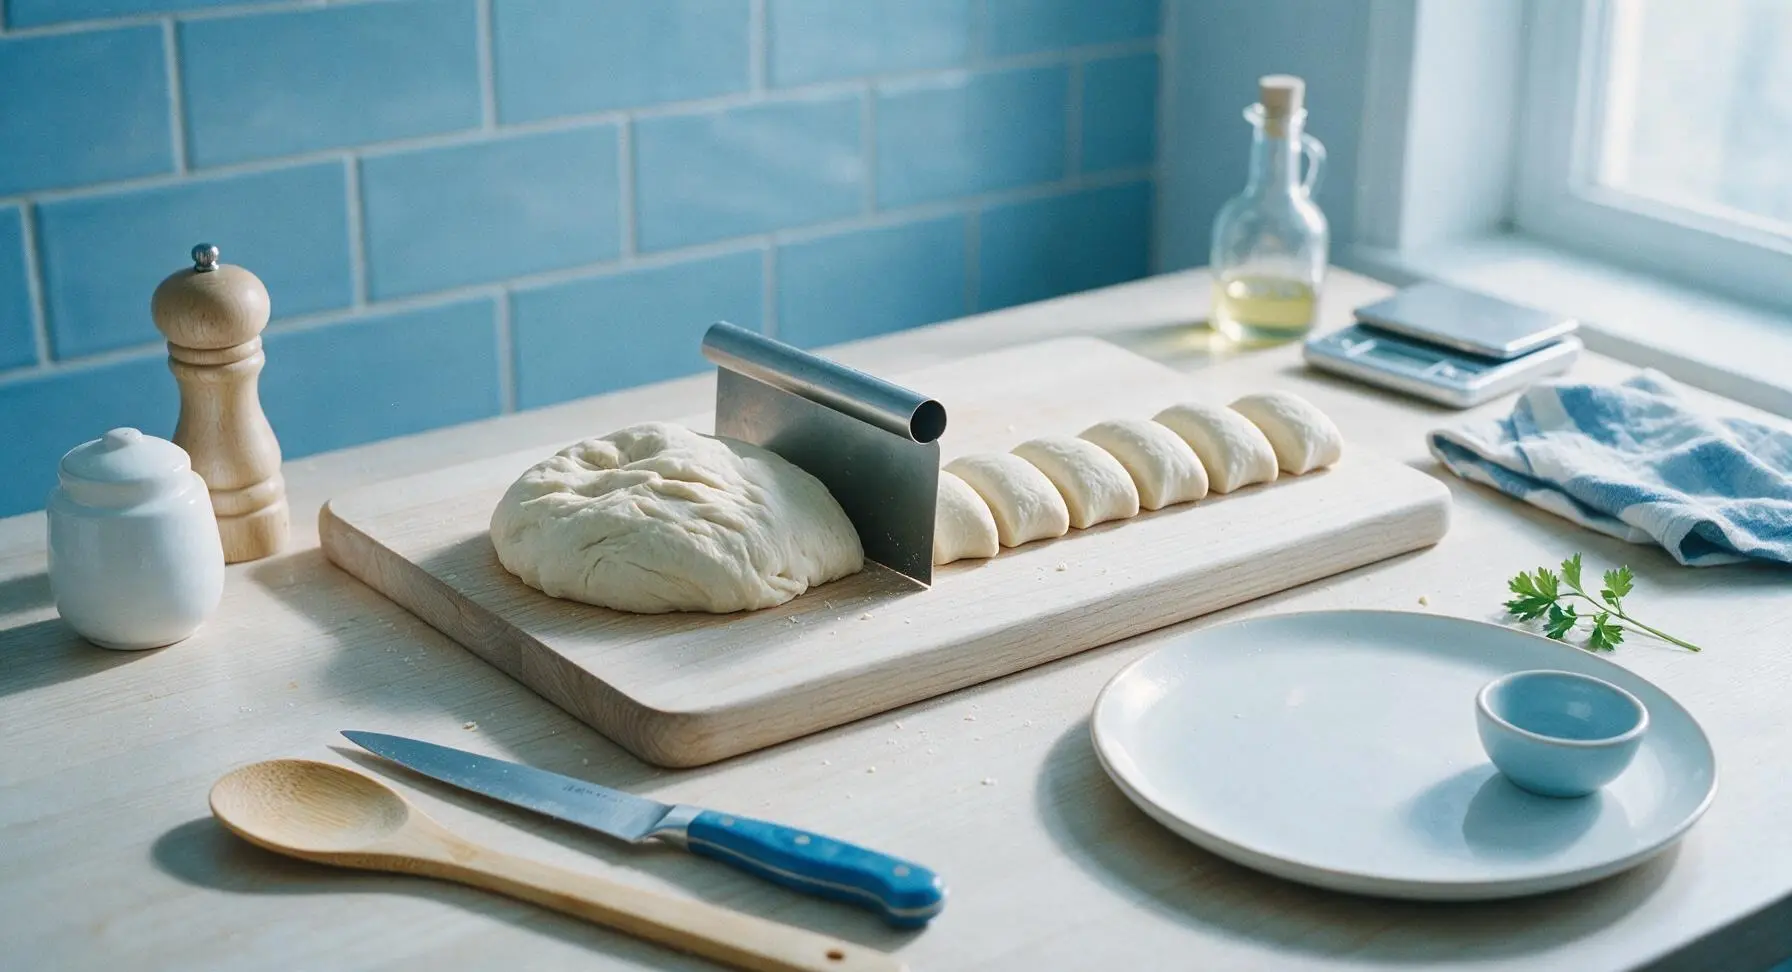
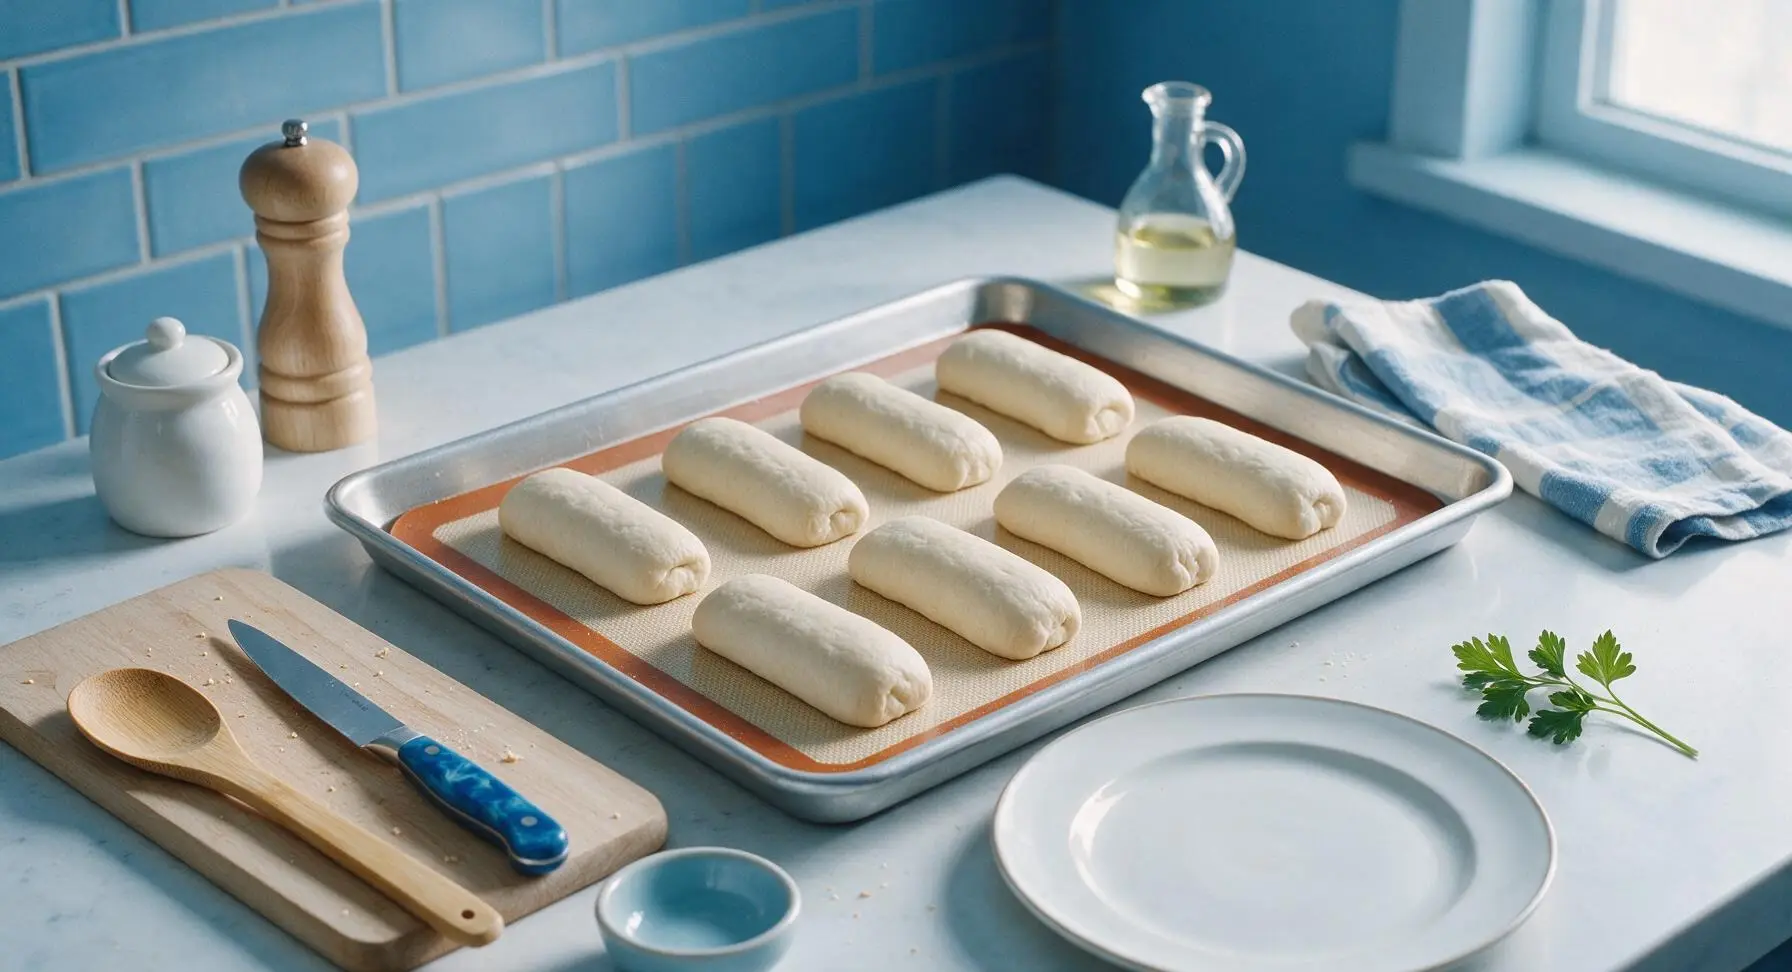
Punch down the risen dough firmly with your knuckles to release all trapped air, then turn it out onto the maple cutting board. Use the stainless steel bench scraper to divide the dough evenly into 8 equal pieces, each weighing approximately 85g. Roll each piece into a 6-inch long, slightly plump log, tapering the ends gently, and pulling the surface taut to create a smooth top for even rising.
Step 5
step5:Shape Bun Logs
Step 5
step5:Shape Bun Logs
6

Proof Shaped Buns

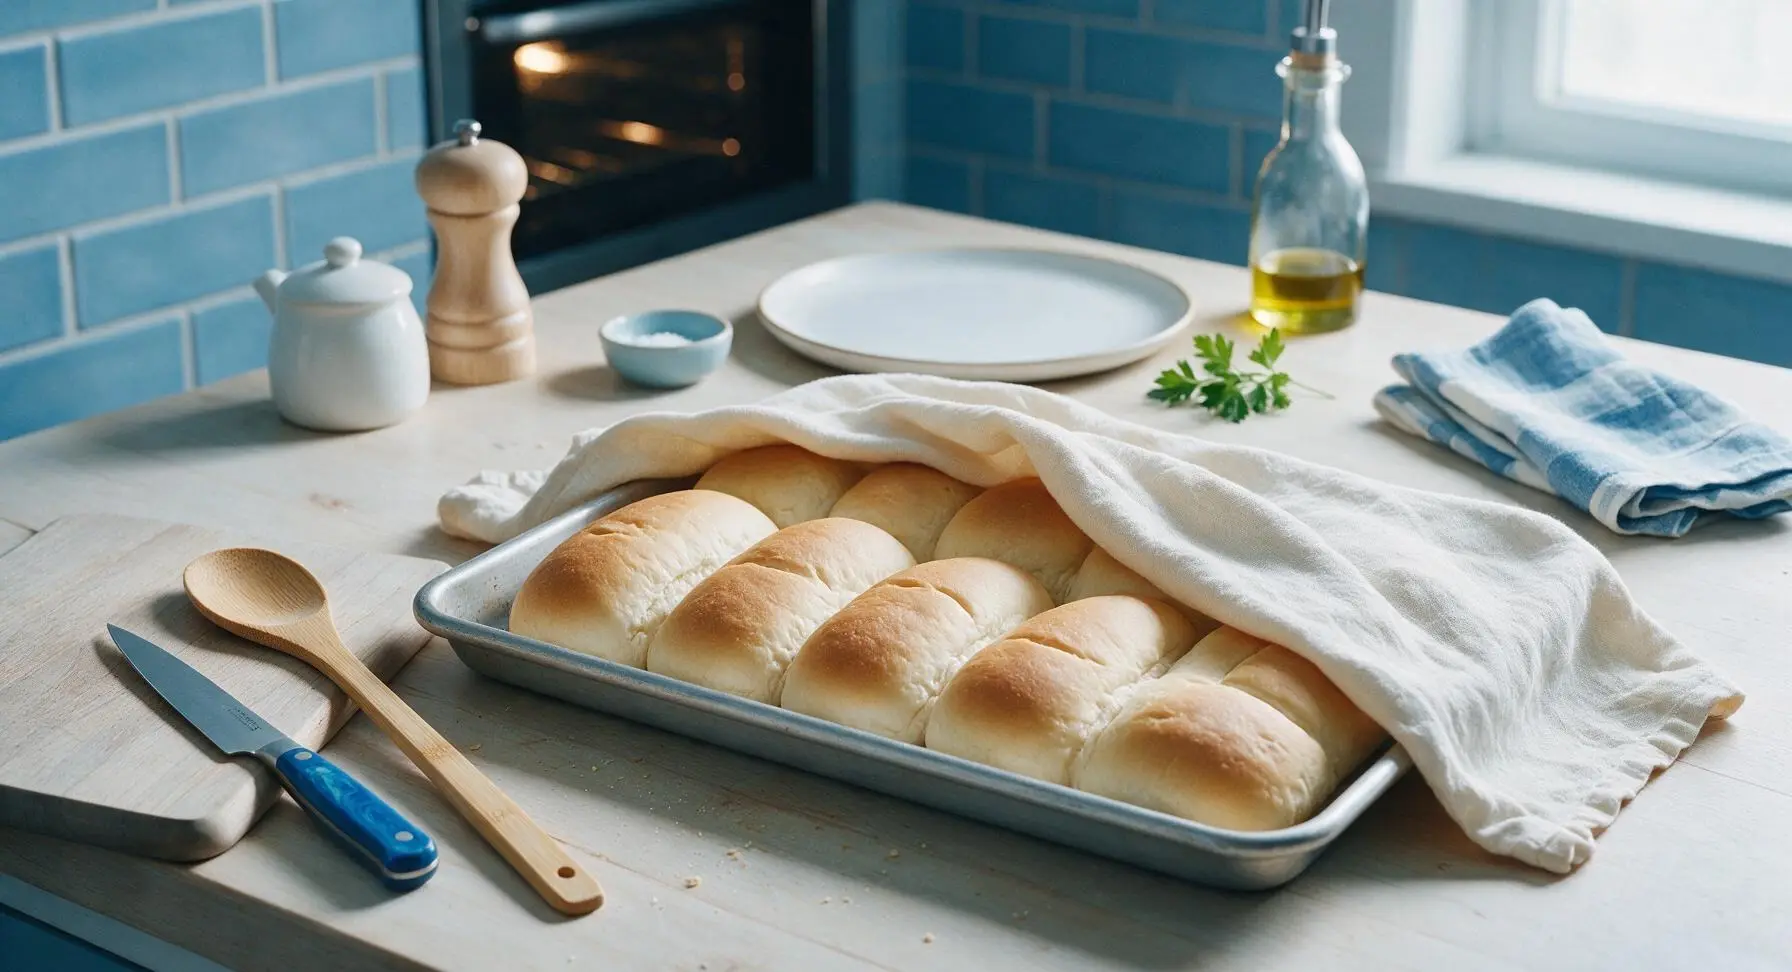
Loosely cover the sheet pan of shaped dough logs with the linen towel, and let proof for 30 minutes in a warm draft-free spot, until the buns have puffed to 1.5x their original size, and press back slowly when gently touched with a floured finger. Toward the last 10 minutes of proofing, preheat the oven to 375°F (190°C).
Step 6
step6:Proof Shaped Buns
7

Top and Bake Buns

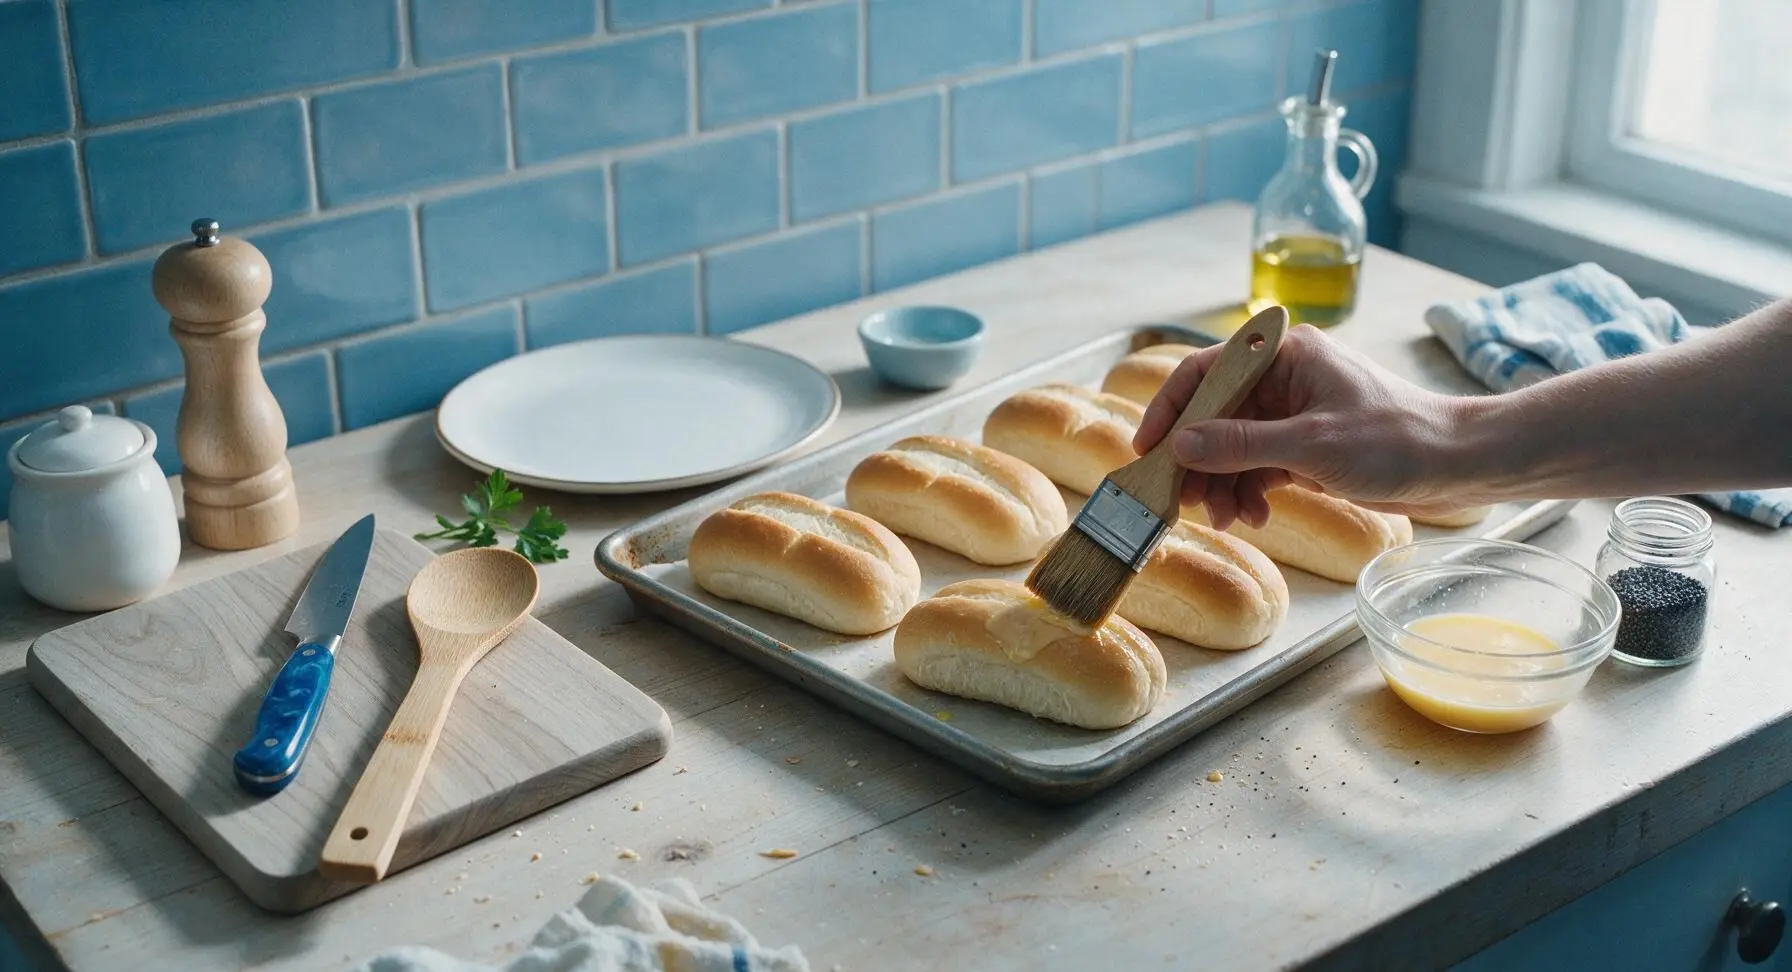
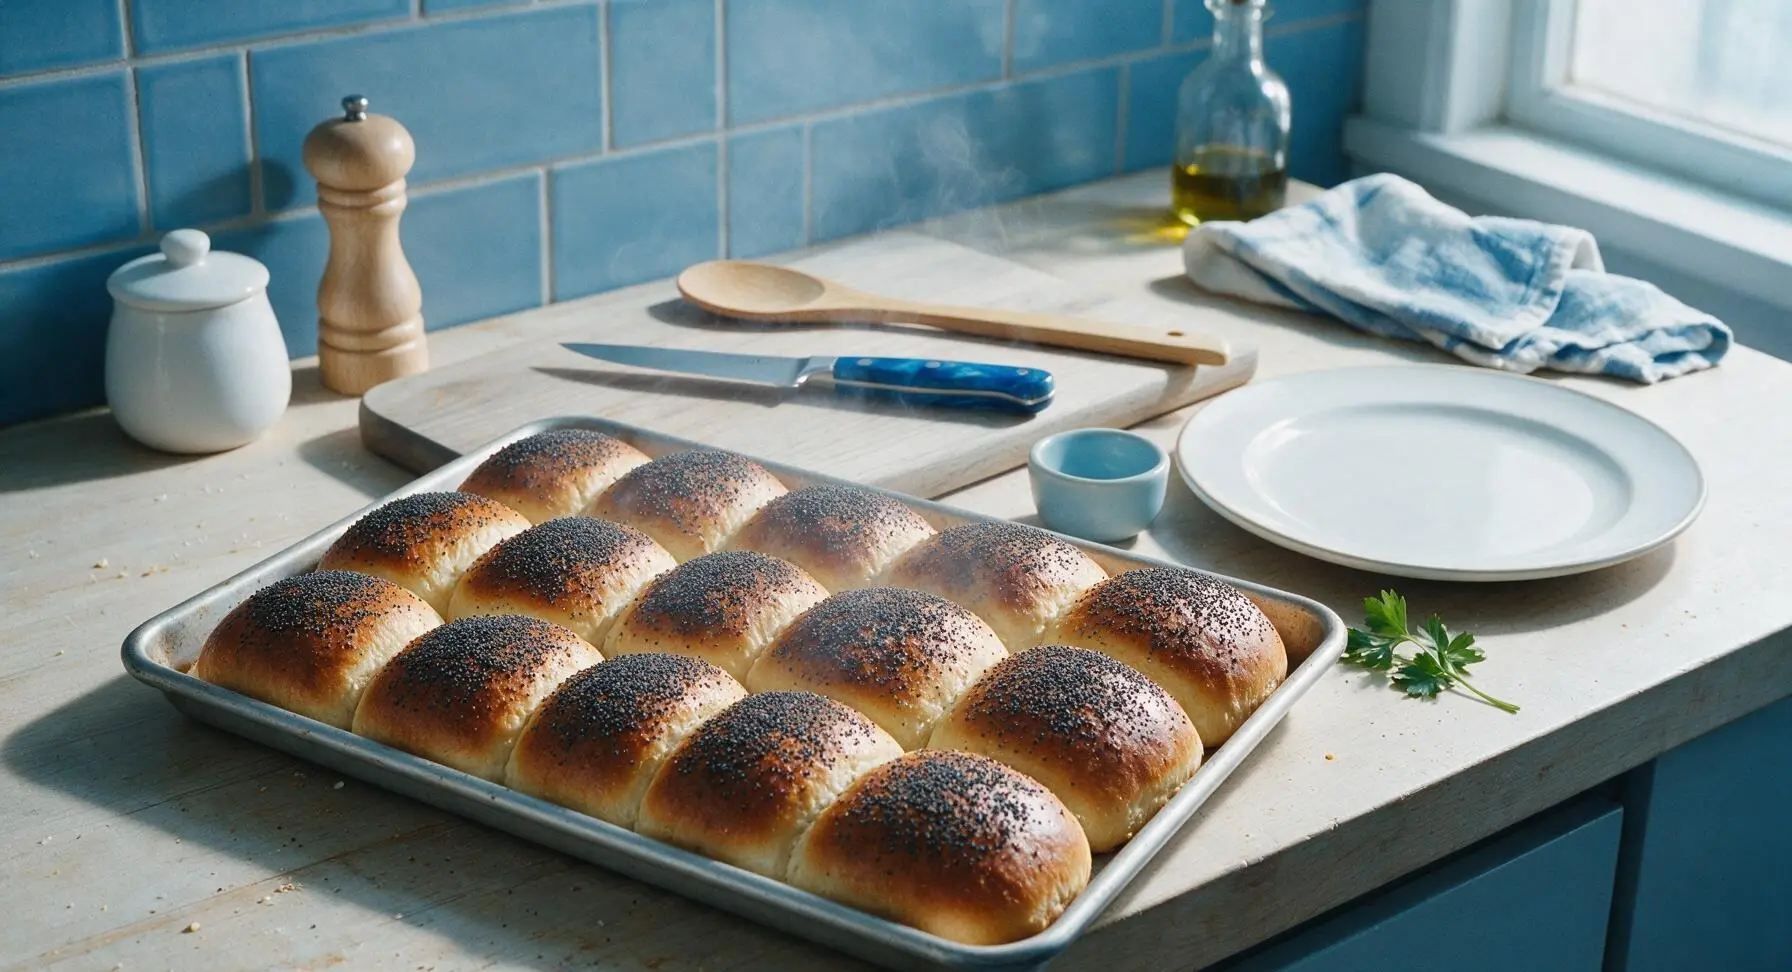
Make the egg wash by whisking 1 room-temperature egg and 1 tablespoon water in the small clear glass bowl until completely smooth, with no streaks of egg white. Use the natural bristle pastry brush to gently coat the top of each proofed bun with a thin, even layer of egg wash, then generously sprinkle poppy seeds evenly over every bun top. Bake for 12-15 minutes, until the tops are deep golden brown and the internal temperature of the buns reaches 190°F (88°C).
Step 7
step7:Top and Bake Buns
Step 7
step7:Top and Bake Buns
8

Cool and Split Buns

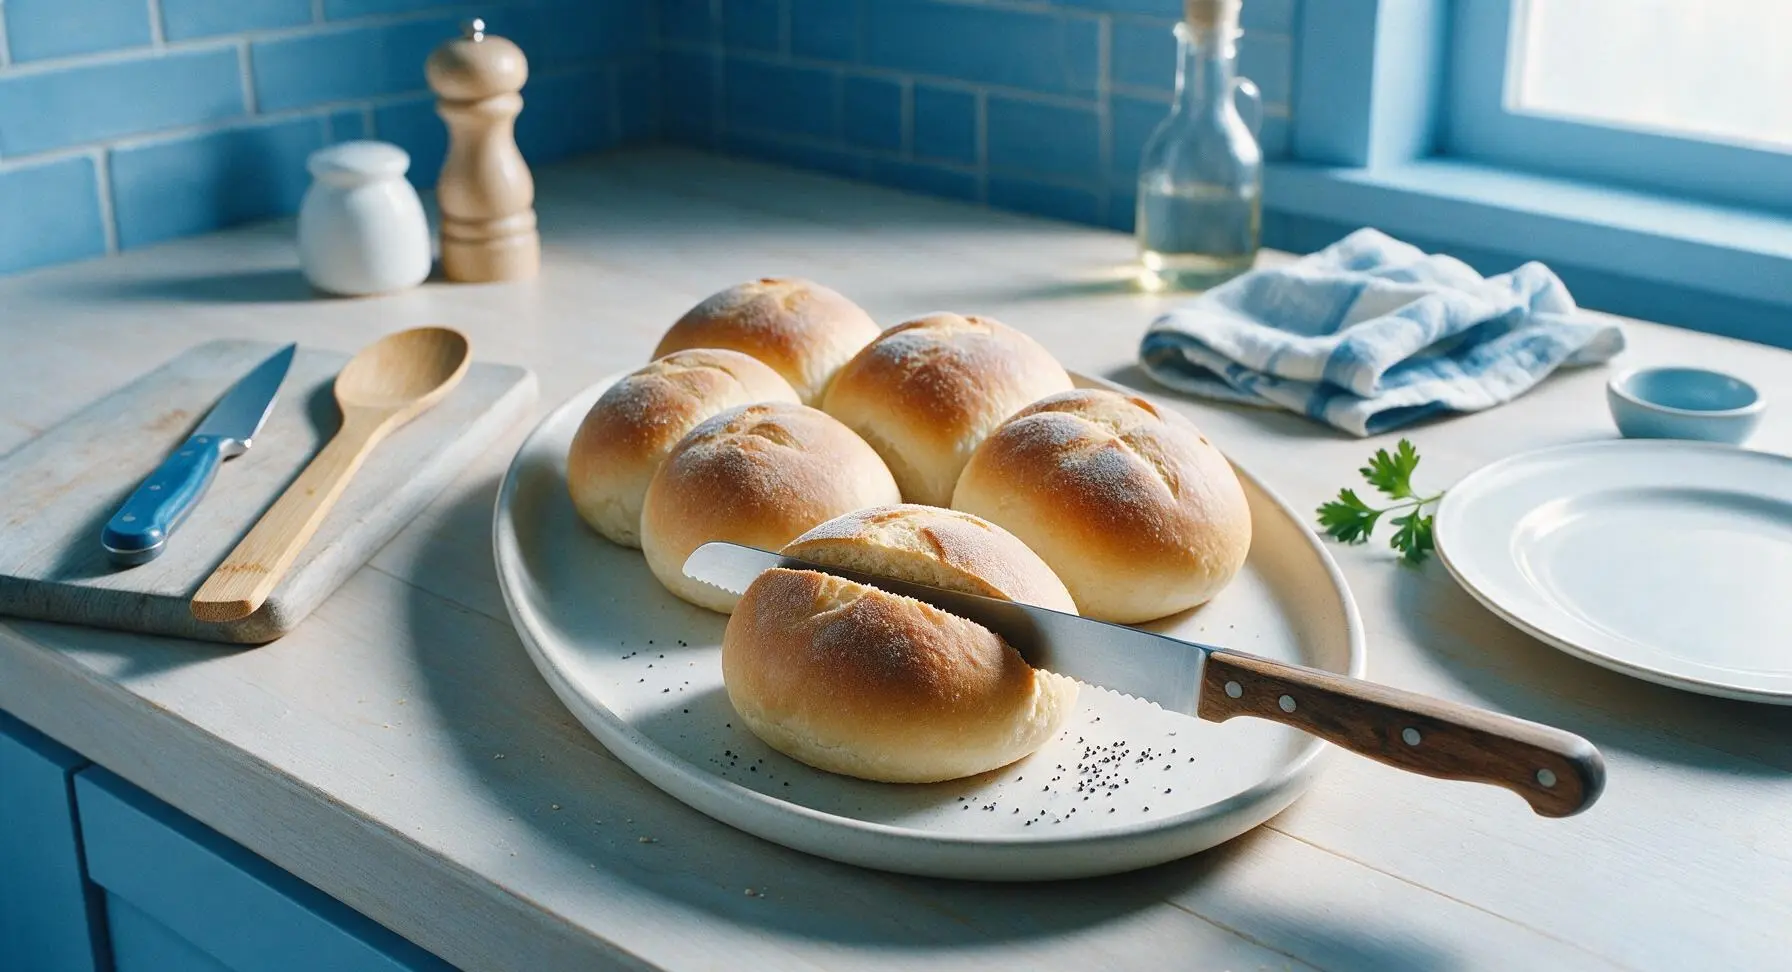
Let the baked buns cool on the sheet pan for 5 minutes, then transfer them to the matte off-white oval ceramic platter. Use the serrated bread knife to split each bun 3/4 of the way through the domed top, taking care not to cut all the way through, so the bun forms a deep pocket to hold a hot dog and classic Chicago-style toppings. Serve warm, or let cool fully before storing in an airtight container for up to 3 days.
Step 8
step8:Cool and Split Buns

Tips

1.Don’t skip the egg wash before sprinkling poppy seeds: the sticky, protein-rich egg layer creates a tight bond that keeps seeds from falling off the bun as you eat, rather than leaving all your poppy seeds at the bottom of your plate or napkin.
2.Resist the urge to add extra flour while kneading: the dough will feel quite sticky at first, but as gluten develops during the 8-10 minute knead it will become smooth and elastic; too much extra flour will result in dense, tough buns instead of the soft, pillowy texture that defines classic Chicago hot dog buns.
3.Stick to the traditional top split instead of slicing buns from the side: top-split buns have a deeper, more stable pocket that holds the full load of classic Chicago dog toppings (neon green relish, sport peppers, tomato wedges, pickle spears) without spilling out the sides as you eat.


✨ You May Also Like

Desserts & Baking
🍜 Italy

Creamy, coffee-kissed classic Northern Italian no-bake dessert, with layers of rum-spiked mascarpone cream, soft ladyfingers, and a rich cocoa dusting.

⏱️ 4 hours 3Desserts & Baking ★ 4.7
Desserts & Baking
🍜 France

Flaky, shatteringly crisp, buttery French croissants with golden exteriors and soft, airy layered interiors, perfect for pairing with coffee for a special morning treat.

⏱️ 12 hours Desserts & Baking ★ 4.5
Desserts & Baking
🍜 United States

Warm, spiced baked apples topped with a fluffy golden biscuit crust, this cozy dessert pairs perfectly with vanilla ice cream for cool-weather comfort.

⏱️ 55 minuteDesserts & Baking ★ 4.6
Desserts & Baking
🍜 United States

A star-spangled classic American blueberry pie with buttery flaky crust and bright sweet-tart filling, perfect for summer patriotic gatherings.

⏱️ 1 hour 25Desserts & Baking ★ 4.7
Desserts & Baking
🍜 United States

A beloved no-bake regional Maine candy with a chewy coconut-potato center coated in rich dark chocolate, a New England holiday staple since the 1870s.

⏱️ 2 hours 3Desserts & Baking ★ 4.8
Desserts & Baking
🍜 France

Luxuriously creamy, floral frozen custard made with aromatic Tahitian vanilla beans, boasting a smooth, rich texture that melts slowly on the tongue.

⏱️ 3 hours 3Desserts & Baking ★ 4.5

chicago hot dog bun:Frequently Asked Questions

1.Why use bread flour instead of all-purpose for these buns? ▾
Bread flour has 12-14% protein, which builds strong, flexible gluten to create that tender but sturdy crumb that holds loaded Chicago dog toppings without falling apart. All-purpose flour works in a pinch, but it will produce a softer, less structured bun that sogs quickly with wet toppings like neon relish or tomato slices.
2.Can I substitute low-fat or skim milk for whole milk here? ▾
Stick to whole milk for the richest, softest crumb—its fat content keeps the buns pillowy for days and helps the crust brown evenly. If you only have skim or low-fat milk, add 1 tablespoon of melted unsalted butter per cup of milk to make up for missing fat, so you don’t end up with dry, tough baked buns.
3.How do I know my active dry yeast is fresh enough to use? ▾
Proof it first! Warm ¼ cup of the recipe’s whole milk to 105–110°F, stir in a pinch of the measured sugar, then sprinkle the yeast on top. Wait 5–10 minutes—if it gets foamy and smells distinctly yeasty, it’s active. If it doesn’t bubble, your yeast is dead, and you’ll need a new packet for a good rise.
4.Why are these buns top-split instead of side-split like regular hot dog buns? ▾
Top-splitting is the iconic Chicago-style choice! It creates a deeper, sturdier pocket to hold all the classic dog toppings (sport peppers, pickle spears, relish, etc.) without spilling out the sides. It also leaves more of the soft poppy seed-crusted top intact, instead of squishing it flat when slicing the side.
5.Do I have to add poppy seeds to the crust for authenticity? ▾
Poppy seeds are a signature element of classic Chicago-style dog buns, but they’re totally optional if you don’t have them or have a seed allergy. If you skip them, just brush the bun tops with melted butter before baking to get that same golden, soft crust, and you’ll still get that perfect tender, sturdy crumb for loaded dogs.
6.How do I get poppy seeds to stick to the bun tops without falling off? ▾
Right before baking, brush the top of each shaped, proofed bun generously with melted unsalted butter, then sprinkle poppy seeds evenly over the surface. Press the seeds very lightly with your fingertips to help them adhere. The butter melts as buns bake, creating a tacky surface that locks seeds in place so they don’t shed all over your plate.
7.How long should I knead the dough for the best bun texture? ▾
If kneading by hand, aim for 8–10 minutes; if using a stand mixer with a dough hook, 4–6 minutes on medium-low speed. The dough is ready when it’s smooth, pulls away from the bowl sides cleanly, and springs back slightly when you poke it gently with a floured finger. Over-kneading makes tough buns, under-kneading leads to dense crumb.
8.What’s the ideal environment for the first dough rise? ▾
Aim for a warm, draft-free spot around 75–80°F. I like to set my covered dough bowl on the middle rack of a turned-off oven with the interior light on—it creates perfect consistent temperature. The dough is done rising when it doubles in size, and an indent pressed with your finger stays instead of springing back immediately.
9.Can I make this dough ahead of time for a cookout? ▾
Absolutely! After kneading, place the dough in a greased bowl, cover tightly, and let it rise slowly in the fridge for 8–12 hours (overnight works great). The cold slow rise develops a deeper, slightly buttery flavor, and you can shape, proof, and bake the buns the next day right when you need them for your gathering.
10.Why is there granulated sugar in this bun dough? ▾
The small amount of sugar does three key jobs: it feeds the yeast to help it rise properly, it encourages a soft golden-brown crust as the buns bake, and it balances the subtle savoriness of the bread to match the tangy, bold toppings on a classic Chicago dog. It won’t make the buns taste overly sweet, I promise!
11.How do I keep the buns soft instead of developing a hard crust after baking? ▾
As soon as you pull the golden baked buns out of the oven, brush the tops lightly with extra melted unsalted butter, then transfer them to a wire rack and cover loosely with a clean kitchen towel as they cool. The trapped steam and butter coating keeps the crust tender and pillowy, instead of crisping up hard like a crusty dinner roll.
12.What size should I shape each bun for an authentic Chicago-style dog? ▾
Divide your risen, deflated dough into 3-ounce portions, then roll each into a 6-inch long, evenly thick log with slightly tapered ends. That size fits a standard 6-inch all-beef hot dog perfectly, and creates a deep enough pocket when top-split to stack all seven classic Chicago dog toppings without overflow.
13.Can I freeze these baked buns for later use? ▾
Definitely! Let the baked buns cool completely to room temperature first, then wrap them individually in plastic wrap and tuck them into a labeled freezer bag. They’ll keep well for up to 3 months. Thaw them at room temperature for 30 minutes, or warm them in a 300°F oven for 5 minutes to bring back that soft, fresh-baked texture.
14.My dough didn’t rise at all—what went wrong? ▾
The most common culprits are dead expired yeast, milk that was too hot (over 115°F kills yeast on contact), or a rising spot that was too cold or drafty. Double-check your yeast expiration date, use a thermometer to get your milk to the right proofing temp, and keep rising dough away from open windows or AC vents for consistent results.
15.Do I need any special pans to bake these buns? ▾
No fancy pans required! You can place the shaped, proofed buns ½ inch apart on a standard parchment-lined baking sheet—they’ll bake up with soft, tender sides as they press against each other while rising and baking. If you want extra straight, uniform sides, you can use a 9x13 inch baking pan, but a regular sheet pan works perfectly.
16.How do I top-split the buns without tearing the soft crumb? ▾
Wait until the buns are completely cooled (warm buns tear much easier!), then use a sharp, serrated bread knife to cut a 1-inch deep slit straight down the top center of each bun, stopping ½ inch from the bottom so you don’t cut all the way through. Don’t saw too hard—let the knife’s sharp teeth do the work for a clean, even pocket.
17.Can I use instant yeast instead of active dry yeast? ▾
Yes, you can! Use 25% less instant yeast than the recipe calls for active dry (so for 1 teaspoon active dry, use ¾ teaspoon instant). You don’t need to proof instant yeast either—mix it straight in with the dry ingredients, and note your rise times will be 10–15% shorter, so keep an eye on the dough as it doubles.
18.Why does the recipe specify unsalted butter instead of salted? ▾
Unsalted butter lets you control the exact salt level in your dough, so you don’t end up with overly salty buns that clash with salty Chicago dog toppings like sport peppers, pickle spears, and yellow mustard. If you only have salted butter, just cut any added salt in the dough by ¼ teaspoon per stick of butter used to balance it out.
19.How do I prevent the buns from getting soggy when loaded with toppings? ▾
This recipe’s sturdy, tight crumb is designed to resist sogginess, but for extra insurance, you can lightly toast the cut inner sides of the split bun on a griddle for 30 seconds before adding your dog and toppings. The light toasting creates a thin barrier that keeps wet toppings like relish, tomato juice, and mustard from soaking into the crumb.
20.How long will these fresh buns stay soft at room temperature? ▾
Stored in an airtight container or sealed plastic bag at cool room temperature, these buns will stay soft and pillowy for 3–4 days. If they start to feel a little stale after a couple days, wrap them in a damp paper towel and microwave for 10 seconds, or warm them in a low oven for a few minutes to refresh that soft, fresh texture.

Comments (9)

3 days ago

OMG, I’ve been missing real Chicago dog buns since I moved from the Windy City 4 years ago! Store bought out here is all soft, squishy garbage that falls apart after you add all the toppings. These came out perfectly chewy, with that little bit of crust on the outside just like I remember. Game changer for our summer cookouts! My husband was shocked how close they tasted to the ones from the stand by Wrigley.

2 days ago

Wait, did you do the egg wash before baking? I tried a similar recipe last month and mine came out too pale with zero crunch on the crust, total flop for our last cookout.

1 day ago

Great question! For that perfect slightly crisp crust, make sure to brush the tops with a little melted butter right before they go in the oven, and bake them on the middle rack at the temp the recipe calls for. No egg wash needed for these – that gives them too soft of a top for Chicago-style buns!

1 week ago

Made these for our family dinner last night to go with brats and Chicago dogs for my brother who’s visiting from Chicago! My kids loved them so much they asked to have the leftover buns for breakfast with jam this morning. The recipe was way easier than I thought it would be for a medium difficulty bake, even with my 7 year old “helping” measure flour.

5 days ago

That makes our day to hear! We love that these are versatile enough to use for breakfast too – they make amazing egg and cheese sandwiches the next morning. Pro tip: if you have leftover buns, slice them and freeze them for up to a month for quick weeknight meals!

3 days ago

SO good, but I definitely messed up the first rise? I left my dough in a too-cold spot and it didn’t double in size, so the first batch was a little dense. Second batch I set the bowl on top of my warm oven and they came out light and fluffy! Worth the extra effort for sure, way better than the cheap grocery store buns that turn to mush when you load on the neon relish and sport peppers.

2 days ago

Pro tip for next time: turn your oven on for 1 minute then turn it off before putting the dough in to rise! It creates the perfect warm, draft-free spot every single time. I do that for all my bread recipes now.

yesterday

Brought a whole tray of these to our neighborhood potluck this past weekend and people were asking for the recipe before we even finished eating! Piled them high with all the classic Chicago dog toppings for people to build their own, not a single bun left by the end of the night. Will absolutely be making these for every cookout this summer, 10/10.

1 week ago

As someone who’s been eating Chicago dogs from corner stands my whole life, I can confirm these are dead on. The texture is exactly right – not too sweet, sturdy enough to hold 7 toppings plus a tomato slice and pickle spear without splitting, soft inside but not mushy. Skip the store bought, these are 100% worth the time.

5 days ago

Wait, do you think this dough would work if I swapped in bread flour instead of all purpose? I’ve been looking for a sturdier bun recipe that doesn’t fall apart.

3 days ago

Great question! Bread flour works beautifully here – it adds a little extra chew and sturdiness that’s perfect for holding all those classic Chicago dog toppings. Just keep an eye on your dough during kneading, you might need a splash extra water if it feels too tight with bread flour.

30 minutes ago

Just pulled these out of the oven and they smell incredible! I made a double batch to meal prep for the week for quick lunches, only thing I changed was sprinkling a little poppy seed on half of them like the classic poppy seed buns I remember as a kid. Can’t wait to load them up with grilled dogs later tonight!

5 minutes ago

Poppy seeds are such a great call! That’s such a classic touch for Chicago-style buns, we love that addition. They hold up great in the fridge for 3-4 days, just give them a quick toast before serving if you want that fresh-out-of-the-oven crust again.

2 weeks ago

Taste was great, but my buns came out a little lumpy and uneven when I shaped them? I think I rolled them too tight? They still tasted amazing with all the toppings, but they didn’t look as nice as the photos in the recipe. Any tips for getting that smooth, even bun shape?

1 week ago

I had the same problem my first time! The trick is to pat the dough into little rectangles first, then roll them up super gently like you’re making a tiny jelly roll, and pinch the seam really well before setting them seam-side down to rise. No more lumps for me after that!

2 hours ago

Game changer for our annual 4th of July cookout! I’ve been buying fancy bakery buns for years and these blow every single one of them out of the water. They’re sturdy enough that you don’t have to double up buns even when you pile on chili, cheese, onions, and all the Chicago dog fixings. 10/10, will be my go-to bun recipe from now on.

5 minutes ago

Just made these for the first time and I’m never buying grocery store hot dog buns again! They’re so soft and buttery, but tough enough to hold up to a loaded dog without getting soggy even 20 minutes after assembling. My roommate walked in, took one bite, and asked if I’d bought them from a fancy bakery. SO good.



