
chicken cast iron skillet
intro
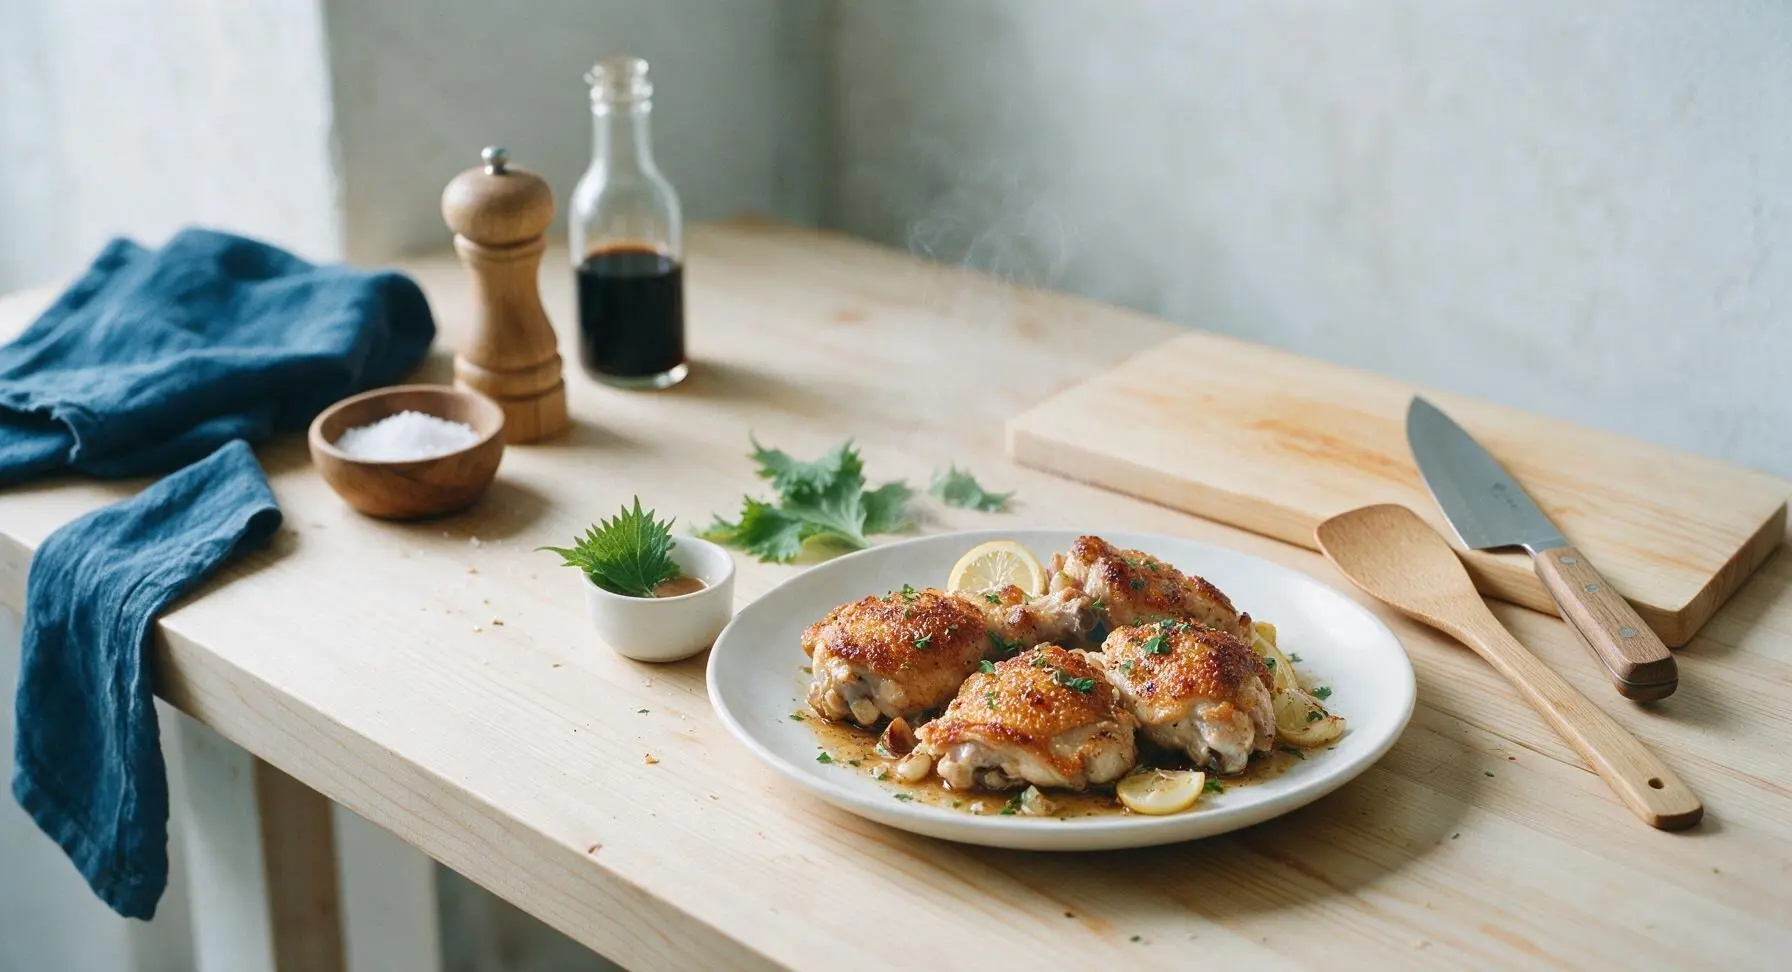
Crispy, crackly-skinned bone-in chicken cooked in a seasoned cast iron skillet, basted with nutty brown butter, garlic, and lemon for juicy, flavorful results every time.
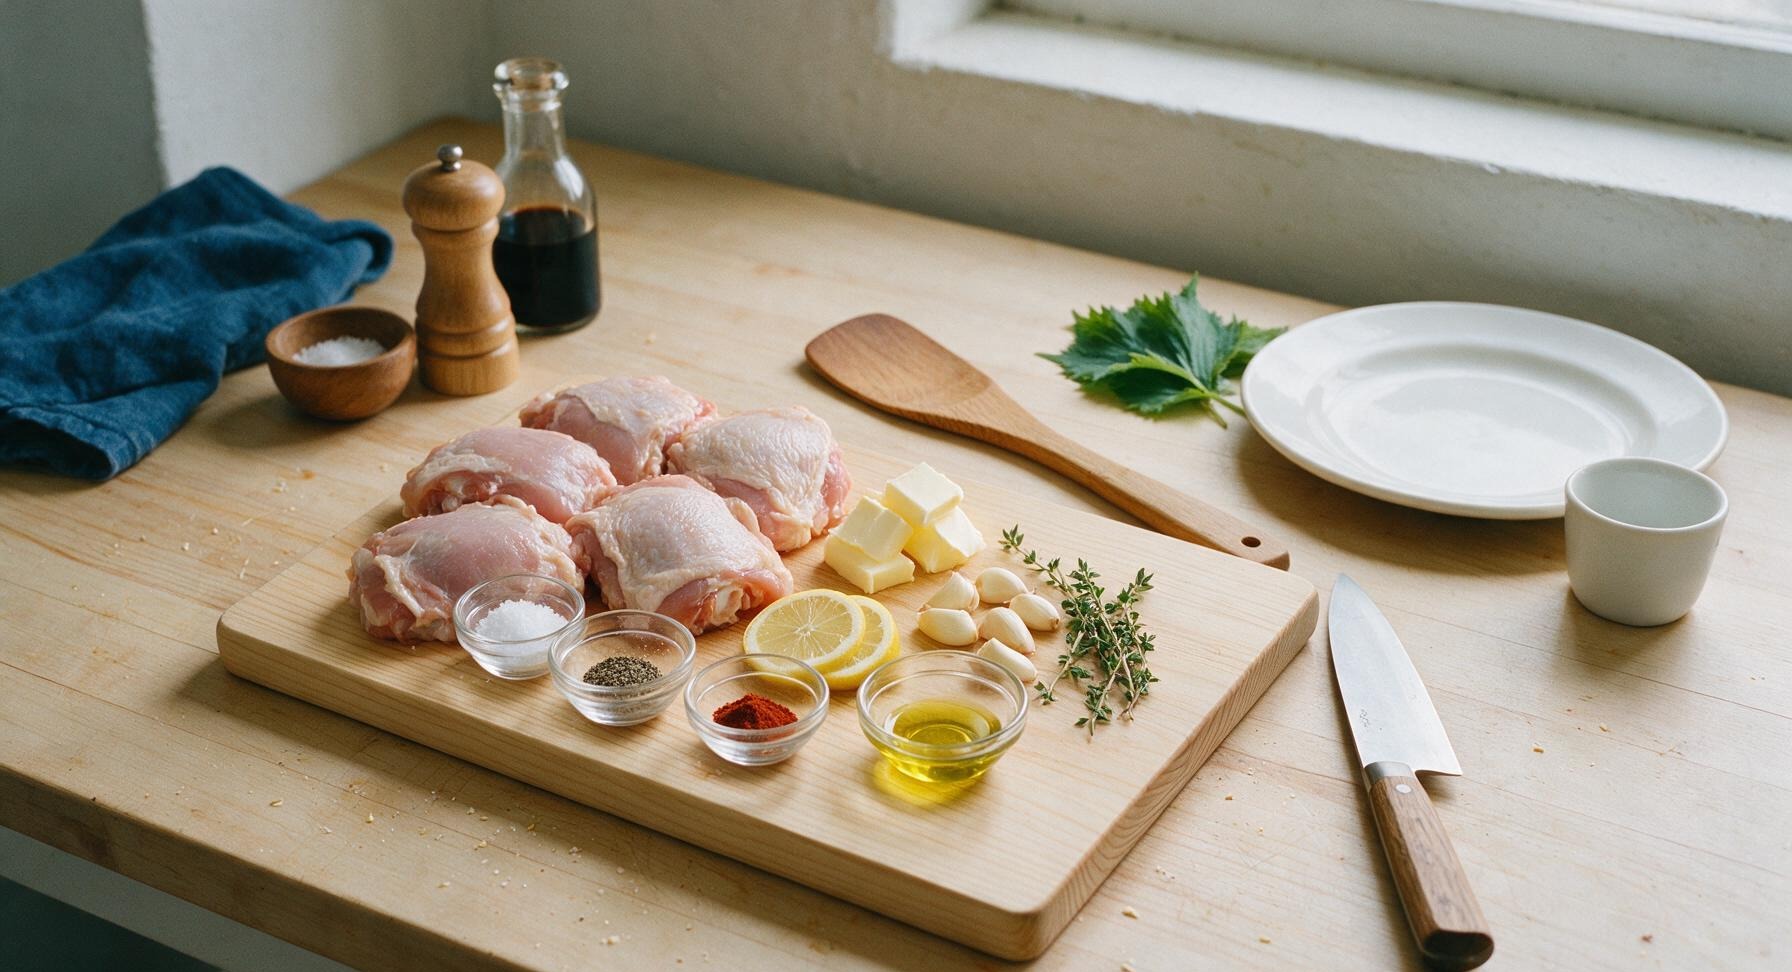
Ingredients
Steps
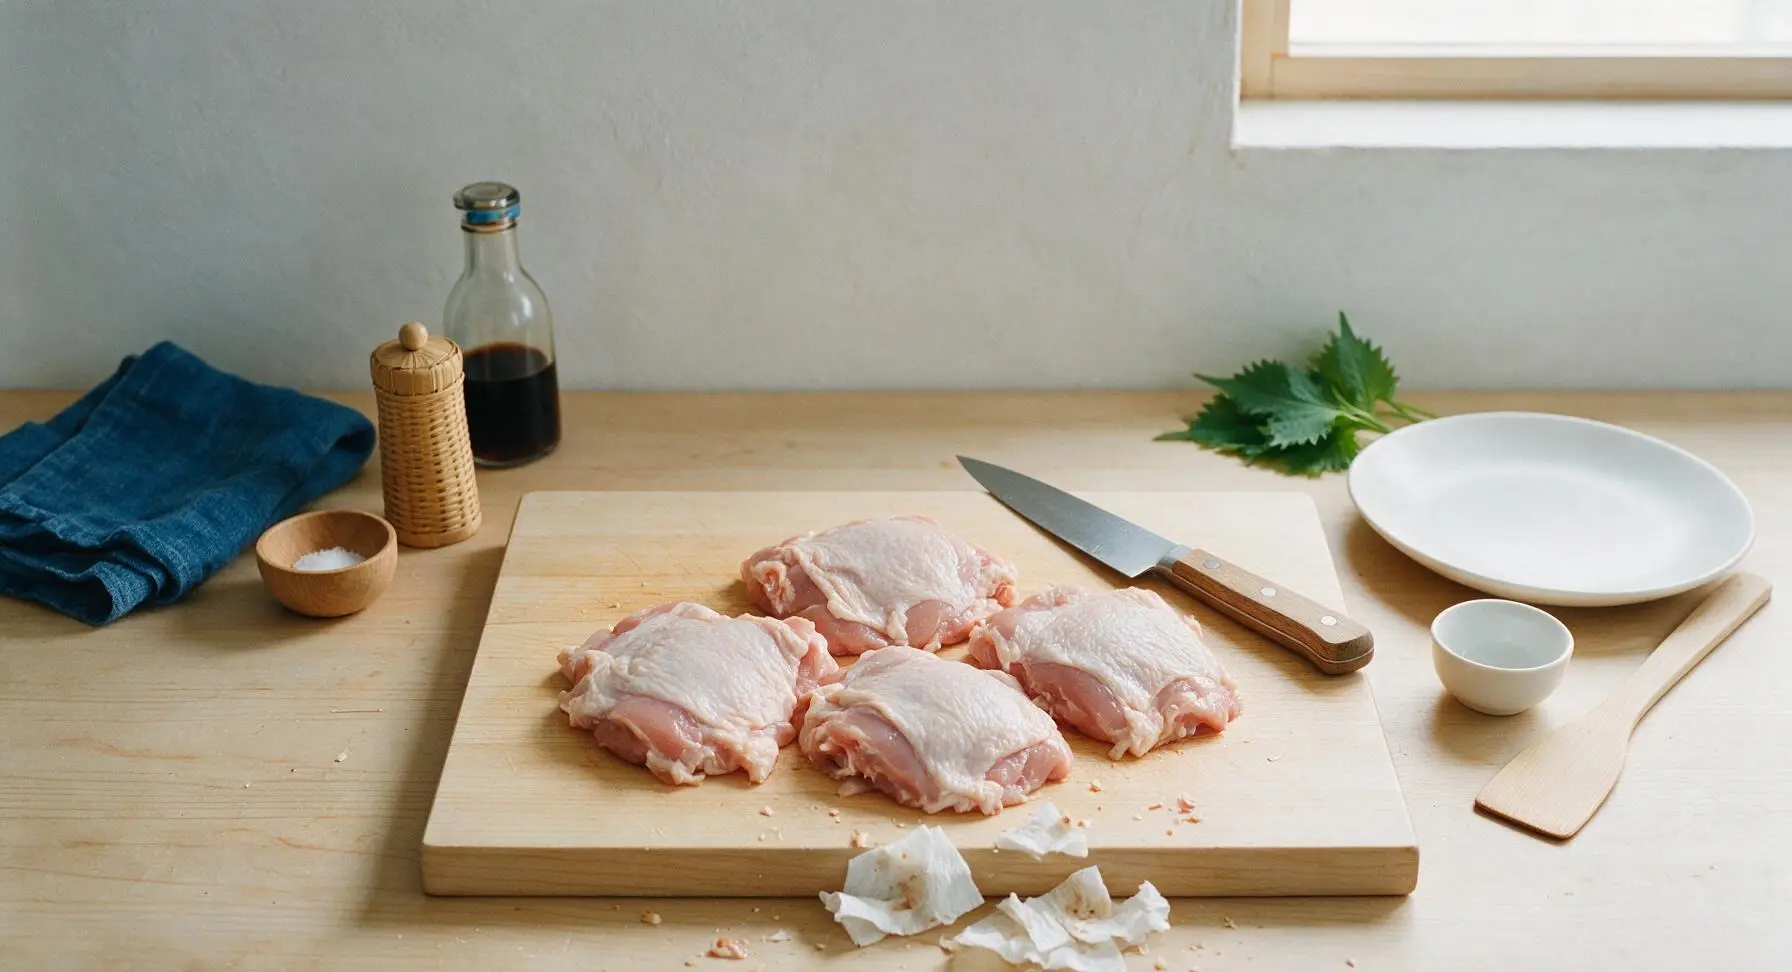
Prep and Dry Chicken
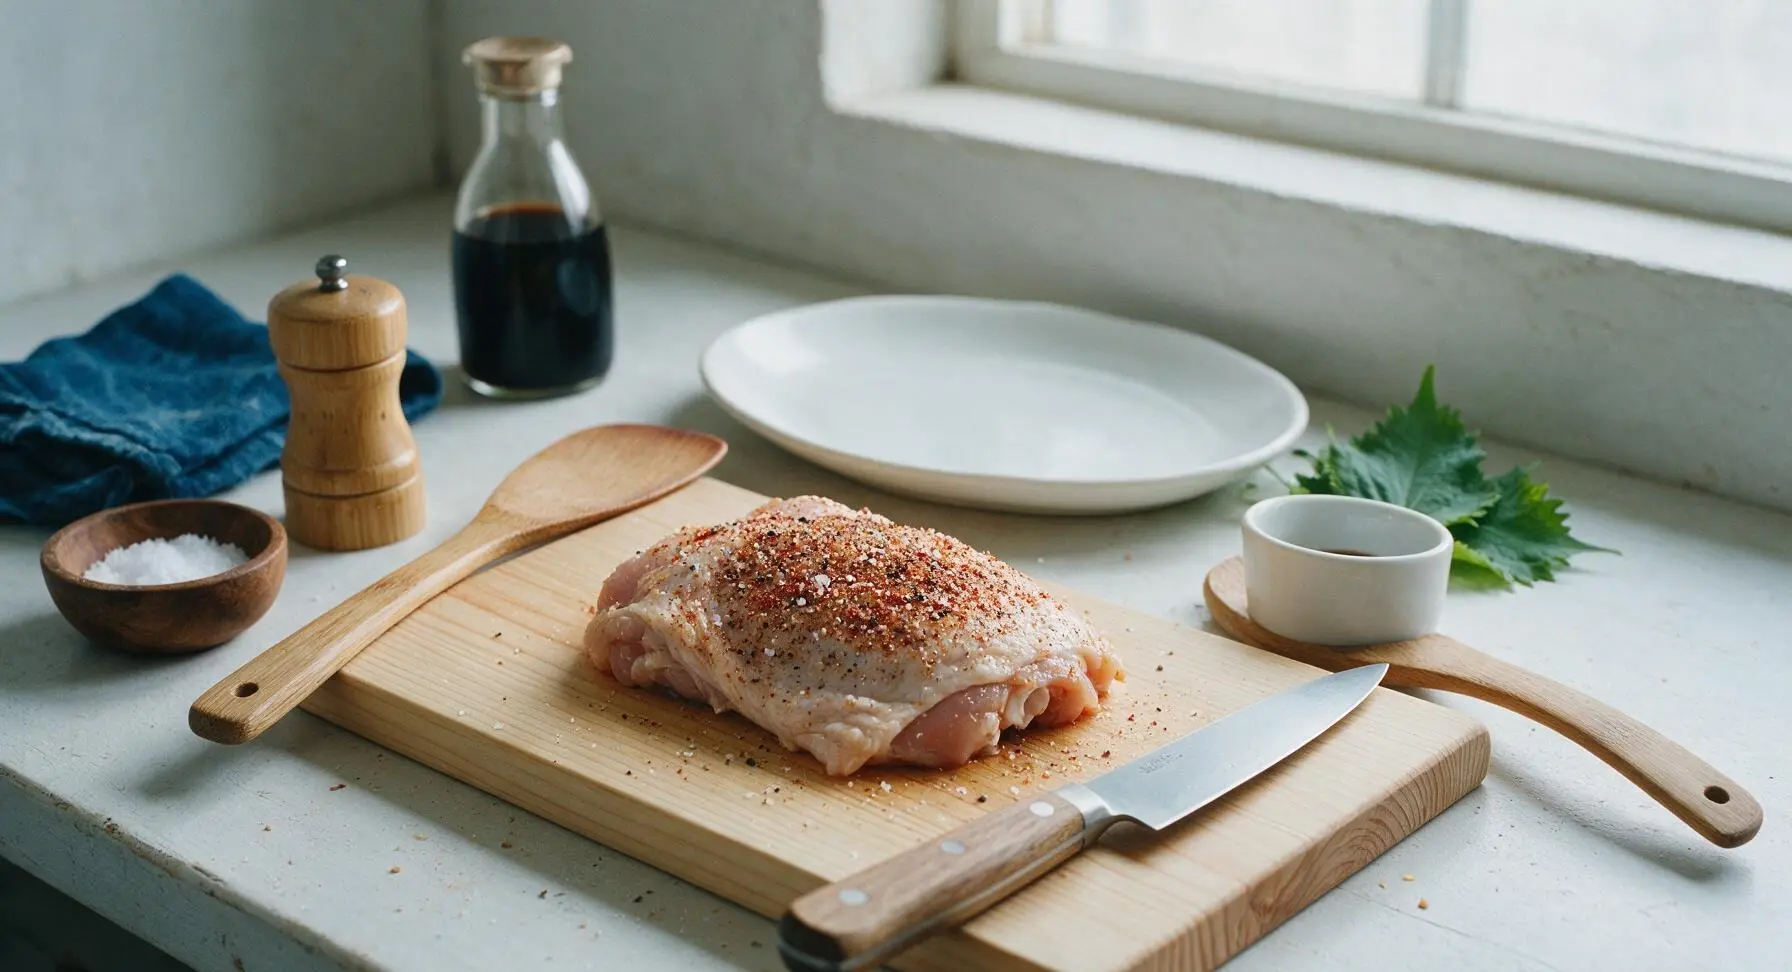
Place the maple cutting board in the center of the soapstone work zone. Pat each chicken thigh completely dry on all sides with paper towels, discarding used towels off-frame. Use the chef knife to trim any excess loose, overhanging skin or hard fat from the thighs, leaving a uniform, intact layer of skin covering the top of each piece. Thoroughly drying the skin surface is non-negotiable for a crisp, non-soggy seared crust.
Season Chicken Evenly
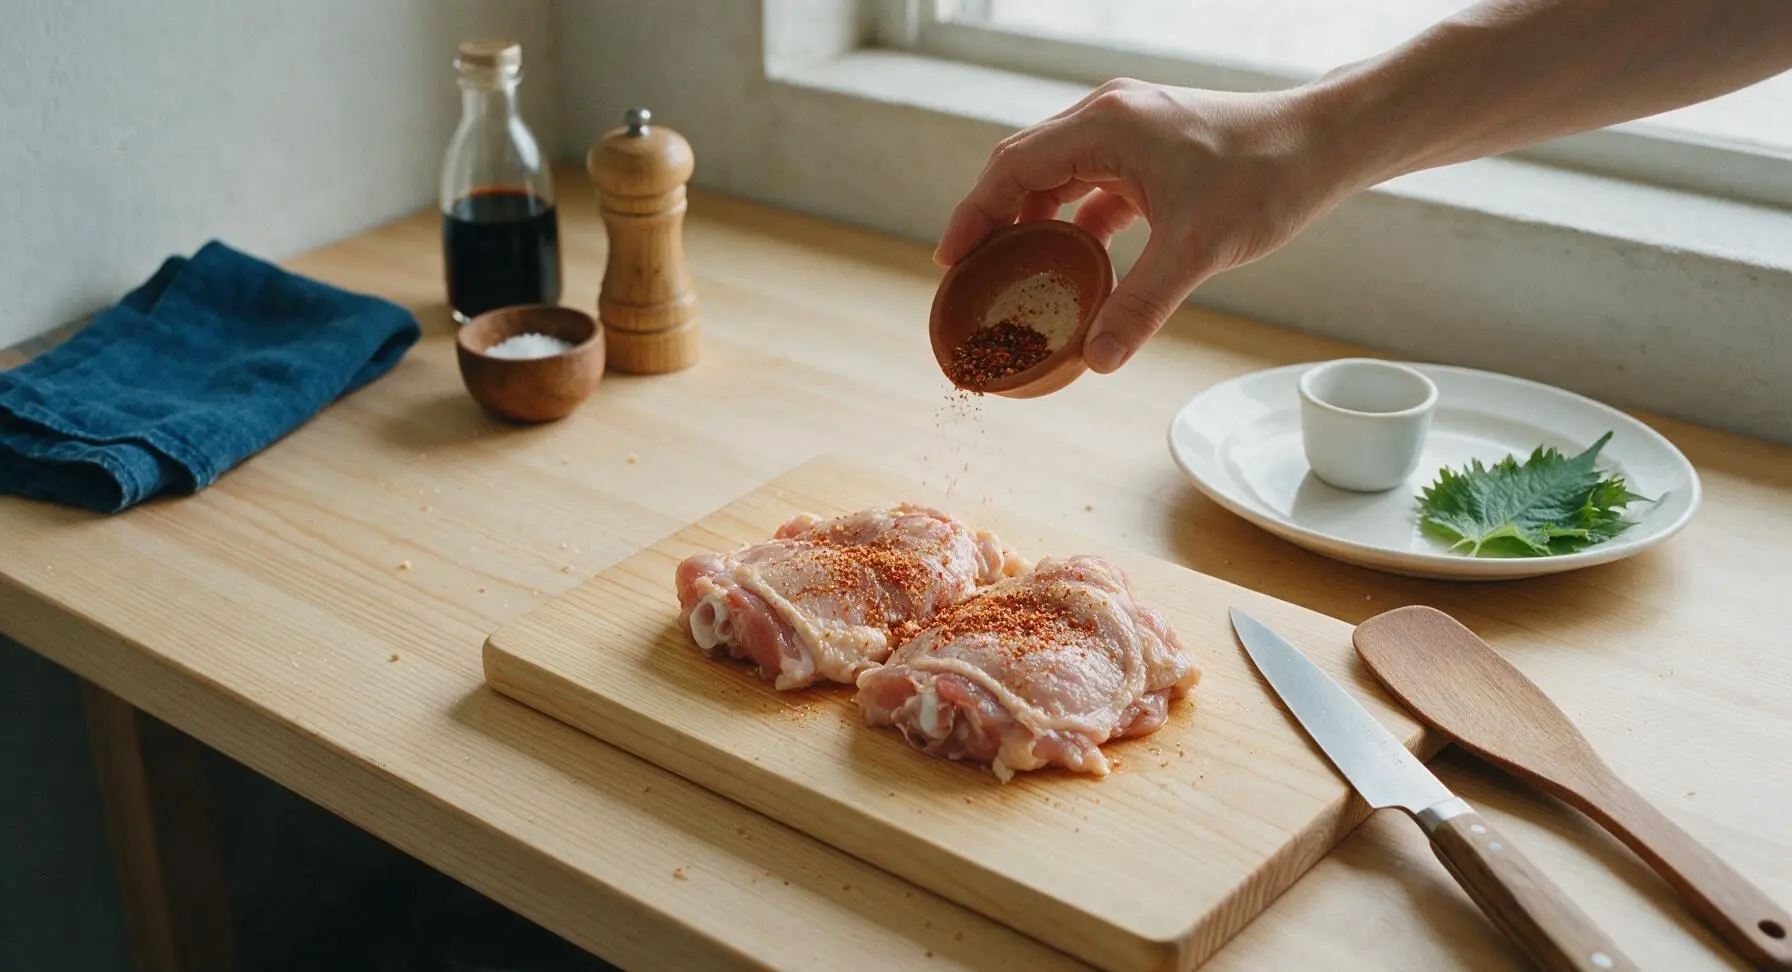
Combine kosher salt, black pepper, and smoked paprika in one terracotta pinch bowl, stirring to mix evenly. Sprinkle the spice blend generously over every surface of the chicken thighs, including under the loose edge of the skin where it lifts easily from the meat, and across the bone side. Press the seasoning gently into the meat surface so it adheres fully, leaving no bare unseasoned spots.
Preheat Cast Iron Skillet
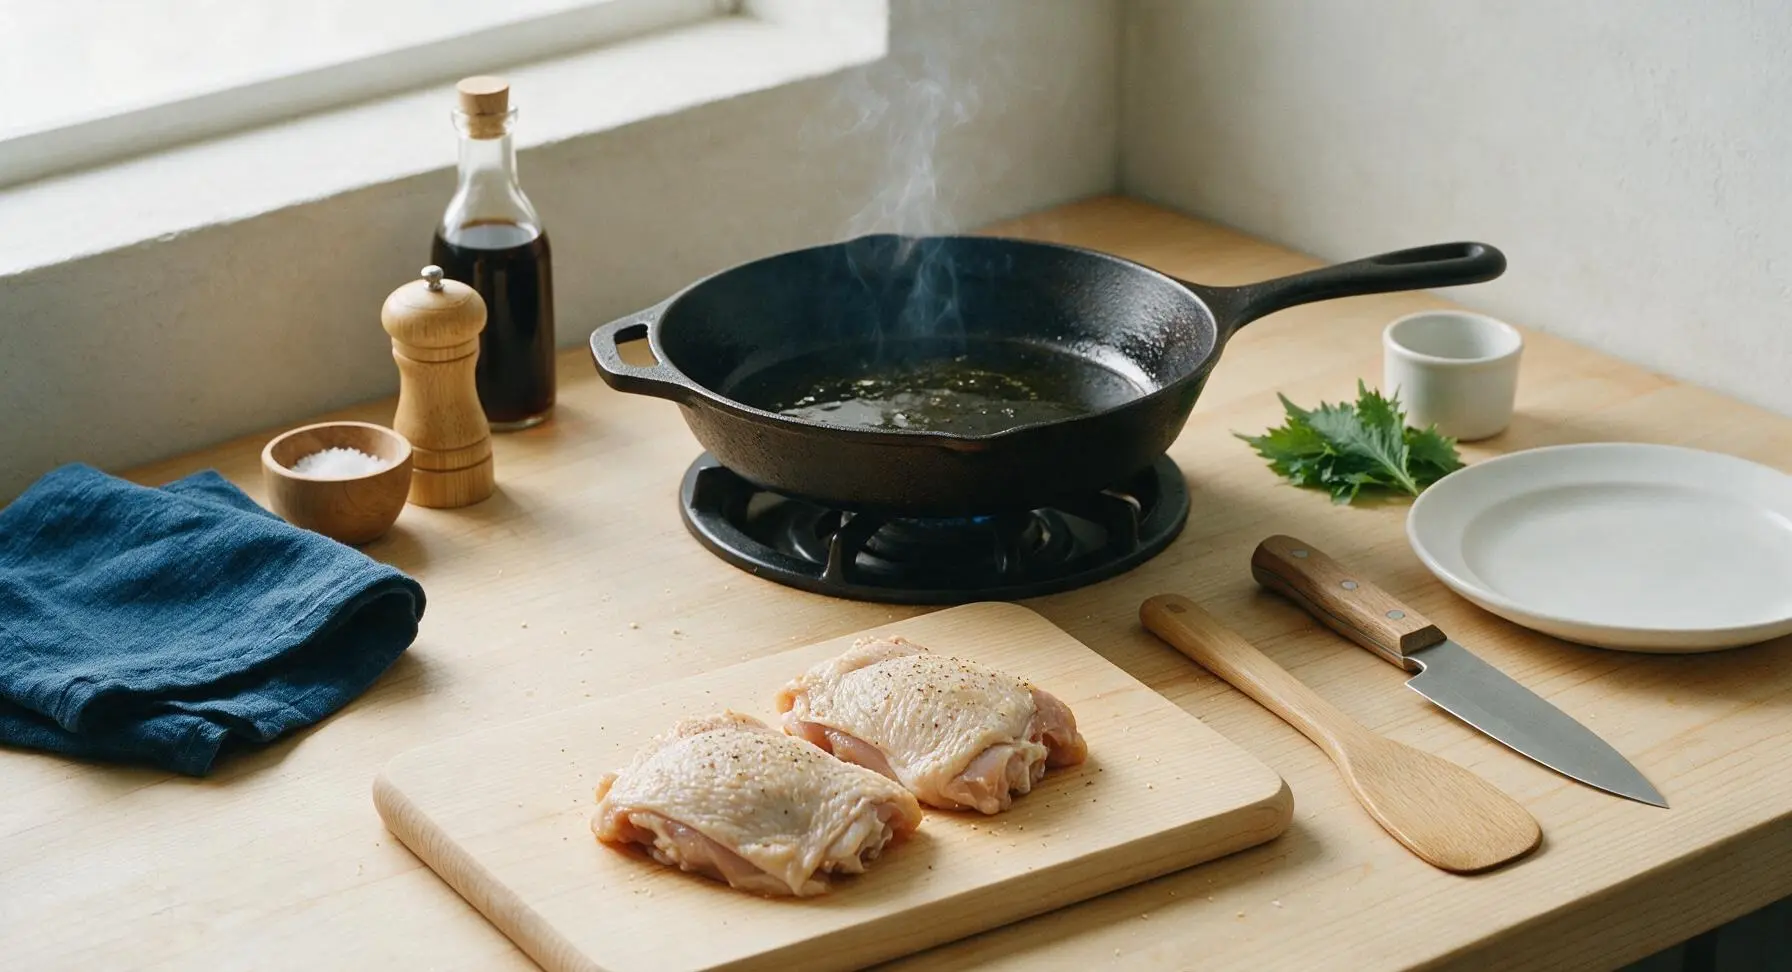
Place the 12-inch well-seasoned cast iron skillet on the centered gas burner inset into the soapstone counter. Turn heat to medium, add 1 teaspoon of olive oil, and heat for 3 minutes until the oil shimmers across the pan bottom and sends up a faint, thin wisp of smoke. Avoid heating the pan on high, as this will burn the chicken skin before the meat cooks through to the bone.
Sear Chicken Skin-Side Down
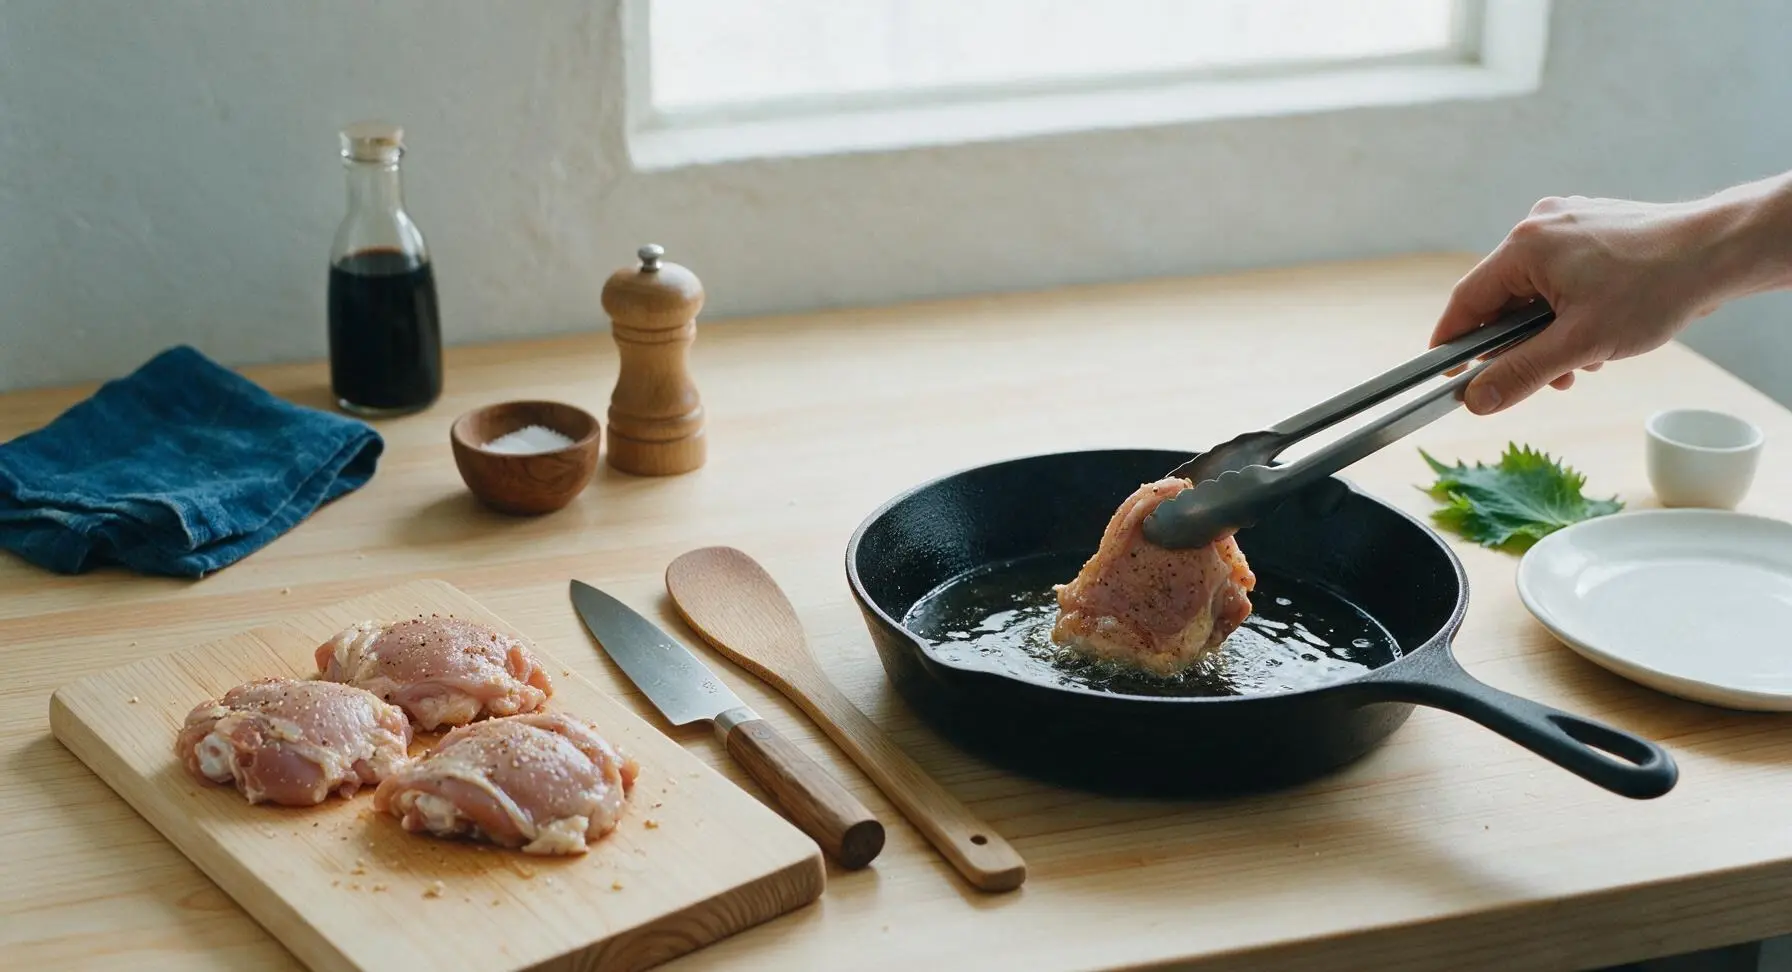
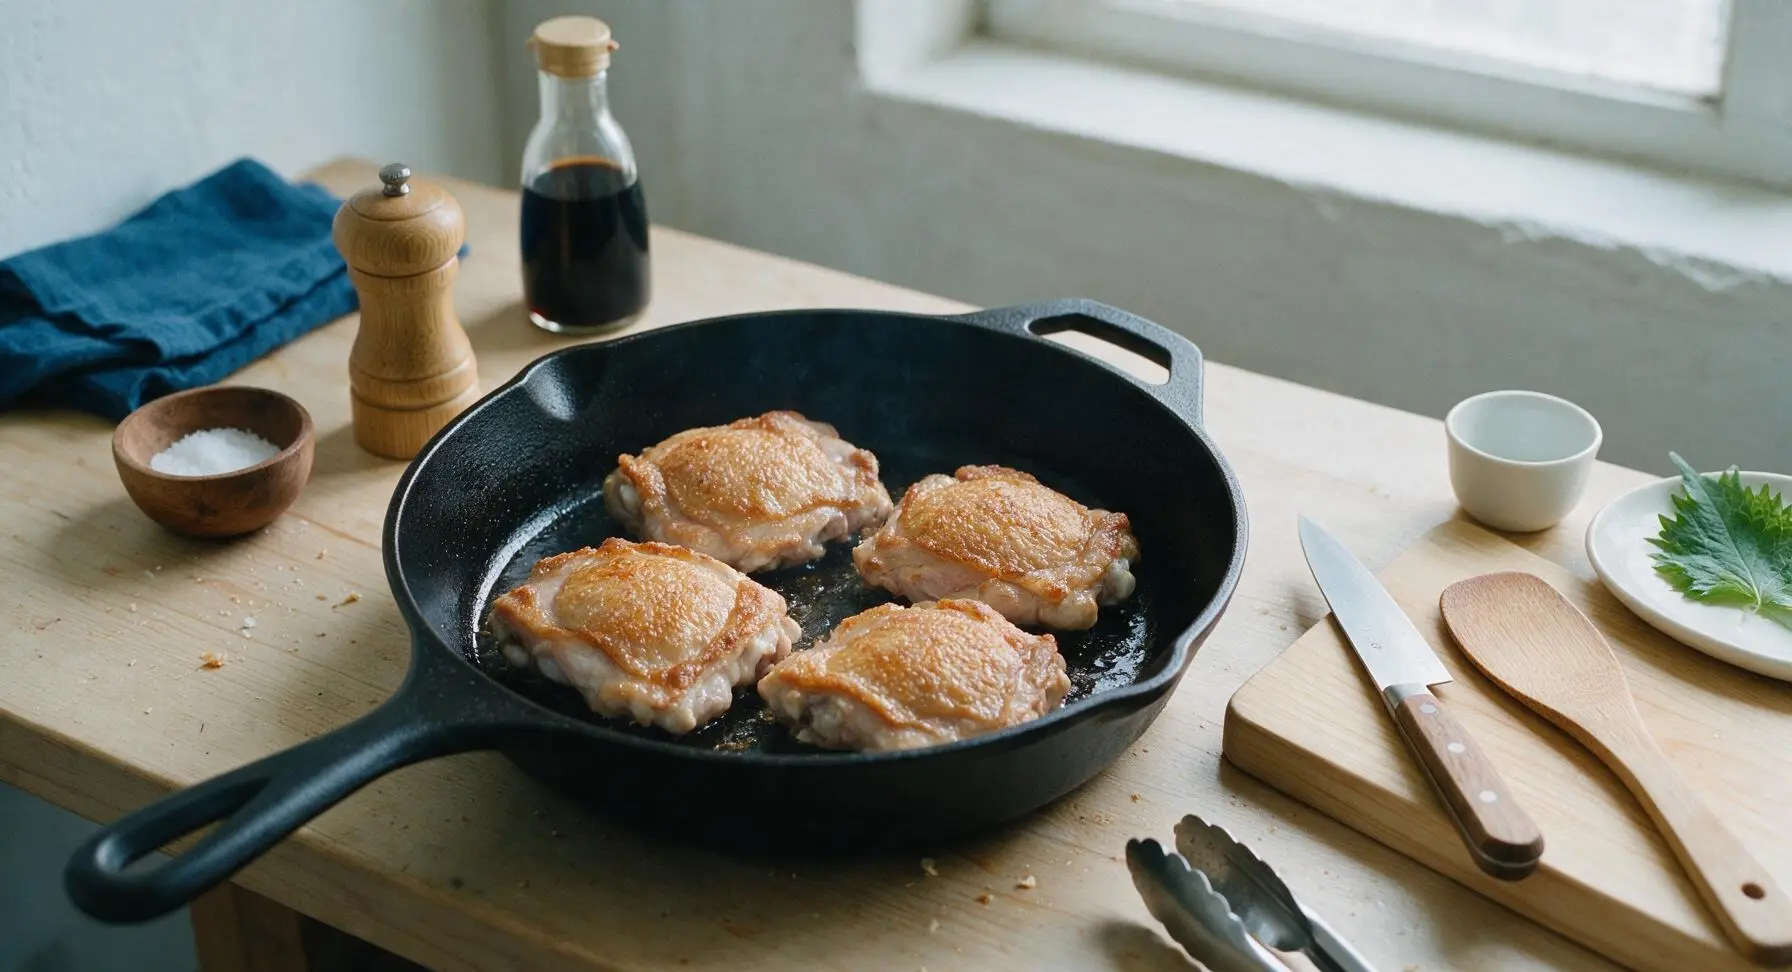
Use the stainless steel tongs to carefully place each chicken thigh in the hot skillet skin-side down, arranging them in a single layer with ½ inch of space between pieces (a 12-inch skillet fits 4 thighs comfortably without crowding). Do not move, lift, or shift the chicken once placed. Let sear undisturbed for 12 minutes on medium heat, until the skin is deep golden, crispy, and releases easily from the pan surface without sticking.
Flip and Add Aromatics
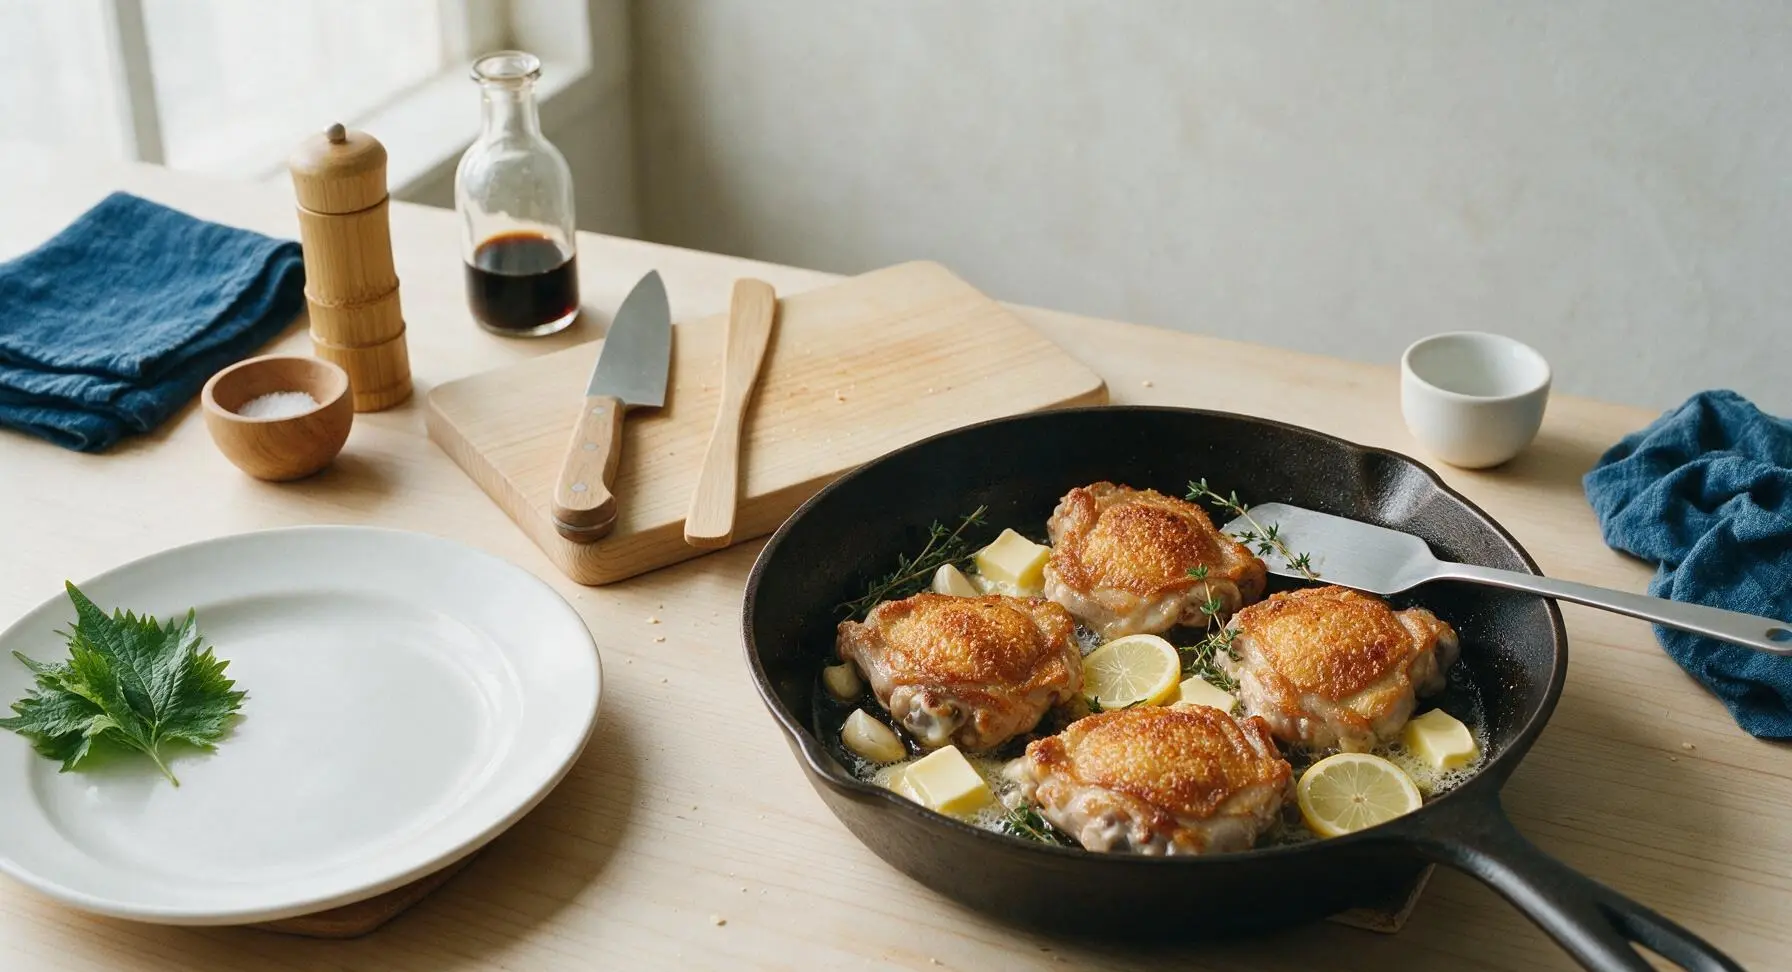
Once the skin is fully crisped and releases easily from the pan, use the thin metal spatula to gently flip each chicken thigh so the bone side faces down against the pan. Scatter the crushed garlic cloves, thyme sprigs, and lemon slices in the open gaps between the chicken pieces. Cut the butter into tablespoon pats and dot them around the pan, letting them melt and bubble around the chicken.
Baste With Browned Butter
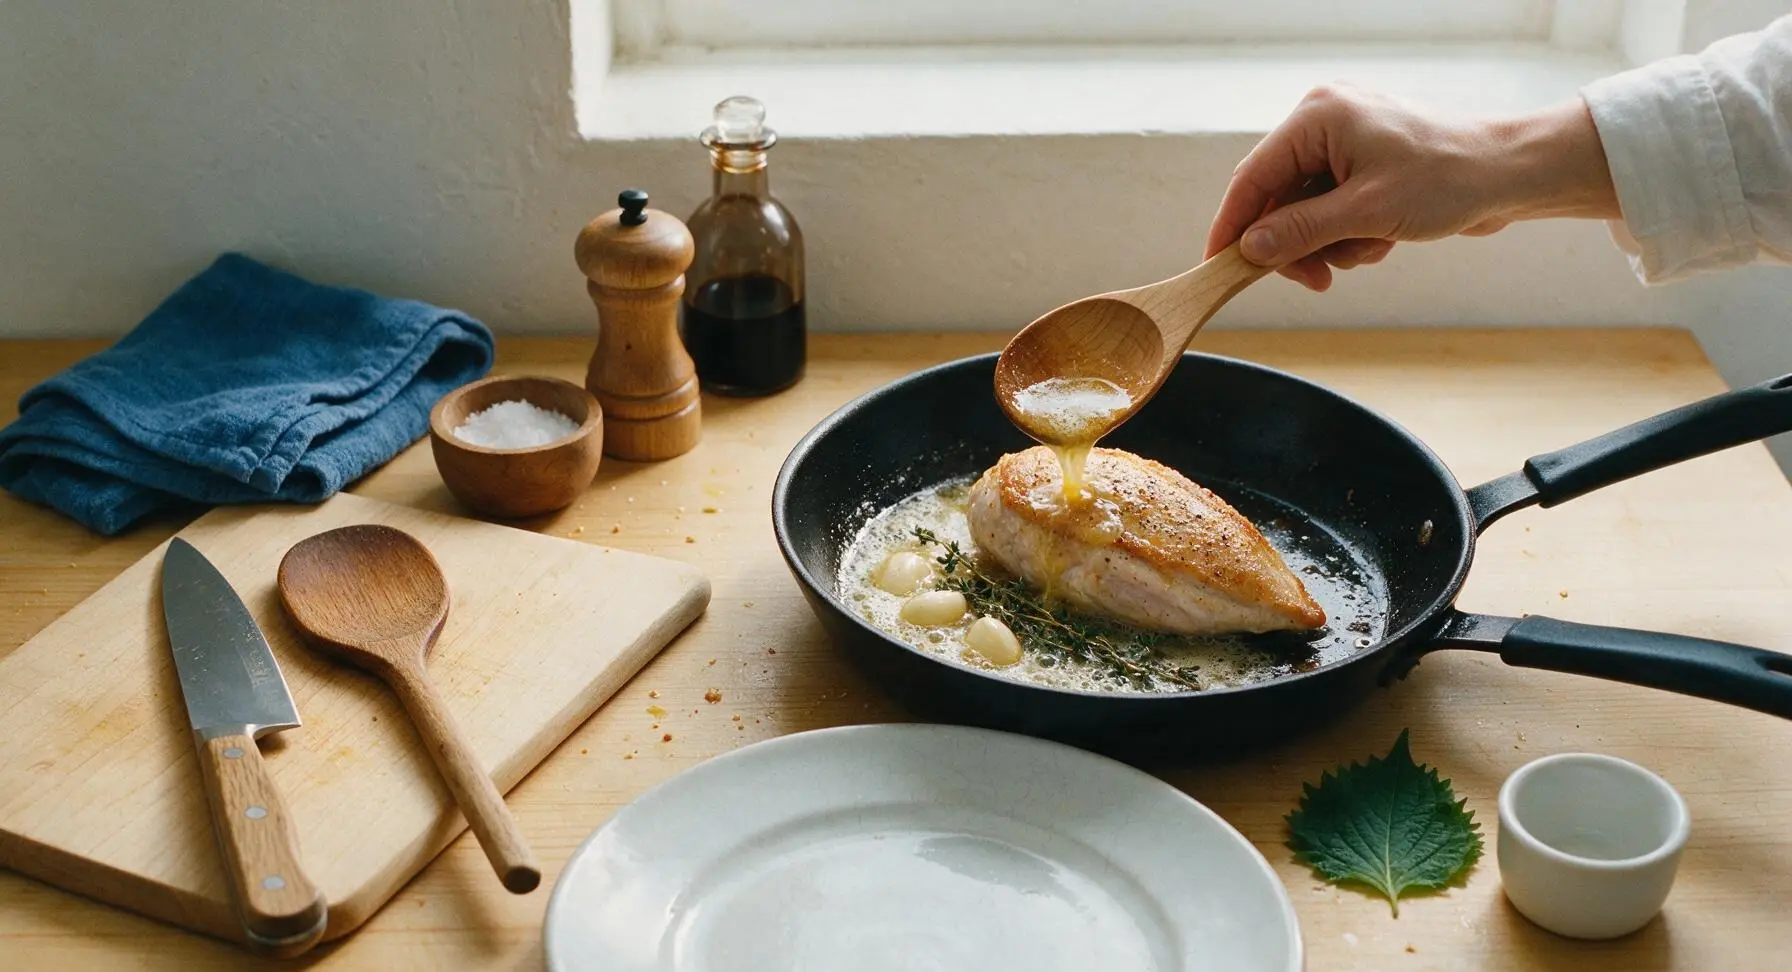
Tilt the skillet slightly so the melted, nutty-smelling browned butter pools at the lower edge of the pan. Use the polished maple serving spoon to scoop the foamy butter and drizzle it repeatedly over the top of the chicken skin, basting continuously for 8 minutes. Tuck the garlic and thyme sprigs into the butter as you baste to release their aromatic oils into the fat.
Check Doneness Temperature
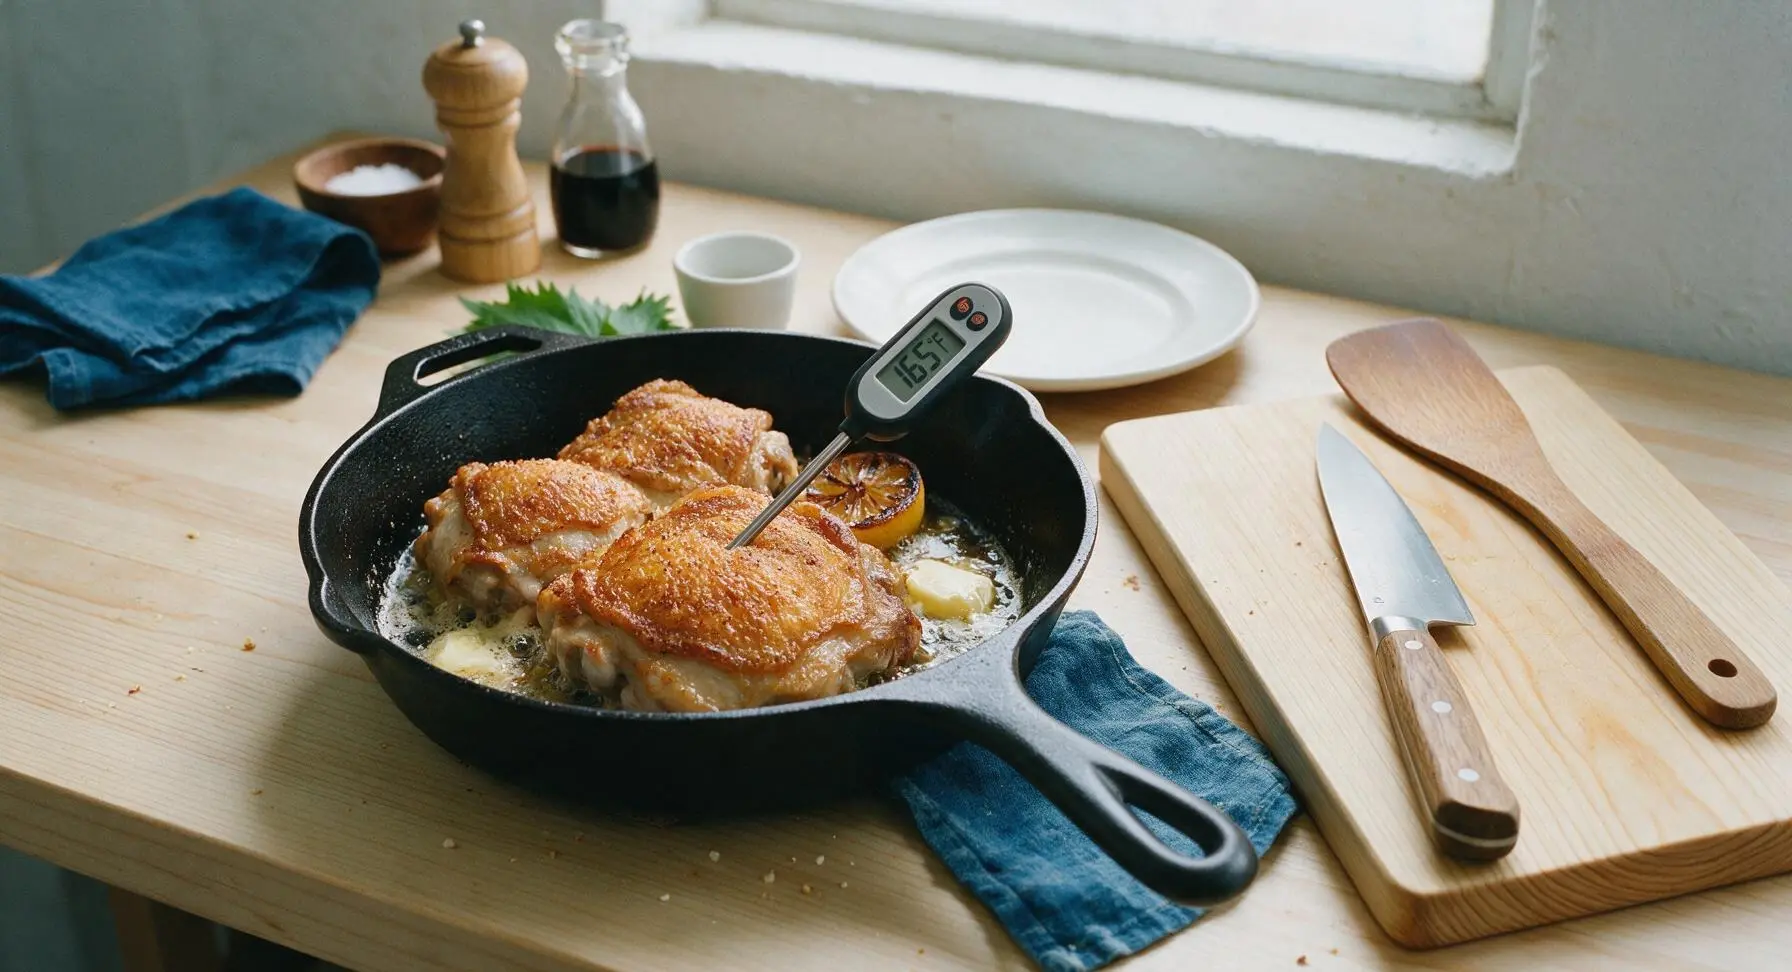
After 8 minutes of basting, insert the instant-read meat thermometer into the thickest part of the largest chicken thigh, taking care not to touch the bone with the probe. The chicken is fully cooked when the internal temperature reads 165°F (74°C). If the temperature reads lower, continue basting for 2-3 more minutes before checking again. The garlic should be soft and golden, and lemon slices caramelized at the edges when done.
Rest Before Serving
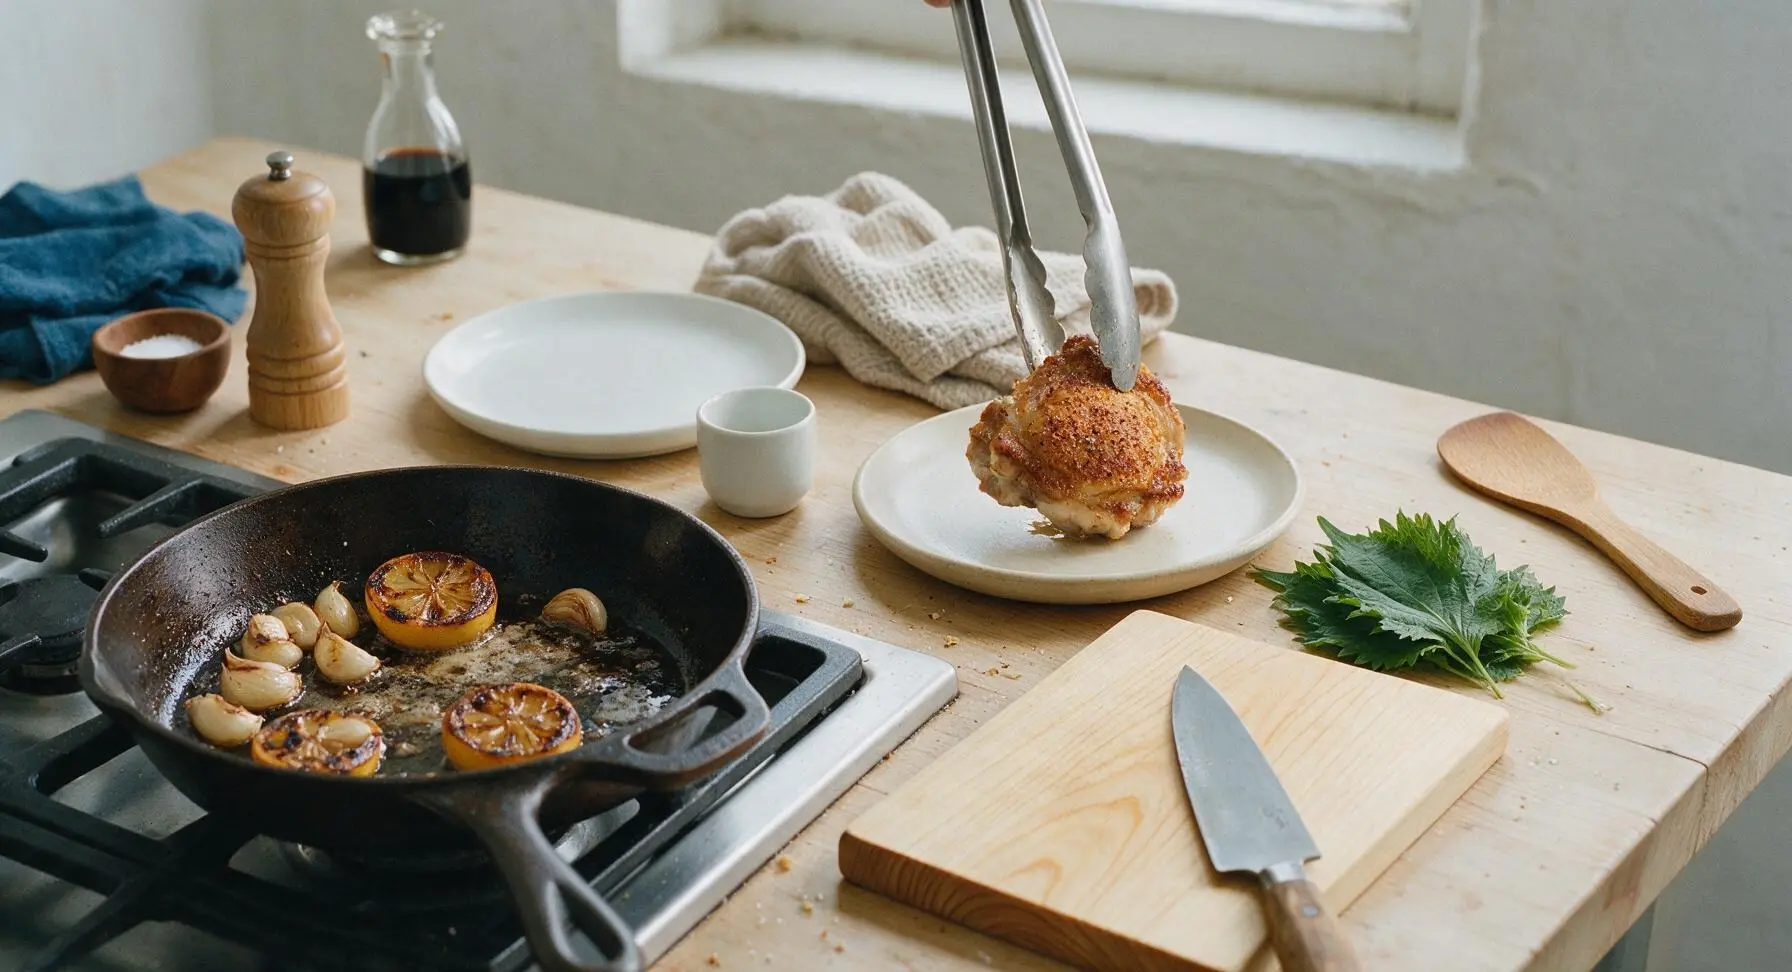
Use the stainless steel tongs to transfer the cooked chicken thighs to the matte cream stoneware dinner plate, spooning the roasted garlic, caramelized lemon, and 1 tablespoon of the browned pan butter over the top. Let the chicken rest for 5 minutes at room temperature to allow juices to redistribute back into the meat before serving.
Tips
2.Resist the urge to move chicken while searing: Constant lifting or shifting breaks the contact between skin and hot pan, preventing even browning and causing skin to stick. Chicken will release naturally from the well-seasoned cast iron surface once the crust is fully formed, usually after 10-12 minutes.
3.Always rest cooked chicken for 5 minutes before serving: Cutting into hot chicken immediately causes all the flavorful, juicy liquid to run out onto the plate, leaving dry, tough meat. Resting allows the muscle fibers to relax and reabsorb moisture, ensuring every bite is tender and juicy.






OMG this chicken is SO good! I’ve been struggling to get crispy skin on chicken without deep frying forever, and this method worked perfectly on the first try. My kids devoured two thighs each and asked when we’re having it again. Total game changer for weeknight dinners!
Made this for a potluck last weekend and people were begging for the recipe. The crust was crispy, the chicken was juicy all the way through, and it only took me 25 minutes total? Unreal. I added a little paprika to the seasoning like someone suggested in the notes and it slapped.
Really solid recipe! The chicken came out super crispy, my only note is that my smoke alarm went off twice because my cast iron got a little too hot on medium-high. Next time I’ll turn the burner down a touch. Still ate every bite though!
I’ve been cooking on cast iron for 20 years and I can’t believe how simple this method is. Got that perfect crisp without a ton of oil, and the chicken stayed juicy even when I overcooked one breast by a couple minutes. My wife said it’s better than the fried chicken we get at our local spot.
Just pulled this out of the oven and had to leave a review immediately. The skin is CRUNCHY, like actual potato chip level crunchy, and the meat is so tender. I served it with roasted broccoli and mashed cauliflower for a quick weeknight meal and my roommate is already asking for seconds.
Tasted pretty good but my chicken stuck to the pan really bad and half the skin came off when I went to flip it. Bummed because I was really looking forward to that crispy skin everyone is talking about.
So happy this recipe is naturally gluten free! I’ve been searching for an easy crispy chicken recipe that doesn’t require flour or breadcrumbs, and this checks every box. I made it for my parents who are visiting and my mom asked for the recipe before she even finished her first bite.
Made this for my Sunday meal prep and it held up great all week! I portioned it out with rice and roasted veggies, and the skin even stayed crisp when I reheated it in the toaster oven. Way better than the sad meal prep chicken I usually make that’s dry and rubbery.
This saved me on a night when I had 30 minutes to get dinner on the table between practice and homework. I used chicken thighs like the recipe suggested, tossed a quick salad while it cooked, and the whole family cleaned their plates. No complaints, no leftover veggies left on plates, that’s a mom win!
Was skeptical about cast iron chicken because I usually mess up cast iron recipes, but this was so easy! I knocked off a star because I found the seasoning a little plain for my taste, so next time I’ll add some cajun seasoning and a squeeze of lime at the end. Otherwise, texture was perfect.
Game. Changer. I used to only fry chicken in a big pot of oil because I thought that was the only way to get that proper crisp, but this cast iron method is way less messy and tastes just as good. Made a big batch for my game day watch party and every piece was gone by halftime.
Just made this for the first time ever in my first ever cast iron skillet (I got it for my birthday last week!) and it came out perfect. I was so scared I’d ruin the pan or the chicken, but the instructions were so straightforward. I feel like a real chef now lmao.
I love that this recipe doesn’t require a ton of fancy ingredients! I already had everything in my pantry: salt, pepper, garlic powder, chicken, a little oil. No weird specialty items, no 20 steps, just perfect crispy chicken. This is going into my regular dinner rotation for sure.
Made this for Sunday family dinner last week and my picky 7 year old who refuses to eat any meat with 'stuff on it' ate three whole drumsticks. I didn’t even have to bargain with him, no screen time bribe, nothing. That’s the highest possible recommendation I can give a recipe.