
chicken hotdish
intro
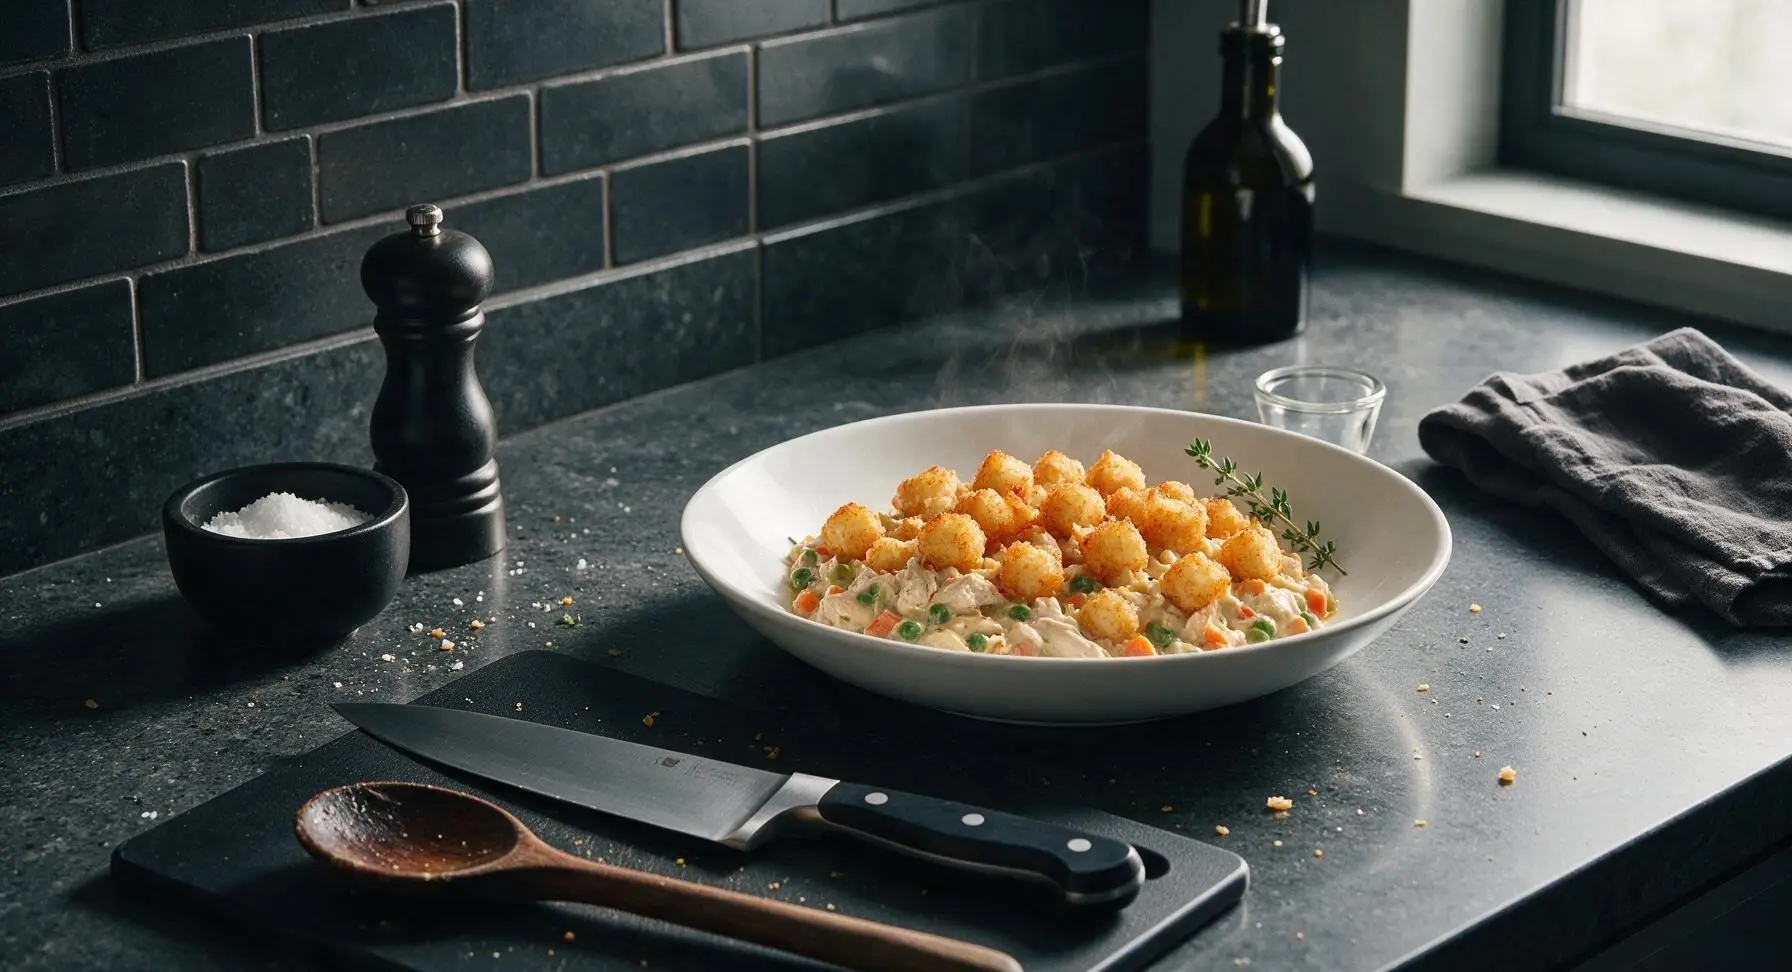
Creamy, veggie-packed Midwestern chicken hotdish with a crispy tater tot top is the ultimate cozy comfort food, made for gathering around the Sunday dinner table with loved ones.
Ingredients
Steps
Prep Chicken and Preheat Oven
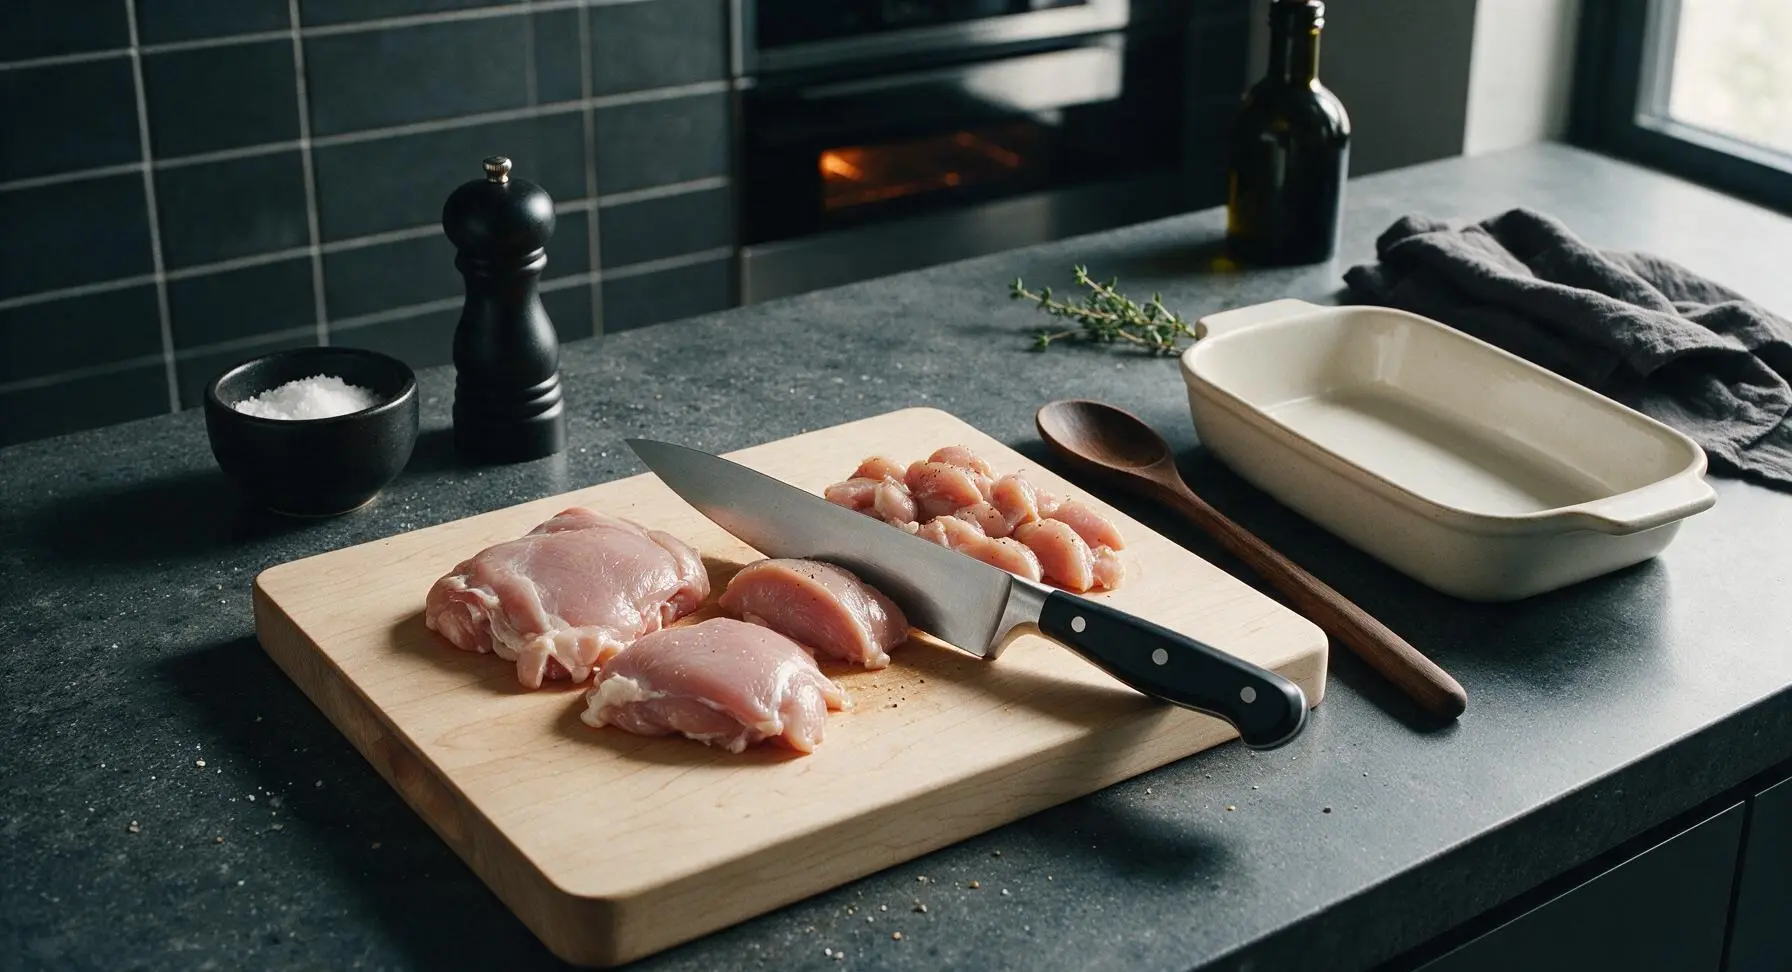
Adjust oven rack to middle position, preheat oven to 190C (375F). Pat the 450g boneless skinless chicken thighs dry with a corner of the oat linen towel, place on the maple cutting board, and use the chef knife to cut into 2.5cm (1-inch) bite-sized pieces, discarding any excess fat or tough connective tissue. Season the cut chicken lightly with 1/4 tsp kosher salt and 1/4 tsp black pepper.
Sear Chicken Pieces
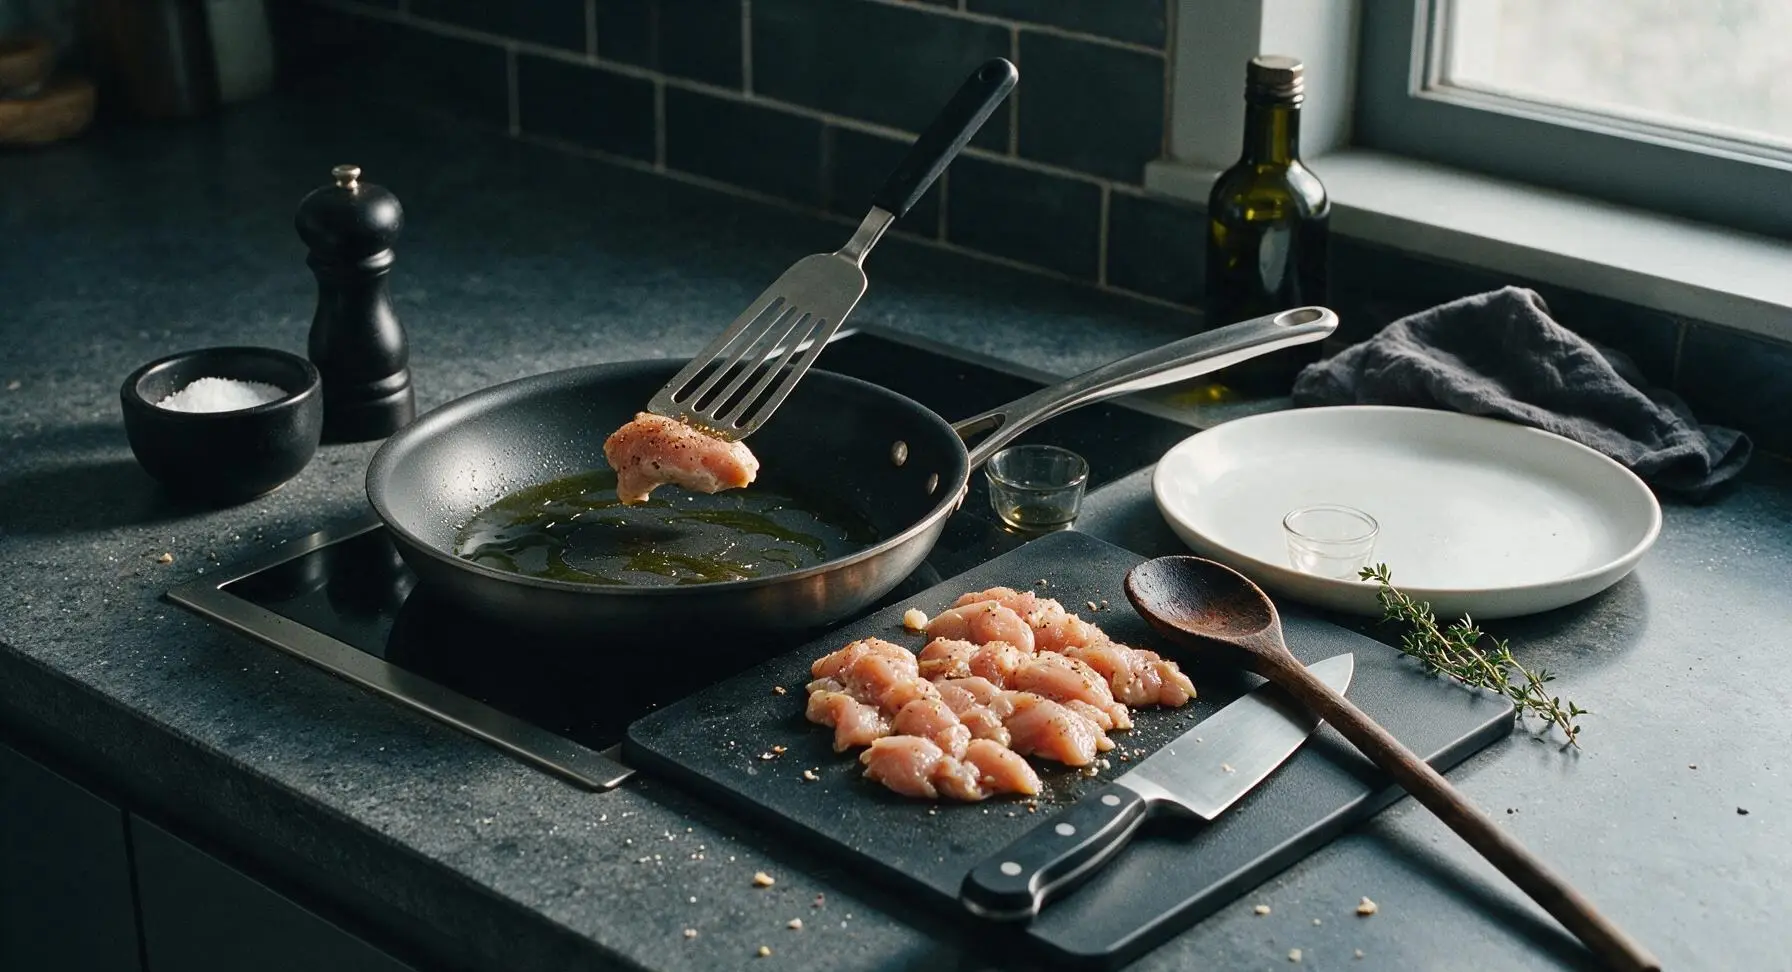
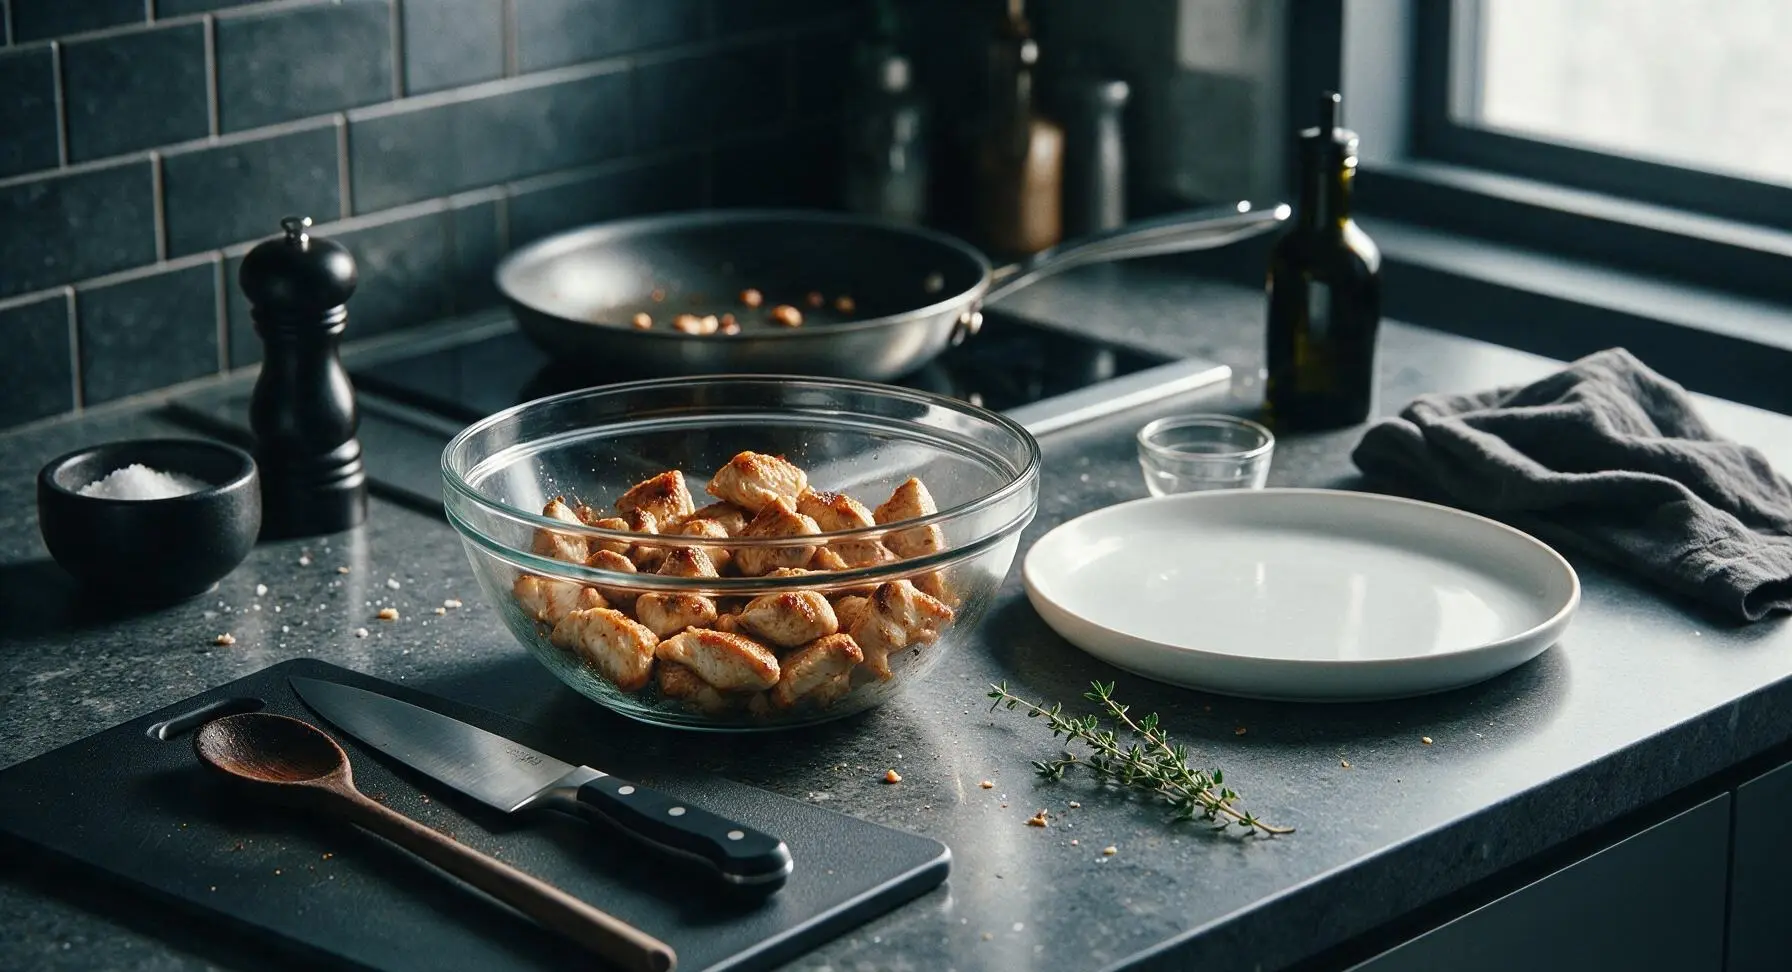
Heat 1 tbsp olive oil in the 10-inch nonstick skillet over medium heat (175C/350F pan surface). Once the oil shimmers (about 2 minutes), add the cut chicken pieces in a single layer, working in batches if needed to avoid crowding the pan. Sear for 3 minutes per side, until golden brown on the edges but not fully cooked through (internal temp will finish in the oven, no pink remaining on seared surfaces). Use the slotted turner to transfer seared chicken to the clear glass mixing bowl.
Mix Filling Base
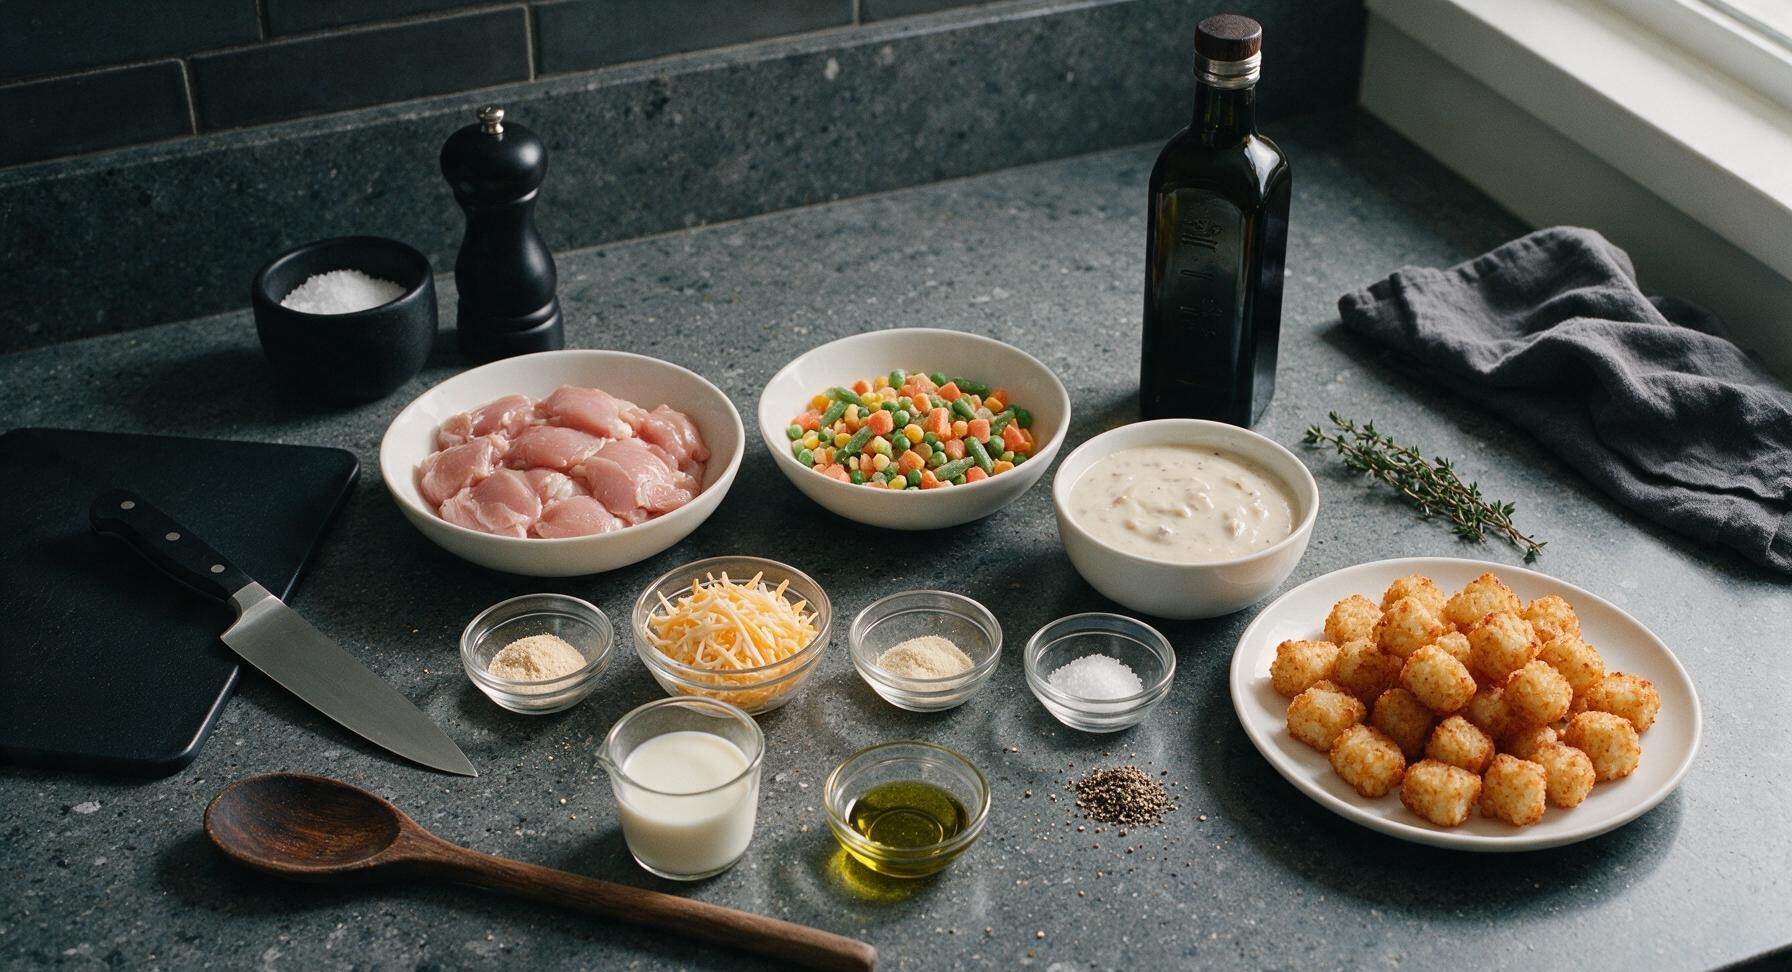
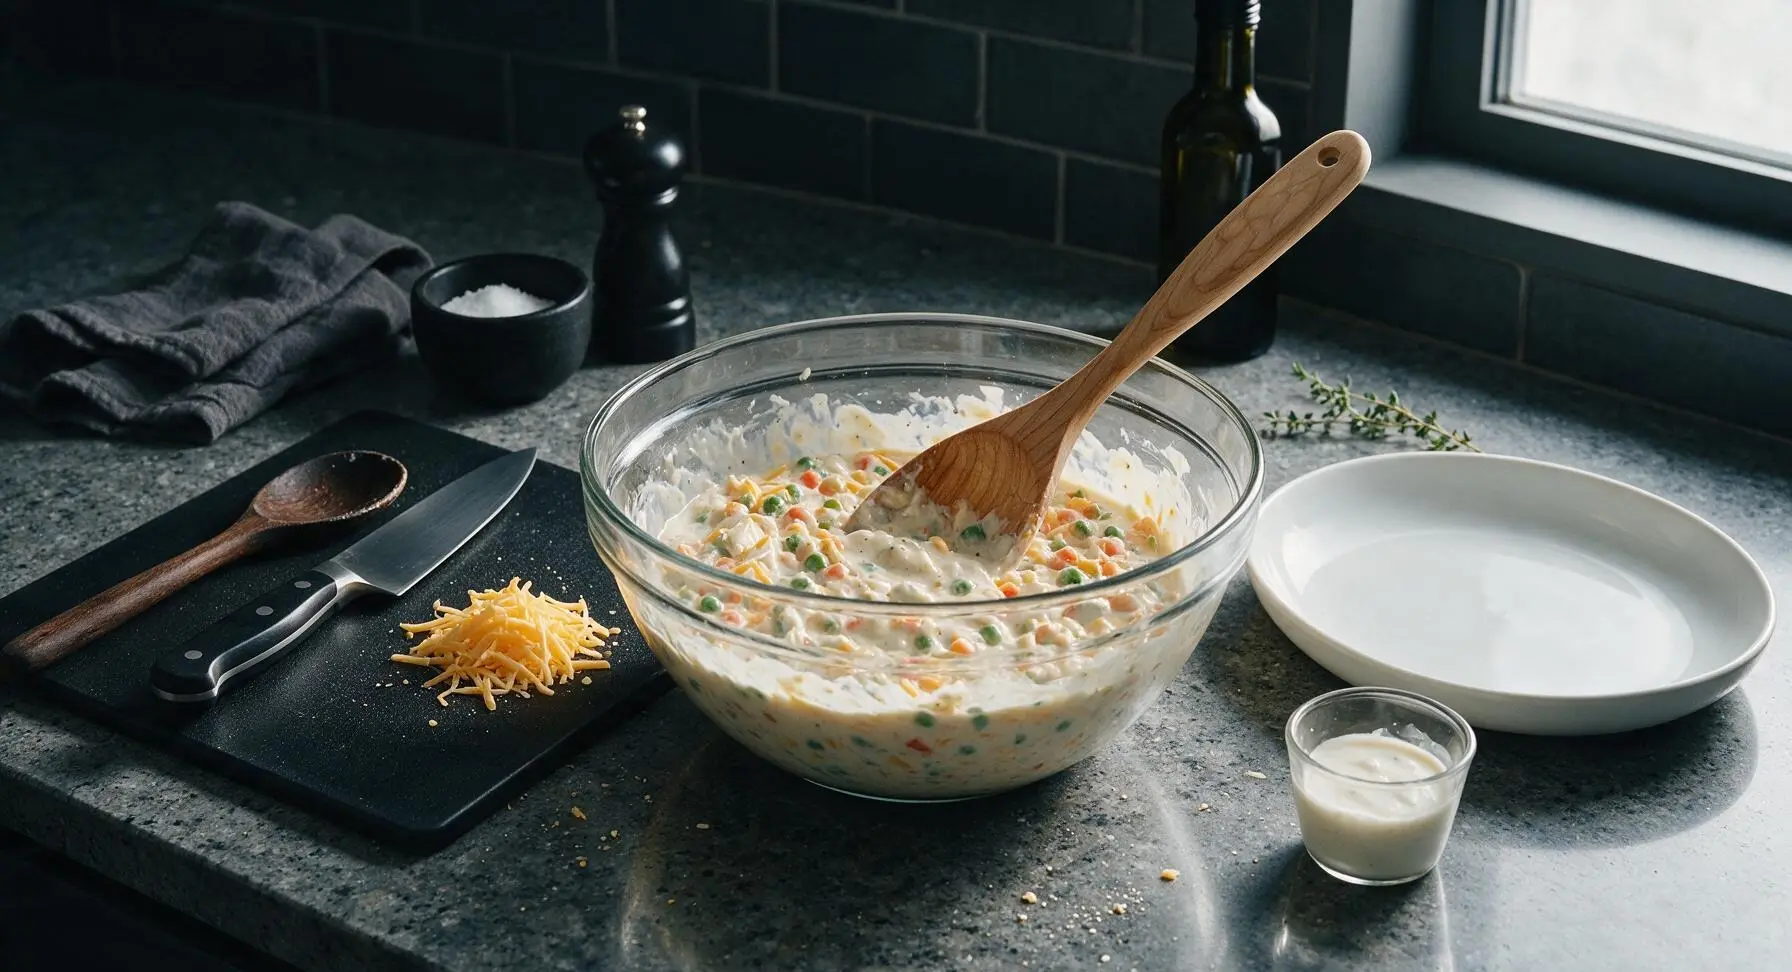
To the glass mixing bowl with seared chicken, add the 300g condensed cream of mushroom soup, 60ml whole milk, 1 tsp garlic powder, 1 tsp onion powder, remaining 1/4 tsp black pepper, 120g frozen mixed vegetables, and 70g of the shredded cheddar cheese (reserve 30g for topping). Use the hand-carved maple mixing spoon to stir thoroughly until all ingredients are evenly coated in the creamy soup base, with no dry spice clumps remaining.
Assemble Hotdish Layers
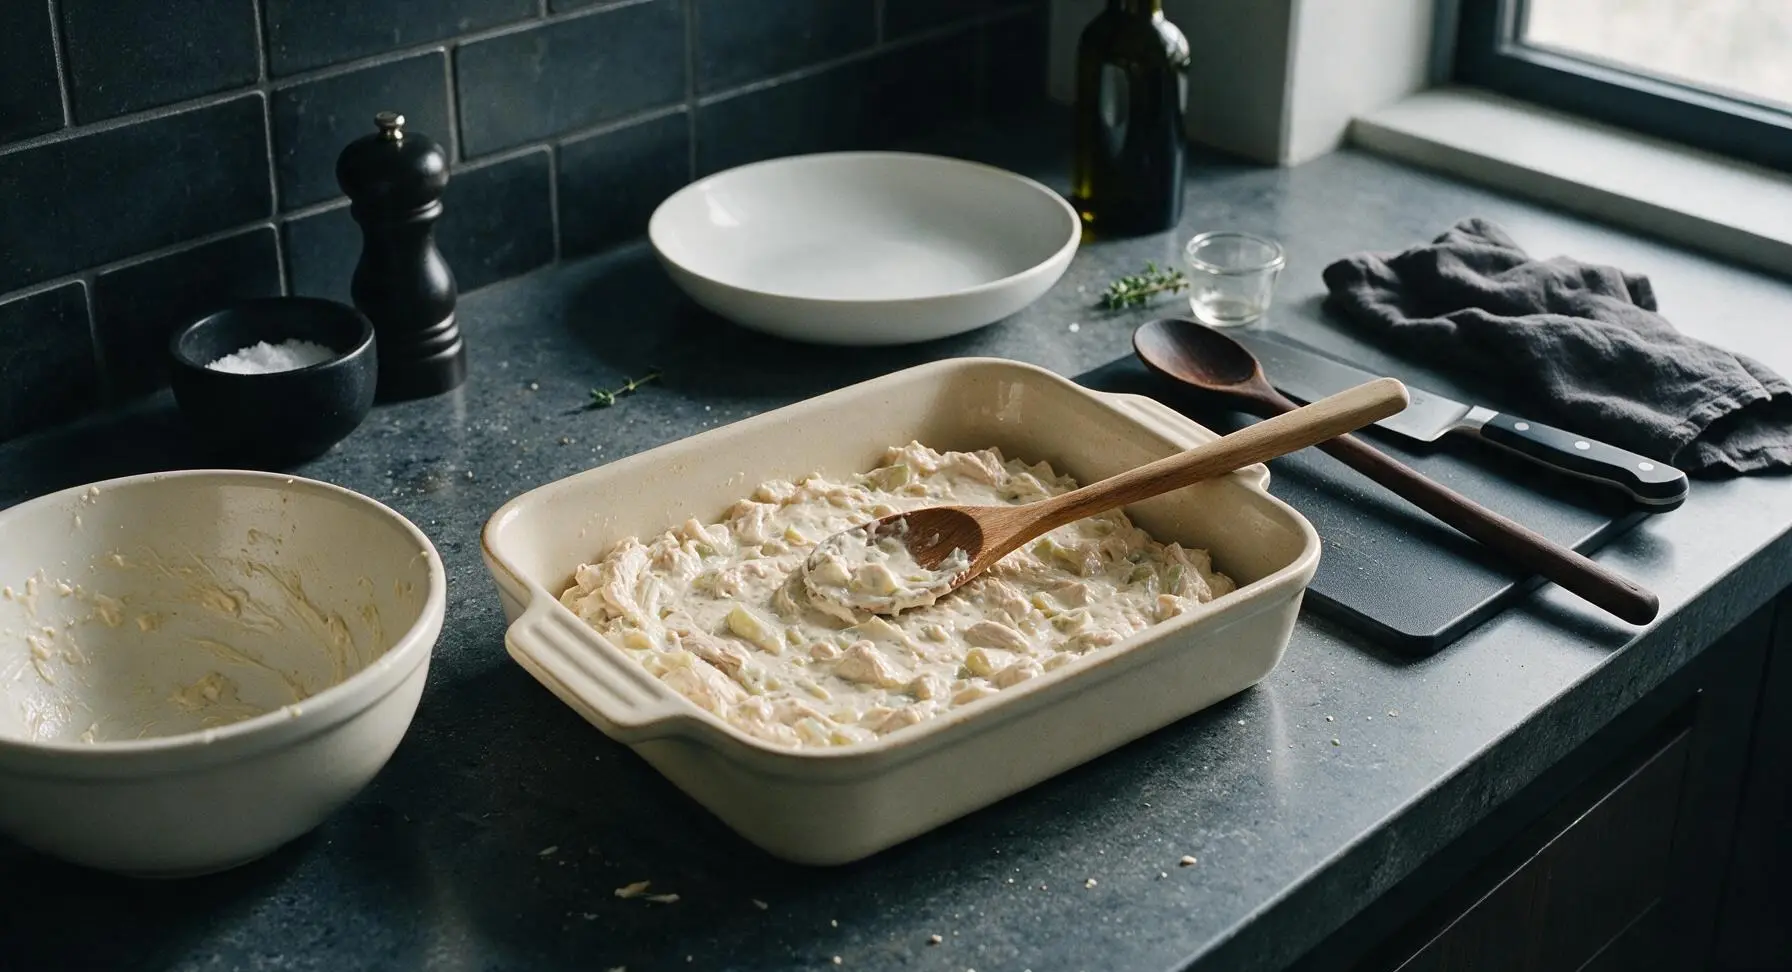
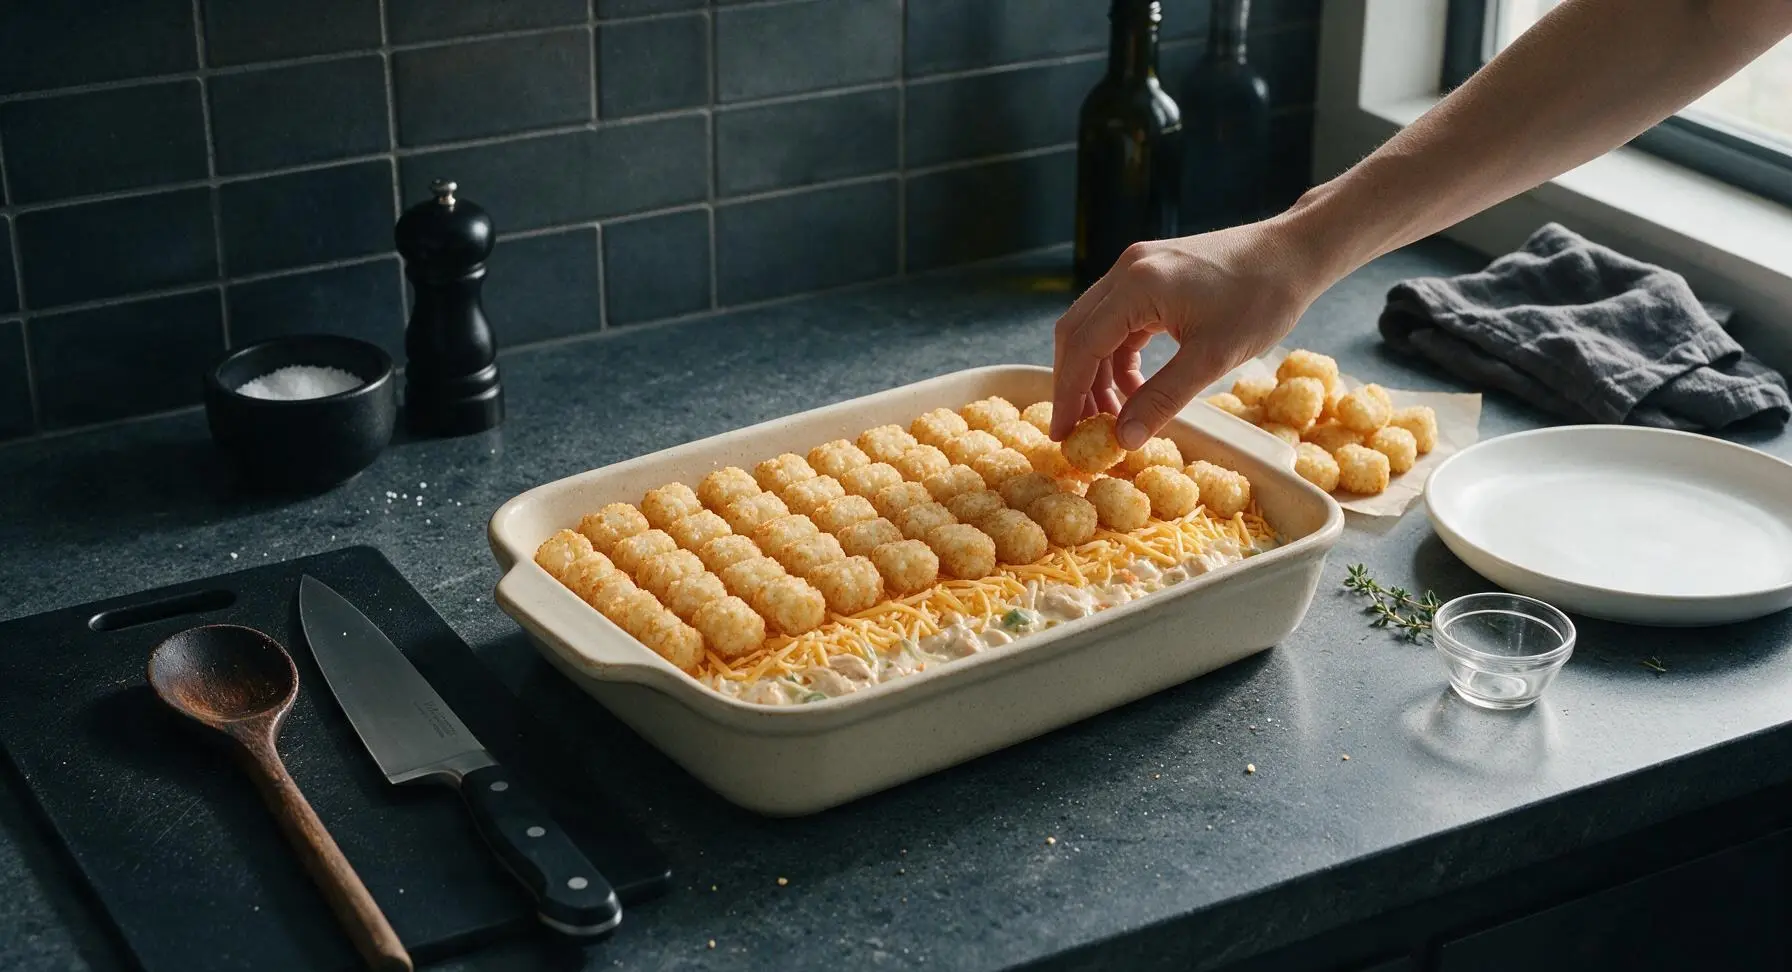
Pour the entire creamy chicken and vegetable mixture from the mixing bowl into the 9x13 inch cream stoneware baking dish, spread into an even flat layer with the back of the maple mixing spoon. Sprinkle the reserved 30g shredded cheddar evenly over the top of the filling. Arrange the frozen tater tots in tight, neat overlapping rows across the entire surface of the filling, covering it completely (no gaps for filling to bubble through).
Bake Covered First
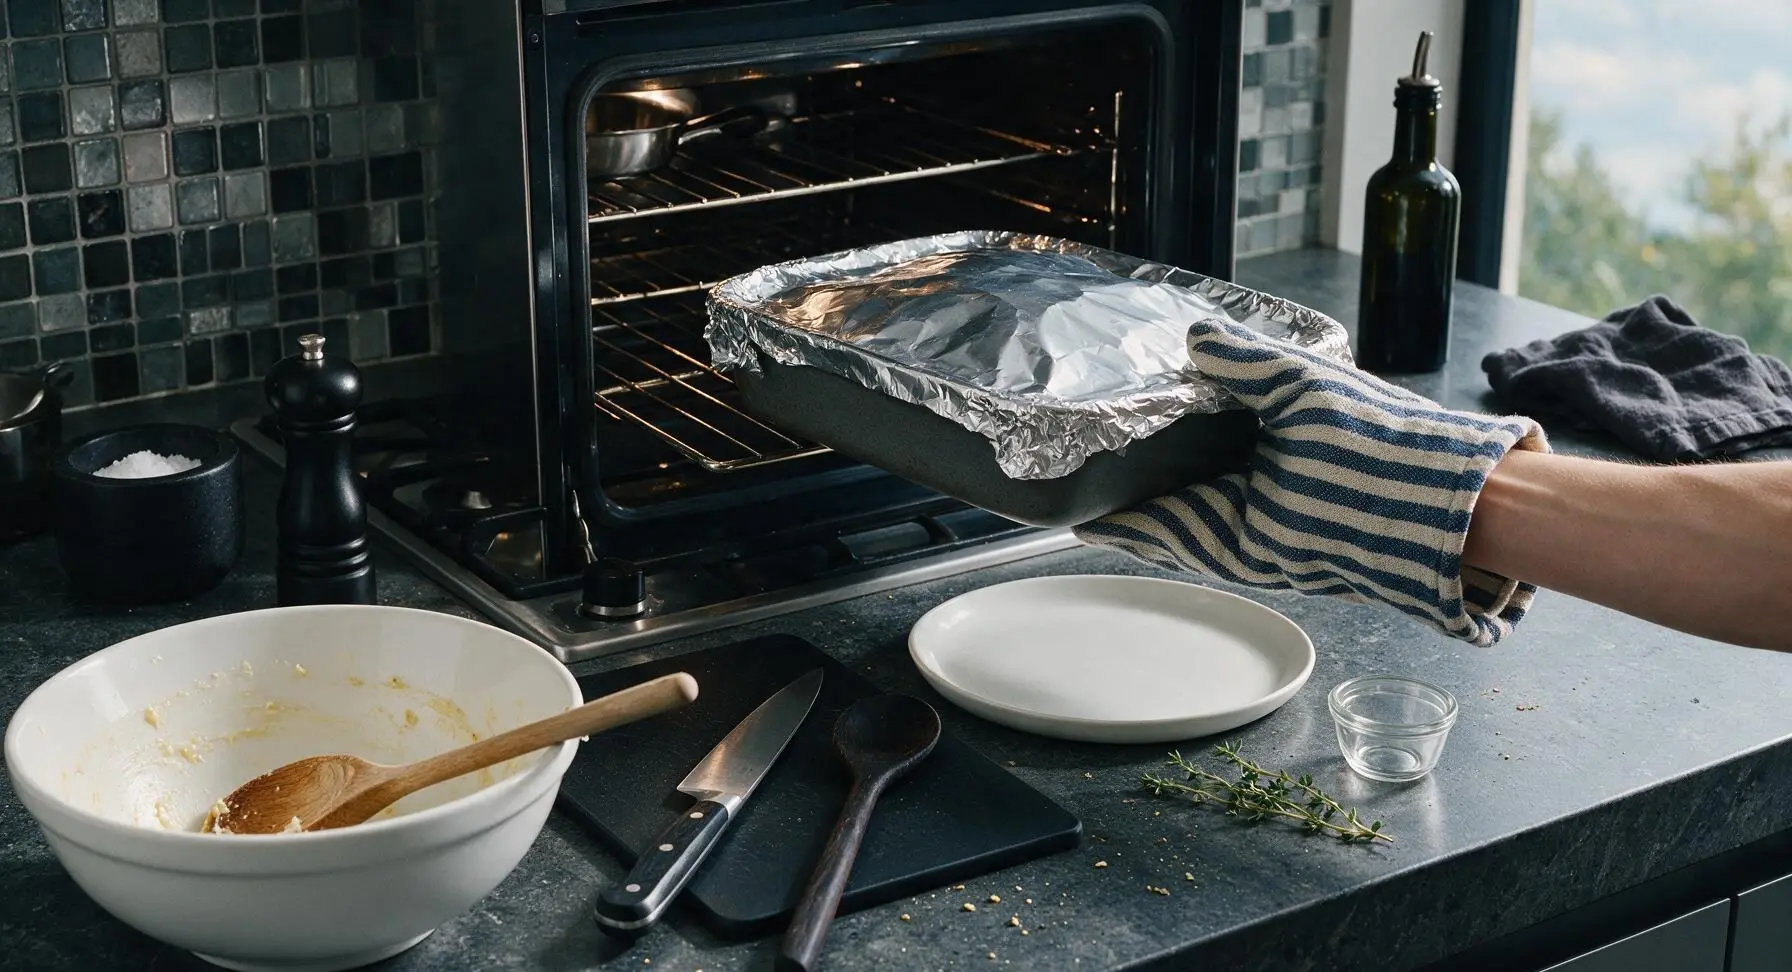
Tightly cover the baking dish with a sheet of aluminum foil, crimping the edges to create a tight seal. Place the dish on the middle oven rack, bake covered for 30 minutes at 190C (375F). The filling will be bubbly around the edges when the covered bake time is complete, and the tater tots will be thawed and soft.
Uncover and Crisp Top
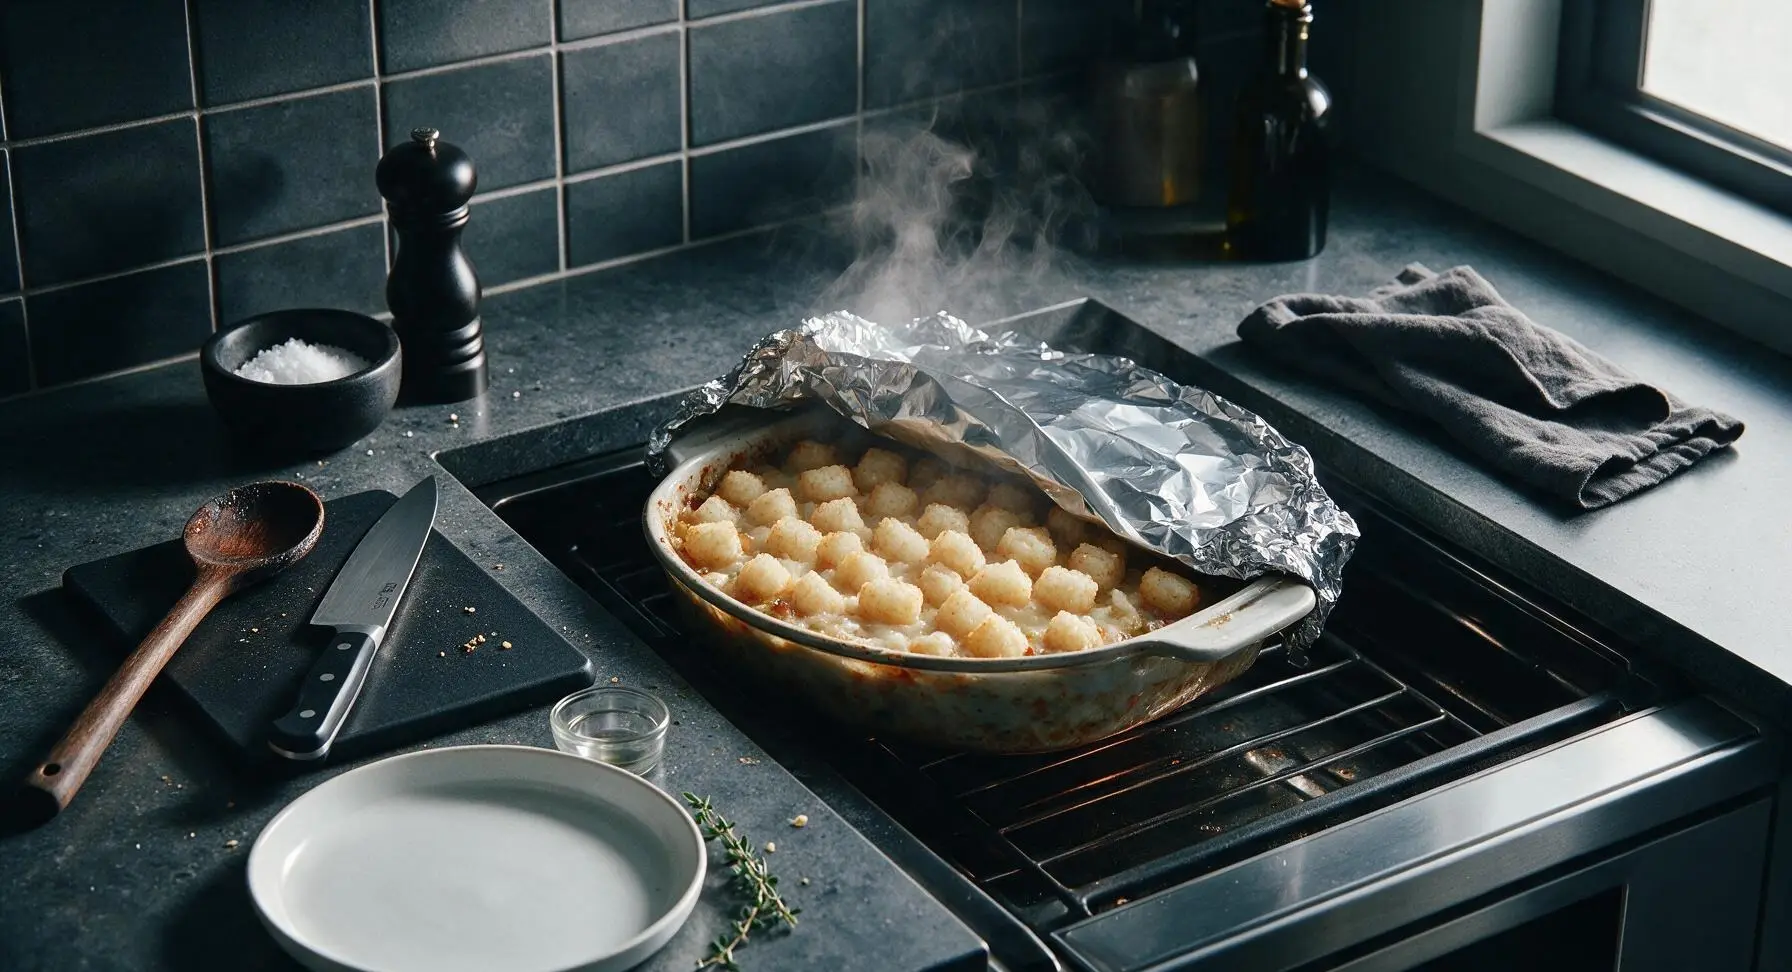
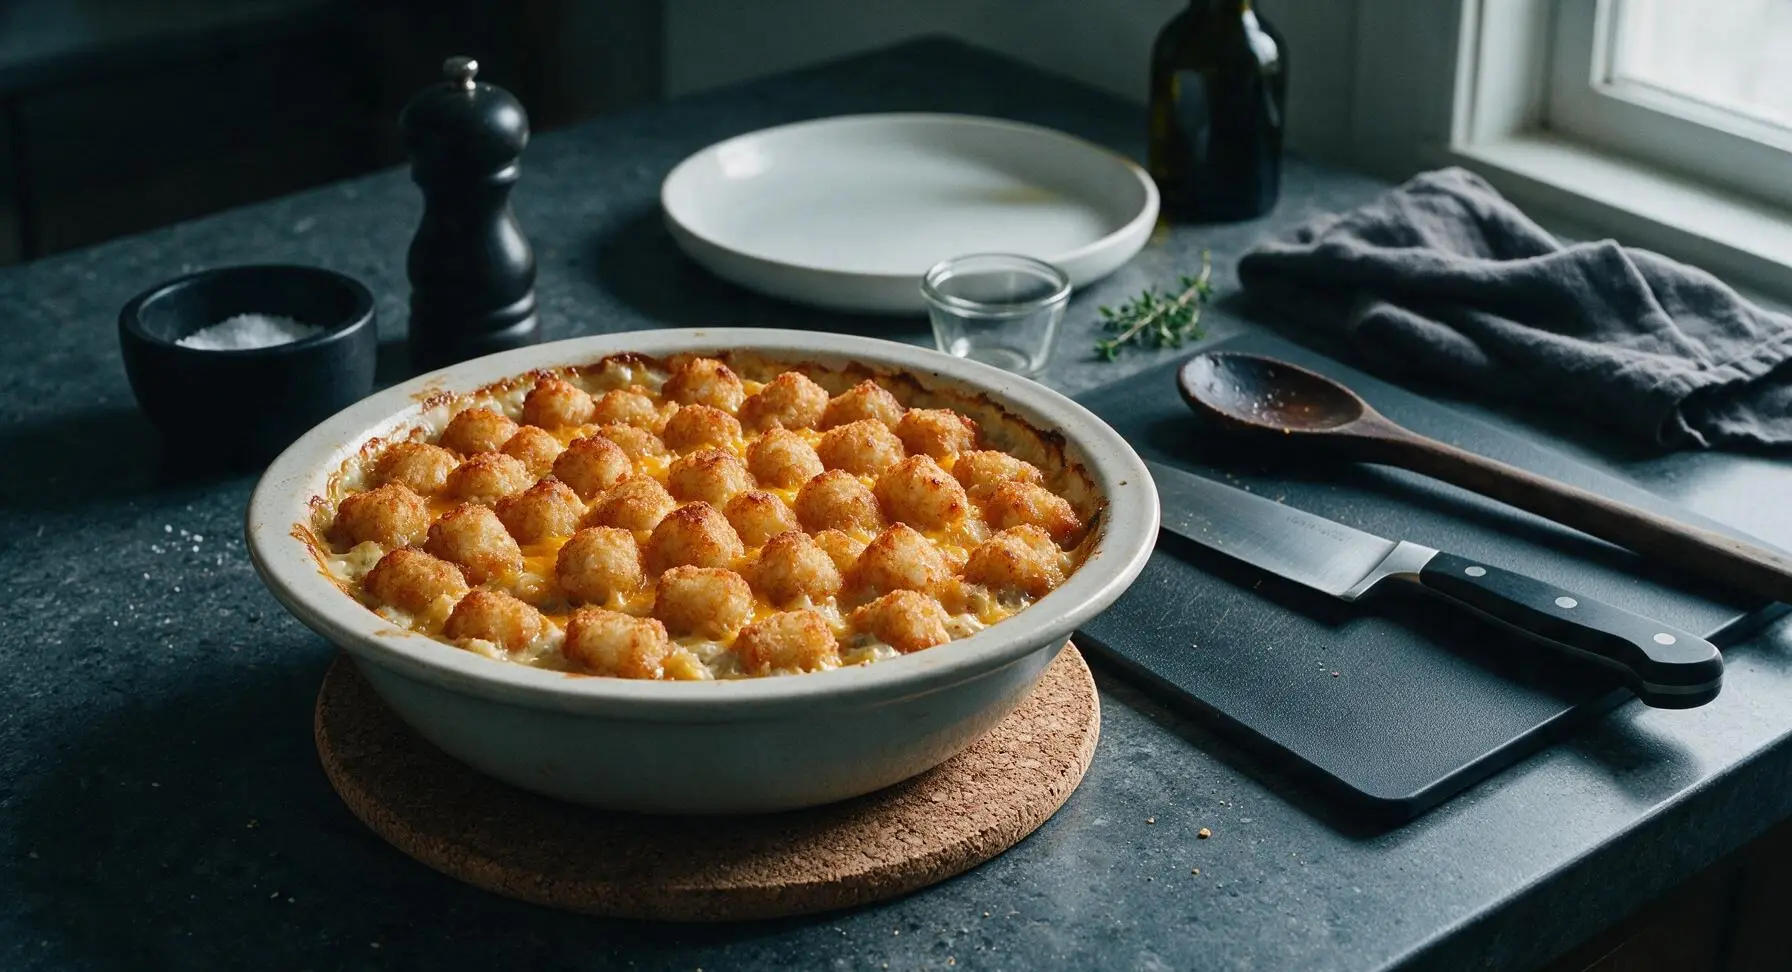
After 30 minutes of covered baking, carefully remove the foil from the dish (watch for escaping steam), return the dish to the middle oven rack. Bake uncovered for an additional 20 minutes, until the tater tots are deep golden brown and crispy on all edges, the filling is bubbling vigorously around the sides of the dish, and the internal temperature of the center reaches 74C (165F).
Rest and Garnish
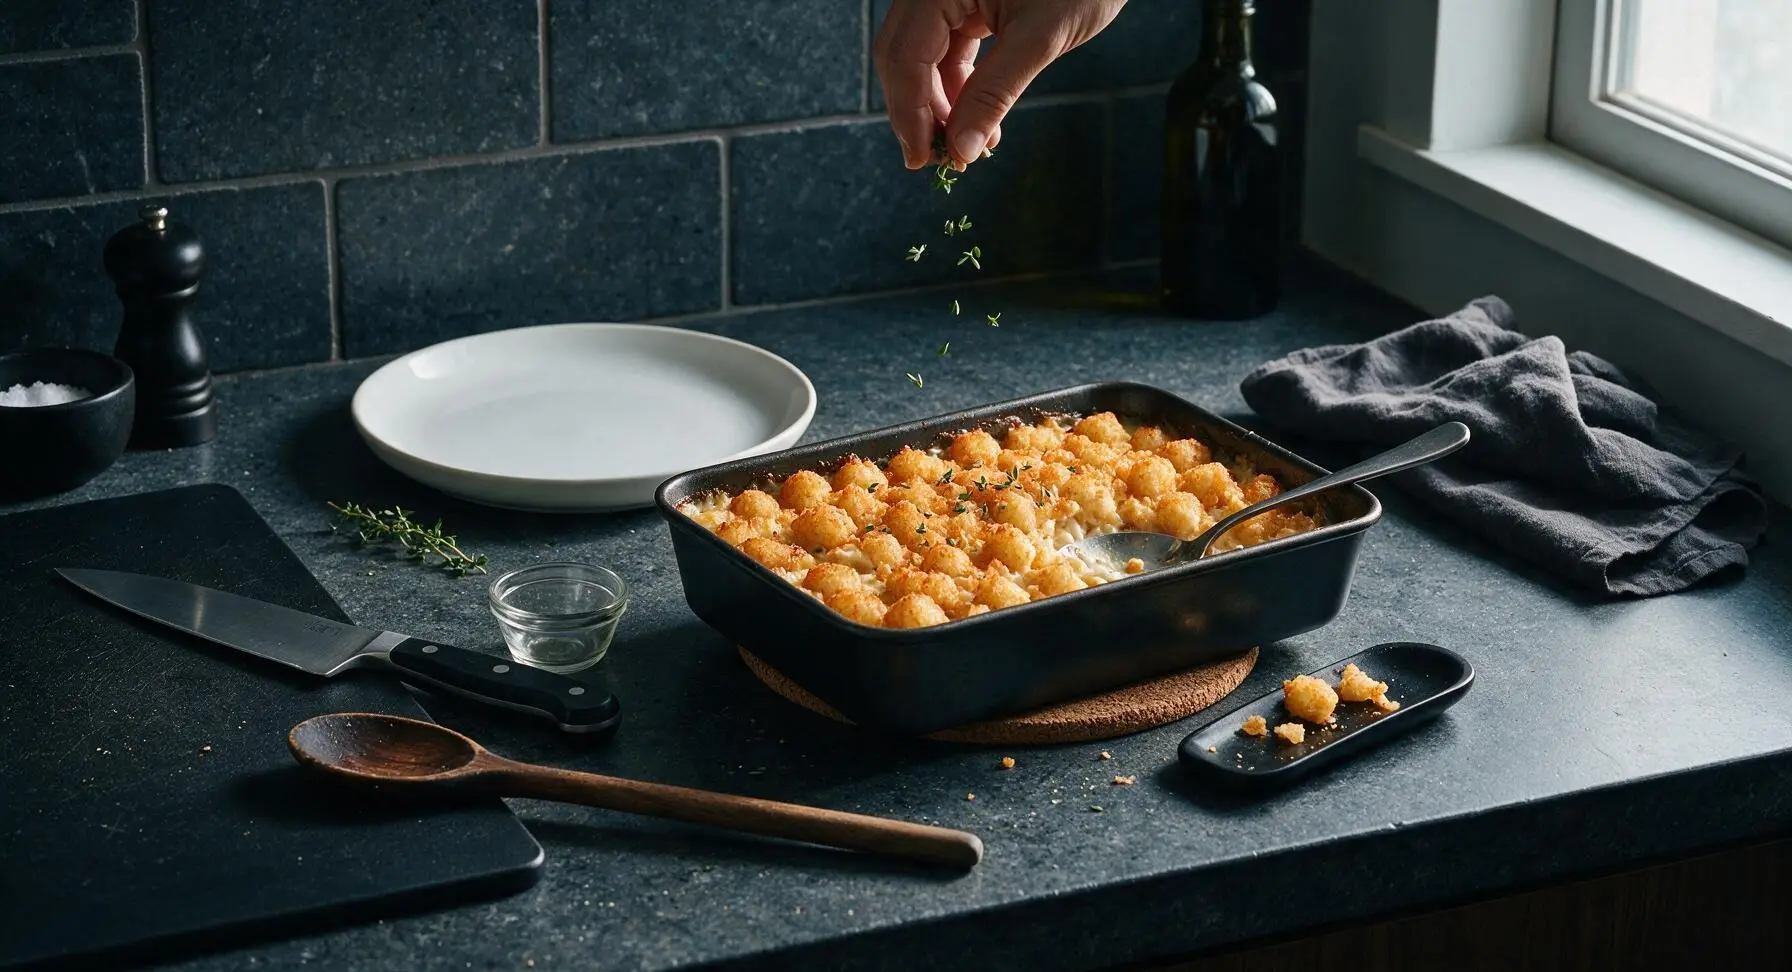
Let the hotdish rest for 10 minutes at room temperature before serving, to allow the creamy filling to set (this prevents runny portions when scooping). Scatter fresh thyme leaves over the crispy tater tot top as a light, aromatic garnish.
Tips
2.Let the hotdish rest the full 10 minutes after baking: the starchy creamy filling needs time to set, so portions hold their clean shape when scooped instead of running across the plate, and the temperature cools to a pleasant eating level.
3.For an extra savory crunch, toss the tater tots in 1 tablespoon of melted unsalted butter and a pinch of garlic powder before arranging them on the filling: this adds a rich, golden buttery crust that does not form when baking dry frozen tots.






OMG this hotdish is exactly what I grew up eating at church potlucks in Minnesota! I was worried I’d never nail that creamy, savory vibe without my mom’s handwritten recipe, but this is spot on. My kids ate two servings each and asked if we can have it every Sunday night for family dinner. SO good, I used extra frozen veggies like my mom always did and it turned out perfect. Total game changer for busy weeknights!
Super easy to throw together after work, cook time was totally accurate for me. Only thing I’ll change next time is adding a little extra shredded cheese on top the last 10 minutes because my household is obsessed with cheese. The crispy tater tot topping? Chef’s kiss. Even my super picky 7 year old cleaned his plate.
Made a double batch of this Sunday for my weekly meal prep and it held up perfectly all week for lunches! I swapped the cream of mushroom for cream of chicken because that’s what I had in the pantry, and it still tasted amazing. Way better than sad takeout lunches, my coworkers kept asking what I was eating because it smelled so good in the break room.
I’ve been making chicken hotdish for 50 years and I have to say, this version is so straightforward even my teen grandson was able to help me make it when he was visiting last weekend. We brought it to our neighborhood block party and every last bite was gone. People were coming up to ask for the recipe all night! Don’t sleep on the dash of paprika on top, it adds such a nice little kick.
First hotdish I’ve ever made in my dorm’s tiny oven and it came out perfect! I didn’t have a fancy casserole dish so I just used a disposable aluminum pan and it worked great. Fed me and my three roommates for under $10 total, can’t beat that. 10/10 will be making this every other week for sure.
Really solid classic hotdish recipe! I loved how it didn’t require any weird fancy ingredients, just stuff I already had in my freezer and pantry. My only note is that my oven runs hot, so I had to turn the temp down 25 degrees to keep the tots from burning on the edges, but that’s just my oven being weird. Will absolutely make this again for our next game night with friends.