
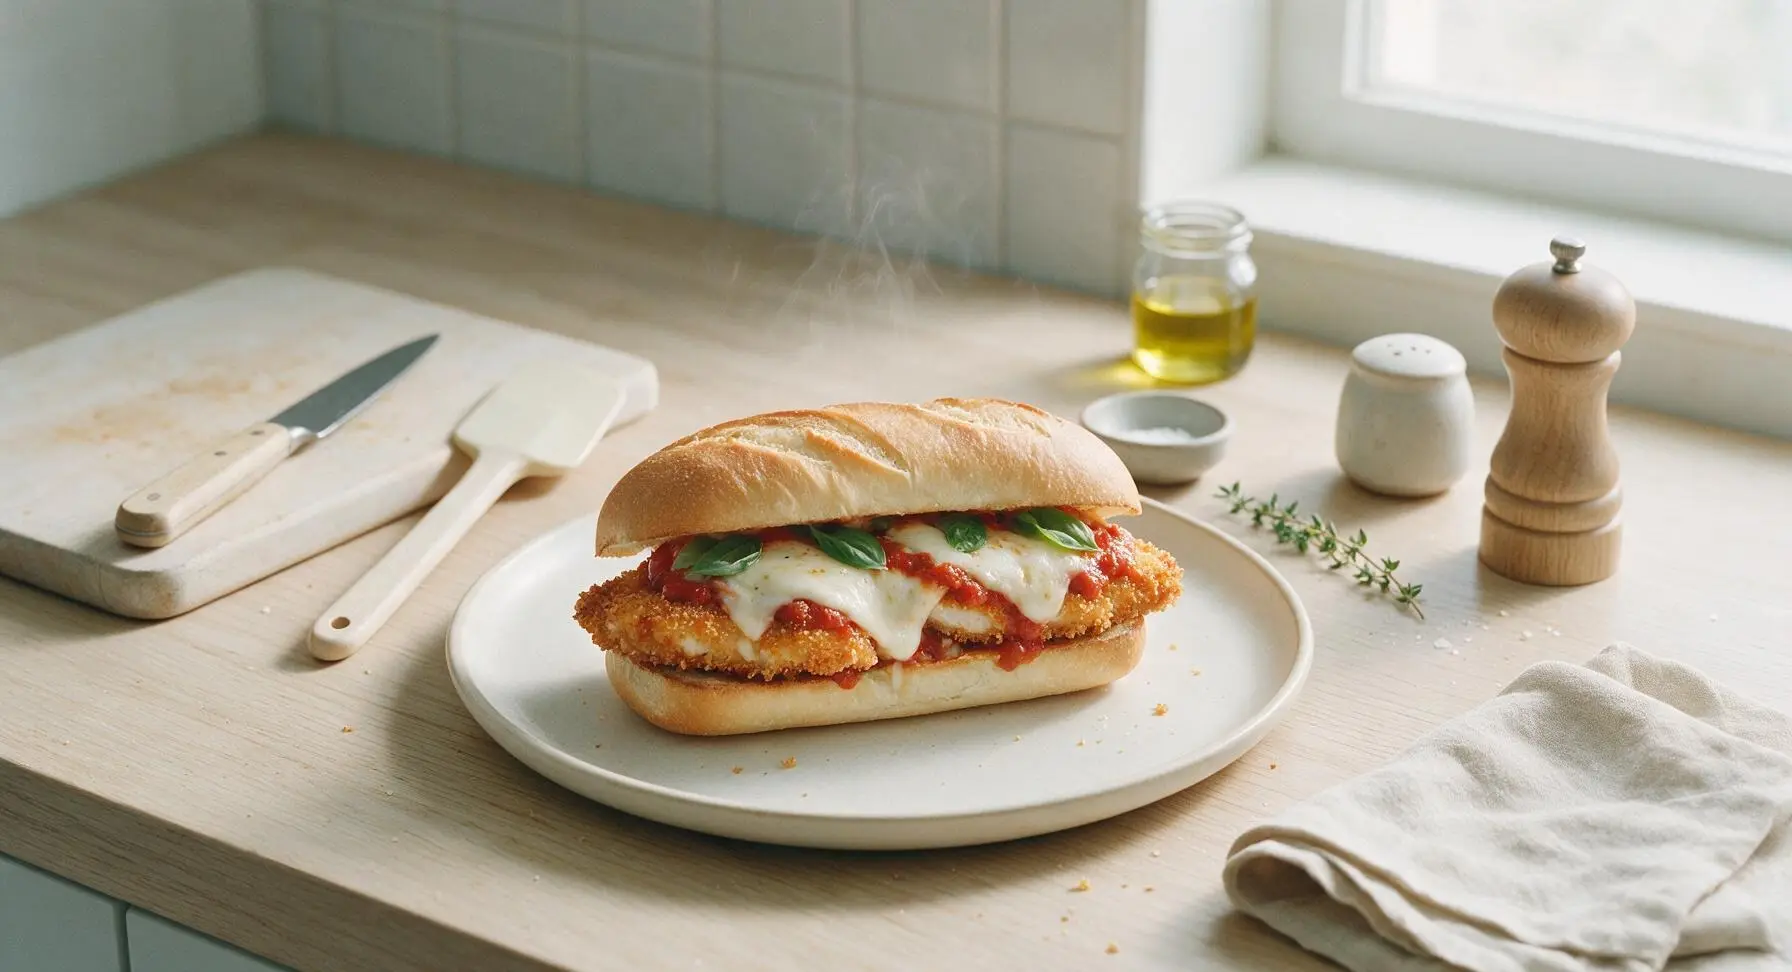
chicken parmesan sandwich

title 1
chicken parmesan sandwich
⏱️ cook time 20 minutes
🍽️ servings 4
⚡ Difficulty easy

intro

Crispy panko-crusted chicken cutlets, melted stretchy mozzarella, bright marinara, and fresh basil piled on a toasty hoagie roll: the ultimate comforting Italian-American sandwich, built for fast, satisfying weeknight meals.

Ingredients
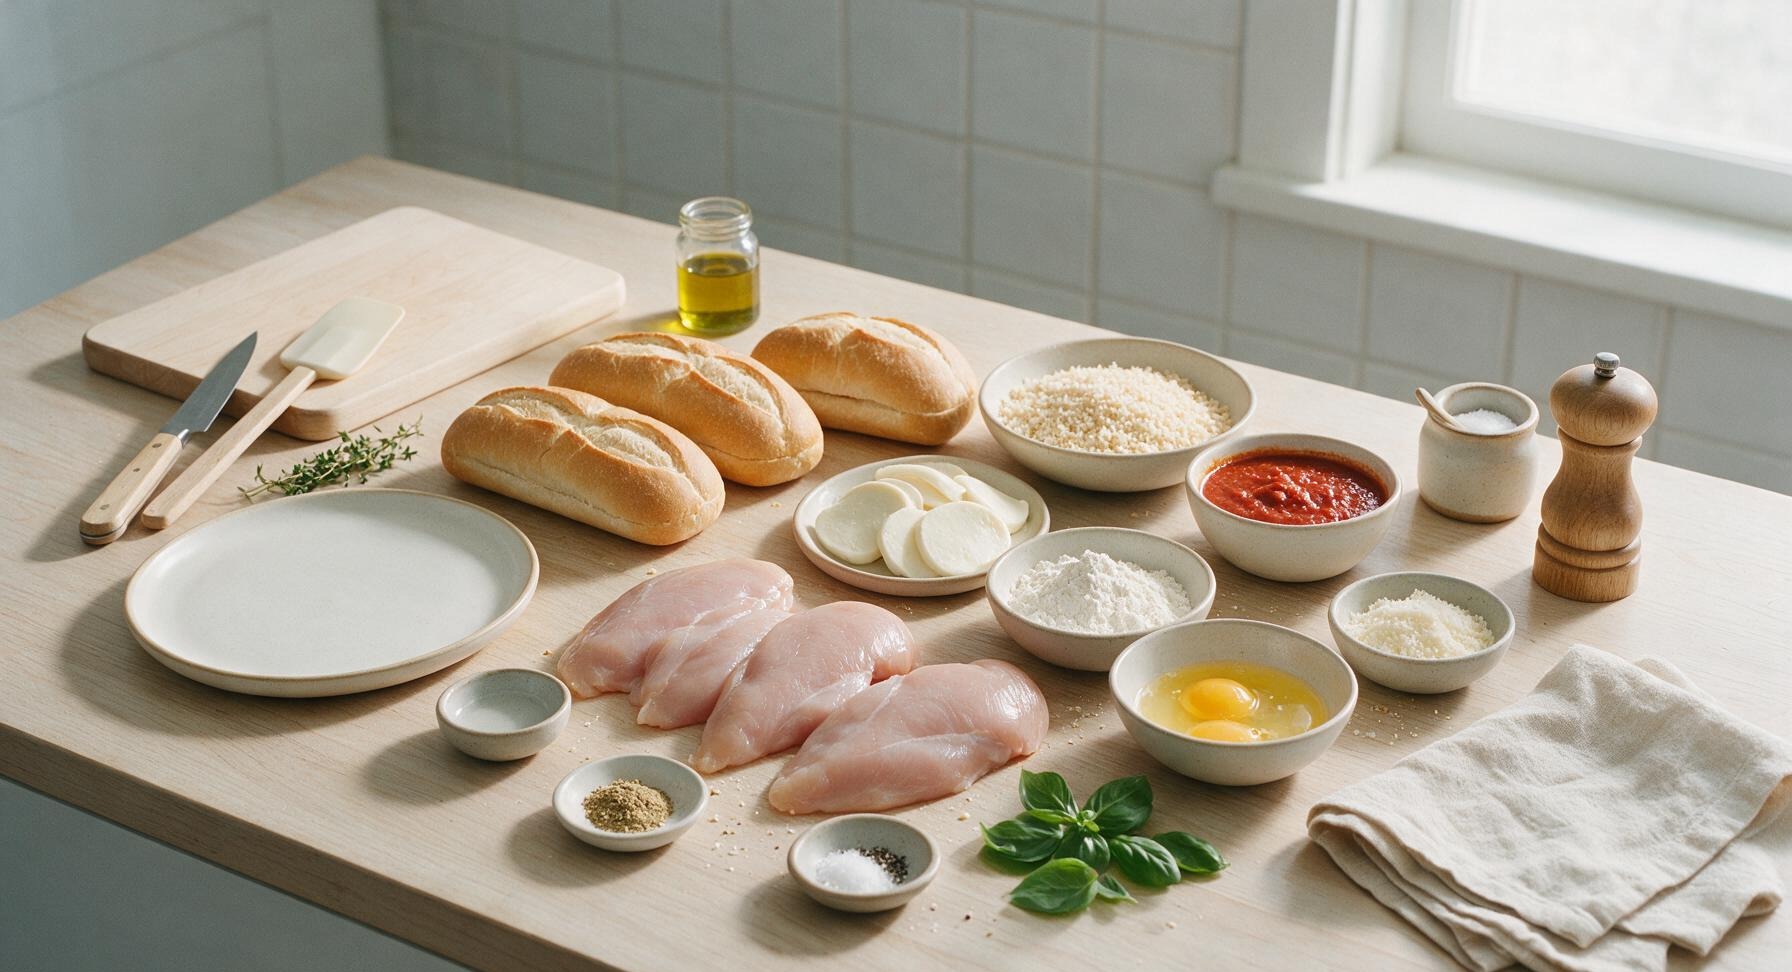
Boneless skinless chicken breasts 680g (4 x 170g pieces, pounded to 1/2-inch thickness)
Crusty Italian hoagie rolls 4 (6-inch each)
Low-moisture mozzarella cheese 225g (8oz), sliced 1/4-inch thick
Marinara sauce 360ml (1.5 cups), warmed
All-purpose flour 65g (1/2 cup)
Large eggs 2, beaten with 1 tbsp water
Panko breadcrumbs 120g (1.5 cups)
Garlic powder 1 tsp
Dried oregano 1 tsp
Kosher salt 1 tsp
Freshly ground black pepper 1/2 tsp
Extra-virgin olive oil 3 tbsp
Fresh basil leaves 8 large leaves
Grated parmesan cheese 30g (1/4 cup)

Steps

1

Set Up Breading Station

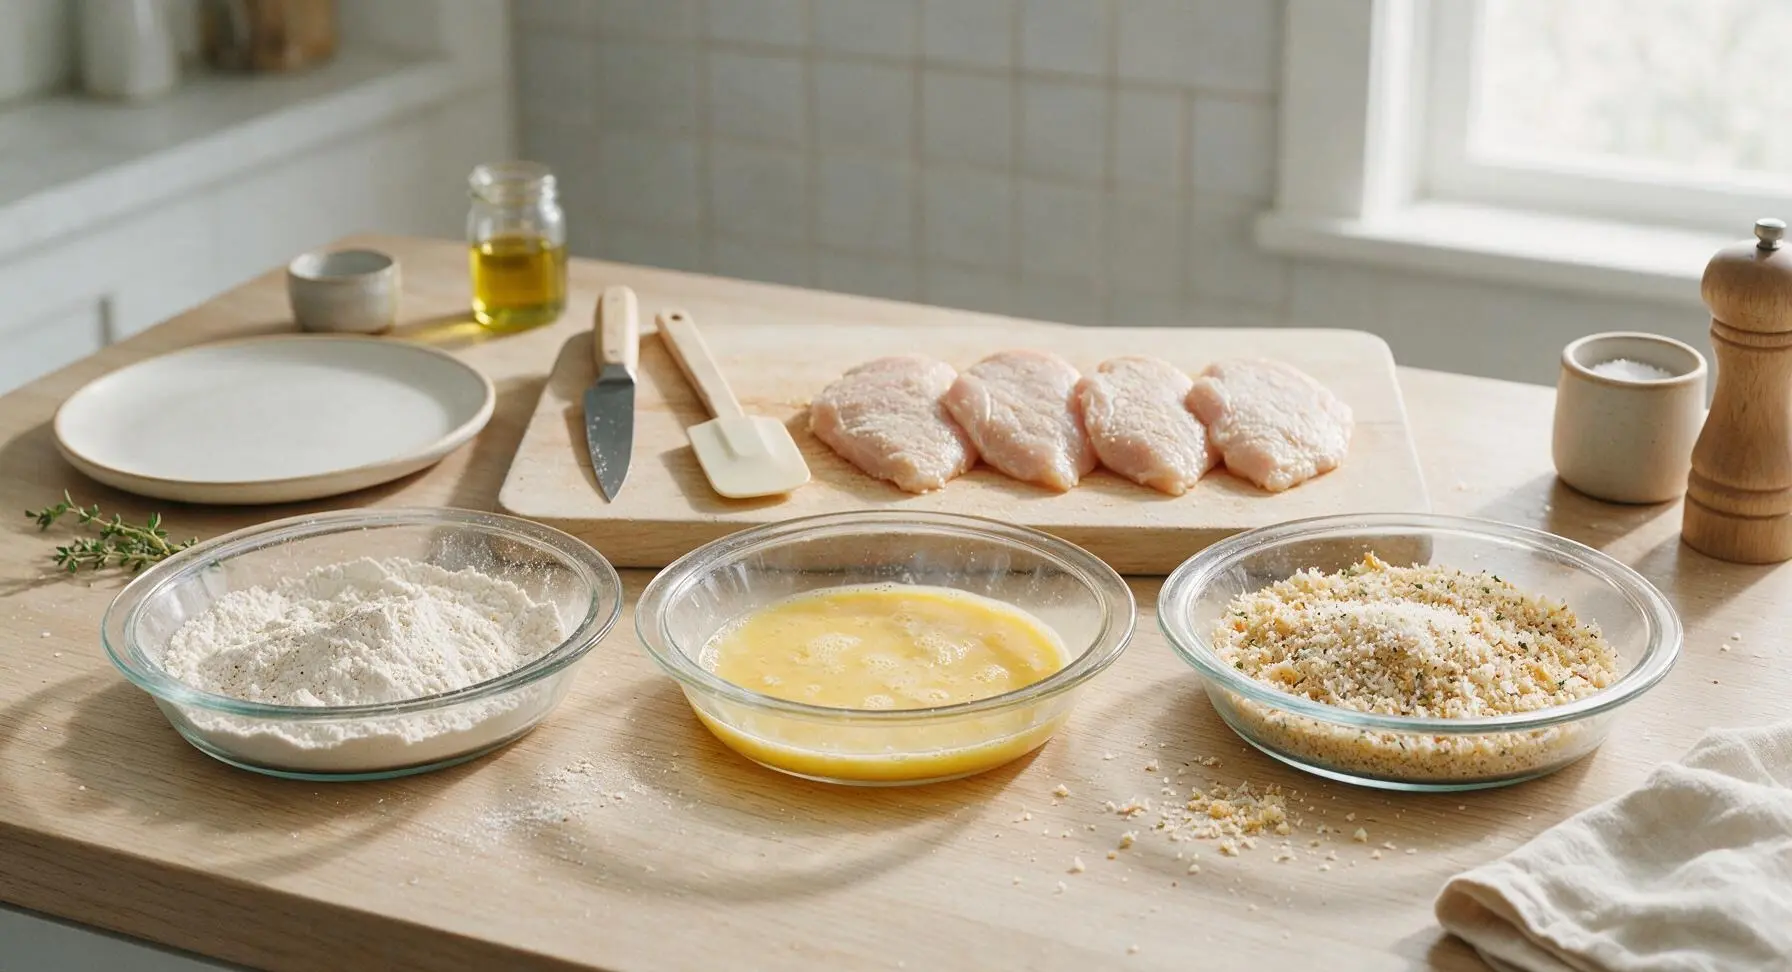
Place the three clear glass pie dishes in a row on the central counter work area. Add all-purpose flour to the first dish, season with 1/4 tsp kosher salt and 1/8 tsp freshly ground black pepper, stir to combine. Add the two beaten eggs mixed with 1 tbsp cold water to the second dish. In the third dish, mix panko breadcrumbs, garlic powder, dried oregano, remaining 3/4 tsp kosher salt, remaining 3/8 tsp black pepper, and 2 tbsp grated parmesan cheese, stirring until evenly combined. Pat the 4 pounded 1/2-inch thick chicken breasts completely dry with paper towels to ensure crisp breading.
Step 1
step1:Set Up Breading Station
2

Bread Chicken Cutlets

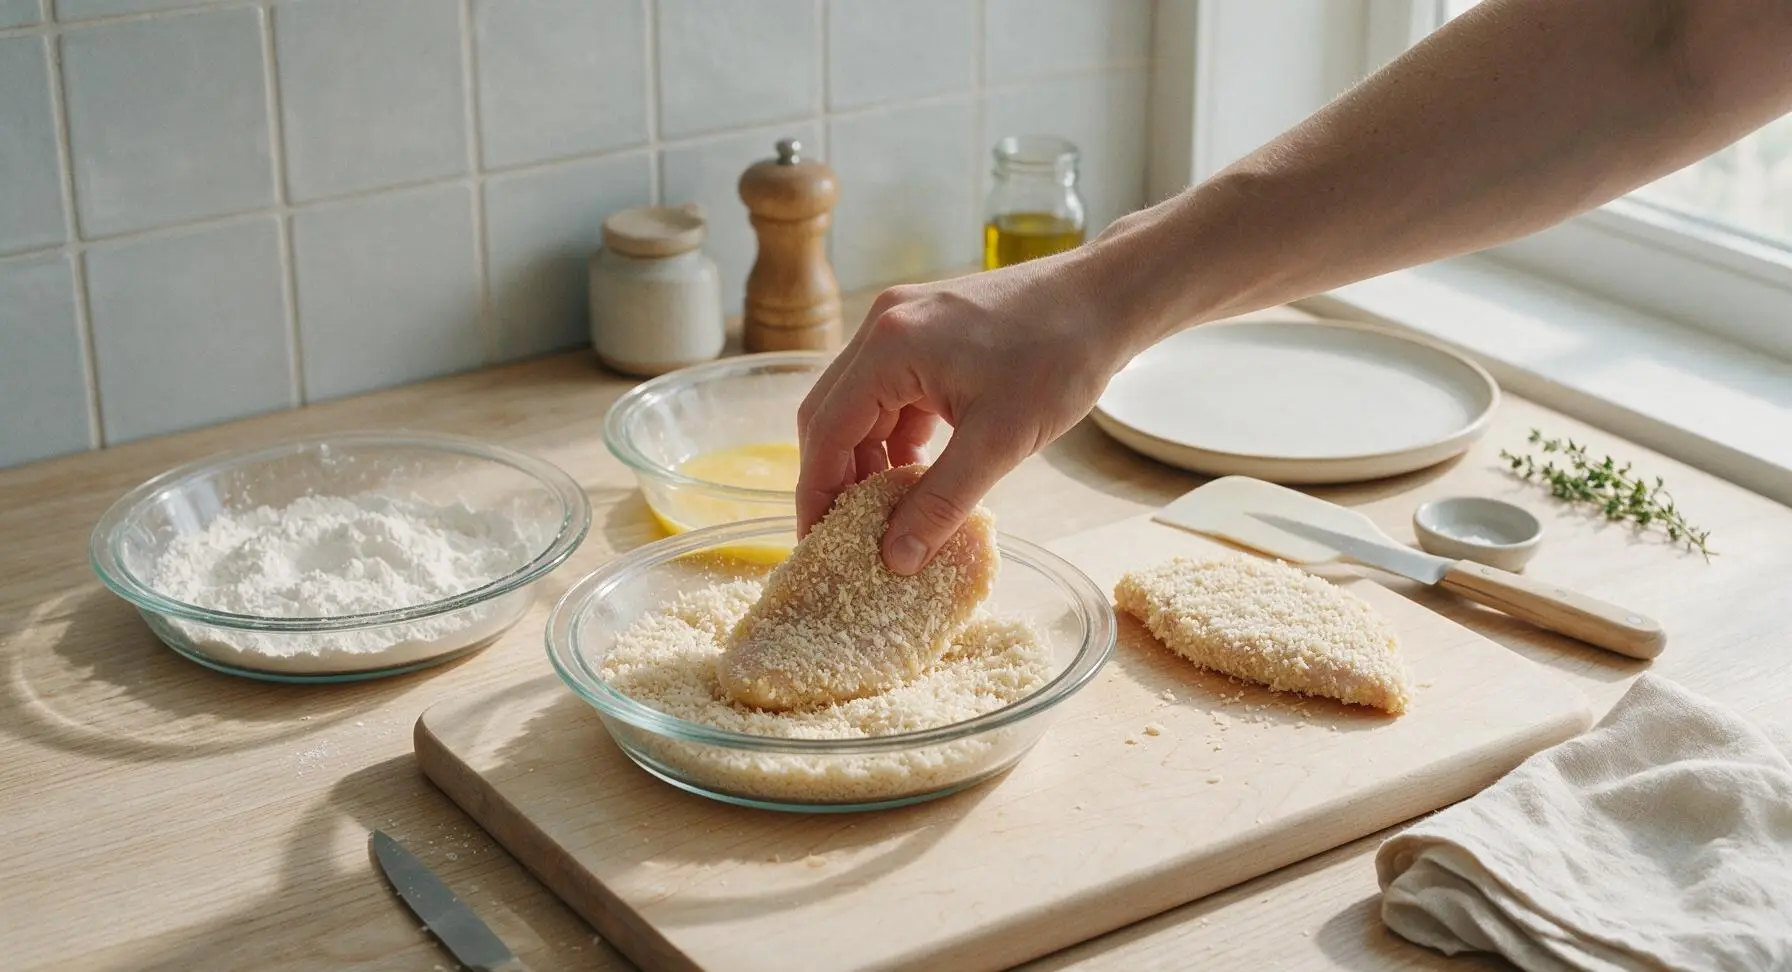
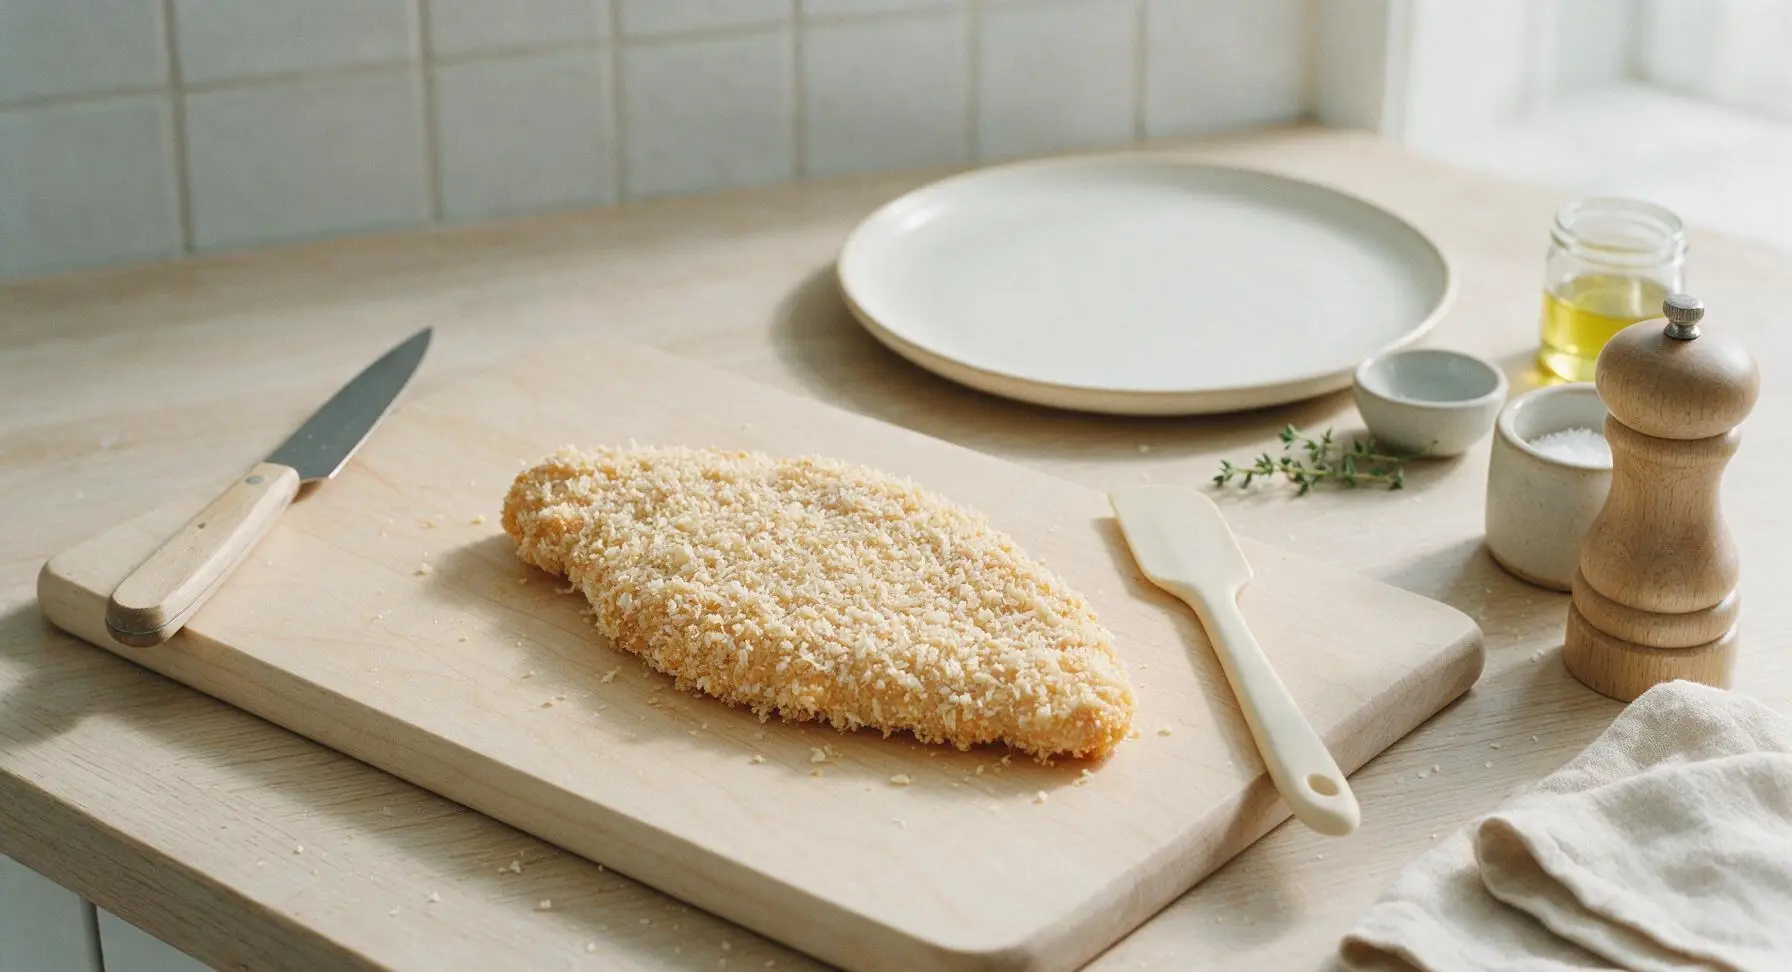
Working one cutlet at a time, dredge a chicken breast in the seasoned flour, shaking off all excess to leave only a thin, even flour coating. Dip the floured cutlet fully into the egg wash, letting excess egg drip off for 2 seconds to avoid clumpy breading. Press the cutlet firmly into the panko mixture, coating both sides completely and pressing crumbs to adhere so no bare chicken is visible. Transfer breaded cutlets to a clean section of the cutting board as you work, letting them rest for 5 minutes to allow the breading to set before cooking.
Step 2
step2:Bread Chicken Cutlets
Step 2
step2:Bread Chicken Cutlets
3

Sear Chicken Cutlets

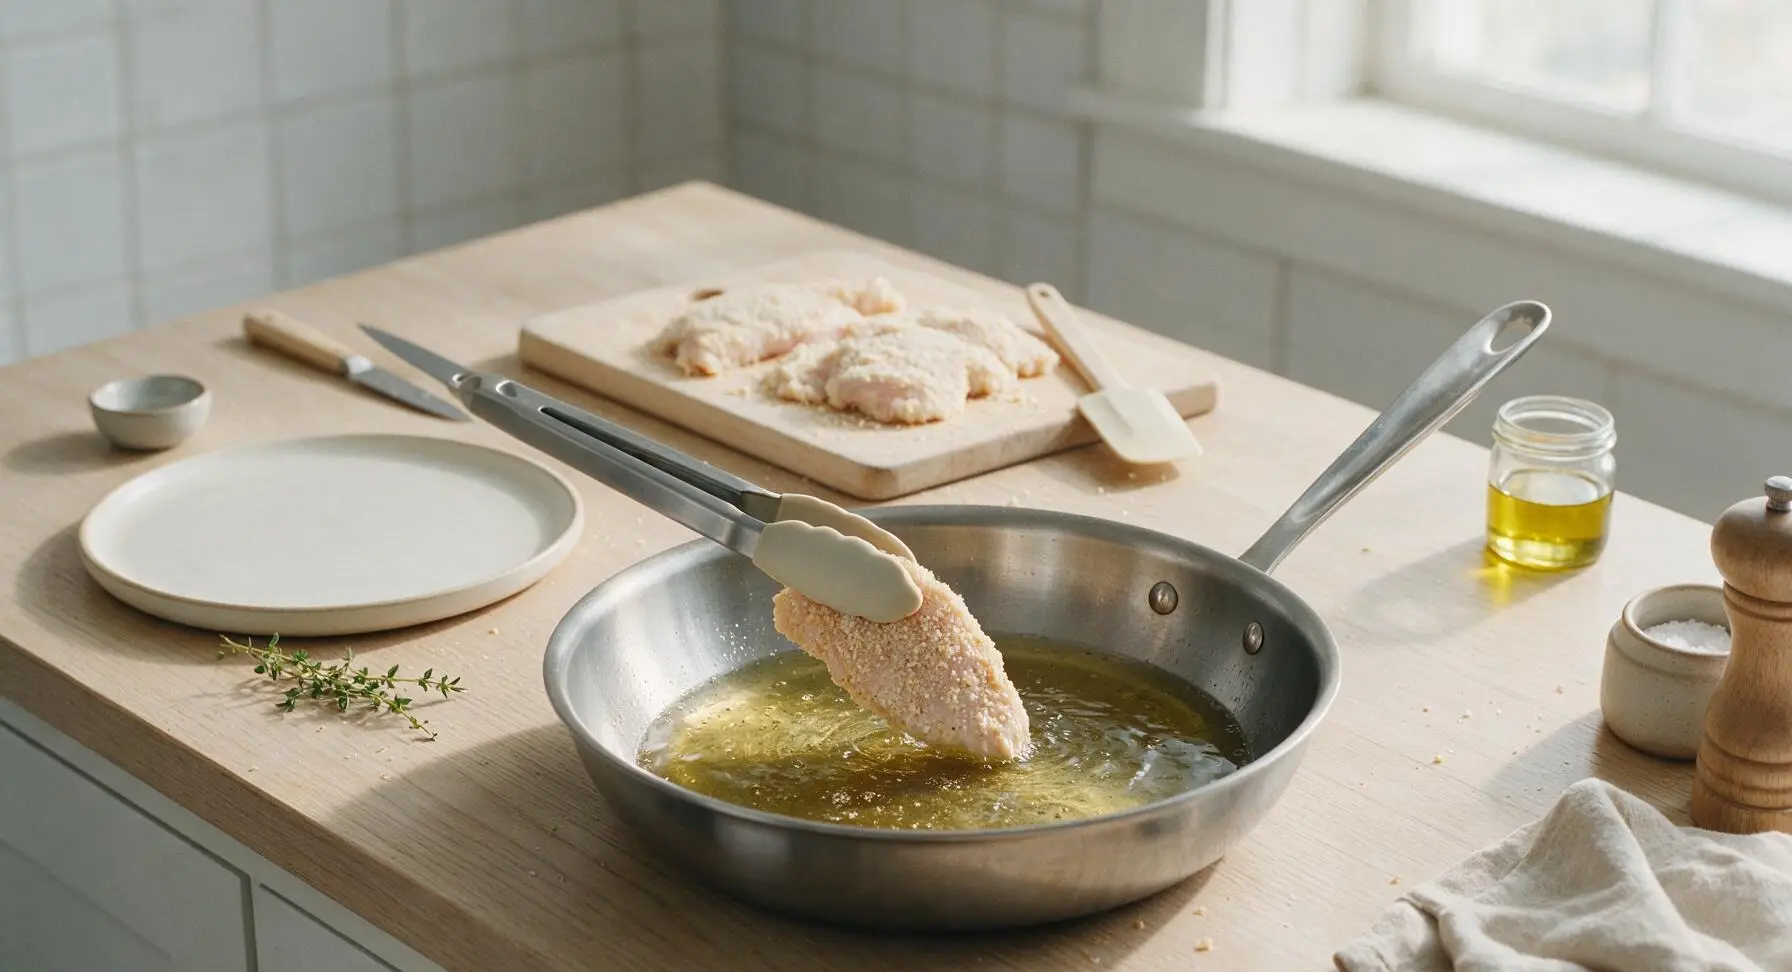
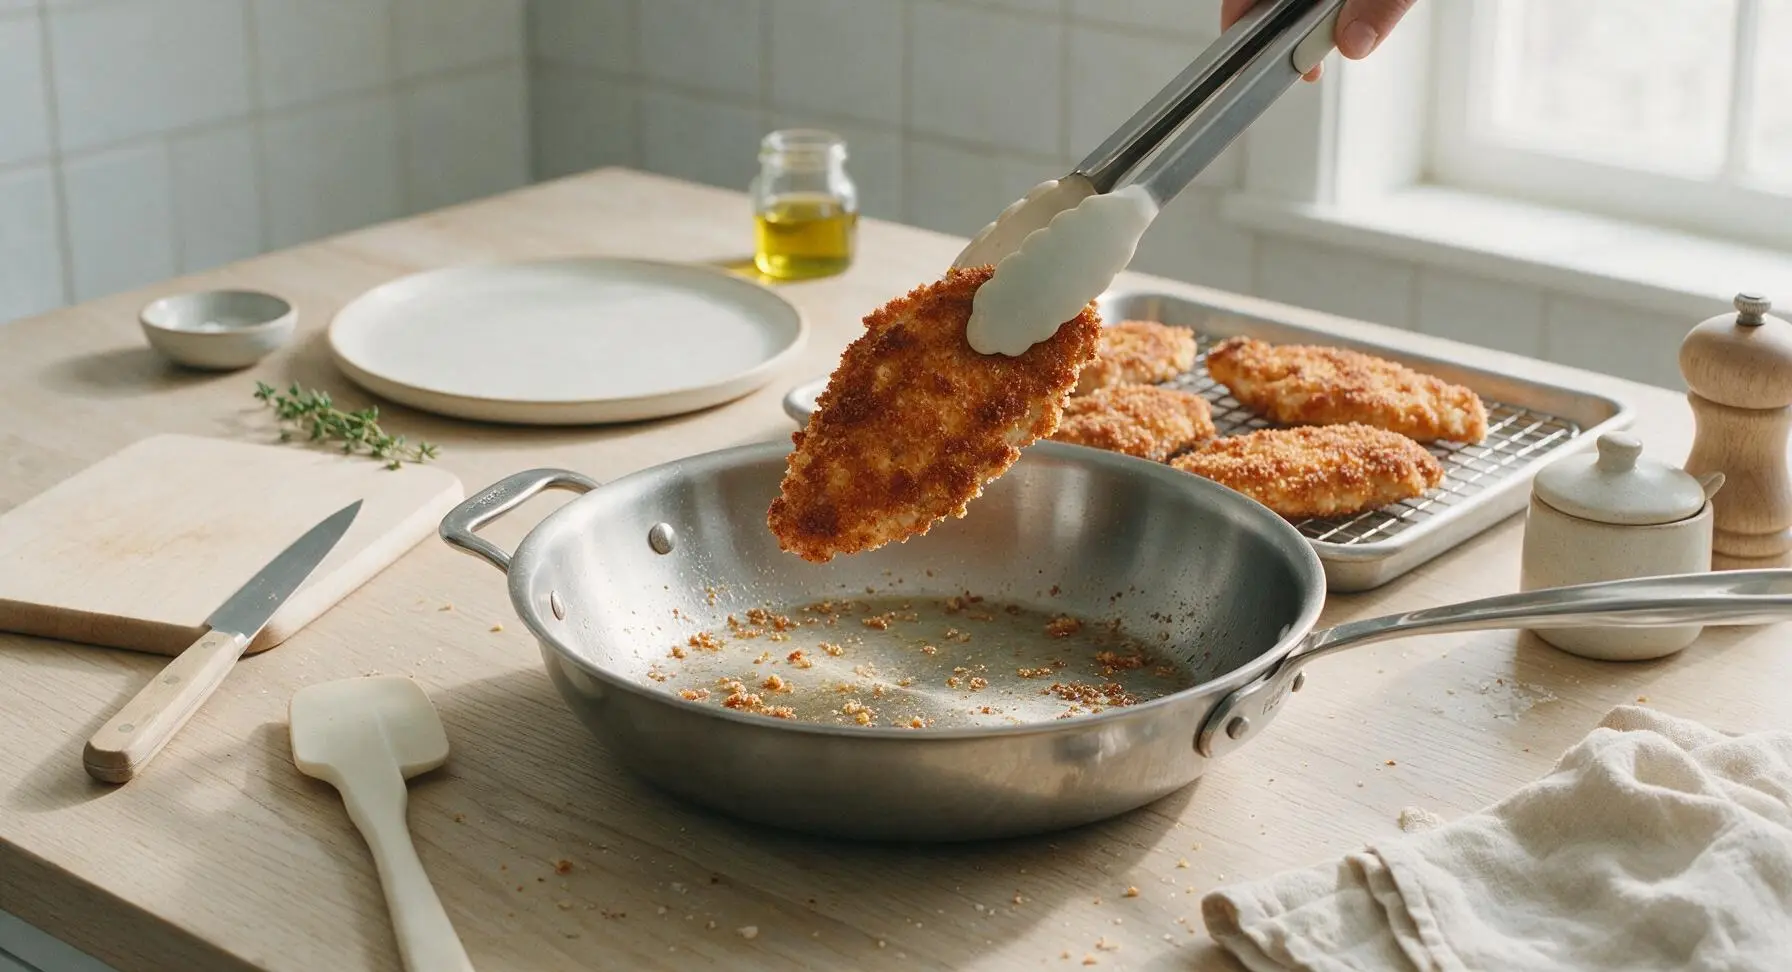
Heat 3 tbsp extra-virgin olive oil in the 12-inch stainless steel skillet over medium heat (350°F / 175°C) until the oil shimmers and moves easily across the pan surface. Working in two batches to avoid crowding the pan (which causes steaming instead of crisping), add breaded cutlets and sear for 3 minutes per side, until the panko coating is deep golden brown and crispy on both sides. Use the silicone-tipped tongs to transfer seared cutlets to the wire rack set inside the rimmed aluminum baking sheet.
Step 3
step3:Sear Chicken Cutlets
Step 3
step3:Sear Chicken Cutlets
4

Melt Cheese on Chicken

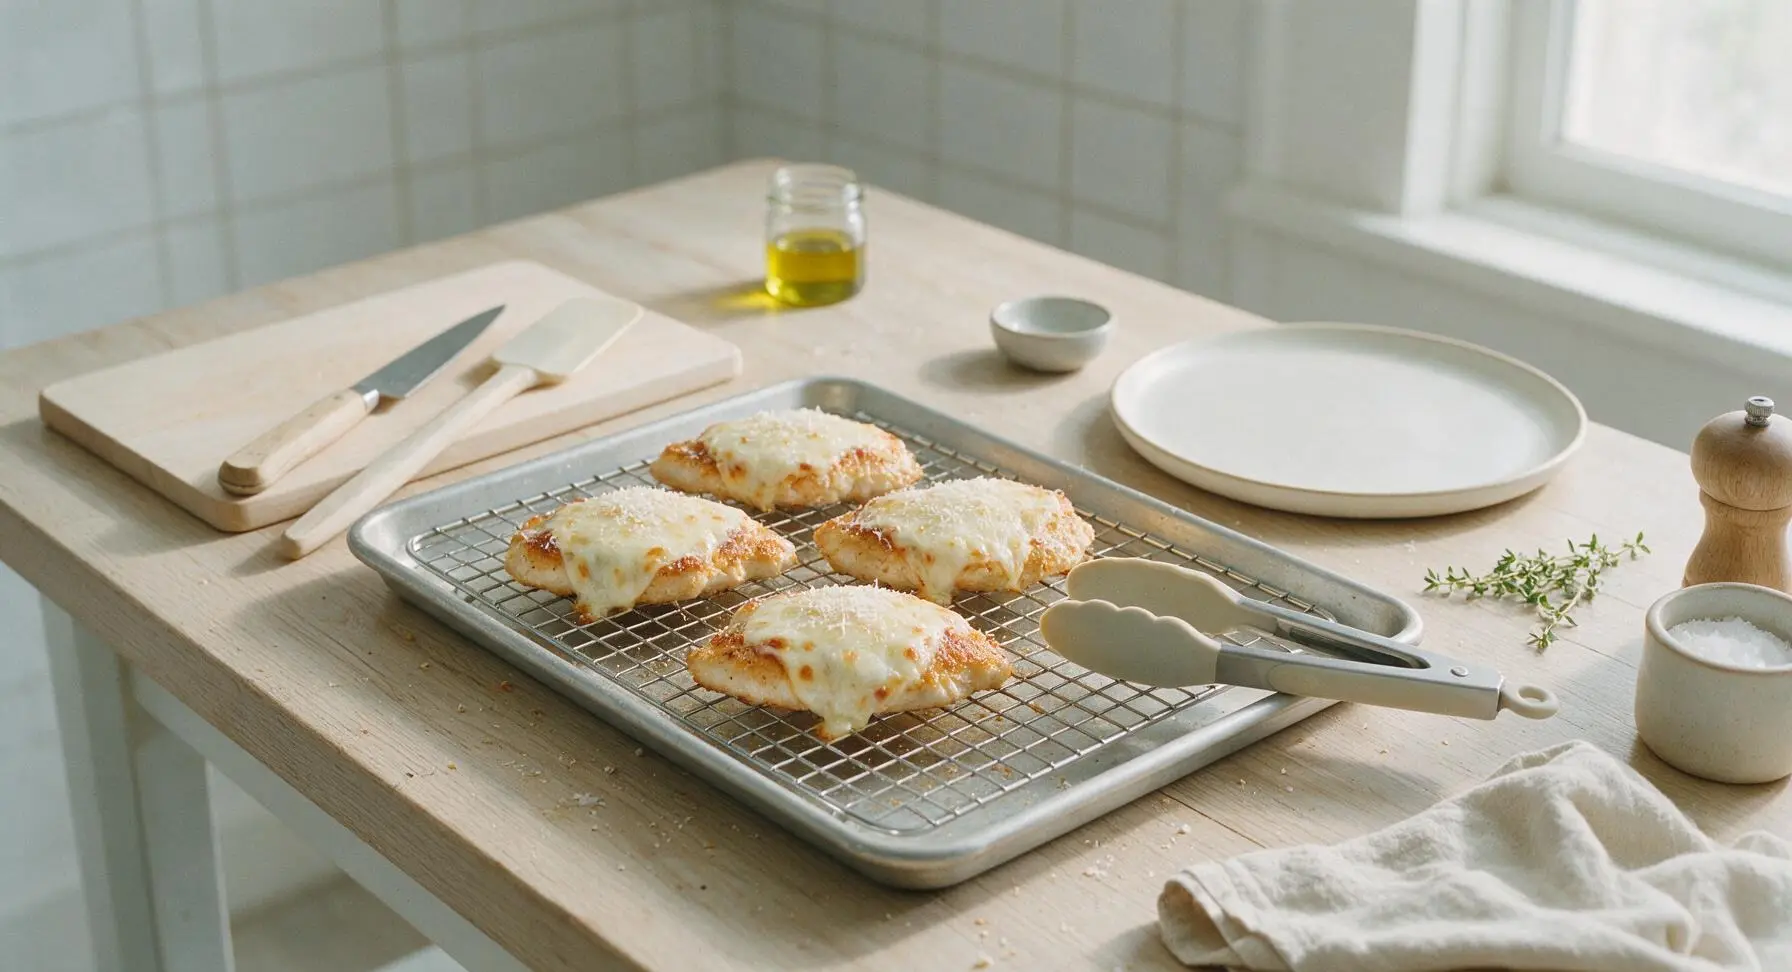
Top each seared chicken cutlet with two 1/4-inch thick slices of low-moisture mozzarella, overlapping slightly to cover the entire top surface of the cutlet. Place the baking sheet with the rack of cutlets under a high broiler (500°F / 260°C) for 1-2 minutes, watching constantly to avoid burning, until the mozzarella is fully melted, bubbly, and dotted with faint golden brown spots. Remove from the broiler and sprinkle each cutlet with 1 tsp of remaining grated parmesan cheese.
Step 4
step4:Melt Cheese on Chicken
5

Toast Hoagie Rolls

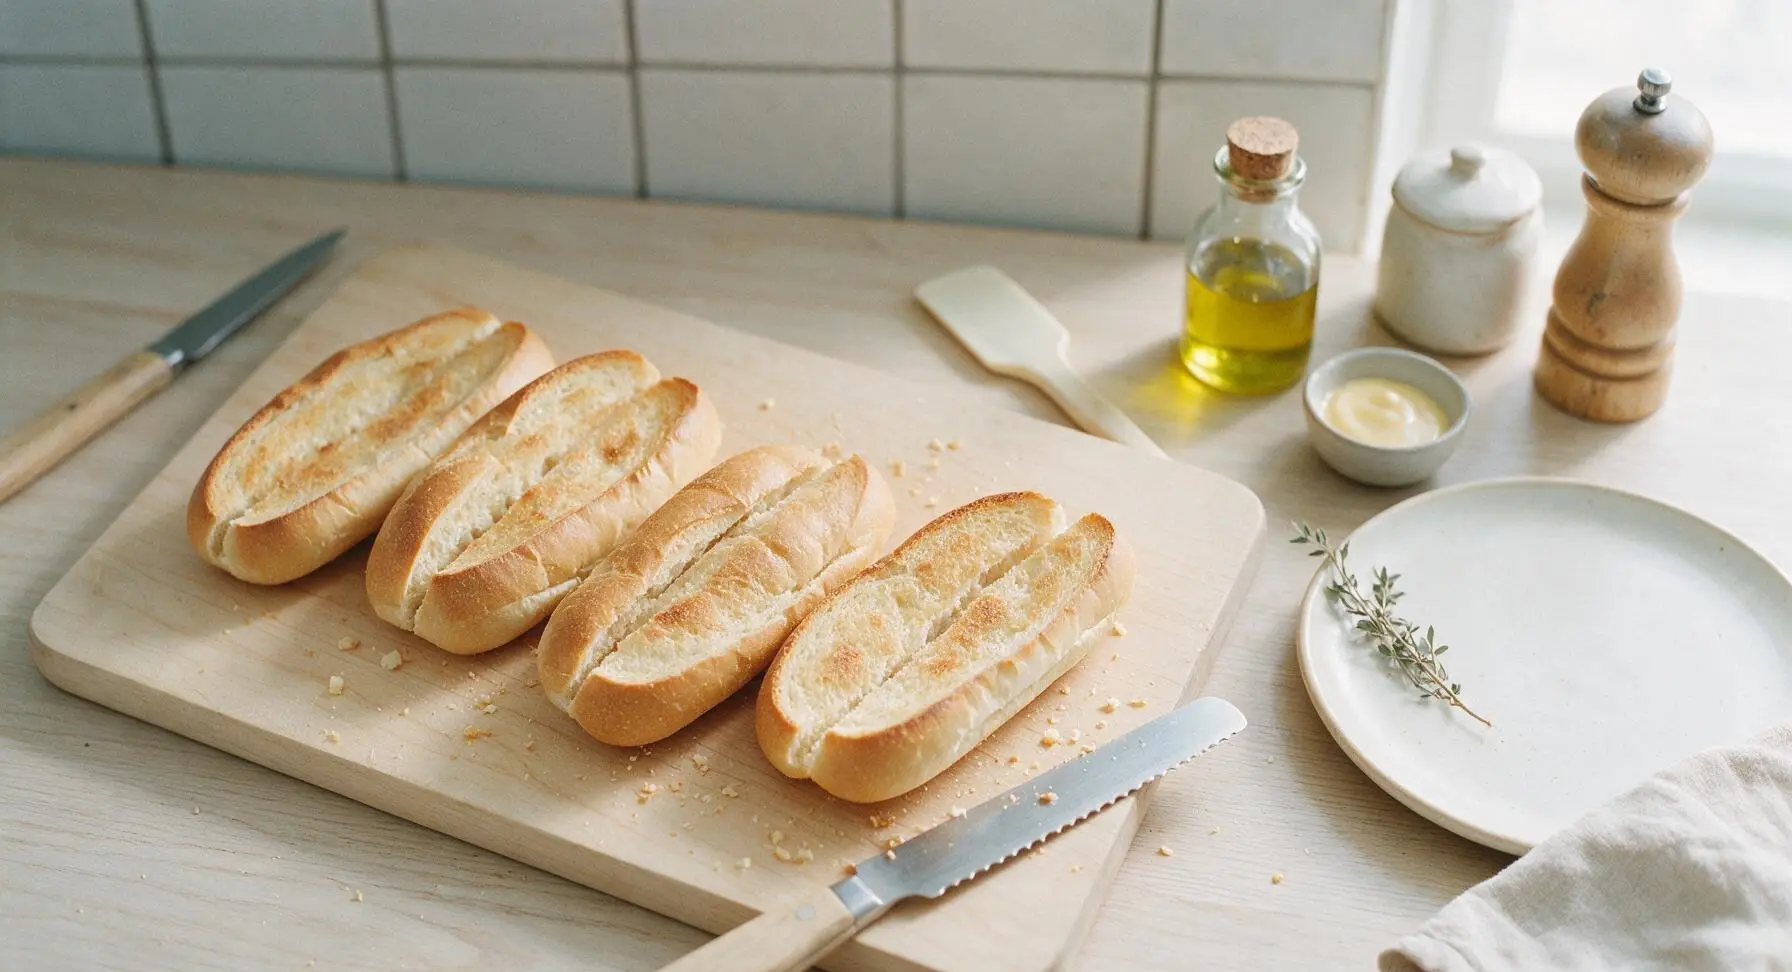
Use the serrated bread knife to split each hoagie roll lengthwise, leaving a 1/2-inch hinge along one side so the roll does not separate completely. Place the split rolls cut-side down on the same baking sheet used for the chicken, and broil for 30-45 seconds until the cut interior is lightly toasted and pale golden, taking care not to burn the crusty edges. Remove rolls from the broiler.
Step 5
step5:Toast Hoagie Rolls
6

Layer Sandwich Fillings

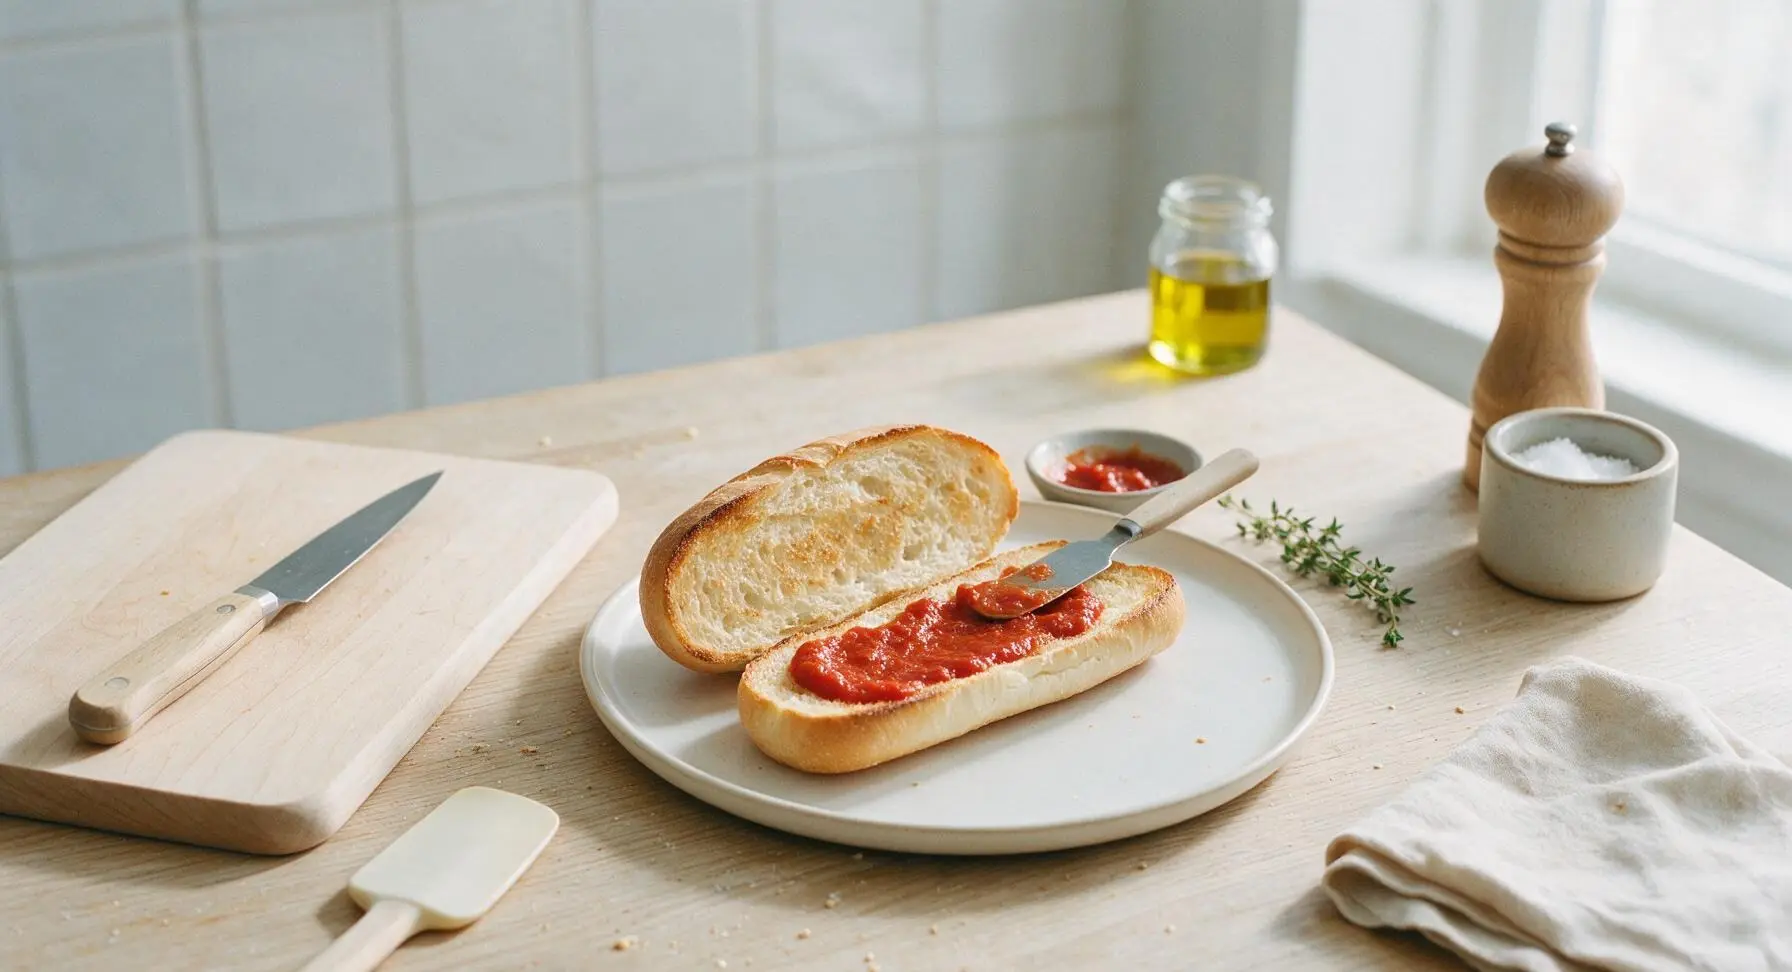
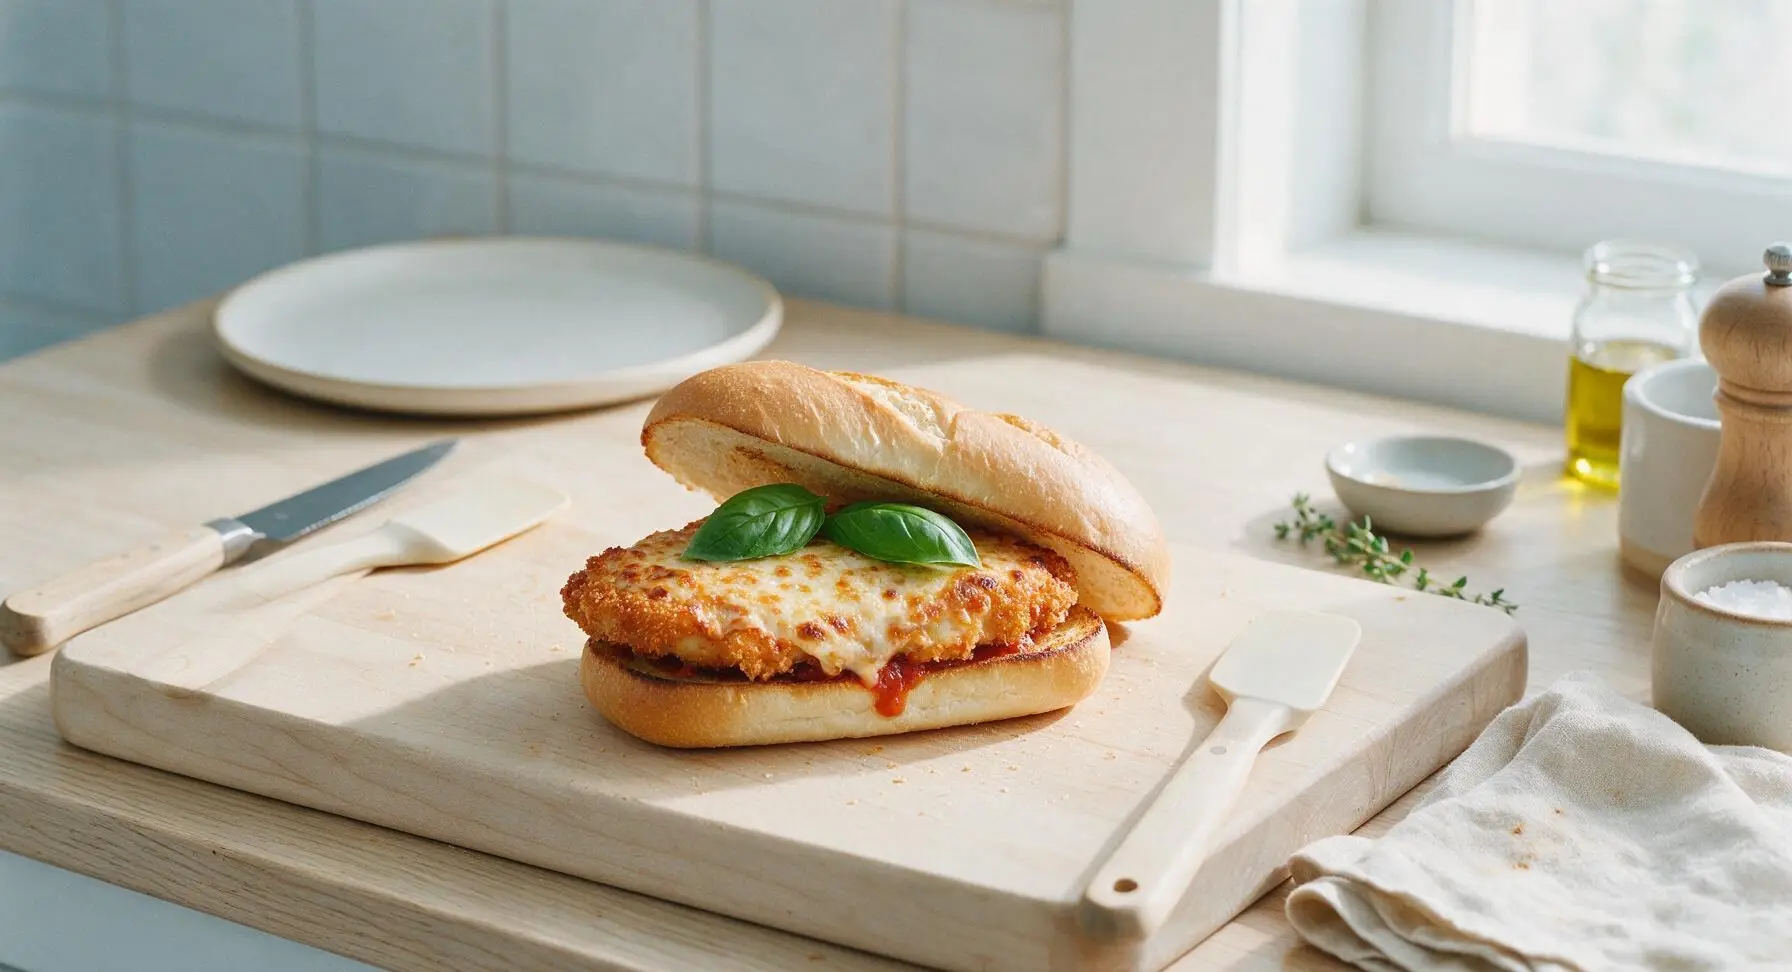
Use the small offset metal spatula to spread 2 tbsp of warmed marinara sauce evenly on the bottom half of each toasted hoagie roll. Place one cheese-topped chicken cutlet on top of the sauce, then spoon an additional 1 tbsp of marinara over the chicken. Tuck 2 fresh basil leaves on top of the sauced chicken, then rest the top half of the roll loosely over the filling.
Step 6
step6:Layer Sandwich Fillings
Step 6
step6:Layer Sandwich Fillings
7

Cut and Plate Sandwich

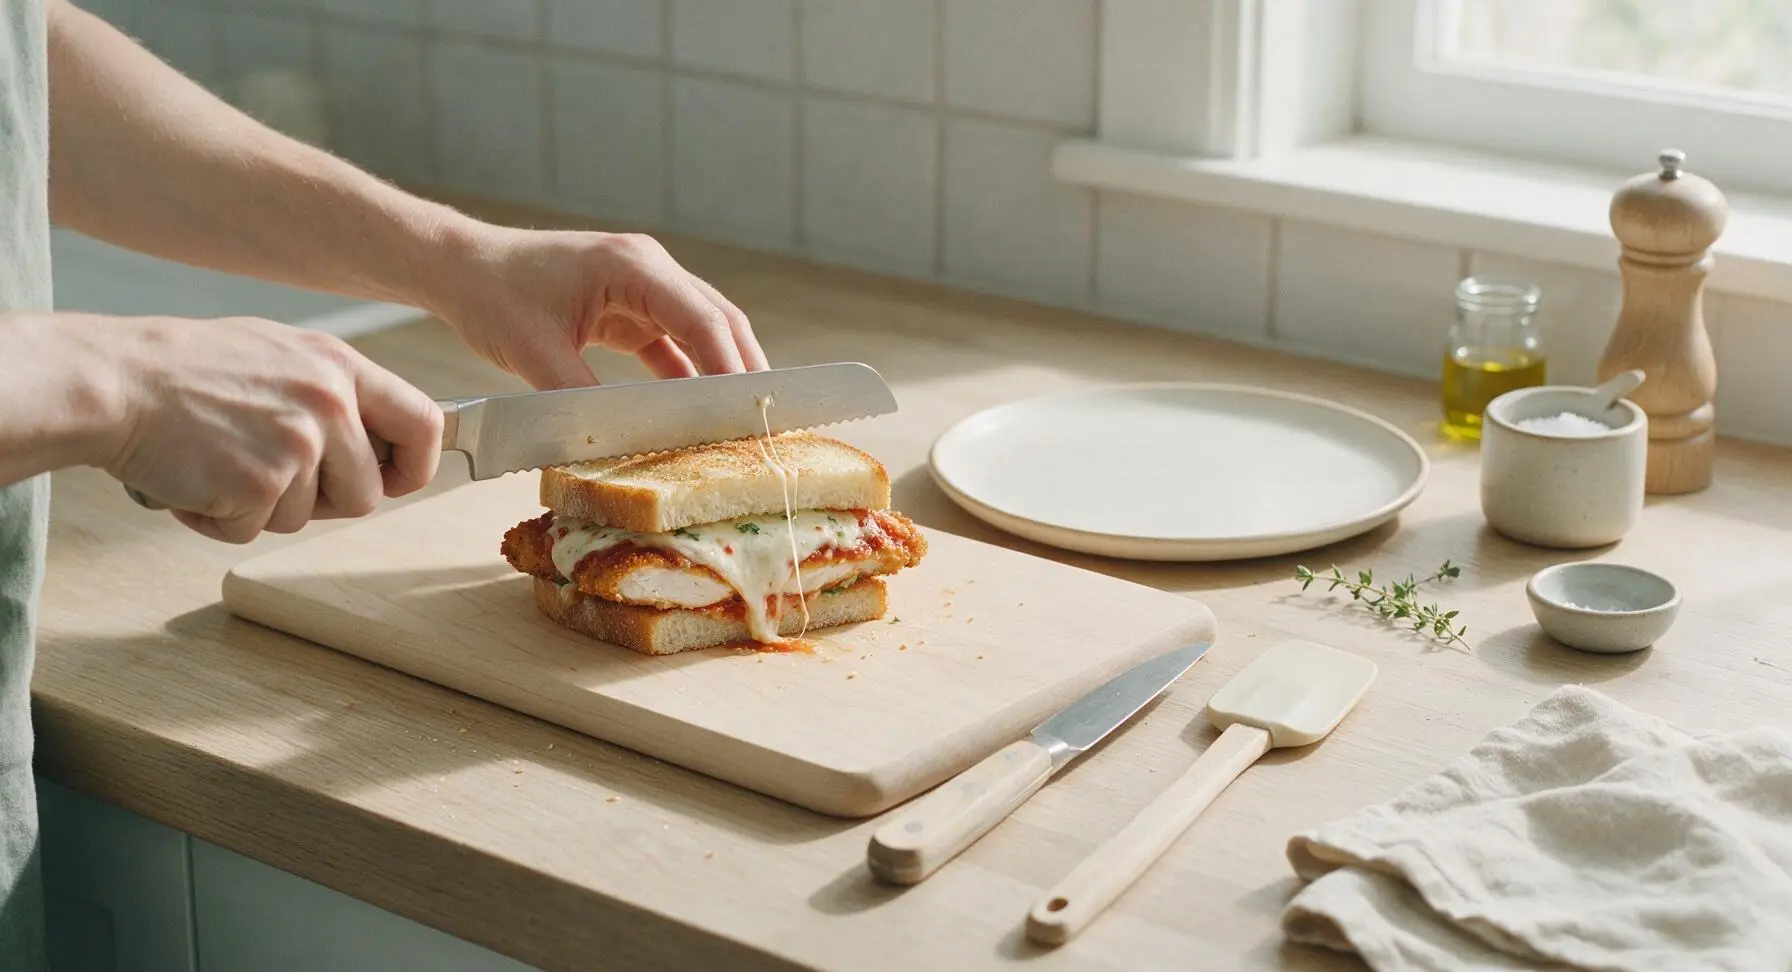
Press the assembled sandwich gently to compress the fillings slightly, which prevents ingredients from sliding out when eaten. Use the serrated bread knife to cut the sandwich diagonally across the middle into two equal triangular halves, slicing cleanly through the crusty roll and chicken cutlet. Arrange the cut sandwich on the matte cream ceramic coupe plate, leaning one half against the other to showcase the layered filling.
Step 7
step7:Cut and Plate Sandwich

Tips

1.Pat chicken completely dry with paper towels before breading: excess surface moisture will create steam during searing, leading to soggy breading that slides off the chicken, rather than a crisp, adherent golden crust.
2.Let breaded cutlets rest for 5 minutes before searing: this short pause allows the flour, egg, and panko to bind into a single cohesive layer, preventing crumbs from falling off into the pan or sticking to the skillet during cooking.
3.Use low-moisture mozzarella instead of fresh mozzarella: fresh mozzarella has a high water content that releases as it melts, making the hoagie roll soggy, while low-moisture mozzarella melts into a smooth, stretchy layer without excess moisture.


✨ You May Also Like

Lunch
🍜 United States

Creamy, salty, tangy nostalgic Midwestern sandwich pairing rich peanut butter with crisp briny dill pickles for a fast, satisfying no-cook meal.

⏱️ 5 minutesLunch ★ 4.6
Lunch
🍜 United States

Crispy, melty pressed sandwich layered with savory roast pork, ham, Swiss cheese, pickles, and tangy mustard: a beloved Cuban-American comfort classic.

⏱️ 25 minuteLunch ★ 4.9
Lunch
🍜 United States

Hearty, briny New Orleans pressed sandwich stacked with cured Italian meats, provolone, and zesty olive salad, served cold for bold, portable flavor.

⏱️ 1 hour 20Lunch ★ 4.7
Lunch
🍜 United States

A tangy, creamy Southern American staple, this no-cook cheesy sandwich is packed with sharp cheddar and sweet pimentos for a satisfying, portable bite.

⏱️ 1 hour 15Lunch ★ 4.8
Lunch
🍜 United States

Crispy Cajun-spiced fried shrimp piled on crusty French bread with tangy remoulade and fresh toppings, the iconic Louisiana street food sandwich.

⏱️ 35 minuteLunch ★ 4.4
Lunch
🍜 United States

Stacked, savory deli-style corned beef sandwich with melted Swiss, tangy mustard, and crisp griddled rye— a fast, hearty, satisfying classic.

⏱️ 15 minuteLunch ★ 4.9

chicken parmesan sandwich:Frequently Asked Questions

1.Can I prep the crispy chicken cutlets ahead of time to make weeknight assembly faster? ▾
Absolutely! You can bread raw cutlets up to 1 day ahead, storing them on a wire rack over a baking sheet in the fridge, uncovered, to keep panko dry and crisp. Cook cutlets right before assembling for best texture; if you cook ahead, reheat in a 400°F oven for 8–10 minutes instead of the microwave to avoid sogginess.
2.Why do you recommend low-moisture mozzarella instead of fresh mozzarella for this sandwich? ▾
Fresh mozzarella releases a ton of water as it melts, which will turn your crispy panko crust and toasty roll soggy in minutes. Low-moisture, part-skim mozz melts into that perfect stretchy, gooey layer without excess moisture, so every bite stays crisp instead of mushy, even if you eat a few minutes after assembling.
3.How do I keep the panko crust from falling off the chicken when I cook it? ▾
Stick to the standard breading station order: flour first (shake off all excess), then egg wash (let excess drip off), then press panko firmly to adhere on all sides. Let breaded cutlets rest 10 minutes before cooking so the coating sets—this prevents sliding, flaking, or bare spots when you pan-fry or bake the chicken.
4.Can I bake the chicken instead of pan-frying it to cut down on added oil? ▾
Absolutely! Arrange breaded cutlets on a wire rack set over a baking sheet, spritz both sides lightly with olive oil cooking spray, and bake at 425°F for 18–22 minutes, flipping halfway, until golden crisp and the internal temp hits 165°F. The elevated rack lets air circulate for all-around crunch without deep frying.
5.What’s the best way to toast hoagie rolls so they don’t get soggy from marinara? ▾
Split rolls open, lay them cut-side down on a dry skillet or griddle over medium heat for 1–2 minutes until the cut surface is golden and slightly crisp. For extra protection, spread a super thin layer of softened butter on the cut sides before toasting—it creates a moisture barrier to keep marinara from soaking through.
6.How thin should I pound the chicken breasts for these sandwiches? ▾
Pound chicken to an even ¼-inch thickness across the entire cutlet. This ensures the chicken cooks fast and evenly, with no dry, overcooked thick spots or undercooked thin spots, and gives you the perfect ratio of crispy crust to tender chicken that fits neatly in a hoagie roll without bulging.
7.Can I use a different cheese if I don’t have low-moisture mozzarella on hand? ▾
Provolone is a fantastic swap—it melts smoothly, has a slightly sharper, nuttier flavor, and has low enough moisture to avoid sogginess. You can also mix a little grated parmesan into shredded mozz for extra savoriness, but skip soft, high-moisture cheeses like brie that will make the sandwich mushy.
8.How much marinara should I add per sandwich to avoid a soggy mess? ▾
Stick to 2–3 tablespoons of warm marinara per sandwich, spread in a thin layer on the toasted roll instead of dumping it directly on the chicken. Too much marinara will soak through the crust and roll fast; serve extra on the side for dipping if you want more bright tomato flavor without the sogginess.
9.What sides pair best with this crispy chicken parmesan sandwich? ▾
Classic, well-matched sides include crispy oven-baked fries, a simple arugula salad tossed with lemon vinaigrette, dill pickle spears, or garlic butter roasted broccoli. These bright, tangy, or crisp sides cut through the rich, cheesy, fried chicken flavor perfectly, ideal for quick, satisfying weeknight meals.
10.Can I freeze breaded, uncooked chicken cutlets for future quick meals? ▾
Yes! Lay breaded, uncooked cutlets in a single layer on a baking sheet, freeze solid for 2 hours, then transfer to a labeled freezer bag for up to 3 months. Cook straight from frozen at 425°F for 25–30 minutes (no thawing needed) until crispy and 165°F internally for fast last-minute sandwiches.
11.Do I need to season the flour for the breading station? ▾
Definitely! Don’t skip seasoning the flour with kosher salt, black pepper, a pinch of garlic powder, and a tiny bit of Italian seasoning. The flour layer is your first chance to flavor the chicken itself, not just the crust; unseasoned flour will leave your chicken tasting bland, no matter how much cheese or marinara you add.
12.What if I don’t have panko breadcrumbs for the crispy crust? ▾
You can use regular plain dried breadcrumbs, but for closest crunch, crush up plain croutons or saltine crackers in a food processor to a coarse, panko-like texture. Avoid fine, fresh breadcrumbs, which turn soft and mushy instead of crisp when cooked, and won’t give that signature shattery crunch on the chicken.
13.How do I get perfectly melted, stretchy cheese on the chicken cutlets? ▾
During the last 1–2 minutes of cooking the chicken, top each cutlet with shredded mozzarella, then tent the pan loosely with foil (if pan-frying) or leave it in the oven (if baking) just until the cheese is fully melted and pulls into long stretches when lifted. Don’t overcook the cheese, or it will turn rubbery instead of gooey.
14.Can I make this sandwich gluten-free for friends or family with dietary restrictions? ▾
Absolutely! Swap the all-purpose flour for a 1:1 gluten-free all-purpose flour blend, use certified gluten-free panko breadcrumbs, and pick up gluten-free crusty hoagie rolls. Double check that your jarred marinara is labeled gluten-free (most are!) and follow the rest of the recipe exactly for the same crispy, cheesy result.

Comments (4)

3 days ago

OMG this was SO good!! I made these for my family’s Sunday dinner last week and even my super picky 7-year-old ate two whole sandwiches and asked if I could pack leftovers for his school lunch the next day. The chicken got perfectly crispy even when I pan-fried it instead of using the air fryer, total game changer. 10/10 will definitely be making these for our next neighborhood potluck too!

2 days ago

Wait quick question — did you use regular plain panko or the Italian seasoned kind? I’ve been trying to find a crispy coating that doesn’t get all soggy when I pack sandwiches for weekly meal prep, and these look perfect!

yesterday

So glad your family loved the recipe! For meal prep, we recommend toasting the bread lightly and storing the crispy chicken separate from the marinara and cheese until you’re ready to assemble and eat — it keeps the crust crunchy for days, works like a charm!

5 days ago

Super easy recipe, threw this together right after work in right around 20 minutes just like the recipe said. Only little swap I made was adding a dollop of extra marinara and a couple slices of pepperoni on top for some extra zing. The crispy crust didn’t get soggy at all even with the extra sauce, perfect quick weeknight meal.

3 days ago

Love that pepperoni swap! That sounds like such a tasty upgrade, we’ll have to test that version ourselves in the test kitchen soon. Thanks so much for sharing your tweak!

1 week ago

As someone who barely knows how to boil pasta without burning it, this recipe was so straightforward I didn’t mess it up at all! I pulled it up on my iPad while cooking in the dorm kitchen, and my roommates all thought I ordered takeout from the fancy Italian place down the street. 10/10, no notes, will be making this every other week for the dorm crew.

2 days ago

Made this for a post-hike lunch with my partner last weekend and we both devoured it before we even made it to the picnic table. I used chicken tenders instead of a full breast to cut down on cook time even more, and served it with a side of garlic parm fries I had in the freezer. Only thing I’ll adjust next time is piling on a little more mozzarella because who doesn’t love extra melty cheese? So easy to throw together even when you’re sore from a morning on the trails, will absolutely be adding this to our regular rotation.

yesterday

YES to extra mozzarella! I added a sprinkle of smoked provolone too last time I made these and it was absolute chef’s kiss. The chicken stays so crispy even under all the melty cheese and sauce, it’s wild how well the coating works.



