
chicken pot pie crust
intro
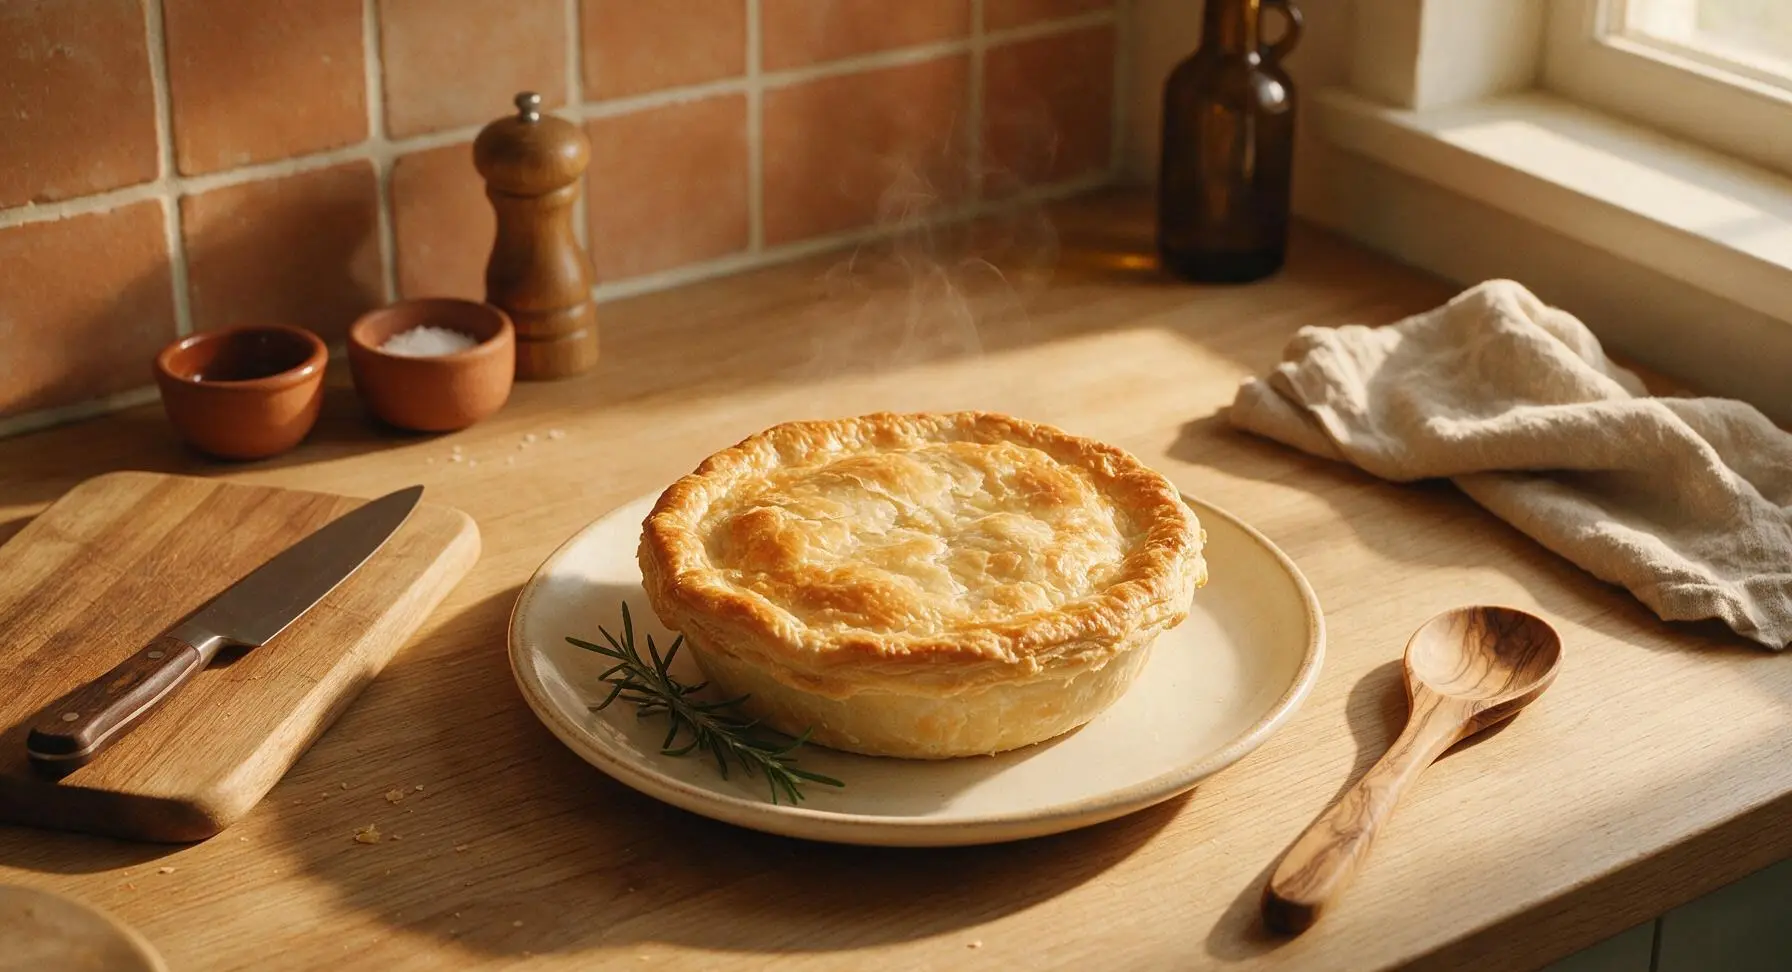
Buttery, shatteringly flaky golden chicken pot pie crust, sturdy enough to hold rich savory filling, with delicate layered texture that makes every bite of classic comfort food feel special.
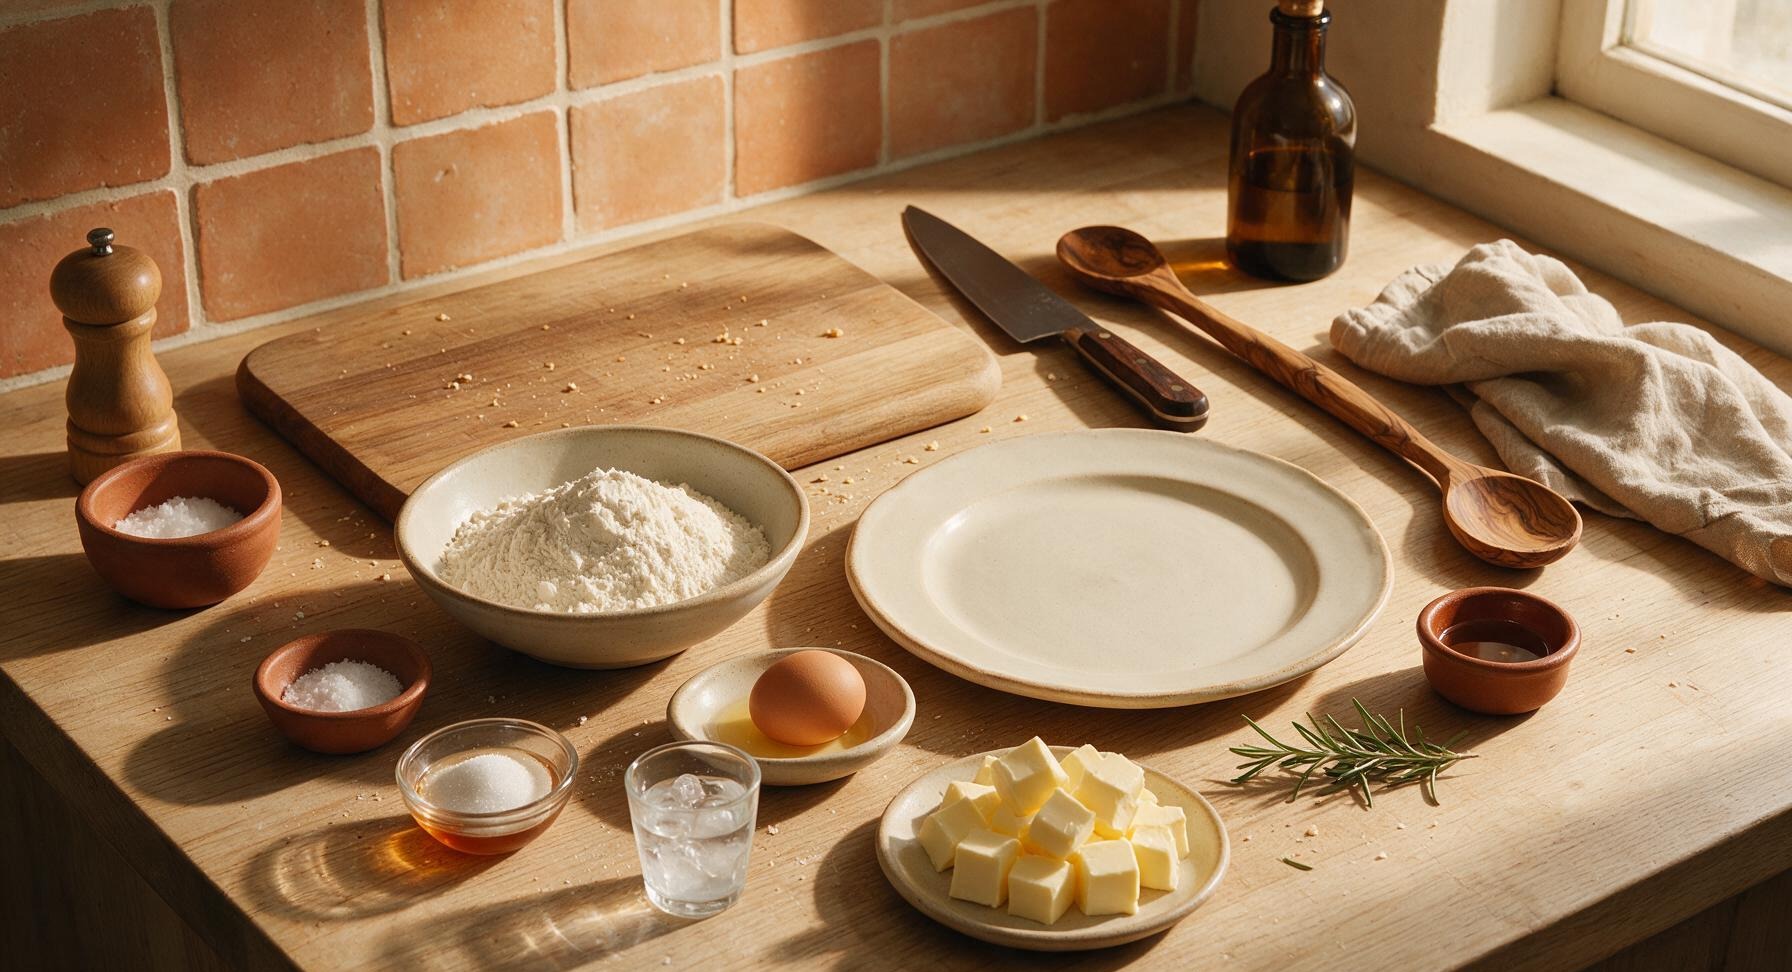
Ingredients
Steps
Combine Dry Ingredients
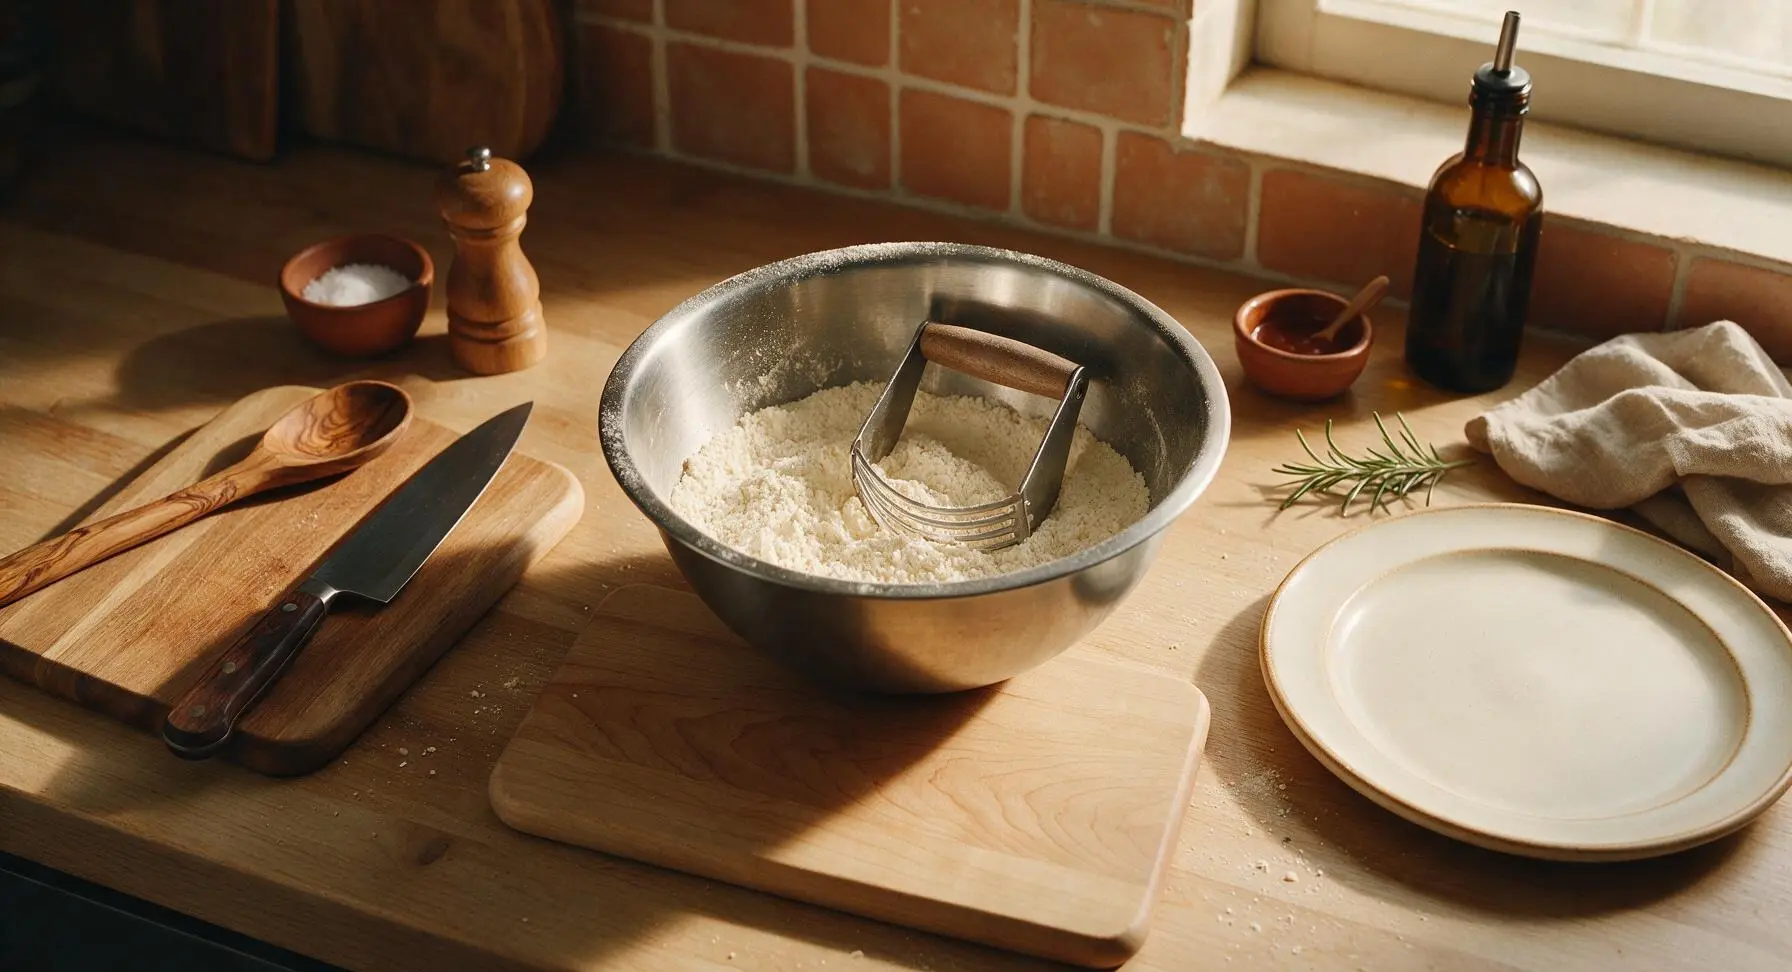
Add 2 1/2 cups (315g) all-purpose flour, 1 teaspoon fine sea salt, and 1 teaspoon granulated sugar to the stainless steel mixing bowl. Use the pastry blender to gently whisk the ingredients together for 30 seconds until fully evenly combined, with no visible clumps of salt or sugar. The finished mixture should be a uniform pale ivory color.
Cut In Cold Butter
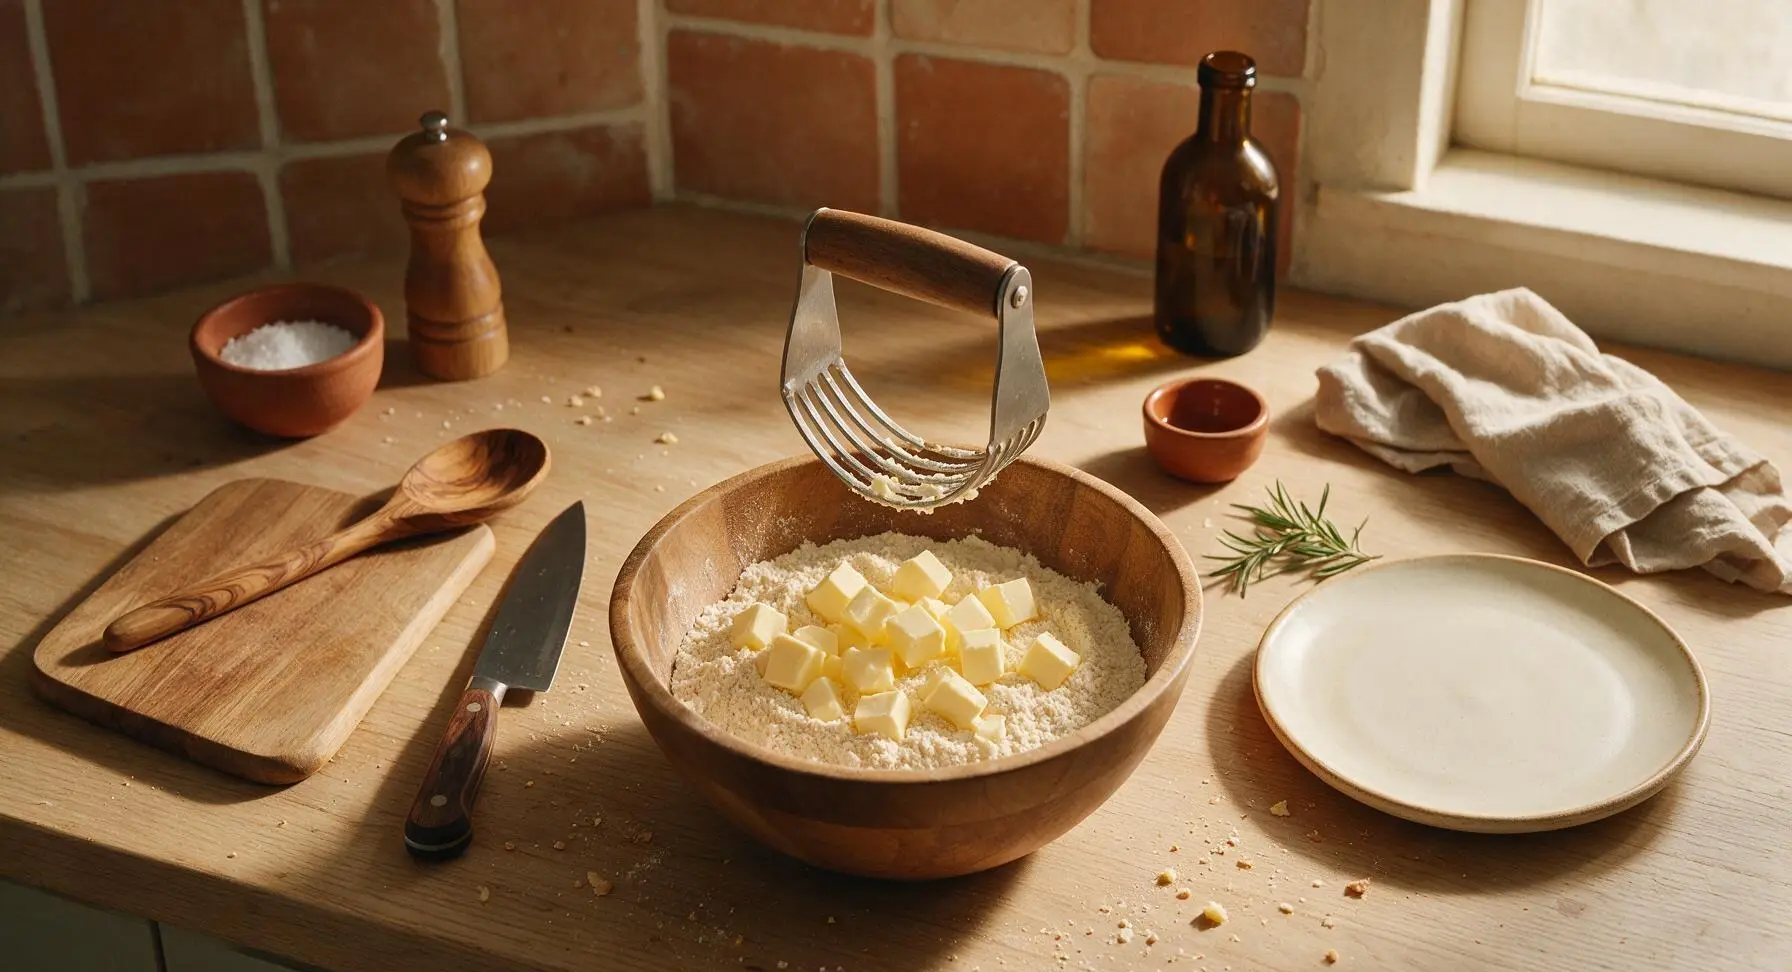
Add the 1 cup (226g) of ice-cold, 1/2-inch cubed unsalted butter to the dry ingredient mixture. Use the pastry blender to press and cut the butter into the flour repeatedly, until butter pieces are reduced to a mix of pea-sized and small lima-bean sized crumbs coated in flour. This takes 3-4 minutes; stop mixing while some larger butter pieces remain, as these create the flaky layers, and do not let the butter warm and melt into the flour.
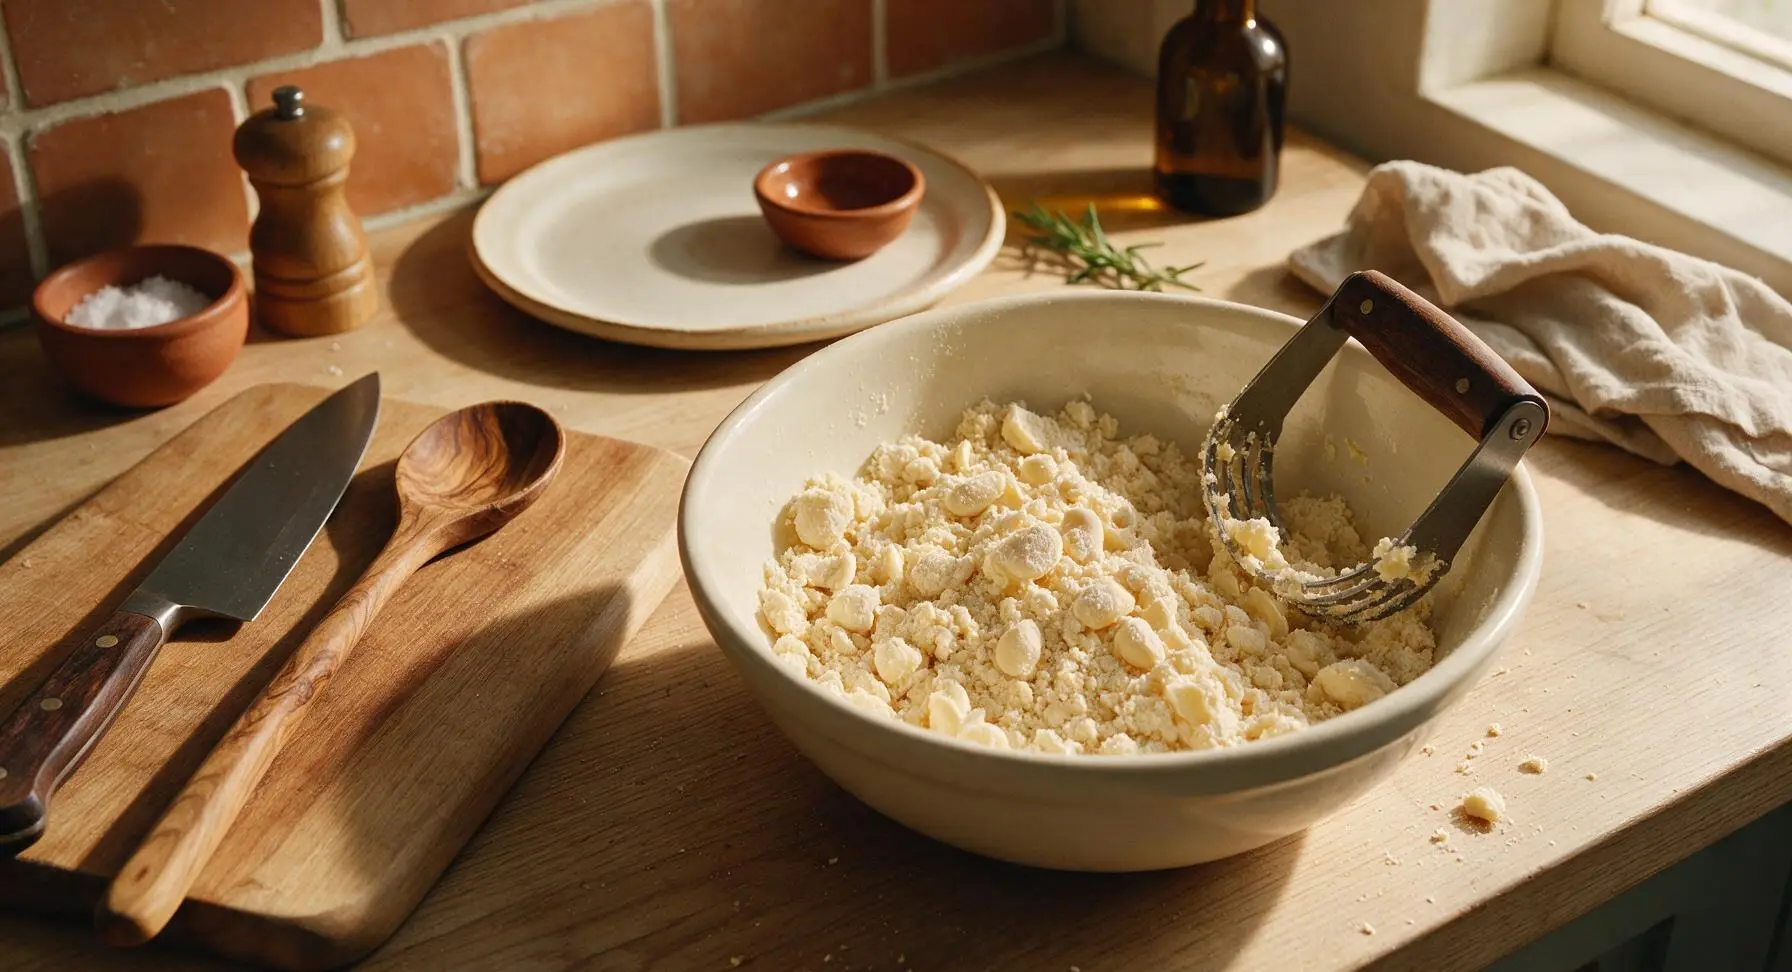
Add Ice Cold Liquid
Drizzle 1 teaspoon apple cider vinegar over the flour-butter crumb mixture, then add ice water 1 tablespoon at a time, tossing gently with the stainless steel bench scraper after each addition. Add just enough water so the dough holds together firmly when squeezed in your hand, with no dry, powdery crumbs left at the bottom of the bowl; this typically takes 6-7 tablespoons of water. Do not add excess water, as this will create a tough, dense crust.
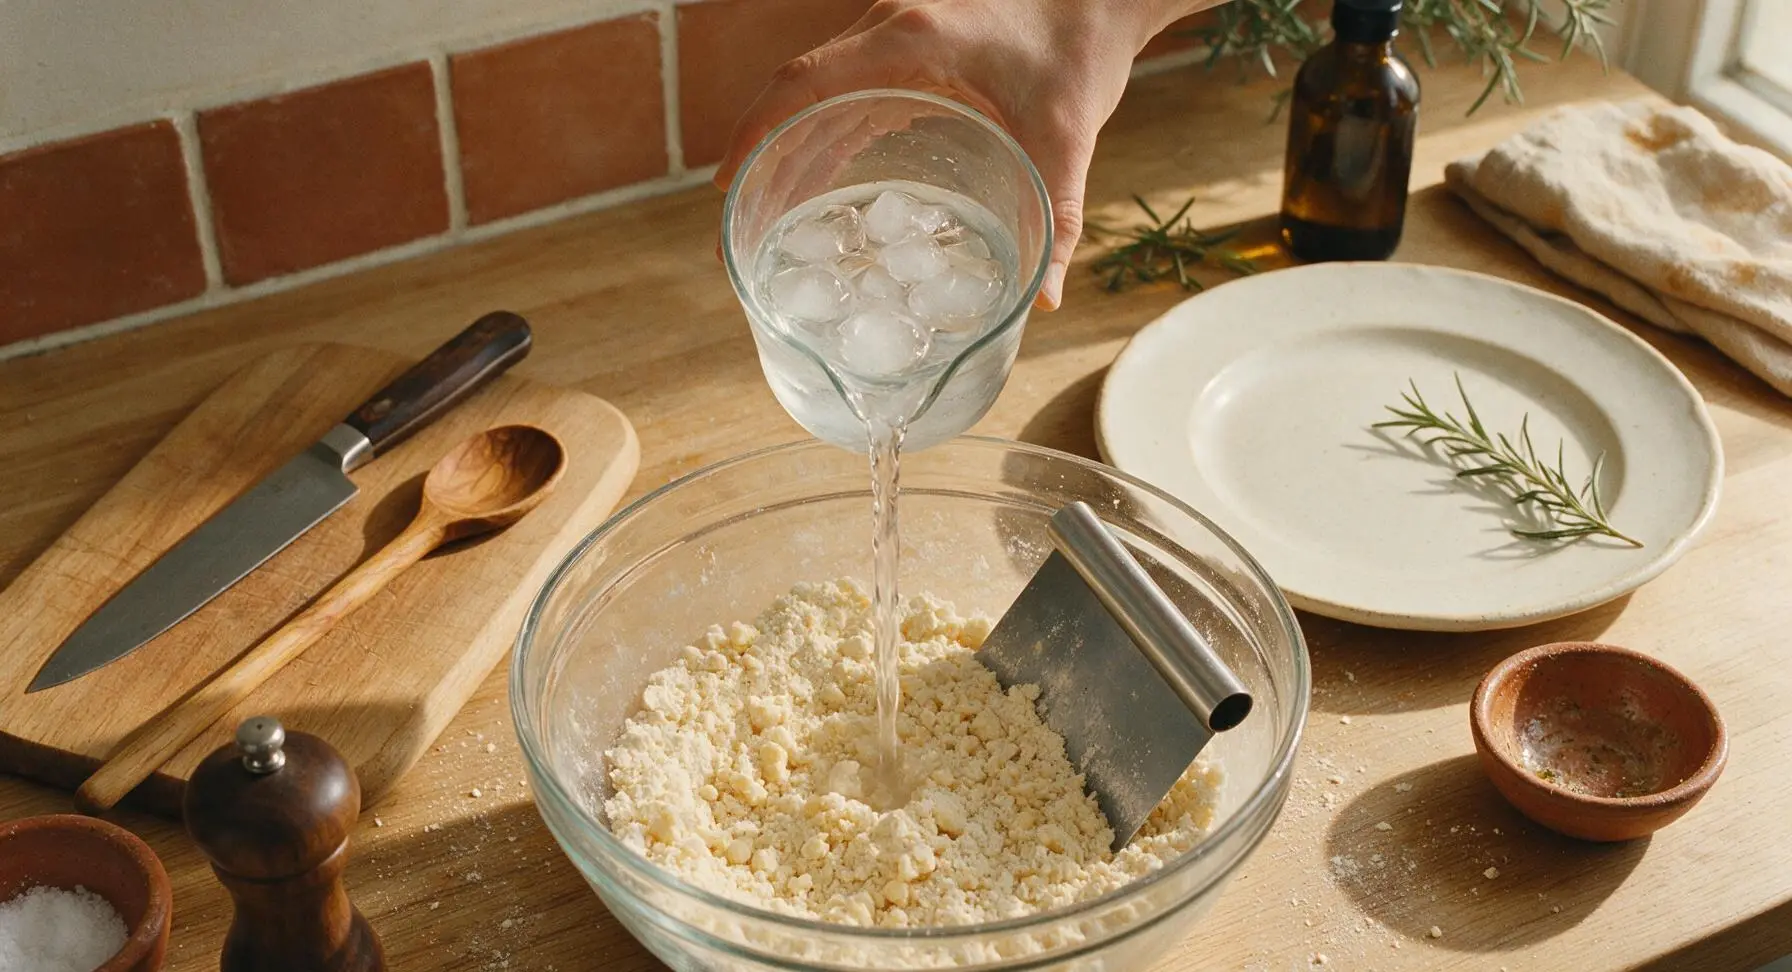
Shape Dough Disks
Turn the shaggy, moistened crumb mixture out onto the clean maple cutting board. Use your hands to gently gather the crumbs into two equal-sized, round disks roughly 1-inch thick, pressing just firmly enough to hold the dough together. Do not knead or overwork the dough, as this will develop gluten and lead to a tough crust. Wrap each disk tightly in plastic wrap once formed.
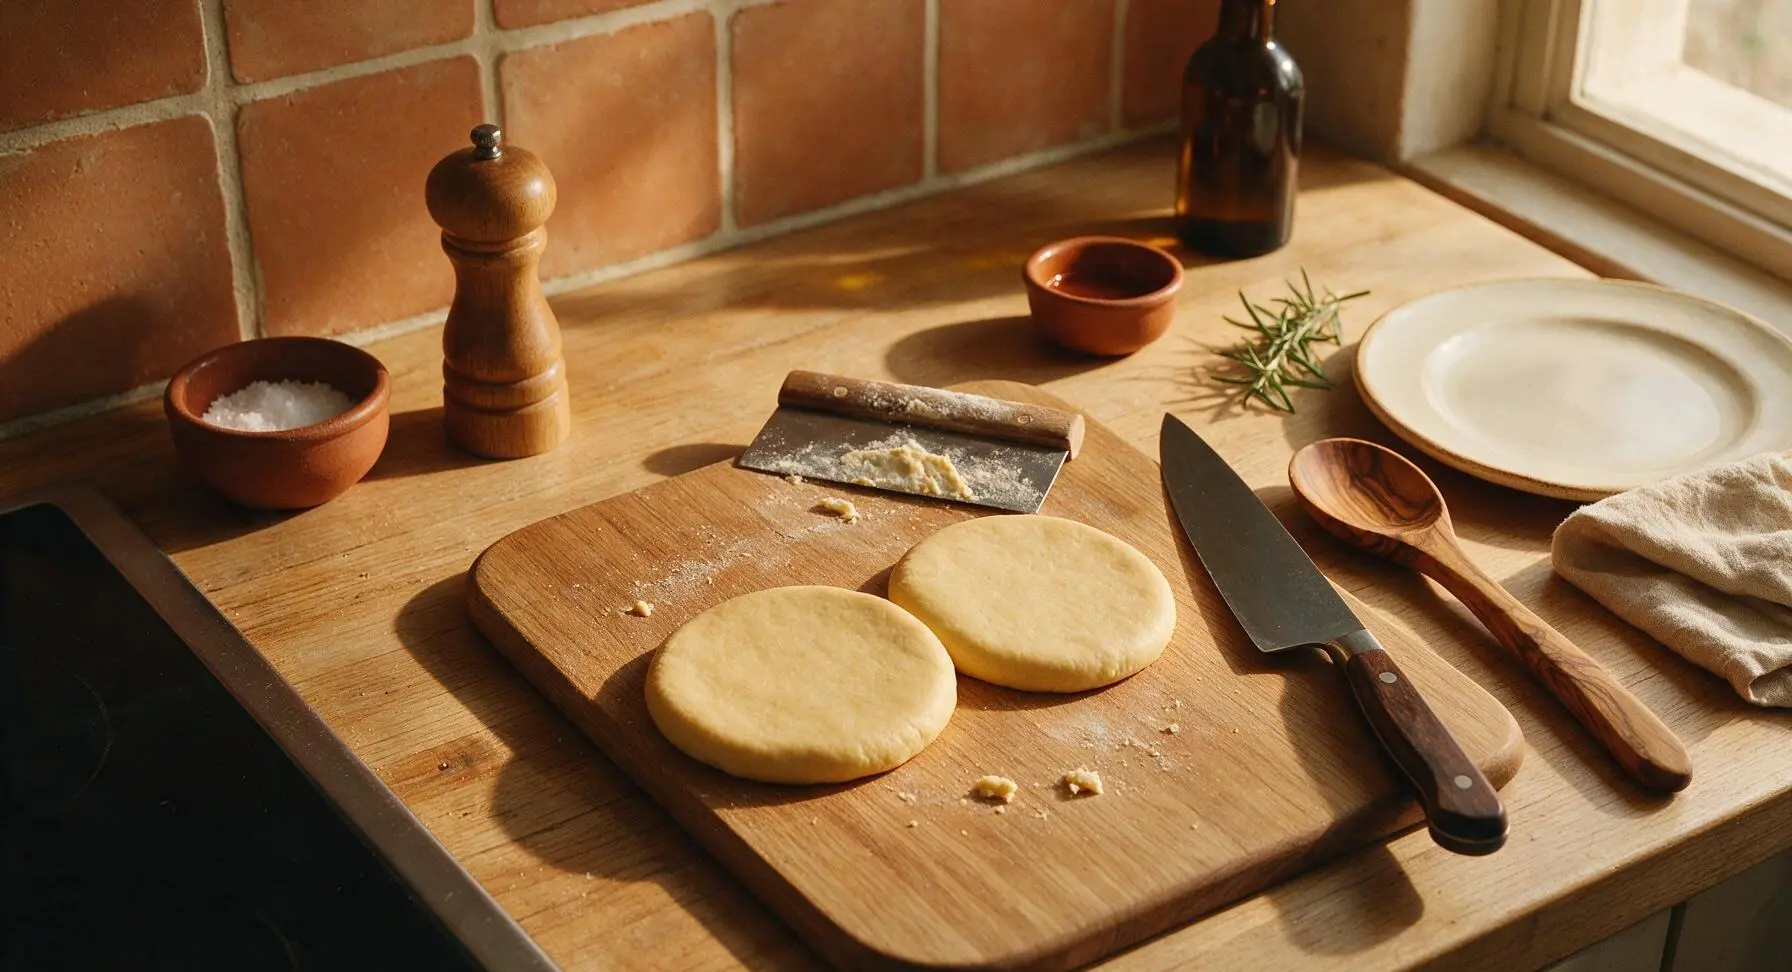
Chill Dough Thoroughly
Place the plastic-wrapped dough disks in the refrigerator to chill for a minimum of 1 hour (and up to 3 days for make-ahead prep). This rest period relaxes stretched gluten to prevent shrinkage during baking, and keeps the butter solid to ensure distinct flaky layers. Do not skip this step, as warm, unchilled dough will tear, shrink, and produce a dense crust.
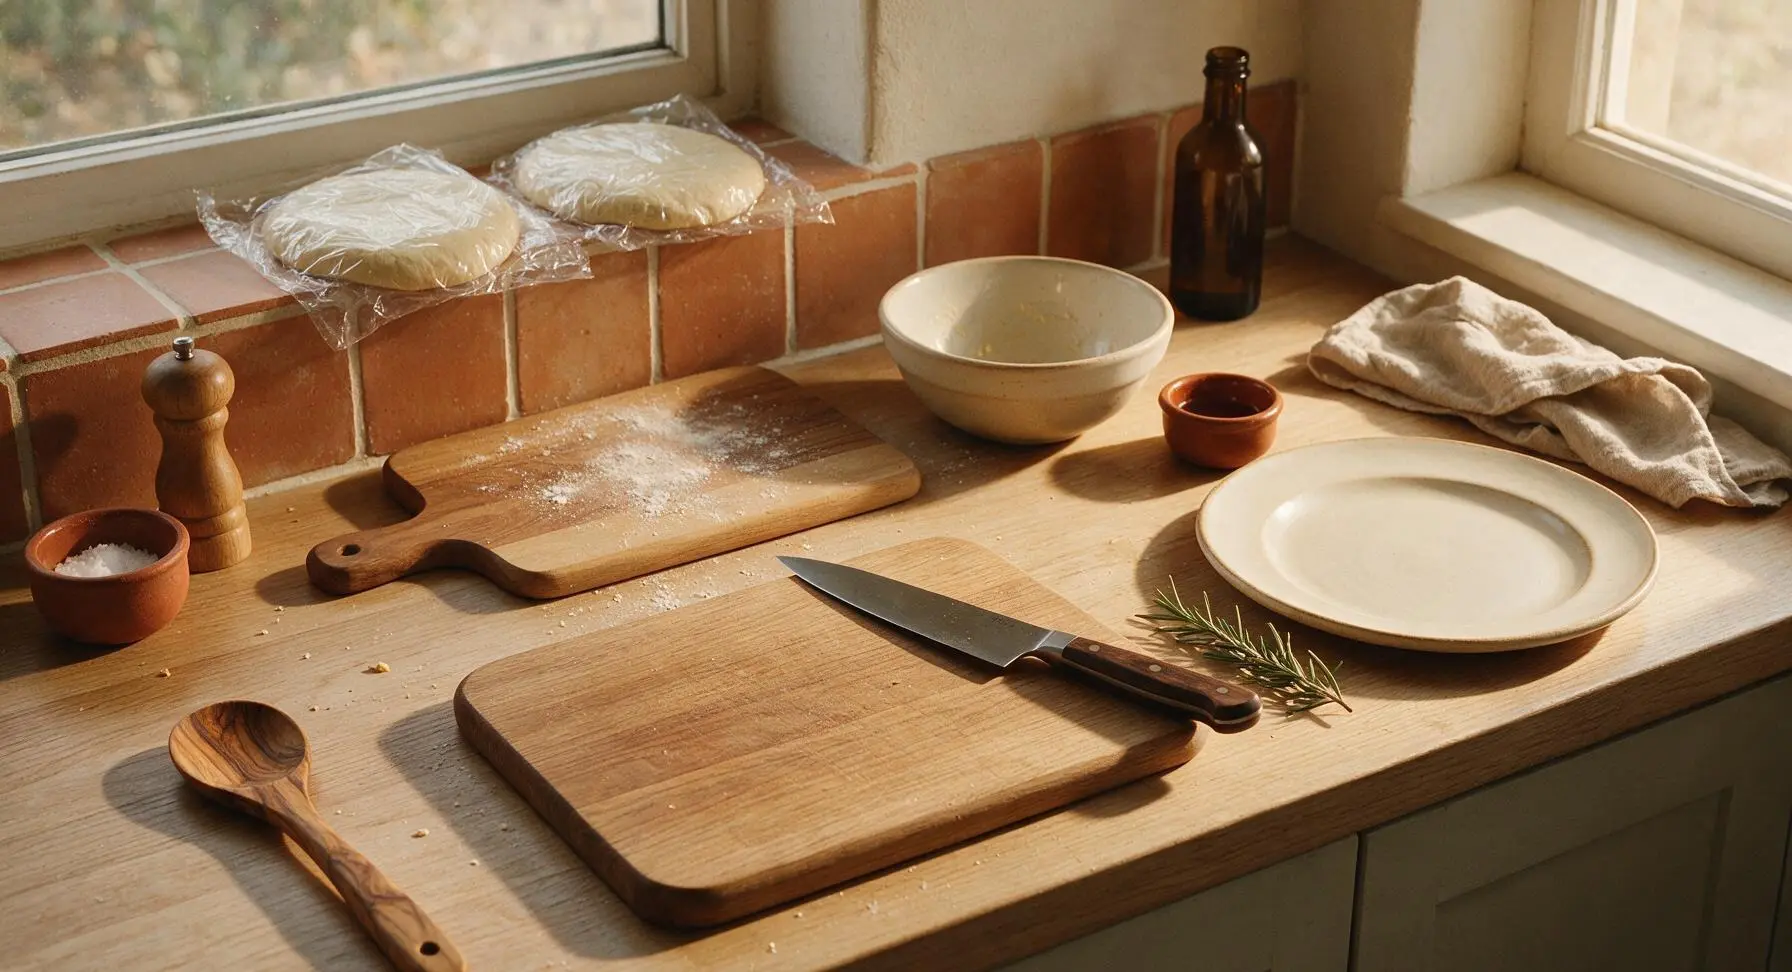
Roll Bottom Crust
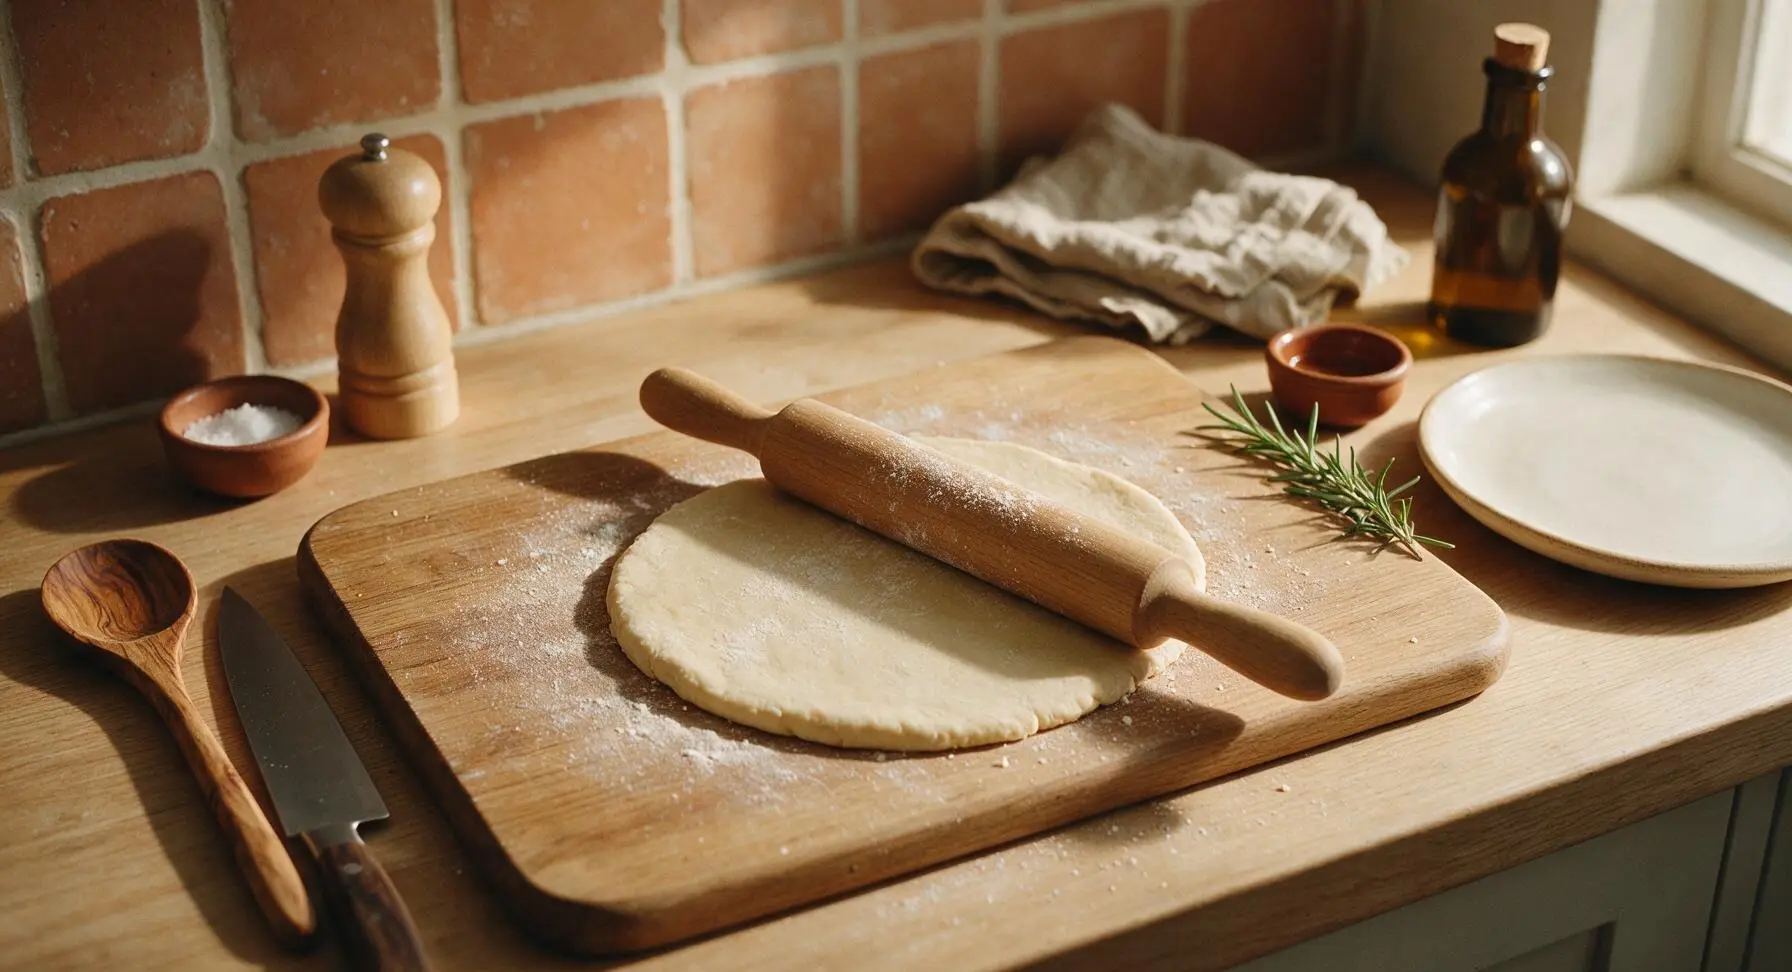
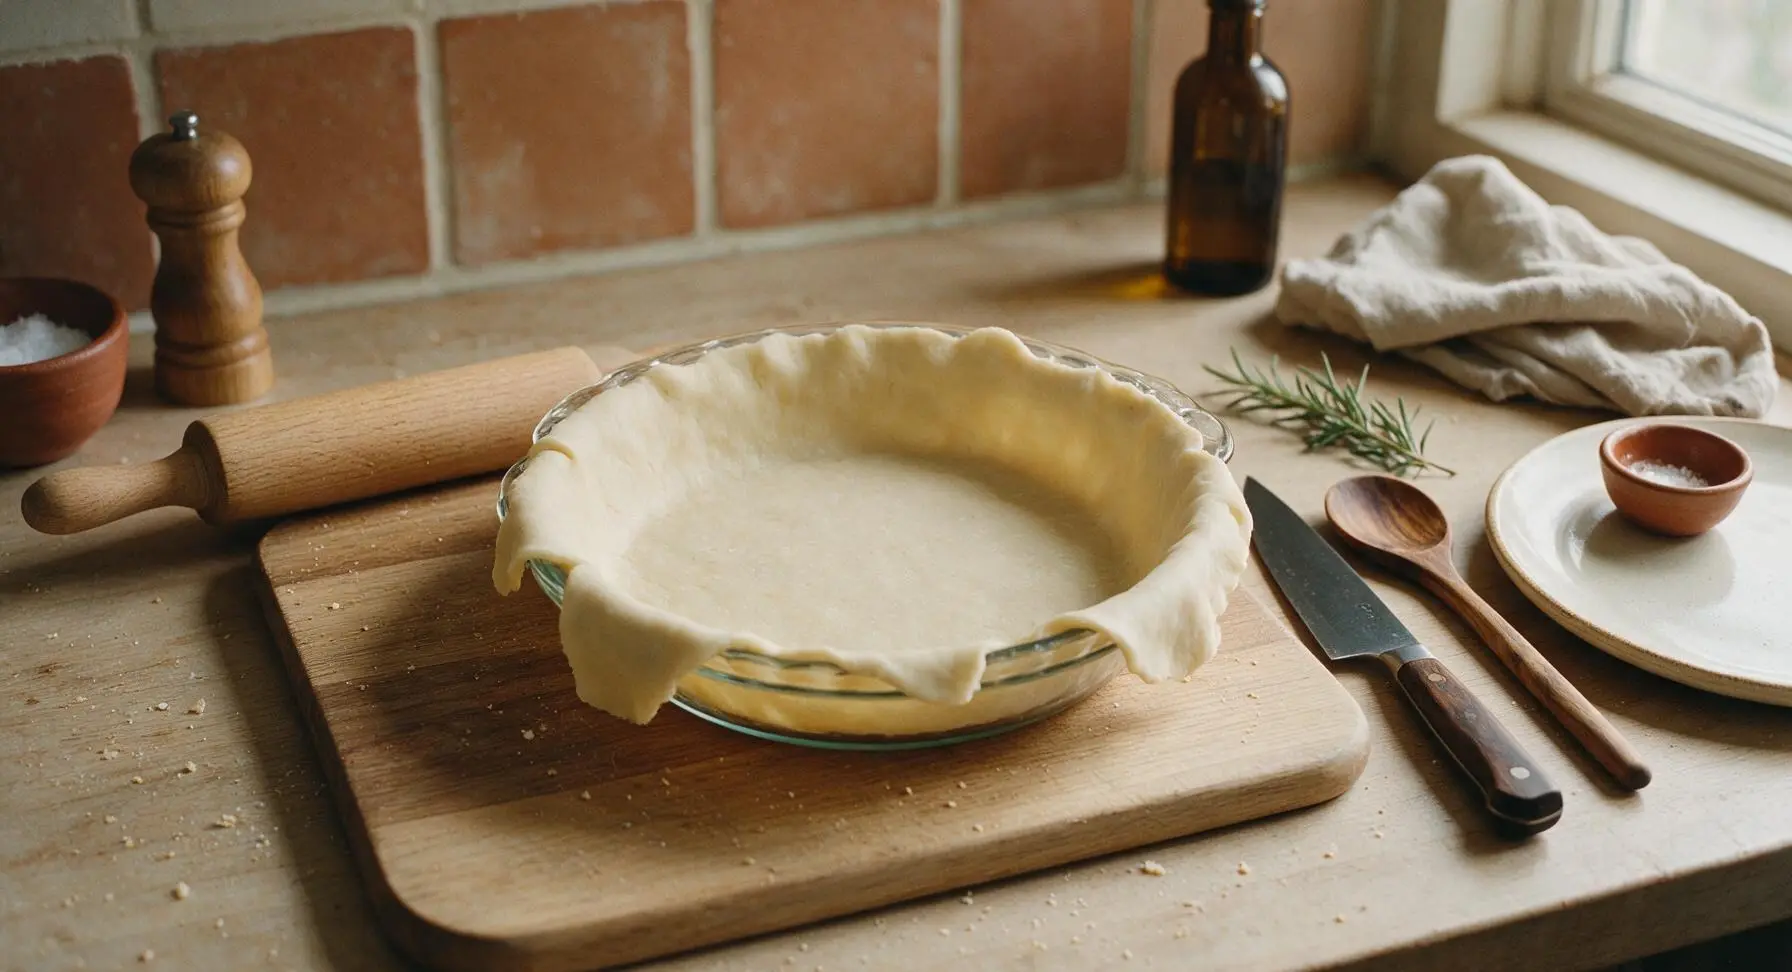
After chilling, unwrap one dough disk and place it on a lightly floured section of the maple cutting board. Use the beech wood rolling pin to roll the dough from the center outward in all directions, turning the dough a quarter turn every few rolls to prevent sticking, until it forms a uniform 12-inch circle roughly 1/8-inch thick. Gently lift the rolled dough and lay it into the clear glass pie dish, pressing it firmly against the bottom and sides, then trim any excess overhang to 1 inch beyond the dish rim.
Blind Bake Bottom Crust
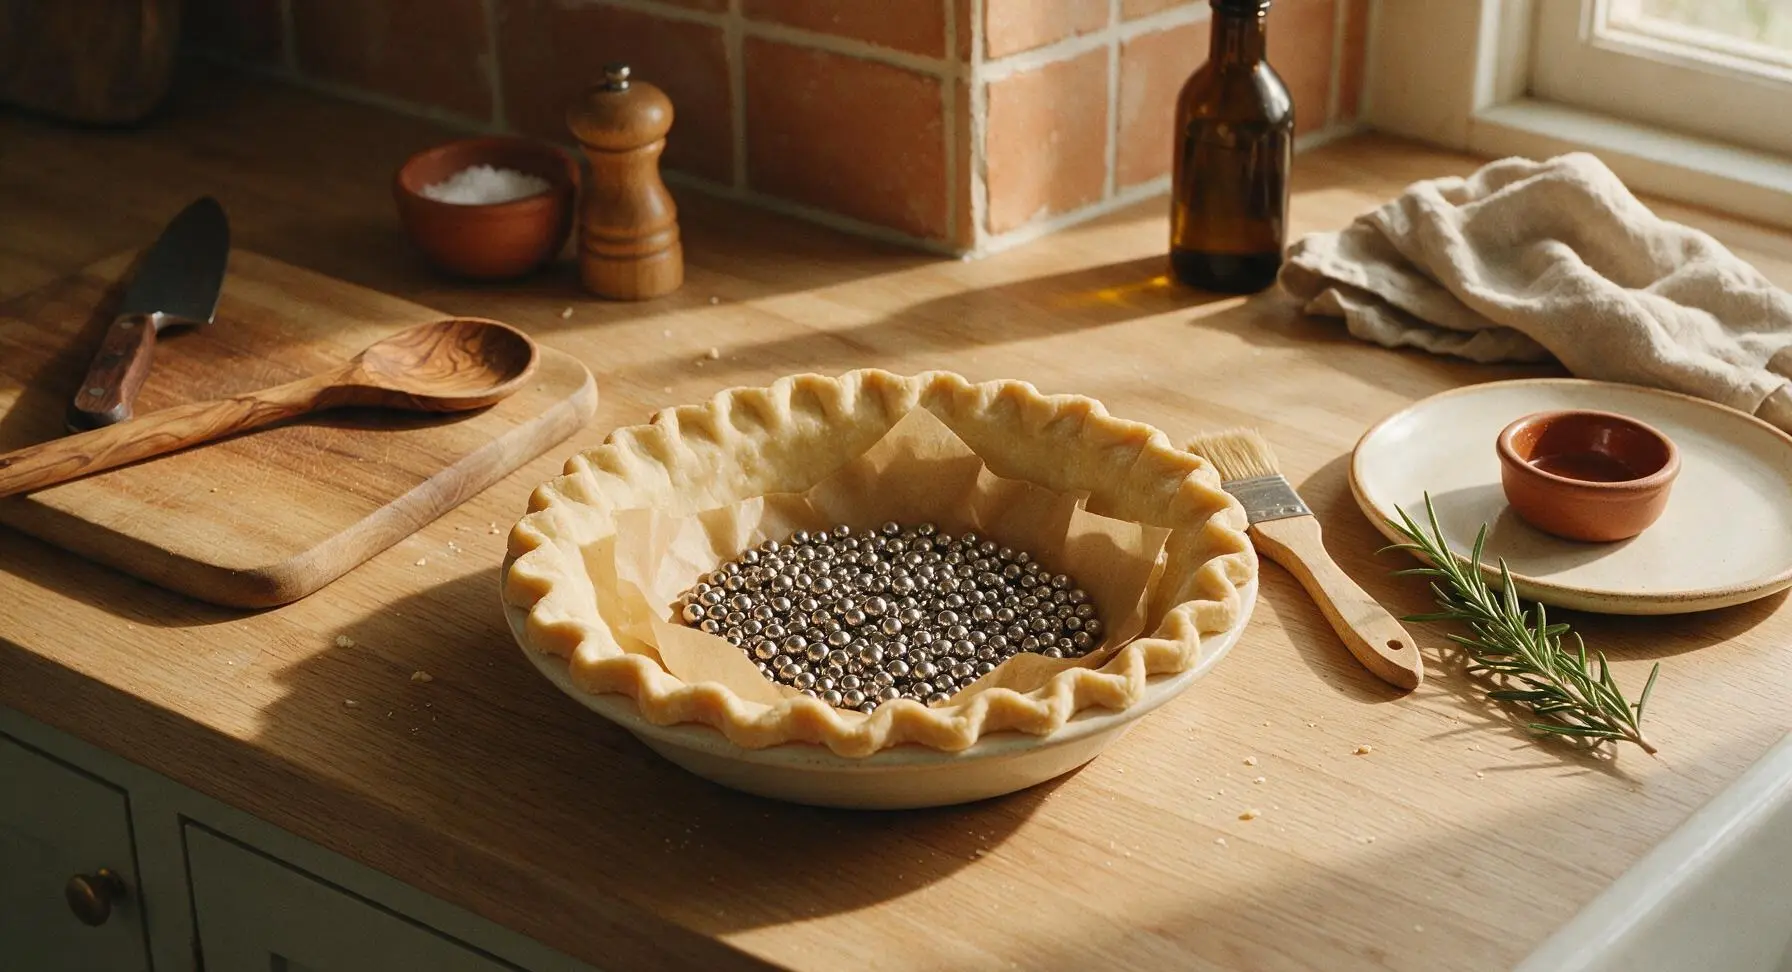
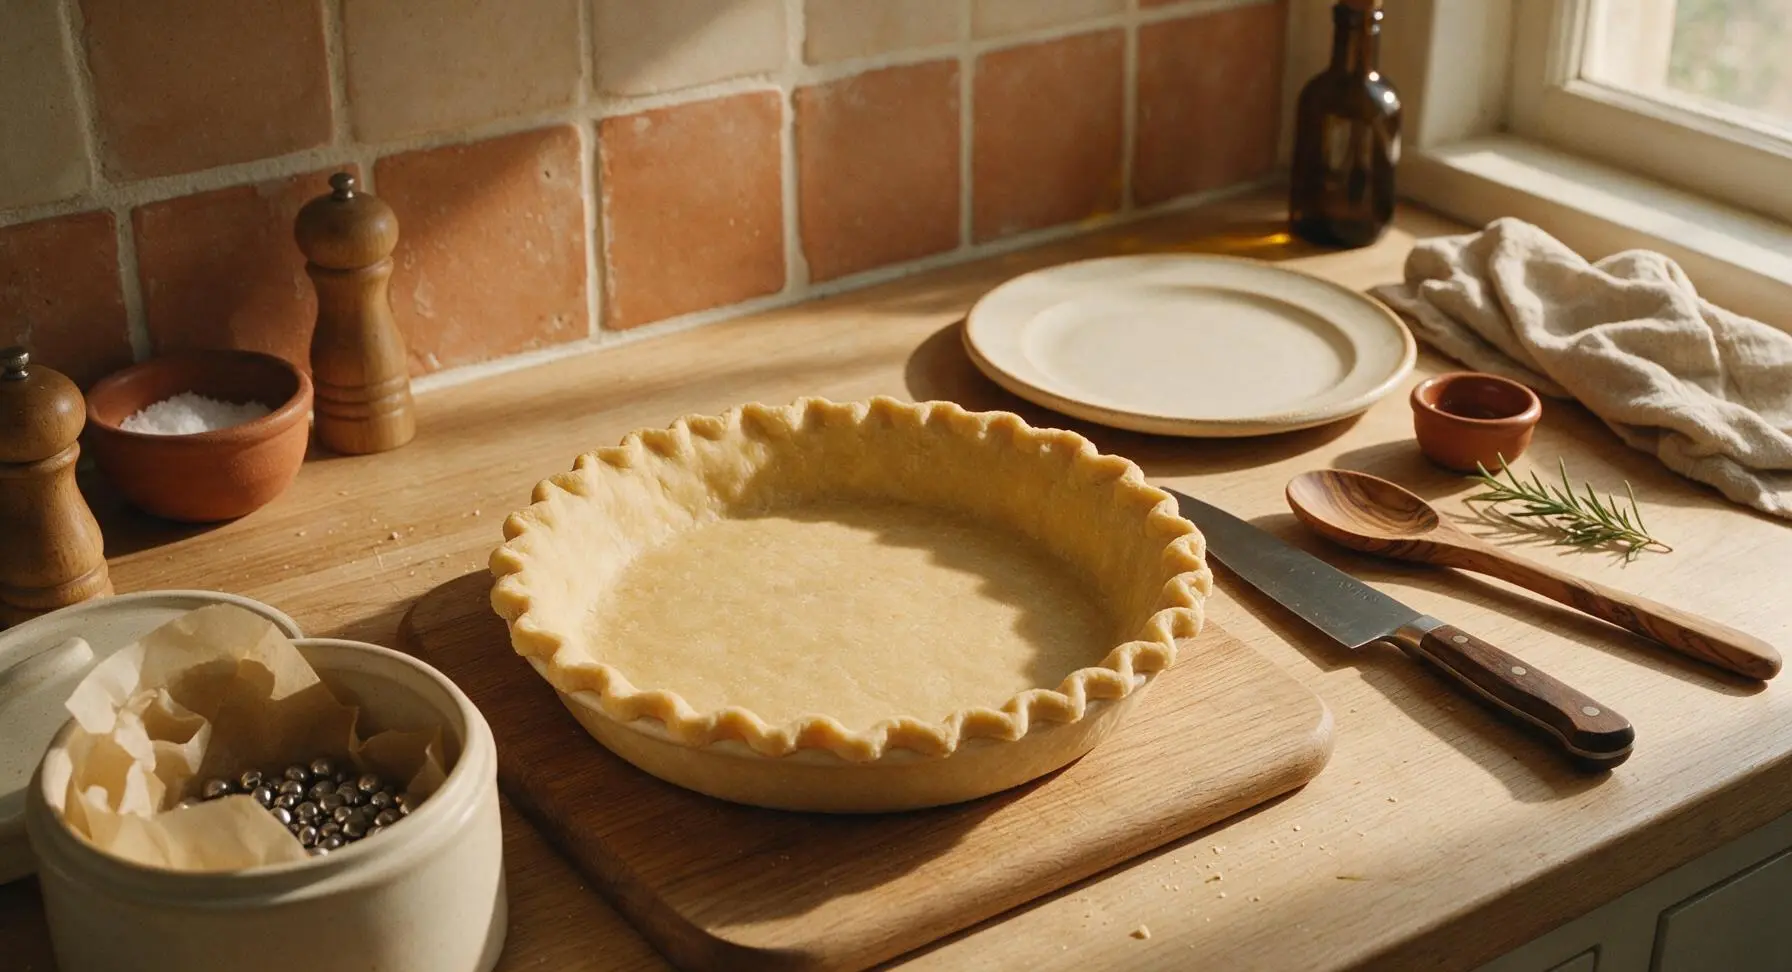
Line the inside of the bottom crust with a sheet of parchment paper, then fill with stainless steel pie weights to cover the entire bottom surface, preventing the crust from puffing up as it bakes. Crimp the overhanging dough edge into a neat, uniform ruffled pattern with your fingers. Bake at 400°F (200°C) for 15 minutes, then carefully lift out the parchment and weights, and bake for an additional 5 minutes until the crust is pale golden and set, with no raw, translucent dough on the bottom. This step prevents a soggy crust under moist pot pie filling.
Seal and Bake Top Crust
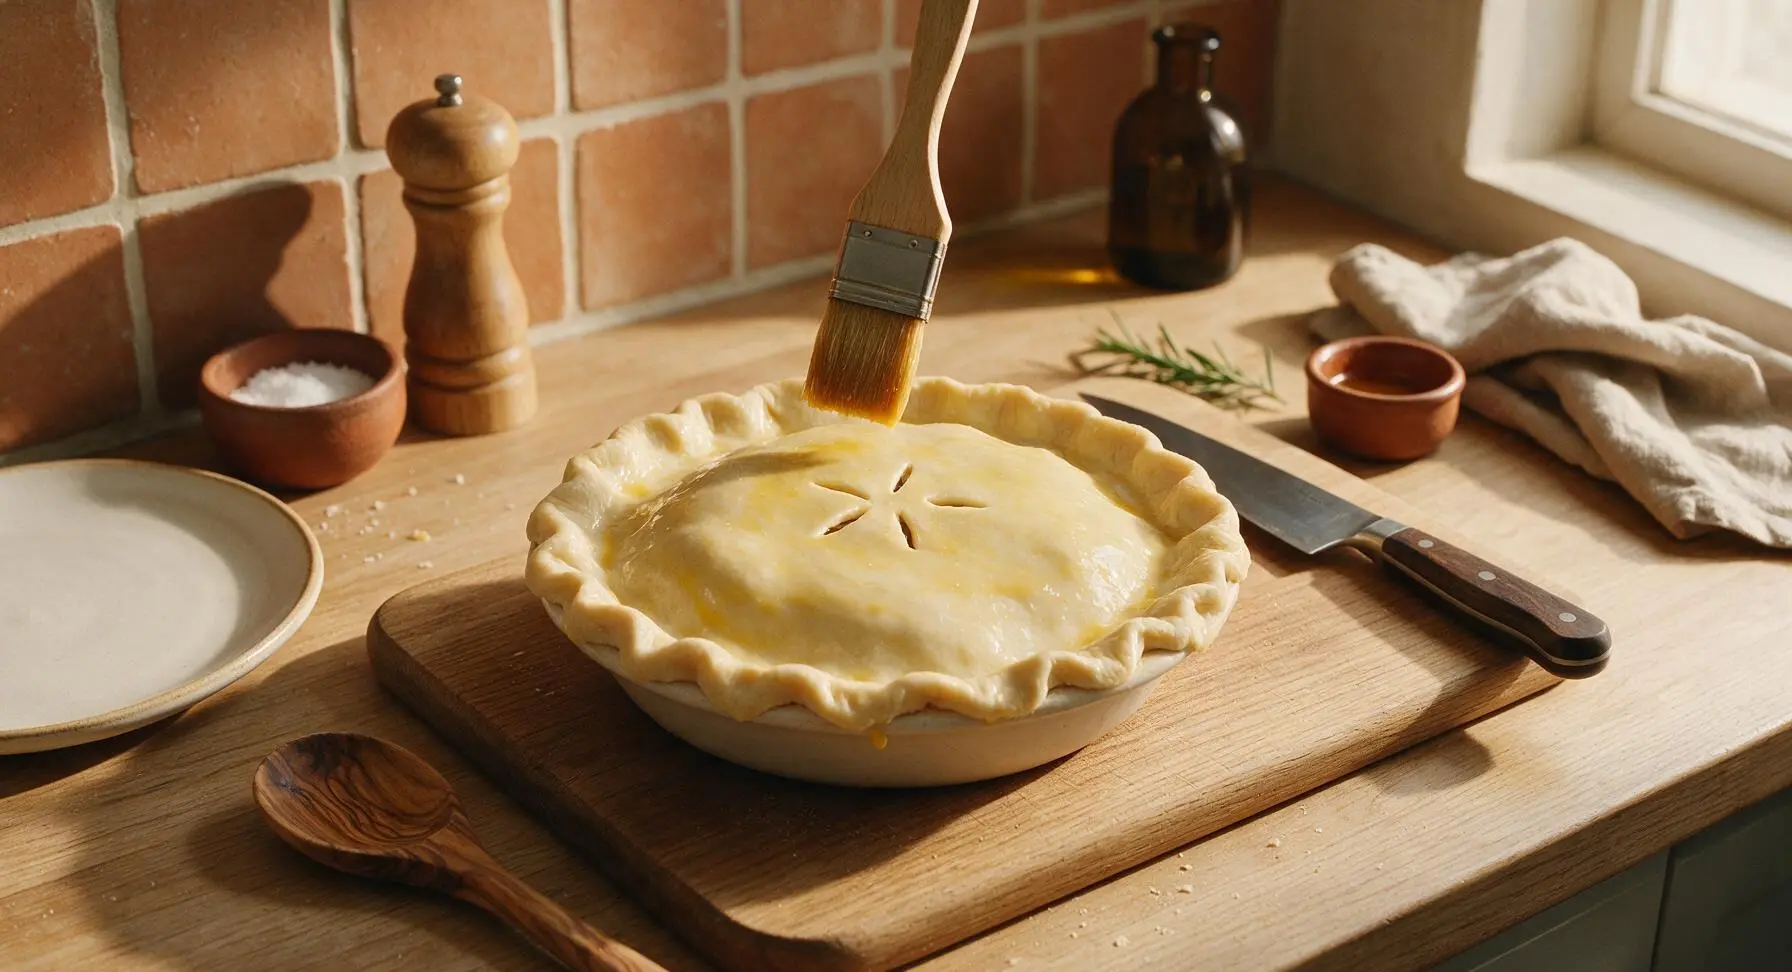
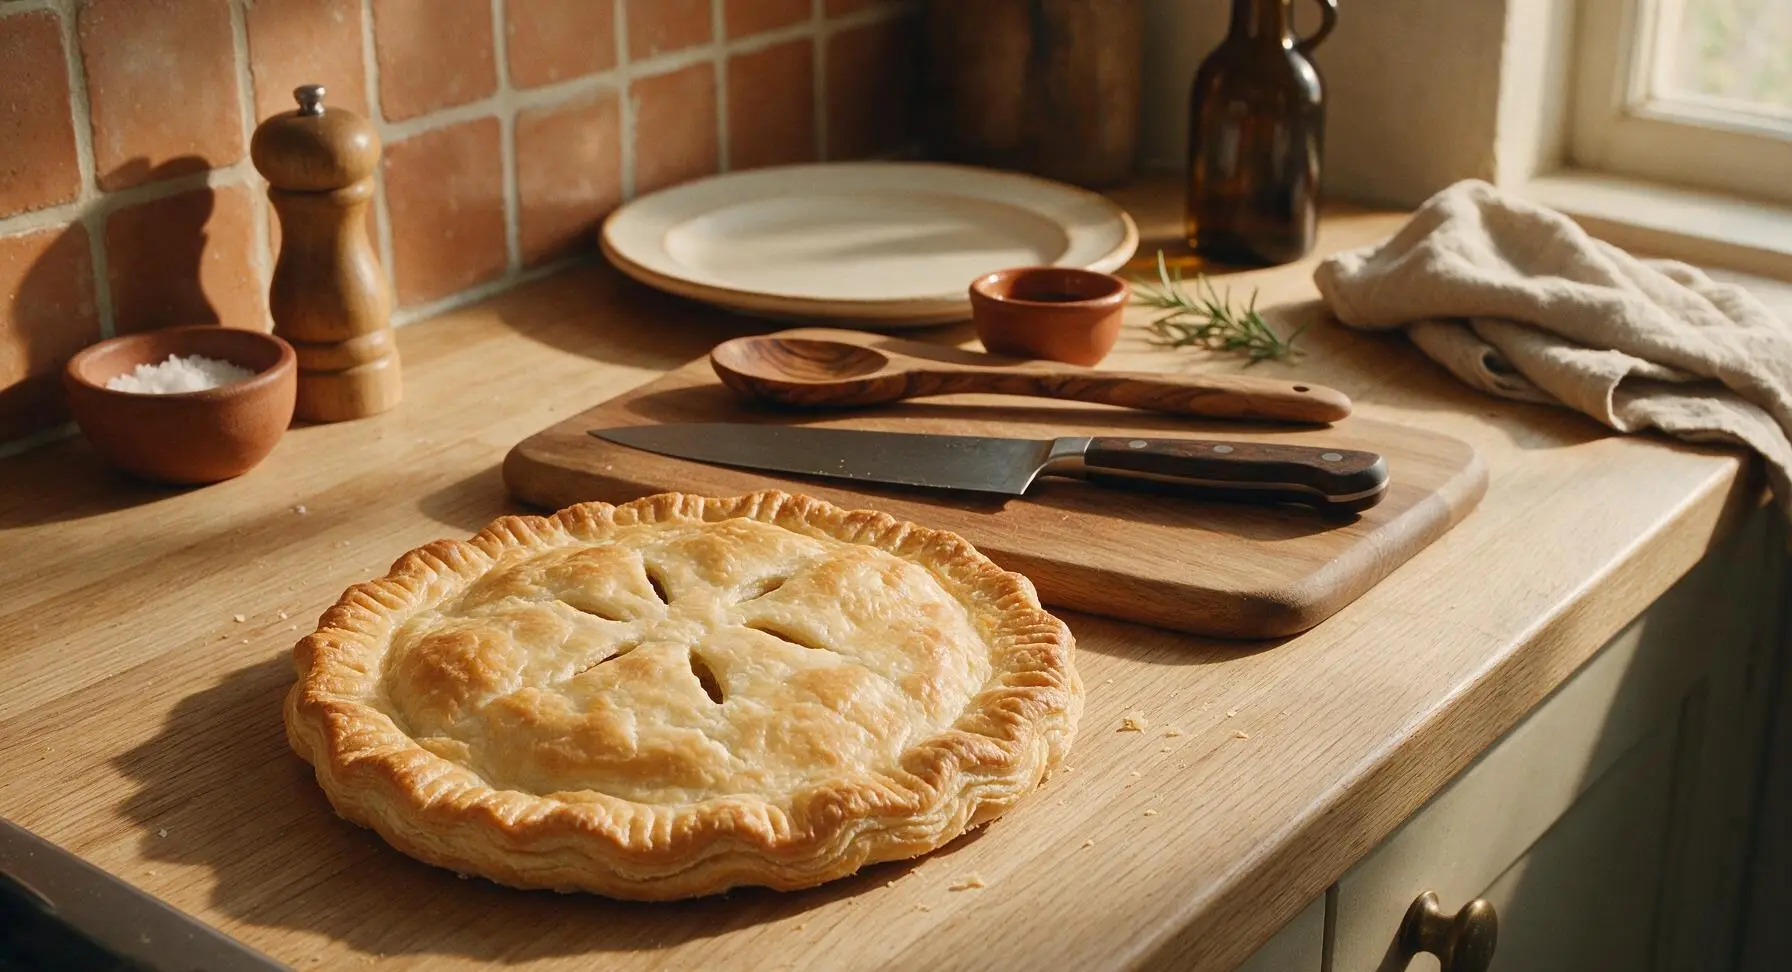
Roll the second chilled dough disk into an 11-inch circle, 1/8-inch thick, using the same rolling method as the bottom crust. Once your preferred chicken pot pie filling is added to the pre-baked bottom crust, lay the top crust over the filling, press the edges together with the bottom crust overhang, and crimp tightly to seal. Cut 3 small 1-inch slits in the center of the top crust to vent steam during baking. Whisk 1 whole egg with 1 tablespoon cold water to make egg wash, then use the pastry brush to coat the entire top surface and crimped edges evenly. Bake at 400°F (200°C) for 30-35 minutes, until the crust is deep golden brown, crisp, and flaky, with no pale raw dough spots on the edges. Let cool 10 minutes before serving.
Tips
2.Avoid overworking the dough at every stage: over-mixing, over-kneading, or excessive rolling develops tough gluten strands that result in a hard, dense crust instead of a tender texture. It is completely normal for the dough to look slightly shaggy and uneven when you first form it into disks.
3.Do not skip the blind baking step for the bottom crust: even with a perfectly made dough, moist pot pie filling will soak through an unbaked bottom crust, leaving a soggy, gummy layer. The short pre-bake sets the crust structure to keep it crisp under wet filling.






OMG this crust is a total game changer! I’ve struggled for years to get a flaky pot pie crust that doesn’t turn soggy under the filling, and this recipe nailed it. My whole family devoured the chicken pot pie I made for Sunday dinner, even my super picky 7 year old asked for seconds. 10/10 will be my go-to from now on!
Tasted great, super flaky! Only reason I’m not giving 5 stars is I messed up the first batch because I let my butter get too soft before cutting it in. Ended up with a tough crust first go, but the second batch I made sure the butter was ice cold and it turned out perfect. Great recipe, just make sure you don’t skip that cold butter step!
Made this double crust for a chicken pot pie I brought to our neighborhood potluck last night and people were begging me for the recipe! It was so buttery and flaky, everyone thought I bought a fancy pre-made crust from the bakery down the street. SO good, will absolutely be making this again for our next family gathering.
Perfect for meal prep! I made a double batch of this crust on Sunday, wrapped half tight in plastic wrap and froze it, used the other half for a pot pie that lasted me dinners all week. Held up great in the fridge, didn’t get soggy at all even when I reheated slices in the oven. Saved me so much weeknight cooking stress!
Taste was great but I found the instructions a little vague for a medium difficulty recipe? I wasn’t sure how thick to roll the crust out, and my bottom crust stuck a little to the pie dish even after I greased it. Any tips for next time?
First time making any kind of pie crust from scratch and this recipe made me look like a pro! Made it for my wife’s birthday dinner since chicken pot pie is her favorite, and she said it was better than the one her grandma used to make. Win for the dad cook resume!
This crust is incredible! I swapped in a cup of whole wheat flour for a little extra nuttiness and it still came out perfectly flaky. Has anyone tried making this with gluten free all purpose flour for my kiddo who has Celiac? I want to make it for his birthday dinner next week.
Just pulled my pot pie out of the oven and the crust is SO flaky!! I was so nervous I’d mess it up since I only have a tiny dorm kitchen and a rolling pin I borrowed from my roommate, but it turned out better than any frozen pot pie I’ve ever had. Total win for a weeknight dinner on a student budget!
I’ve been making pie crusts for over 40 years and I have to say, this recipe is up there with the best of them. The vinegar trick to keep the crust tender? Genius. I’ve always used a splash of vodka but the vinegar works even better and I don’t have to waste my good liquor on baking, ha.
Made this for our post-soccer practice family dinner last night and my kids loved it! They kept picking the flaky crust bits off the top and eating them before they even touched the chicken and veggie filling. I added a little extra salt and a sprinkle of garlic powder to the crust dough and it was chef’s kiss.
Just finished making this crust for the third time this month! It’s so reliable, I’ve used it for chicken pot pie, even a savory turkey pot pie after Thanksgiving last week. Flaky every single time, no soggy bottoms, no tough dough. 100% worth the little extra effort compared to store bought crust.
Really good crust! My only issue is that my top crust shrank a little bit while it was baking, so it didn’t cover the edges of the filling all the way. Did I do something wrong? Flavor was amazing though, just want it to look nicer next time I make it for my friend’s potluck.
Used this crust recipe for mini chicken pot pies I made for our school bake sale and they sold out in 20 minutes! People kept coming back asking if I had more, several parents asked for the recipe. The crust held up perfectly even in the little muffin tins, no sogginess, super flaky. Will be using this for all my savory pie needs from now on!
Y’all. This crust is insane. I’ve tried so many chicken pot pie crust recipes over the years and this is the first one that actually gives you those big, pull-apart flaky layers like you get at a fancy restaurant. The trick of folding the dough like a letter to build layers? Absolute genius. I’ll never use another recipe again.
This saved my Thanksgiving leftover pot pie! I thought I was going to have to run to the store for pre-made crust when I realized I was out, but I had all the ingredients for this in my pantry and fridge already. Way cheaper than store bought and tasted 100x better. So glad I found this recipe!
Made this crust with my 8 year old granddaughter yesterday for our weekly cooking date and it was so easy for her to help with! She loved cutting the butter into the flour with the pastry cutter and crimping the edges of the crust. It turned out perfectly flaky, and she was so proud to serve it to her parents when they came to pick her up. Such a great, approachable recipe for cooking with kids.