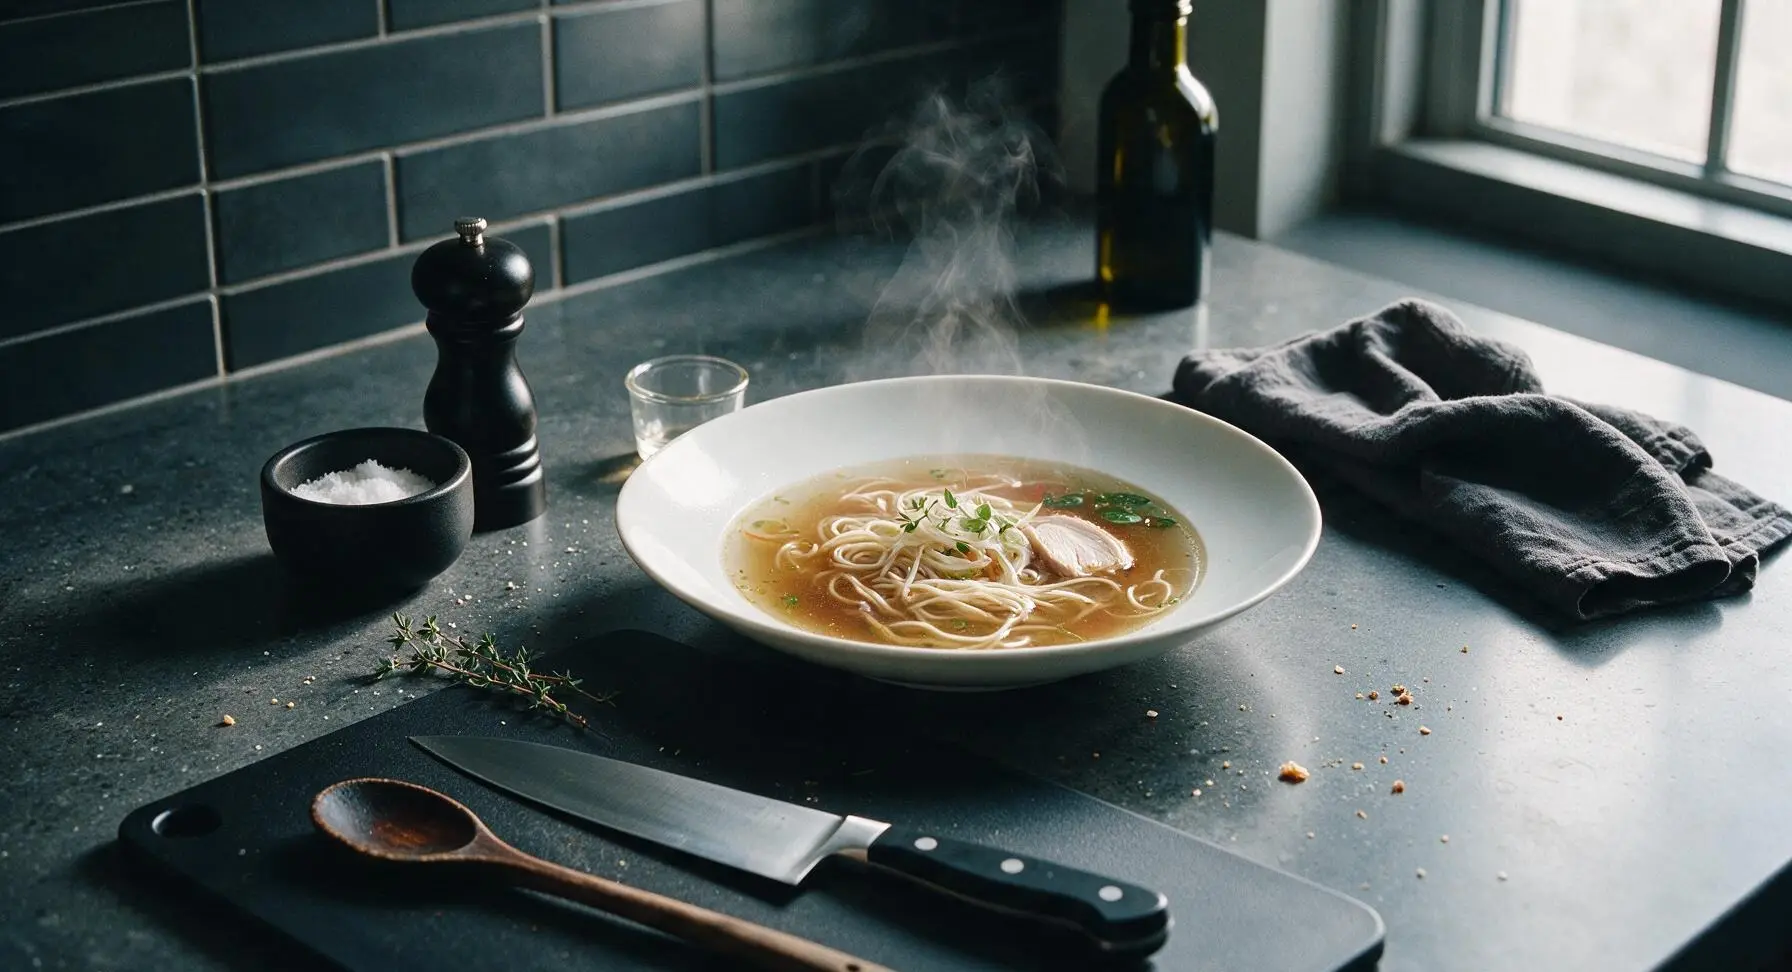
chicken ramen broth

title 1
chicken ramen broth
⏱️ cook time 3 hours
🍽️ servings 4
⚡ Difficulty medium

intro

Rich, umami-packed clear chicken ramen broth, simmered low and slow for deep flavor, the perfect base for cozy, restaurant-worthy homemade ramen bowls.

Ingredients
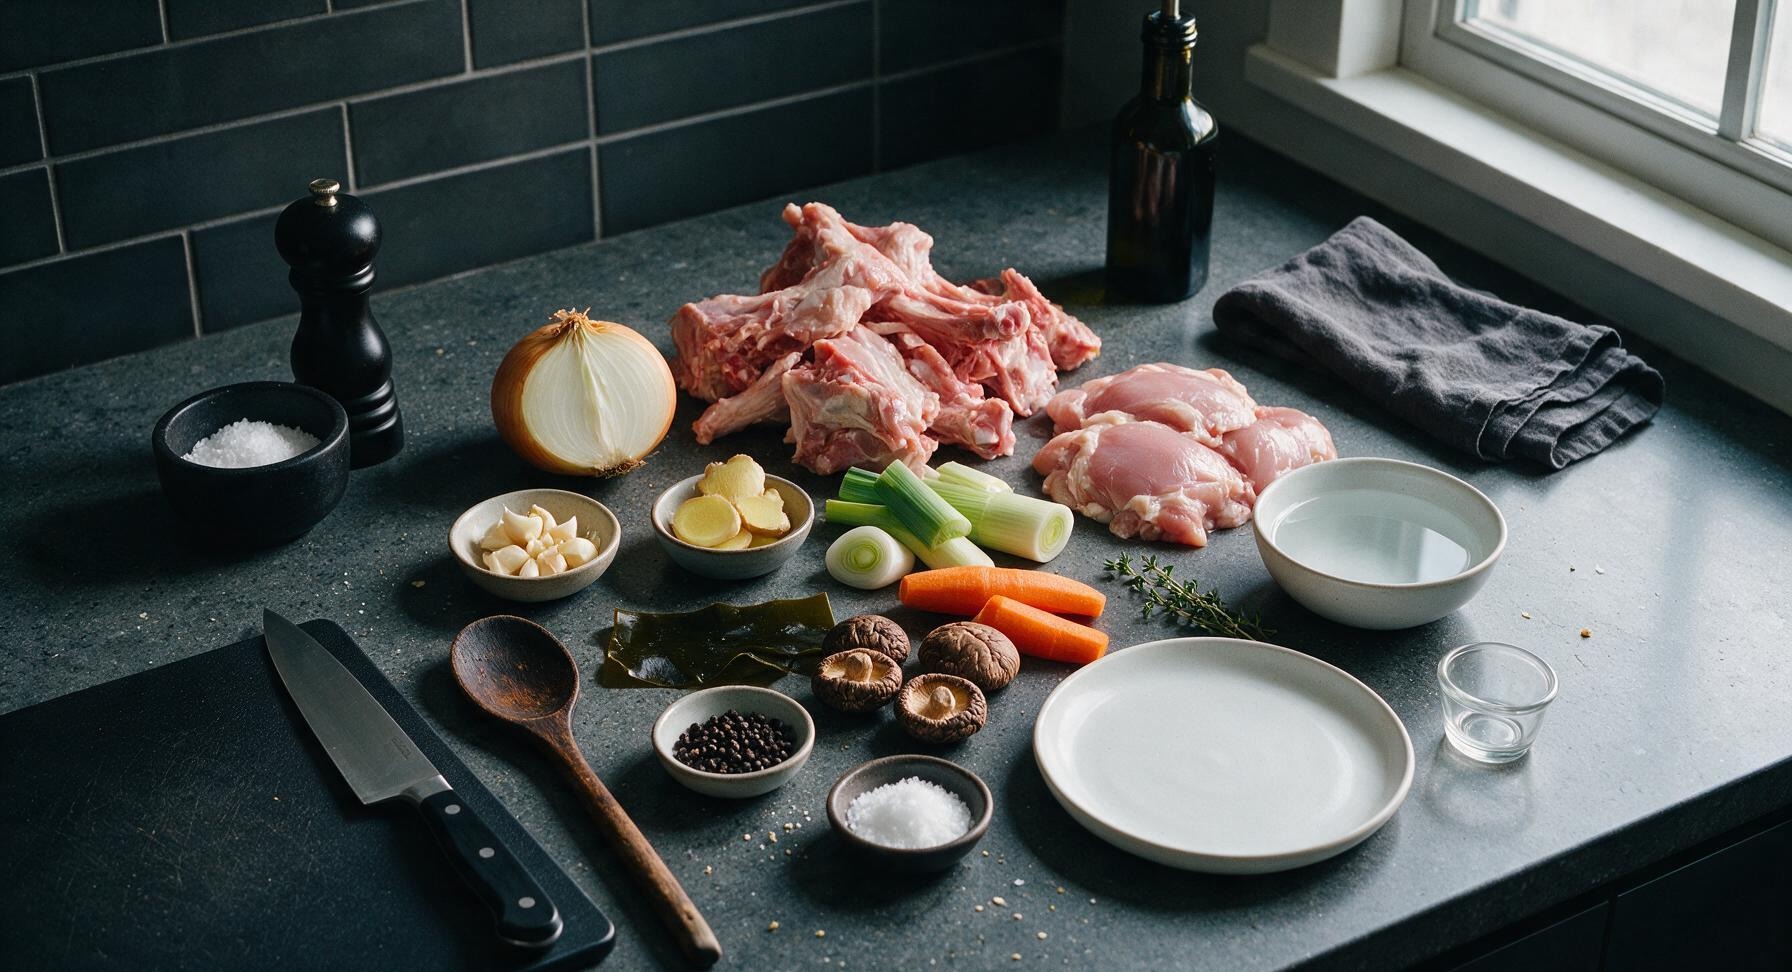
Chicken frame (back, neck, bones with attached meat) 1.5kg
Boneless skinless chicken thighs 300g
Yellow onion (skin on, halved) 1 large (250g)
Garlic cloves (crushed) 6 cloves (30g)
Fresh ginger (1cm thick slices) 5cm knob (30g)
Leek (trimmed, 5cm chunks) 1 small (150g)
Carrot (large chunks) 1 medium (120g)
Dried kombu (kelp) 10cm piece (10g)
Dried shiitake mushrooms 4 whole (15g)
Whole black peppercorns 1 tsp (3g)
Kosher salt 1 tbsp (15g)
Cold water 4L

Steps

1

Prep Broth Ingredients

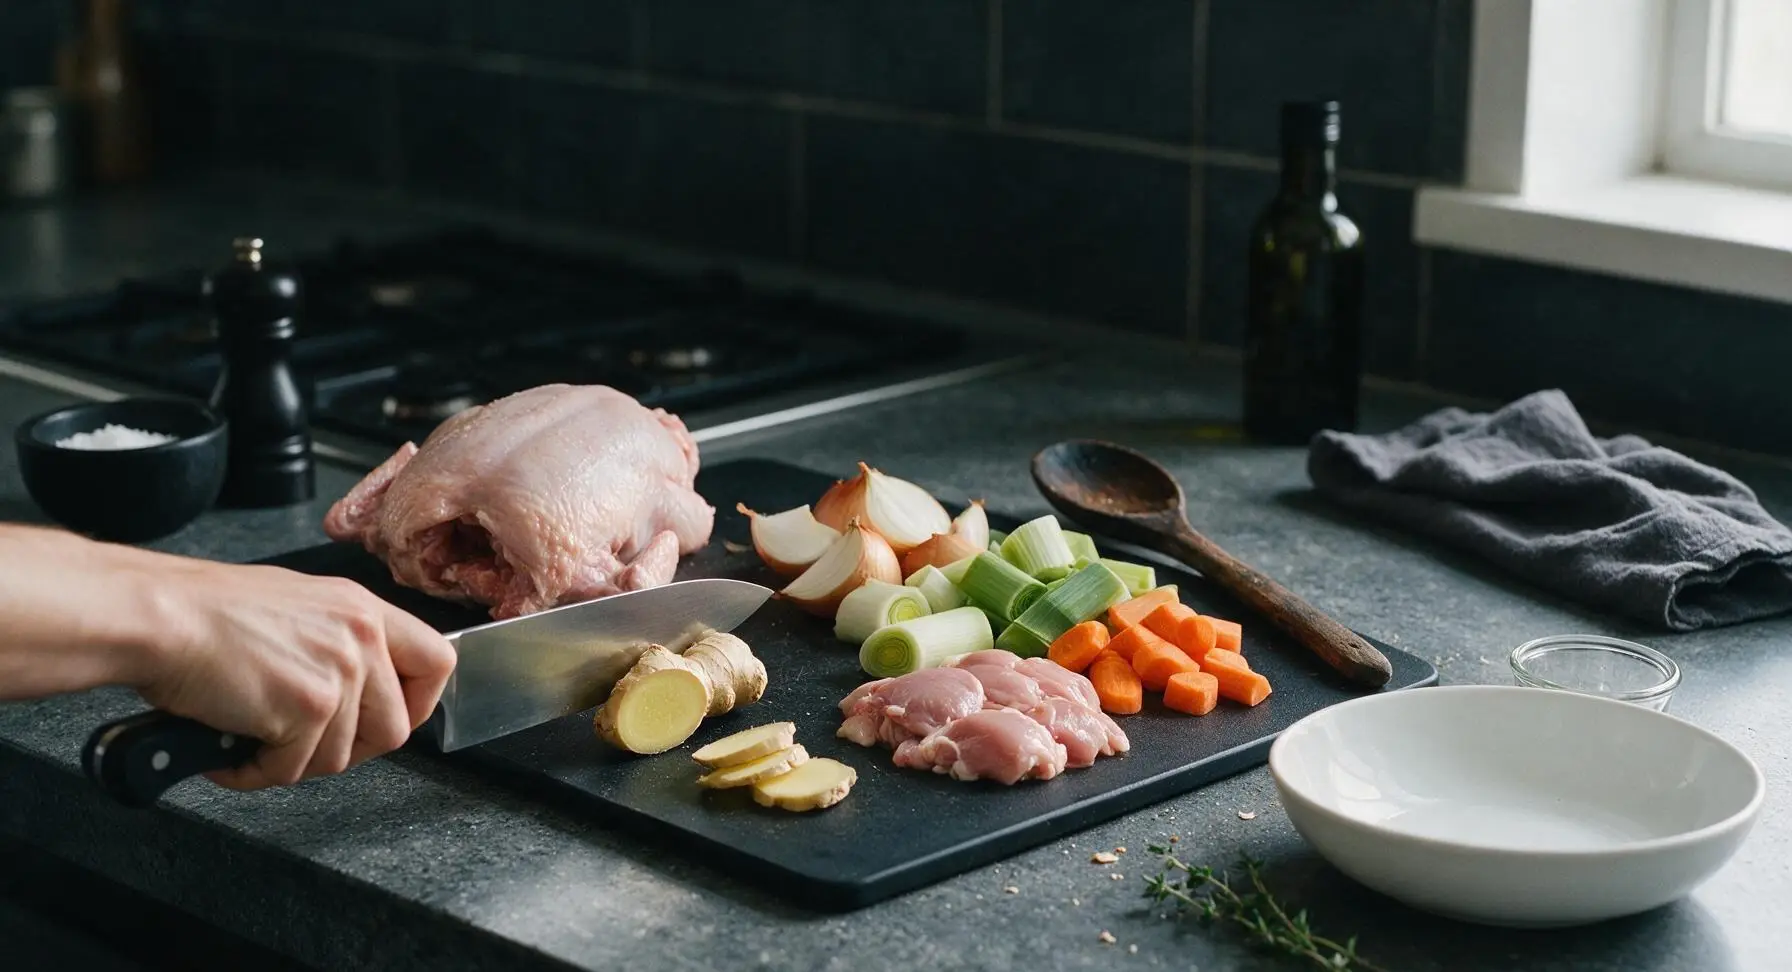
Rinse the 1.5kg chicken frame under cold running water to remove any residual blood or loose bone fragments, patting it lightly dry with the edge of the indigo linen towel. Place the chicken frame on the maple cutting board, then use the chef knife to cut the skin-on onion in half (the brown skin adds deep golden color to the finished broth), slice ginger into 1cm thick rounds, crush garlic cloves with the flat of the knife, and cut leek and carrot into 5cm large chunks. Keep prepped ingredients in separate loose piles on the board, setting the raw chicken thighs aside in a small pile for later use.
Step 1
step1:Prep Broth Ingredients
2

Add Base Ingredients

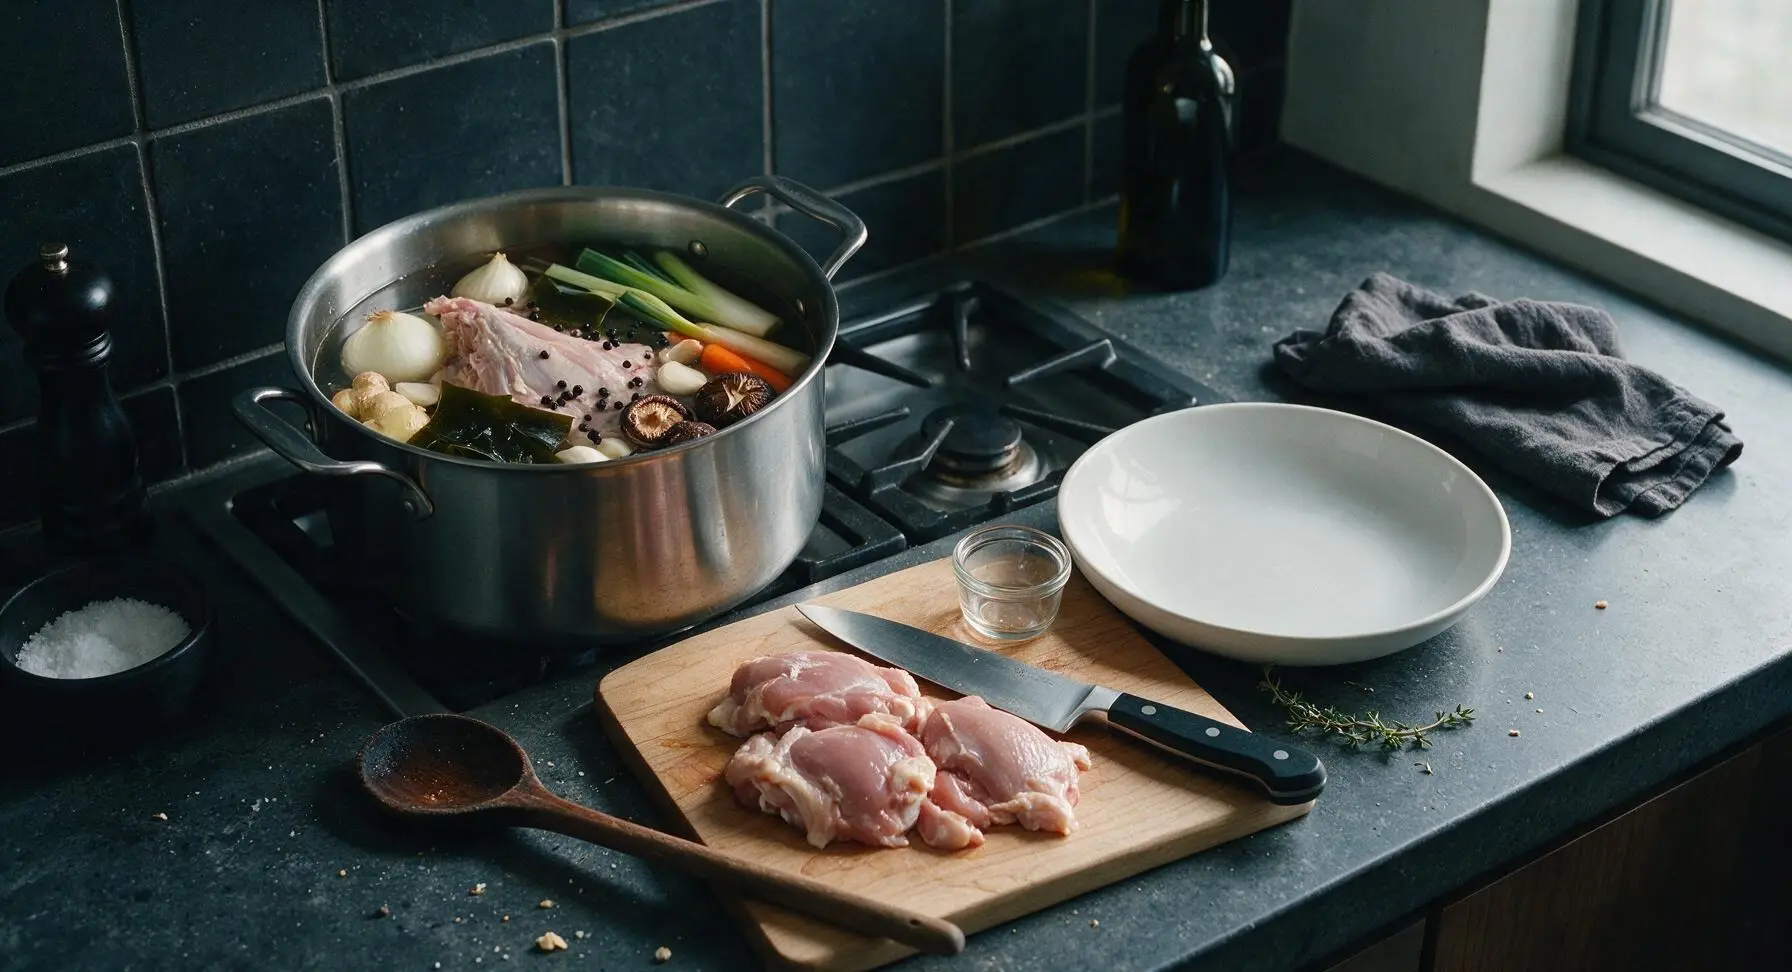
Place the 12-quart stainless steel stock pot on the left rear stovetop burner. Add the rinsed chicken frame, prepped onion, ginger, garlic, leek, carrot, dried kombu, dried shiitake mushrooms, and whole black peppercorns to the pot, leaving the raw chicken thighs on the cutting board for later. Pour 4 liters of cold tap water over the pot contents, ensuring all ingredients are fully submerged by 2cm of water; add a splash more cold water if any pieces float above the water line.
Step 2
step2:Add Base Ingredients
3

Heat to Gentle Simmer

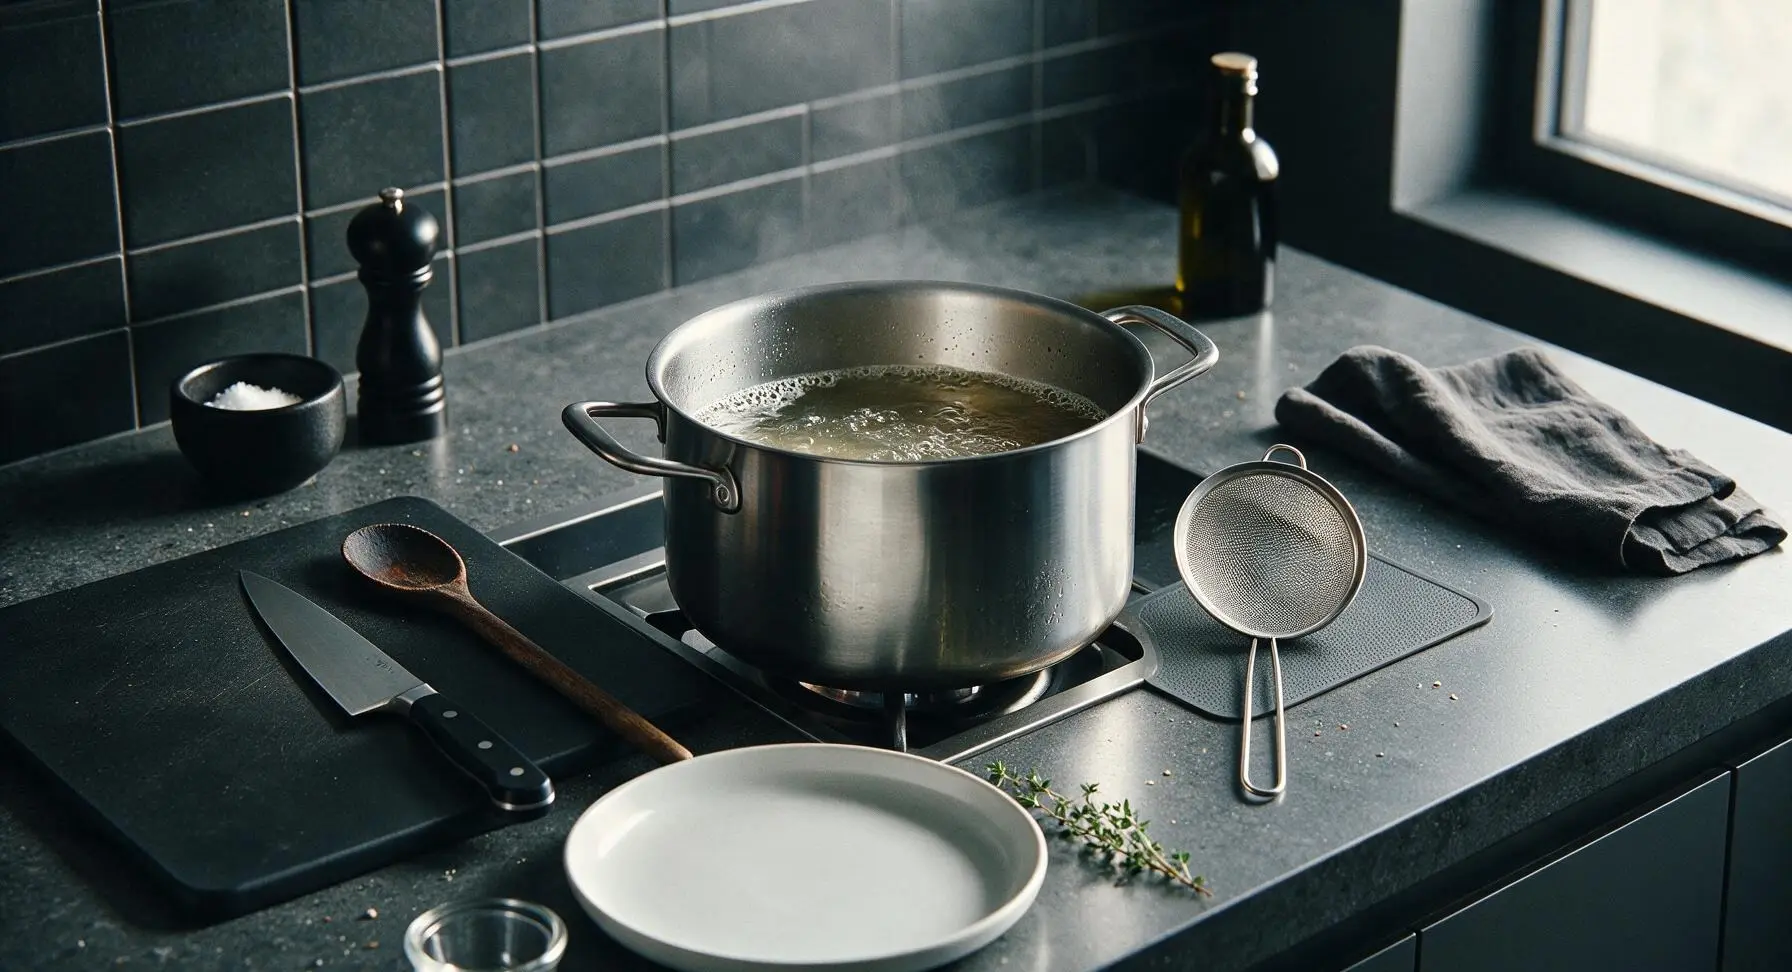
Turn the stovetop burner to medium-high heat, leaving the pot uncovered, and slowly bring the contents to a gentle low simmer over 15-20 minutes. Monitor closely to target a steady temperature of 85°C/185°F, where tiny, slow bubbles break only at the pot edges, rather than a violent rolling boil which will cloud the final broth. Do not stir the pot as it heats.
Step 3
step3:Heat to Gentle Simmer
4

Skim Surface Impurities

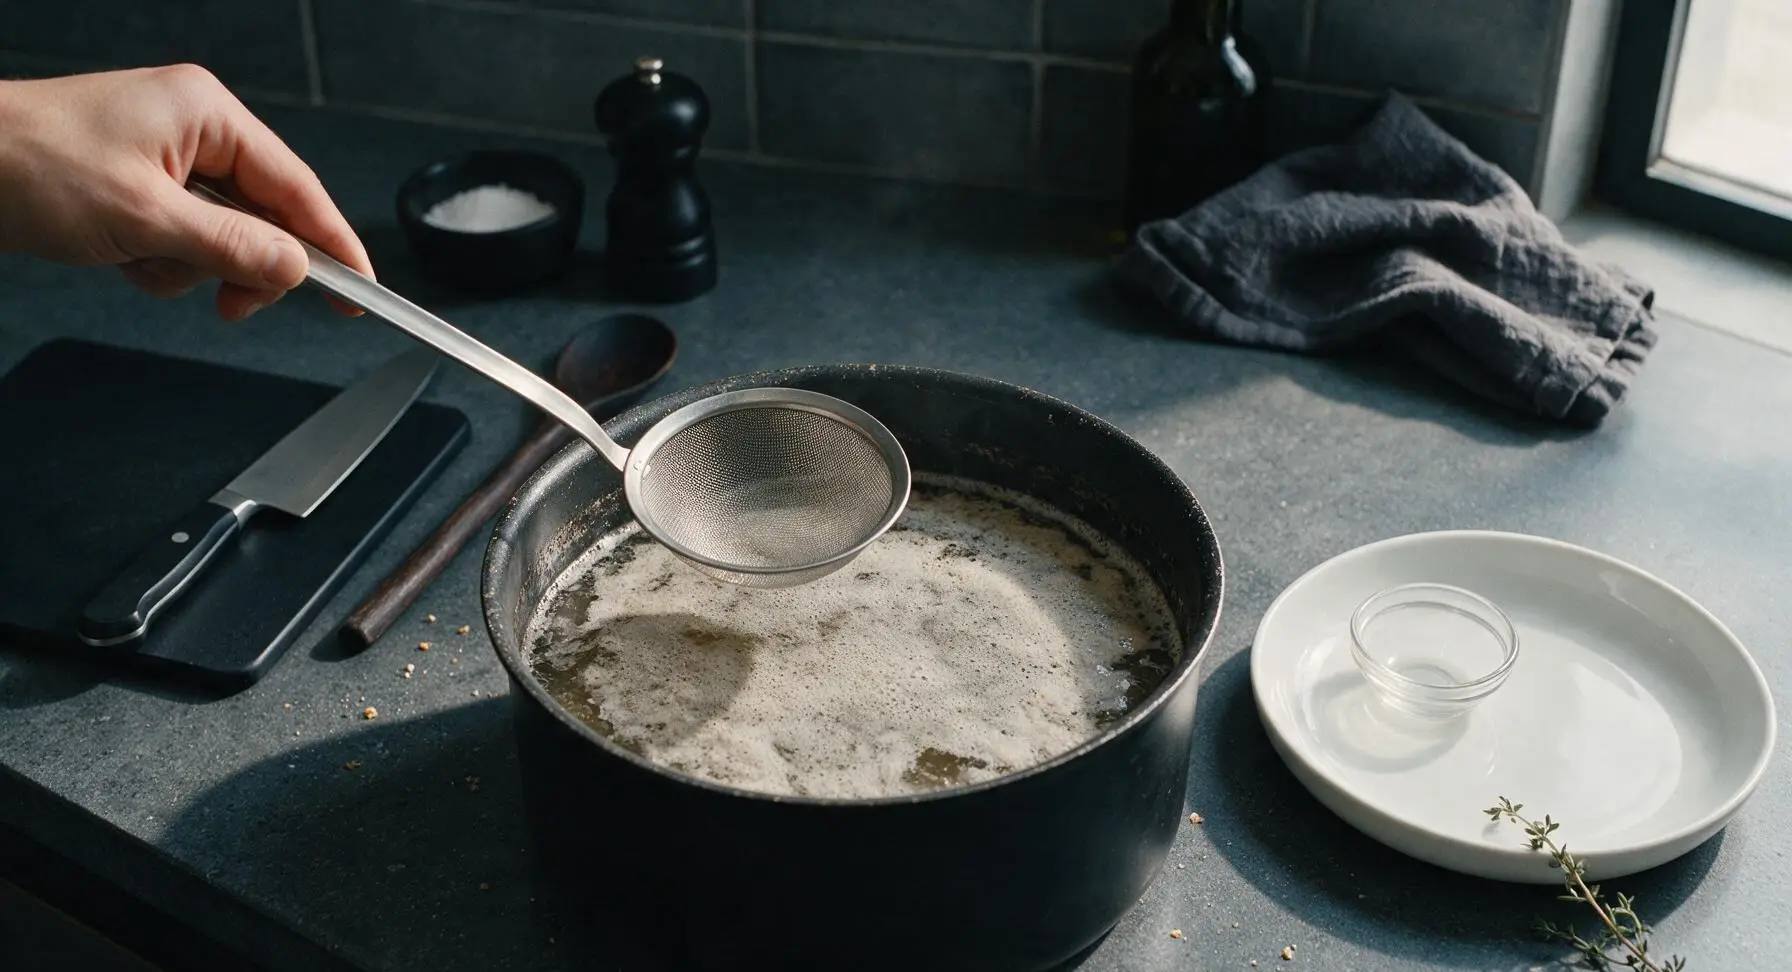
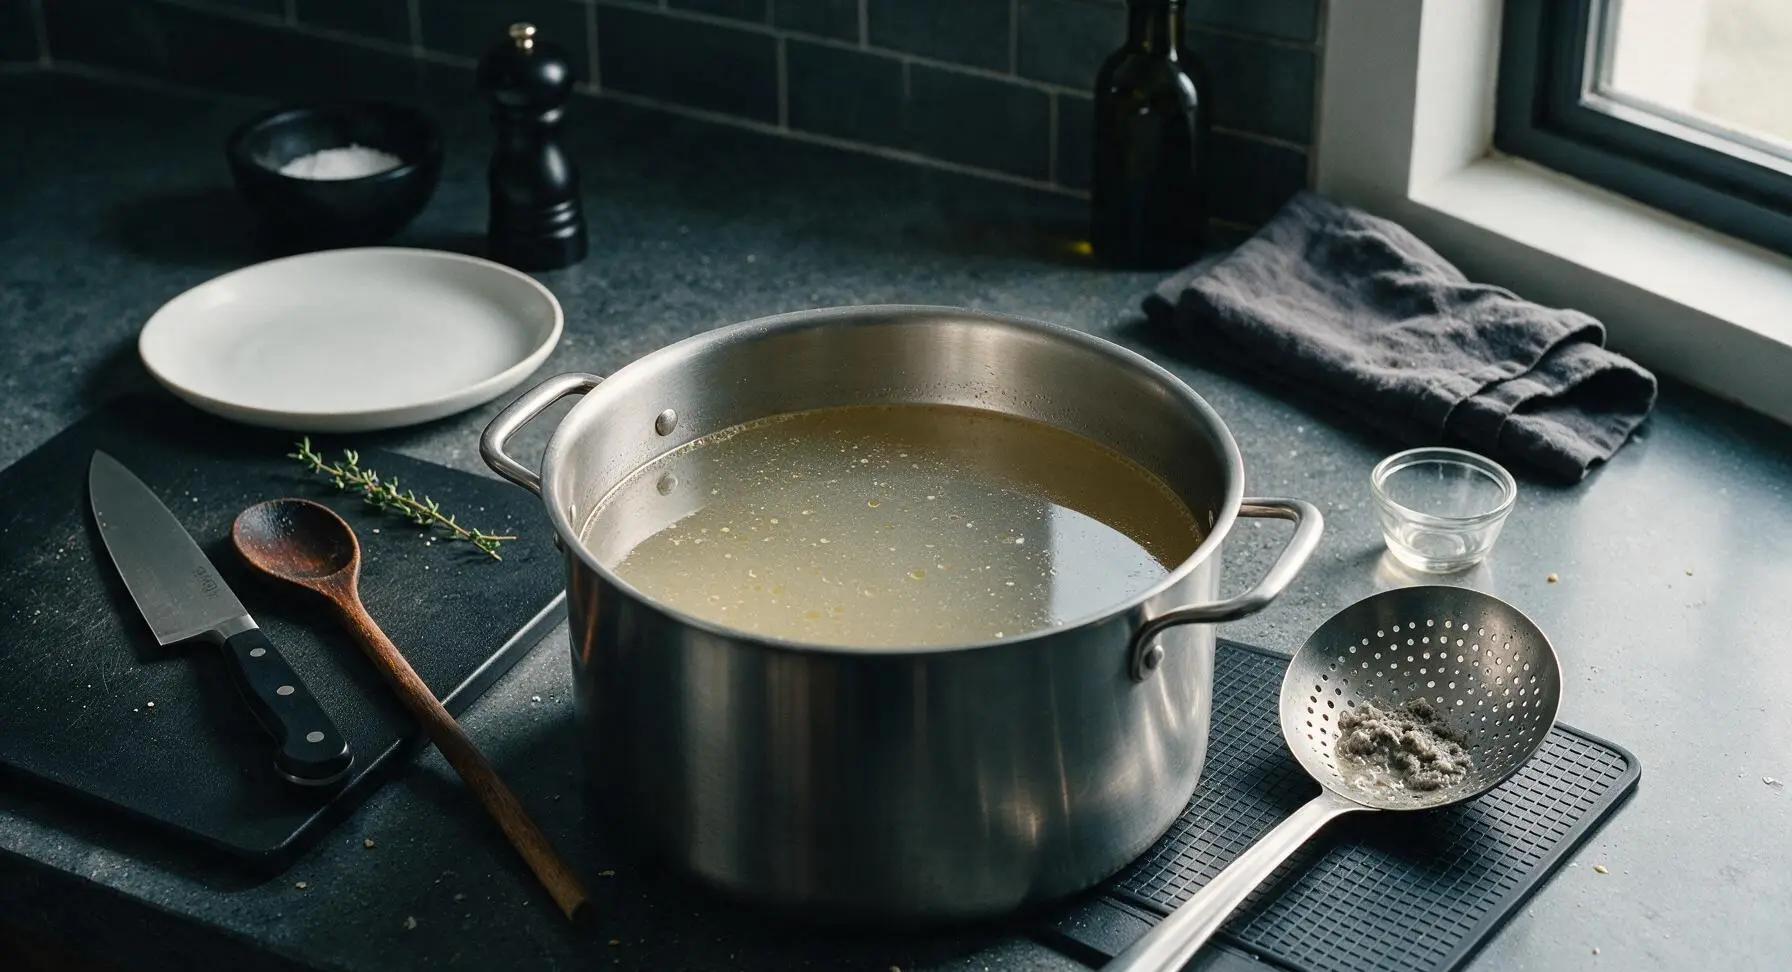
As the pot reaches a gentle simmer, gray, foamy protein scum will rise to the surface over the first 30 minutes of cooking. Use the fine-mesh stainless steel skimmer ladle to gently scoop away all surface foam and impurities, dipping the ladle just below the surface to collect scum without disturbing the ingredients below. Skim every 5 minutes until no more gray foam rises, leaving the broth surface relatively clear.
Step 4
step4:Skim Surface Impurities
Step 4
step4:Skim Surface Impurities
5

Simmer for Rich Flavor

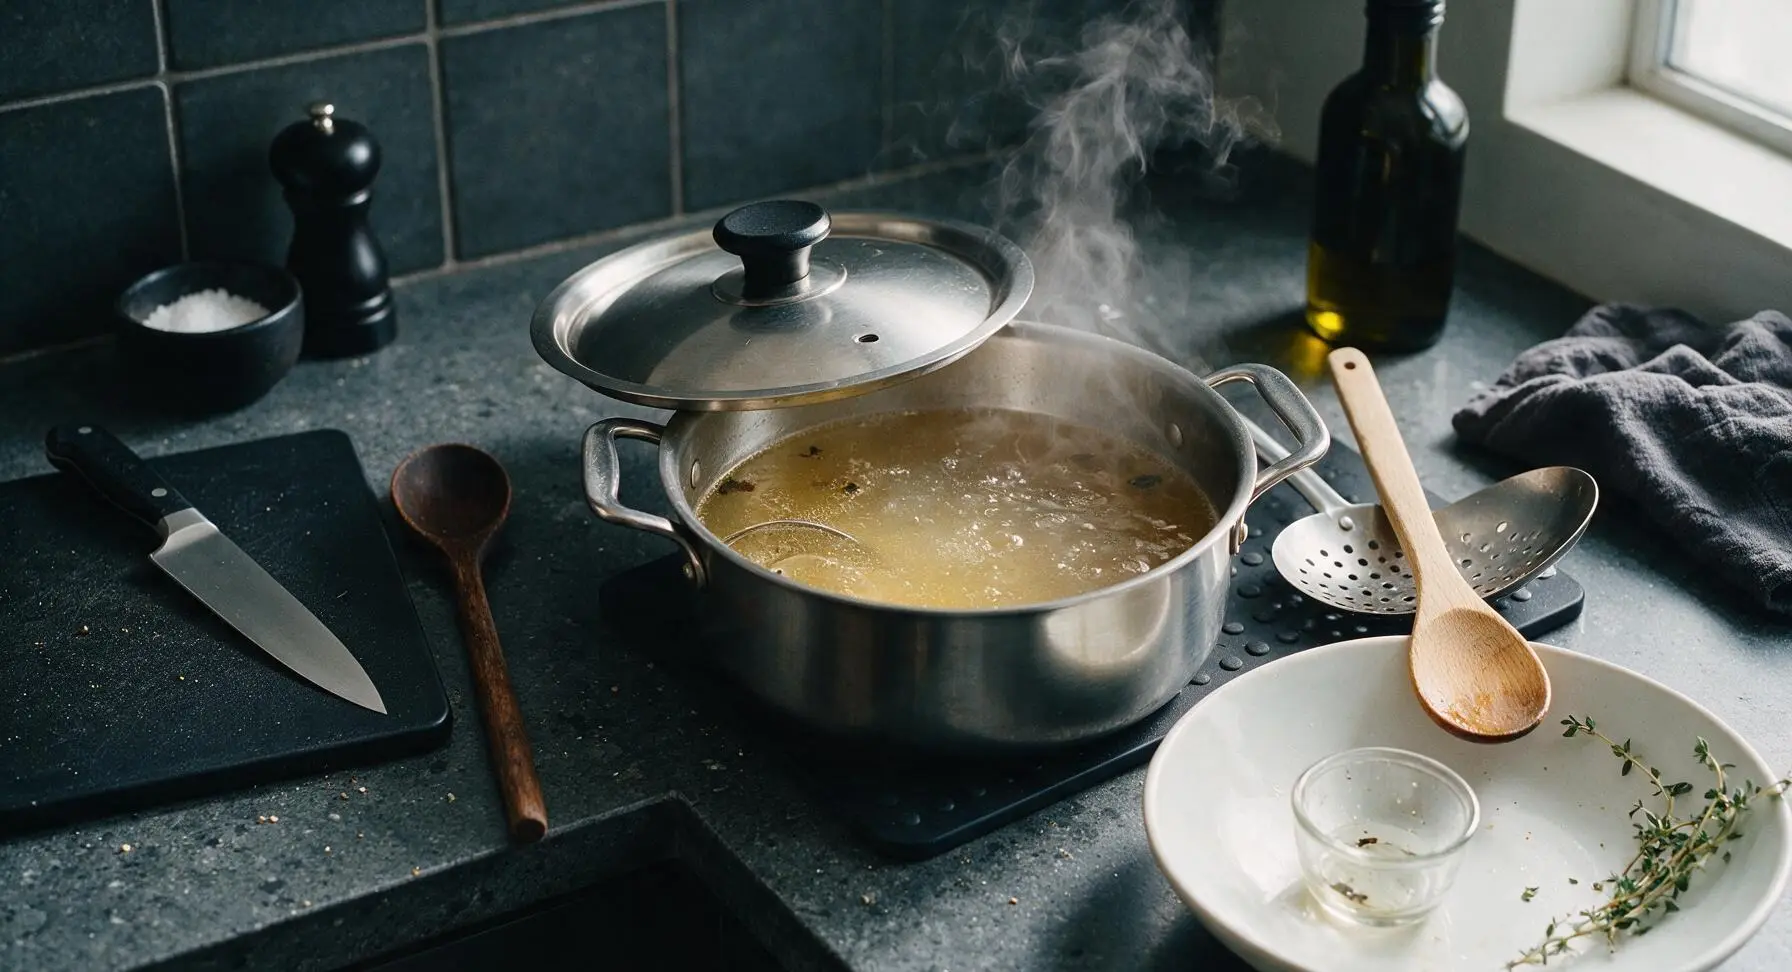
Once all scum is removed, reduce the stovetop heat to the lowest setting to maintain that gentle, steady simmer. Partially cover the pot with its lid, leaving a 2cm gap to allow steam to escape and prevent the broth from reaching a rolling boil. Let the broth simmer for 2 full hours, checking every 30 minutes to confirm the temperature stays low and no hard boiling occurs. Do not stir the pot during this simmer time to keep the broth clear.
Step 5
step5:Simmer for Rich Flavor
6

Add Chicken Thighs

After the broth has simmered for 2 full hours, gently lower the reserved raw boneless, skinless chicken thighs into the simmering broth, using the wooden spoon to push them down until fully submerged. Continue to simmer, partially covered, for an additional 30 minutes, until the chicken thighs reach an internal temperature of 75°C/165°F and are tender enough to pull apart easily with a fork.
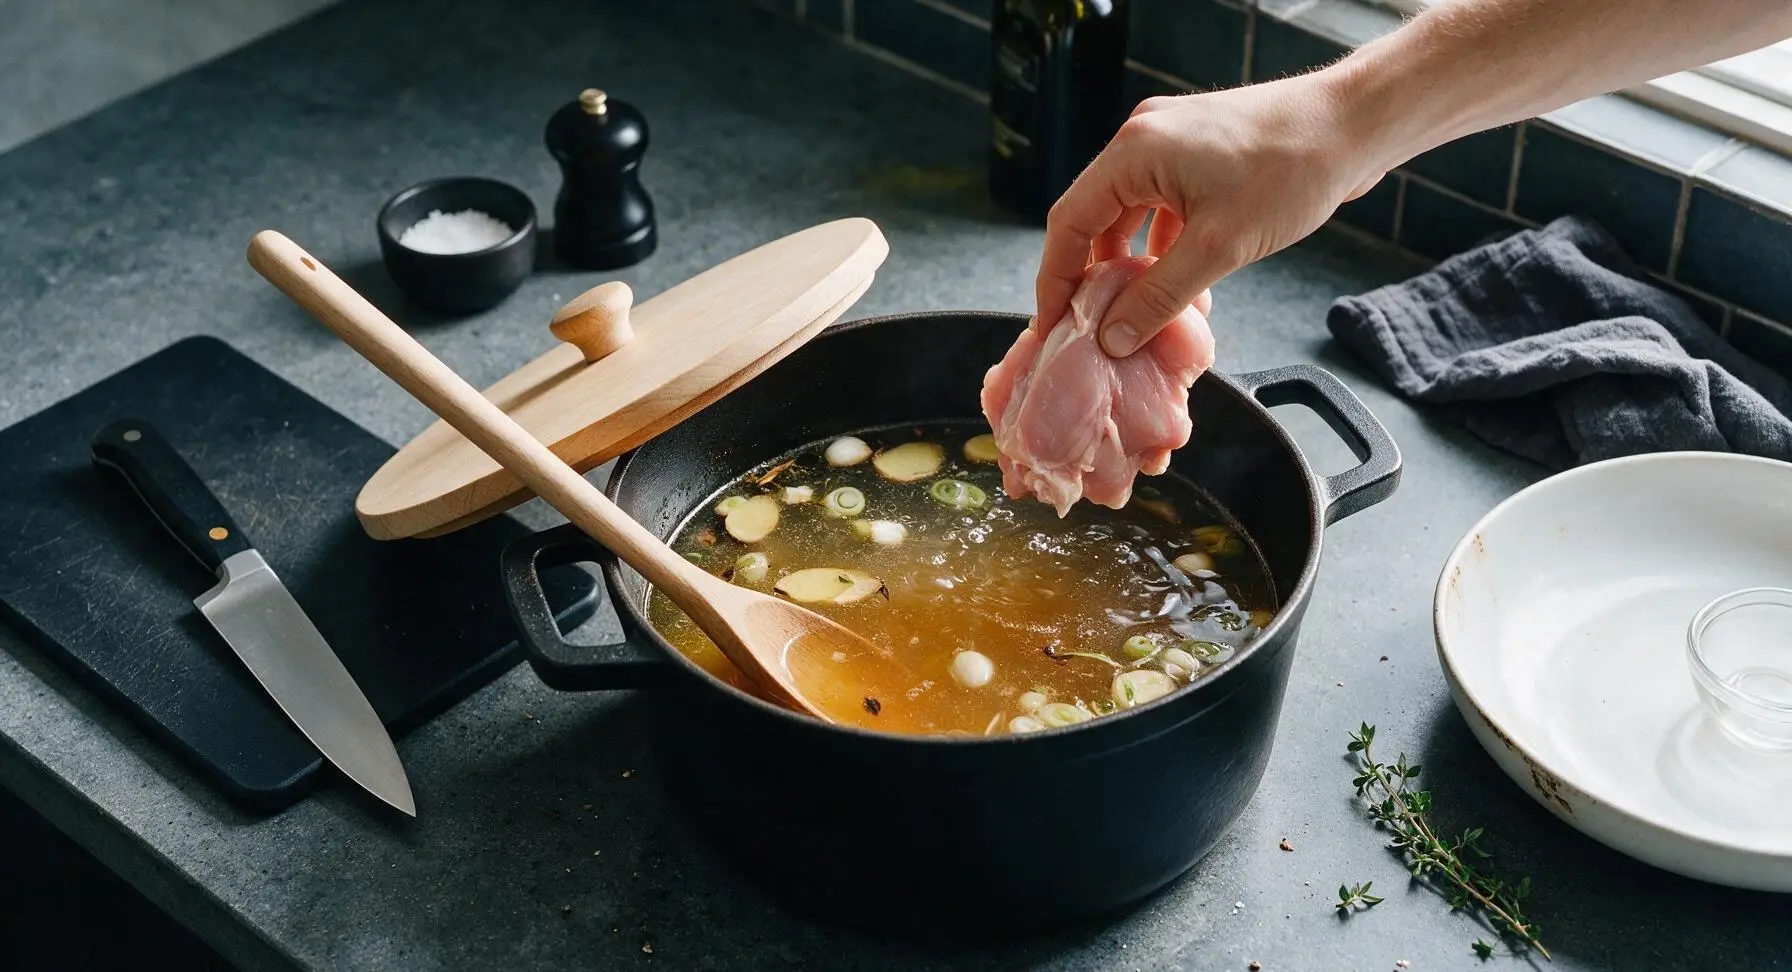
Step 6
step6:Add Chicken Thighs
7

Season Broth Lightly

After the chicken thighs have cooked for 30 minutes, use the maple wooden spoon to stir in 1 tablespoon of kosher salt, tasting the broth carefully. The broth should taste lightly seasoned, not salty—remember, ramen additions like tare, soy sauce, chashu, and seasoned toppings will add extra salt to the final bowl. Add more salt in 1/4 teaspoon increments only if needed, then turn off the stovetop heat.
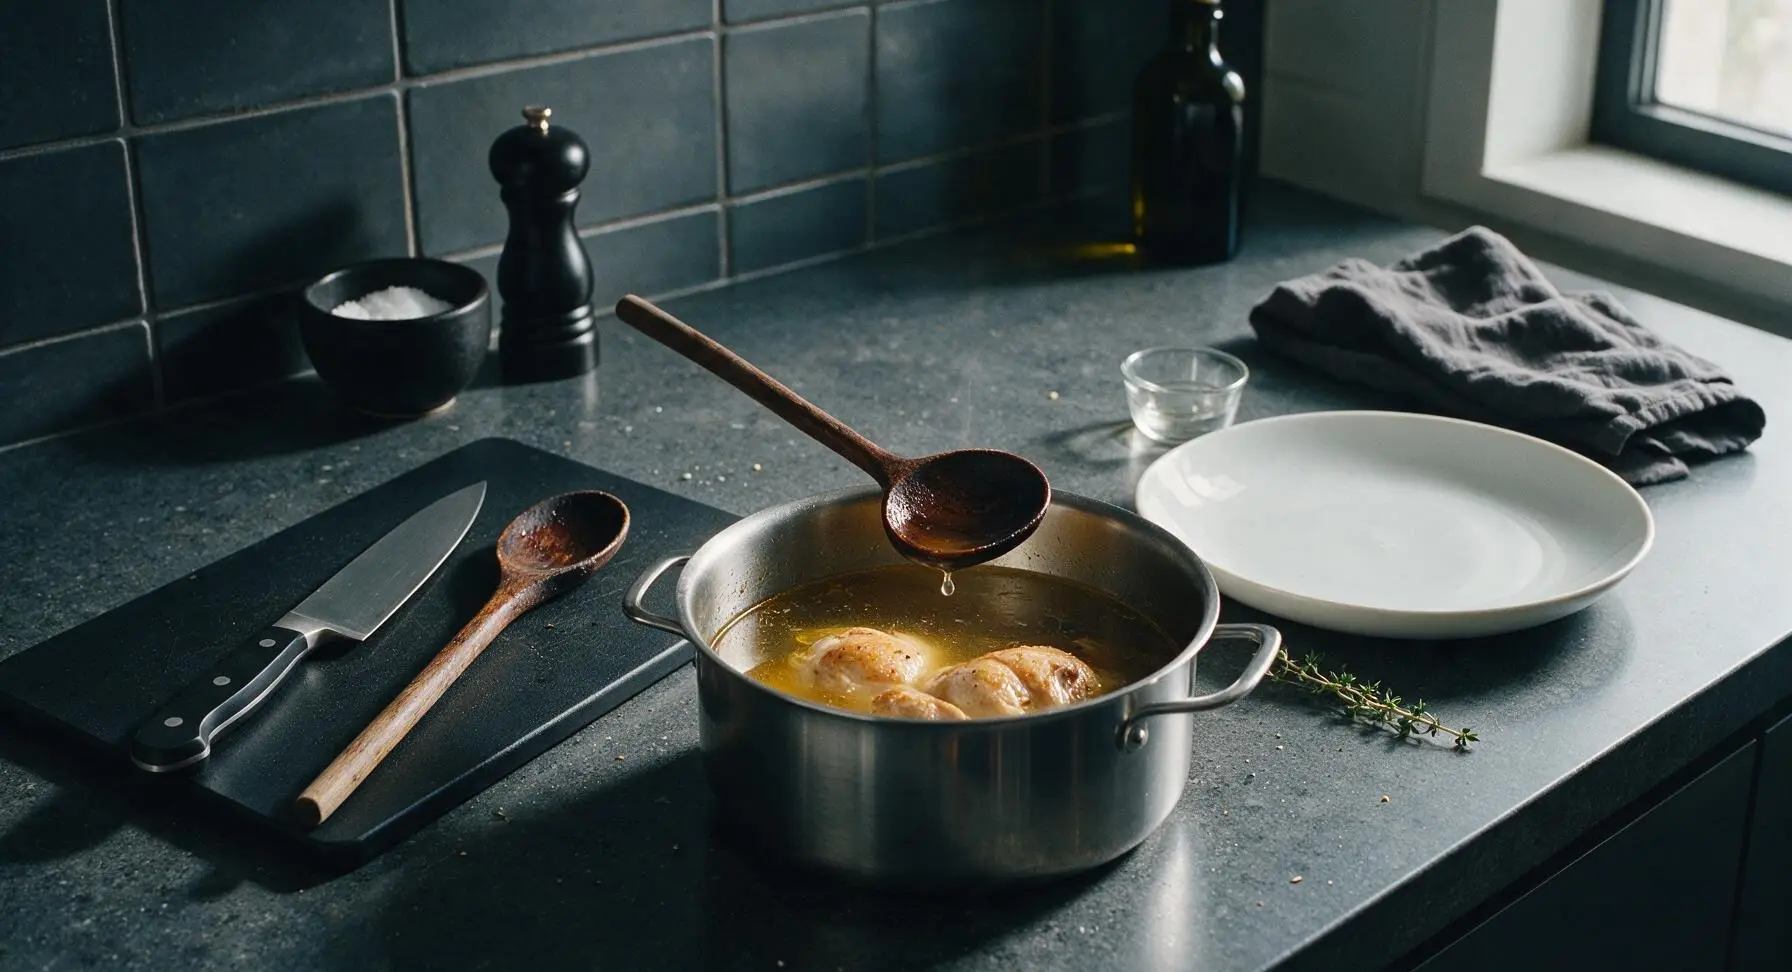
Step 7
step7:Season Broth Lightly
8

Strain Finished Broth

Retrieve the 24cm fine-mesh conical strainer from under-counter storage and set it over a large heatproof bowl on the counter to the right of the cutting board. Carefully lift the stock pot and pour the hot broth through the strainer, catching all chicken bones, vegetable pieces, mushrooms, and kombu in the mesh. Lift the cooked chicken thighs from the strainer and set them aside to cool for use as a ramen topping; discard the spent bones and aromatics. The strained broth should be a clear, pale golden color, free of any solid particles.
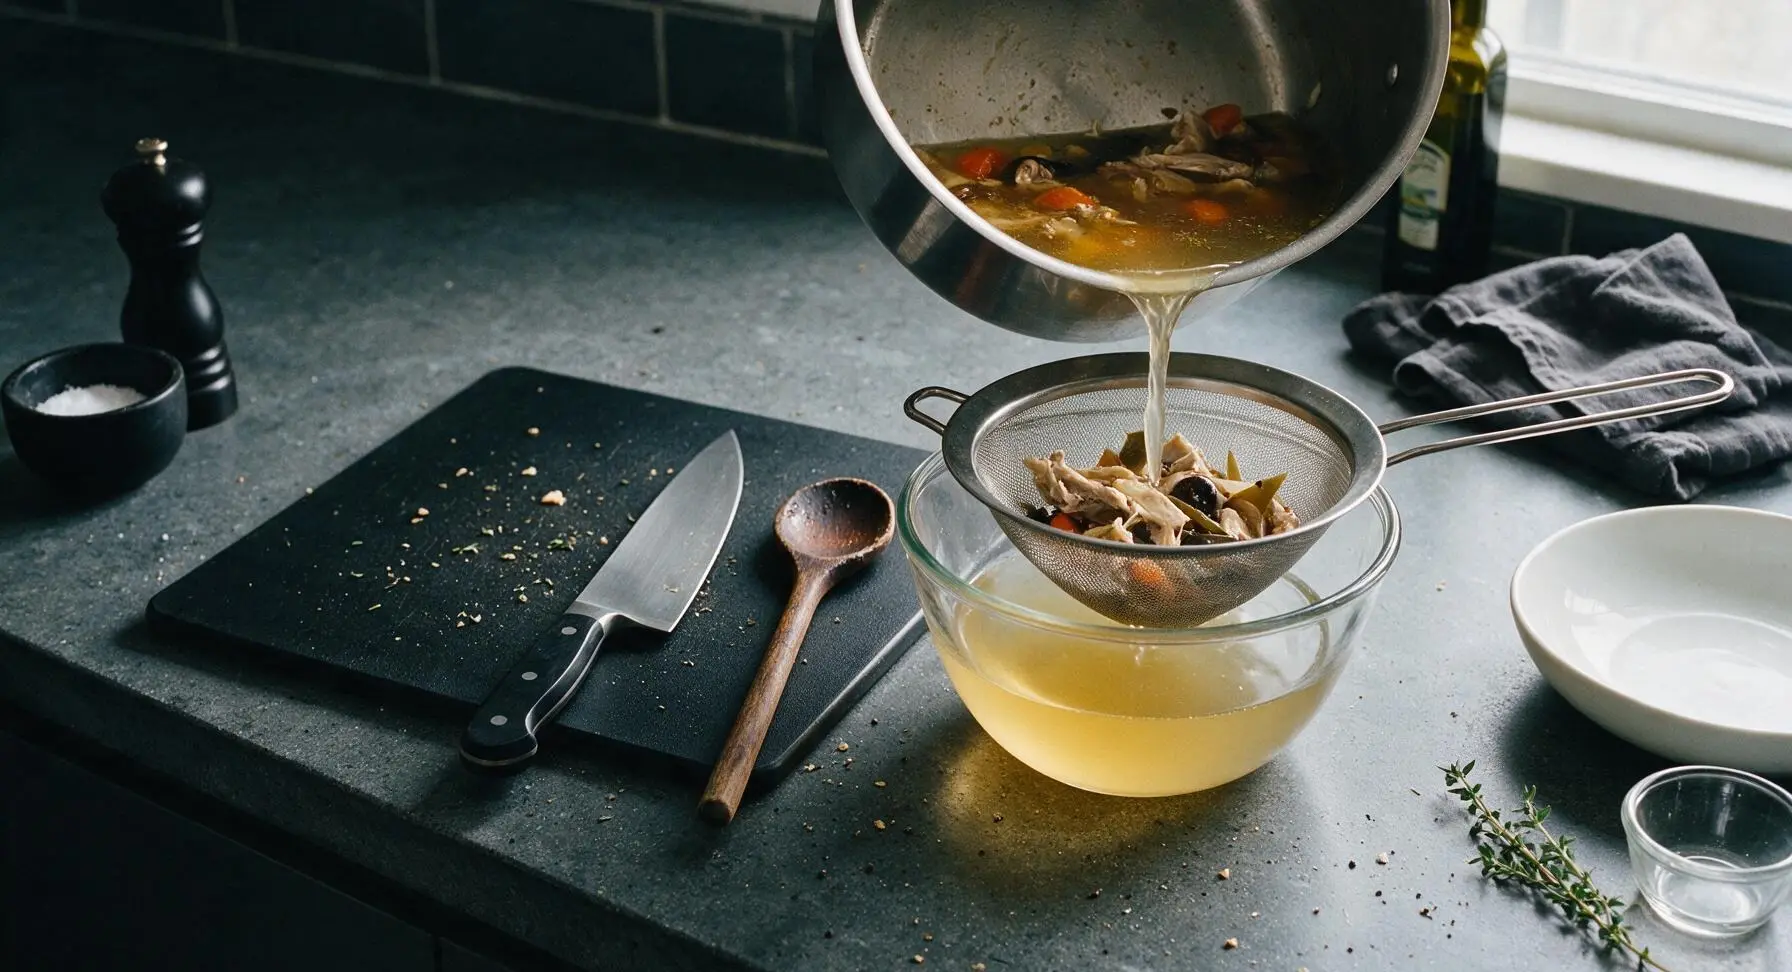
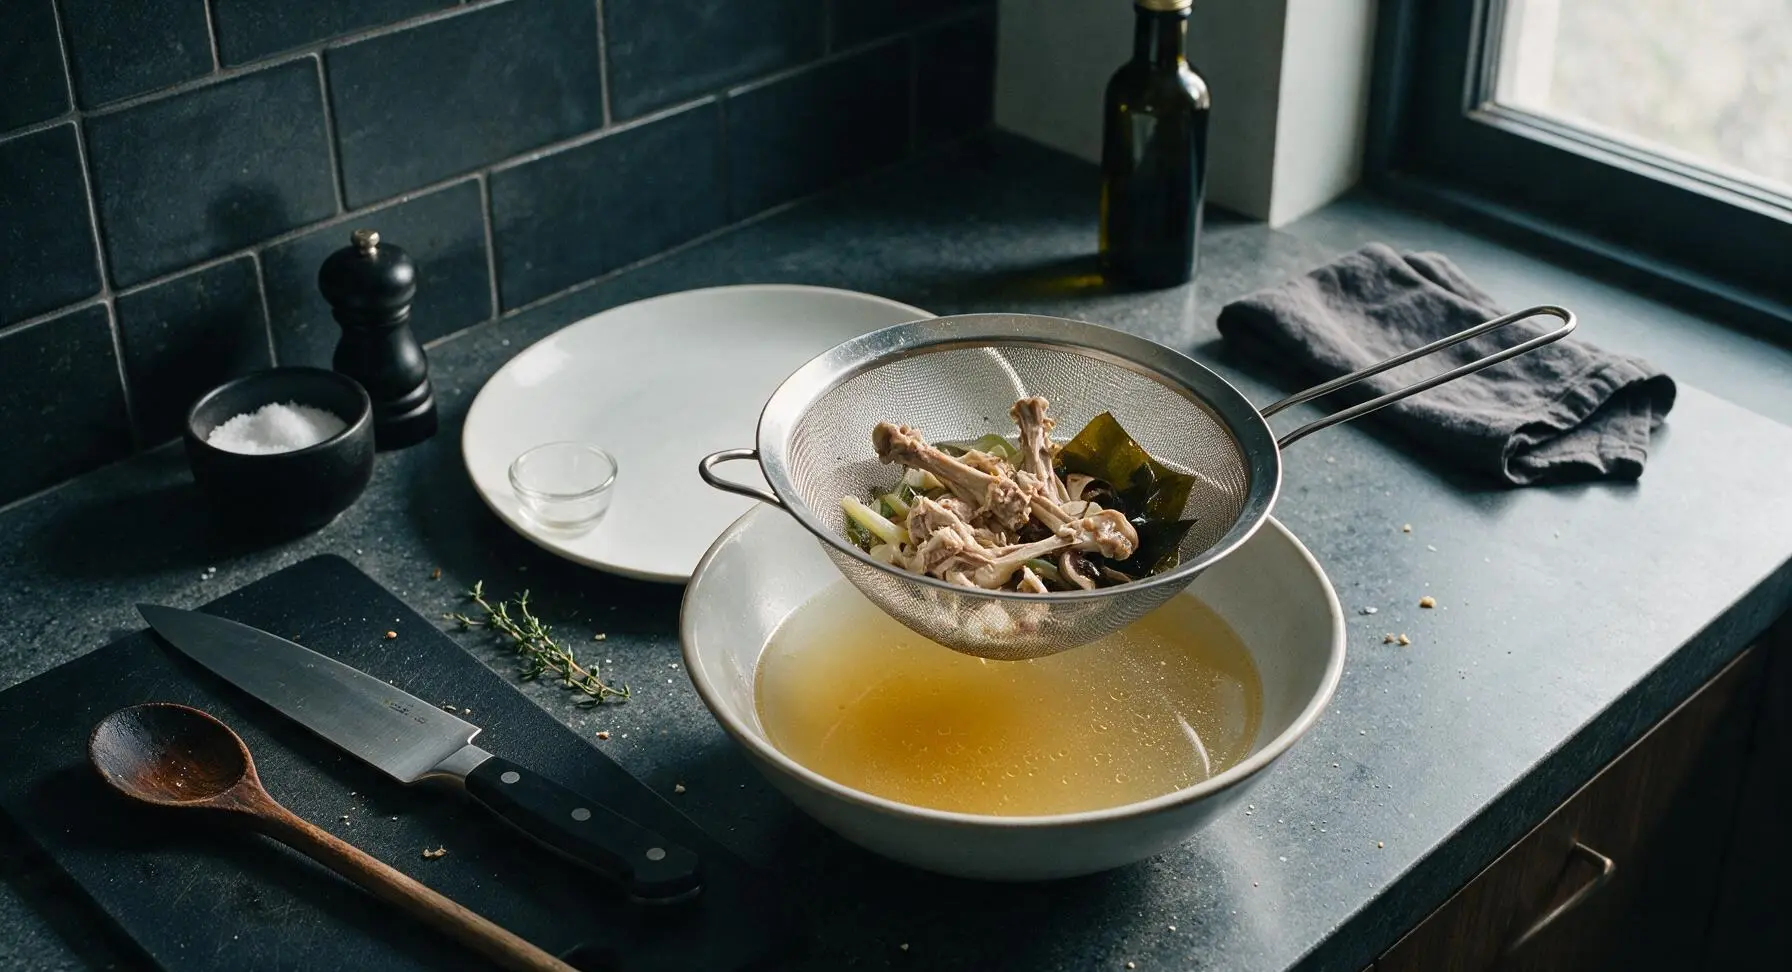
Step 8
step8:Strain Finished Broth
Step 8
step8:Strain Finished Broth

Tips

1.Always start with cold water when building the broth: cold water slowly draws out soluble proteins and impurities from chicken and bones, resulting in a clearer, cleaner-tasting broth, while hot water seals impurities in immediately and causes cloudiness.
2.Never let the broth reach a rolling boil: violent boiling agitates fat and fine protein particles into the liquid, creating a murky, emulsified texture instead of the light, clear golden chintan broth ideal for shoyu or shio ramen.
3.Hold off on heavy salting until the very end: as the broth simmers, it reduces slightly and concentrates salt content. Light final seasoning lets you adjust salt levels to match your chosen ramen tare and toppings, preventing an overly salty finished bowl.
✨ You May Also Like

Soups & Stews
🍜 Japan

Rich, umami-dense Hokkaido-style miso ramen with chewy noodles, savory fermented broth, and classic toppings, a cozy, deeply satisfying warm meal.

⏱️ 45 minuteSoups & Stews ★ 4.5
Soups & Stews
🍜 United States

A hearty, peppery tripe and root vegetable stew with colonial Philadelphia roots, thick, warming, and packed with bold savory flavor for cold winter days.

⏱️ 2 hours 3Soups & Stews ★ 4.6
Soups & Stews
🍜 Mexico

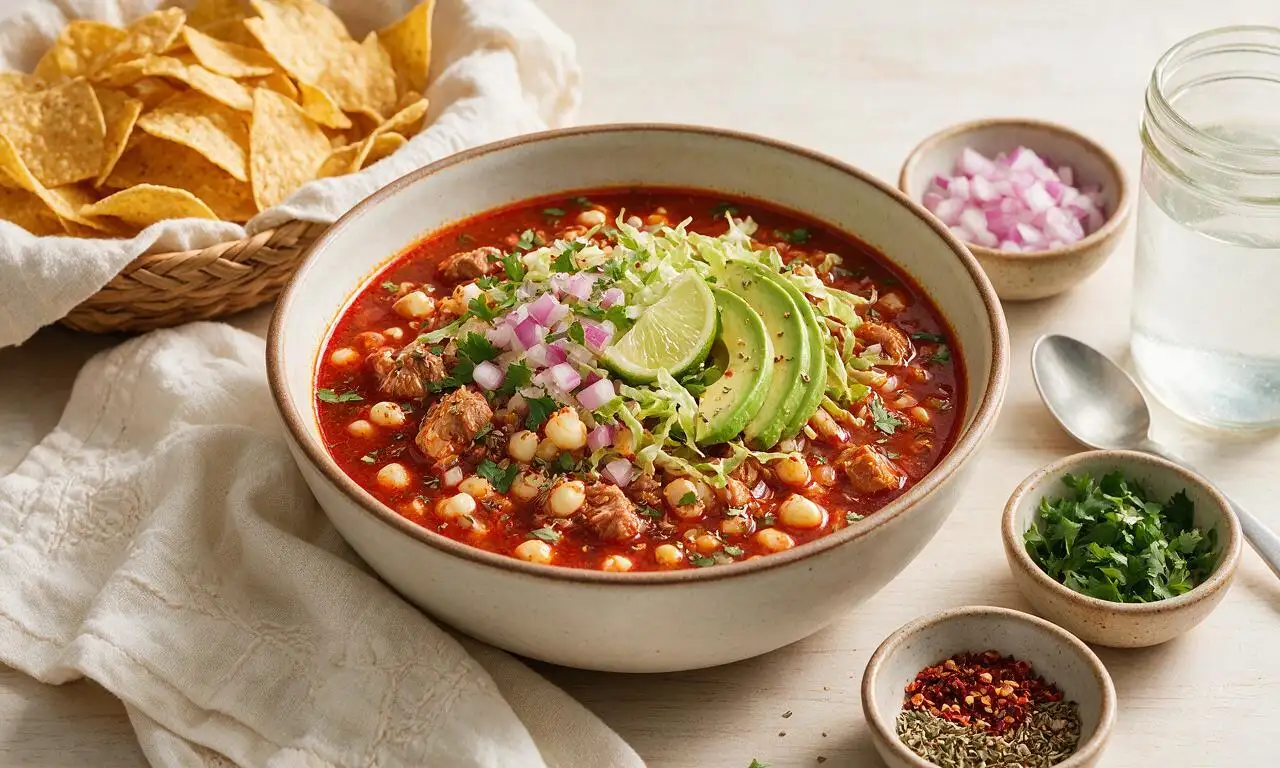
Hearty, warming red pork posole loaded with tender hominy, slow-simmered in a rich smoky chile broth, served with zesty fresh garnishes for a deeply comforting, satisfying meal.

⏱️ 2 hours 3Soups & Stews ★ 4.7
Soups & Stews
🍜 United States

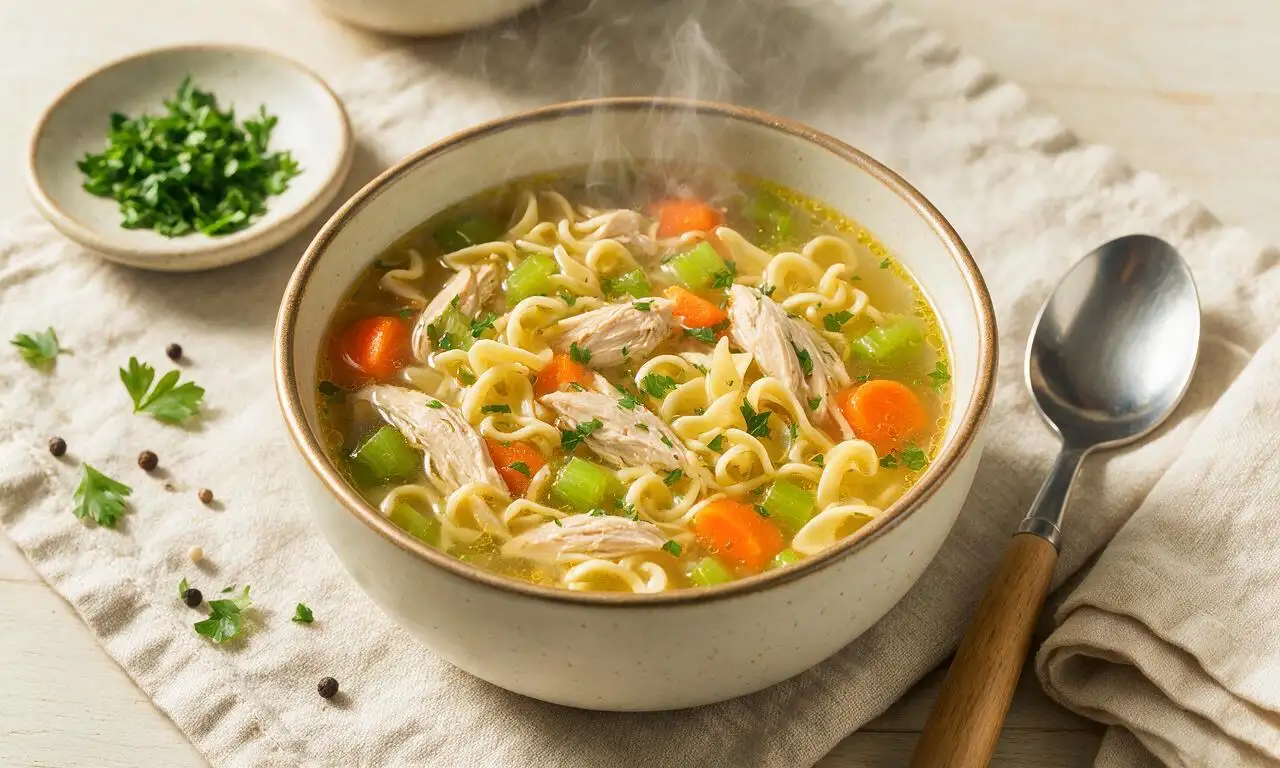
Warm, soothing classic chicken noodle soup loaded with tender chicken, soft egg noodles, and savory veggies, perfect for chasing chills and feeding the whole family.

⏱️ 40 minuteSoups & Stews ★ 4.9
Soups & Stews
🍜 France

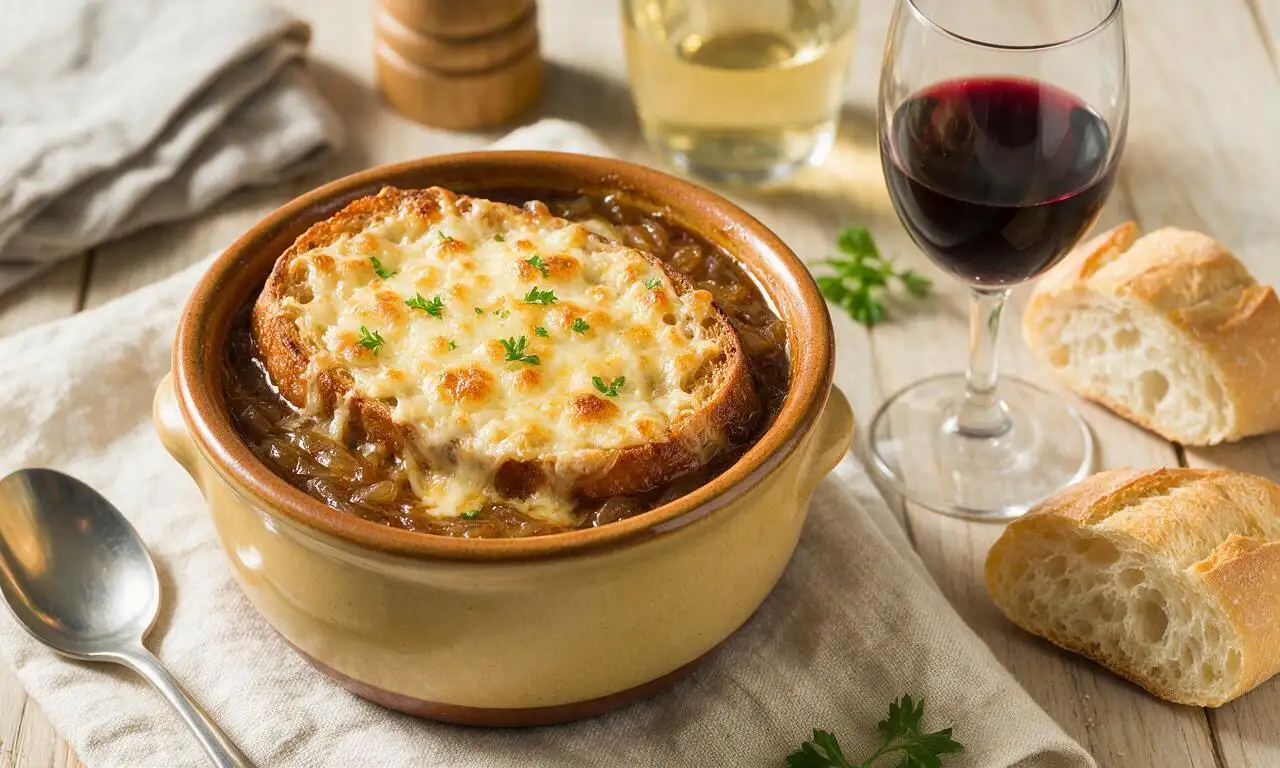
Deeply savory caramelized onion broth topped with crusty bread and bubbly melted Gruyère, a timeless French bistro comfort food ideal for cold days.

⏱️ 1 hour 25Soups & Stews ★ 4.8
Soups & Stews
🍜 United States

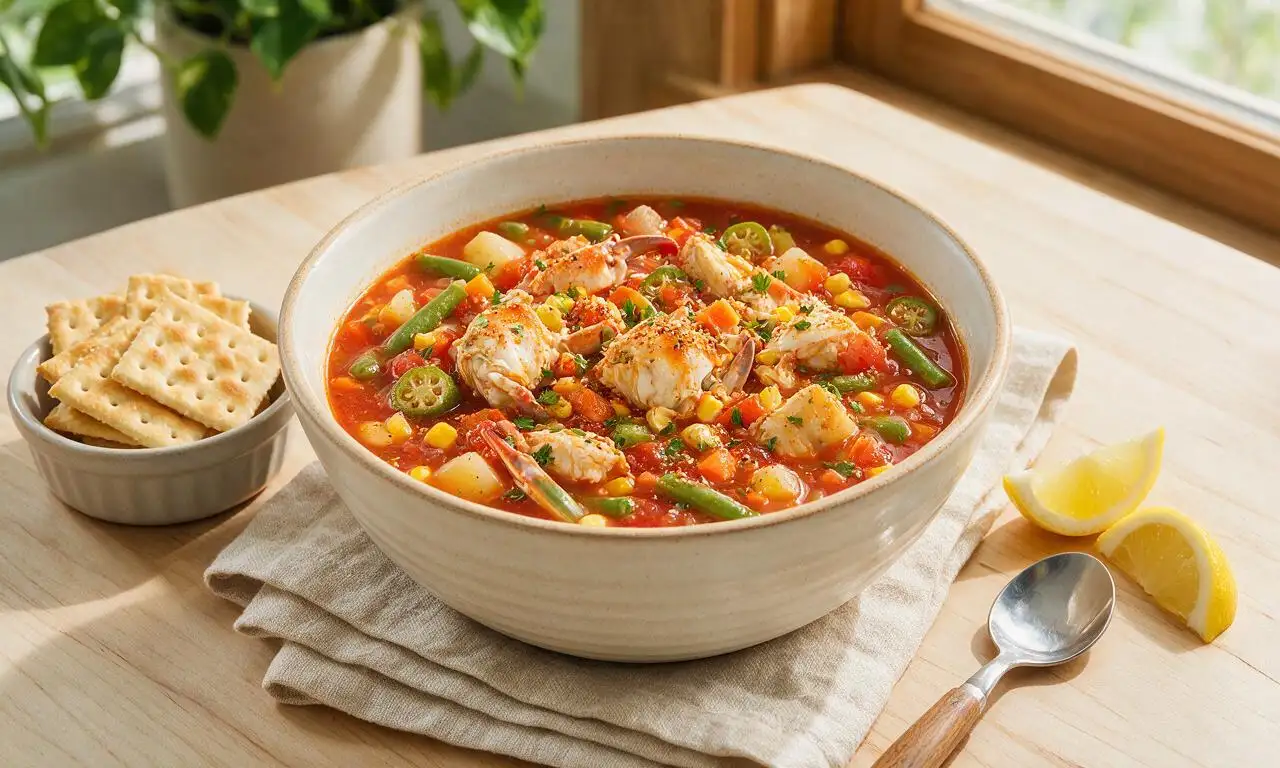
Hearty, briny Maryland crab soup loaded with sweet blue crab, tender summer vegetables, and zesty Old Bay, a beloved Chesapeake Bay coastal comfort staple.

⏱️ 55 minuteSoups & Stews ★ 4.9

chicken ramen broth:Frequently Asked Questions

1.What makes chintan chicken ramen broth different from regular homemade chicken stock? ▾
Chintan is a clear, umami-forward Japanese ramen base simmered at a very gentle, low bubble (not a rolling boil) to stay crystal clear, unlike Western chicken stock which is often boiled harder for deeper gelatin extraction. It balances clean chicken flavor with subtle aromatic notes, so it pairs perfectly with ramen tare and toppings without overpowering them.
2.Can I skip the chicken frames and only use chicken thighs for this broth? ▾
I don’t recommend it! Chicken frames (back, neck, bone scraps with attached meat) deliver the deep, rounded bone-derived savoriness that makes restaurant chintan taste rich even though it’s clear. Thighs add bright, fresh meaty flavor and tender poached chicken for toppings, but frames carry the core savory backbone you can’t get from thigh meat alone.
3.Why does the recipe call for leaving the yellow onion skin on during simmering? ▾
Leaving the papery golden onion skin on does two great things for your chintan: first, it adds a warm, pale amber hue to the finished clear broth so it looks as appetizing as restaurant ramen, and second, it adds a subtle, toasty sweet depth you won’t get from peeled onion. Just rinse the whole onion well before halving to remove surface dirt.
4.How long do I need to simmer this broth for the best possible flavor? ▾
Aim for 3 to 4 hours of total simmer time at the lowest heat setting, where you only see tiny, occasional bubbles breaking the surface. Any shorter and the flavor will taste thin and watery; any longer and the broth can develop murky, bitter off-notes from overcooked bones and aromatics that throw off the clean chintan profile.
5.Why is my chintan broth coming out cloudy instead of perfectly clear? ▾
Cloudiness almost always comes from boiling the broth too hard, which agitates bone marrow and fat particles into the liquid so they stay suspended instead of rising to the top. Other common culprits are skipping the initial bone blanching step, or stirring the broth too frequently while it simmers, which stirs up sediment from the pot bottom.
6.Do I really need to blanch the chicken bones before simmering the broth? ▾
Absolutely, that’s a non-negotiable step for crystal-clear chintan. Cover the chicken frames and thighs with cold water, bring to a quick rolling boil for 5 minutes, then drain all the water and rinse the bones and meat thoroughly to remove scummy gray protein residue. This eliminates impurities that cause murkiness and metallic off-flavors.
7.Can I make this broth ahead of time for future ramen nights? ▾
Definitely! Let the finished strained broth cool completely within 2 hours of cooking, then store it in airtight containers in the fridge for up to 4 days, or freeze it for up to 3 months. A quick pro tip: freeze it in 2-cup portions so you can thaw exactly the amount you need for servings without wasting leftovers.
8.How do I remove excess fat from the broth without losing good flavor? ▾
If using the broth right after simmering, skim the surface gently with a fine-mesh skimmer to lift off floating fat globules. If you chilled the broth ahead, solidified fat will form a hard pale white layer on top you can lift right off with a spoon—leave a thin layer of fat for that rich, silky mouthfeel that makes ramen feel indulgent.
9.Can I add carrots, celery, or other soup veggies to this chintan broth? ▾
I’d skip carrots, celery, and other strong Western mirepoix veggies for authentic chintan—their sweet, earthy flavor can overpower the delicate chicken and ginger-garlic profile, and carrot can even turn the broth a dull orange hue. Stick to the specified onion, garlic, and ginger for a clean, balanced ramen base.
10.What’s the best way to strain this broth for that perfectly clear restaurant texture? ▾
First, ladle the broth gently through a fine-mesh sieve lined with 2 layers of cheesecloth, avoiding pouring the sludgy sediment from the very bottom of the pot. Don’t press on the solids as you strain—squeezing bones and aromatics will push cloudy, bitter particles into your broth, ruining that clear chintan texture.
11.Can I use bone-in chicken breasts instead of thighs for this recipe? ▾
Boneless skinless thighs are preferred because their higher fat content adds richer, juicier flavor without making the broth greasy, and the poached meat stays tender for ramen toppings. If you only have bone-in breasts, you can use them, but pull the breast meat out 30 minutes early so it doesn’t turn tough, dry, and stringy.
12.How do I know if I’ve added too much ginger or garlic to the broth? ▾
Stick to the recipe’s ratio of crushed garlic cloves and 1cm thick fresh ginger slices for a balanced, subtle aromatic note—you want ginger and garlic to support the chicken flavor, not overpower it. Adding double or more will make the broth taste sharp and spicy, which clashes with classic shoyu, shio, or miso ramen tare.
13.Should I add salt or other seasonings directly to the chintan broth while it simmers? ▾
Hold off on salting the base broth! Chintan is meant to be a neutral, flavor-packed canvas paired with concentrated ramen tare, the seasoned flavor base added to your bowl right before serving. Salting the broth ahead makes it almost impossible to adjust final sodium levels, especially if you use salty toppings like chashu or marinated eggs.
14.Why does my broth taste bland even after simmering for the full 4 hours? ▾
Bland broth usually comes from using too high a water-to-bone ratio, or simmering at too low a temperature so flavor never properly extracts. Make sure your water level only covers bones and aromatics by 1 inch—too much water dilutes flavor. You can add a small piece of kombu for the last 30 minutes for an extra umami boost.
15.Can I make this chintan broth in a pressure cooker to cut down on cook time? ▾
You can, but adjust your method to keep it clear. Use the low pressure setting for 45 minutes, and make sure you still blanch and rinse the bones first to remove scum. Skip high pressure, because it agitates liquid too much and will give you a cloudy, almost paitan-like broth instead of light, clear chintan.
16.What should I do with the poached chicken thighs cooked in the broth? ▾
Those thighs are a perfect built-in ramen topping! Pull them out of the broth after 45 minutes of simmering (before they get overcooked and stringy), let them cool slightly, then shred or slice them to top your finished ramen bowls. You can also store them in a little broth in the fridge for up to 3 days for rice bowls or salads.
17.How much finished chintan broth do I need per serving of ramen? ▾
Plan for roughly 1.5 to 2 cups of finished chintan broth per standard ramen serving. That’s enough to fully cover cooked noodles and toppings without diluting the tare you add to the bowl, and it leaves enough room so broth doesn’t slosh over when you lift noodles with chopsticks. This recipe yields about 8 cups, for 4 to 5 generous servings.

Comments (19)

2 days ago

OMG this chintan broth is a total game changer!!! I’ve been trying to nail that light, umami-packed ramen shop flavor for literal years and this recipe absolutely nailed it. My whole family went back for seconds at our Sunday dinner last night, even my super picky teen who only ever eats takeout ramen. 10/10 will be making a big batch for meal prep every other week from now on!

1 day ago

That makes me so happy to hear! So glad your picky teen approved too—nothing beats that win at family dinner. Pro tip: freeze leftover broth in 1-cup portions for super quick weeknight meals!

3 days ago

Made this for a potluck with my neighborhood crew last weekend and people were begging for the recipe! I was a little nervous about the 3 hour cook time, but most of it is hands-off simmer time so I was able to get other chores done while it cooked. Only thing I added was a tiny extra knob of ginger because we love that zing in our house. SO good.

2 days ago

Wait did you make the full batch for the potluck? I’m making this for my game night next week and trying to figure out how much to scale up!

5 minutes ago

Took a chance on this even though I usually mess up long-simmer recipes, and it turned out perfectly on the first try! The flavor is so clean and rich without being heavy, way better than the instant broth packets I used to buy. My roommate walked in after work and thought I ordered takeout from the fancy ramen spot downtown lmao

1 week ago

Solid recipe, but 3 hours felt a little long for me? I pulled mine after 2 hours and it still tasted great, though I will say I probably could have let it go a bit longer to get that deeper chicken flavor. Also, pro tip for anyone short on time: parboil the chicken bones first to cut down on scum, saves a ton of skimming time later.

6 days ago

Oh thank you for the parboil tip! I have zero extra time during the week to stand around skimming pots, that’s gonna save me so much hassle when I make this this weekend

5 days ago

Great call on the parboil tip! If you’re short on time, 2 hours will definitely still give you a tasty broth, but the extra hour really helps pull all the gelatin and depth from the bones for that classic chintan mouthfeel. Hope it turns out great for you Cole!

yesterday

This tastes exactly like the chintan broth I get at my go-to ramen spot in the East Village, no cap. I was skeptical a home recipe could get that clear, delicate flavor without a million random ingredients, but the ingredient list is super straightforward. Paired it with fresh noodles, soft boiled egg, and scallions and my boyfriend thought I ordered delivery. 10/10

2 hours ago

That’s the highest compliment coming from a fellow New Yorker who knows good ramen! Love that you kept the toppings classic, that’s really where the broth gets to shine.

30 minutes ago

I added a handful of dried shiitakes during the last 30 minutes of simmering and it gave the broth such a nice earthy kick! It’s still light like classic chintan but has that little extra umami punch I love. Will for sure be making this again, might even try it with turkey bones after Thanksgiving this year to switch it up.

2 weeks ago

Okay, full transparency: I messed up my first batch because I forgot to lower the heat so it was at a rolling boil the whole time, and the broth came out super cloudy. Tried again last night keeping it at a bare simmer like the recipe says and it was perfect! Don’t be like me, read the instructions all the way through before you start lmao

1 week ago

Oh my god I did the EXACT same thing my first try! I thought I ruined it, it was so murky, but I used it for noodle soup anyway and it still tasted good. The second time I kept the heat super low and it was crystal clear, just like the photos!

1 week ago

So glad you gave it a second shot! That low, gentle simmer is definitely the secret to that clear, clean chintan broth—boiling too hard emulsifies the fat and makes it cloudy, but it’s still totally tasty even if it doesn’t look perfect.

5 days ago

Made a double batch on Sunday and portioned it out for the week, and it’s held up so great! I’ve had it for lunch three days in a row with different toppings (corn, bamboo, chashu, even leftover roasted corn one day) and it doesn’t get boring. Way cheaper than buying ramen out every day, too, I saved like $50 this week already.

3 days ago

Wait how long does this keep in the fridge? I want to make a big batch too but I don’t want it to go bad before I can use it all!

1 week ago

My kids are obsessed with ramen so I decided to try making homemade broth instead of buying the salty store bought stuff, and they ate every last bite! They usually complain about “homemade versions” of their favorite takeout foods, but they asked me to put this on our weekly dinner rotation. Win for dad!

5 days ago

Ugh my kids are the same way! They turn their nose up at anything that isn’t from a takeout container, I need to try this. Did you add any extra soy or salt for the kids or keep it mild?

4 days ago

I kept the broth pretty low sodium when serving them and let them add extra soy or chili oil at the table, that way they can customize it to their taste and I don’t have to worry about it being too salty for them!

2 hours ago

As someone who nerds out over broth chemistry, this recipe is spot on. The ratio of bones to aromatics is perfect, the low simmer direction is exactly what you need for that light chintan as opposed to the richer, cloudier tonkotsu. I added a small piece of konbu to the pot right at the end for extra glutamates and it was chef’s kiss.

3 days ago

I was so intimidated to try making ramen broth from scratch because I thought it was super complicated and restaurant-level hard, but this recipe was so easy to follow! The steps are super clear, no weird fancy equipment needed, just a big stock pot and a strainer. My broth turned out golden and clear and so flavorful, I’m so proud of myself lmao

2 days ago

That’s what I love to hear! Chintan is such a great starter ramen broth for home cooks because it’s so forgiving and doesn’t require the 12+ hour simmer that tonkotsu does. Great job nailing your first batch!

5 days ago

Wait, am I the only one who thought this was just okay? Don’t get me wrong, it’s better than store bought, but I felt like it was missing a little depth? Maybe I skimped on the chicken frames? I used a whole cut up chicken instead of bones because that’s all I had at the grocery store. Might try again with actual bones next time.

4 days ago

Oh yeah, using bones with a little meat on them vs a whole cut up chicken makes such a big difference! I did that once too and the broth was way lighter, the bones give it that rich, gelatinous texture that makes it feel like restaurant ramen.

3 days ago

That’s probably the issue! The bone-to-meat ratio is really key for that deep, satiating chintan flavor. If you can get chicken backs and frames from your grocery store butcher (they’re usually super cheap!) it makes a world of difference. Hope your next batch turns out better!

yesterday

Served this last night with homemade chashu, marinated soft eggs, menma, and crispy garlic, and my in-laws were blown away. They kept asking when I was going to open a ramen spot, which is the highest compliment coming from my mother-in-law who finds something wrong with literally everything I cook lmao. 10/10, will be making this for every family gathering from now on.

1 week ago

So happy this recipe is naturally gluten free if you use tamari instead of regular soy sauce! I’ve been missing good ramen since I went gluten free two years ago, and all the GF broths at the store taste weird and chemically. This tastes exactly like the regular ramen I used to eat, no weird aftertaste at all. Game changer for us GF folks!

5 days ago

Oh thank you for the tamari tip! My son has a gluten allergy and I’ve been nervous to try making ramen for him, I would have just grabbed regular soy sauce without even thinking. Can’t wait to make this for him next week!

2 weeks ago

Freezes like an absolute dream! I froze half my batch in silicone freezer bags two weeks ago, pulled one out last night to thaw, and it tasted exactly as fresh as the day I made it. No weird freezer burn, no off flavors, just perfect savory broth. This is going to be a staple in my winter meal rotation for sure.

1 week ago

Do you lay the bags flat to freeze? I’ve been trying to get better about freezing broths without them taking up my whole freezer, that’s such a good hack if that works!

1 week ago

Yep! I lay them flat on a baking sheet until they’re fully frozen then stack them upright like little books, it saves so much space. They thaw super fast under running warm water too, takes like 10 minutes total.

just now

Made this at 10pm last night after a long shift at work because I was craving comfort food, and it was exactly what I needed. I kept the seasonings simple, tossed in some leftover noodles and a handful of spinach, and it was cozier than any takeout I could have ordered. Worth every minute of cook time, even when I’m exhausted.

2 days ago

Was worried I couldn’t make this in my tiny 2-quart stock pot because I don’t have a big fancy Dutch oven, but I halved the recipe and it worked perfectly! I had to skim a little more often because the pot was smaller, but the flavor was still incredible. You don’t need fancy equipment to make great ramen, apparently!

1 day ago

Love that you made it work with what you have! Ramen broth doesn’t require fancy gear at all—all you need is a pot, a heat source, and a little patience. Halving the recipe is a great call for smaller households or tiny kitchens, too.

30 minutes ago

Added a big spoonful of my homemade Sichuan chili oil to my bowl and oh my GOD, the combination of the light, savory broth and the spicy, numbing oil is out of this world. The broth is so mild and balanced that it pairs perfectly with bold toppings without getting overpowered. 10/10, will be adding chili oil to every bowl from now on.

5 minutes ago

Wait that sounds insane, I have a jar of chili crisp in my pantry that would go so perfect with this! Why didn’t I think of that? Trying that tomorrow when I make my batch

3 days ago

I work at a ramen shop in Chicago and I tested this recipe on my day off to see how it stacked up to the chintan we make at work, and honestly? It’s really solid. The ratio of aromatics is almost identical to what we use, the only difference is we add a tiny bit of pork fat to ours for extra richness, but that’s a house preference. This is a great home cook version for sure.