
chili sauce for hotdogs

title 1
chili sauce for hotdogs
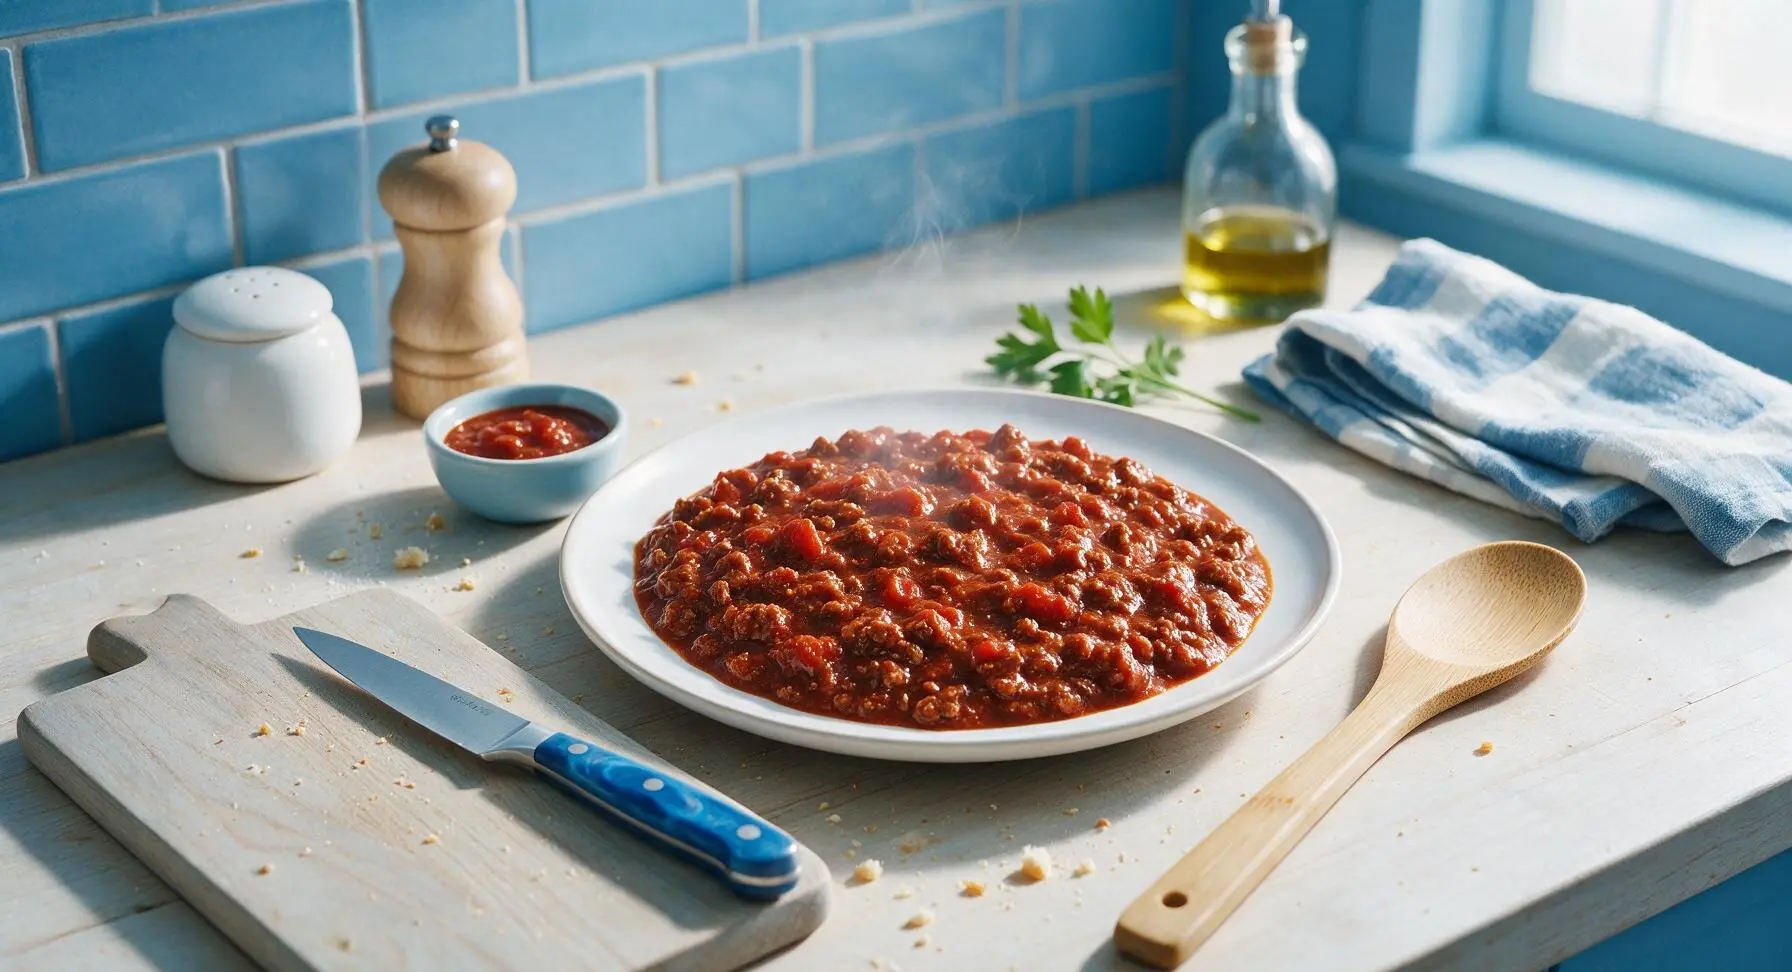
⏱️ cook time 25 minutes
🍽️ servings 8
⚡ Difficulty easy

intro

Rich, savory no-bean chili sauce for hotdogs, with deep tomato flavor, subtle warm spice, and iconic tangy ballpark flavor perfect for summer cookouts.

Ingredients
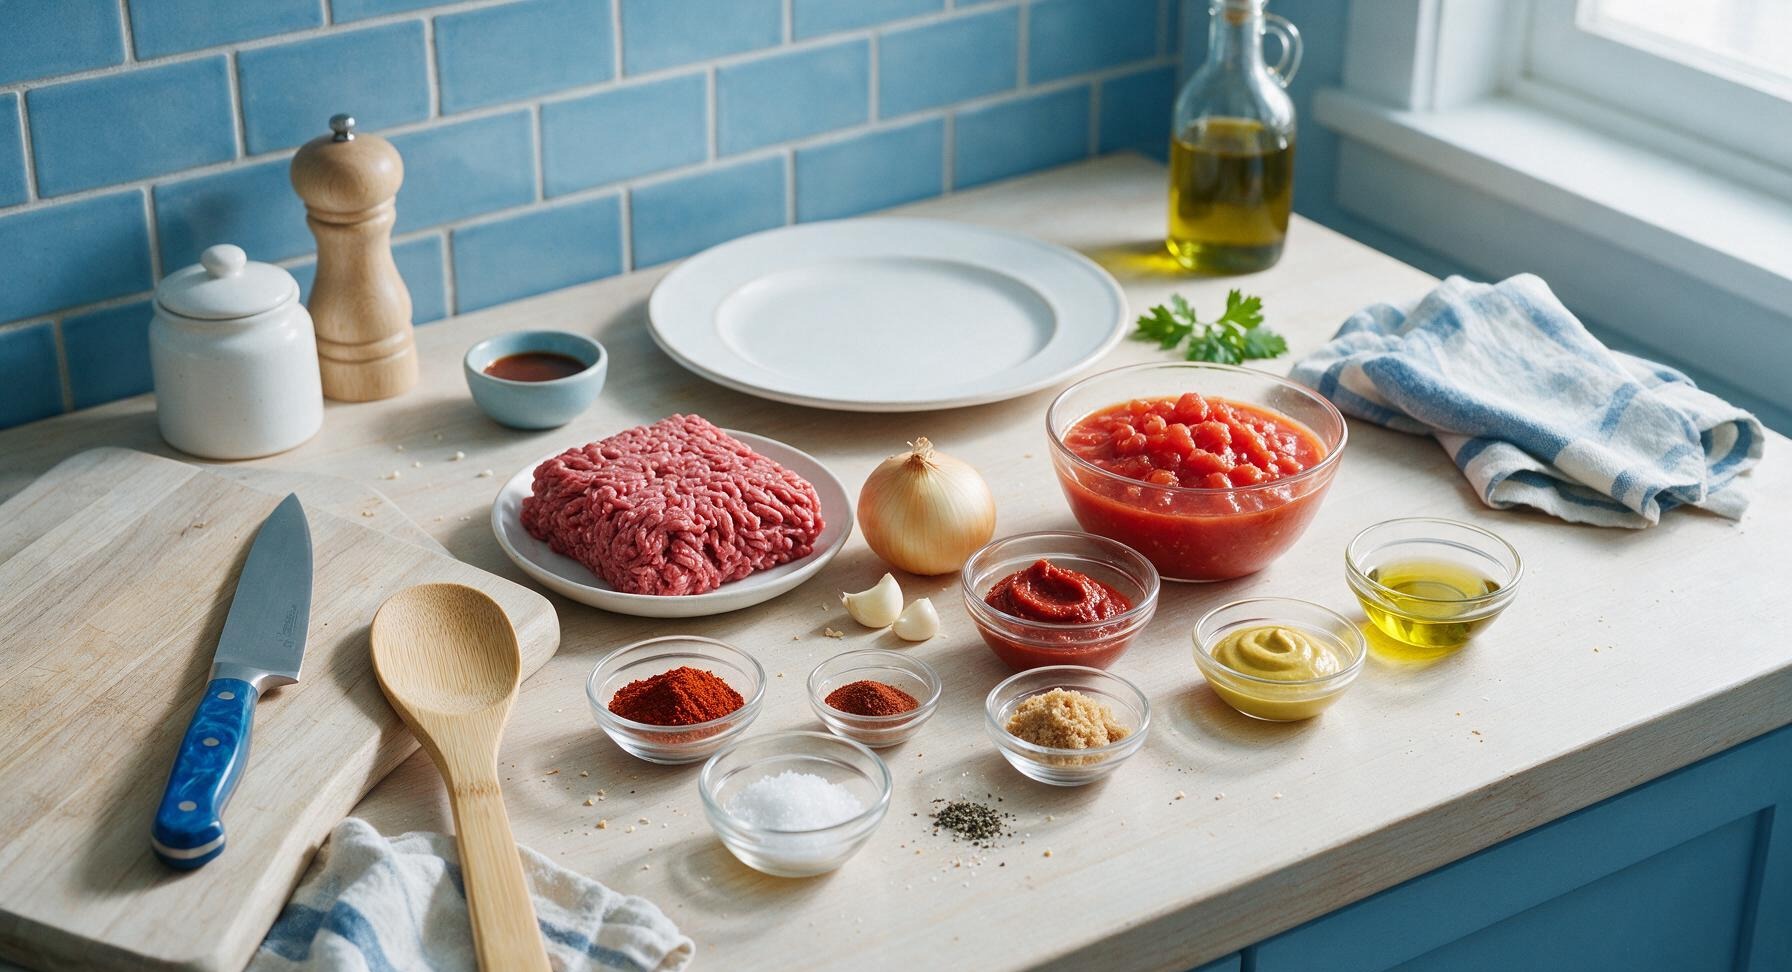
Lean ground beef (90/10) 1 lb (450g)
Small yellow onion 1 piece (~110g), finely diced
Garlic cloves 2 pieces (~12g total), minced
Crushed tomatoes (no salt added) 15oz can (425g)
Tomato paste 2 tbsp (33g)
Chili powder 1 tbsp (8g)
Smoked paprika 1 tsp (2g)
Ground cumin 1 tsp (2g)
Light brown sugar 1 tsp (4g)
Yellow mustard 1 tbsp (15g)
Apple cider vinegar 1 tsp (5ml)
Kosher salt 1 tsp (5g)
Freshly cracked black pepper 1/2 tsp (1g)
Extra-virgin olive oil 1 tsp (5ml)

Steps

1

Prep Base Aromatics

Set the honey beech cutting board in the central work zone. Using the 8-inch chef’s knife, finely dice the yellow onion into uniform 1/8-inch pieces, and mince the garlic cloves until smooth. Measure all spices, brown sugar, mustard, and vinegar into the small clear glass ramekins arranged behind the cutting board for easy access. Diced onion should be small enough to melt into the sauce as it cooks, with no large, crunchy chunks remaining in the finished product.
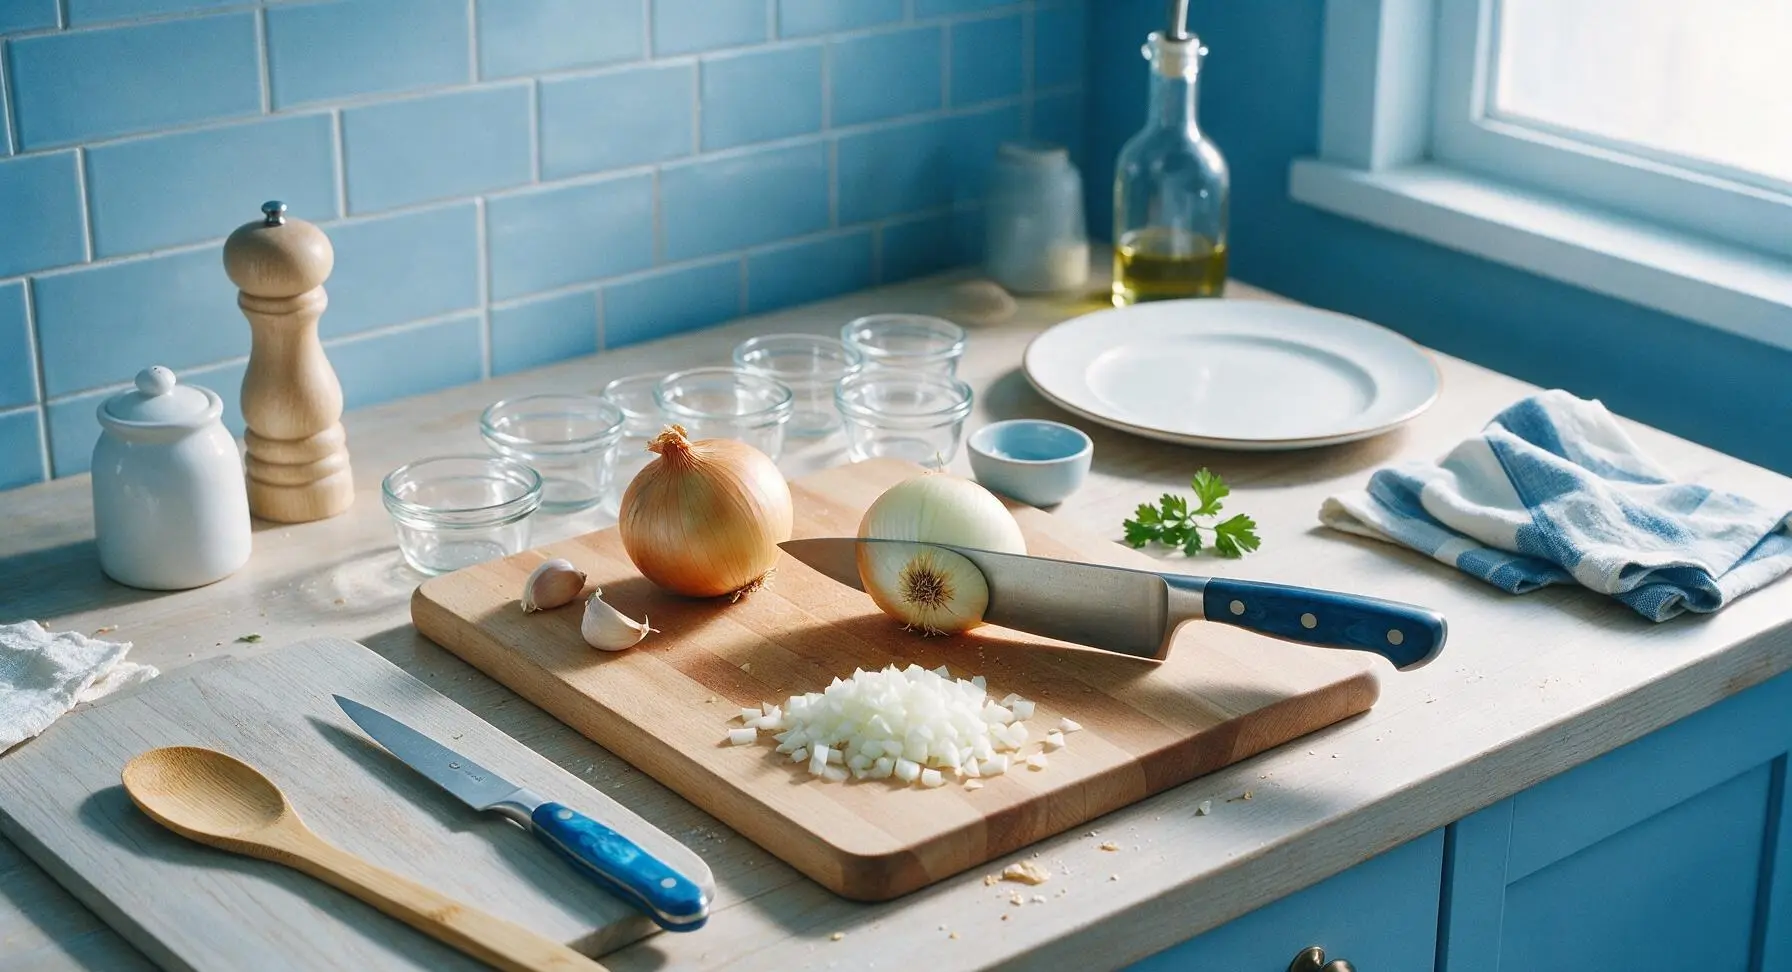
Step 1
step1:Prep Base Aromatics
2

Brown Lean Ground Beef

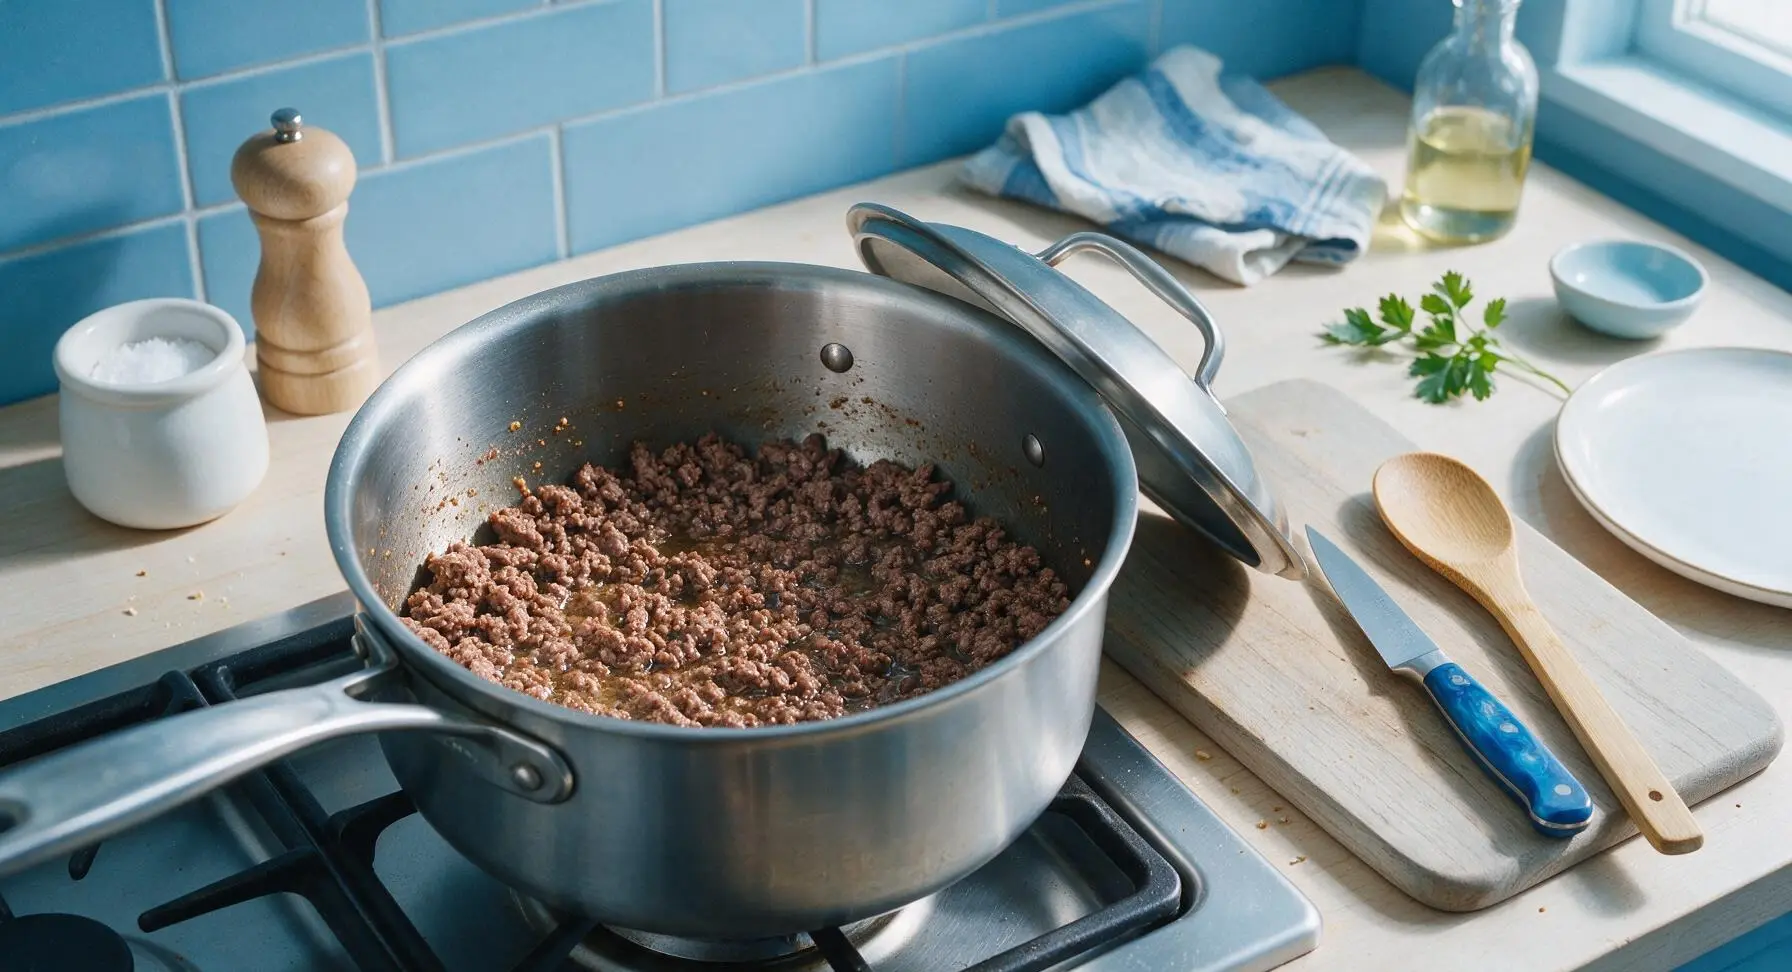
Place the 4-quart stainless steel saucepan on the stovetop burner over medium heat (350°F / 175°C), and add 1 teaspoon of olive oil. Once the oil shimmers, add the ground beef to the pan, breaking it apart into the tiniest possible crumbles with the edge of the silicone cooking spoon as it cooks. Cook for 6-7 minutes, stirring occasionally, until no pink remains and the beef is evenly golden brown. Tilt the pan and carefully drain off any excess rendered fat to prevent a greasy final sauce.
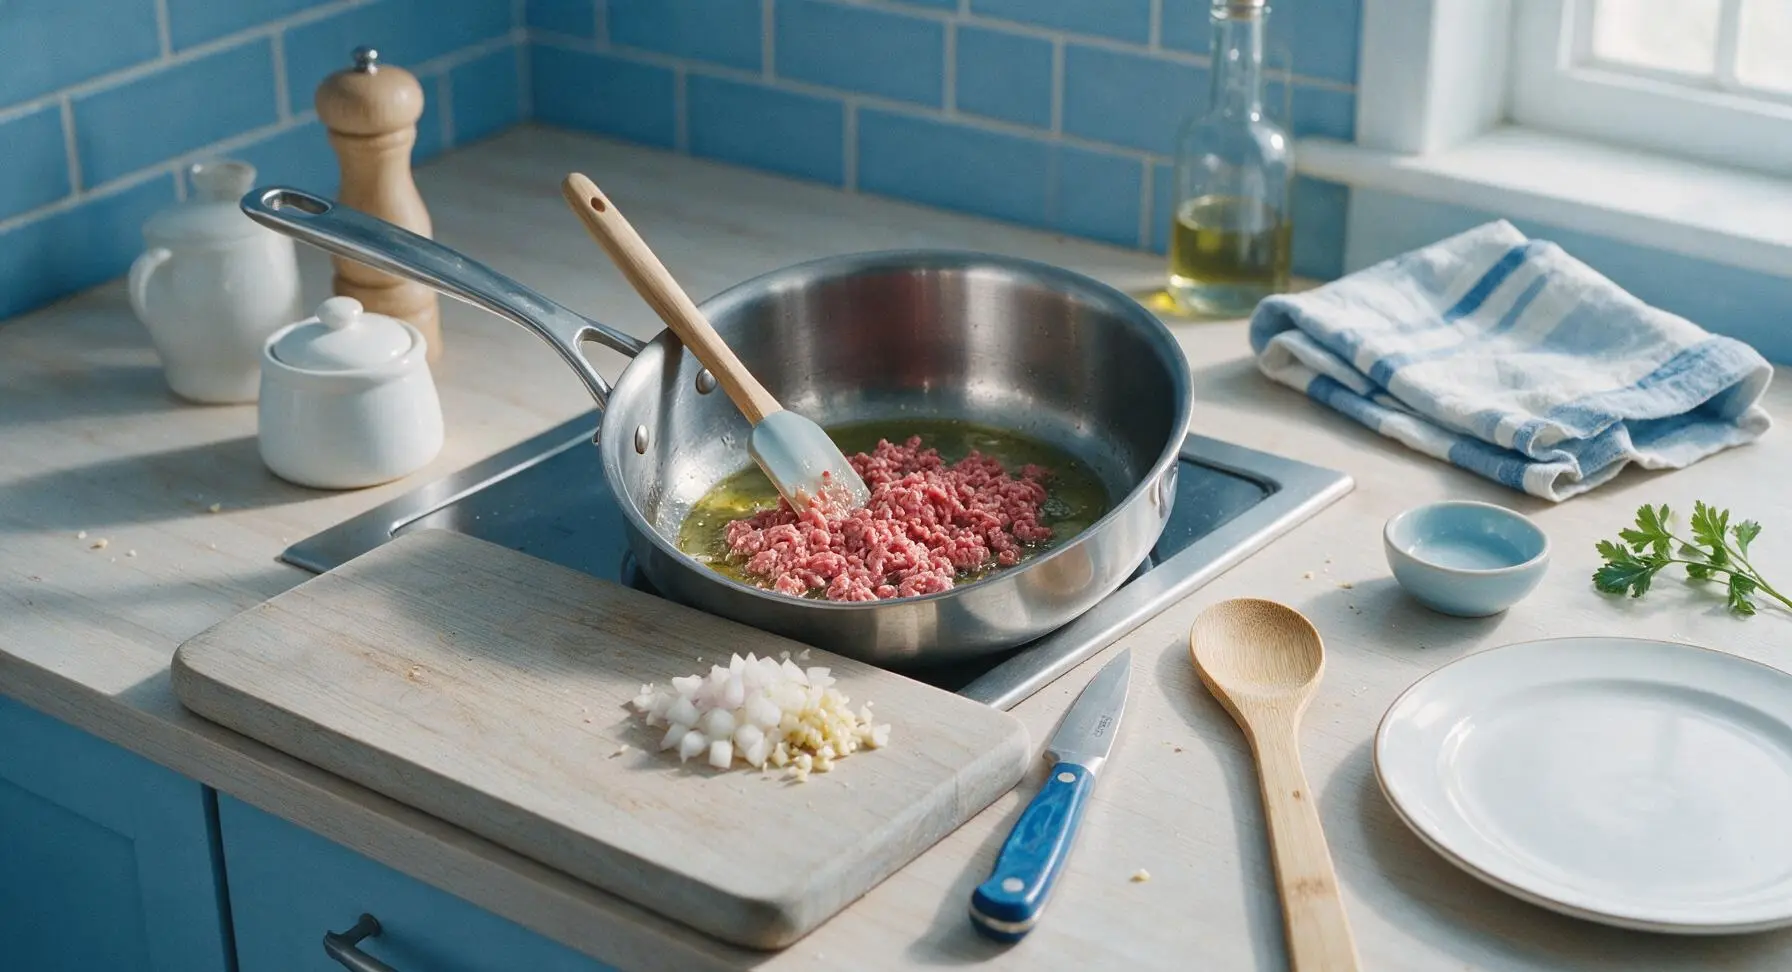
Step 2
step2:Brown Lean Ground Beef
Step 2
step2:Brown Lean Ground Beef
3

Sauté Aromatic Base

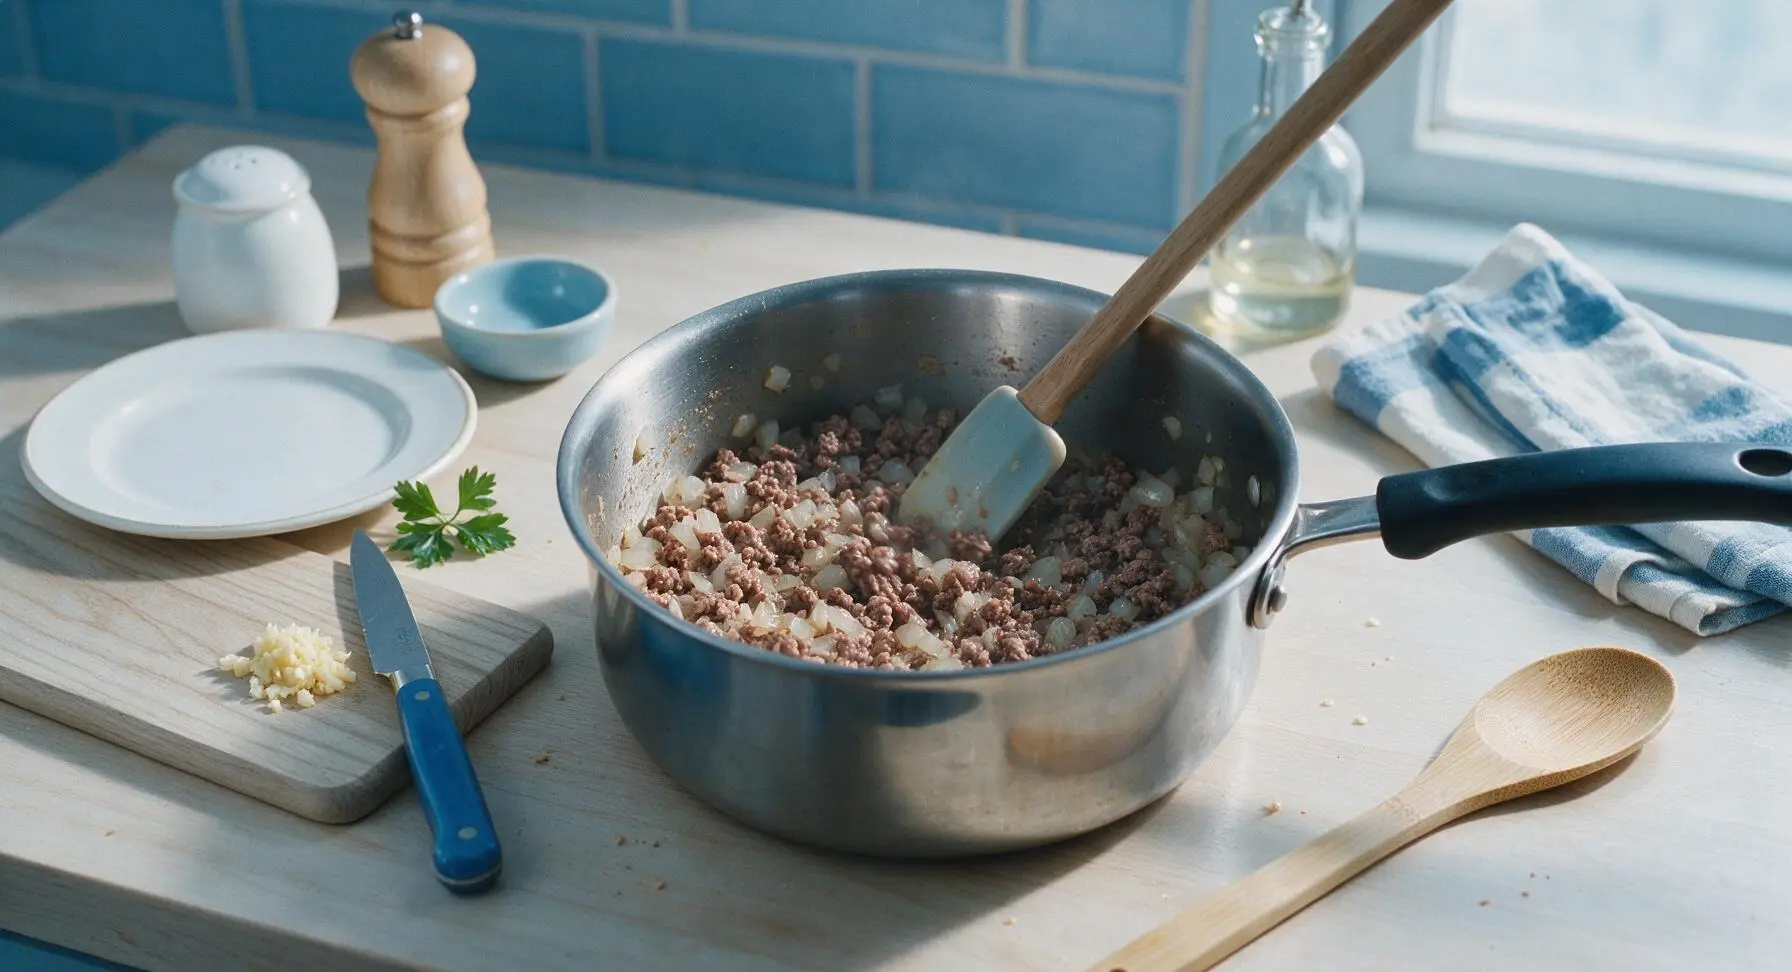
Reduce stovetop heat to medium-low (300°F / 150°C). Add the diced onion to the pan with the drained browned beef, stirring to combine with the silicone spoon. Cook for 3 minutes, until the onion is soft and translucent, then add the minced garlic and cook for 30 seconds more, stirring constantly. Stop cooking the garlic as soon as it smells fragrant—burnt garlic will add a sharp, bitter flavor to the sauce.
Step 3
step3:Sauté Aromatic Base
4

Add Tomato Base

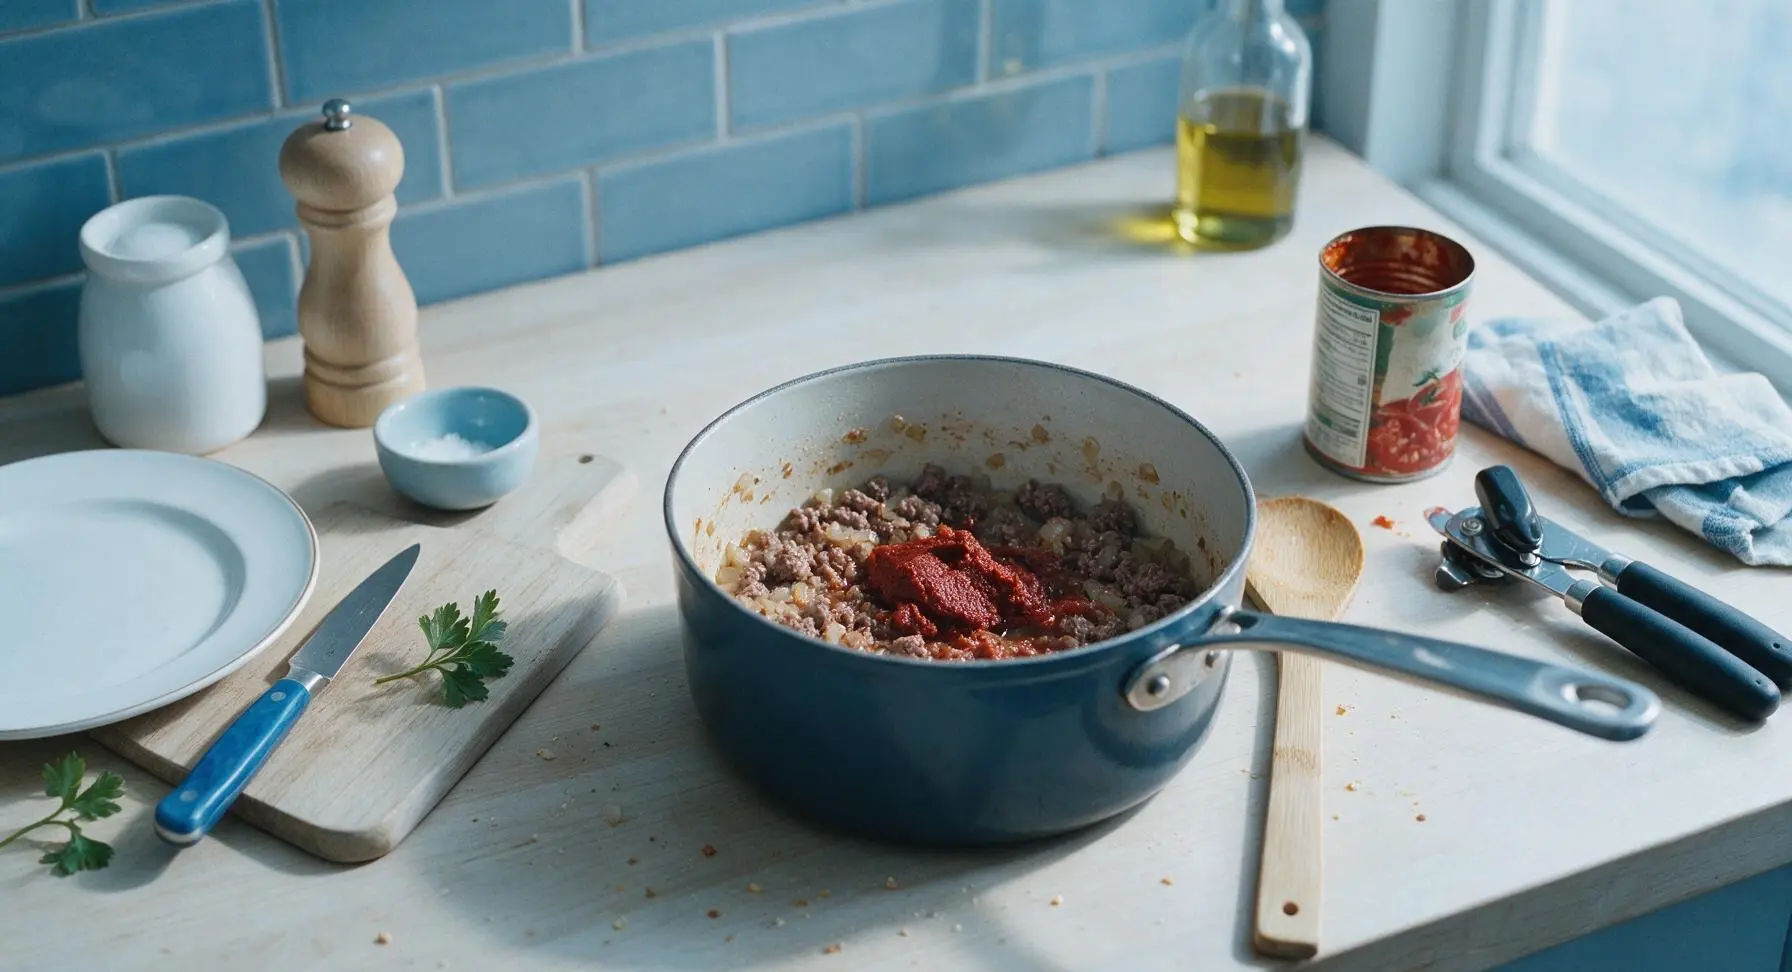
Stir the tomato paste into the beef and onion mixture, cooking for 1 full minute to toast the paste and deepen its sweet, umami flavor, until it darkens to a deep rust red. Pour in the crushed tomatoes, stirring thoroughly to combine with the other ingredients, scraping any browned fond bits from the bottom of the pan as you stir to incorporate their rich flavor.
Step 4
step4:Add Tomato Base
5

Add Spices and Seasonings

Add the measured chili powder, smoked paprika, ground cumin, light brown sugar, yellow mustard, apple cider vinegar, kosher salt, and cracked black pepper to the saucepan. Stir all ingredients vigorously until fully incorporated, making sure no clumps of dry spice remain stuck to the pan bottom or sides.

6

Simmer Sauce Slowly

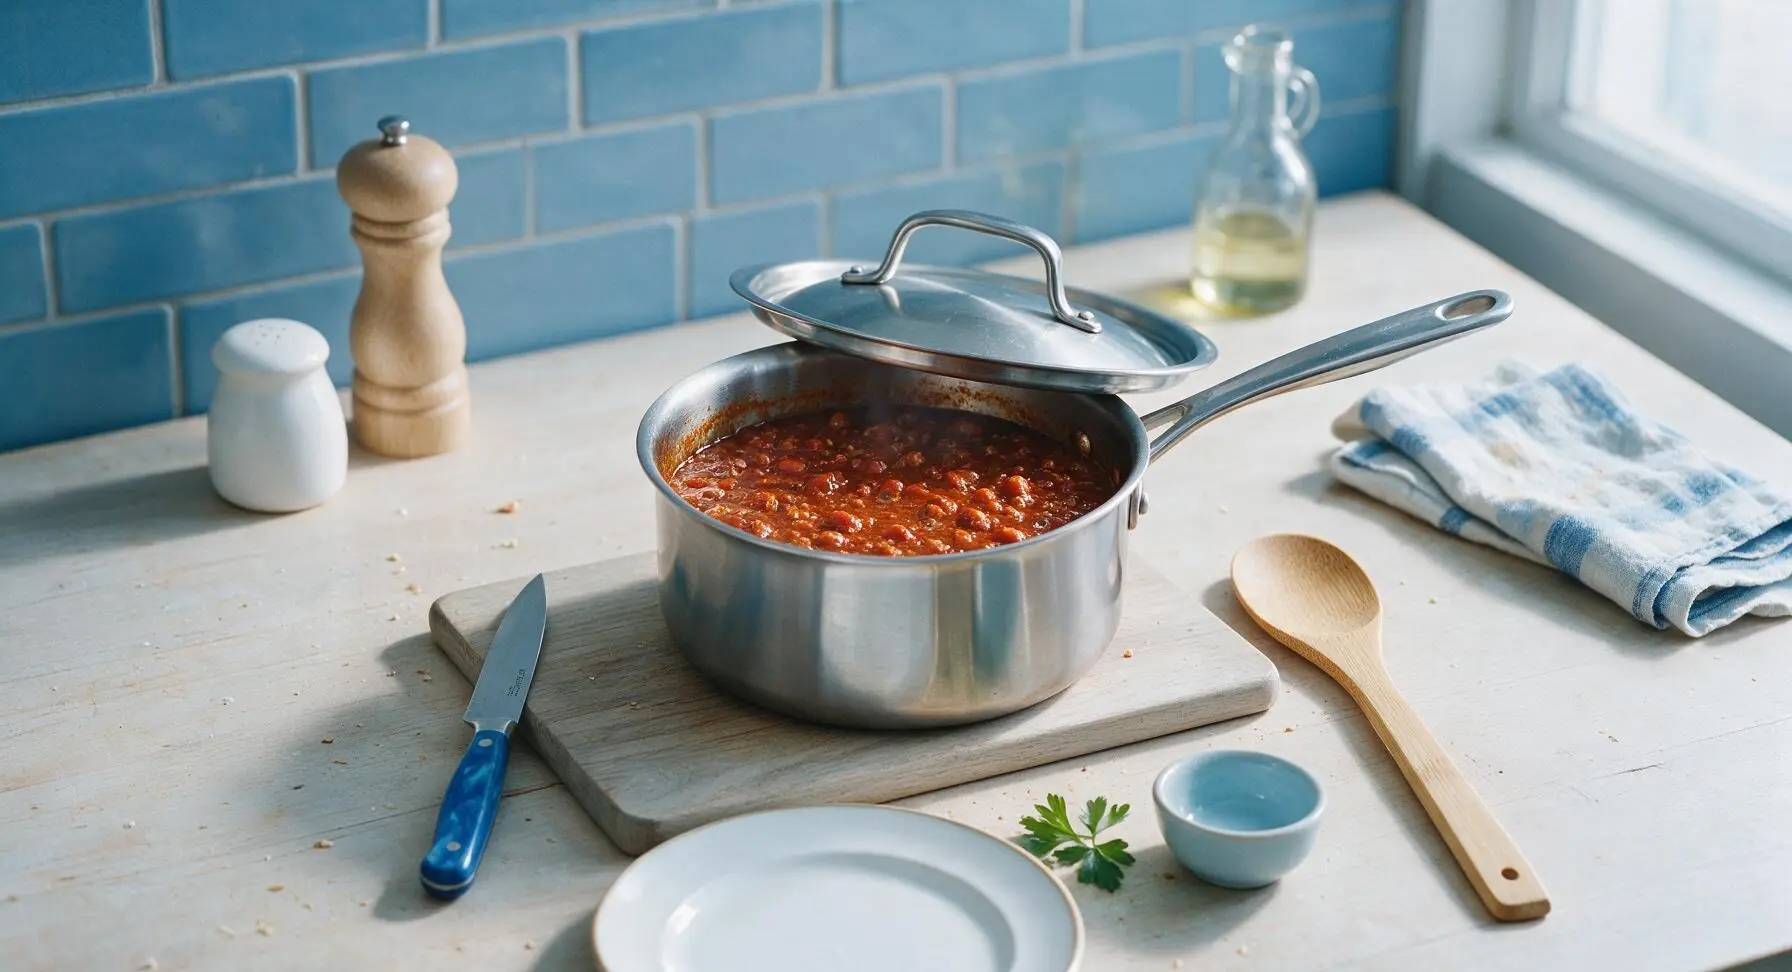
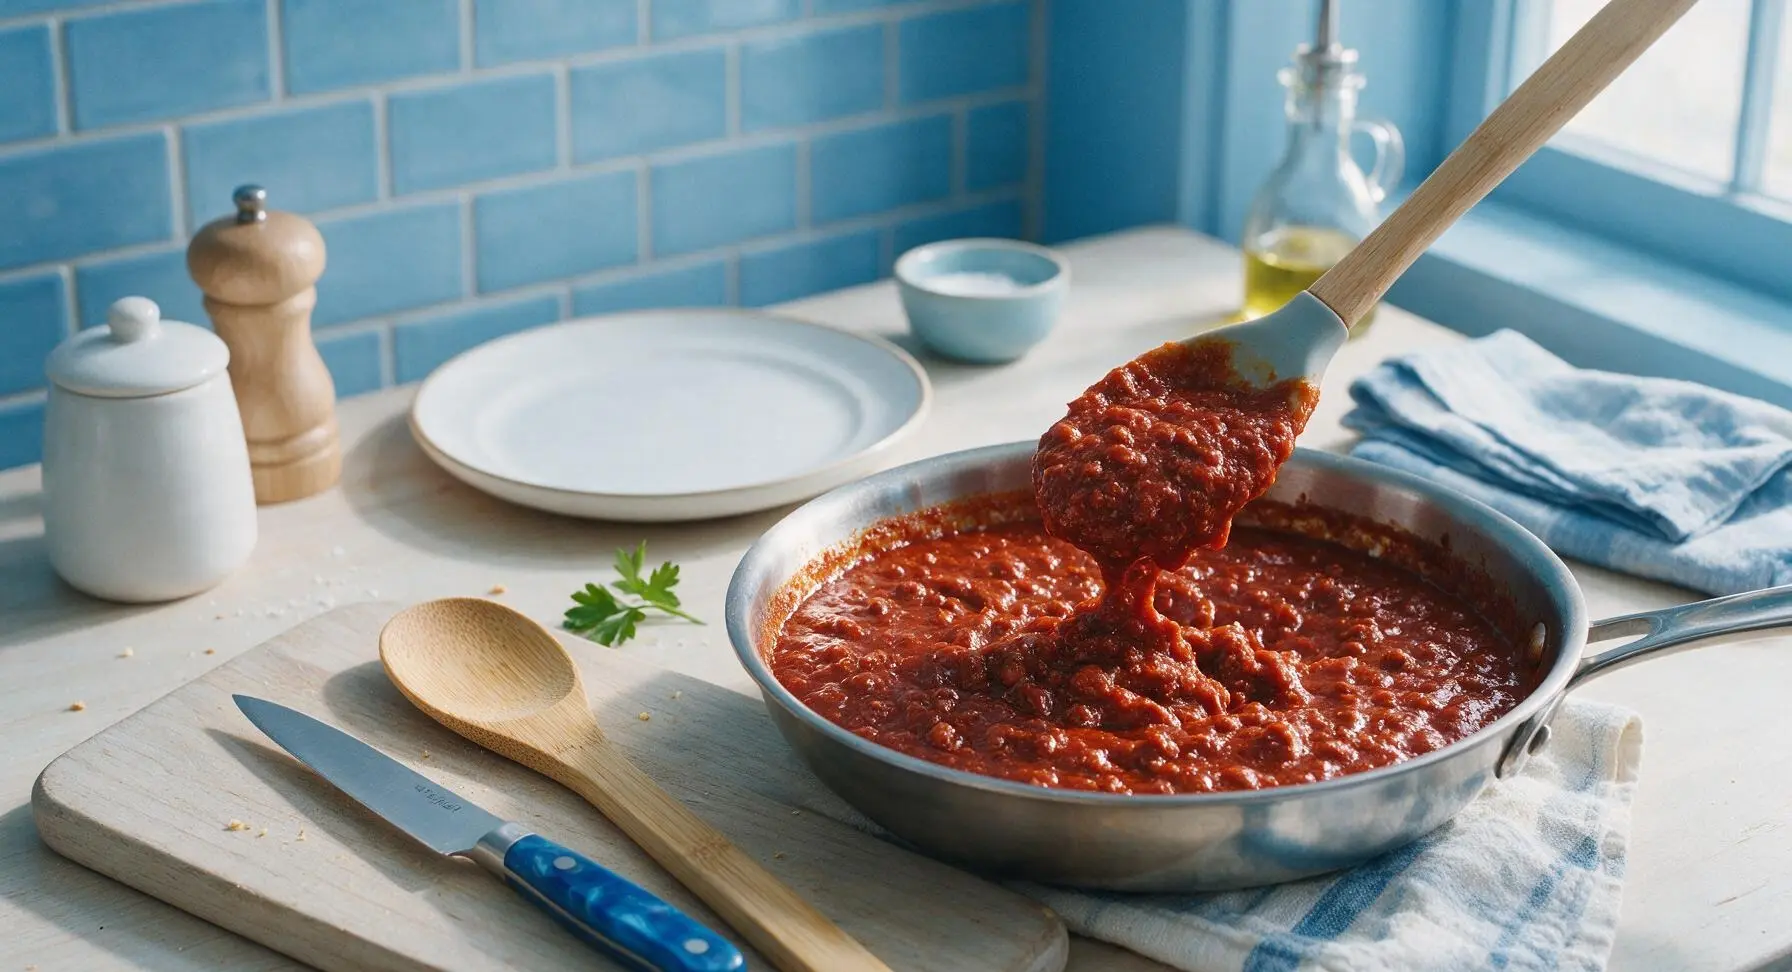
Bring the sauce to a gentle simmer, where small bubbles break the surface every 2-3 seconds. Reduce heat to low (200°F / 95°C), then set the stainless steel lid partially on the pan, leaving a 1-inch gap for steam to escape. Let the sauce simmer for 15 minutes, stirring every 3-4 minutes to prevent sticking and burning on the pan bottom. The finished sauce will thicken to a rich, spoon-coating consistency, with no watery, separated liquid.
Step 6
step6:Simmer Sauce Slowly
Step 6
step6:Simmer Sauce Slowly
7

Taste and Adjust Seasoning

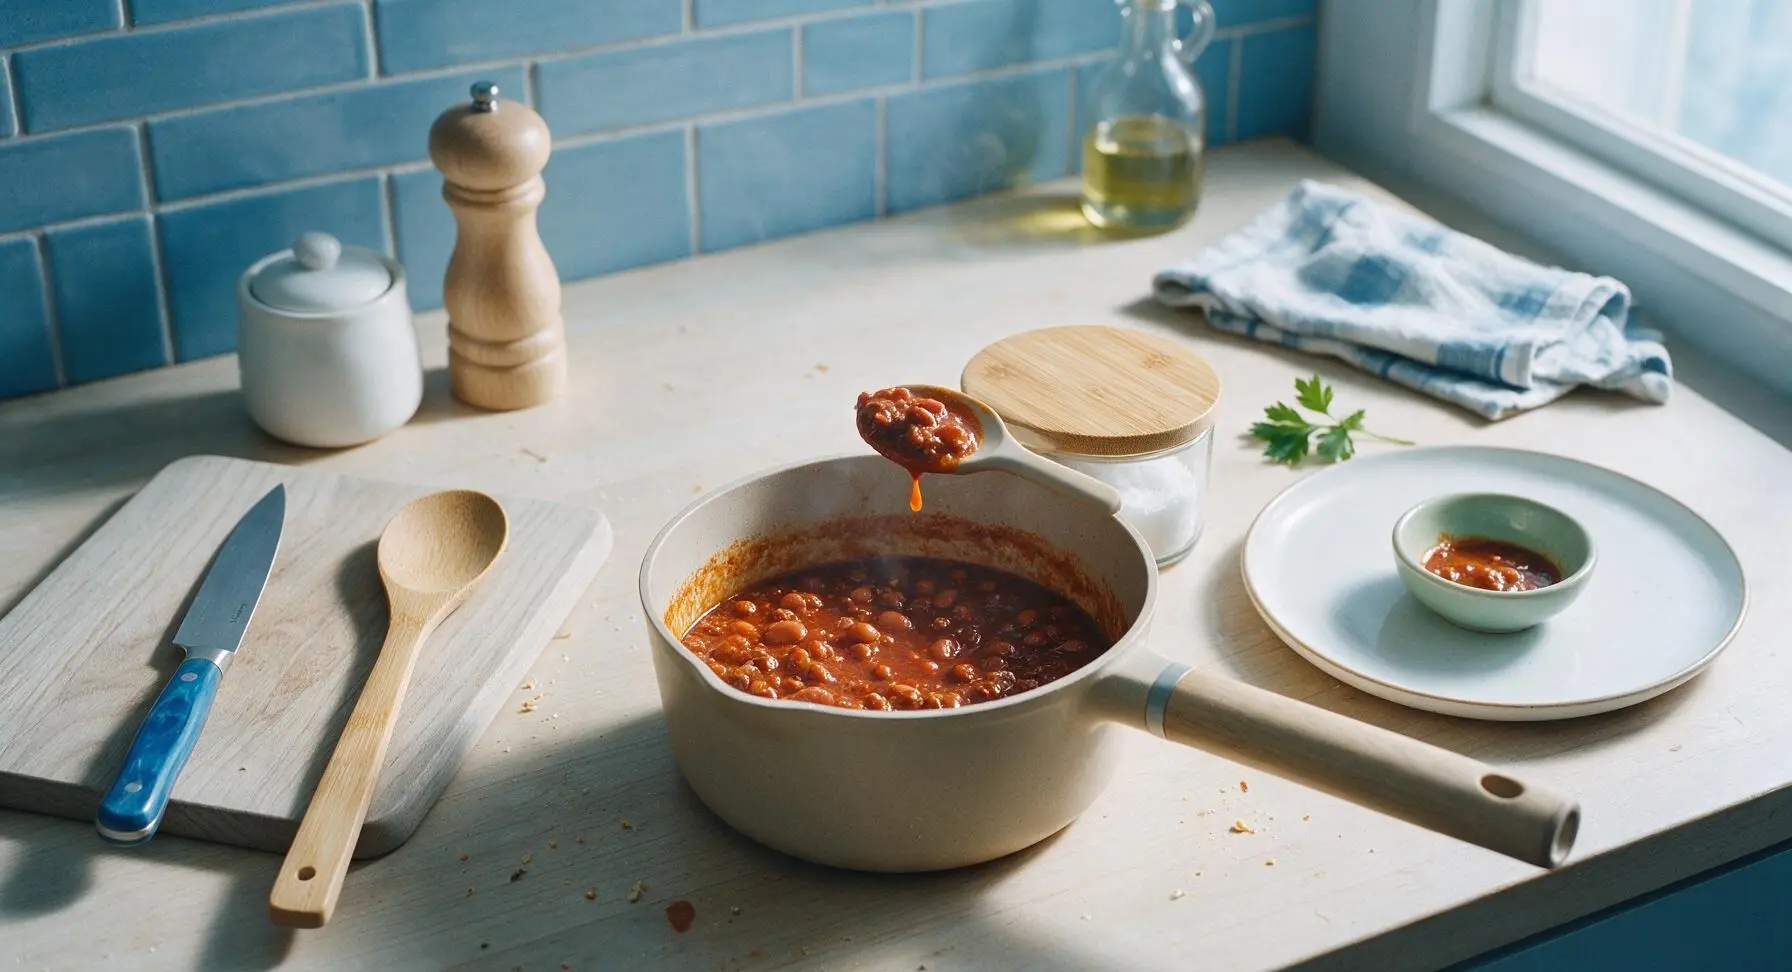
Scoop a small spoonful of sauce and let it cool for 30 seconds to avoid burning your tongue, then taste it. Add extra salt, pepper, or a pinch more brown sugar if needed to balance the tangy, savory, slightly spicy flavor. If the sauce is too thick, stir in 1 tablespoon of water at a time until it reaches a spreadable consistency that will not run off a hotdog bun.
Step 7
step7:Taste and Adjust Seasoning
8

Transfer to Serving Bowl

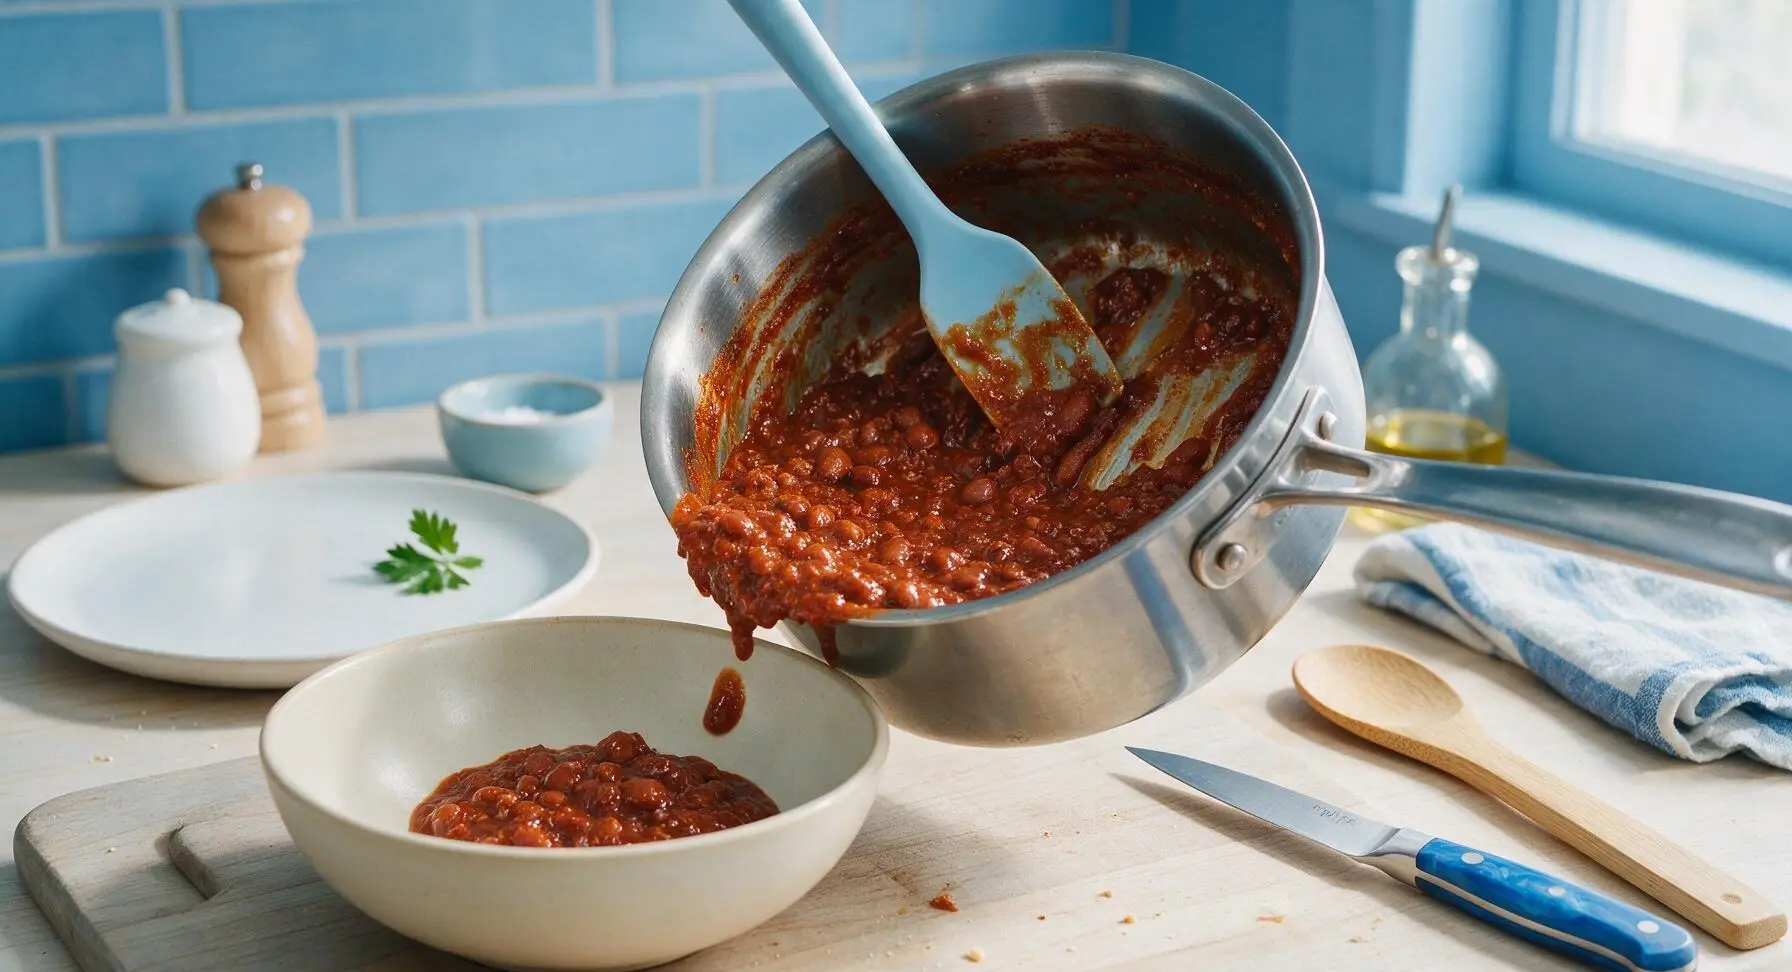
Turn off the stovetop heat. Use the silicone cooking spoon to scoop all of the finished chili sauce from the saucepan into the matte cream ceramic serving bowl positioned to the left of the work zone. Scrape the sides and bottom of the pan to collect every bit of sauce, then rest the spoon on the rim of the serving bowl ready for serving.
Step 8
step8:Transfer to Serving Bowl

Tips

1.Use 90/10 lean ground beef for the best texture: fattier blends will leave a greasy residue that soaks through hotdog buns, while extra-lean beef will produce a dry, crumbly sauce that doesn’t cling to hotdogs.
2.Break the ground beef into the smallest possible crumbles as it browns: large meat chunks will make the sauce hard to spread evenly, and can fall out of the bun when taking a bite.
3.Skip adding beans for authentic hotdog chili: traditional ballpark and Coney Island hotdog chili is bean-free, as beans add excess bulk and quickly turn soft, split-top hotdog buns soggy.


✨ You May Also Like

BBQ & Grilling
🍜 United States

Tender, melt-in-your-mouth beef brisket with a crisp, spiced bark, slow-smoked to deep smoky perfection, the iconic centerpiece of Texas backyard barbecue.

⏱️ 12 hours BBQ & Grilling ★ 4.4
BBQ & Grilling
🍜 Korea

Tender, sweet-savory marinated beef short ribs, a beloved Korean BBQ staple with caramelized, slightly charred edges and deep umami flavor, perfect for outdoor summer gatherings.

⏱️ 4 hours 2BBQ & Grilling ★ 4.8
BBQ & Grilling
🍜 United States

Juicy grilled beef patties topped with smoky homemade chili, melted cheddar, and tangy pickles on toasted brioche buns for a hearty, flavor-packed handheld meal.

⏱️ 40 minuteBBQ & Grilling ★ 4.7
BBQ & Grilling
🍜 United States

A sweet, smoky, tangy BBQ sauce brightened with peak-season dark cherries, ideal for glazing grilled ribs, chicken, pork, or summer roasted veggies.

⏱️ 35 minuteBBQ & Grilling ★ 4.7
BBQ & Grilling
🍜 United States

Rich, smoky, slightly sweet homemade bourbon BBQ sauce with deep caramel notes, ideal for glazing grilled ribs, chicken, and burgers at cookouts.

⏱️ 25 minuteBBQ & Grilling ★ 4.7
BBQ & Grilling
🍜 United States

Iconic Alabama-style BBQ featuring tender hickory-smoked chicken slathered in tangy creamy white sauce, a beloved regional Southern cookout staple.

⏱️ 3 hoursBBQ & Grilling ★ 5

chili sauce for hotdogs:Frequently Asked Questions

1.Why do you recommend 90/10 lean ground beef instead of a fattier blend for this sauce? ▾
90/10 lean beef keeps the sauce from turning greasy and soggy on hotdog buns, which is a common misstep with homemade hotdog chili. You also won’t have to drain off excess rendered fat mid-cook, so you hold onto all that deep beefy flavor. If you only have 80/20 on hand, just drain off 2 tablespoons of fat after browning to cut excess grease.
2.How should I prep the onion, garlic, and tomato paste for the best possible flavor? ▾
Finely dice the small yellow onion so it melts into the sauce instead of leaving big, crunchy chunks, and mince the garlic to avoid bitter, sharp bites. Always cook the tomato paste with the sautéed onion and garlic for 1-2 minutes, until it turns deep rust red, to bring out its sweet umami instead of a raw, metallic aftertaste.
3.Why does the recipe specify no-salt-added crushed tomatoes? ▾
No-salt-added crushed tomatoes let you fully control the sodium level of the final sauce, since tomato paste, hotdogs, and common companion toppings like mustard, relish, and cheese already contain plenty of salt. If you only have regular salted crushed tomatoes, hold off on adding extra salt until the very end, tasting as you go to avoid over-salting.
4.How do I get that iconic tangy ballpark flavor mentioned in the recipe intro? ▾
That signature tang comes from a tiny splash of plain apple cider vinegar and a pinch of light brown sugar added right at the end of cooking—you only need 1 teaspoon of each per batch to cut the richness of the beef and tomatoes, without making the sauce taste sweet or sour. Standard grocery store apple cider vinegar delivers the exact nostalgic flavor you want.
5.Can I make this chili sauce ahead of time for a summer cookout? ▾
Absolutely! This sauce actually tastes better 1-2 days after making it, as the spices meld and the tomato flavor deepens into that classic ballpark profile. Store it in an airtight container in the fridge, then reheat slowly over low stovetop heat before serving. It holds up great in a slow cooker on warm for 3-4 hours during your party, just stir occasionally.
6.My sauce turned out too thin—how do I thicken it properly without adding beans? ▾
First, let it simmer uncovered for an extra 5-7 minutes to let excess cooking water evaporate, stirring often to keep it from sticking to the bottom of the pan. If it’s still too runny, make a quick slurry of 1 teaspoon cornstarch mixed with 1 tablespoon cold water, stir it into the simmering sauce, and cook 2 more minutes until it reaches that perfect, clingy hotdog-topping consistency.
7.What spices work best to get that subtle warm flavor, without making the sauce too spicy? ▾
Stick to a simple, balanced blend: 1 tablespoon mild chili powder, ½ teaspoon ground cumin, ¼ teaspoon onion powder, a pinch of smoked paprika, and a tiny pinch of cayenne if you want a faint, gentle kick. Skip heavy add-ins like cinnamon or dark cocoa—those work for bowl chili, but they’ll overpower the bright, familiar hotdog chili profile you want.

Comments (12)

1 week ago

OMG this no-bean chili sauce is an absolute game changer for our weekend cookouts! I’ve been searching for a copycat of the old ballpark hot dog chili for years and this nails it. No weird mushy beans to get in the way, just that rich, savory, slightly sweet sauce that smothers a dog perfectly. My kids begged for second helpings at our Labor Day barbecue. SO good!

5 days ago

So stoked this was a hit for your cookout and with the kids! Pro tip: make a double batch and freeze half for quick weeknight chili dogs all month long.

3 days ago

Totally agree! I made this for our tailgate last weekend and people were asking me for the recipe left and right. Way better than the canned stuff!

2 days ago

Super easy to throw together on a busy weeknight! I had all the ingredients in my pantry already, no extra run to the grocery store needed. My three picky eaters cleaned their plates, which is basically a miracle in our house. I did add a tiny extra pinch of paprika for a little more smoke, but otherwise followed the recipe exactly.

yesterday

Love that you made it work for your family’s taste! Smoked paprika is such a great swap/add-in for extra depth, so glad your picky eaters approved!

30 minutes ago

FINALLY a no-bean hot dog chili that doesn’t taste like canned tomato paste with random seasoning! I’ve tried so many recipes that come out too watery or too bland, but this one is thick, perfectly seasoned, and sticks to the hot dog just like it should. Used it for chili cheese dogs for my roommate and I last night, no leftovers at all.

5 minutes ago

Nothing better than zero leftovers, that’s the highest compliment! So glad you found a recipe that hits that perfect thick, non-watery texture you were looking for.

3 days ago

I brought this to our neighborhood potluck last week and people were putting it on everything — hot dogs, burgers, even nachos! It’s so versatile. Only thing is I wish it made a little more, because the pan was scraped clean in 20 minutes flat. Will definitely double the recipe next time.

2 days ago

Same! I doubled it for our church potluck and still almost ran out. People go crazy for the no-bean texture, no one wants bean goop on their hot dog lmao

2 days ago

Great call doubling it for crowds! This recipe freezes really well too, so you can make extra ahead of time for potlucks or game day without worrying about it going bad.

yesterday

Game. Changer. I’ve been using the canned hot dog chili my whole life and I’ll never go back after making this. 25 minutes start to finish? Are you kidding? That’s faster than driving to the grocery store to buy the canned stuff. The flavor is so much richer, no weird preservative aftertaste. 10/10.

2 hours ago

So happy you dumped the canned stuff! It’s wild how much better homemade tastes with such simple ingredients, right? So quick to whip up too, perfect for last minute cookouts.

1 week ago

Perfect for meal prep! I made a big batch on Sunday, portioned it out into small containers, and have been using it all week for quick lunches — chili dogs, chili cheese fries, even a quick topping for baked potatoes. It reheats like a dream, no weird separation or watery texture. So happy I found this recipe!

5 days ago

Bro this is so easy even I can make it and I burn toast half the time. Made it for my dorm floor’s movie night and everyone thought I was some fancy chef. Used cheap grocery store hot dogs and buns but the chili made the whole meal taste like something from a food truck. Only change I made was adding a little extra hot sauce for kick.

3 days ago

Love to hear it! Recipes that work for beginner cooks are our favorite, and adding extra hot sauce is always a welcome tweak for anyone who loves more heat. Great job pulling off dorm movie night snacks!

2 weeks ago

This tastes just like the hot dog chili my dad used to make at our family cookouts when I was a kid! I was worried no modern recipe would hit that same nostalgic note, but this is spot on. Not too sweet, not too tangy, just that perfect savory sauce that takes a plain hot dog to the next level. My grandkids gobbled it up.

1 week ago

Oh that makes me so happy to hear! I’ve been looking for a recipe like my grandpa used to make too, can’t wait to try this this weekend. Did you use straight ground beef or a mix with pork?

5 days ago

Love that this brought back such sweet family memories for you! To answer Nate’s question too, the recipe works great with either straight 80/20 ground beef or a 50/50 beef and pork mix for a little extra richness, both are delicious.

2 hours ago

I was skeptical about no-bean chili at first because I usually love beans in my regular chili, but this is exactly what hot dog chili is supposed to be! The thick, meaty sauce doesn’t slide off the dog when you take a bite, which is my biggest pet peeve with runny chili recipes. Topped mine with diced onion and yellow mustard, just like the hot dog stands in NYC.

30 minutes ago

Right?! The NYC street cart hot dog chili is the gold standard and this is dead on. I ate way too many chili dogs last week because of this recipe lmao

5 minutes ago

Nothing beats that classic NYC cart dog vibe! So glad the texture is perfect for you — that no-slide thickness is exactly what we were going for with this recipe.

5 days ago

Made this for our annual fantasy football draft party and it was the most popular food there! I set up a little chili dog bar with all the toppings — shredded cheese, diced onions, relish, jalapeños, sauerkraut — and people were raving all night. The recipe is so straightforward, I didn’t have to stress about messing it up while I was setting up the rest of the party. 10/10, will make every year for draft day.

yesterday

Great base recipe! I’ve made it twice now, first time exactly as written and it was delicious, second time I added a small can of diced green chiles for a little southwest twist and it was amazing too. It’s so easy to customize to whatever you’re in the mood for, which is perfect for busy weeknights when you don’t want to overthink dinner.

30 minutes ago

So glad you’re having fun customizing it! Diced green chiles sound like a fantastic add-in, I’ll have to try that next time I make a batch. Thanks for sharing the tweak!

just now

Absolute home run for game day! I made this alongside a tray of sliders and wings for the Sunday game and my friends kept asking if I ordered the chili from the local hot dog joint. It’s thick, flavorful, and doesn’t get soggy even if it sits in the slow cooker on warm for a couple hours during the game. Already saved this recipe to my permanent game day rotation.



