
chilli recipe for hot dogs

title 1
chilli recipe for hot dogs
⏱️ cook time 25 minutes
🍽️ servings 6
⚡ Difficulty easy

intro

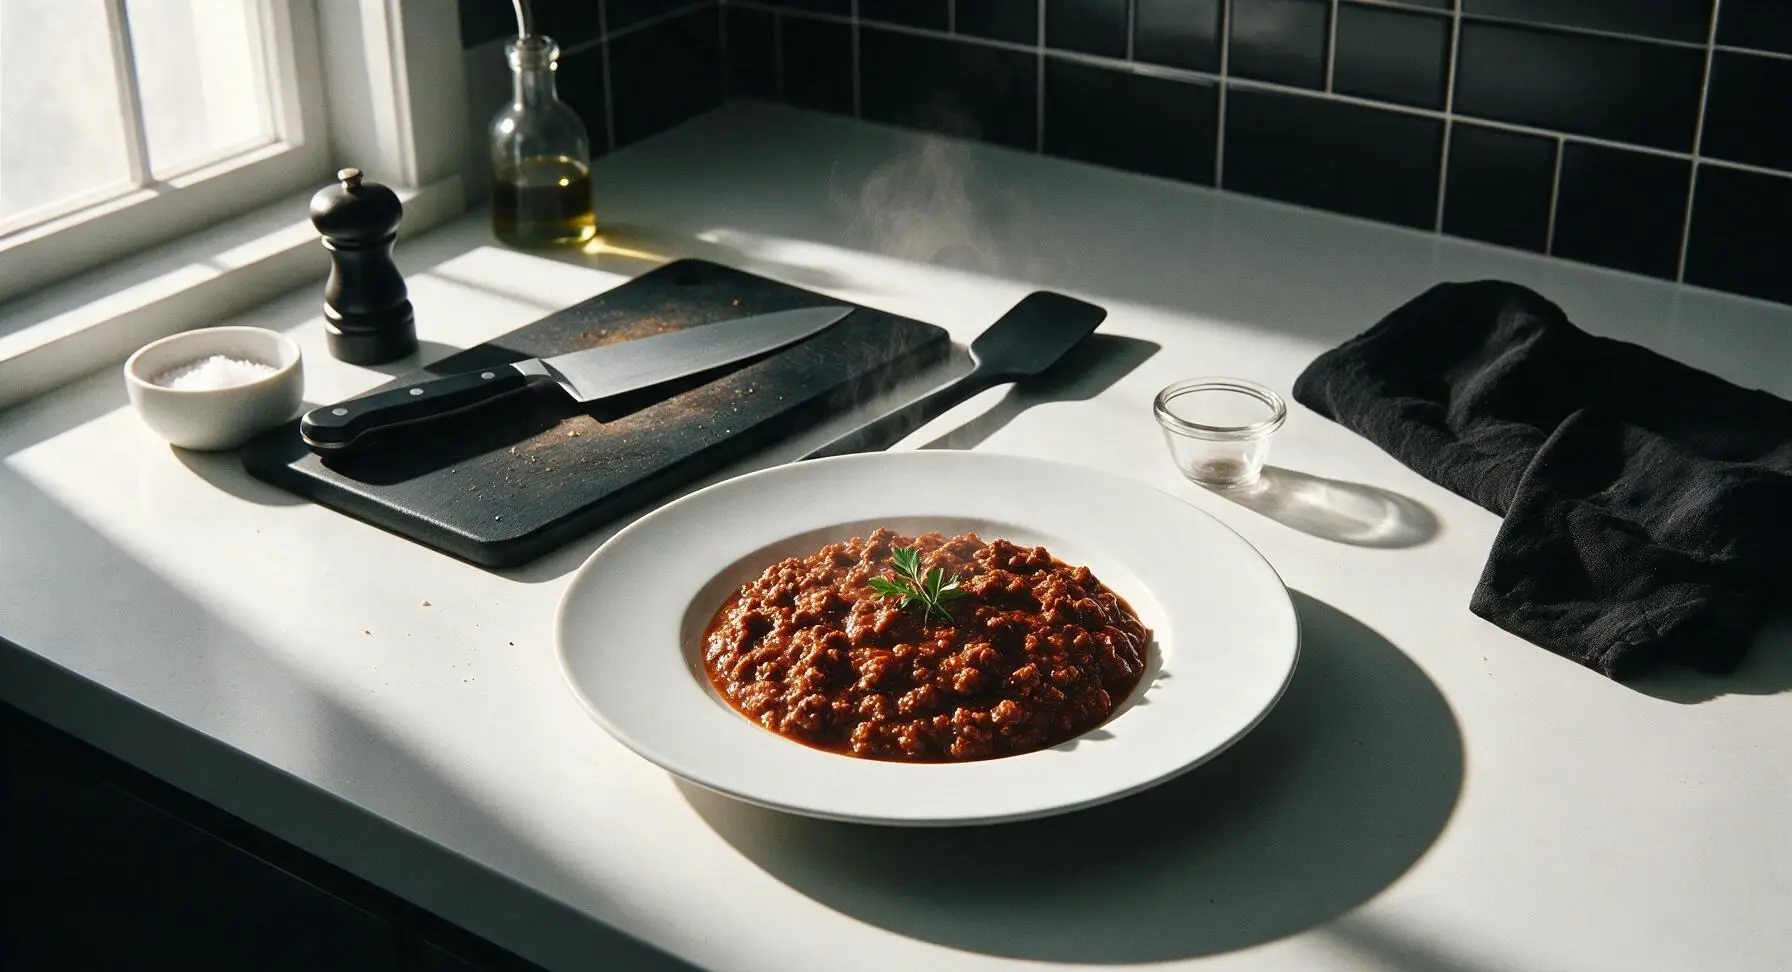
Rich, thick no-bean chili crafted specifically for topping hot dogs—savory, slightly tangy, perfectly spiced, with a fine texture that stays piled high on your bun instead of sliding off.

Ingredients
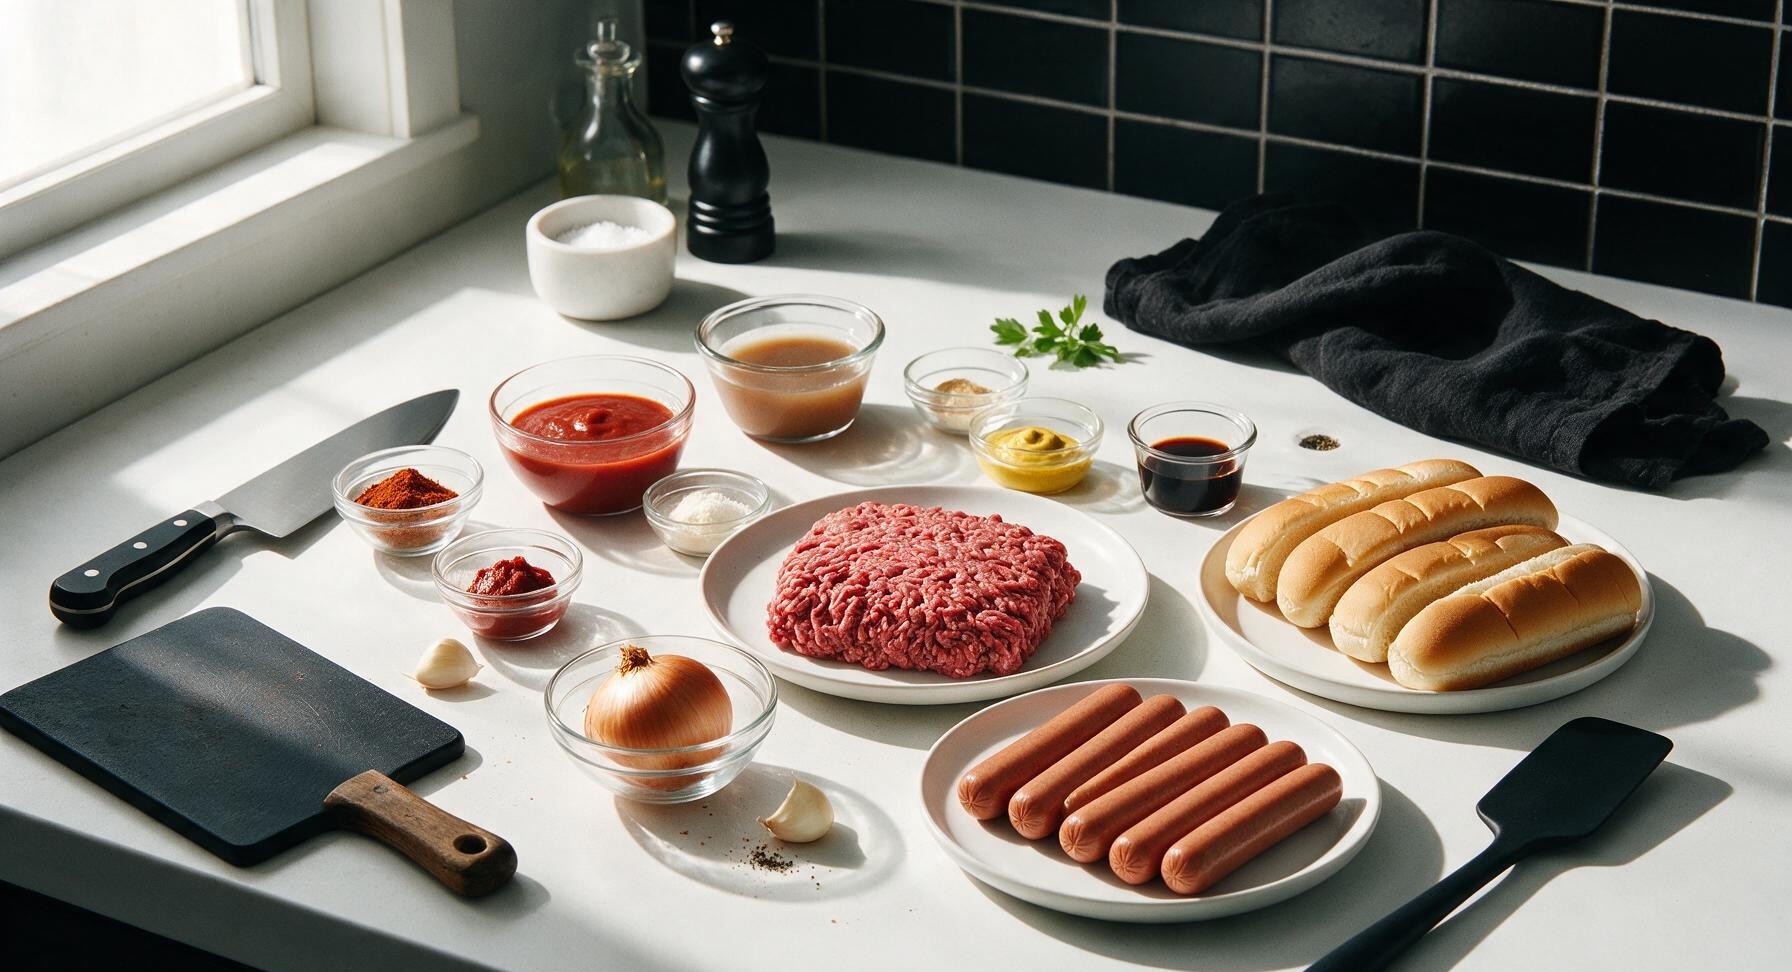
Lean ground beef (90/10) 450g
Small yellow onion 1 piece (110g)
Garlic cloves 2 pieces (6g total)
Unsalted tomato sauce 150ml
Tomato paste 1 tbsp (16g)
Low-sodium beef broth 120ml
Chili powder 1 tbsp (8g)
Ground cumin 1 tsp (2g)
Garlic powder 1/2 tsp (1.5g)
Onion powder 1/2 tsp (1.5g)
Smoked paprika 1/4 tsp (0.5g)
Yellow mustard 1 tsp (5g)
Worcestershire sauce 1 tsp (5ml)
Kosher salt 1/2 tsp (3g)
Freshly ground black pepper 1/4 tsp (1g)
All-beef hot dogs 6 pieces
Split-top hot dog buns 6 pieces

Steps

1

Prep Aromatic Base

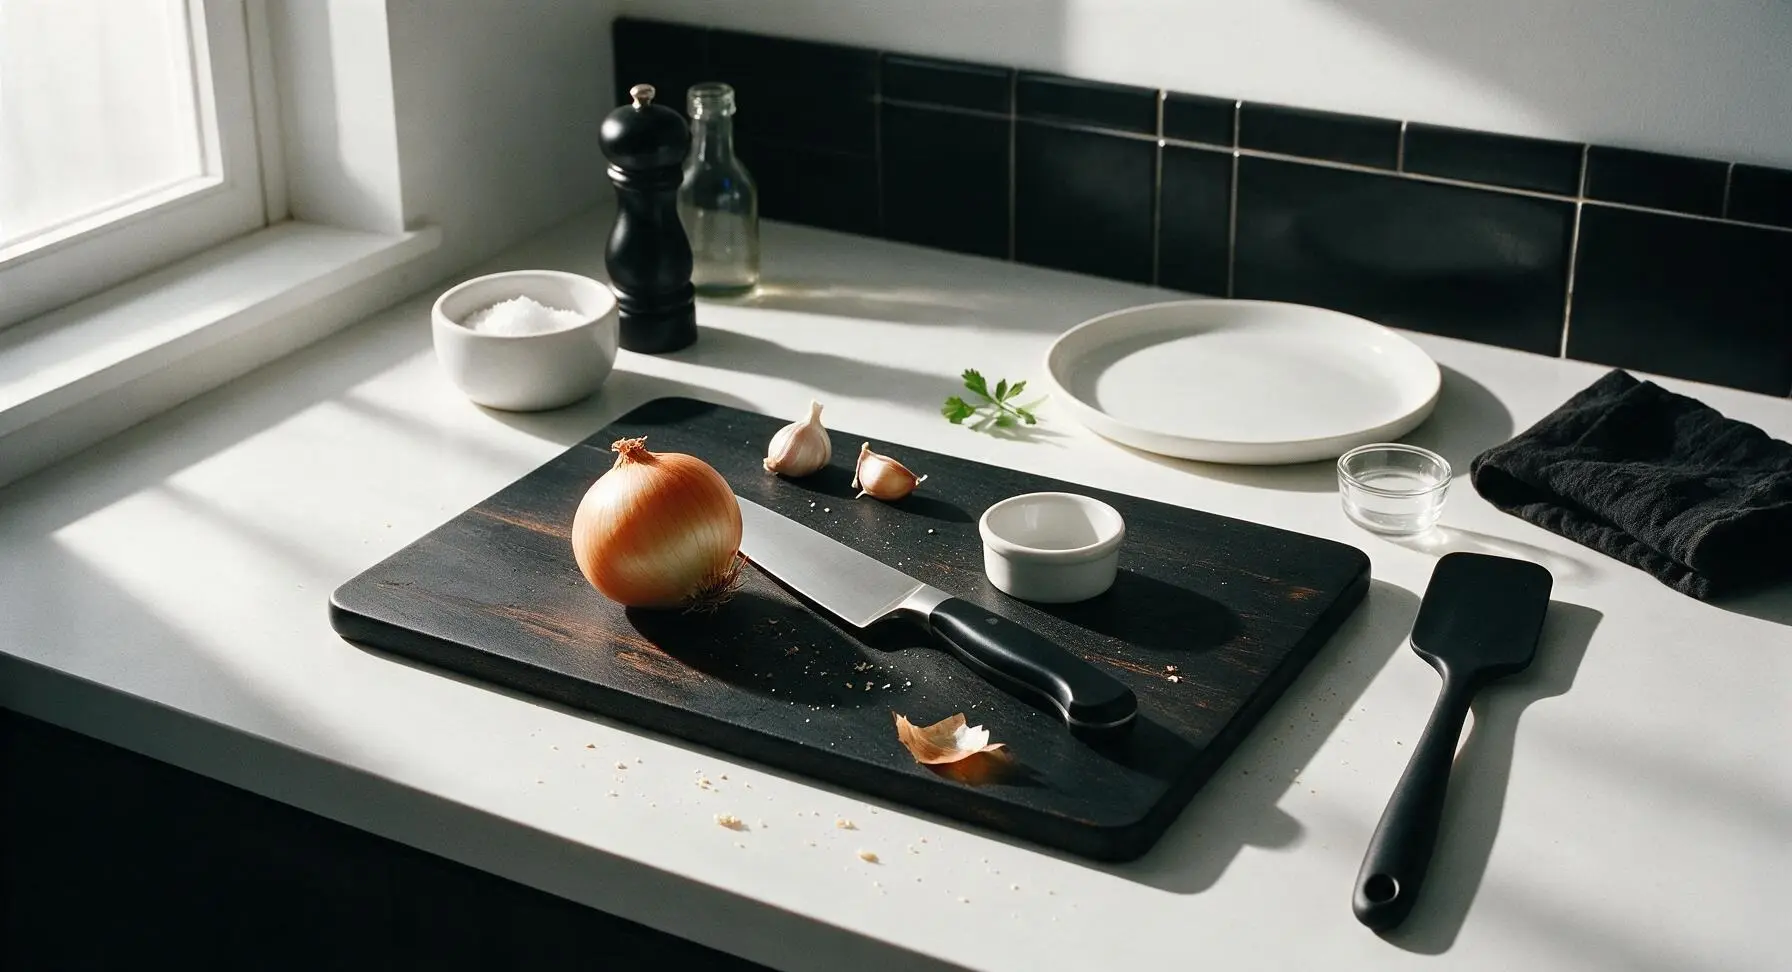
Set the acacia wood cutting board at your work station. Use the 8-inch chef knife to trim the root and stem ends from 1 small yellow onion, peel away the papery outer skin, then finely dice the onion into uniform 3mm pieces. Mince 2 garlic cloves to a fine paste, then transfer both diced onion and garlic to a small white ramekin. Set aside until needed. Discard any dry onion skins to a scrap bowl off the left edge of the counter.
Step 1
step1:Prep Aromatic Base
2

Brown Ground Beef

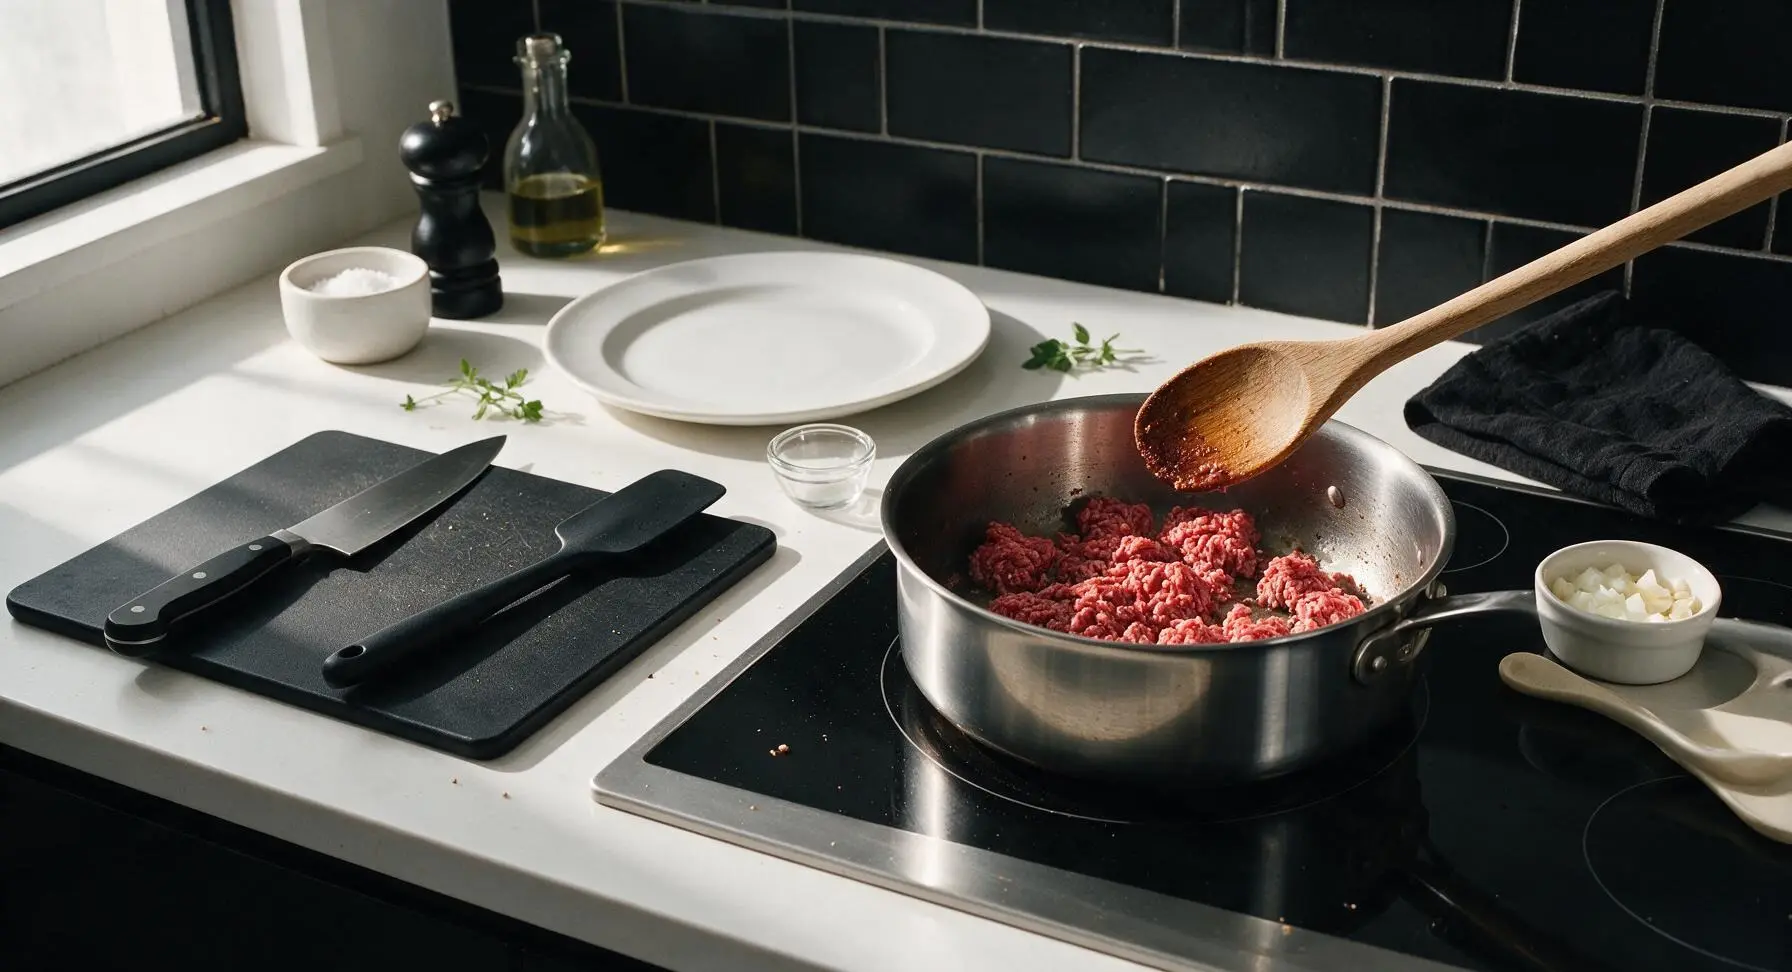
Place the 3-quart stainless steel saucepan over medium heat (175°C/350°F). Add 450g 90/10 lean ground beef to the preheated pan. Use the long oak wooden spoon to break the beef into very fine crumbles as it cooks, stirring occasionally. Cook for 6-7 minutes until no pink remains, the beef is deep golden brown, and small amounts of rendered fat sizzle gently around the crumbles. Do not drain the small amount of rendered fat, as it adds rich flavor to the finished chili.
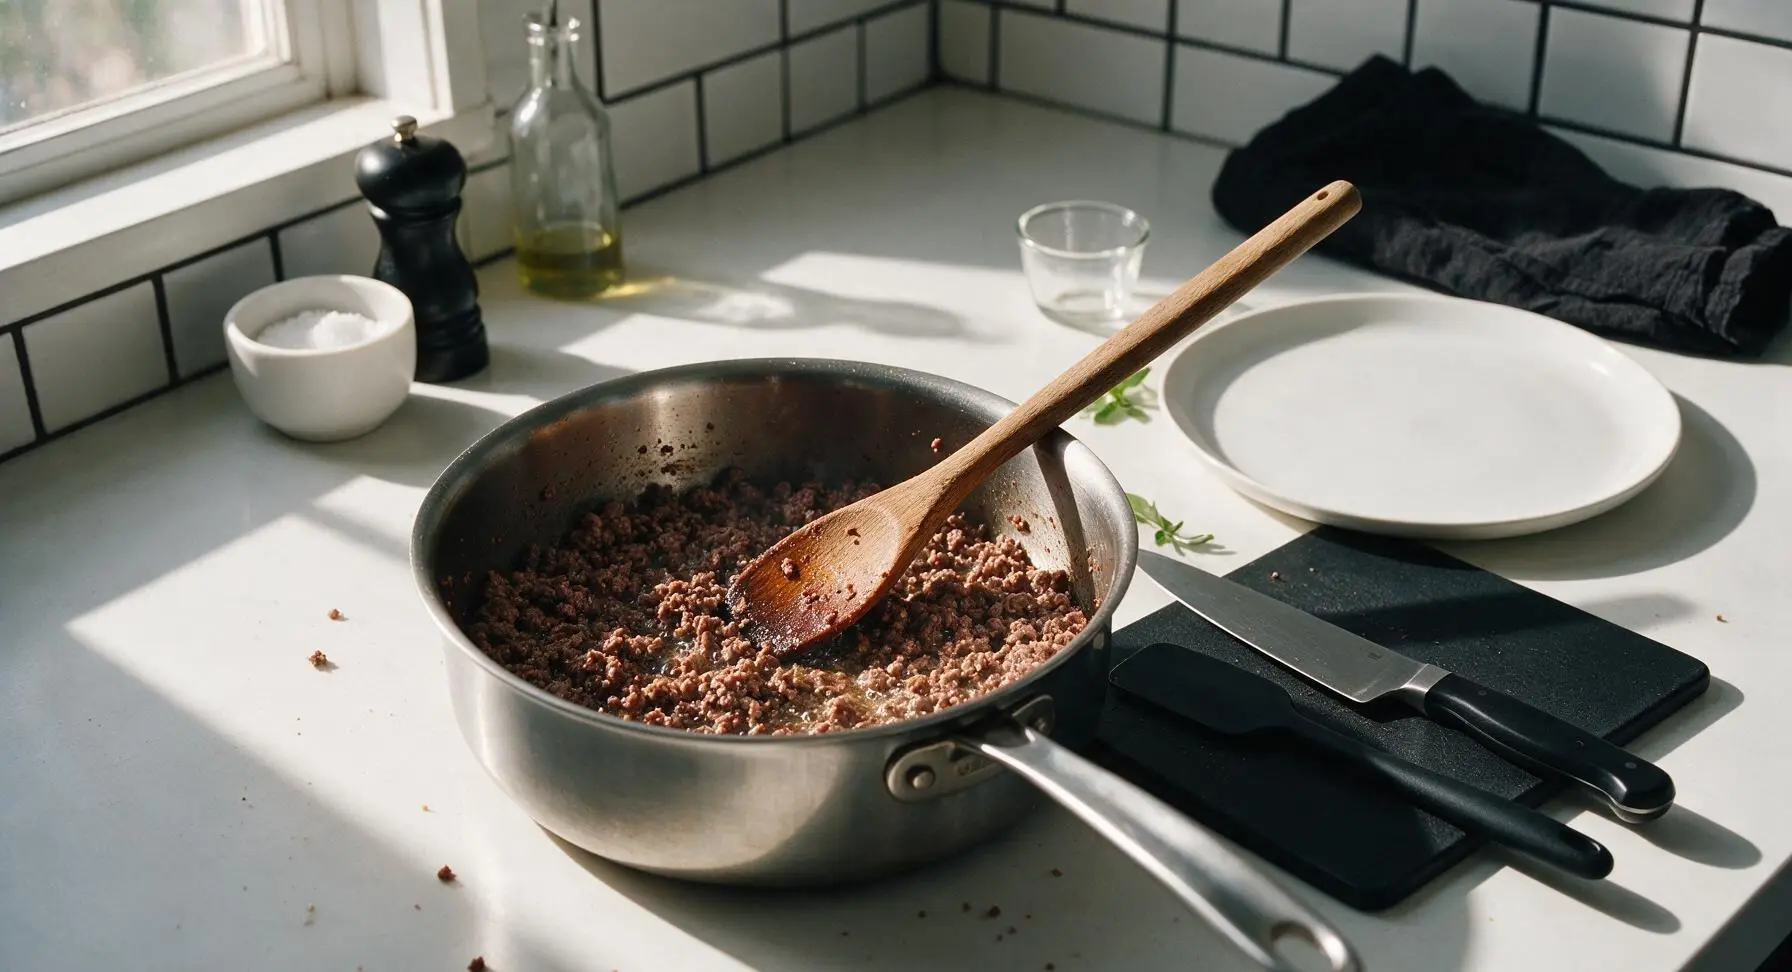
Step 2
step2:Brown Ground Beef
Step 2
step2:Brown Ground Beef
3

Sauté Onion and Garlic

Add the reserved diced onion and minced garlic to the pan with the browned beef. Stir continuously with the wooden spoon to combine, cooking for 2-3 minutes over medium heat until the onion turns soft and translucent, and the garlic releases a warm, nutty aroma. Watch closely to avoid burning the garlic, which will turn bitter and ruin the chili flavor.
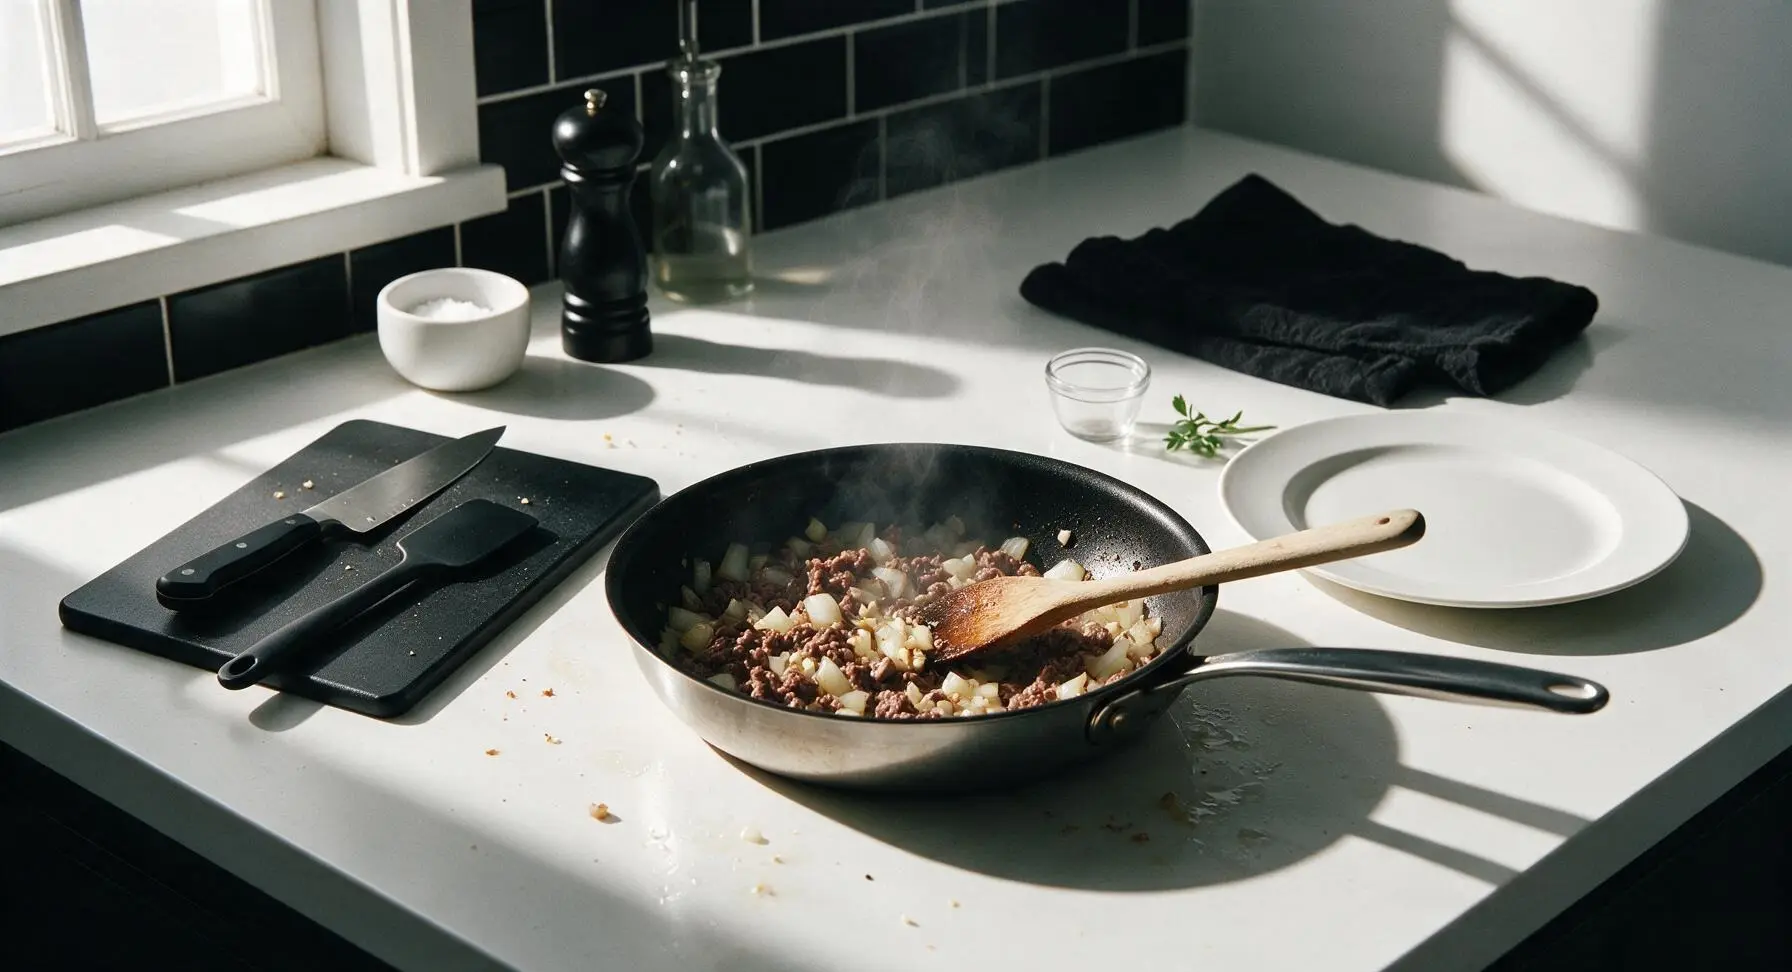
Step 3
step3:Sauté Onion and Garlic
4

Toast Spices and Tomato

Push the beef and onion mixture to one side of the pan to create an empty hot spot. Add 1 tbsp tomato paste to the empty spot, toasting it for 30 seconds until it darkens to a deep rust red and smells sweet and concentrated. Add 1 tbsp chili powder, 1 tsp ground cumin, 1/2 tsp garlic powder, 1/2 tsp onion powder, and 1/4 tsp smoked paprika to the toasted paste, stirring to toast the spices for 15 seconds until fragrant. Pour in 150ml unsalted tomato sauce, stirring to fully coat all beef crumbles in the tomato-spice mixture.
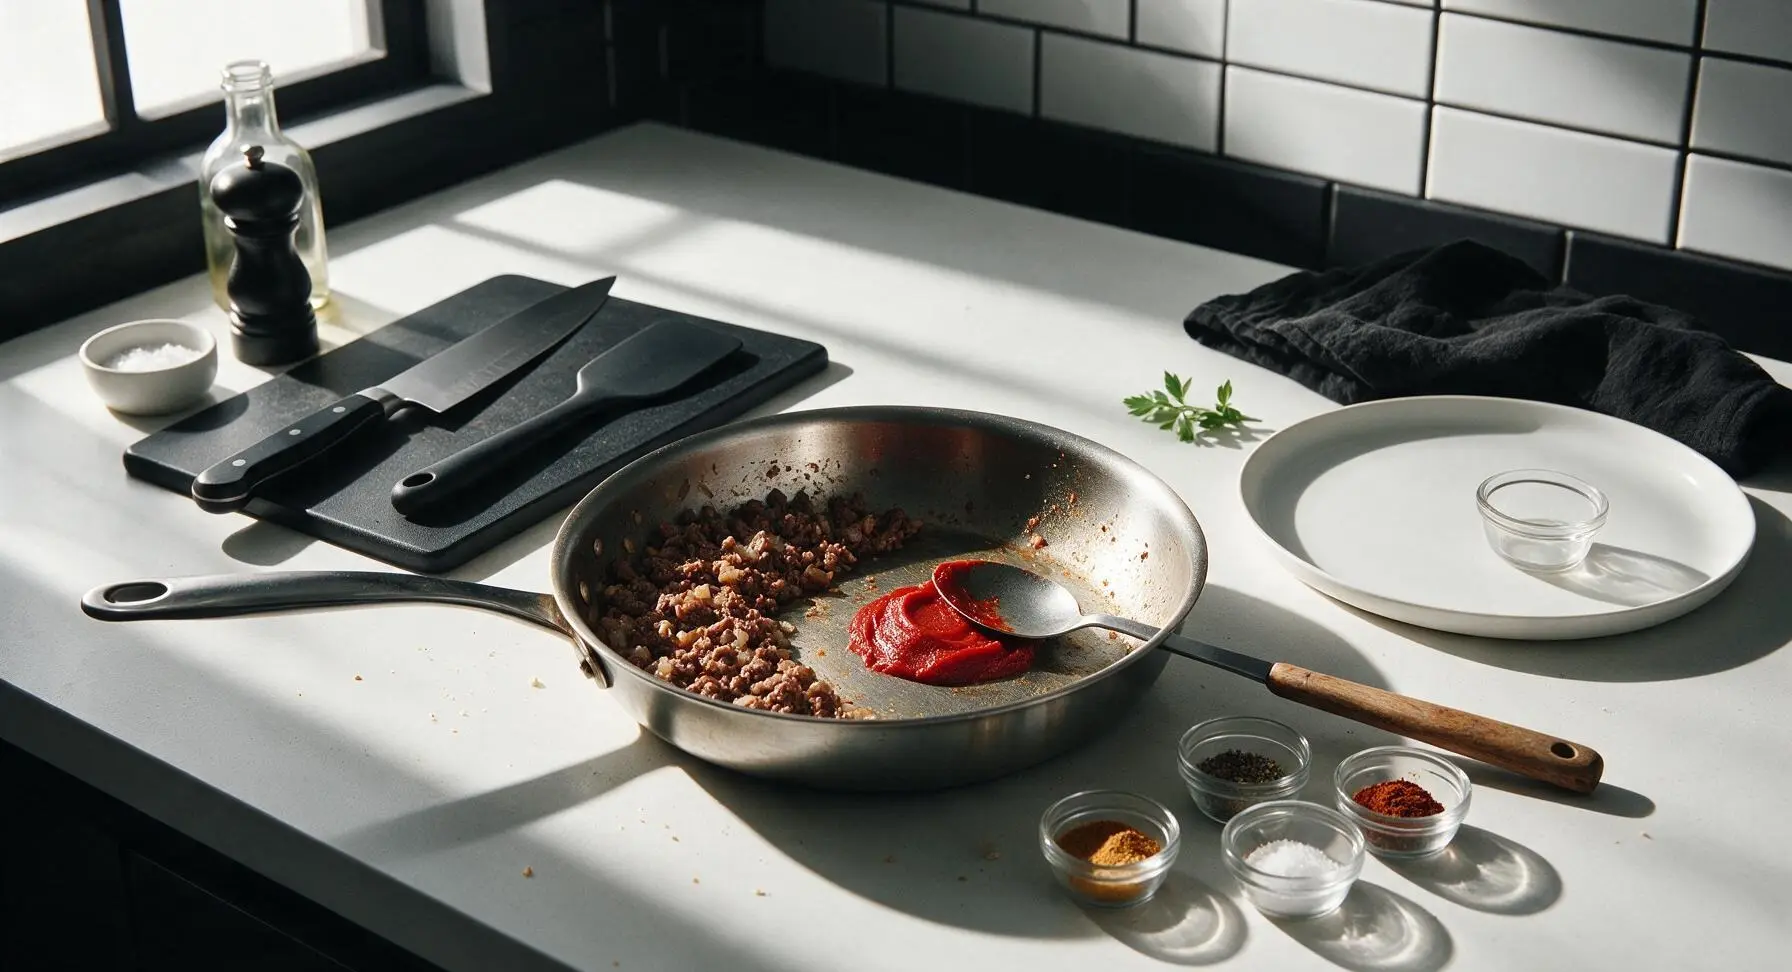
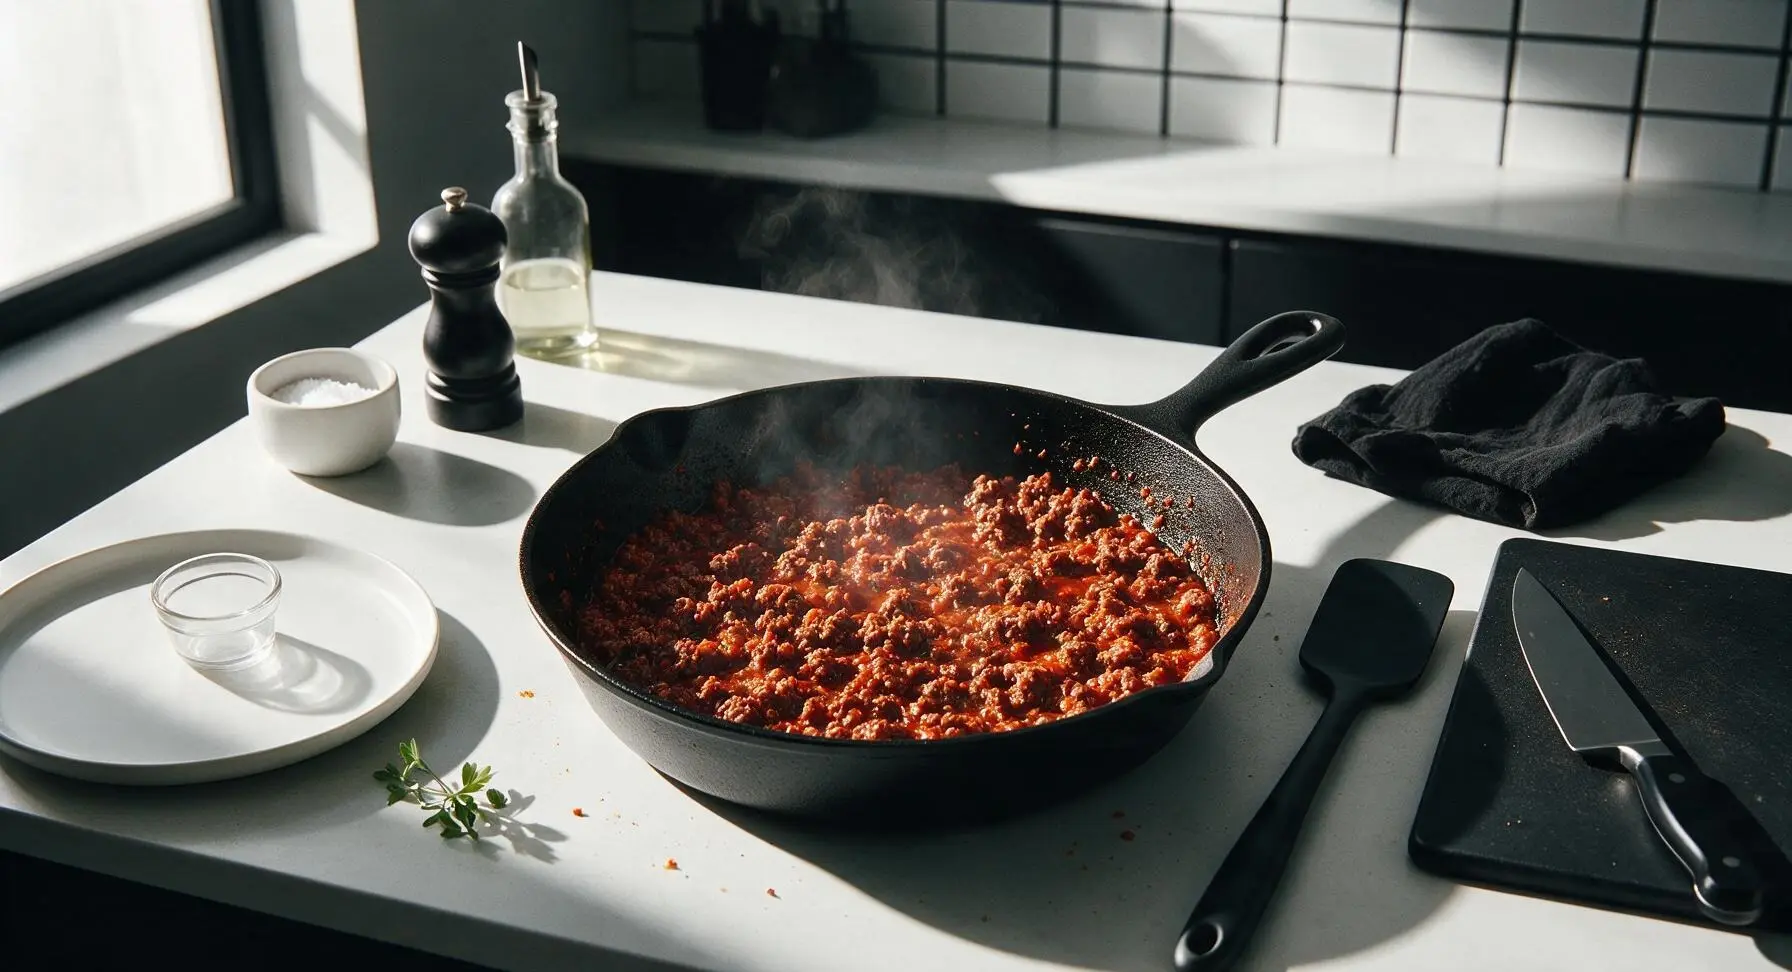
Step 4
step4:Toast Spices and Tomato
Step 4
step4:Toast Spices and Tomato
5

Simmer Chili to Thicken

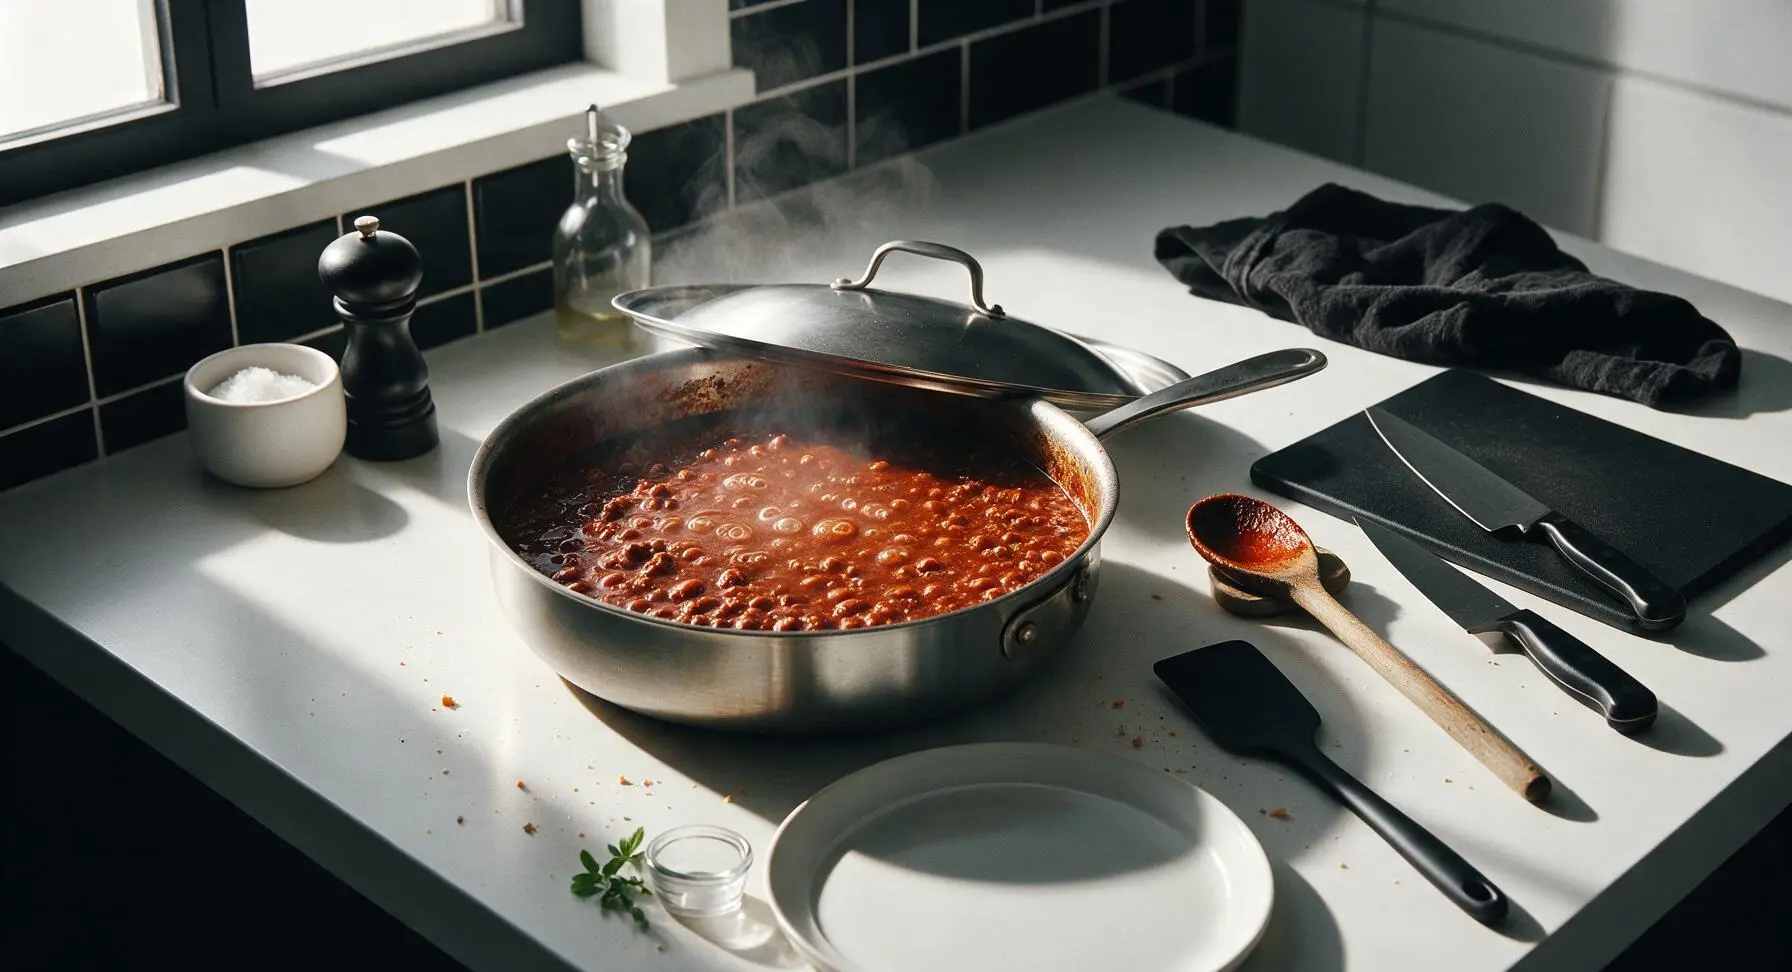
Pour in 120ml low-sodium beef broth, 1 tsp yellow mustard, and 1 tsp Worcestershire sauce, stirring to fully combine all ingredients. Bring the mixture to a gentle simmer (small bubbles breaking the surface every 2-3 seconds), then reduce heat to low (120°C/250°F). Rest the stainless steel lid partially over the pan to allow steam to escape, and cook for 12 minutes, stirring every 3 minutes to prevent the chili from sticking to the pan bottom. The finished chili will be thick enough to coat the back of a spoon, with no watery, runny liquid pooling.
Step 5
step5:Simmer Chili to Thicken
6

Adjust Texture and Seasoning

Remove the lid from the pan and taste the chili carefully. Add 1/2 tsp kosher salt and 1/4 tsp freshly ground black pepper, stirring to combine. For the perfect hot dog chili texture (thick, no large chunks that slide off the bun), use the back of the wooden spoon to press any remaining large beef crumbles against the pan wall, breaking them into fine, even pieces. Test thickness by dragging the spoon through the center of the chili: the path should fill in slowly over 2-3 seconds.

7

Top Hot Dogs to Serve

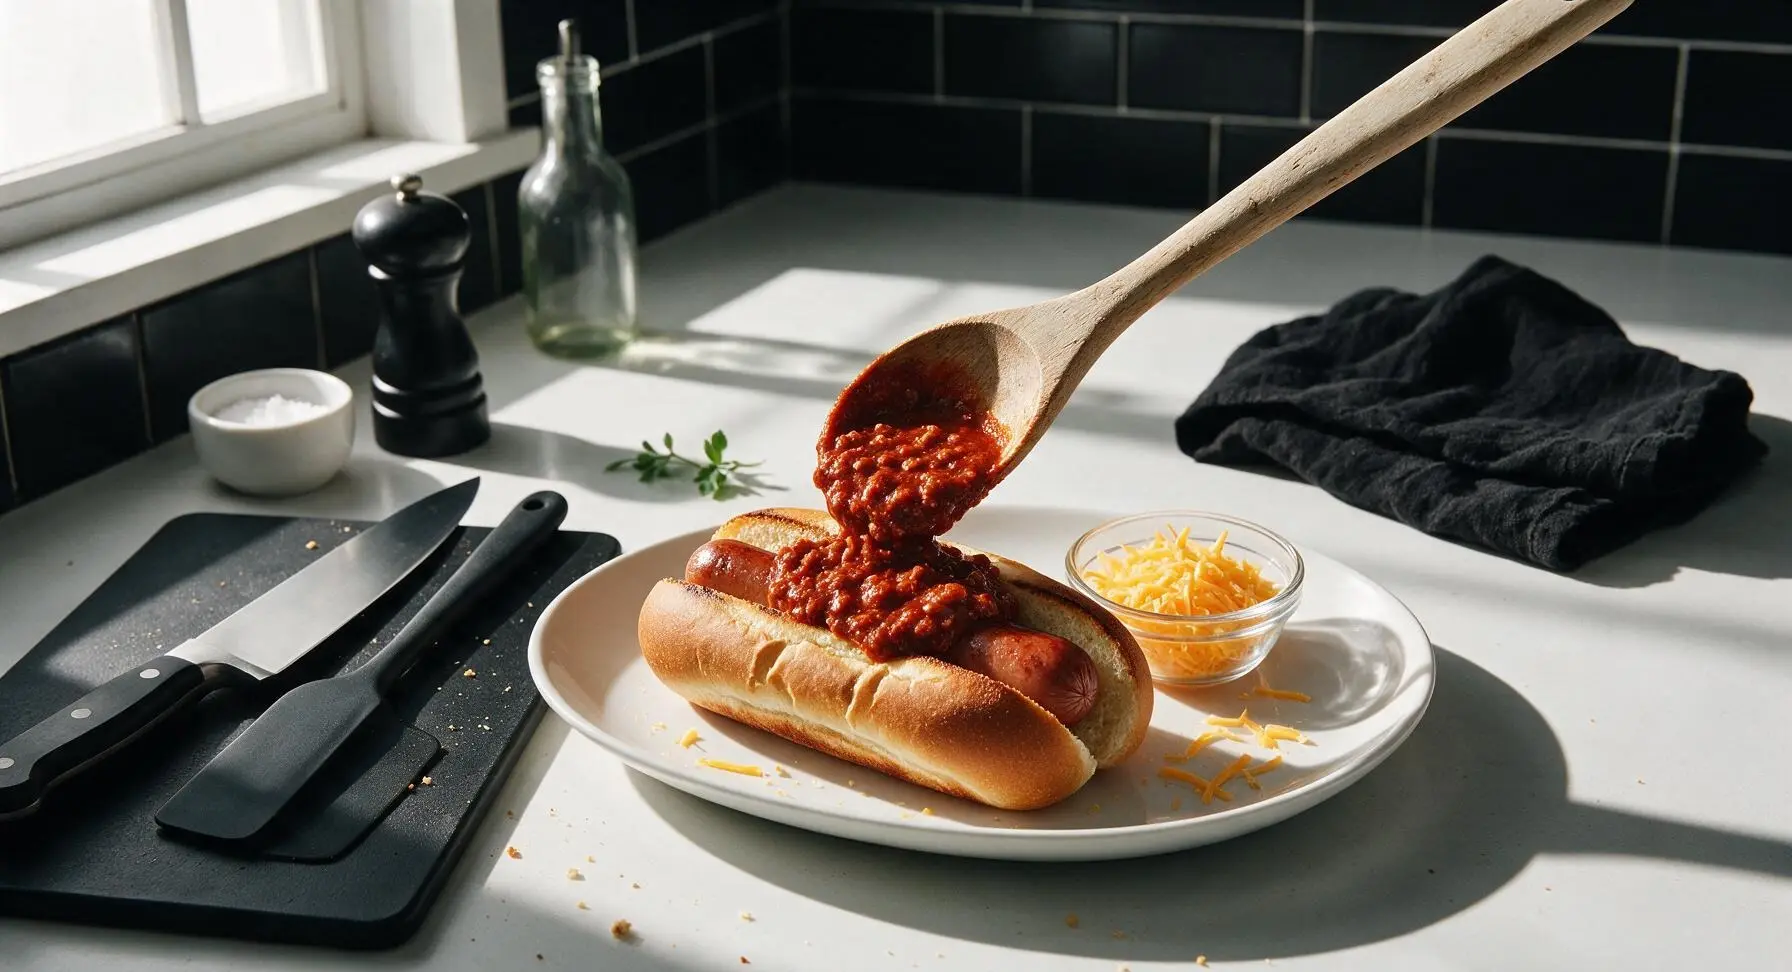
Nestle each grilled all-beef hot dog into a lightly toasted split-top bun set on the matte white oblong ceramic plate. Spoon a heaping 1/3 cup of warm chili evenly down the length of each hot dog, taking care not to overfill (excess chili will slide out when the bun is picked up). Top with a light sprinkle of shredded sharp cheddar and a single small flat-leaf parsley leaf for color, if desired. Serve immediately while the chili is hot.
Step 7
step7:Top Hot Dogs to Serve

Tips

1.Skip beans for authentic hot dog chili: Chunky beans create a slippery texture that slides right off soft buns, while the fine, thick no-bean consistency stays piled high through every bite without making a mess.
2.Use 90/10 lean ground beef: Higher fat ratios (80/20) leave excess grease that soaks through and sogs out buns, while extra-lean beef (93/7) produces dry, crumbly chili that lacks rich, beefy flavor.
3.Toast tomato paste and spices before adding liquid: This 30-second dry toasting step caramelizes tomato sugars and wakes up spice oils, creating deeper, more complex flavor instead of a flat, raw canned-tomato taste.


✨ You May Also Like

BBQ & Grilling
🍜 United States

Tender, melt-in-your-mouth beef brisket with a crisp, spiced bark, slow-smoked to deep smoky perfection, the iconic centerpiece of Texas backyard barbecue.

⏱️ 12 hours BBQ & Grilling ★ 4.4
BBQ & Grilling
🍜 Korea

Tender, sweet-savory marinated beef short ribs, a beloved Korean BBQ staple with caramelized, slightly charred edges and deep umami flavor, perfect for outdoor summer gatherings.

⏱️ 4 hours 2BBQ & Grilling ★ 4.8
BBQ & Grilling
🍜 United States

Juicy grilled beef patties topped with smoky homemade chili, melted cheddar, and tangy pickles on toasted brioche buns for a hearty, flavor-packed handheld meal.

⏱️ 40 minuteBBQ & Grilling ★ 4.7
BBQ & Grilling
🍜 United States

A sweet, smoky, tangy BBQ sauce brightened with peak-season dark cherries, ideal for glazing grilled ribs, chicken, pork, or summer roasted veggies.

⏱️ 35 minuteBBQ & Grilling ★ 4.7
BBQ & Grilling
🍜 United States

Rich, smoky, slightly sweet homemade bourbon BBQ sauce with deep caramel notes, ideal for glazing grilled ribs, chicken, and burgers at cookouts.

⏱️ 25 minuteBBQ & Grilling ★ 4.7
BBQ & Grilling
🍜 United States

Iconic Alabama-style BBQ featuring tender hickory-smoked chicken slathered in tangy creamy white sauce, a beloved regional Southern cookout staple.

⏱️ 3 hoursBBQ & Grilling ★ 5

chilli recipe for hot dogs:Frequently Asked Questions

1.Why skip beans in this hot dog chili instead of using a standard chili recipe? ▾
Standard bean chili is chunky, heavy, and prone to sliding right off hot dog buns mid-bite, leaving a mess and uneven flavor. This no-bean formula is designed specifically for topping: it has a smooth, fine, thick texture that piles high, stays put, and delivers that iconic nostalgic hot dog chili taste without distracting chunky add-ins.
2.Why do you call for 90/10 lean ground beef instead of a fattier blend? ▾
Fattier ground beef (like 80/20) releases excess grease as it cooks, which would make the chili runny and cause soggy hot dog buns. The 90/10 lean blend gives you rich beefy flavor without the extra rendered fat, so the final chili stays thick, clings to toppings, and doesn’t leave a greasy residue on your bun.
3.How do I get that super fine, non-chunky texture classic hot dog chili is known for? ▾
Break the ground beef into very small crumbles as you brown it, using a wooden spoon or potato masher to smash any large clumps as it cooks. You can also give the finished chili a quick 2 to 3 second pulse with an immersion blender if you want an even smoother texture, just don’t over-blend it into a thick paste.
4.My chili came out too runny—how do I thicken it up so it doesn’t slide off my hot dog? ▾
First, let it simmer uncovered for 5 to 10 extra minutes to cook off excess moisture, which will also concentrate the tomato flavor. If it’s still too thin, stir in an extra tablespoon of tomato paste and let it cook for 2 minutes, or mix in a tiny slurry of 1 teaspoon cornstarch and 1 tablespoon cold water until it reaches your desired thick, pileable consistency.
5.Can I make this chili ahead of time for a backyard cookout? ▾
Absolutely! This chili actually tastes better when made a day ahead, because the spices and savory flavors have time to meld together into a more cohesive, rich taste. Let it cool completely, store it in a sealed airtight container in the fridge for up to 3 days, then reheat slowly on the stovetop over low heat before serving.
6.Does this chili freeze well for quick weeknight hot dog dinners? ▾
It freezes beautifully! Let the cooked chili cool fully, then portion it into freezer-safe zip-top bags or airtight containers, leaving ½ inch of headspace for expansion. It will keep for up to 3 months in the freezer. Thaw it in the fridge overnight, then reheat on the stovetop over low heat, stirring to restore its smooth, thick texture.
7.I only have salted tomato sauce on hand—do I need to adjust the recipe? ▾
Since the recipe calls for unsalted tomato sauce to let you control sodium levels, you can absolutely use salted sauce, just hold off on adding any extra salt until the very end of cooking. Give the chili a taste first, then add small pinches of salt only if needed, so you don’t end up with an overly salty final topping.
8.What gives this hot dog chili that signature slight tang I remember from ballpark dogs? ▾
That classic tang comes from the balance of concentrated tomato paste and bright, slow-simmered tomato sauce, paired with the savoriness of browned beef and aromatic onion and garlic. If you want to amp up that tang a touch, stir in ½ teaspoon of apple cider vinegar right at the end of cooking for that authentic ballpark kick.
9.Can I swap the yellow onion for another onion variety if that’s what I have? ▾
Yellow onion is ideal here because it has a mild, sweet, well-rounded flavor that doesn’t overpower the beef and tomato base, but you can swap in white onion if that’s what you have on hand. I’d avoid red onion for this recipe, as its sharper, more peppery bite can throw off the classic, balanced hot dog chili flavor.
10.Do I need to drain the beef after browning it if I’m using 90/10 lean ground beef? ▾
You’ll only see a very small amount of rendered fat from 90/10 beef, so you usually don’t need to drain it. If you notice more than a teaspoon or two of excess grease in the pan after browning, dab it up with a paper towel before adding your aromatics and tomatoes, to keep the chili from getting greasy or runny.
11.What spices work best in this no-bean hot dog chili? ▾
Stick to classic, warm chili spices that complement rather than overpower the beef and tomato base: mild chili powder, a pinch of ground cumin, a tiny bit of smoked paprika, a dash of onion powder, and a light pinch of black pepper work perfectly. Skip overly hot, bold spice blends if you want that nostalgic, kid-friendly ballpark flavor.
12.How long should I simmer this chili to get the right thick consistency? ▾
After you add your tomato sauce, tomato paste, and spices, bring the mixture to a gentle simmer, then turn the heat to low and let it cook uncovered for 15 to 20 minutes, stirring occasionally. This gives flavors time to meld, cooks off excess water from the tomato sauce, and leaves you with a thick, scoopable chili that won’t run off your bun.
13.Can I use this chili for things other than topping hot dogs? ▾
Absolutely! While it’s formulated specifically for hot dogs, it works great as a topping for chili cheese fries, nachos, loaded baked potatoes, or even Frito pie. It’s also delicious stirred into mac and cheese for a quick chili mac, or spooned over a juicy hamburger for a fun, nostalgic twist on a classic cheeseburger.
14.Why do you use both tomato sauce and tomato paste instead of just one or the other? ▾
Tomato paste adds deep, concentrated, rich tomato flavor and helps thicken the chili to that perfect pileable consistency, while unsalted tomato sauce adds a brighter, smoother tomato base that keeps the chili from being too thick or pasty. Using both gives you the ideal balance of deep flavor and smooth, spreadable texture for hot dog topping.
15.How do I keep this chili from making my hot dog buns soggy? ▾
First, make sure the chili is thick enough that it doesn’t have excess runny liquid—simmer it a few extra minutes if needed. Second, don’t overload the bun: a 2 to 3 tablespoon scoop per hot dog is perfect. You can also add a thin layer of mustard to the inside of the bun first, which acts as a barrier to keep buns soft but not soggy.
16.Can I make this with ground turkey instead of ground beef for a lighter version? ▾
You can absolutely swap the 90/10 ground beef for 93/7 lean ground turkey if you prefer a lighter option. Just keep in mind turkey has a milder flavor, so you may want to add an extra pinch of chili powder and a tiny splash of Worcestershire sauce to amp up savoriness, and break it into very fine crumbles as it cooks to match the classic texture.
17.Do I need to cook the garlic and onion before adding the tomatoes, or can I toss everything in at once? ▾
Always sauté the diced onion first for 3 to 4 minutes until it’s soft and translucent, then add the minced garlic and cook for 30 seconds until fragrant before adding your tomatoes. Tossing raw onion and garlic straight into the simmering chili will leave them with a harsh, sharp bite instead of the soft, sweet, aromatic flavor that makes the base balanced.
18.What are the most classic toppings to pair with this chili on a hot dog? ▾
The classic pairings are yellow mustard, diced white onion, a sprinkle of shredded sharp cheddar cheese, and a dash of sweet relish for that iconic ballpark dog. If you want to dress it up more, add creamy coleslaw, pickled jalapeños, or a drizzle of cheese sauce, but simple classic toppings let the rich, savory chili be the star of the show.

Comments (5)

2 days ago

OMG this no-bean hot dog chili is a total game changer for our weekly Friday hot dog nights! My kids are so weird about beans in their chili, so this recipe was made for our family. I topped ours with shredded sharp cheddar and a little diced white onion, and everyone went back for seconds. I even made an extra batch to keep in the fridge for quick lunches this week—SO good.

yesterday

So glad your family loved it! It’s such a great make-ahead option, and it freezes really well too if you ever want to stash a batch for busy game days or last-minute cookouts.

2 hours ago

Second the freeze tip! I froze a double batch last month for our college tailgate and it tasted just as fresh when we reheated it on the camp stove. Total crowd pleaser, even the guys who load their dogs with every topping raved about it.

3 days ago

Made this for our neighborhood potluck last weekend and people were hounding me for the recipe left and right! I love that it’s thick enough that it doesn’t turn your hot dog bun into a soggy mess, which is my biggest pet peeve with most hot dog chili recipes. 10/10, will be making this for every Falcons watch party from now on.

2 days ago

Thick, non-soggy chili is exactly what we set out to make! So happy it was a hit at the potluck—there’s no better compliment than neighbors asking for the recipe.

30 minutes ago

Super easy to throw together on a random weeknight! That 25 minute cook time is no joke, I had the whole pot done while the hot dogs were boiling and the tater tots were in the oven. I added a tiny extra pinch of smoked paprika because our family likes a little deeper smoky flavor, but the base recipe is perfect as written. Great for those chaotic nights when you’re running between work and soccer practice.

1 week ago

I’ve been hunting for a classic Coney Island style no-bean chili for literal years and this finally hits the mark! Not too sweet, not too tangy, just the right savoriness to pile high on a grilled all-beef dog with yellow mustard and sauerkraut. Way better than the canned chili I used to grab at the bodega, and so simple to whip up at home.

5 days ago

Agreed 100%! I grew up eating Coney dogs in Chicago and this tastes exactly like the chili they served at the little stand down the street from my high school. Total nostalgia trip, I almost cried when I took the first bite.

yesterday

Made this for our post-beach cookout last weekend and even my super picky father-in-law said it was the best hot dog chili he’s ever had! I was worried it would be too spicy for my 7 and 9 year old but it’s totally mild and packed with flavor, so the whole family loved it. Served it on grilled all-beef dogs with creamy coleslaw on the side, absolute chef’s kiss.

2 hours ago

Winning over a picky father-in-law is the ultimate seal of approval if you ask us! Love the idea of pairing it with creamy coleslaw for a beach cookout, that combo sounds unbeatable.

5 minutes ago

Pro tip: don’t sleep on using leftover chili for nachos! I had a ton left after my last cookout and tossed it on tortilla chips with melted cheddar and pickled jalapeños, and it was even better than it was on the hot dogs.



