
chinese tapioca dessert
intro
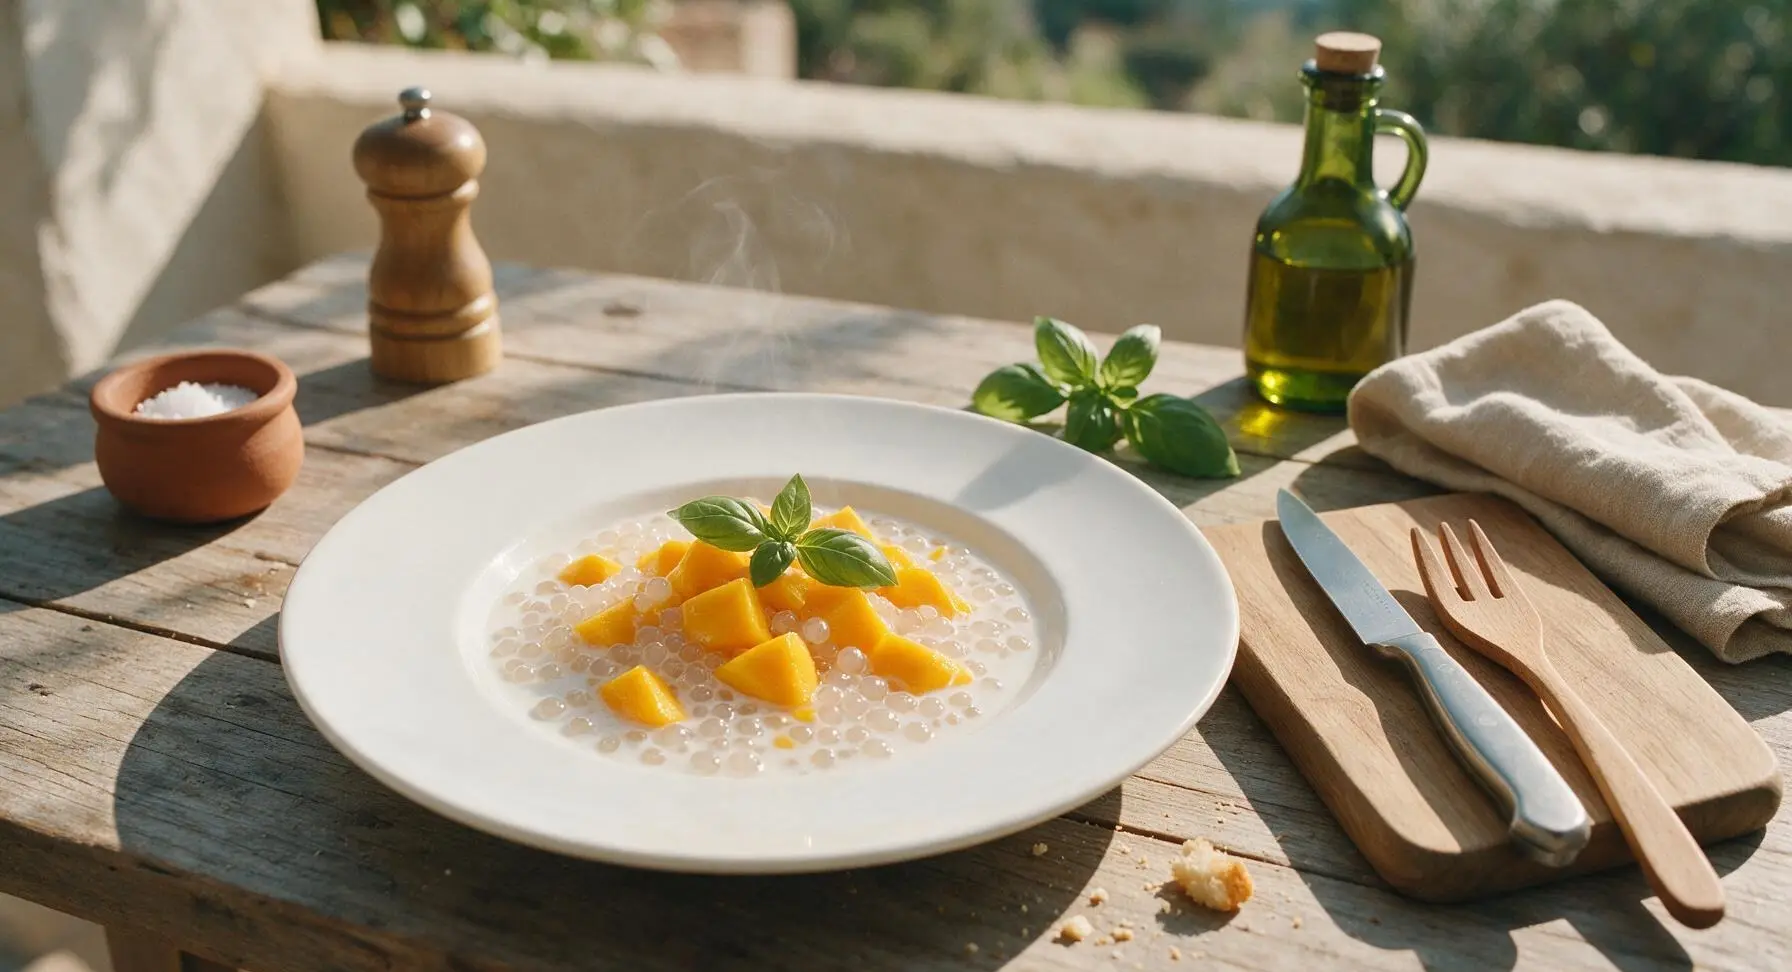
Chewy, translucent tapioca pearls suspended in creamy coconut milk, paired with sweet sun-ripened mango, this classic chilled Cantonese dessert is light, refreshing, and perfect for cooling down on hot days.
Ingredients
Steps
Bring Water to Boil
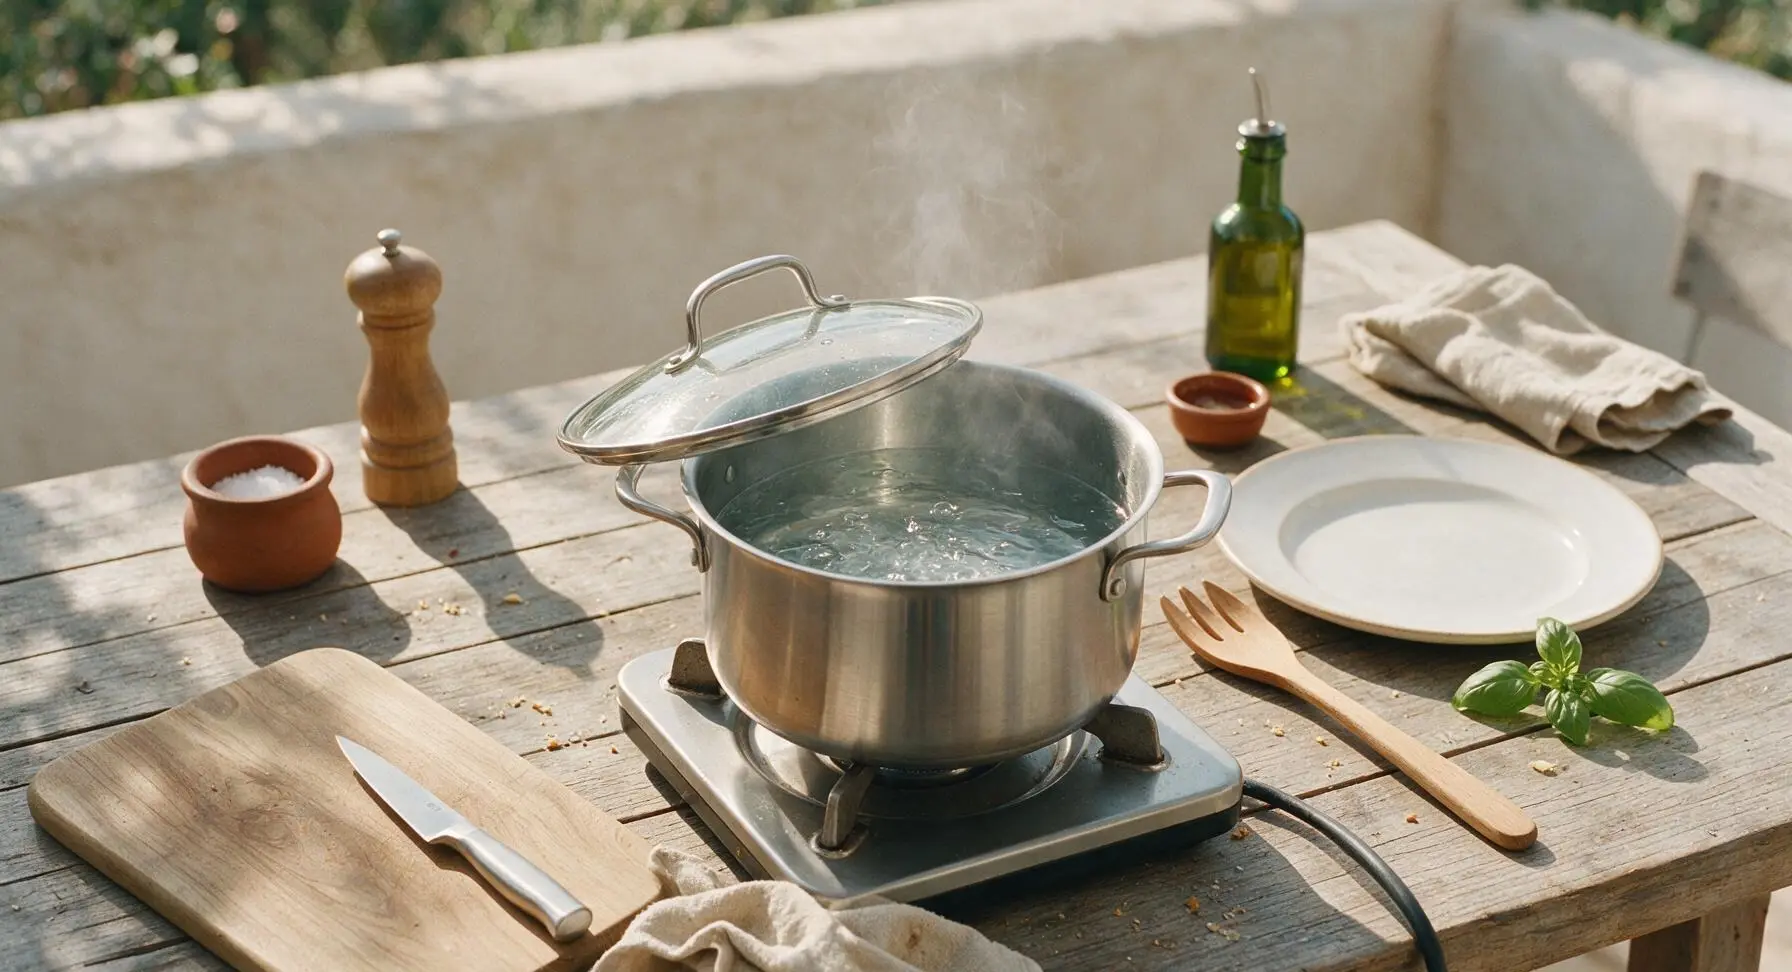
Pour 1L of filtered water into the 2L stainless steel saucepan, set over medium-high heat. Bring to a full rolling boil, defined as constant large bubbles breaking across the entire water surface, approximately 8-10 minutes. Never add tapioca pearls before the water is fully boiling, as this causes surface starch to dissolve prematurely and leads to mushy, clumped pearls.
Simmer Tapioca Pearls
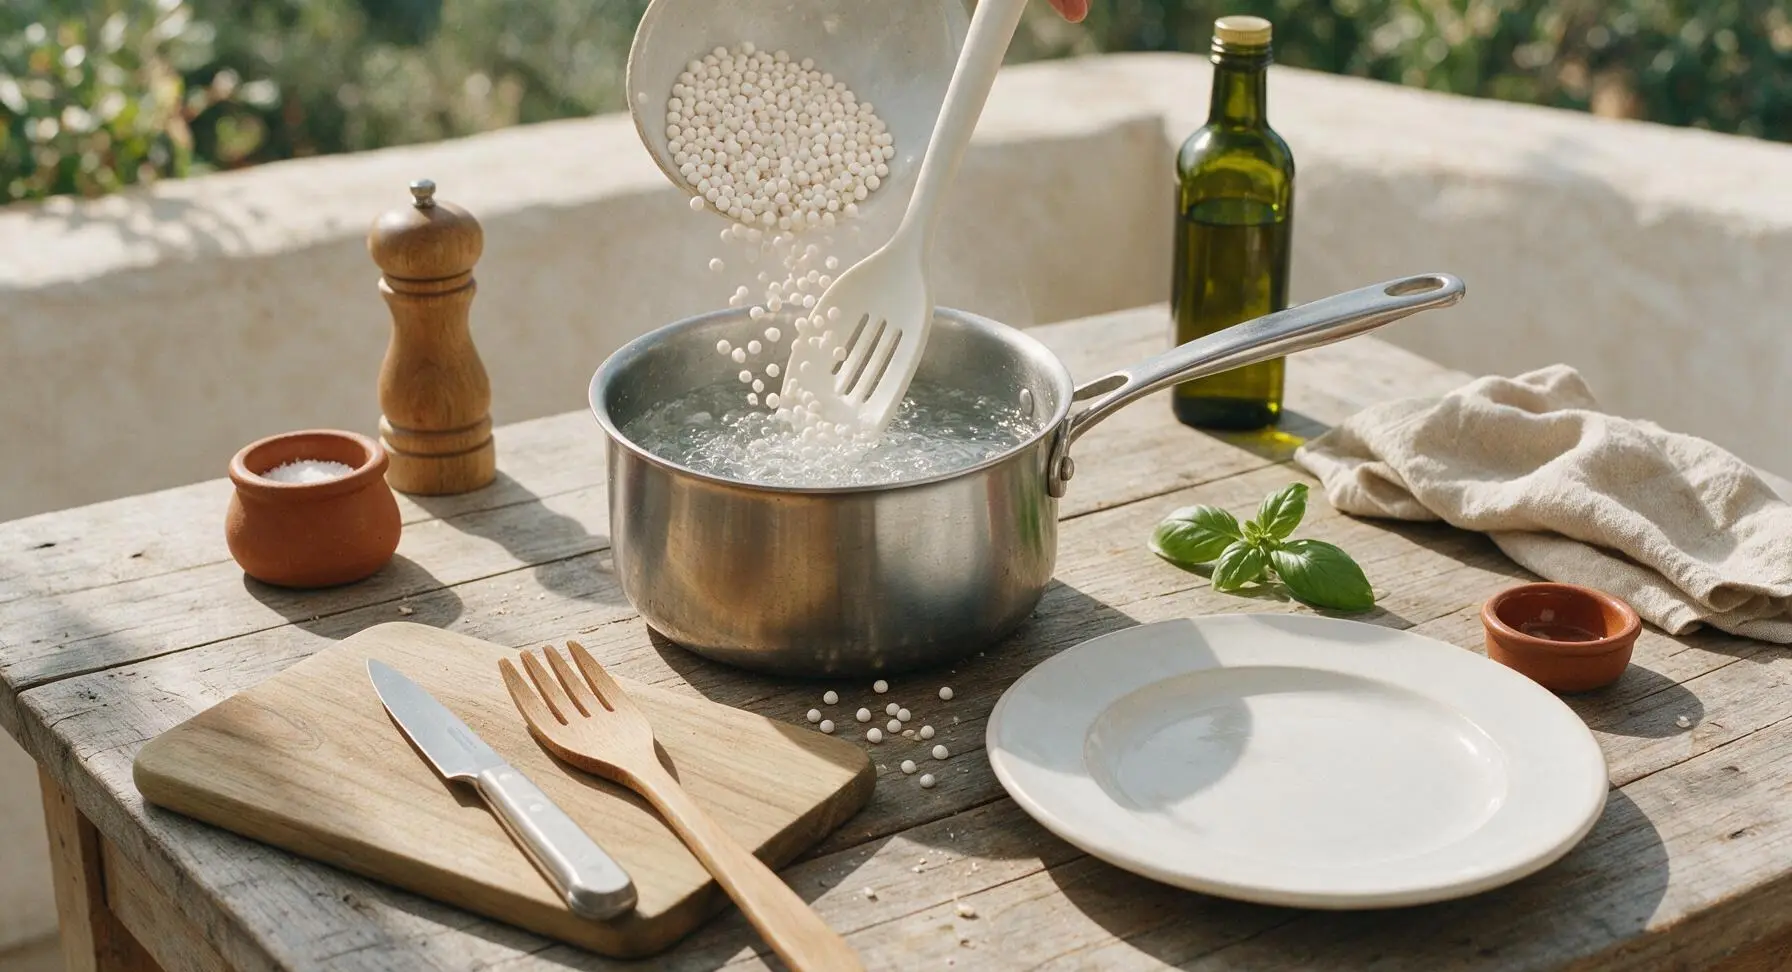
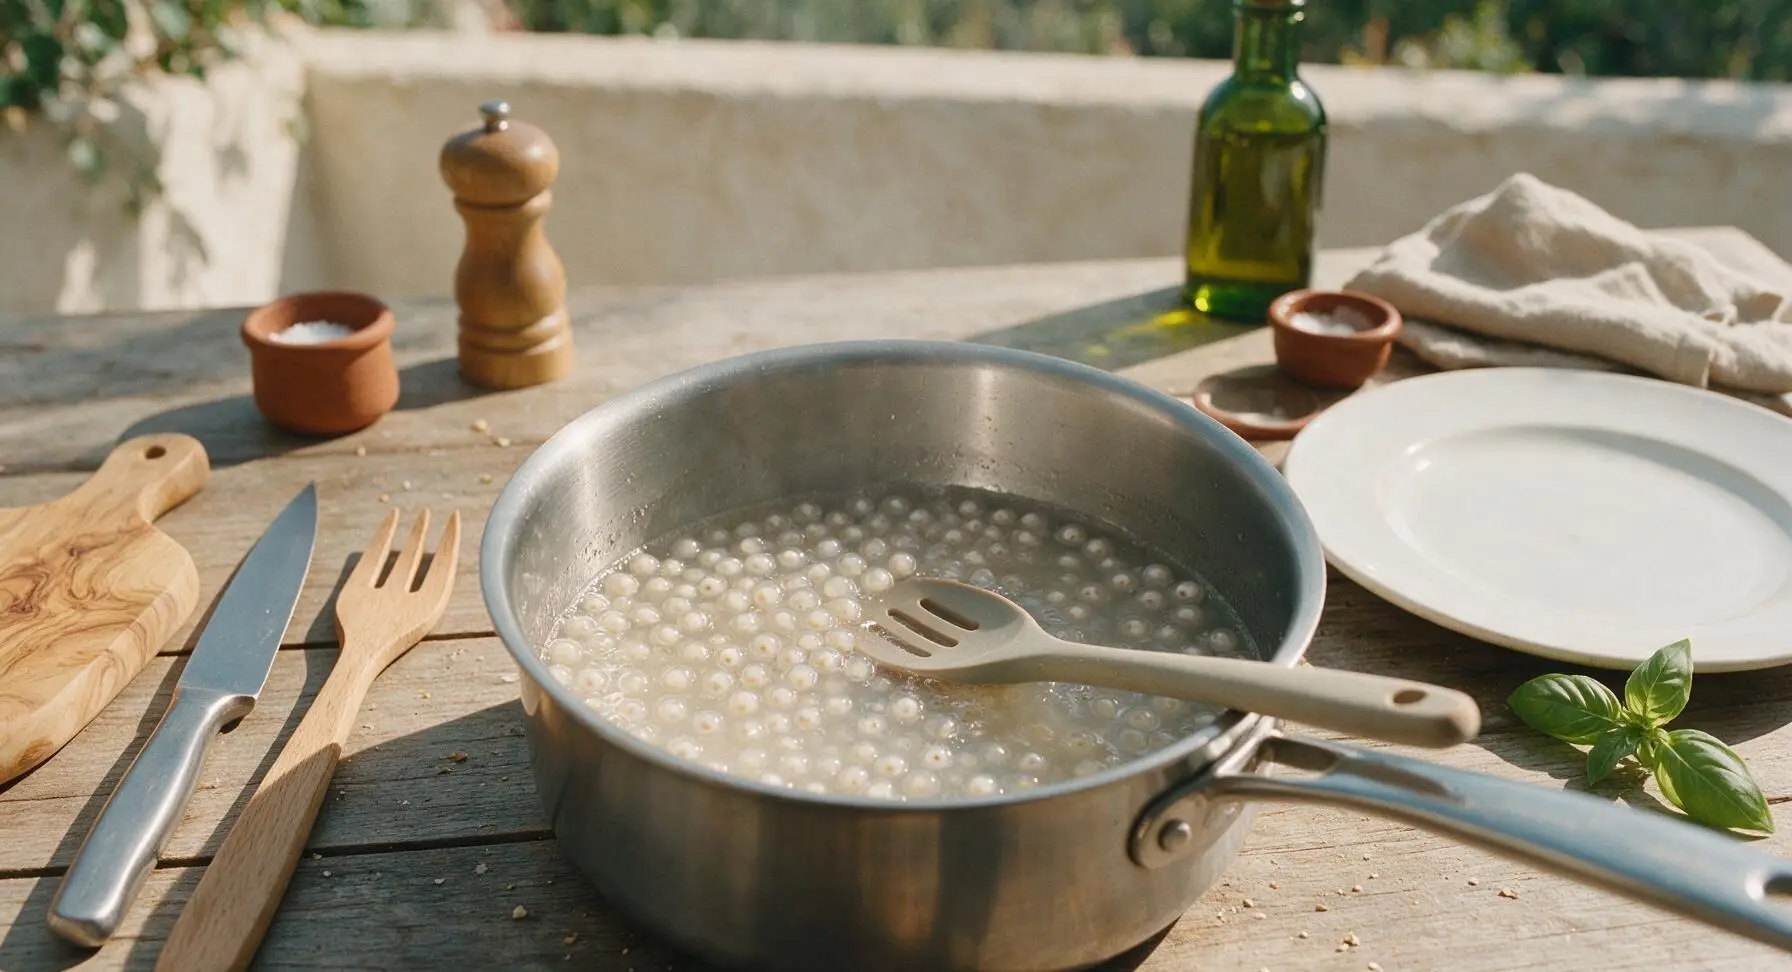
Once the water reaches a full rolling boil, slowly pour in all 100g dry tapioca pearls while stirring continuously with the silicone slotted spoon to prevent pearls from sticking to the pan bottom. Reduce heat to medium-low to maintain a gentle, steady simmer, and cook for 12 minutes, stirring every 2 minutes to prevent clumping. At the end of this cook time, pearls will be mostly translucent with a tiny pinprick of opaque white at their very center.
Rest Pearls Covered
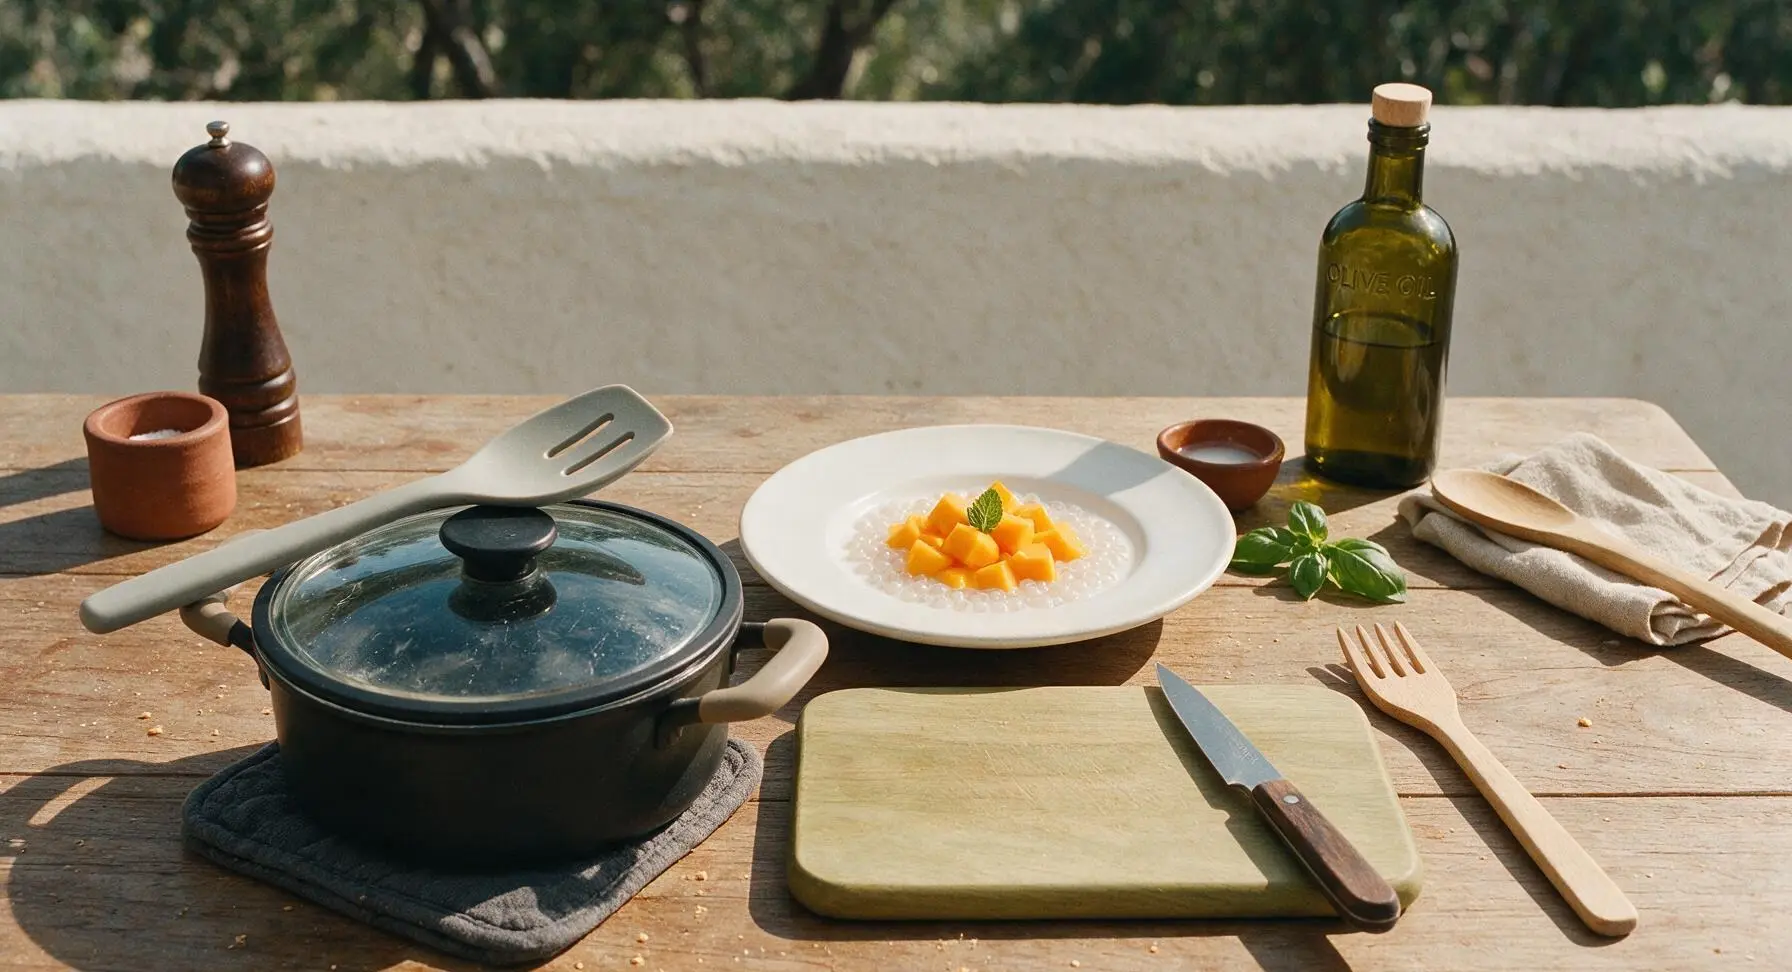
After 12 minutes of simmering, turn off the heat completely. Fit the glass lid tightly onto the saucepan, and let the tapioca rest undisturbed for 10 minutes. Trapped residual steam will cook the remaining tiny white core of each pearl fully, creating the ideal chewy, springy texture without sogginess. Do not lift the lid during this resting period to avoid losing heat.
Rinse to Remove Starch
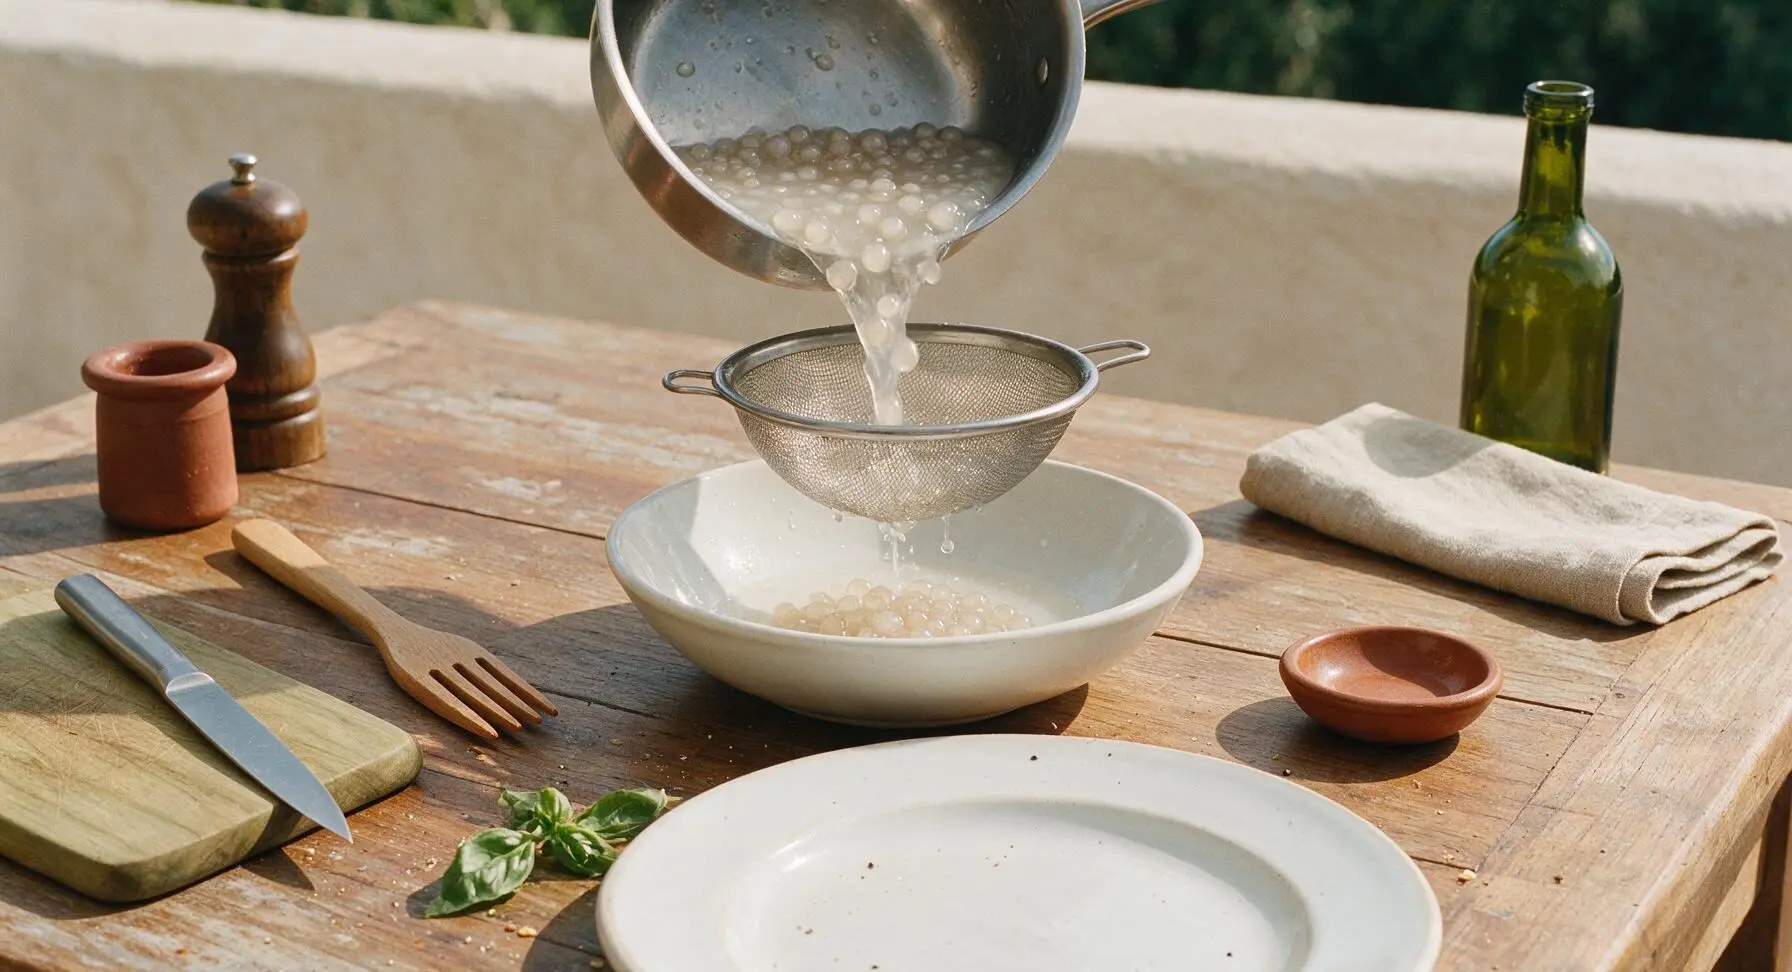
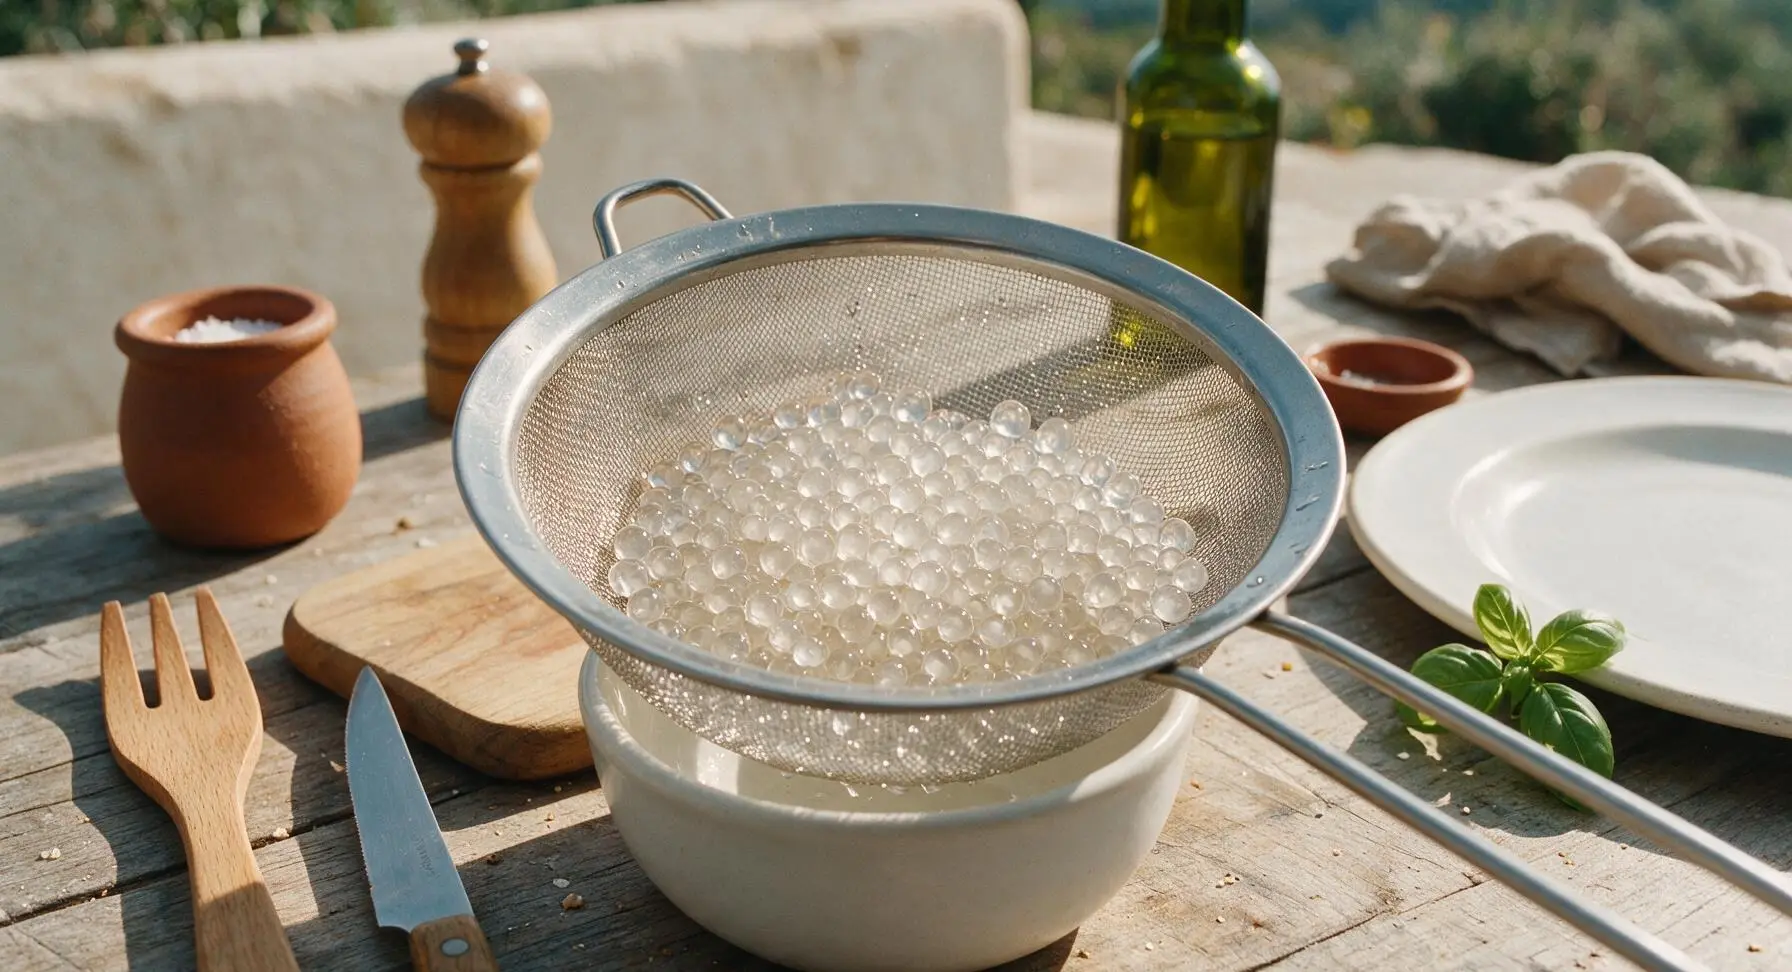
After 10 minutes of resting, uncover the saucepan. Pour all cooked tapioca into the fine-mesh stainless steel sieve, holding the sieve over the sink area just outside the frame. Rinse pearls thoroughly under cold running tap water for 1 full minute, tossing gently with the slotted spoon to wash away excess surface starch. This stops the cooking process instantly, prevents pearls from sticking into a solid clump, and creates a clean, non-gluey texture. Fully rinsed pearls will be completely translucent with no remaining white core.
Cube Fresh Ripe Mango
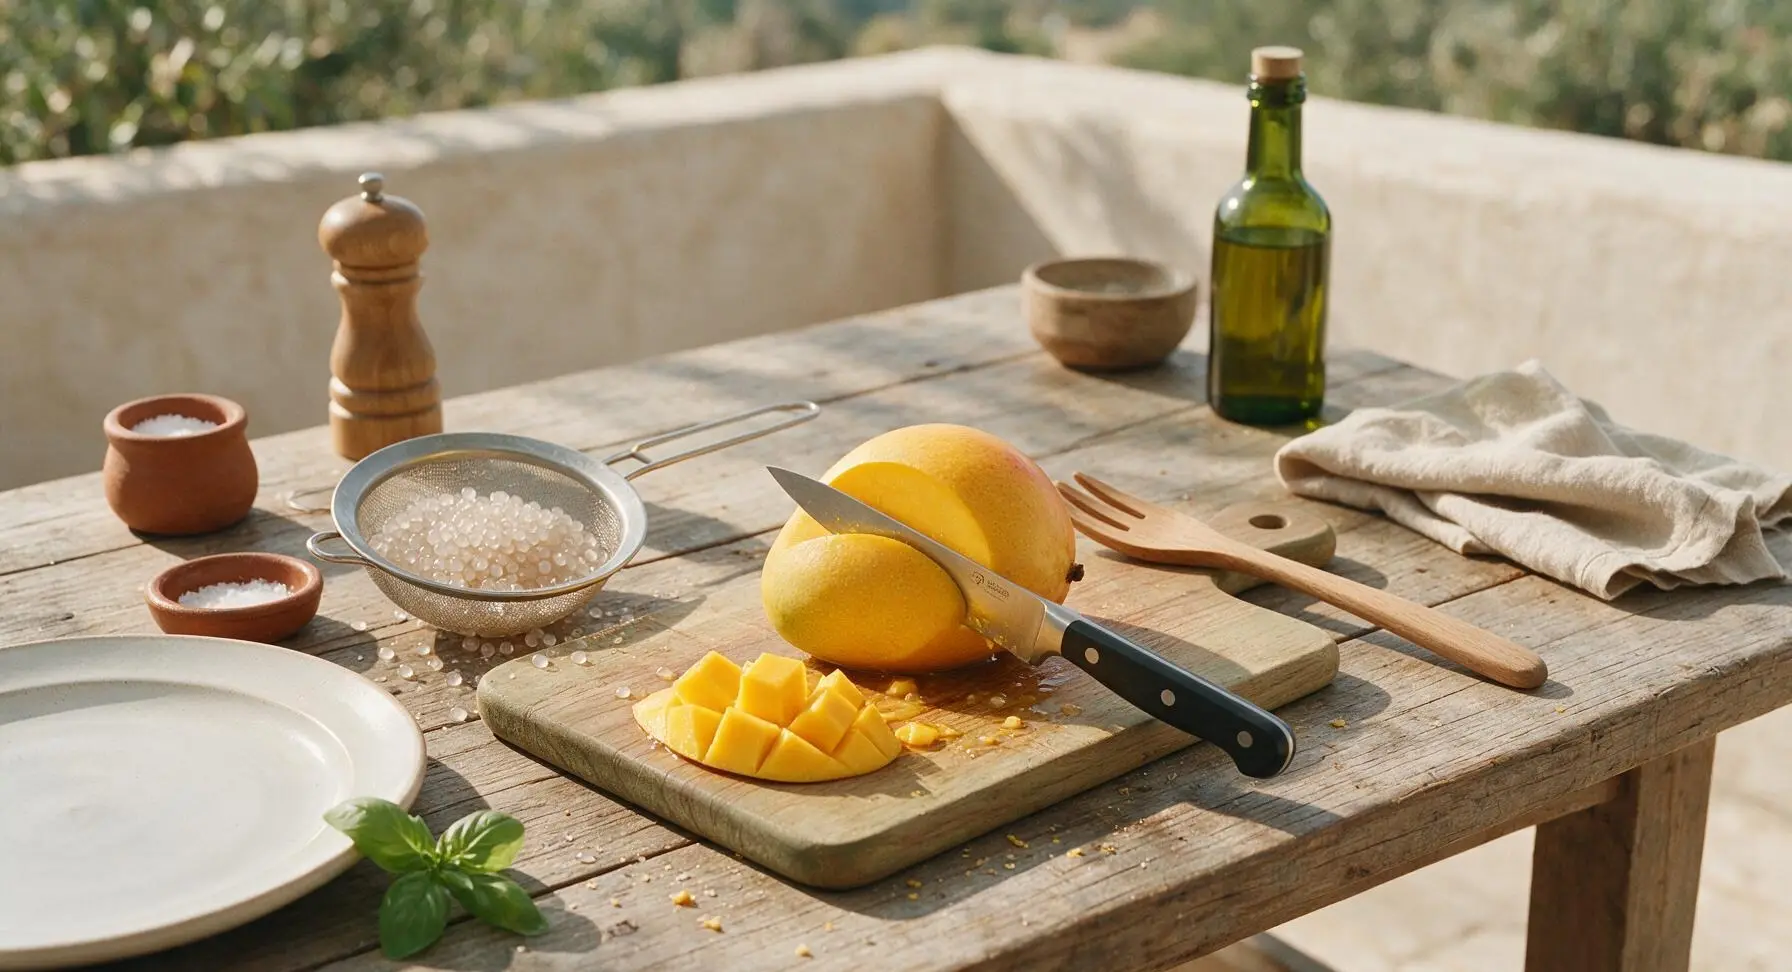
While the tapioca rests, place the ripe mango on the light beechwood cutting board. Use the paring knife to slice off both wide mango cheeks away from the flat, woody central pit. Score the flesh of each cheek into a 1.5cm grid, taking care not to cut through the tough outer skin, then push the skin upward to pop the cubes outward before slicing them free from the skin. Set aside 1/4 cup of the neatest mango cubes for garnish; lightly mash the remaining mango with the back of the slotted spoon for a thicker, fruit-infused base.
Mix Coconut Milk Base
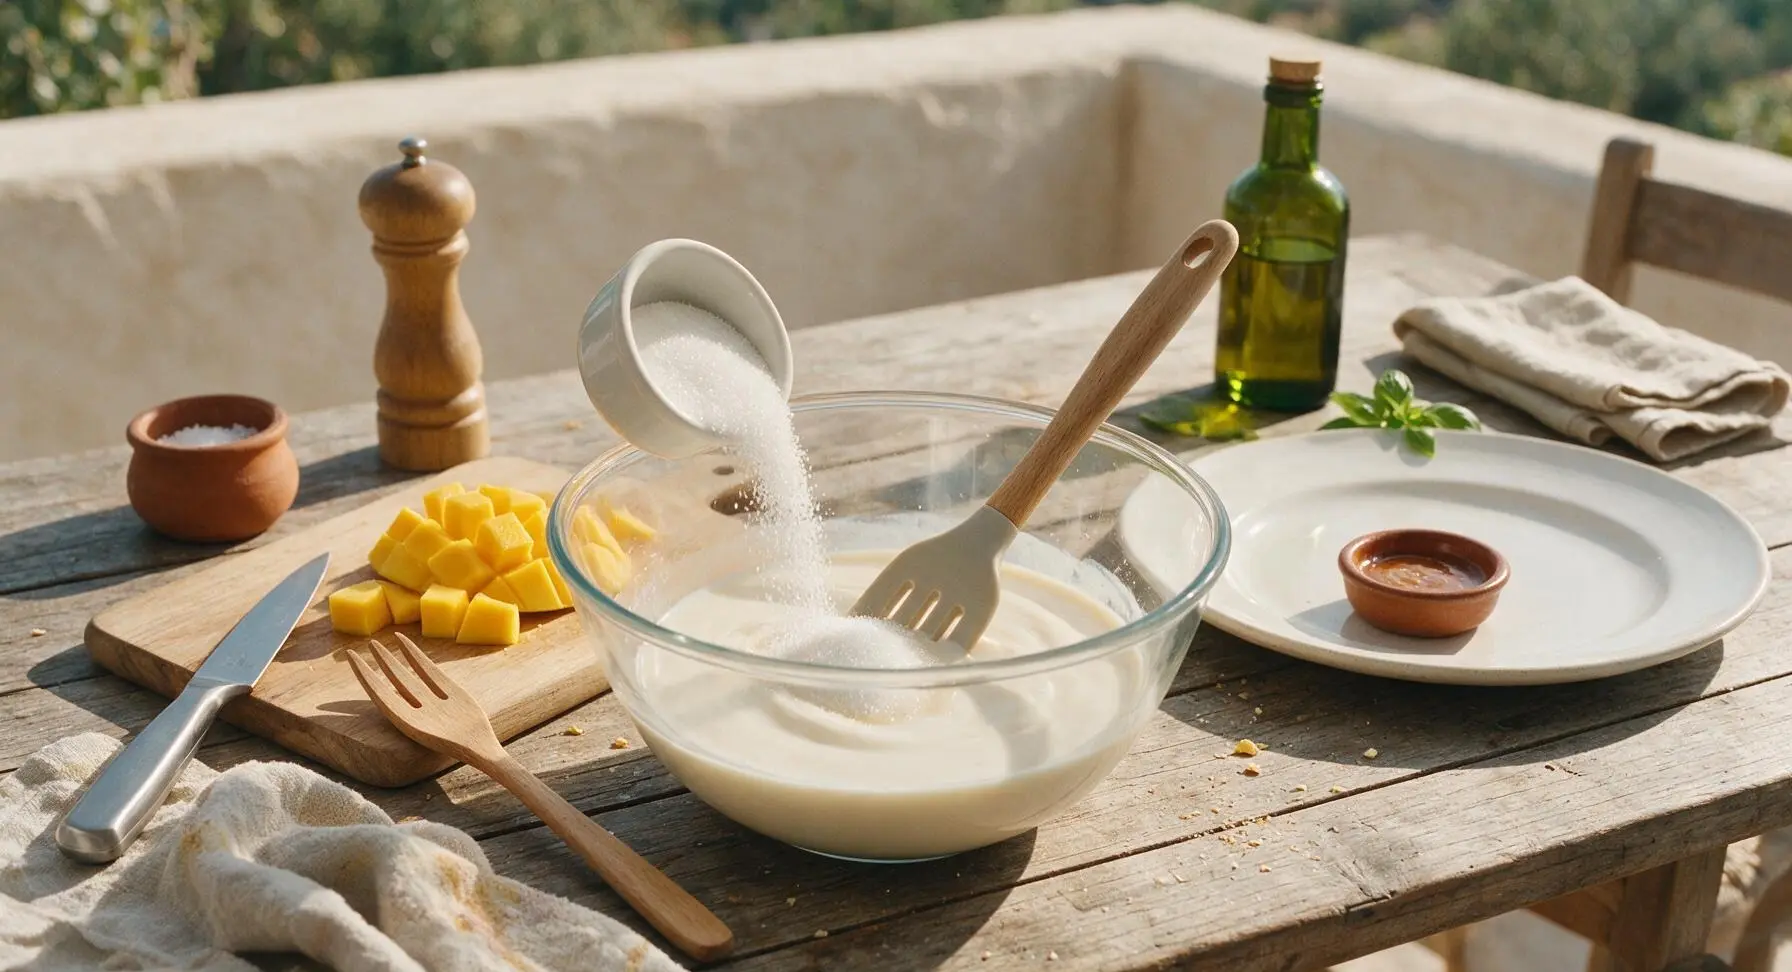
Open the can of full-fat coconut milk and pour the entire contents into the clear glass mixing bowl. Add 3 tbsp granulated sugar and 1/4 tsp fine sea salt, stirring gently with the slotted spoon until the sugar and salt are fully dissolved, approximately 1 minute. The small pinch of salt amplifies coconut sweetness and cuts through richness, so do not omit it.
Combine and Chill Mixture
Add the fully drained, rinsed tapioca pearls and lightly mashed mango to the coconut milk base in the mixing bowl. Stir gently with the slotted spoon to evenly distribute pearls and mango throughout the creamy liquid. Loosely cover the bowl, then transfer to the refrigerator to chill for a minimum of 1 hour, until the mixture reaches 4°C (cold to the touch). Do not freeze the dessert, as this will break down tapioca texture and leave it grainy.
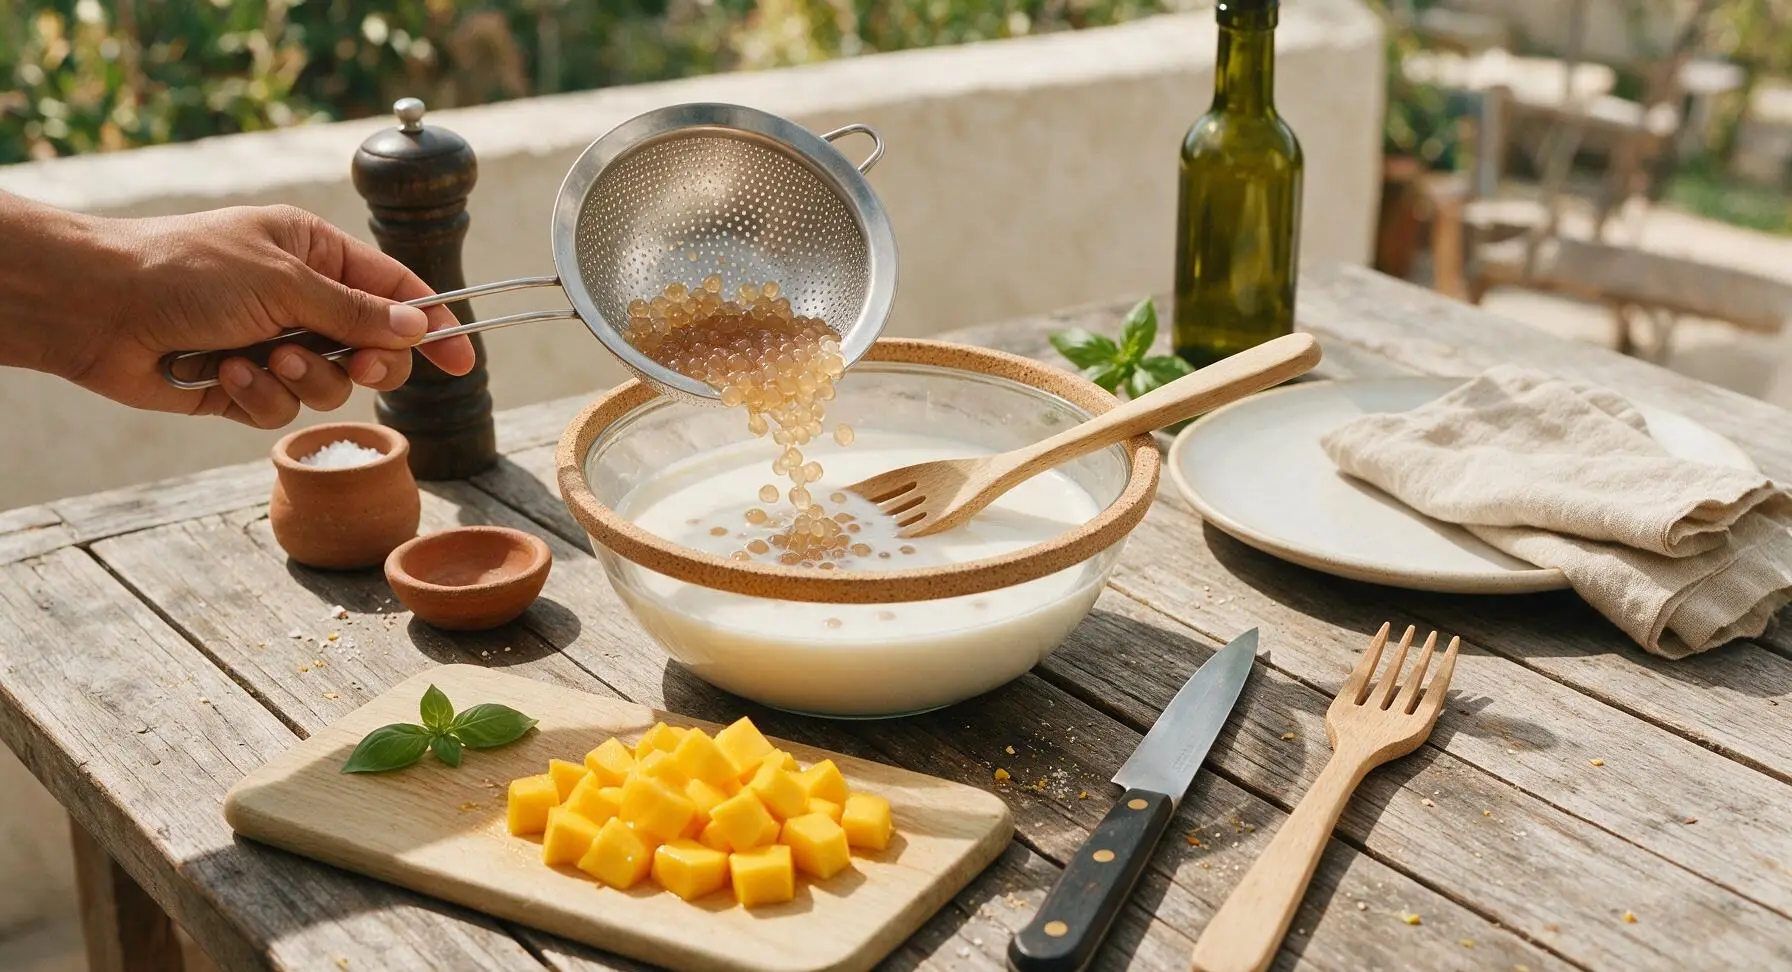
Plate and Garnish
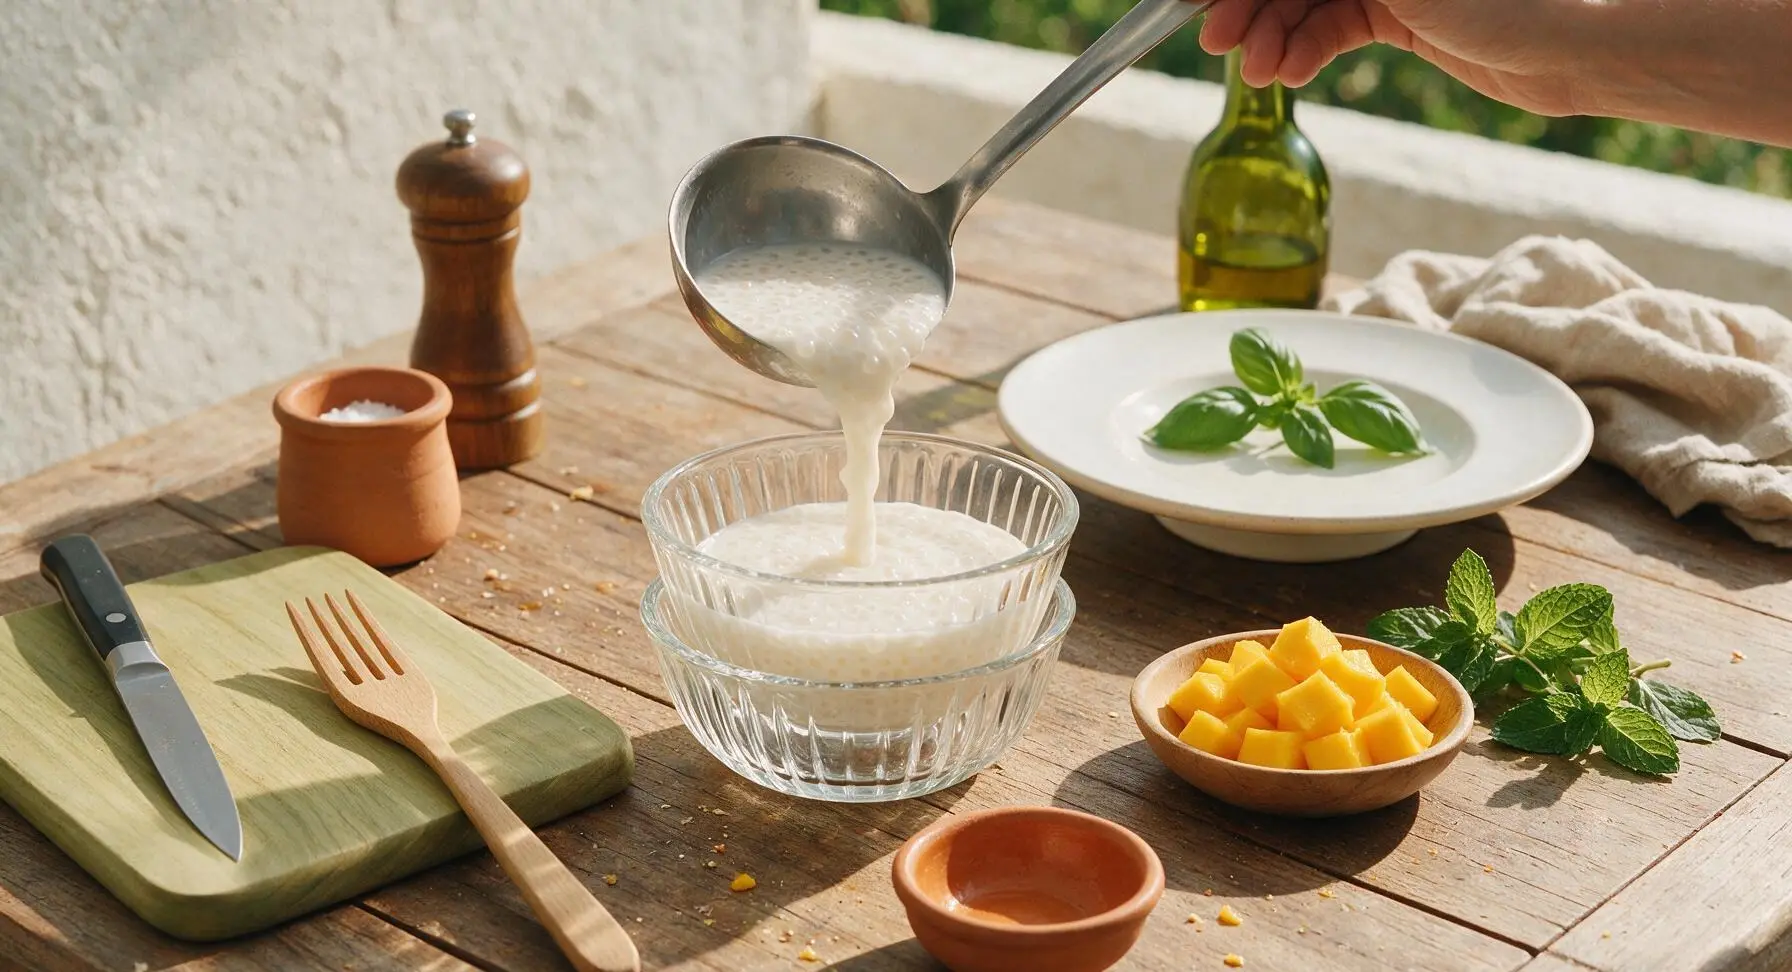
Once fully chilled, remove the mixing bowl from the refrigerator. Ladle the tapioca and coconut mixture into the clear glass dessert bowls, dividing it evenly between 4 servings. Top each bowl with the reserved fresh mango cubes, and place one small mint sprig on top for a bright, fresh color contrast. Serve immediately for the best chewy pearl texture, as pearls will harden slightly if stored for longer than 2 days in the fridge.
Tips
2.Avoid overcooking tapioca on the stovetop: the tiny remaining white core in each pearl after 12 minutes of simmering will cook completely through during the 10-minute covered rest period; boiling until pearls are fully translucent on the stove will lead to overly soft, soggy pearls with no signature chew.
3.Use full-fat coconut milk instead of light coconut milk for the classic lush texture: light coconut milk is diluted with added water, creating a thin, watery base that lacks the rich, silky mouthfeel of dim sum-style tapioca dessert. For an extra luxe touch, chill the coconut milk can for 2 hours before use to scoop out the thick top layer of coconut cream for garnish.






OMG this was SO good! I whipped this up for my kids after school earlier this week and they begged for seconds. It was so easy to throw together, I didn’t even have to run to the store – I had all the ingredients in my pantry and fridge already! The chewy tapioca paired with sweet mango and creamy coconut is *chef’s kiss*. Total game changer for our weeknight dessert rotation, 10/10 will make again for our next family dinner.
Perfect easy dessert for my dorm! I don’t have a fancy kitchen setup, just a tiny hot plate and a single pot, and this turned out perfect first try. I used frozen mango chunks because fresh mangoes were crazy expensive at the campus grocery store, and it still tasted so fresh. My roommate stole half the batch before I even got a second bowl lmao. Will definitely be meal prepping this for late night study snacks.
Brought this to our neighborhood block party potluck this weekend and it was GONE in 10 minutes. Everyone was crowding the table asking me for the recipe! I added a little extra diced mango on top for garnish and a sprinkle of toasted sesame seeds, it looked so fancy no one believed it only took 25 minutes to make. Only thing I’ll adjust next time is adding a tiny splash more coconut milk because I like mine extra creamy.
Solid, easy dessert. I was looking for something light to make after our spicy Sichuan takeout night, and this was exactly what we needed. Not too sweet, super refreshing, the coconut flavor isn’t overpowering at all. My only tiny note is that I’d let the tapioca cool a little longer before adding the mango so the fruit doesn’t get mushy, but that’s just personal preference.
Ugh I’ve been craving the mango tapioca from my local dim sum spot forever and this tastes EXACTLY like it, if not better! I added a few spoonfuls of pomelo on top like the version I get at the restaurant and it added the perfect little pop of tartness. So much cheaper than ordering takeout dessert too, I can make a whole batch for the price of one serving at the restaurant.
Obsessed! This is naturally gluten free which is perfect for my dietary needs, I didn’t have to swap a single ingredient. I made it for my sister’s birthday cookout and even my gluten-eating cousins were going back for thirds. It’s so light, it doesn’t leave you feeling heavy after eating a big cookout meal. 10/10, already added this to my regular recipe rotation.