1.Why do my cookie bars turn out cakey instead of chewy and gooey?
▾
Cakey bars usually come from overmeasuring flour, overbaking, or using too much white sugar relative to brown sugar. Fix this by spooning flour into your measuring cup and leveling it off, pulling bars when the center is slightly jiggly, and sticking to the recipe’s higher ratio of light brown sugar for dense, moist chew.
2.Can I swap light brown sugar for dark brown sugar, or use a substitute if I don’t have brown sugar?
▾
Dark brown sugar works perfectly; it will just add a deeper, more pronounced molasses flavor. If you only have granulated sugar, mix 1 tablespoon of molasses into 1 cup of granulated sugar to mimic light brown sugar. Don’t skip brown sugar entirely—it’s critical for that signature chewy, caramelized crumb.
3.What size pan works best to get thick, gooey cookie bars?
▾
A 9x9-inch heavy-gauge square metal baking pan is ideal. If you use a glass pan, lower your oven temperature by 25°F, since glass retains heat more intensely and can overcook edges before the center sets. Skip 9x13 pans unless you double the recipe, as they’ll produce thin, dry, overcooked bars.
4.How do I tell when the bars are done baking without overcooking the gooey center?
▾
Pull them when the edges are deep golden and set 1 inch in from the pan sides, but the very center looks slightly underbaked and jiggles just a little when you nudge the pan. The bars will continue to cook as they cool in the pan—if you wait for the center to look fully set, they’ll be dry by the time they cool.
5.Can I add extra mix-ins beyond semi-sweet chocolate chips?
▾
Absolutely! Swap up to 1 cup of chocolate chips for chopped walnuts, pecans, butterscotch chips, mini marshmallows, or crushed pretzels for extra texture. Just don’t add more than 1.5 cups of total mix-ins, or the bars won’t hold together properly and will crumble when you slice them.
6.Why did my bars stick to the pan even after I greased it?
▾
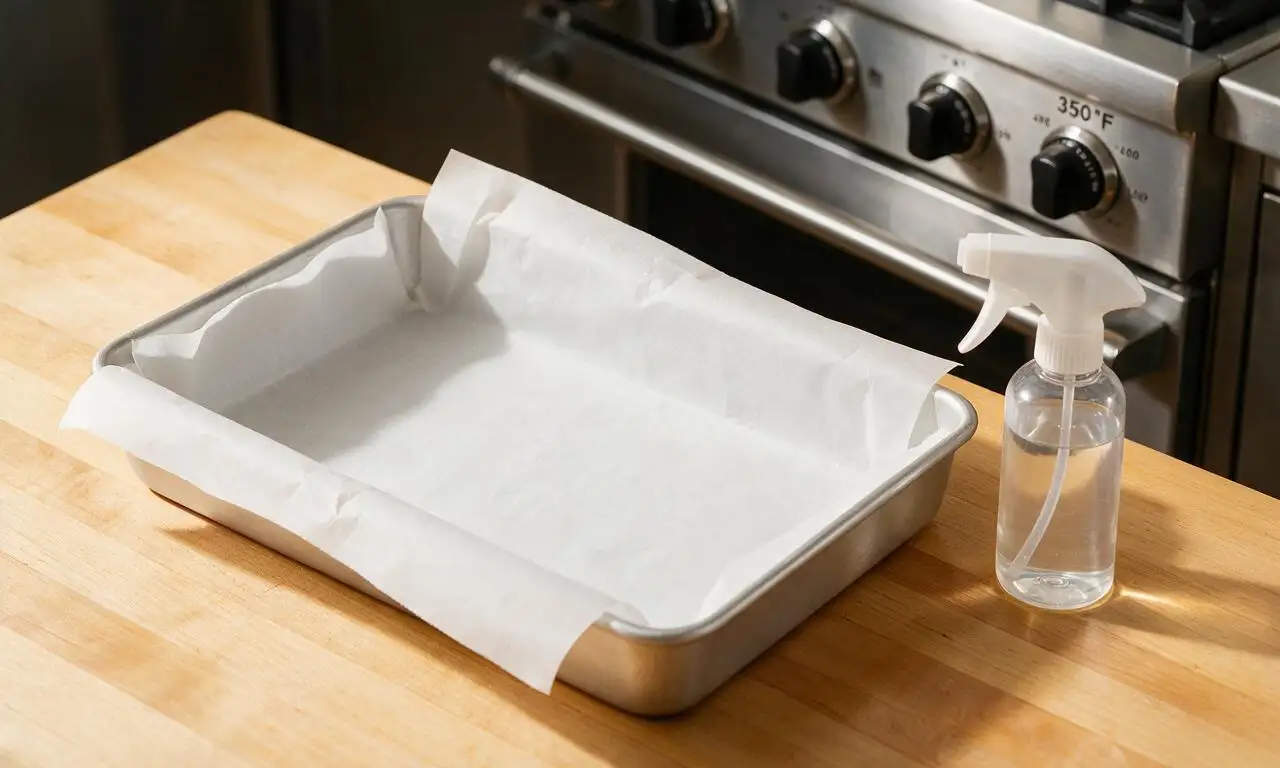
Greasing alone isn’t reliable for these super gooey bars. Line your pan with a parchment paper sling that hangs 2 inches over two opposite sides, then lightly grease the parchment. This lets you lift the entire slab of bars out in one piece once cool, with zero sticking or crumbled, messy edges.
7.Can I use salted butter instead of unsalted butter in this recipe?
▾
Yes, that’s an easy swap! Just cut any added fine salt in the recipe by 1/4 teaspoon per stick of salted butter you use, since standard salted butter contains roughly 1/4 teaspoon of salt per stick. This keeps the bars from tasting overly salty, while still letting the sweet chocolate and caramel notes shine.
8.How long do I need to let the bars cool before slicing them?
▾
I know it’s tempting to dig in right away, but let them cool fully in the pan for at least 1 hour before slicing. The gooey, melty center needs that time to set up—if you cut them too early, they’ll ooze apart and you’ll end up with messy, uneven slices instead of clean, neat bars.
9.Can I make these bars ahead of time for a party or potluck?
▾
Definitely! Once fully cooled, store them in an airtight container at room temperature for up to 4 days, or wrap them tightly in plastic wrap and freeze for up to 3 months. Thaw frozen bars at room temperature for an hour before serving, and they’ll taste just as fresh as they did on baking day.
10.What’s the trick to getting clean, even slices of these gooey bars?
▾
After they cool fully, lift the entire block out of the pan using the parchment sling. Use a large, sharp chef’s knife, and wipe the blade clean with a paper towel between every cut. For extra-neat edges, chill the block of bars for 30 minutes before slicing to firm up the melty chocolate.
11.Should I use softened or melted butter for the chewiest texture?
▾
Melted, slightly cooled butter is actually what gives these bars their dense, chewy, fudgy texture, so it’s the better pick! Just let the melted butter cool for 5 minutes before mixing it with the sugars, so it doesn’t melt the chocolate chips prematurely when you fold them into the dough.
12.Why are my bar edges crispy and hard while the center is still raw?
▾
That almost always means your oven is running too hot, or you’re using a thin, flimsy baking pan that distributes heat poorly. Grab an inexpensive oven thermometer to confirm your actual oven temp matches the setting, and use a heavy-gauge metal pan for even, consistent baking all the way through.
13.Can I make these bars gluten-free for friends with dietary restrictions?
▾
Absolutely! Swap the all-purpose flour for a 1:1 gluten-free all-purpose baking blend that contains xanthan gum. Measure it the exact same way you would regular flour—spoon and level, don’t pack it—and you’ll get the same chewy, gooey texture with no gritty aftertaste.
14.Should I press the dough firmly into the pan, or spread it loosely?
▾
Press the dough evenly and firmly into the bottom of your prepared pan in a single, uniform layer. Loosely spread dough will bake unevenly, with air pockets that cause crumbly slices. You don’t need to compact it super hard, just make sure there are no thin spots or gaps along the pan edges.
15.Is it worth adding flaky sea salt on top of these bars?
▾
100% yes! A light sprinkle of flaky sea salt (not fine table salt) right after you pull the bars out of the oven cuts through the rich sweetness, amplifies the chocolate flavor, and adds a tiny, satisfying crunch that makes these bars taste like they came from a high-end bakery. Stick to just 1/4 teaspoon across the top to avoid over-salting.
16.Can I use milk chocolate or dark chocolate chips instead of semi-sweet?
▾
Of course! Milk chocolate will make the bars sweeter and creamier, while 60-70% dark chocolate adds a deeper, slightly bitter chocolate note that balances the sweet dough. If you use extra-dark chocolate (70% cocoa or higher), add 1 extra tablespoon of granulated sugar to keep the flavor balanced.
17.My last batch of bars came out dry and crumbly—what went wrong?
▾
The two most common culprits are overbaking and packing flour when you measure it. Next time, pull the bars 2 to 3 minutes earlier (remember that slightly jiggly center is a good sign!), and spoon flour into your measuring cup then level it off with a knife instead of scooping directly from the bag, which packs in 20-30% extra flour.
18.Do I need to chill the dough before baking like I do for regular chocolate chip cookies?
▾
You don’t have to! That’s one of the best perks of bar cookies—they go straight from mixing bowl to pan to oven with no chill time required. If you do have extra time, chilling the pressed dough in the pan for 30 minutes before baking will deepen the caramel flavor and make the chewy texture even better, but it’s totally optional.

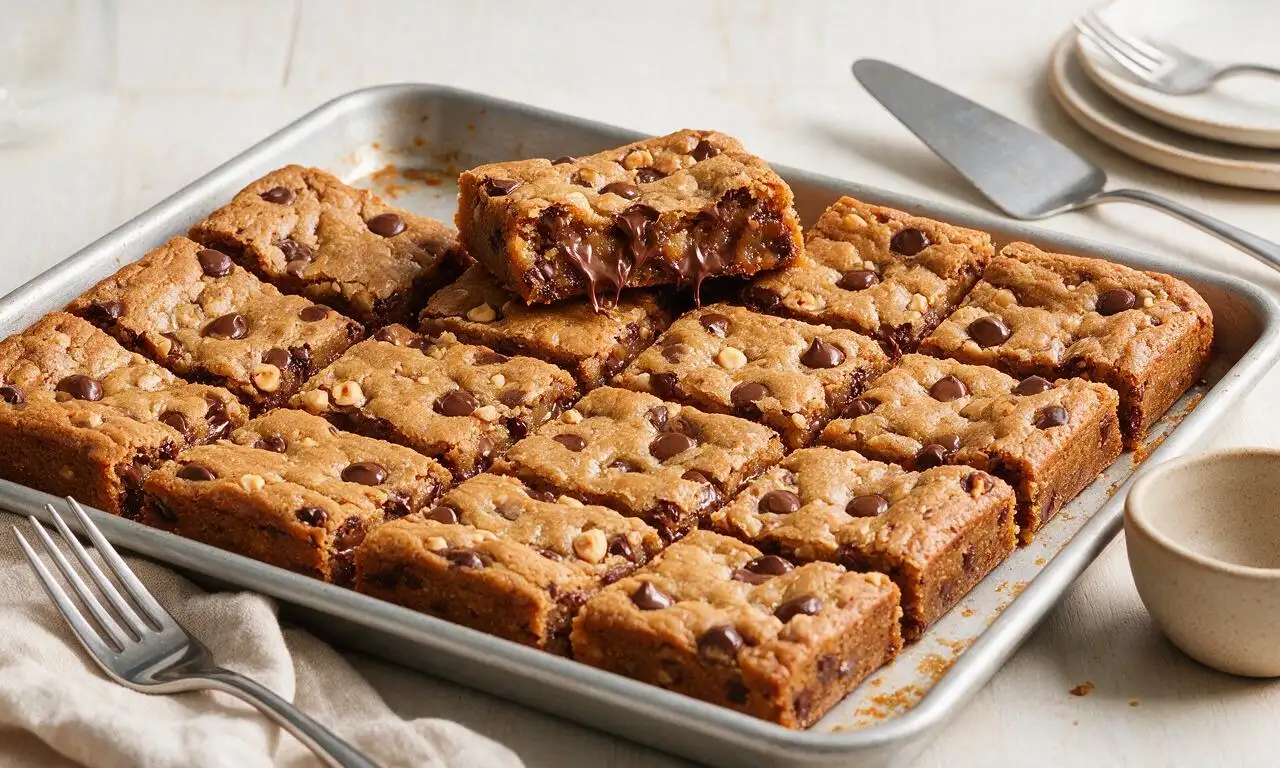
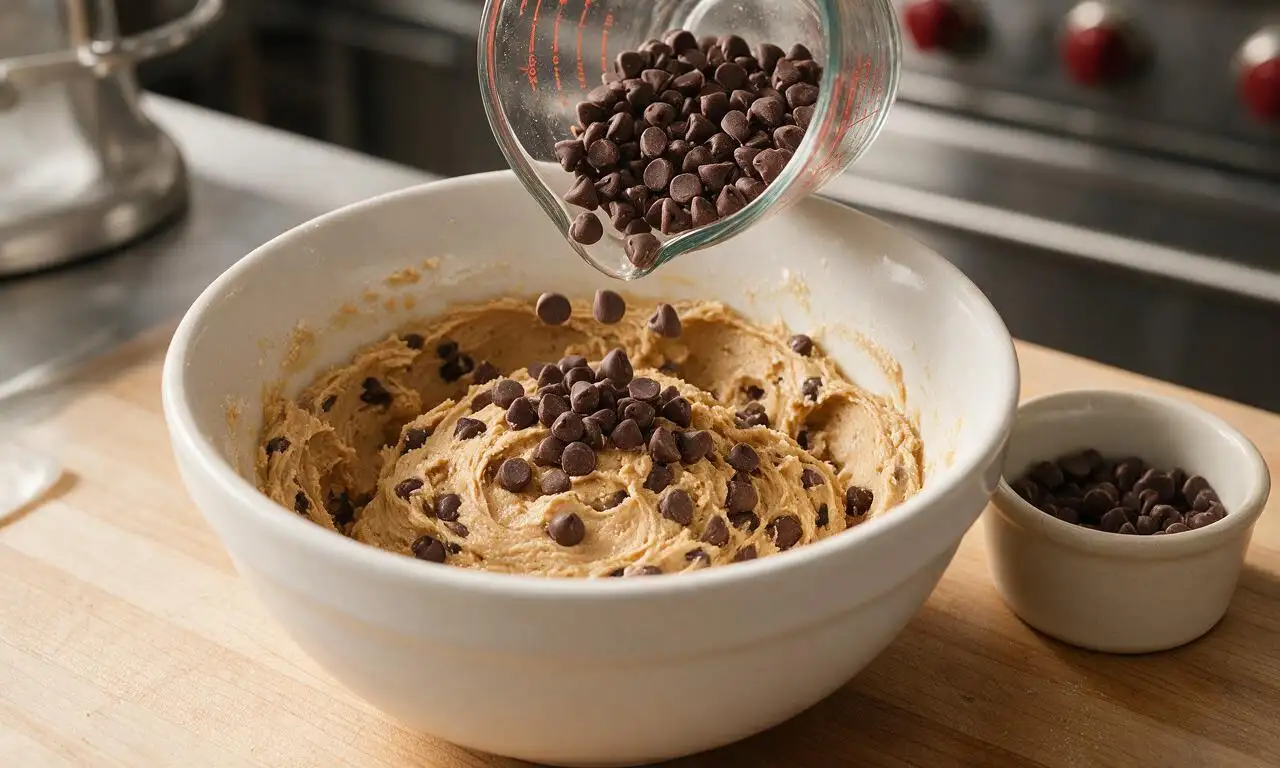
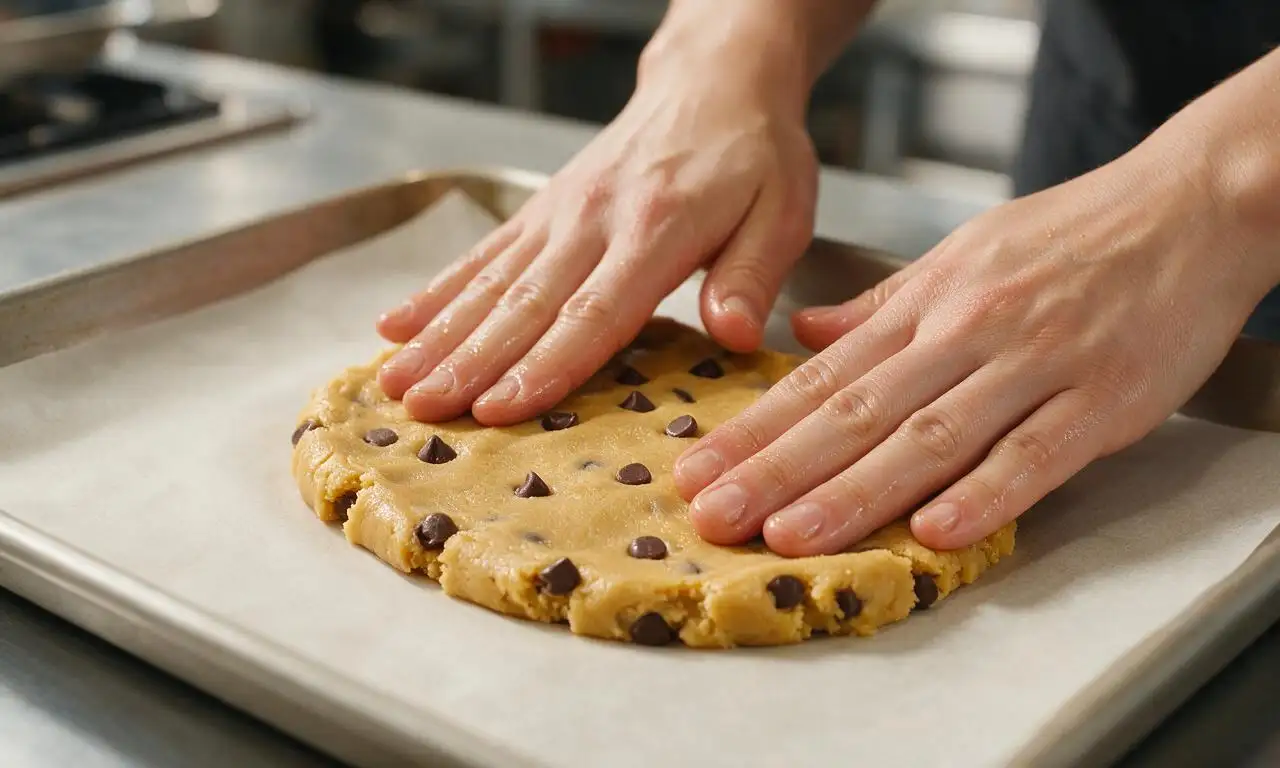
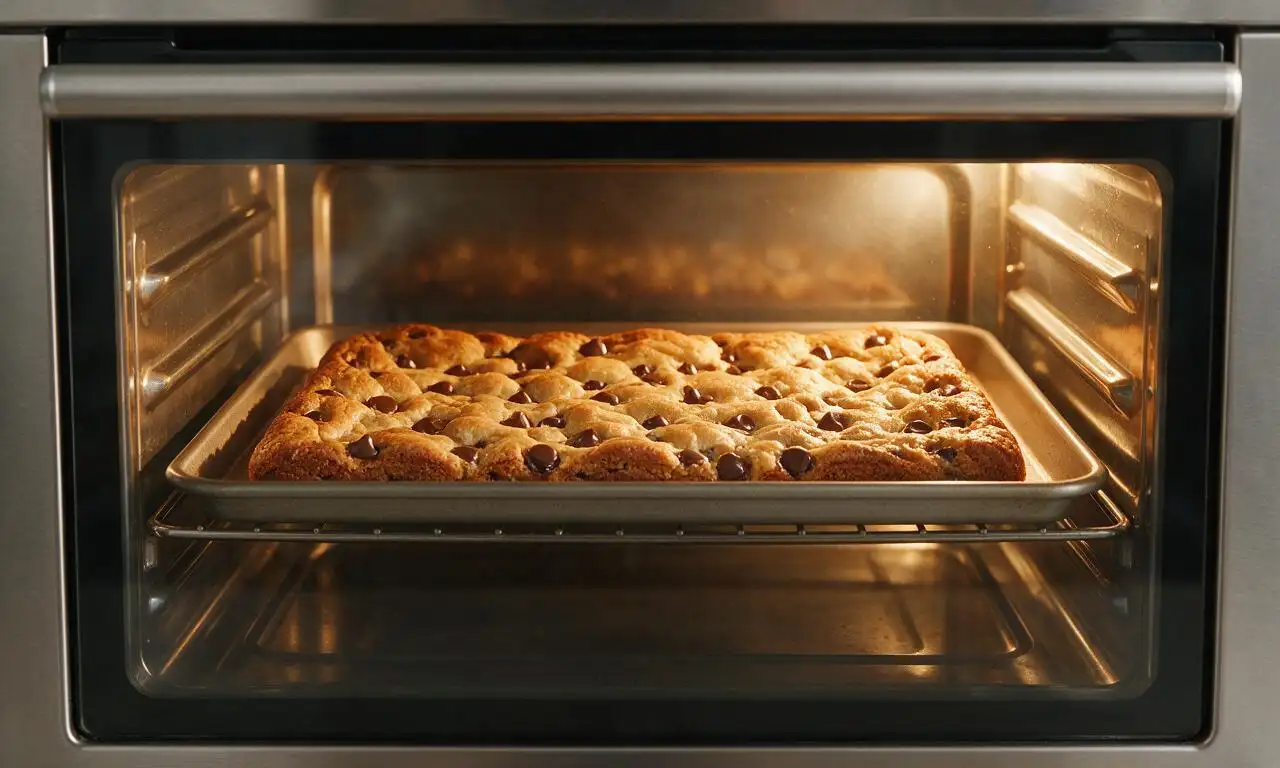
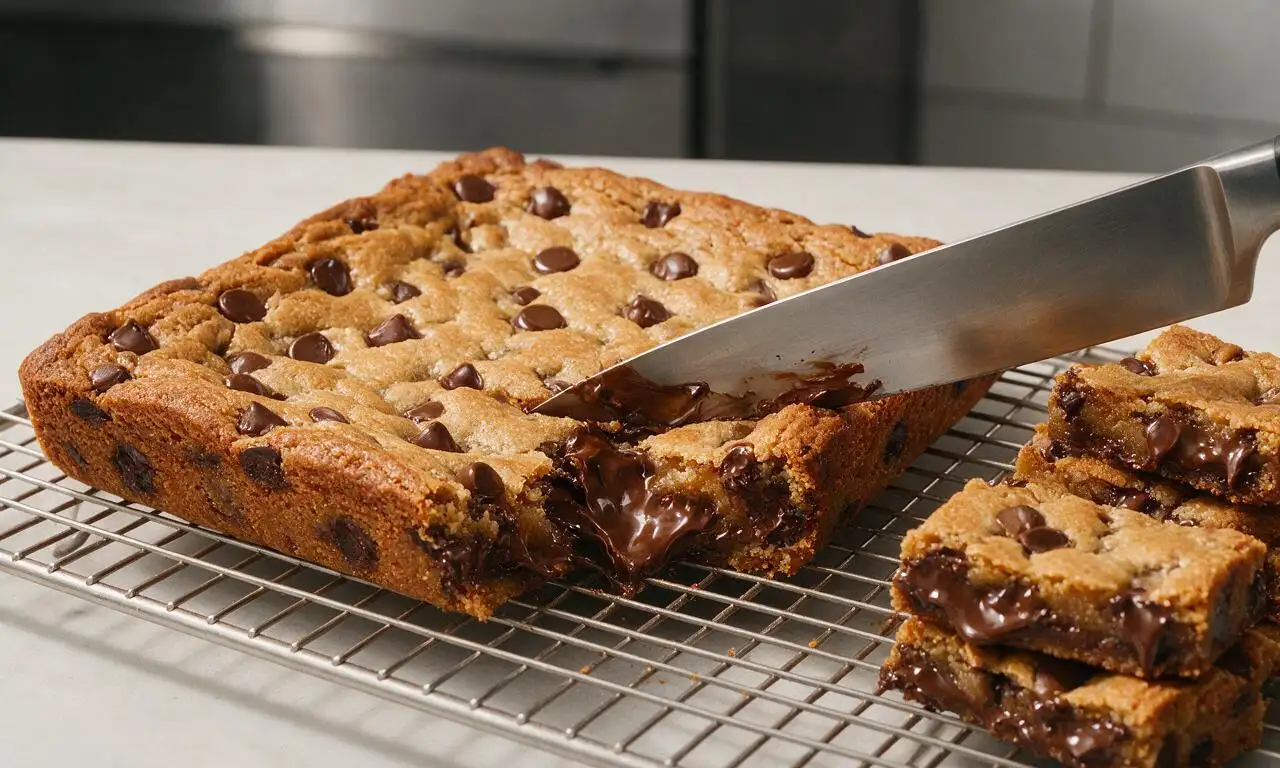






OMG these were a total hit at my kid’s 3rd grade soccer potluck last weekend! I was running late so I threw these together in 10 minutes flat, baked em while I packed the cooler, and every single last bar was gone before the halftime whistle blew. So chewy, not too sweet, the perfect amount of chocolate oozing out every bite. 10/10 will make again for next week’s team snack!
Game changer for my weekly meal prep! I keep a couple bars stashed in my work bag for when I hit that 3pm slump, way better than the overpriced granola bars I used to buy from the office vending machine. Only note is I added a handful of crushed walnuts on top for a little crunch, chef’s kiss.
As someone who burns literally every baked good I try, these were SO easy to pull off! The instructions were super straightforward, no fancy equipment needed, mine came out perfectly chewy just like the photos. My roommate said they’re better than the ones we get from the fancy bakery down the street, which is high praise.
Made these for my book club meeting last night and everyone was asking for the recipe before they even finished their first bar! I used dark chocolate chunks instead of semi-sweet because that’s what I had in the pantry, and it worked perfectly. So gooey in the middle, crisp edges just how I like them.
Super solid recipe, even for a guy who only uses his oven for frozen pizza. Took about 45 minutes total like it said, no weird ingredients I had to run to three grocery stores to find. My dorm floor devoured them in 10 minutes, I didn’t even get a second piece lmao. Only knock is I wish the recipe made a bigger pan, I could’ve eaten half of it myself. Will definitely make again, probably a double batch for our next pregame.
These were the perfect trail snack for our day hike up Mount Si last weekend! I wrapped individual bars in parchment paper and tossed em in our pack, they held up really well even when it got a little warm out. Chewy, satisfying, gave us the sugar boost we needed to make it to the summit. Only change I made was adding a sprinkle of sea salt on top before baking, 100% recommend that tweak.
Quick question before I make these for my twins’ birthday playdate tomorrow! Do I need to line the pan with parchment paper? I tried making bar cookies last month and they stuck so bad I had to chisel them out of the pan lmao. Don’t wanna make that same mistake again, these look too good to mess up!
Y’all I made these for my church potluck last Sunday and I swear Sister Margaret tried to pay me to make her a whole pan just for her! The gooey center is unreal, I used milk chocolate chips because that’s what my grandbabies prefer and it was perfect. Chewy edges, soft middle, what more could you want?
Wait, has anyone tried making these with a 1:1 gluten free flour blend? I have celiac so I can’t do regular all purpose, but these look so good I’m dying to try them!
I brought these in for my team’s Friday snack day and people were literally hovering by the break room waiting for them to cool. My manager said they’re the best thing anyone has ever brought in, even better than the fancy donuts we usually get. 10/10, zero leftovers, zero complaints.
How long do these stay fresh for? My partner is craving something sweet while she’s nursing our newborn, and I wanna make a pan but I don’t want them to go bad before we can eat em all. We’re a little sleep deprived over here so baking every other day isn’t really in the cards right now lmao
I made these last night and I swear I ate 3 bars straight out of the pan before they even cooled all the way. The texture is exactly what I’ve been looking for in a cookie bar – not cakey, not hard, just perfectly chewy and gooey like the name says. I added a swirl of peanut butter on top before baking and it was *chef’s kiss*
I tested this recipe at home before deciding to add it to our bakery’s weekly treat rotation, and our customers went crazy for it last week! We sold out in less than 2 hours, we’re making a double batch this week to keep up with demand. Super easy to scale up for large batches too, which is a huge win for us.
We made these for our club bake sale to raise money for our spring break trip, and we sold out before the event even officially started! People were coming back for seconds and thirds, we raised almost $200 just from these bars. Absolute home run of a recipe!
Wait a second, I followed the recipe exactly and mine came out a little more cakey than chewy? Did I do something wrong? I baked them for the full time listed, let them cool, but they’re not as gooey as the photos look. Still tasted good, just not the texture I was hoping for.
These are now my go-to for every holiday gathering! I made them for Thanksgiving last month and my cousin who swears he “doesn’t like sweets” ate three bars. I’ve been playing around with mix-ins too – crushed pretzels and caramel bits for Christmas, mini M&Ms for Halloween, they turn out perfect every single time.
Has anyone tried veganizing these? I’m thinking of using flax eggs and vegan butter, but I don’t wanna waste ingredients if it’s not gonna turn out! These look so chewy and good, my non-vegan partner is even begging me to make them.
Made these for our Eagles watch party tailgate last Sunday and they were the real MVP, even better than the wings I smoked all morning. I cut them into big hand-held bars, wrapped em in foil, and people were grabbing em between plays. No forks needed, no mess, perfect for outdoor eating. 10/10 will be on the menu for every game for the rest of the season.
These are the only after-school snack my teens don’t complain about! I keep a pan in the fridge (we like them cold, don’t judge) and they grab one on their way out to practice or study groups. I’ve even caught my husband sneaking a bar for breakfast a couple times lmao. So easy to throw together on a Sunday night for the week ahead.