
Chocolate Covered Marshmallows
intro
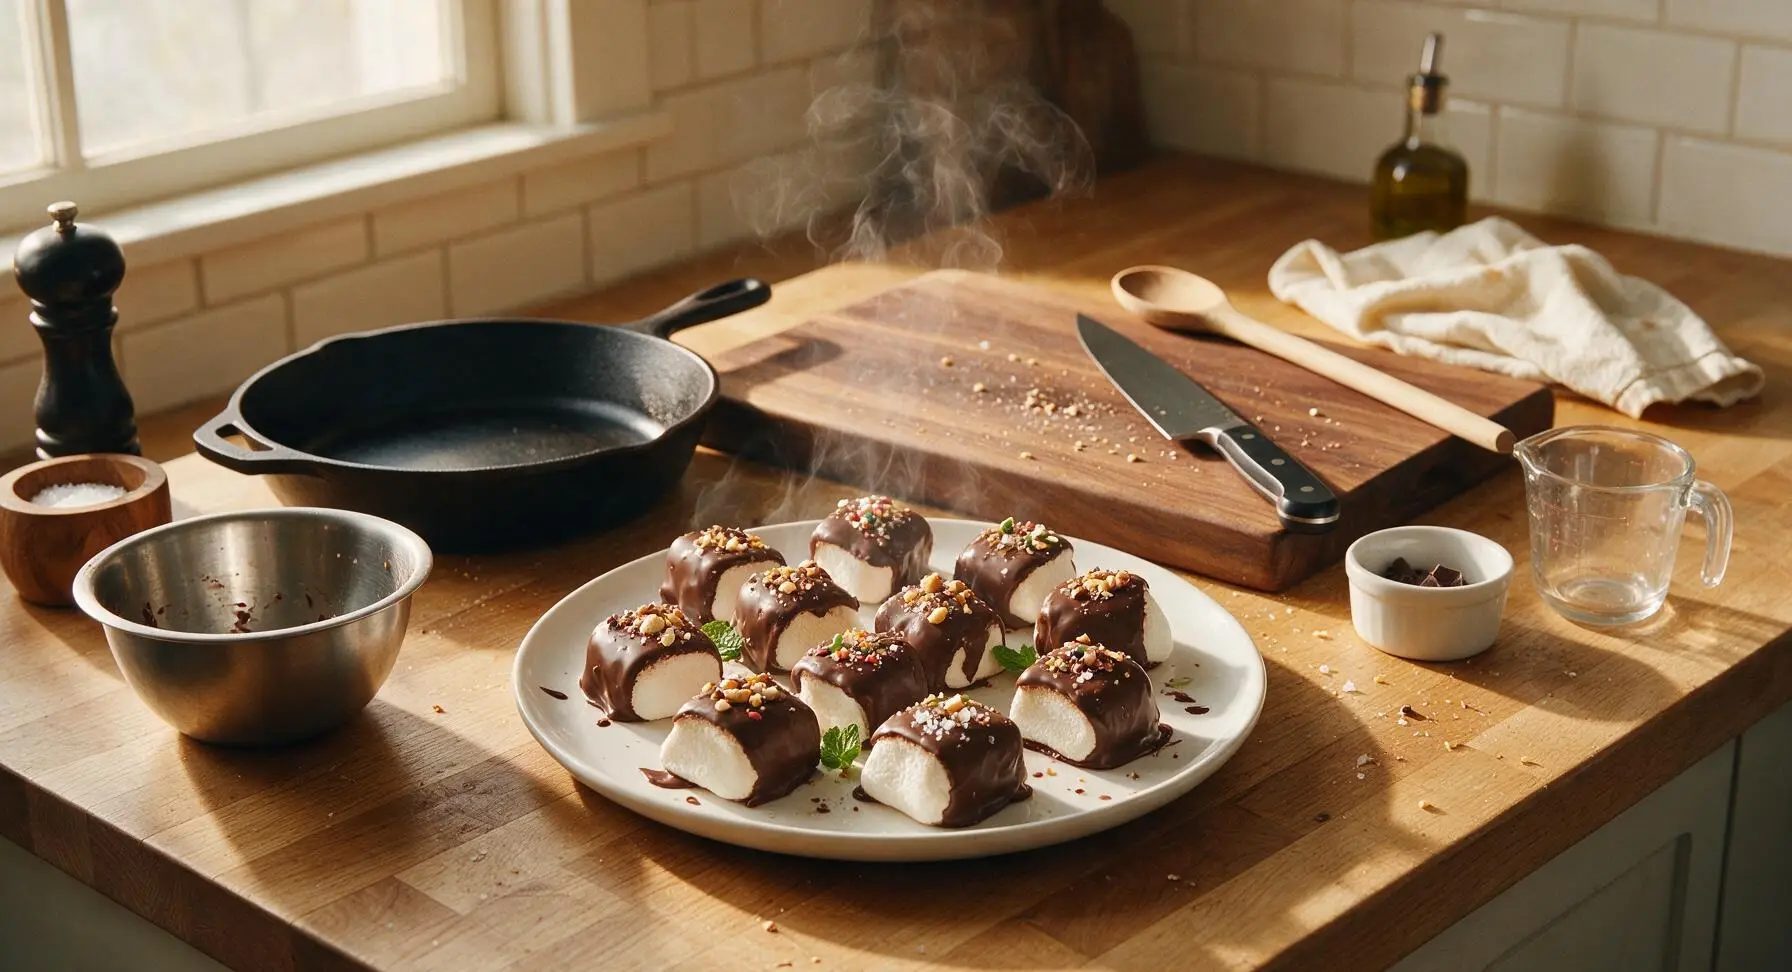
Fluffy pillowy marshmallows coated in glossy, snappy tempered chocolate, finished with crunchy, festive toppings. This no-bake, easy treat is perfect for holiday gifting, cookie plates, and casual sweet snacking.
Ingredients
Steps
Prep Workstation & Toppings
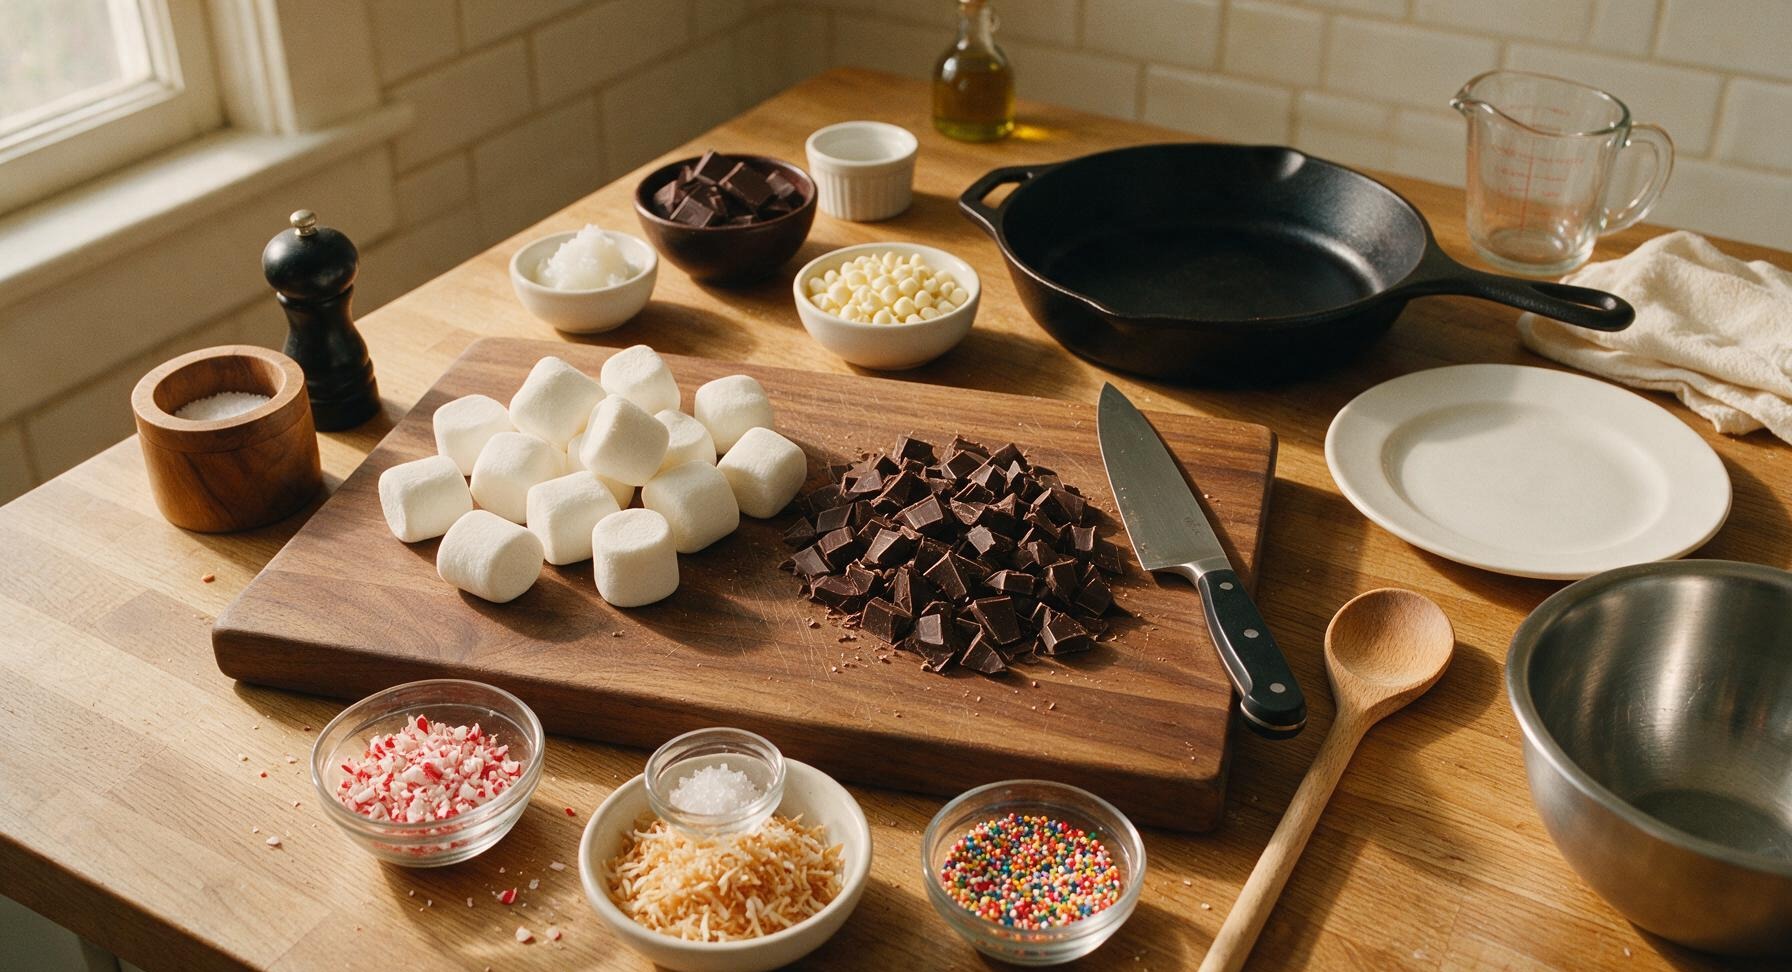
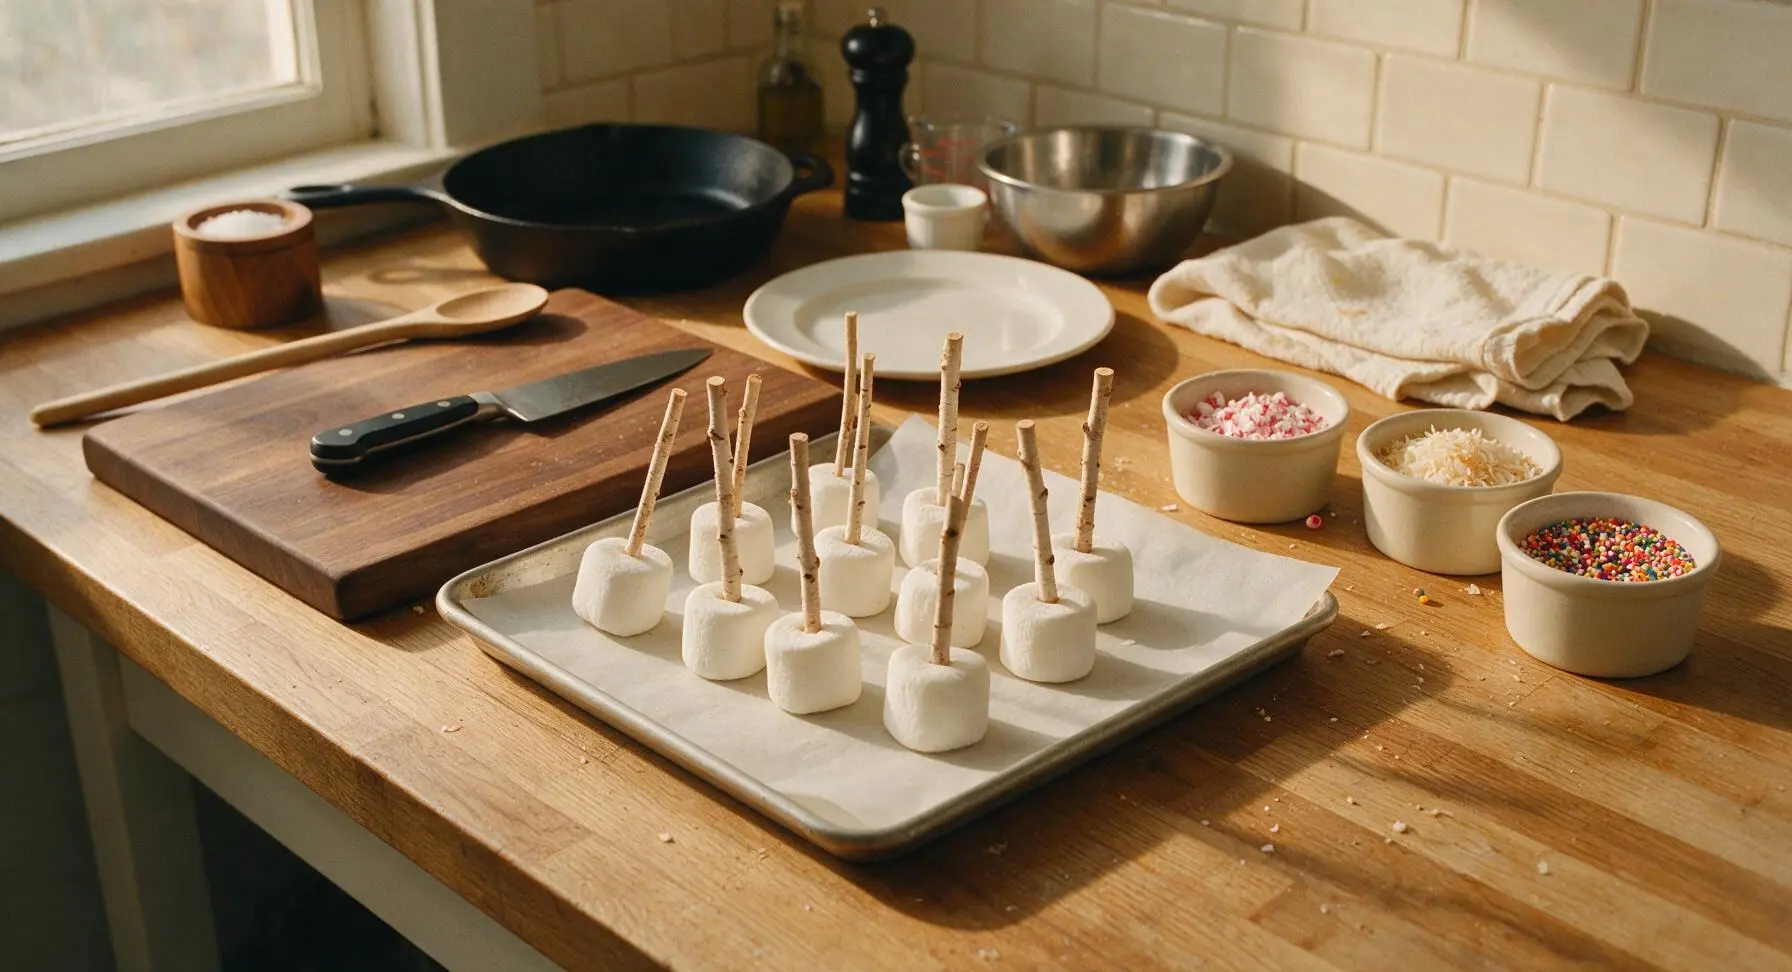
Line the small aluminum baking sheet with unbleached parchment paper, smoothing out all wrinkles. Divide crushed peppermint candies, toasted shredded coconut, and rainbow nonpareils between the three matte cream ramekins, setting them within easy reach to the right of the tray. Insert one birch lollipop stick into the center of each large marshmallow, pushing it 2/3 of the way into the marshmallow (do not push all the way through the opposite side). Arrange skewered marshmallows on the parchment-lined tray, spaced slightly apart.
Set Up Double Boiler
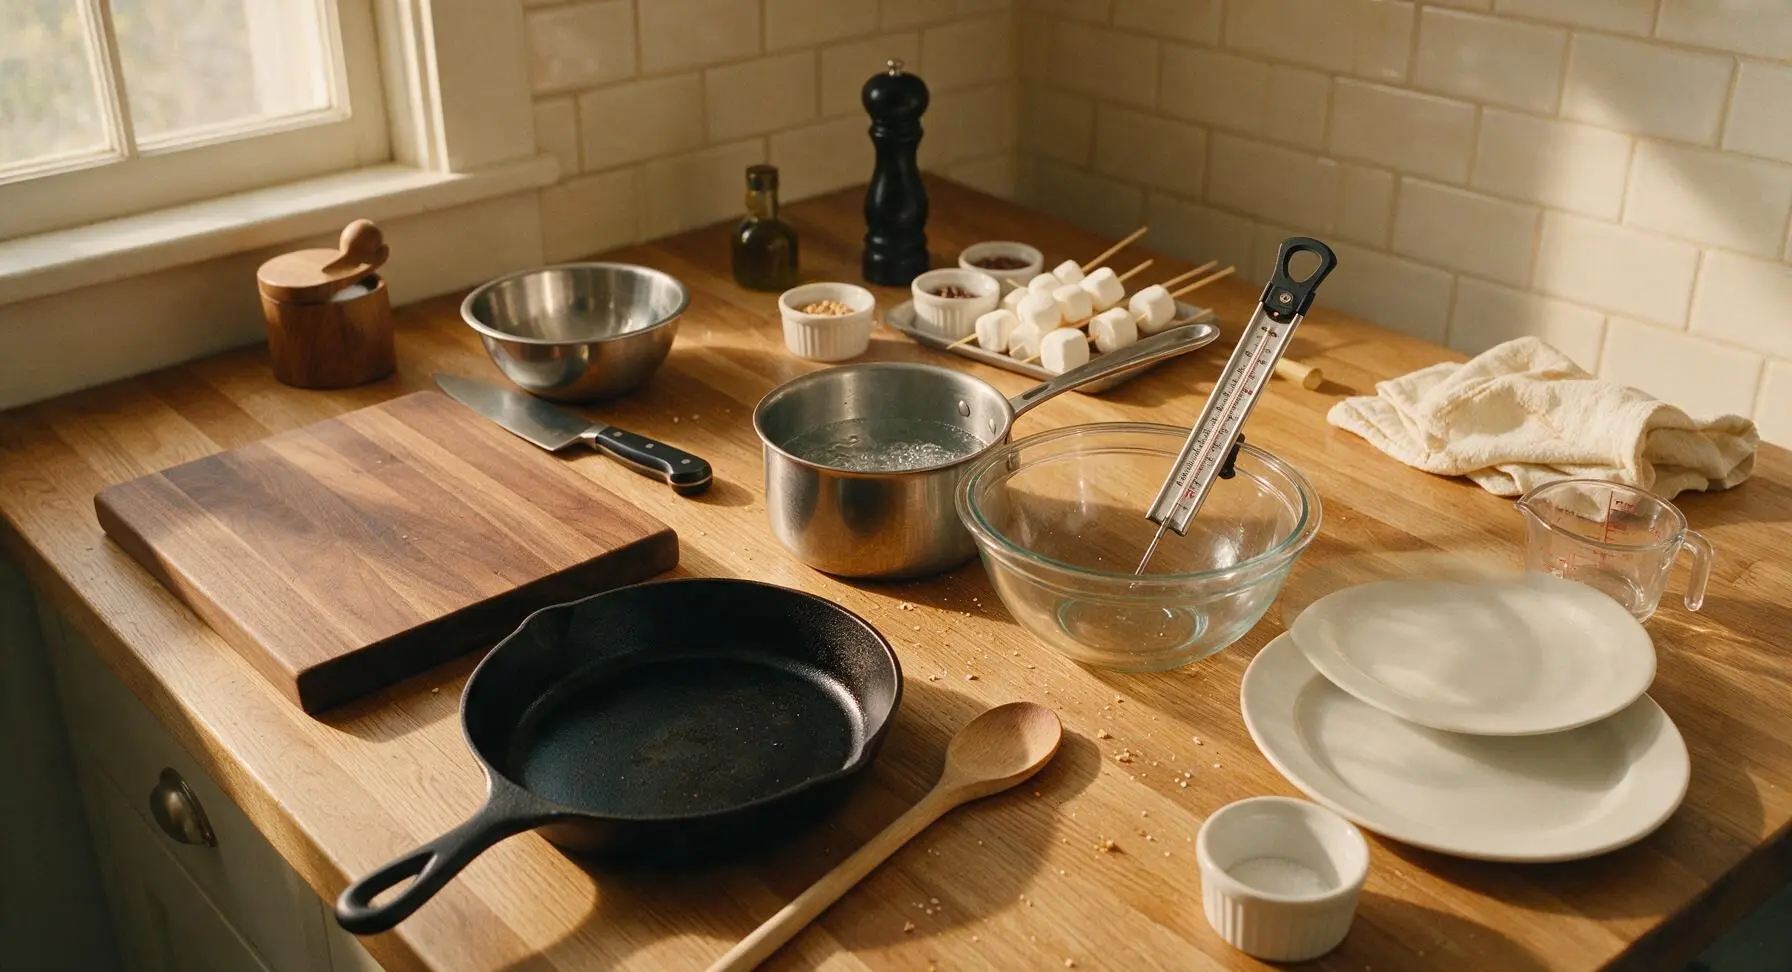
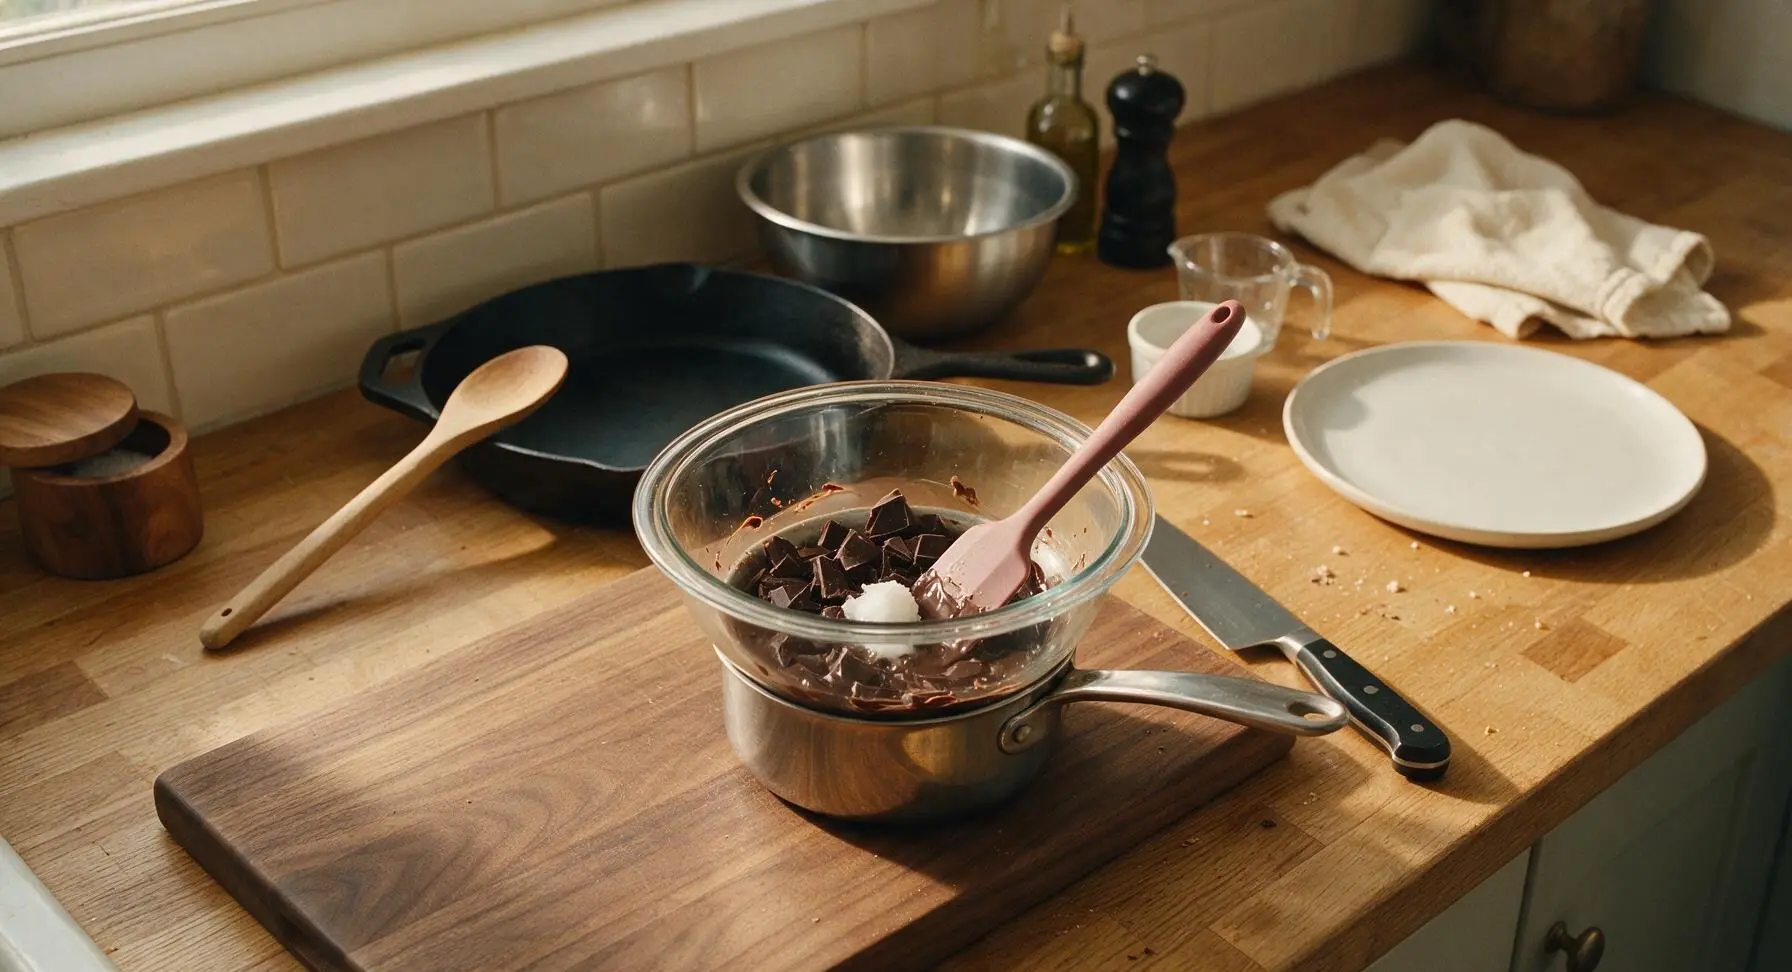
Fill the small stainless steel saucepan with 2cm of cool tap water, ensuring the water level is low enough that it will not touch the bottom of the glass mixing bowl when set on top. Place the saucepan at the back center of the work area, heating over medium-low until the water reaches a very gentle simmer (no rolling boil, as overheated steam will cause chocolate to seize). Clip the digital candy thermometer to the rim of the glass mixing bowl, positioning the probe to hang 2cm into the bowl’s interior.
Melt Chocolate Smoothly
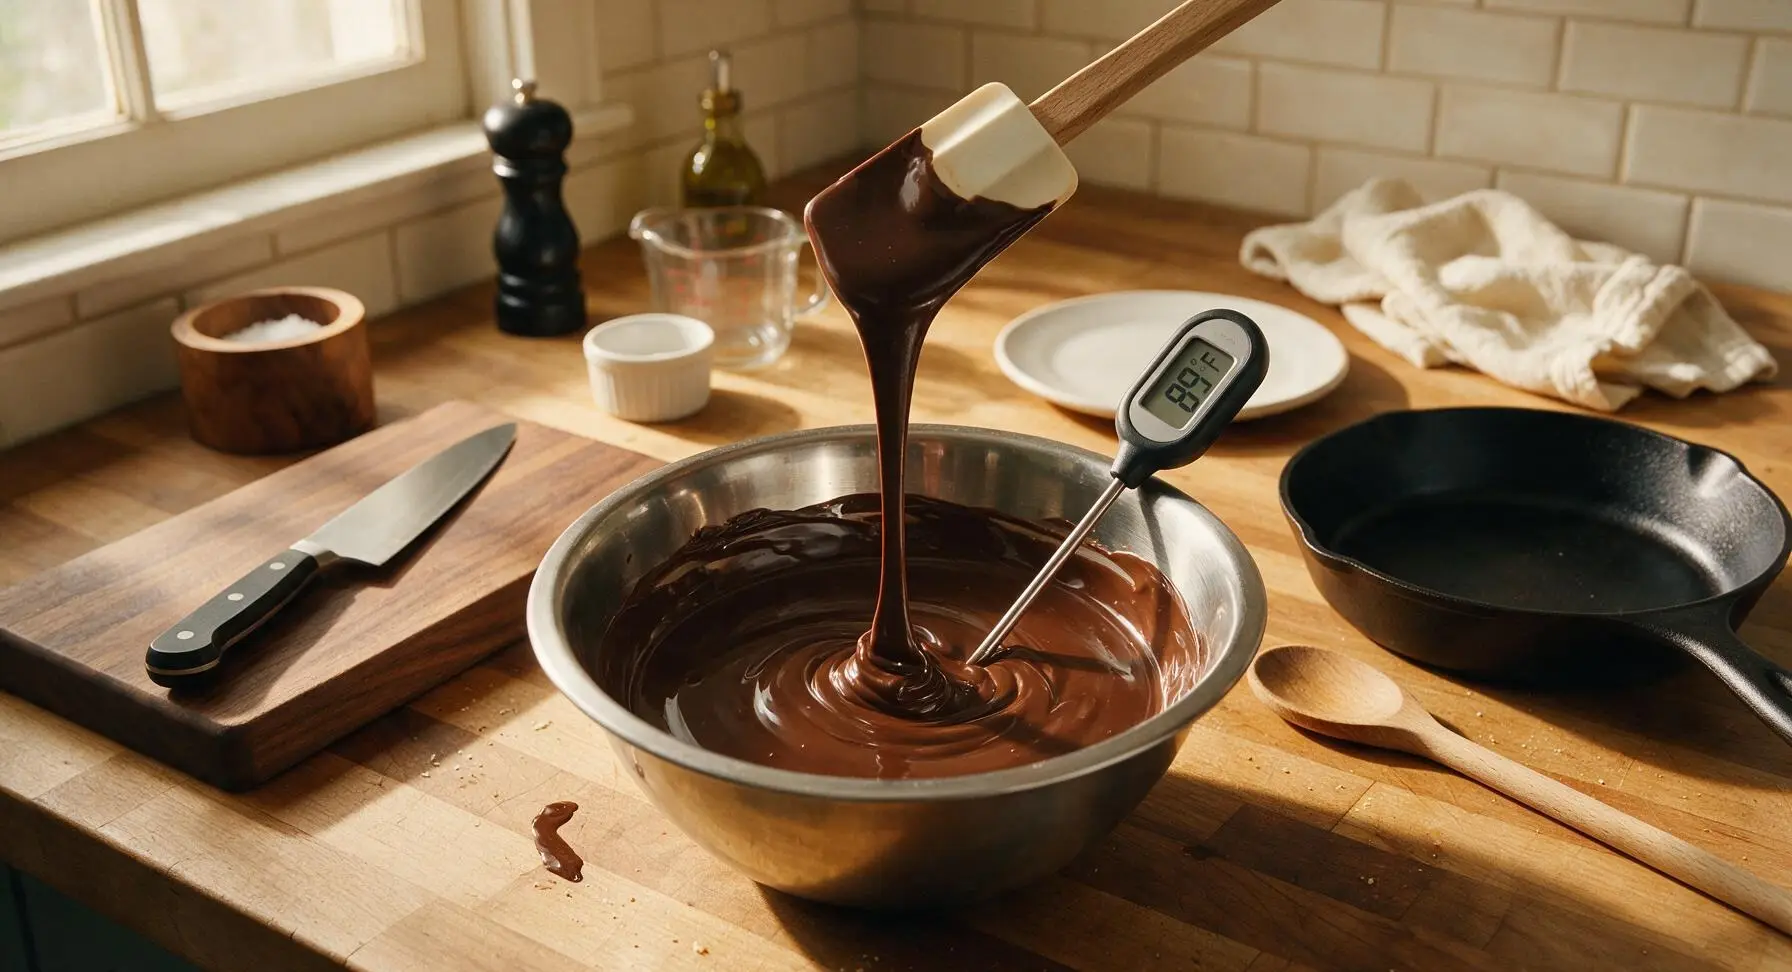
Add the chopped semi-sweet dark chocolate and 1 tsp refined coconut oil to the glass mixing bowl. Set the bowl snugly on top of the simmering saucepan, confirming the bowl does not touch the water below. Stir slowly and constantly with the silicone spatula, scraping the bowl’s sides and bottom frequently, until the chocolate is 90% melted (a few small, solid lumps will remain). Lift the bowl off the saucepan, and continue stirring until residual heat melts the remaining lumps into completely smooth chocolate, reaching a temperature of 88-90°F (31-32°C) for perfectly tempered, glossy chocolate that sets with a firm snap.
Dip Marshmallows Evenly
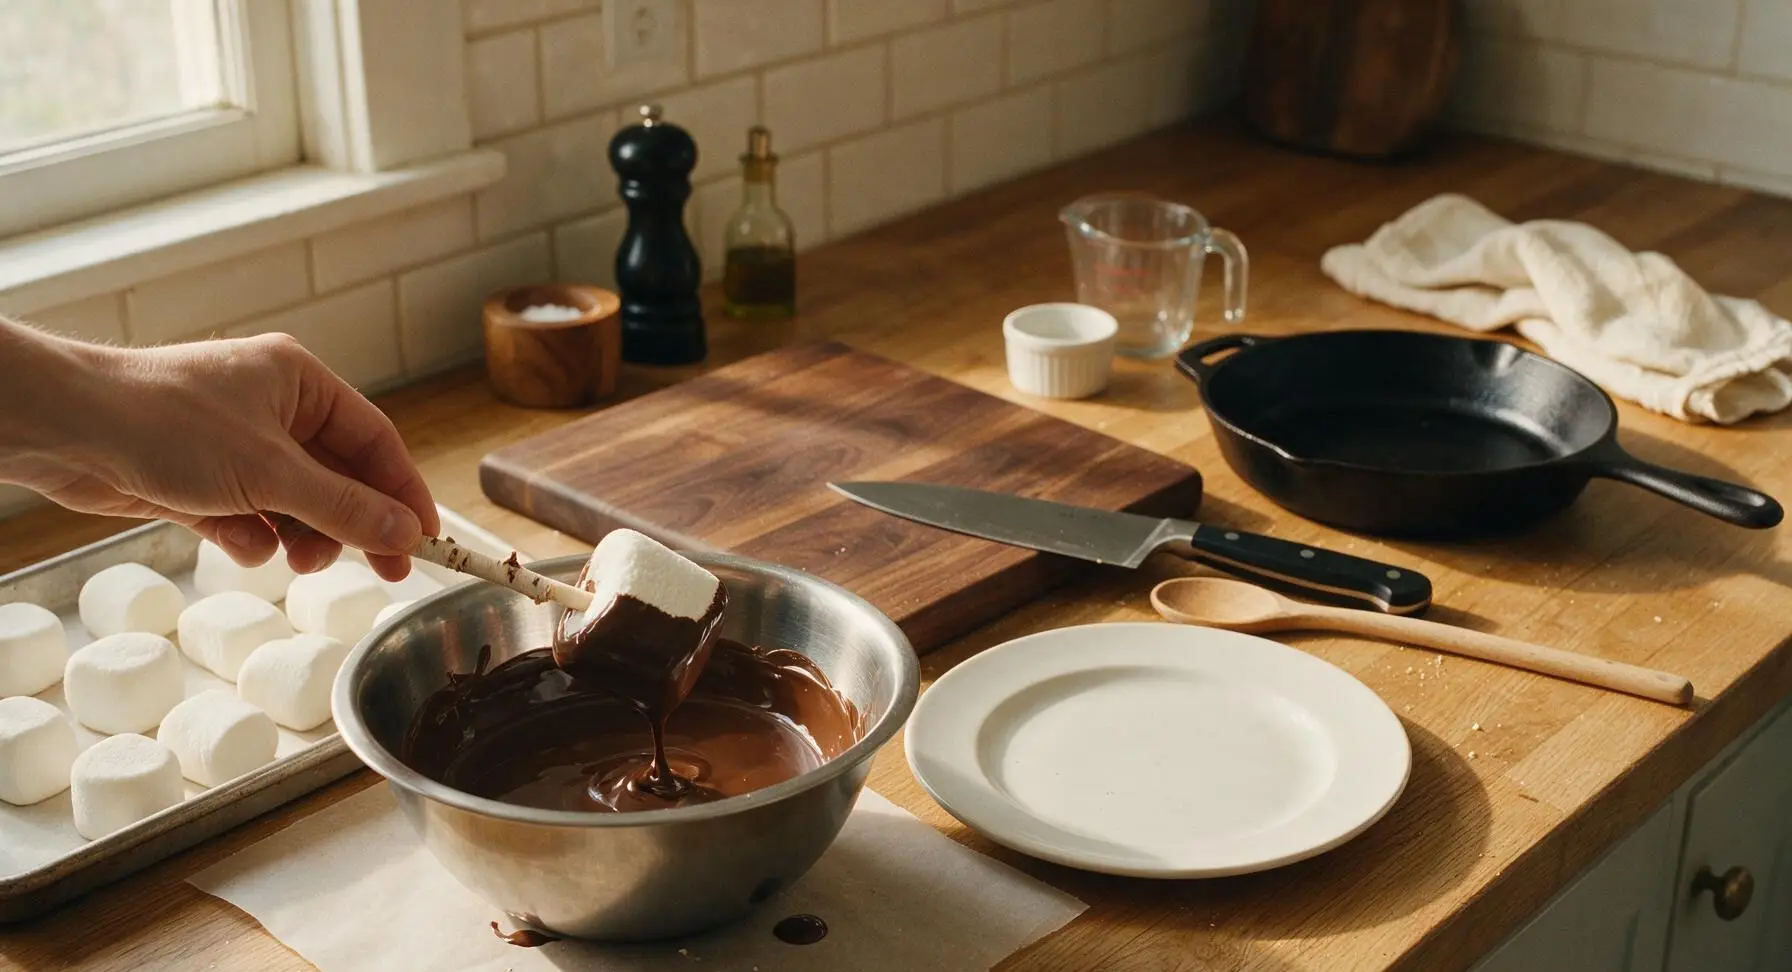
Hold one skewered marshmallow by its stick, dipping it 3/4 of the way into the melted dark chocolate, tilting the bowl slightly to ensure an even coating. Lift the marshmallow out of the chocolate, holding it above the bowl for 3-4 seconds to let excess chocolate drip back, twisting the stick slowly to encourage smooth, even runoff. Leave a 1cm wide band of exposed white marshmallow at the top for a classic, polished look; do not coat the entire marshmallow.
Add Toppings Quickly
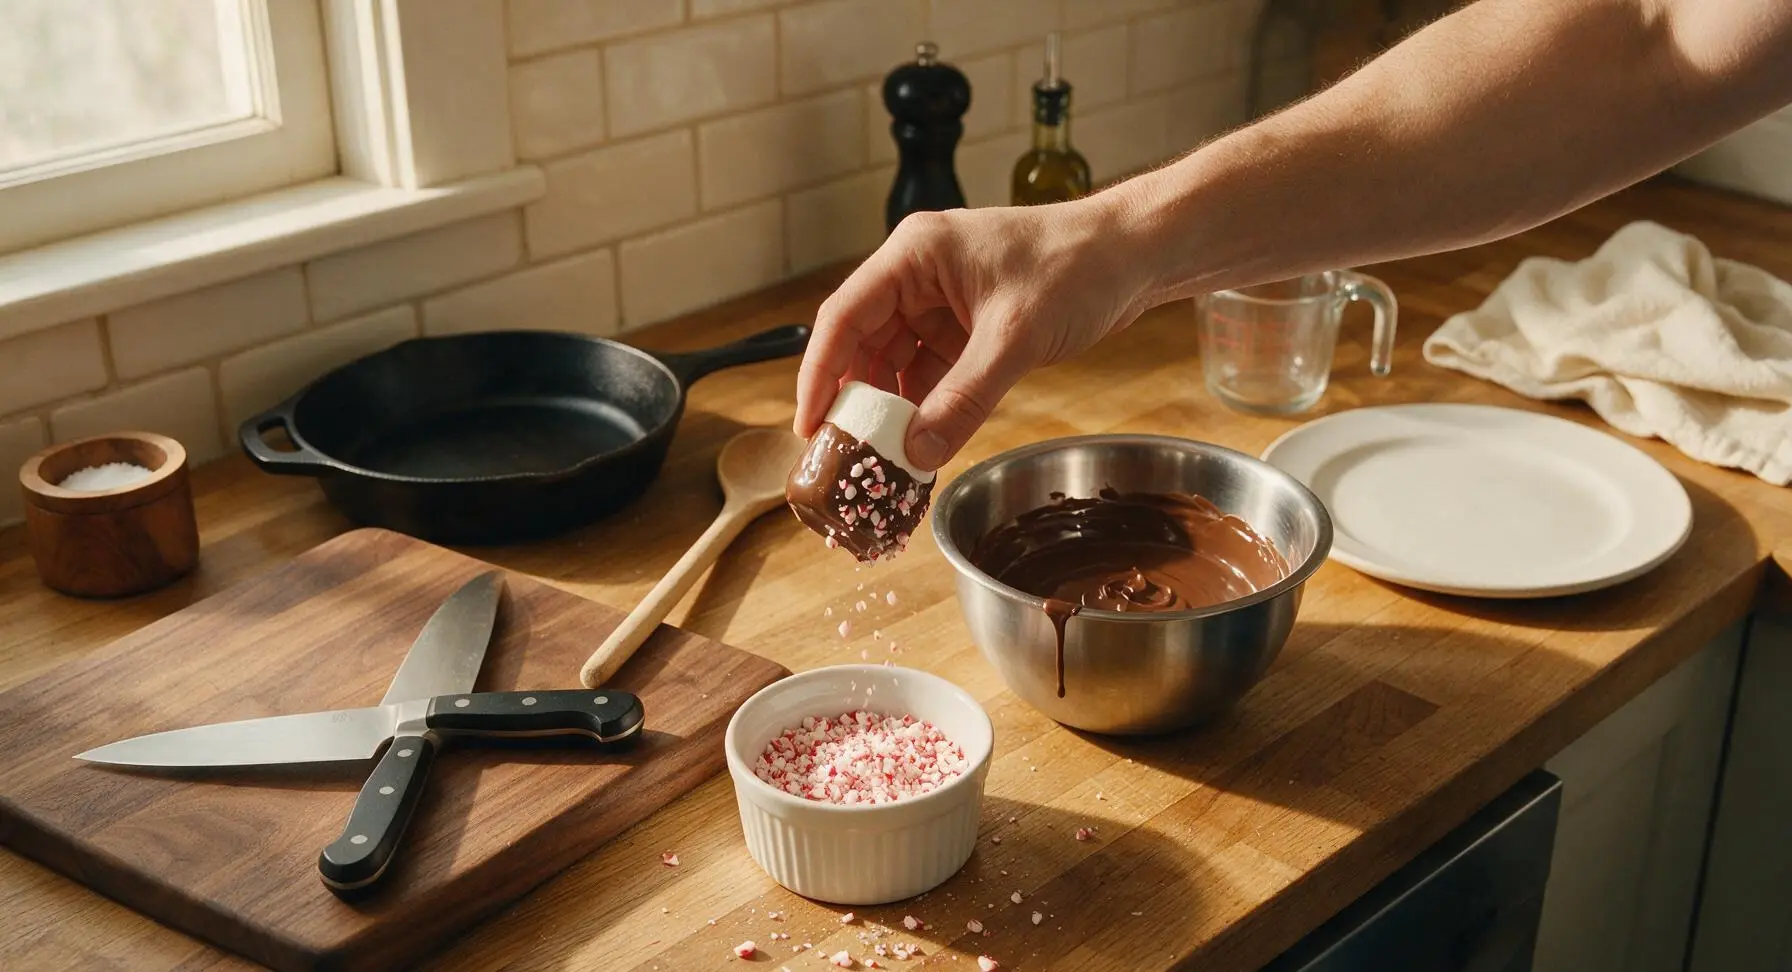
Work within 10 seconds of dipping each marshmallow (before the chocolate starts to set) to add toppings: hold the wet chocolate-coated marshmallow over a topping ramekin, and sprinkle or roll the chocolate surface with your chosen topping (crushed peppermint, toasted coconut, rainbow nonpareils, or a light pinch of flaky sea salt). Set the finished marshmallow back on the parchment-lined tray, leaving 2cm of space between marshmallows to prevent sticking as the chocolate sets.
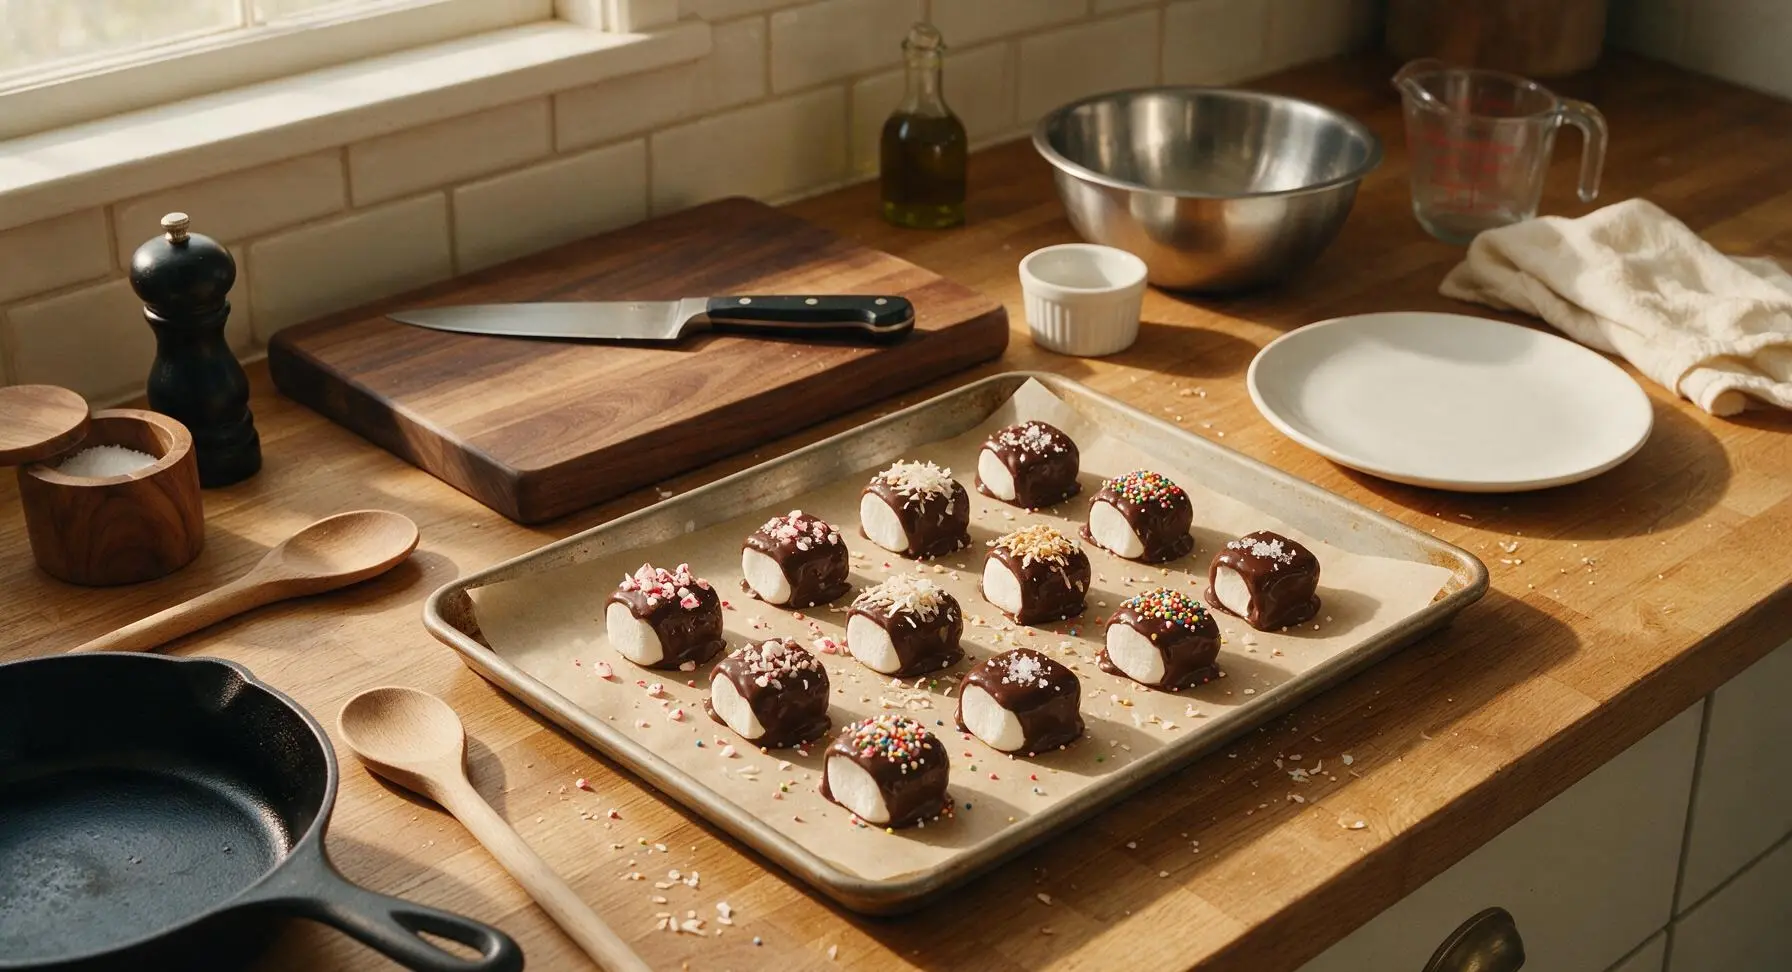
Drizzle White Chocolate Accent
Once all marshmallows are dipped and topped, add the white chocolate chips to a small, clear corner of the warm glass bowl; residual heat from the bowl will melt the white chocolate in 2-3 minutes with no extra heat required. Stir until completely smooth, then dip the tip of the silicone spatula into the melted white chocolate, holding it 10cm above the tray and moving it back and forth to drizzle thin, wispy lines across the marshmallow tops. Sprinkle a tiny pinch of flaky sea salt over the white chocolate drizzle on 3-4 marshmallows for a balanced sweet-salty flavor.
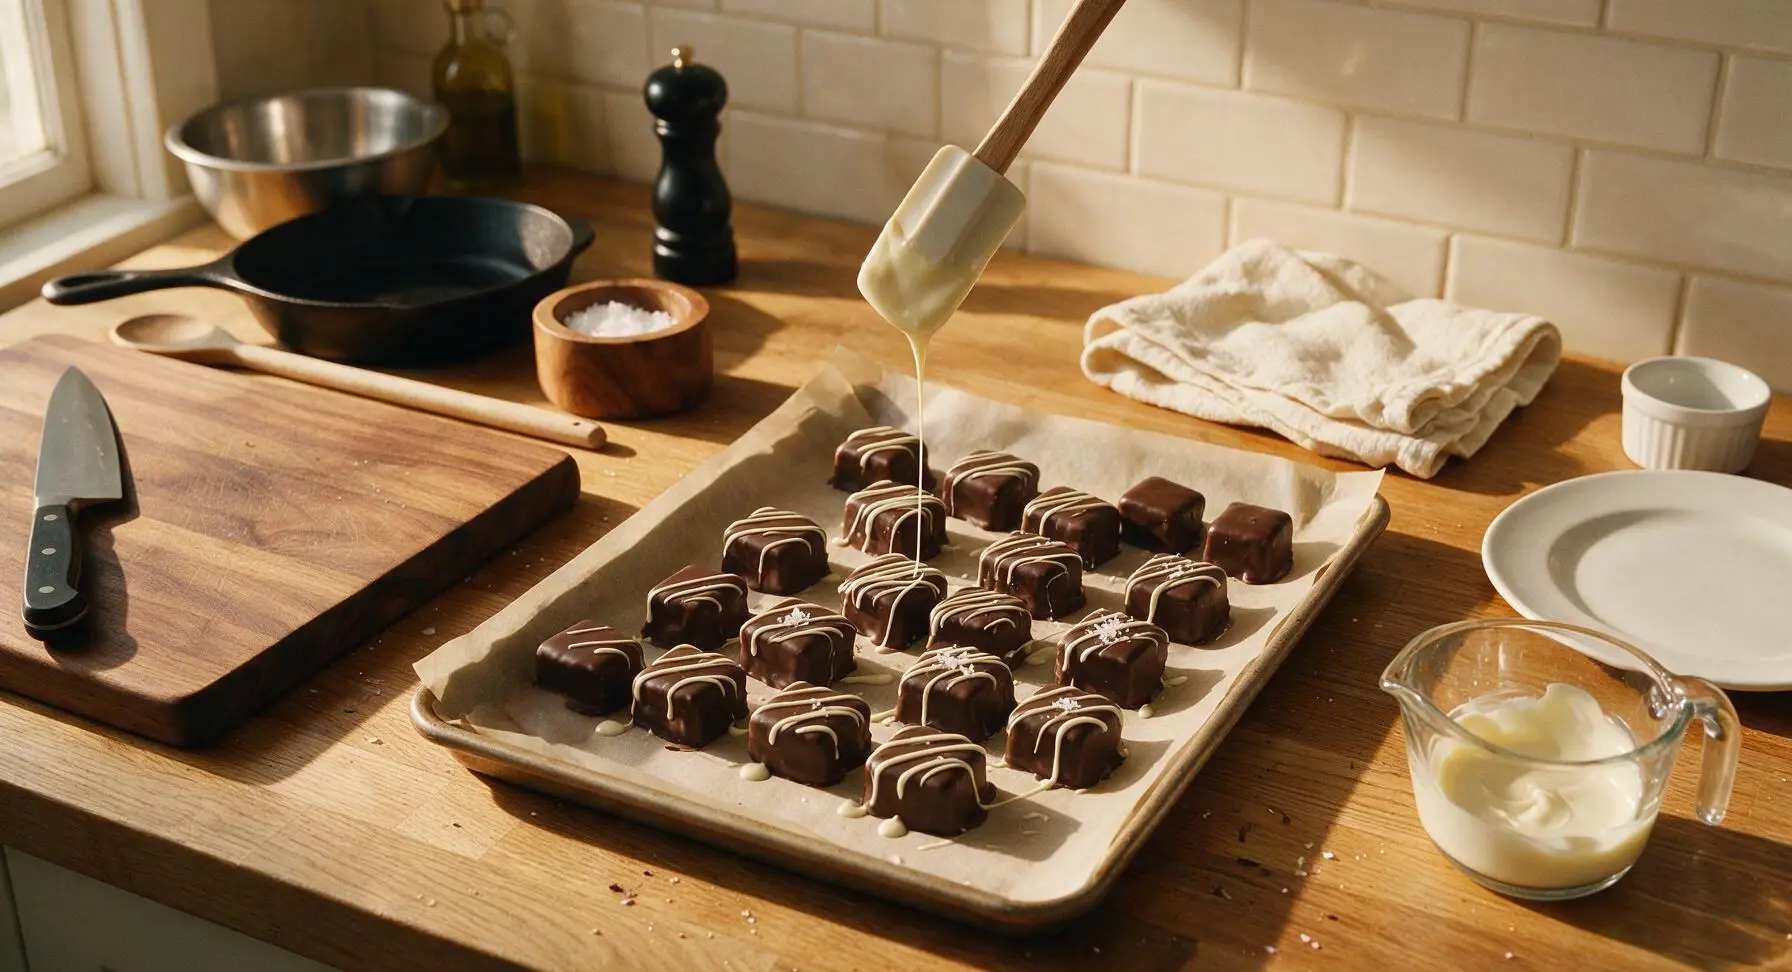
Let Chocolate Set Firm
Leave the tray of marshmallows undisturbed in a cool, dry spot at room temperature (65-68°F / 18-20°C) for 45 minutes to 1 hour, until the chocolate is completely firm to the touch with no sticky or soft spots. Do not refrigerate the marshmallows, as cold temperatures cause condensation that leads to dull, gray chocolate bloom and soggy marshmallow texture.
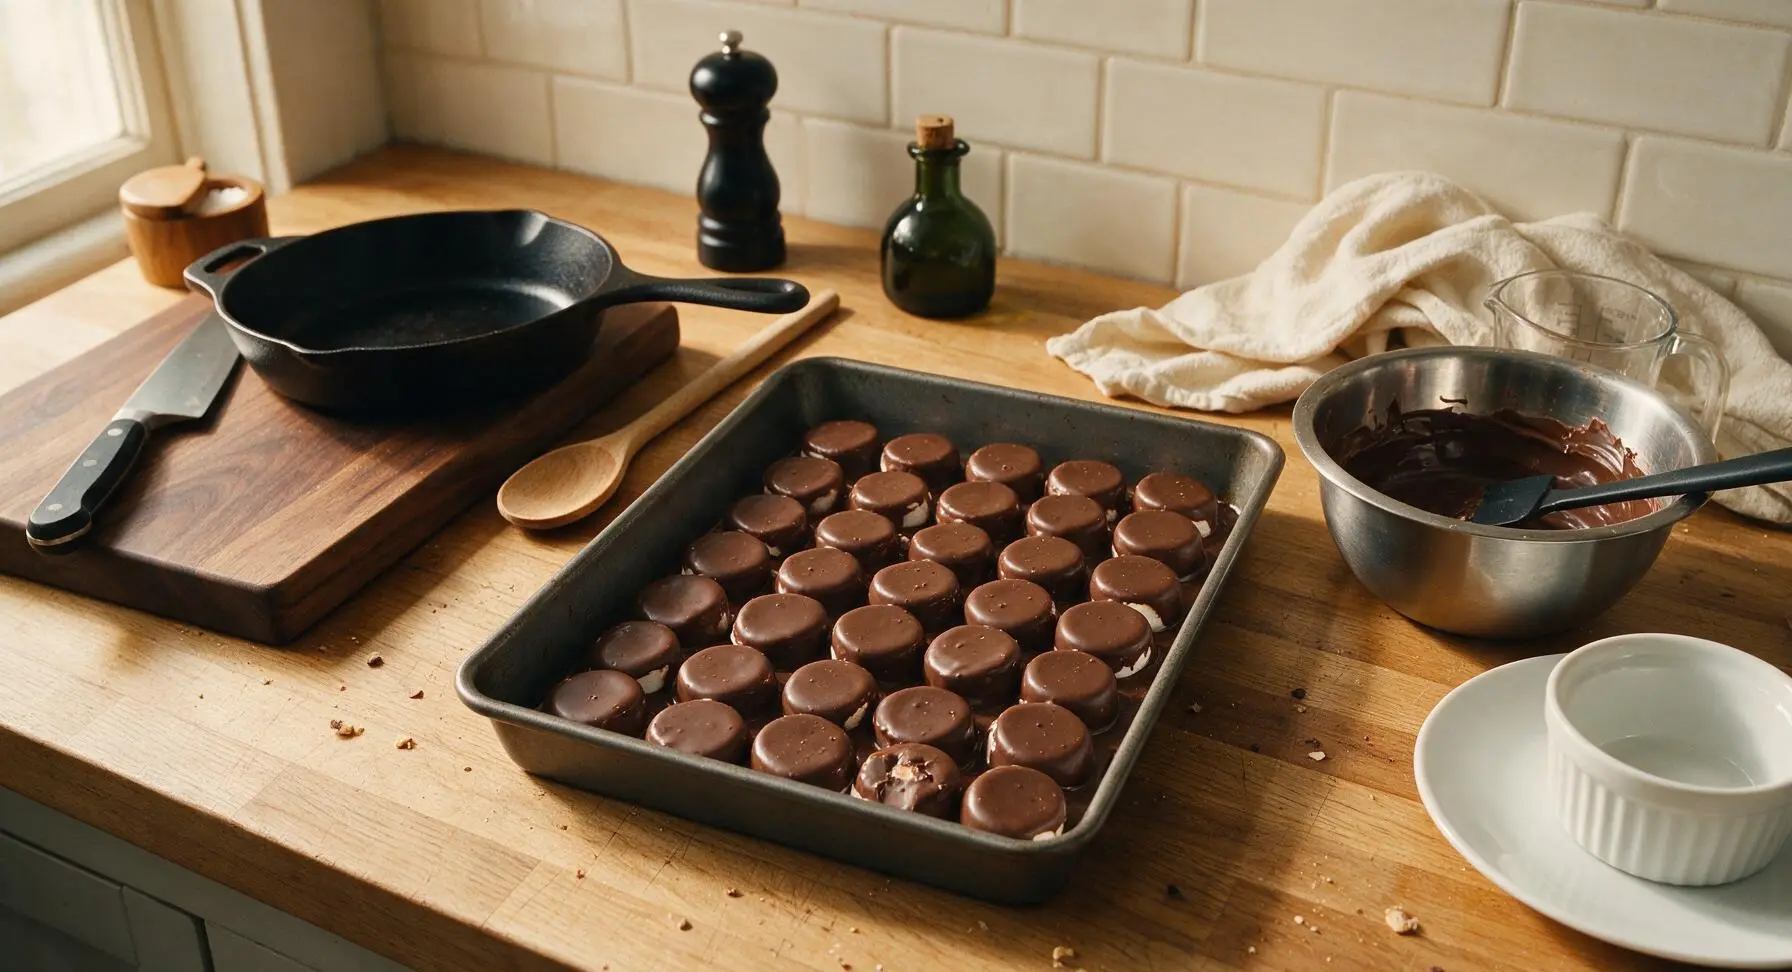
Arrange For Serving
Once chocolate is fully set, carefully peel each marshmallow off the parchment paper, and arrange them in a loose, overlapping circle on the round matte white ceramic serving platter. Serve immediately, or transfer to an airtight container stored at cool room temperature for up to 5 days; these make excellent gifts when bagged in clear cellophane tied with bakers twine.
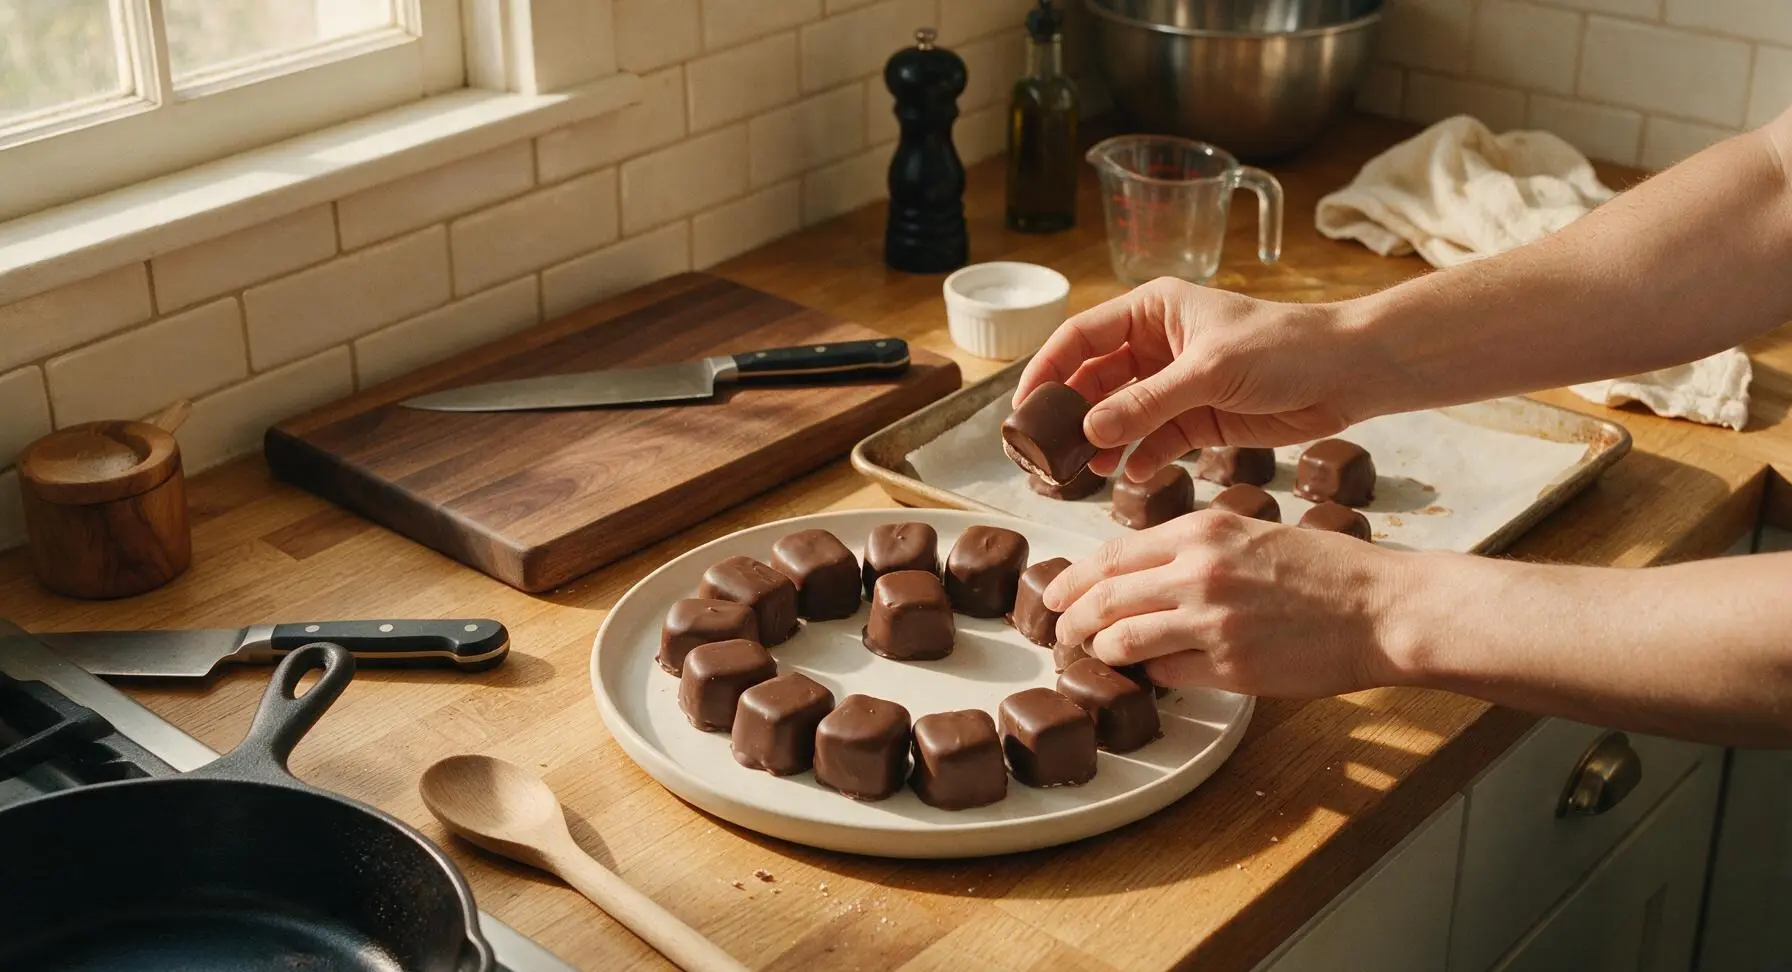
Tips
2.Avoid refrigerating marshmallows to set chocolate: cold temperatures create condensation on the chocolate surface, leading to dull, gray sugar bloom and soggy marshmallows. A cool, dry room temperature spot produces the shiniest, snappiest chocolate coating.
3.For extra-sturdy marshmallow pops that don’t slide off the stick, dip the tip of each lollipop stick in melted chocolate before inserting it into the marshmallow, and let it set for 2 minutes before dipping. The hardened chocolate acts as a glue to lock the marshmallow in place.






OMG these chocolate covered marshmallows were such a game changer for my youngest’s soccer team snack last weekend! I stuck little popsicle sticks in them, added rainbow sprinkles before the chocolate set, and every single kid begged for seconds. So easy to throw together too, I didn’t even break a sweat even with 10 minutes left before we had to leave for the field. 10/10 will be making these for our next potluck too!
These are SO good! I thought I’d mess them up since I’m terrible at candy making, but 15 minutes total? No fancy equipment needed? I even tossed some crushed graham cracker crumbs on half to make s’mores bites and my roommate ate half the batch in one sitting. Will definitely be adding these to my weekly meal prep sweet treat rotation.
Made these for our weekend trailhead snack stop with our hiking group, they held up way better than I thought they would even in the slightly warm weather. I used dark chocolate and a tiny sprinkle of sea salt on top, perfect little energy pick-me-up when we hit the overlook. Super easy to pack too!
Brought these to our office potluck yesterday and people were asking me for the recipe before I even set the plate down! I did a mix of toppings: crushed peppermint on some, toffee bits on others, even a few with mini M&Ms. The only problem was I didn’t make enough—they were gone in 5 minutes flat.
Y’all, I am not a baker by any stretch of the imagination but these came out perfect first try! I used mini marshmallows instead of the big ones so they were bite-sized, dipped them in semi-sweet chocolate, and added a little flaky salt on top. My partner said they taste better than the fancy ones we got at the chocolate shop downtown for Valentine’s Day. No cap, this recipe is a keeper.