
Chocolate Covered Oreos

title 1
Chocolate Covered Oreos
⏱️ cook time 5 minutes (plus 30 minutes chill/setting time)
🍽️ servings 24
⚡ Difficulty easy

intro

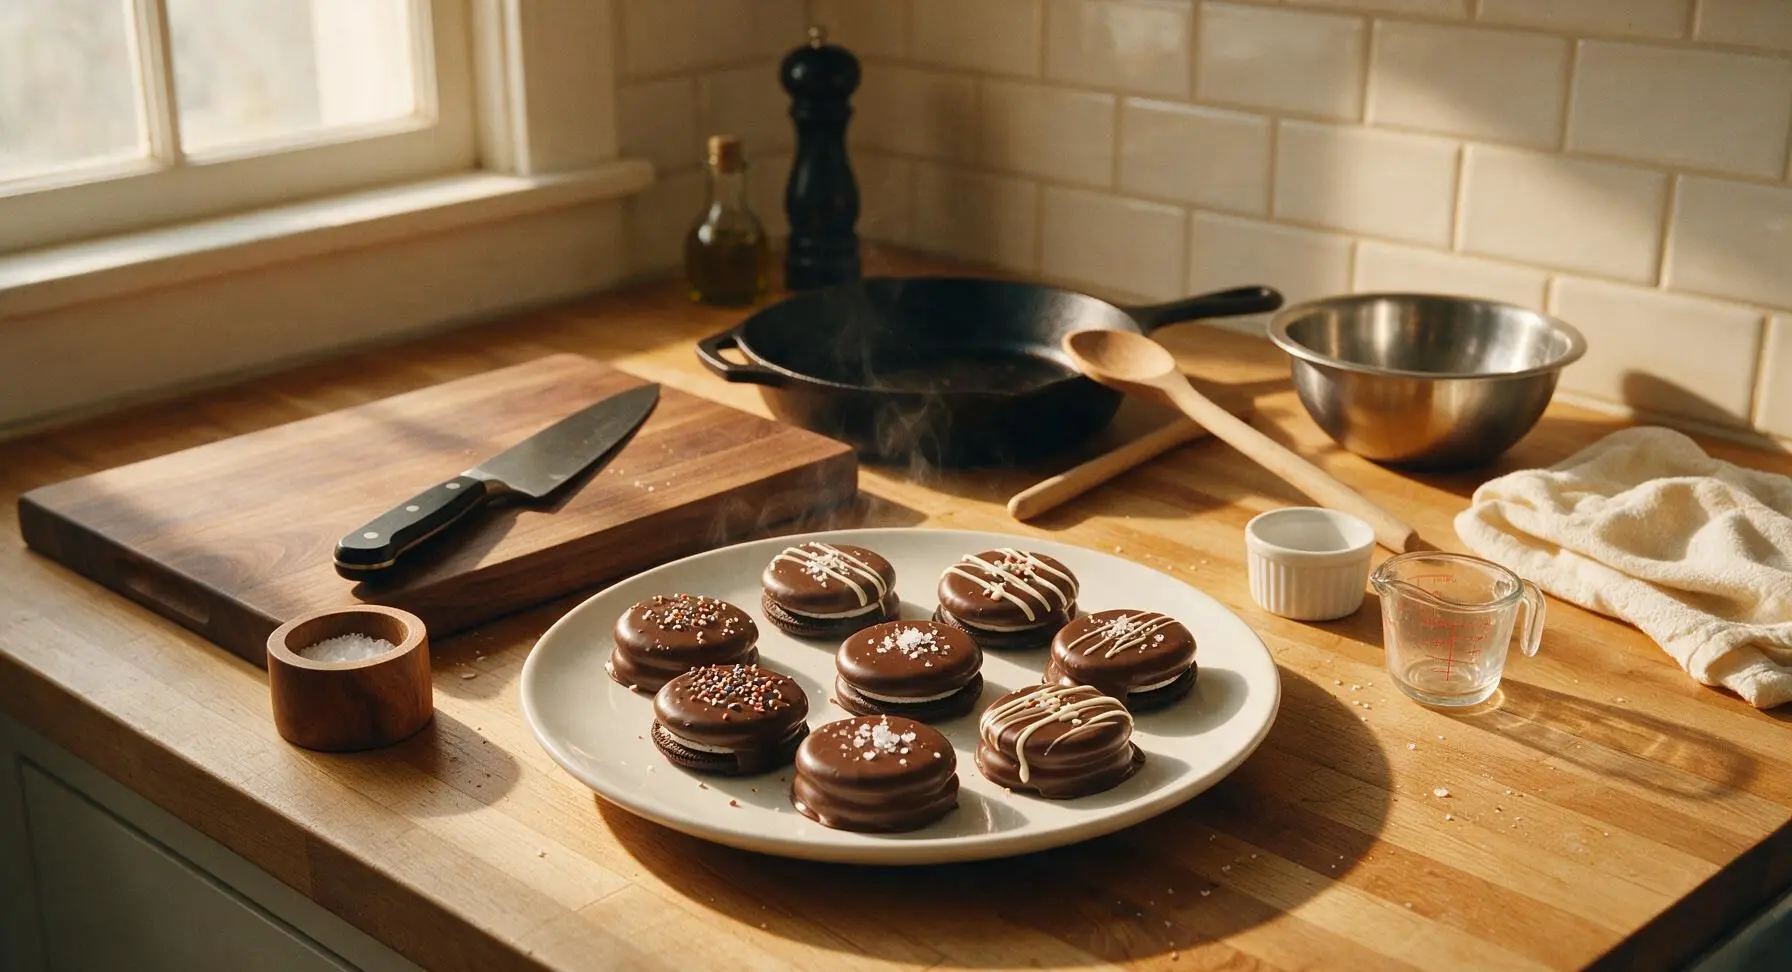
Crunchy, cream-filled Oreo cookies enrobed in smooth glossy chocolate, topped with flaky salt, sprinkles, or white chocolate drizzle for a fun, shareable no-bake treat perfect for holiday gifting.

Ingredients
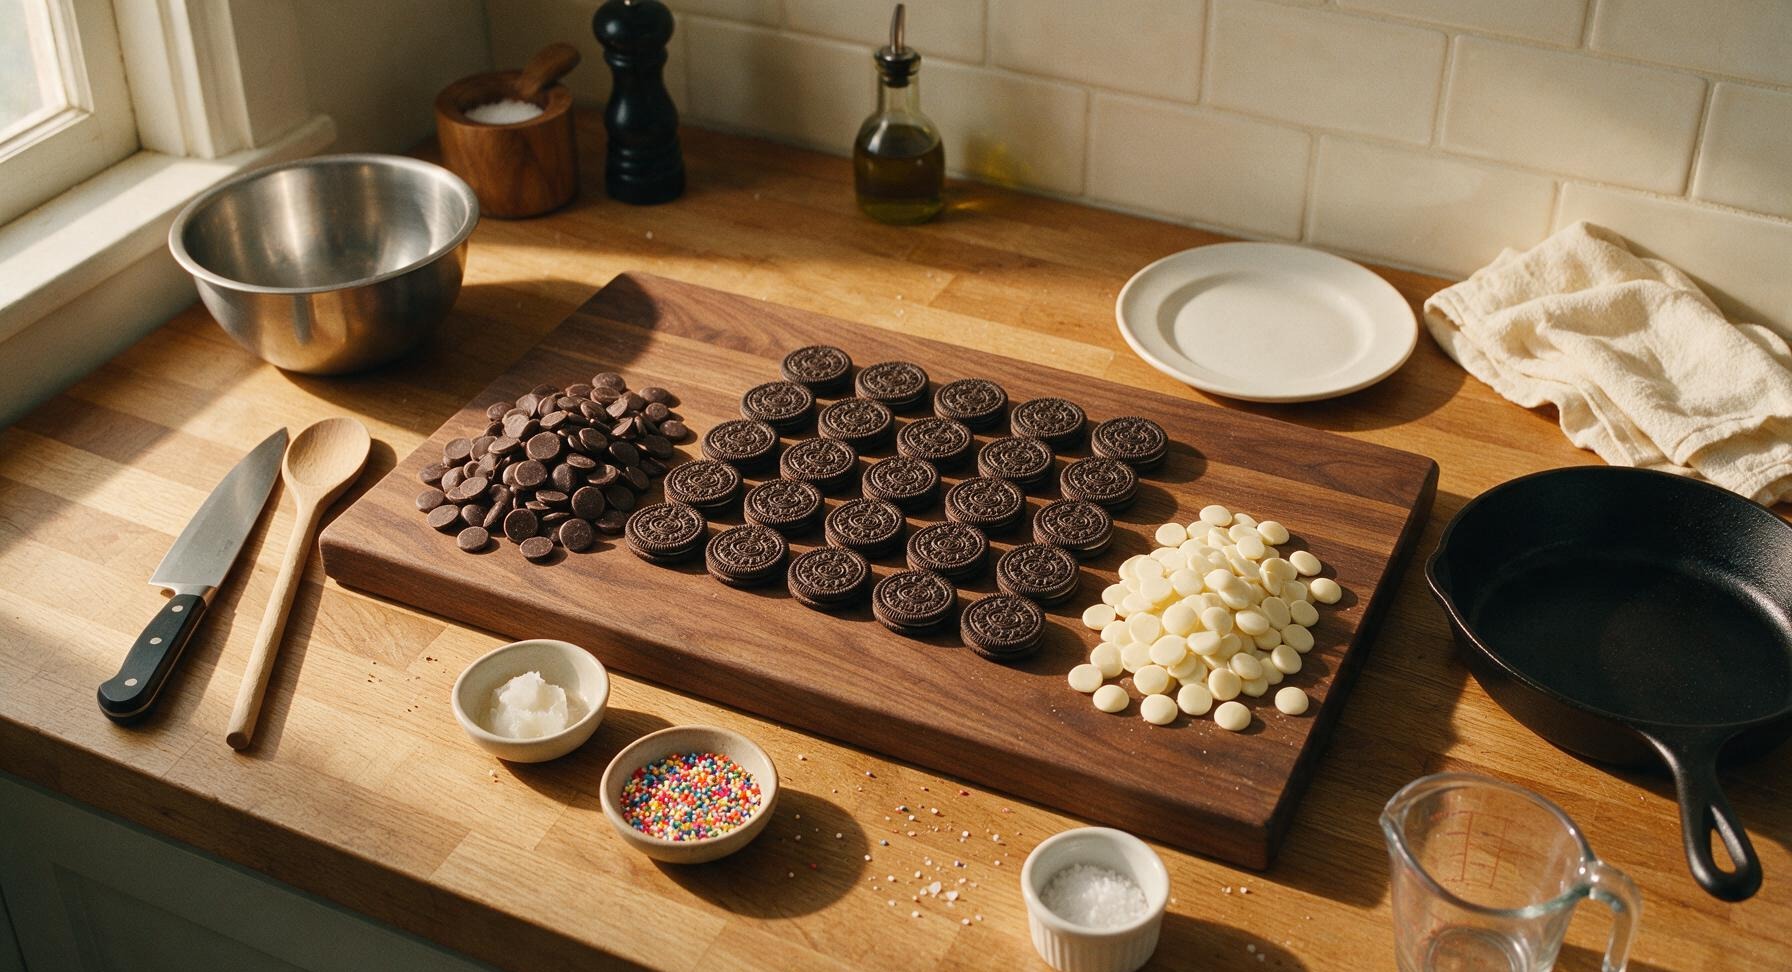
Original Oreo chocolate sandwich cookies 24 cookies
Semi-sweet chocolate melting wafers 340g (12oz)
White chocolate melting wafers 113g (4oz)
Unrefined coconut oil 2 tsp, divided
Rainbow nonpareil sprinkles 2 tbsp
Flaky sea salt 1 tsp

Steps

1

Prep Dipping Station

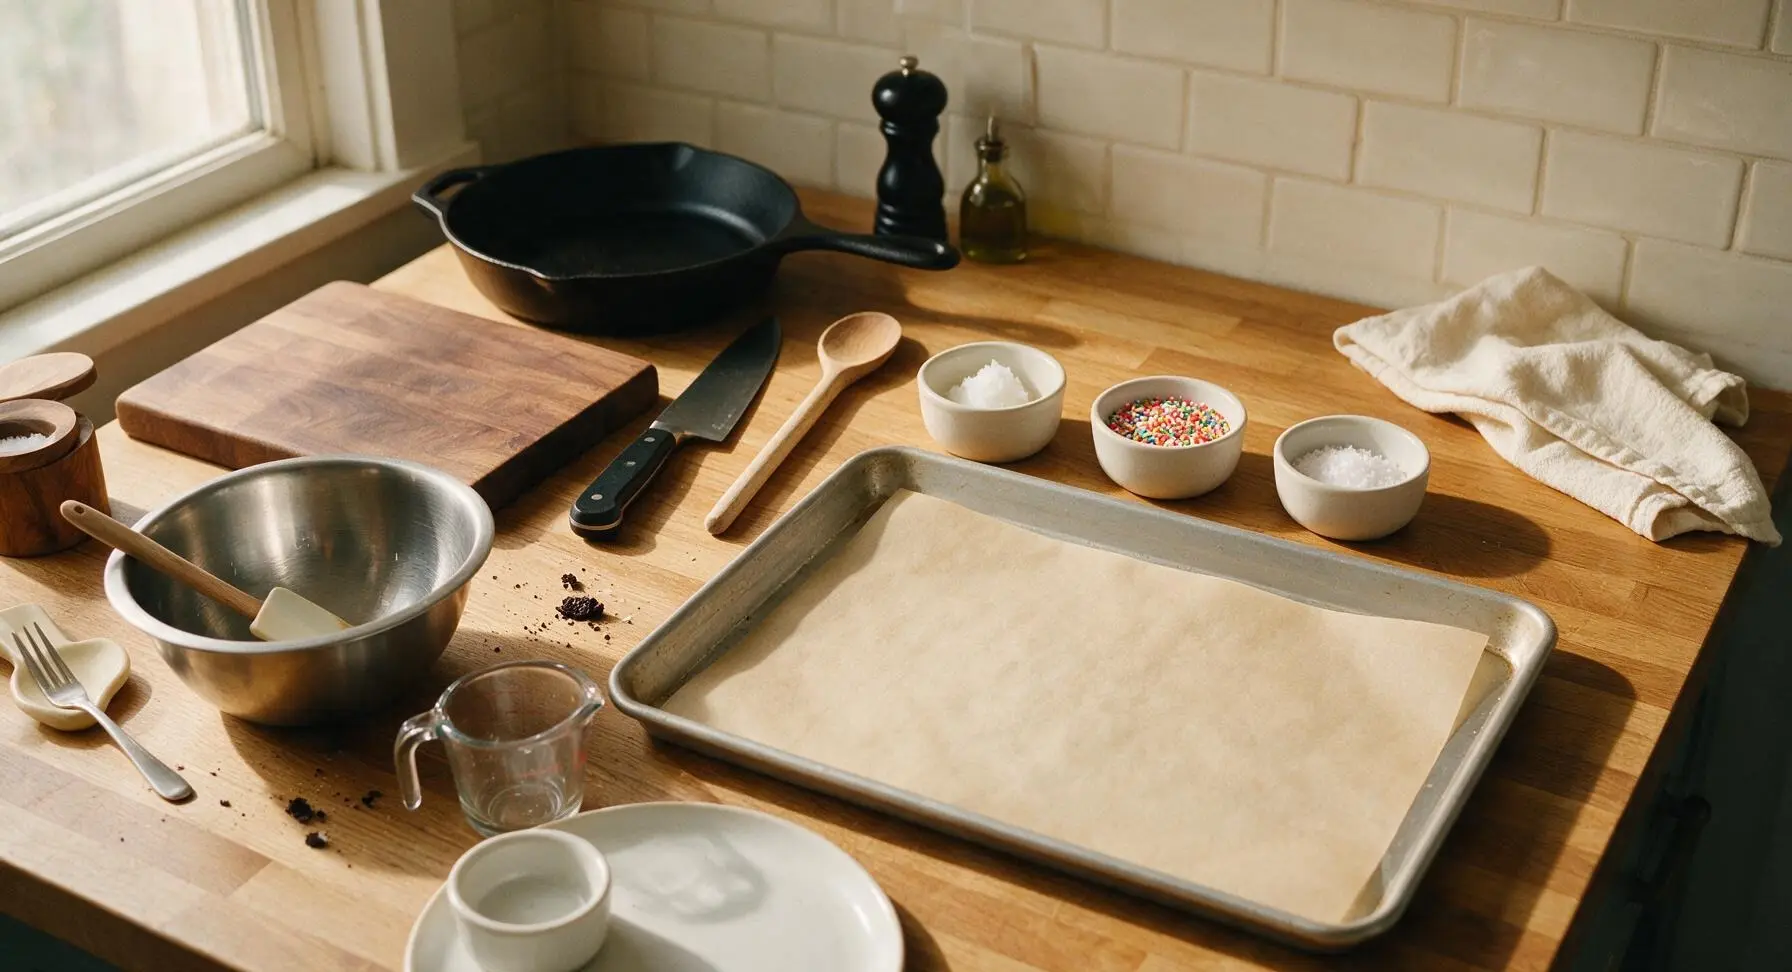
Line the rimmed aluminum baking sheet with a sheet of unbleached parchment paper, smoothing out any wrinkles to create a flat surface. Place the three small matte white ramekins in a row above the baking sheet, filling one with 2 tbsp rainbow sprinkles, one with 1 tsp flaky sea salt, and one with 2 tsp divided coconut oil. Ensure all tools are completely dry, as even a single drop of water will cause melted chocolate to seize into a thick, unusable grainy paste.
Step 1
step1:Prep Dipping Station
2

Melt Dark Chocolate

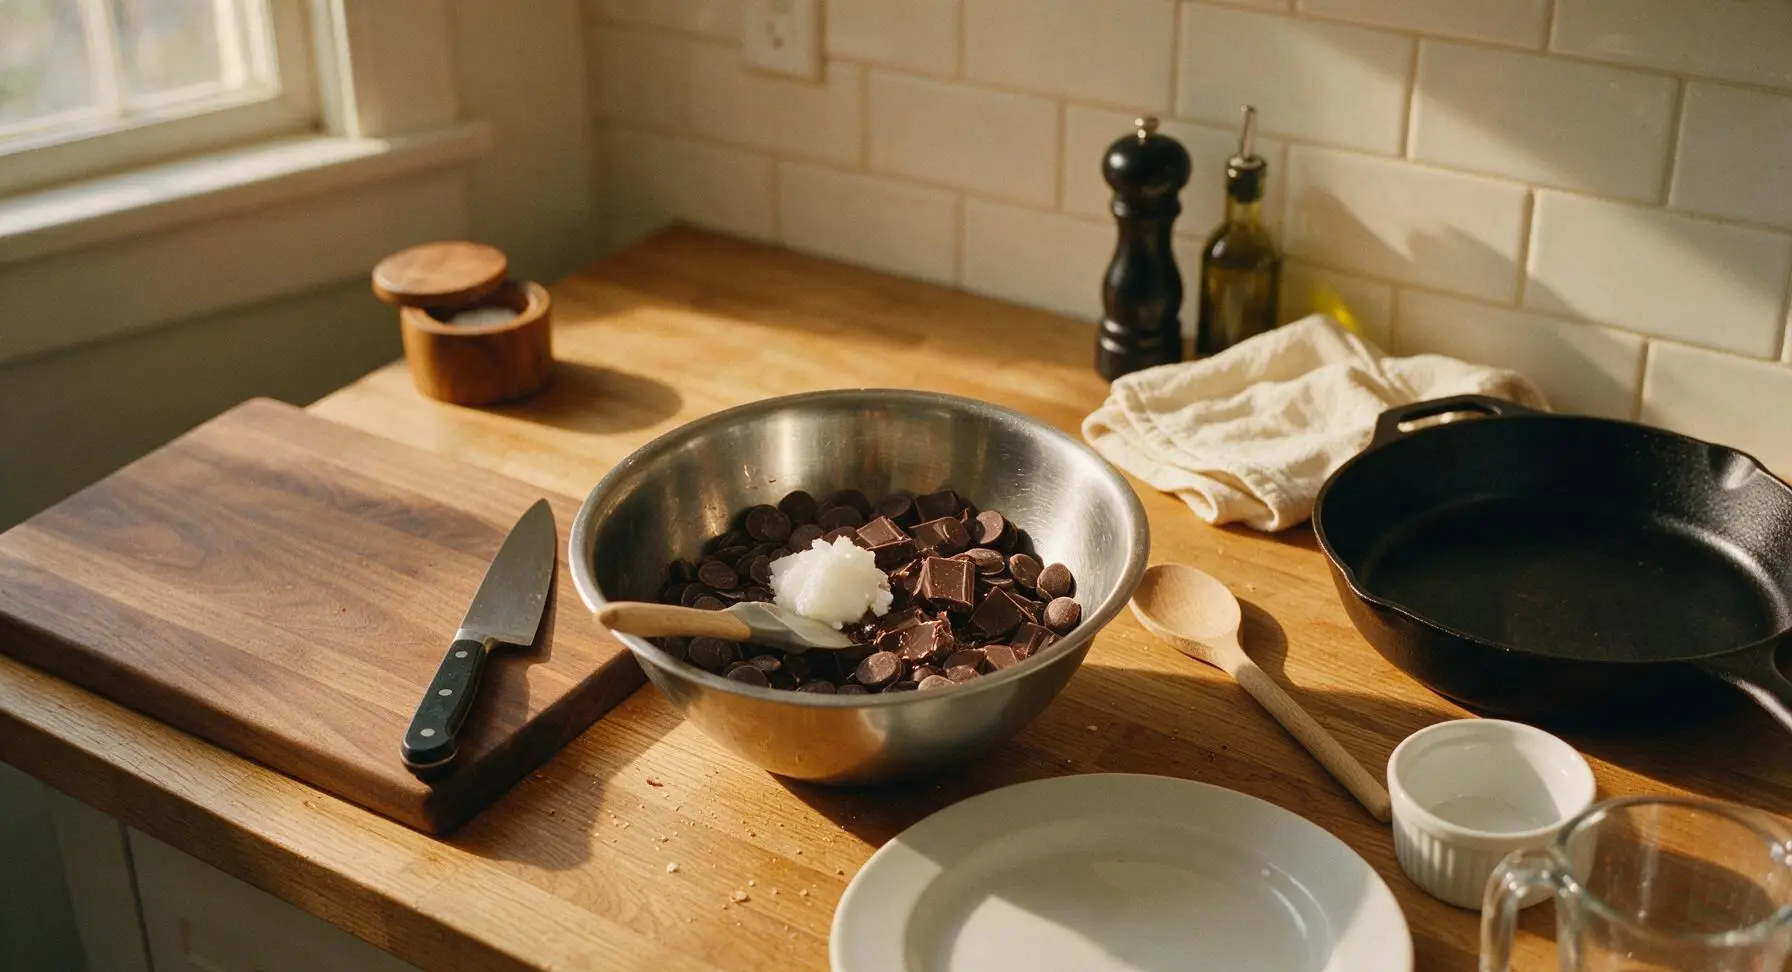
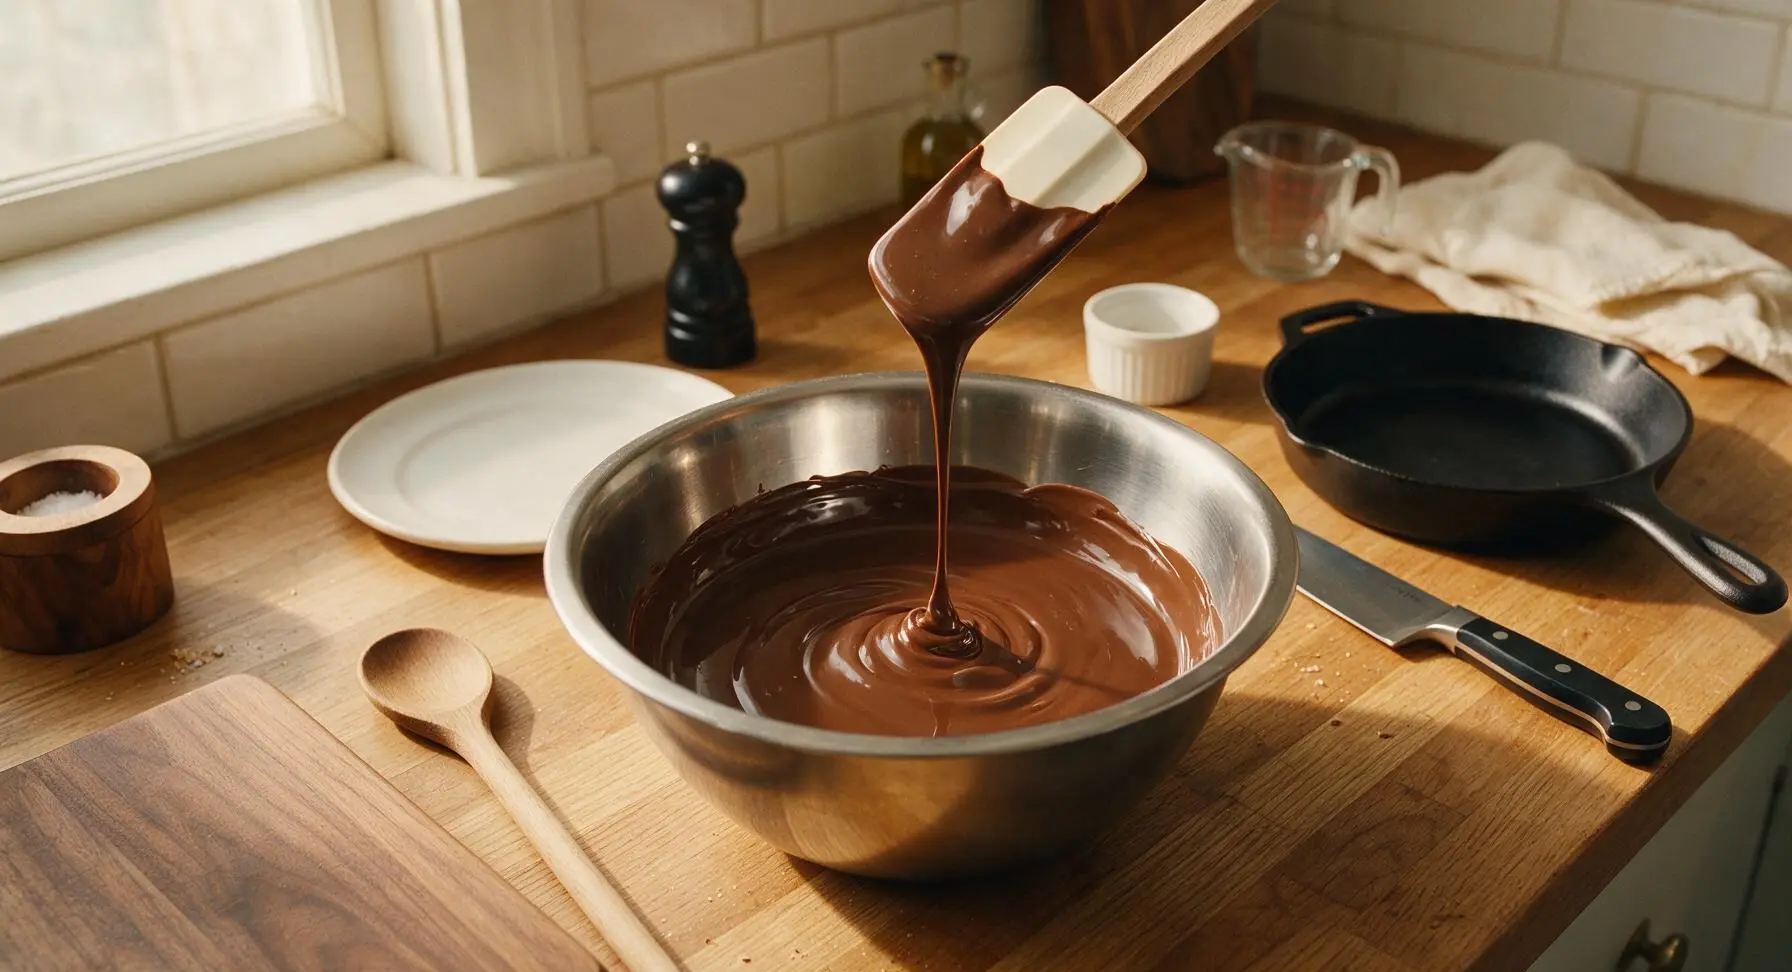
Place 340g (12oz) semi-sweet chocolate wafers and 1.5 tsp coconut oil in the medium stainless steel mixing bowl. Microwave in 30-second bursts at 50% power, stirring thoroughly with the silicone spatula between each burst, for a total of 1.5 to 2 minutes. Stop heating when the chocolate is 90% melted with only small soft lumps remaining, then stir continuously for 1 minute until the remaining lumps dissolve into a smooth, glossy liquid that falls in a thin ribbon from the spatula. Do not overheat, as this will cause the chocolate to burn and turn grainy.
Step 2
step2:Melt Dark Chocolate
Step 2
step2:Melt Dark Chocolate
3

Coat Oreos Evenly

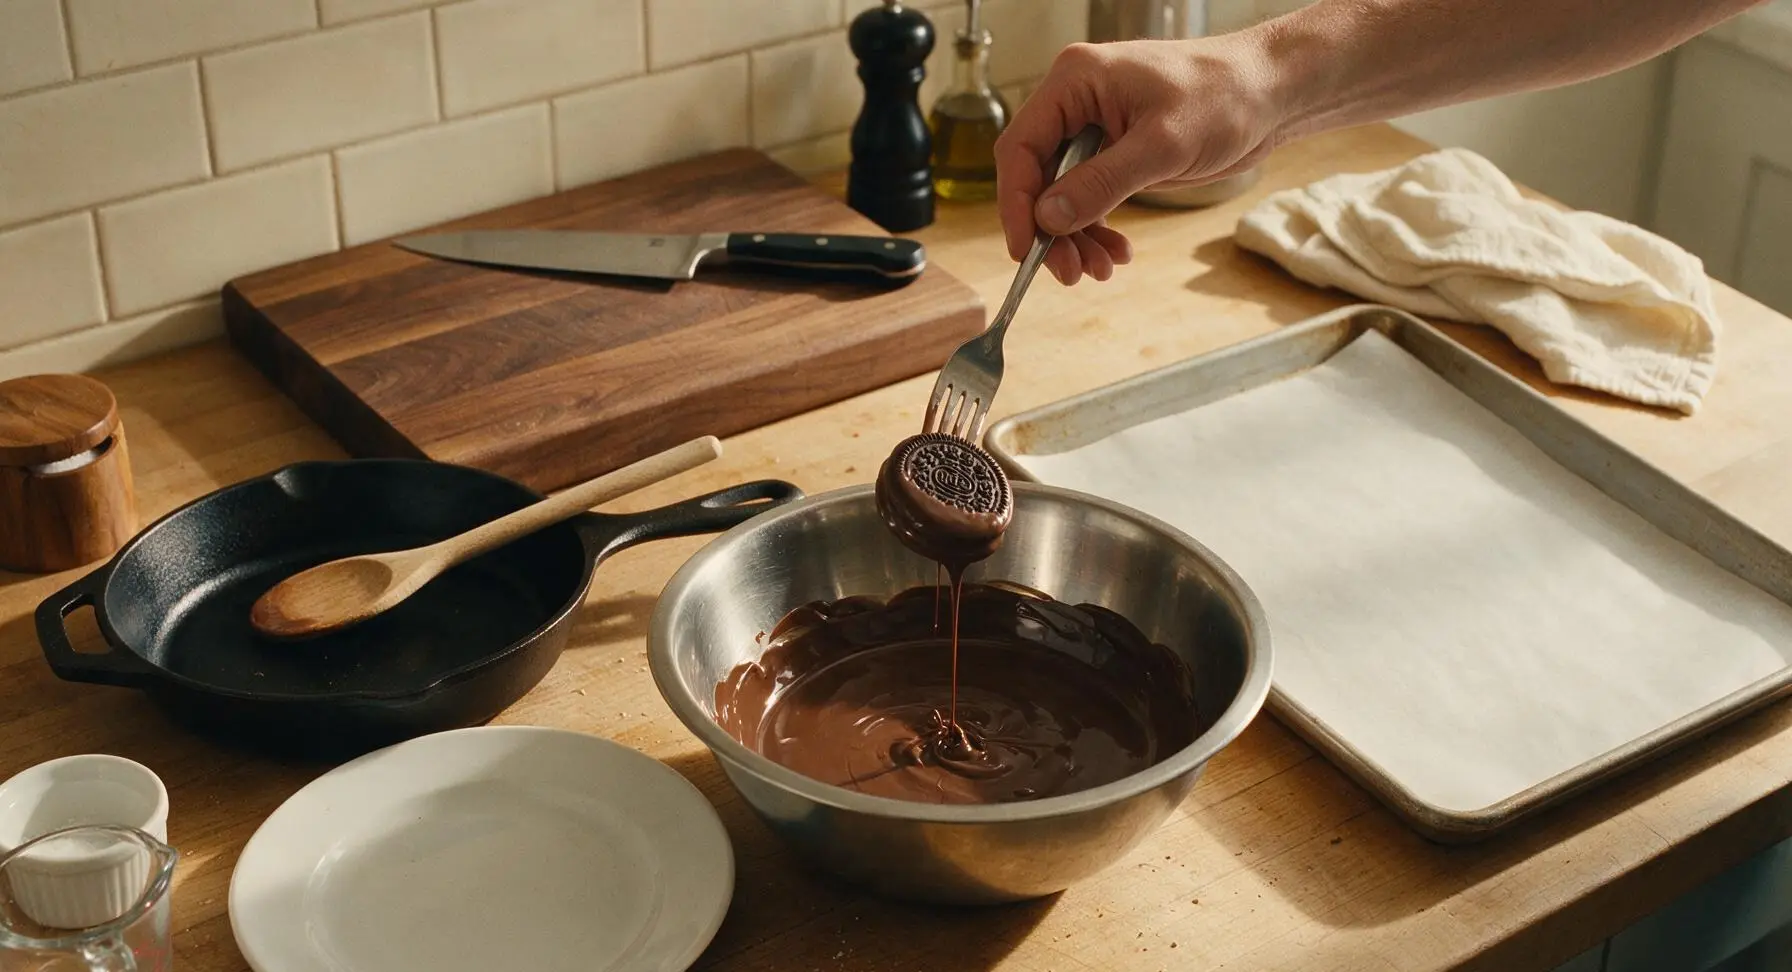
Working one at a time, drop an Oreo cookie fully into the melted semi-sweet chocolate. Use the stainless steel fork to press the cookie gently to ensure it is fully submerged, then lift the cookie out of the chocolate, holding it 5cm above the bowl to let excess chocolate drip off for 10 to 15 seconds. Tap the fork lightly against the edge of the bowl 2-3 times to remove any remaining thick chocolate drips, creating a thin, even coating around the cookie with no thick pooled chocolate at the bottom.
Step 3
step3:Coat Oreos Evenly
4

Set Dipped Cookies

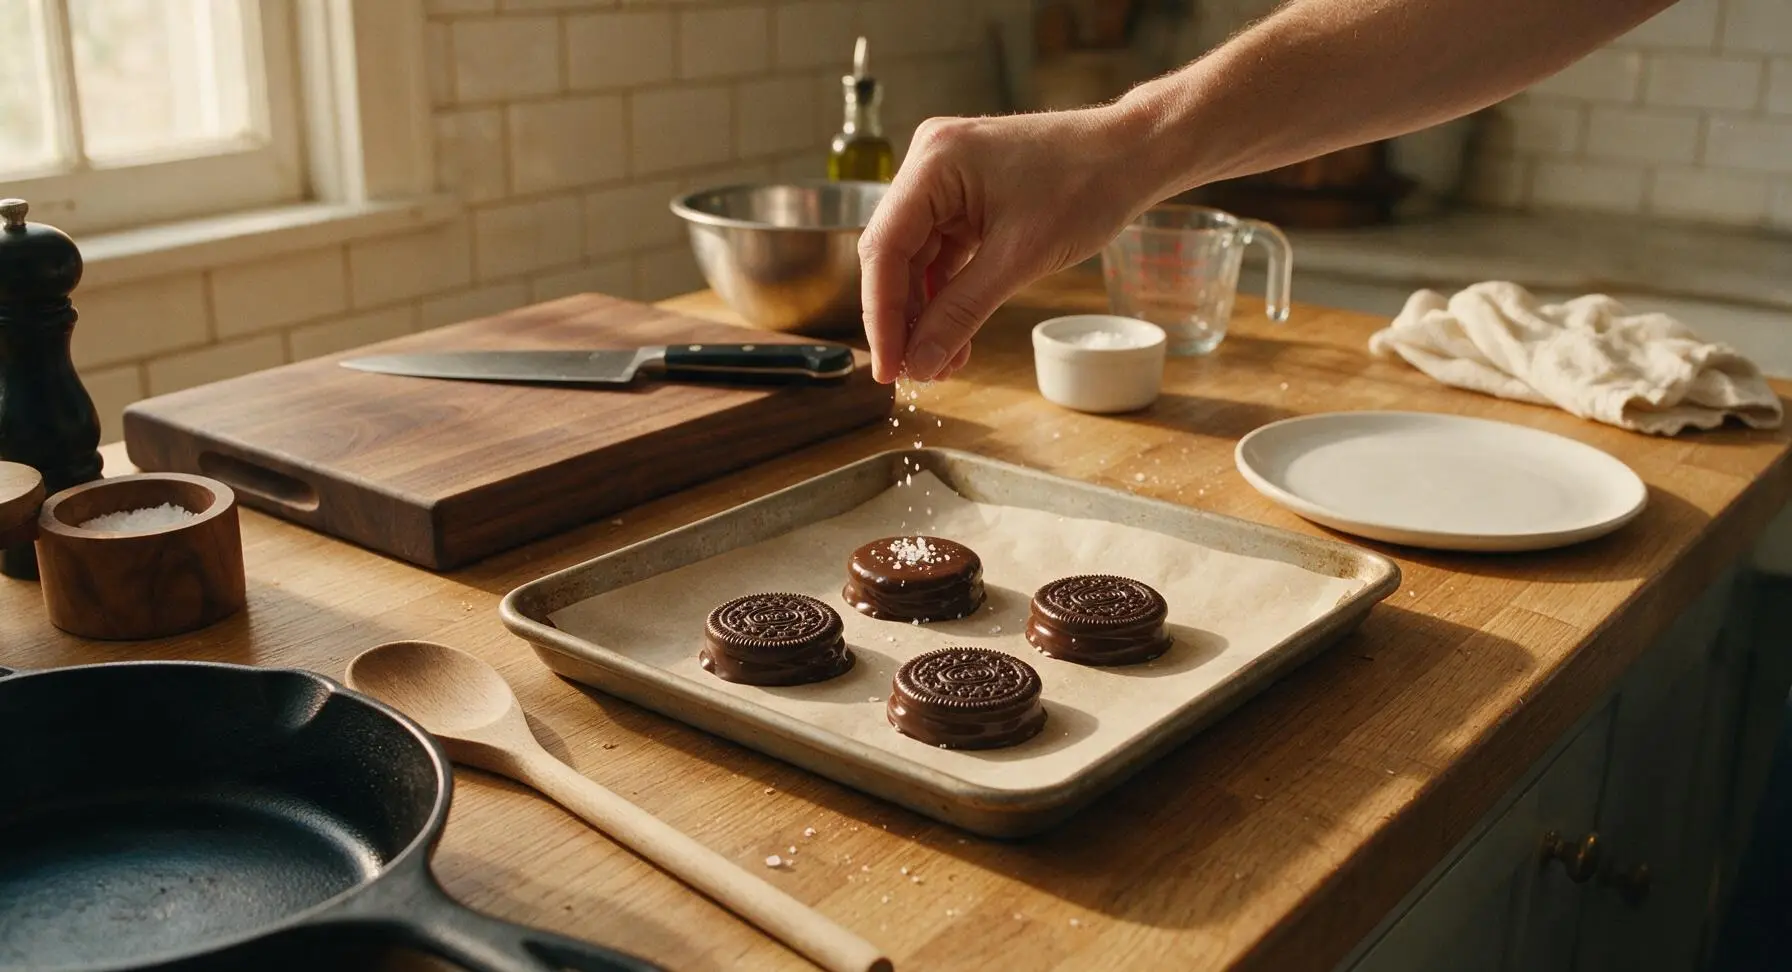
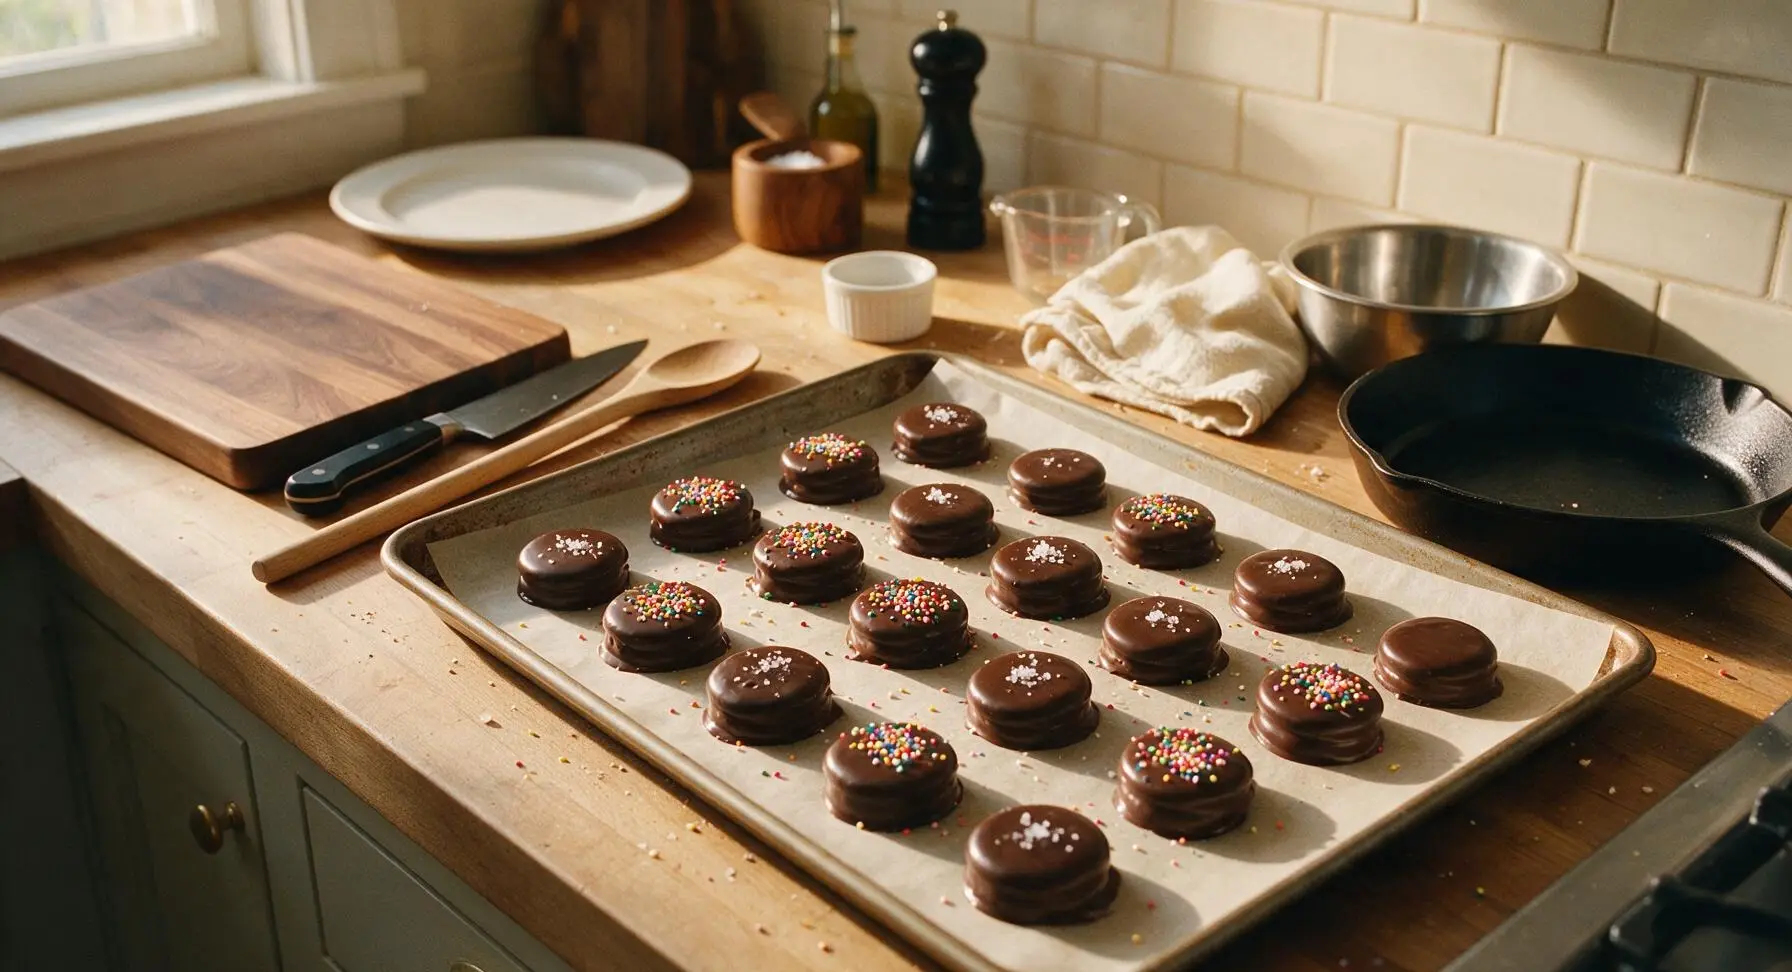
Carefully tilt the fork to slide the chocolate-coated Oreo off the tines and onto the parchment-lined baking sheet, leaving 2cm of space between each cookie to prevent sticking. After placing every 3 to 4 cookies, add toppings immediately while the chocolate is still wet and glossy: sprinkle some with rainbow nonpareils, a light pinch of flaky sea salt on others, and leave one third of the cookies plain for white chocolate drizzle later. Do not wait to add toppings, as the chocolate will set in 5-7 minutes at room temperature and sprinkles will not adhere.
Step 4
step4:Set Dipped Cookies
Step 4
step4:Set Dipped Cookies
5

Melt White Chocolate

Place 113g (4oz) white chocolate melting wafers and the remaining 0.5 tsp coconut oil in the small clear glass bowl. Microwave in 20-second bursts at 50% power, stirring between each burst, for 45 to 60 seconds total. Stir until completely smooth, taking extra care not to overheat white chocolate, as it burns more easily than semi-sweet chocolate and will develop a lumpy, chalky texture if overheated.
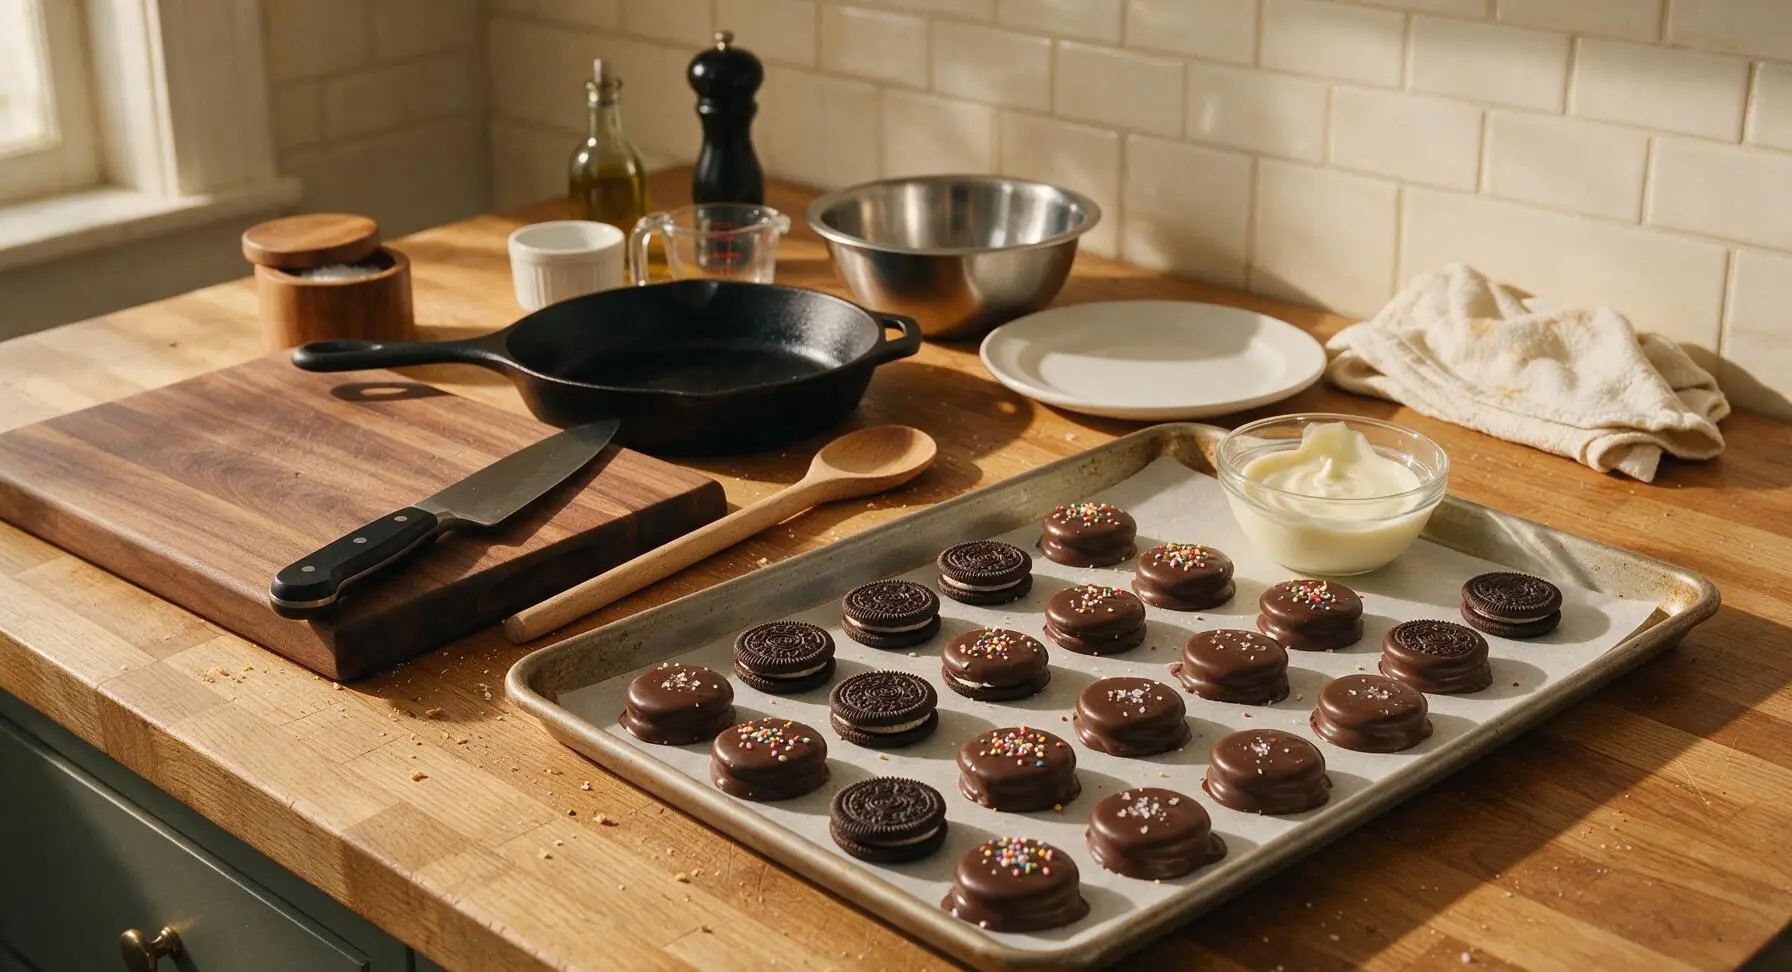
Step 5
step5:Melt White Chocolate
6

Add White Chocolate Drizzle

Dip the tines of the stainless steel fork into the melted white chocolate, then hold the fork 15cm (6 inches) above the plain set chocolate Oreos. Wave the fork back and forth quickly in a side-to-side motion to create thin, zig-zagging drizzle lines across the cookie surfaces. Let the drizzle set for 5 minutes at room temperature, or chill for 10 minutes in the refrigerator to speed setting, until the drizzle is no longer sticky to the touch.
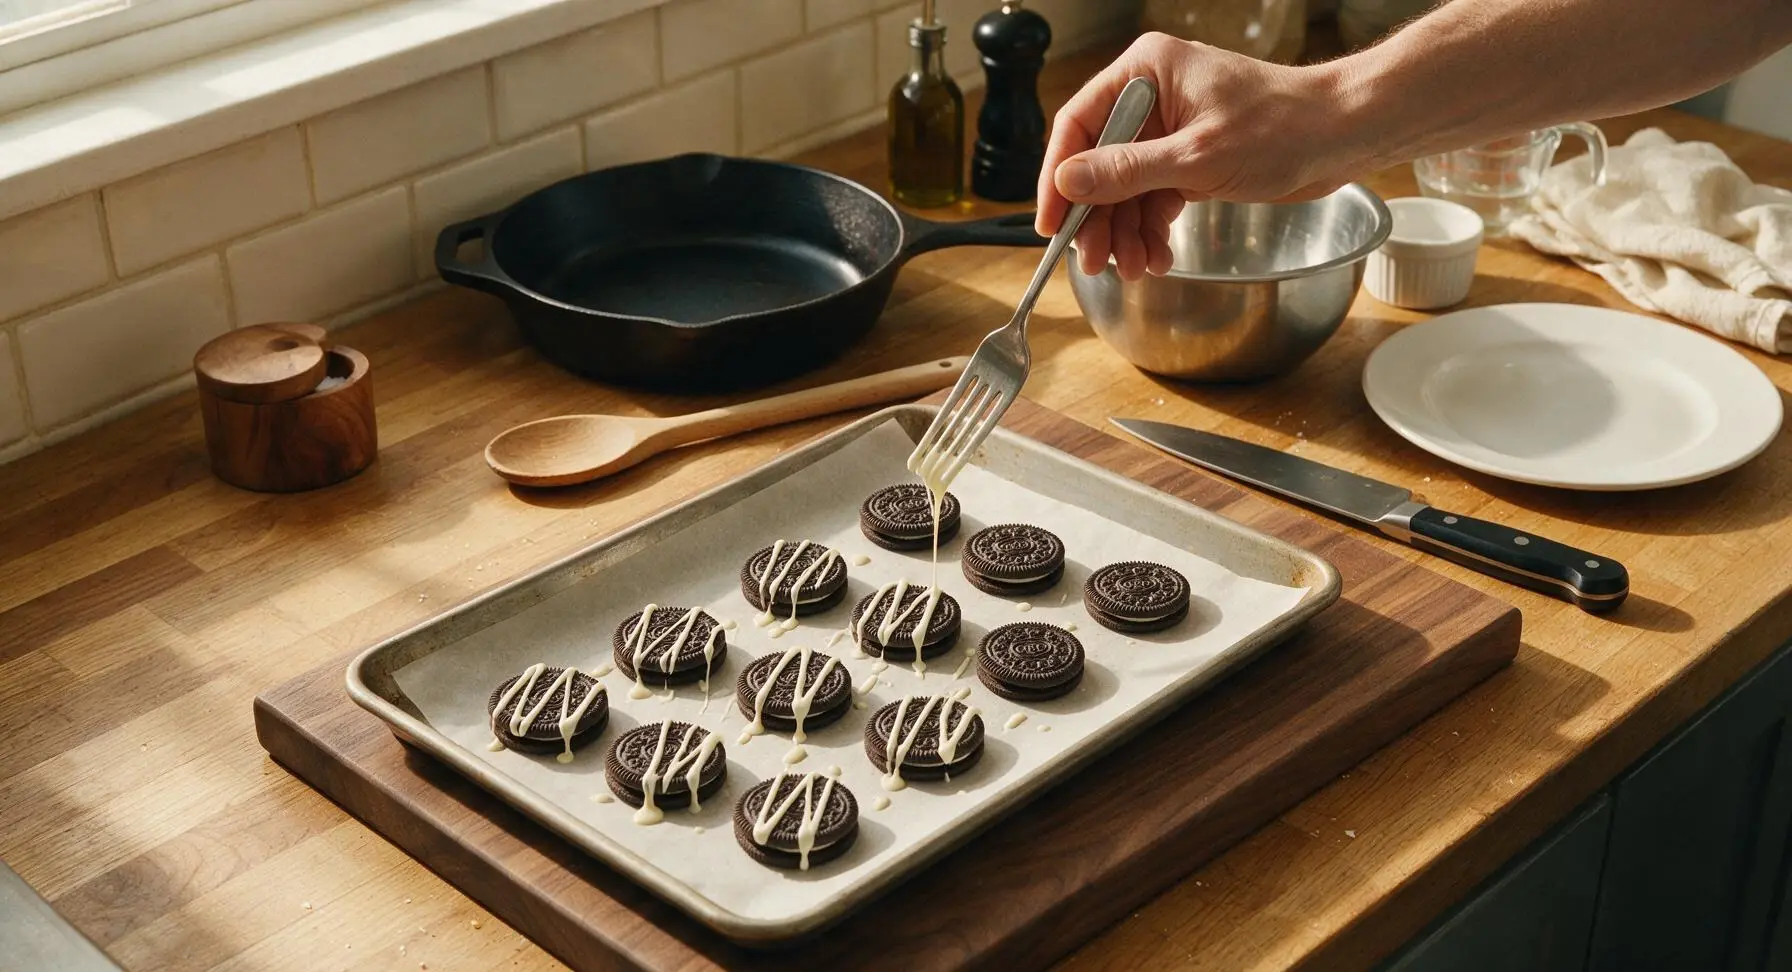
Step 6
step6:Add White Chocolate Drizzle
7

Chill Until Firm

Transfer the entire baking sheet of decorated chocolate covered Oreos to the refrigerator for 20 minutes, until the chocolate is completely firm to the touch with no soft or sticky spots when lightly pressed with a fingertip. Do not leave the cookies in the refrigerator for longer than 30 minutes, as condensation can form on the chocolate surface and cause dull white sugar bloom when brought back to room temperature.
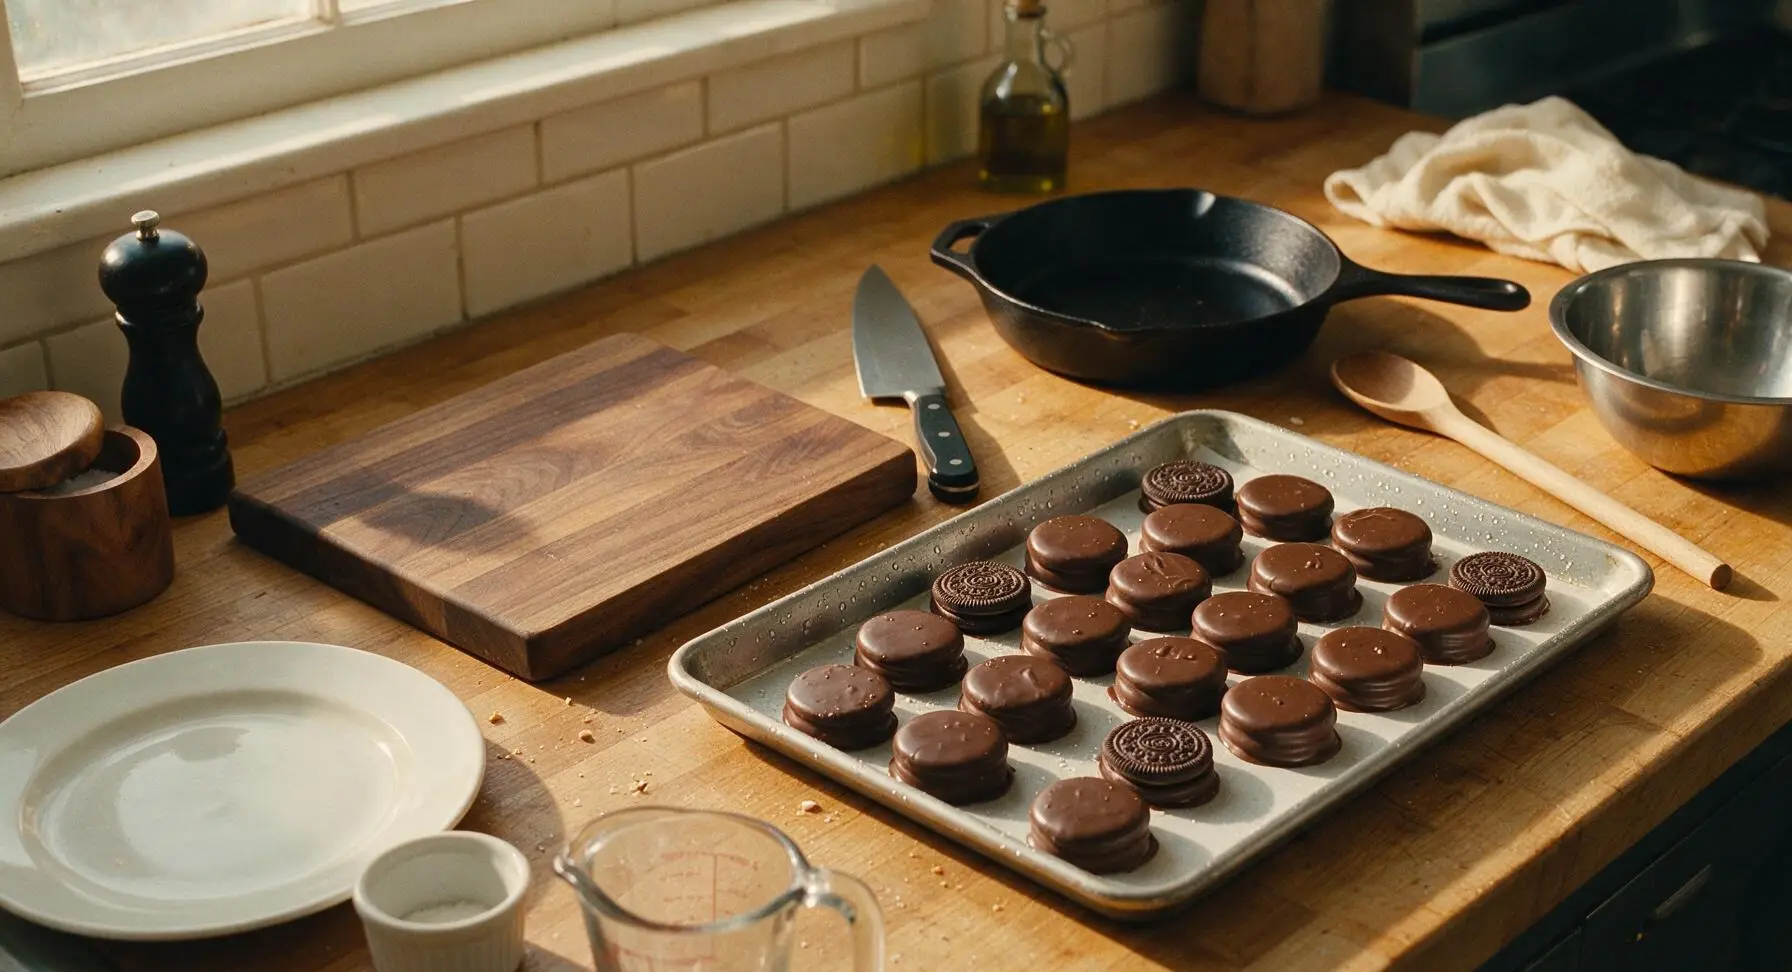
Step 7
step7:Chill Until Firm
8

Plate Finished Cookies

Once fully set, carefully lift each chocolate covered Oreo off the parchment paper and arrange them in an overlapping circle on the large white ceramic serving platter. Cookies can be stored in an airtight container at cool room temperature (15-18°C / 60-65°F) for up to 1 week, separated by layers of parchment paper to prevent sticking.
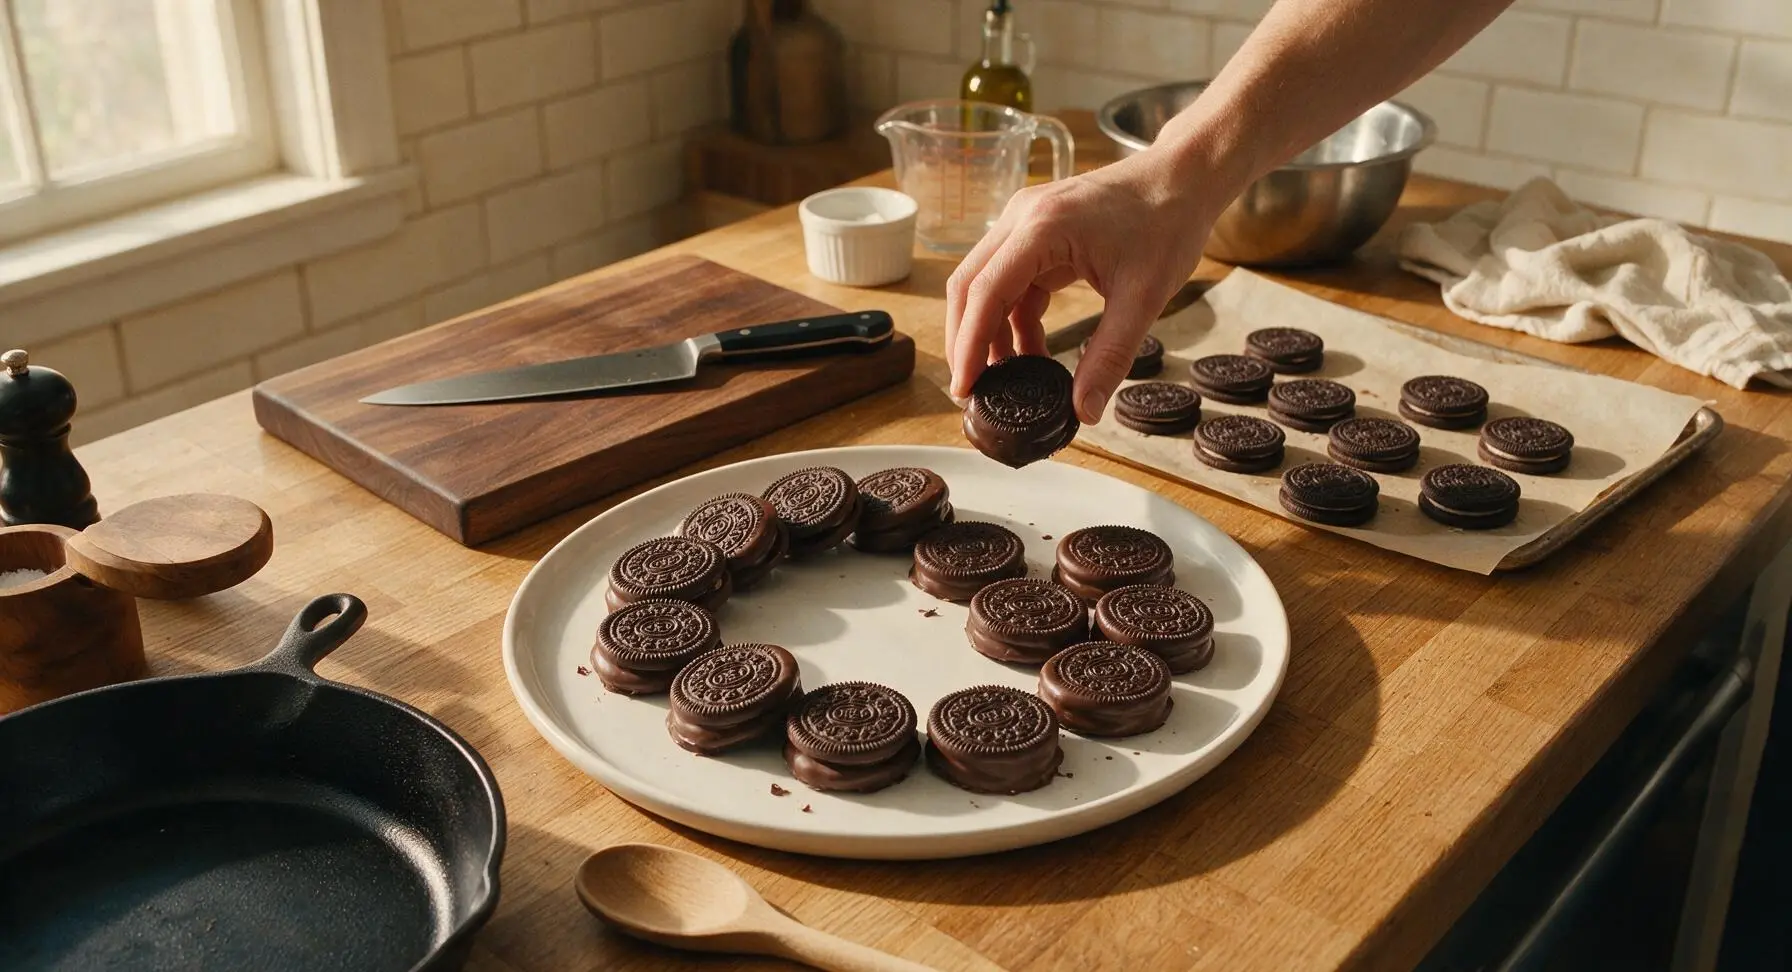
Step 8
step8:Plate Finished Cookies

Tips

1.Use chocolate melting wafers instead of regular chocolate bars for dipping: wafers are formulated to set smoothly and firmly without careful tempering, making them far more forgiving for beginner bakers. Regular chocolate bars require precise temperature control to avoid a dull, soft finish that melts easily at room temperature.
2.Ensure all bowls and utensils are completely dry before melting chocolate: even a single drop of water will cause melted chocolate to seize into a thick, grainy paste that cannot be used for smooth dipping. If seizing occurs, stir in 1 tsp of solid coconut oil to help smooth the chocolate back out.
3.Avoid leaving dipped cookies in the refrigerator for longer than 30 minutes: extended chilling causes condensation to form on the chocolate surface, which leads to dull white sugar bloom when the cookies return to room temperature. For the shiniest finish, let cookies set at cool room temperature if time allows.


✨ You May Also Like

Desserts & Baking
🍜 Italy

Creamy, coffee-kissed classic Northern Italian no-bake dessert, with layers of rum-spiked mascarpone cream, soft ladyfingers, and a rich cocoa dusting.

⏱️ 4 hours 3Desserts & Baking ★ 4.7
Desserts & Baking
🍜 France

Flaky, shatteringly crisp, buttery French croissants with golden exteriors and soft, airy layered interiors, perfect for pairing with coffee for a special morning treat.

⏱️ 12 hours Desserts & Baking ★ 4.5
Desserts & Baking
🍜 United States

Warm, spiced baked apples topped with a fluffy golden biscuit crust, this cozy dessert pairs perfectly with vanilla ice cream for cool-weather comfort.

⏱️ 55 minuteDesserts & Baking ★ 4.6
Desserts & Baking
🍜 United States

A star-spangled classic American blueberry pie with buttery flaky crust and bright sweet-tart filling, perfect for summer patriotic gatherings.

⏱️ 1 hour 25Desserts & Baking ★ 4.7
Desserts & Baking
🍜 United States

A beloved no-bake regional Maine candy with a chewy coconut-potato center coated in rich dark chocolate, a New England holiday staple since the 1870s.

⏱️ 2 hours 3Desserts & Baking ★ 4.8
Desserts & Baking
🍜 France

Luxuriously creamy, floral frozen custard made with aromatic Tahitian vanilla beans, boasting a smooth, rich texture that melts slowly on the tongue.

⏱️ 3 hours 3Desserts & Baking ★ 4.5

Chocolate Covered Oreos:Frequently Asked Questions

1.Can I use regular chocolate bars instead of melting wafers for this recipe? ▾
Absolutely, though melting wafers are designed to set smooth and glossy without tempering, which makes them extra beginner-friendly. If using regular chocolate bars, stir in 1 teaspoon of unrefined coconut oil per 4 ounces of chopped chocolate when melting to thin the consistency, reduce seizing risk, and help it set with a nice sheen.
2.Why do you add coconut oil to melted chocolate for these treats? ▾
Unrefined coconut oil thins melted chocolate just enough to create a thin, even coating on Oreos instead of a thick, clunky shell. It also helps the chocolate set with a glossy, snappy finish, cuts down on unsightly cloudy bloom streaks, and adds a subtle, complementary coconut note that doesn’t overpower the cookie.
3.Do I need any special equipment to make chocolate covered Oreos? ▾
You don’t need fancy gear! A microwave-safe bowl for melting chocolate, a regular fork to dip and lift cookies, a parchment-lined baking sheet for setting treats, and optional small zip-top bags for drizzling white chocolate are all you need. Skip expensive specialty dipping tools or fountains if you don’t already own them.
4.How do I keep chocolate from seizing up when I melt it? ▾
Seizing happens when even a tiny drop of water gets into melted chocolate, turning it grainy and clumpy. Make sure all your bowls and utensils are completely dry before starting, melt chocolate in 30-second microwave bursts stirring between each, and don’t cover the melting bowl, as trapped condensation can drip in and ruin the batch.
5.Can I use flavored Oreos instead of the original chocolate sandwich variety? ▾
Definitely! Original Oreos are the classic pick, but you can swap in any Oreo variety you love—mint, peanut butter, birthday cake, or even golden Oreos work beautifully. Just note that extra-sweet limited-edition flavors pair best with semi-sweet chocolate to balance sugar, rather than sweeter white chocolate.
6.How long do I need to let the chocolate set after dipping? ▾
If you set your dipped Oreos on a parchment-lined sheet in the fridge, the chocolate will fully set in 15 to 20 minutes. If setting them at cool room temperature (around 65°F), plan for 45 minutes to an hour. Avoid the freezer, as rapid temperature changes can cause cloudy chocolate bloom as treats thaw.
7.What’s the best way to get an even, smooth chocolate coating on every Oreo? ▾
Drop one whole Oreo fully into the melted chocolate, then use a regular dinner fork to lift it out of the bowl. Tap the fork gently on the bowl edge several times to let excess chocolate drip off, then scrape the fork bottom against the rim to remove dribbles before setting the cookie on parchment to avoid thick chocolate pools at the base.
8.When should I add sprinkles or flaky salt so they don’t slide off? ▾
Add your toppings—whether rainbow nonpareil sprinkles, flaky sea salt, or crushed candy—immediately after you set each dipped Oreo on the parchment-lined sheet; don’t wait until you finish dipping the whole batch. Chocolate starts setting within 2 to 3 minutes at room temp, so toppings won’t stick if you delay. Apply white chocolate drizzle first before adding sprinkles.
9.Can I make these ahead of time for holiday gifting? ▾
Absolutely! These are ideal for make-ahead gifting because they stay fresh for up to 2 weeks when stored properly. Let the chocolate fully set first, then pack them in airtight containers between layers of parchment paper to prevent scuffing, and keep them in a cool, dark spot away from direct heat so the chocolate doesn’t melt.
10.Why is my chocolate coating developing cloudy white streaks after it sets? ▾
Those streaks are called chocolate bloom, and they happen for two common reasons: either the chocolate got too hot when melting, or it experienced rapid temperature swings like going straight from freezer to warm counter. Bloom is totally safe to eat, just less pretty. Adding a small amount of coconut oil and melting slowly helps prevent it.
11.Can I make these dairy-free for friends with dietary restrictions? ▾
Yes, with a couple simple swaps. Pick dairy-free chocolate sandwich cookies (many generic Oreo-style cookies are accidentally dairy-free, but always double-check labels), use dairy-free semi-sweet and white chocolate melting wafers, and stick with unrefined coconut oil for thinning. Verify sprinkles don’t have dairy-derived glaze if needed.
12.How do I get clean, pretty white chocolate drizzle on top? ▾
Melt your white chocolate wafers with a tiny ¼ teaspoon of coconut oil to thin it to a pourable consistency, then scoop it into a small zip-top bag. Snip a tiny 1/8-inch corner off the bag, hold it 6 to 8 inches above the set Oreos, and drizzle in quick, steady back-and-forth motions. Let drizzle set 10 minutes before packing.
13.Is it better to dip these with the Oreo filling intact, or twist cookies apart first? ▾
Keep the filling fully intact for the classic, no-fuss treat—twisting cookies apart risks breaking the crisp cookie layers, and the cream filling helps the whole treat hold its shape as you dip. If you want to add mix-ins like crushed peppermint to the filling, twist apart, add mix-ins, press back together, and chill 10 minutes before dipping.
14.How should I store finished chocolate covered Oreos to keep them crunchy? ▾
Store them in an airtight container at cool room temperature (60 to 68°F) between layers of parchment paper for up to 2 weeks. Avoid storing them in the fridge long-term, as trapped moisture can make cookie layers go soft and stale faster, and never leave them near stoves, sunny windows, or warm cars where chocolate can melt.
15.Can I add extra mix-ins to the chocolate coating for more flavor? ▾
Of course! You can stir finely crushed peppermint candies, toasted shredded coconut, mini crisp rice cereal, or a pinch of cinnamon into the melted semi-sweet chocolate before dipping for extra texture and flavor. Just keep mix-ins very finely chopped—large chunks will make the coating lumpy and keep it from adhering smoothly.
16.My chocolate is too thick to dip smoothly—what went wrong, and how do I fix it? ▾
If your melted chocolate is thick and gloppy, it’s either slightly overheated, or you didn’t add enough thinning agent. Let it cool for 2 to 3 minutes first, then stir in an extra ¼ teaspoon of unrefined coconut oil at a time until it reaches a thin, pourable consistency that coats the back of a spoon. Never add water to thin it—that will cause seizing.
17.Do these work as wedding or party favors, and how should I package them? ▾
They’re perfect for party or wedding favors! Once the chocolate is 100% set, tuck individual Oreos into clear cellophane treat bags, tie with a twist tie or ribbon matching your event colors, and add a small custom tag if you’d like. Keep packaged favors out of direct sun until your event for best results.
18.Can I use a double boiler instead of the microwave to melt the chocolate? ▾
Absolutely, and it’s a great pick if you’re worried about overheating chocolate in the microwave. Set a heatproof bowl over a small pot of gently simmering water (make sure the bowl doesn’t touch the water), add your chocolate wafers and coconut oil, and stir constantly until smooth. Remove from heat as soon as the last lumps melt.

Comments (8)

2 days ago

OMG these are SO good! I made these for my youngest’s soccer team snack last weekend and every single kid (and parent!) begged for the recipe. 5 minutes of prep? Game changer, I don’t have time for fancy baking between school drop offs and practices. I rolled half of them in crushed pretzels for a salty sweet twist and *chef’s kiss*

1 day ago

Crushed pretzels is such a smart idea! I’ve only ever used sprinkles, definitely trying that next time for our end of season party

1 day ago

Love the pretzel twist! Salty-sweet is such a perfect combo for chocolate covered Oreos, so glad the team enjoyed them!

5 minutes ago

Wait, this is actually foolproof? I can barely make microwave popcorn without burning it and these turned out perfect first try. I used white chocolate on half and milk chocolate on the other for my dorm floor potluck, everyone thought I bought them from the campus bakery lmao

just now

That’s the best compliment we could get! These are totally designed for beginner bakers, so stoked your dorm loved them

1 week ago

Made these for my book club night and they were gone in 10 minutes flat! I did add a little flaky sea salt on top of the dark chocolate ones and everyone went crazy. Quick note though: make sure your chocolate is fully melted or you get lumps, I almost messed that up the first batch!

5 days ago

Thanks for the tip about lumpy chocolate! I almost skipped melting mine slowly, that would’ve been a disaster for my niece’s birthday treats

4 days ago

Great tip about fully melting the chocolate! Flaky sea salt is such a chef’s touch, so happy book club was a hit!

3 days ago

Super easy, super tasty. I made these with my 7 year old daughter for her class Valentine’s Day party and she had a blast dipping them and adding heart sprinkles. Way less messy than I thought it would be, which is a win for any kid craft/snack combo

2 days ago

Right? I was expecting chocolate all over the walls but even my 5 year olds managed to dip theirs without making a huge mess. Perfect rainy day activity!

2 weeks ago

These are my go-to for every holiday now! I switch up the sprinkles to match the occasion – orange and black for Halloween, red and green for Christmas, pastels for Easter. They look so fancy on a dessert table but take zero effort, 10/10

1 week ago

Same! I even did gold sprinkles for my sister’s bridal shower dessert table and people kept asking which bakery I ordered them from. No one believes how easy they are!

1 week ago

Holiday themed treats are the best! We love how customizable these are for any event, thanks for sharing your hack!

2 hours ago

Wait, can I use dairy free chocolate for these? My son has a milk allergy and I’ve been looking for easy treats he can bring to school events that don’t feel like a 'special diet' snack

1 hour ago

Absolutely! Dairy free chocolate works perfectly for this recipe, just melt it the same way you would regular milk or dark chocolate. I’ve made them with dairy free dark chocolate for allergy-friendly events before and no one can tell the difference!

yesterday

I was skeptical these would hold up in the fridge for meal prep snacking but they stay perfect for 3-4 days! I make a batch every Sunday to grab for quick sweet treats during the work week, it curbs my candy bar runs so well. SO much better than store bought cookies

30 minutes ago

Brought these to our neighborhood block party potluck last weekend and they were the first dessert gone! I even had people stopping by my house later in the week asking for the recipe, I felt like a celebrity baker. 10/10, will be making these for every gathering from now on



